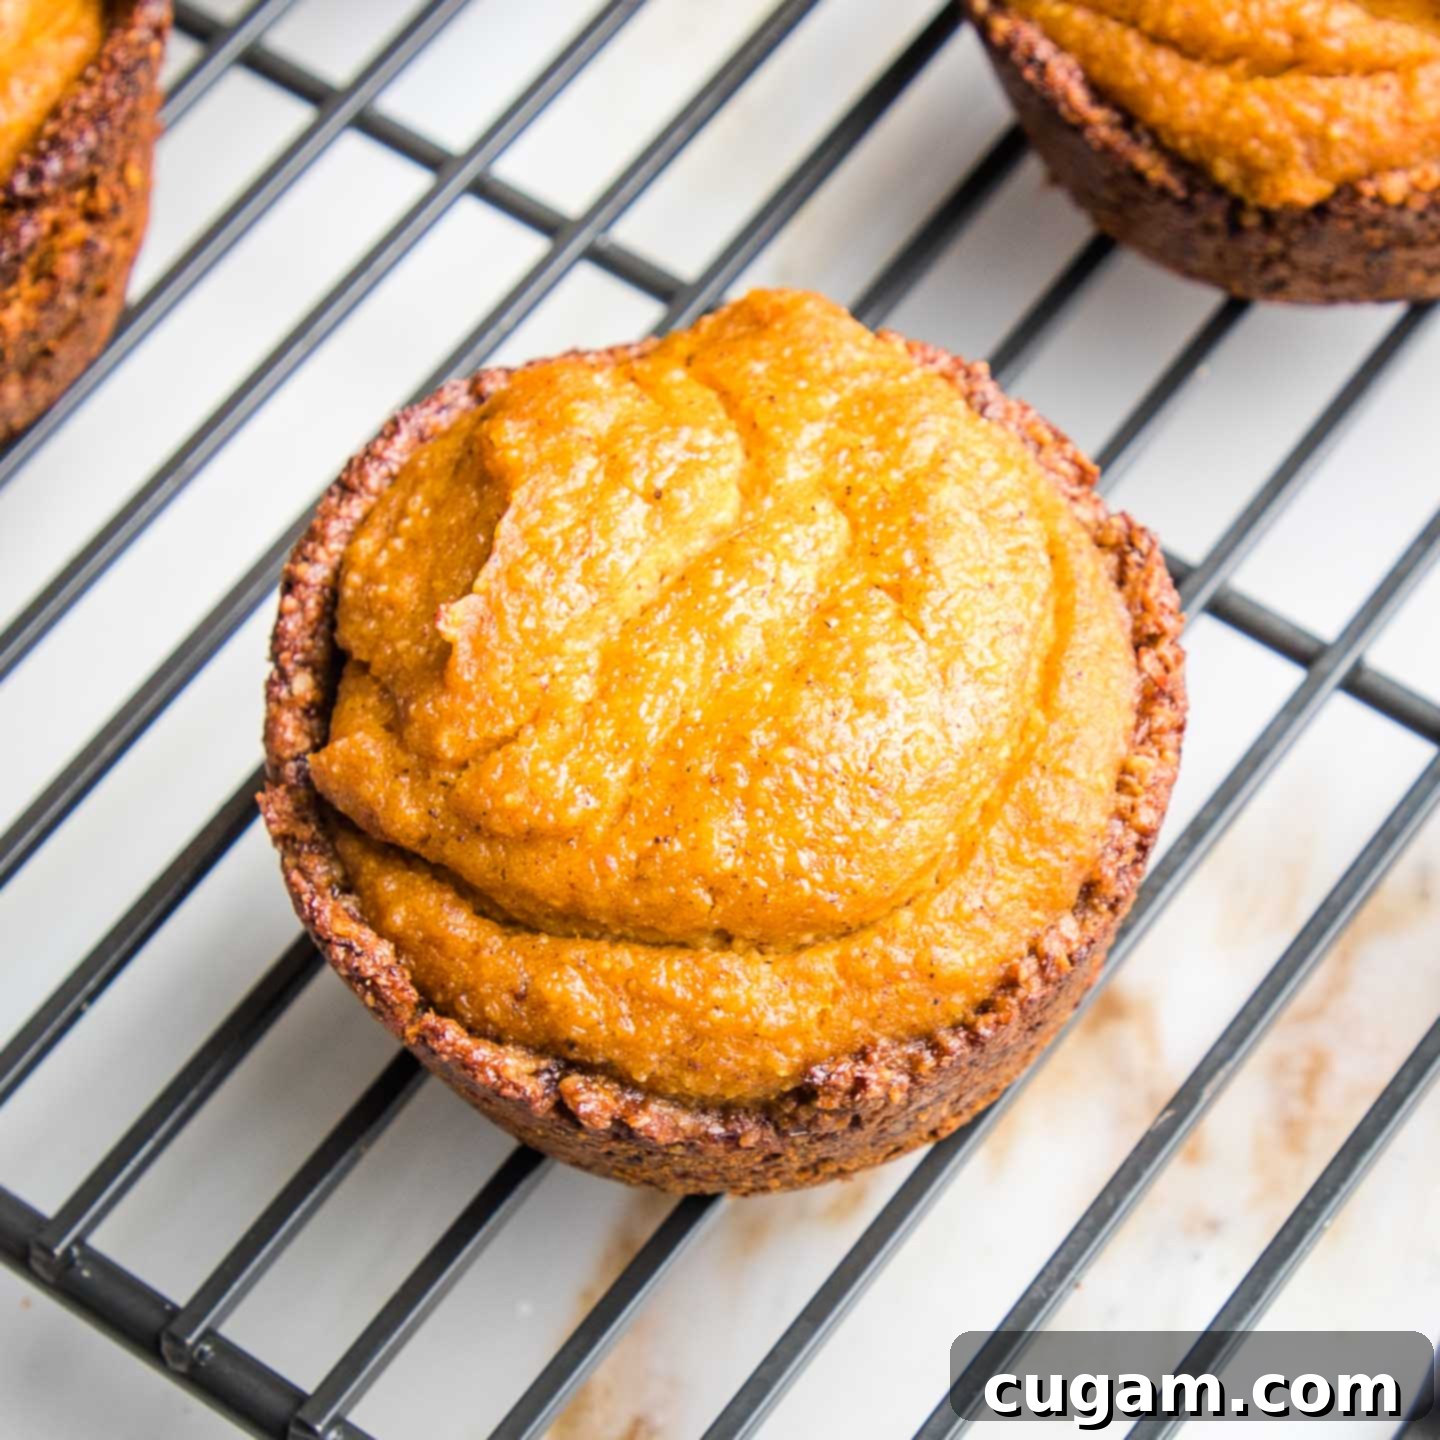
Delightful Mini Pumpkin Pies: Your Go-To Vegan & Gluten-Free Recipe
What could be better than a classic pumpkin pie? How about adorable, perfectly portioned mini pumpkin pies! These individual desserts are not only incredibly delicious but also surprisingly easy to make. Plus, they cater to various dietary needs, being both vegan and gluten-free. Crafted with wholesome ingredients, these mini pies are the ideal healthy dessert for Thanksgiving, holiday gatherings, or simply to satisfy your sweet tooth any day of the week.
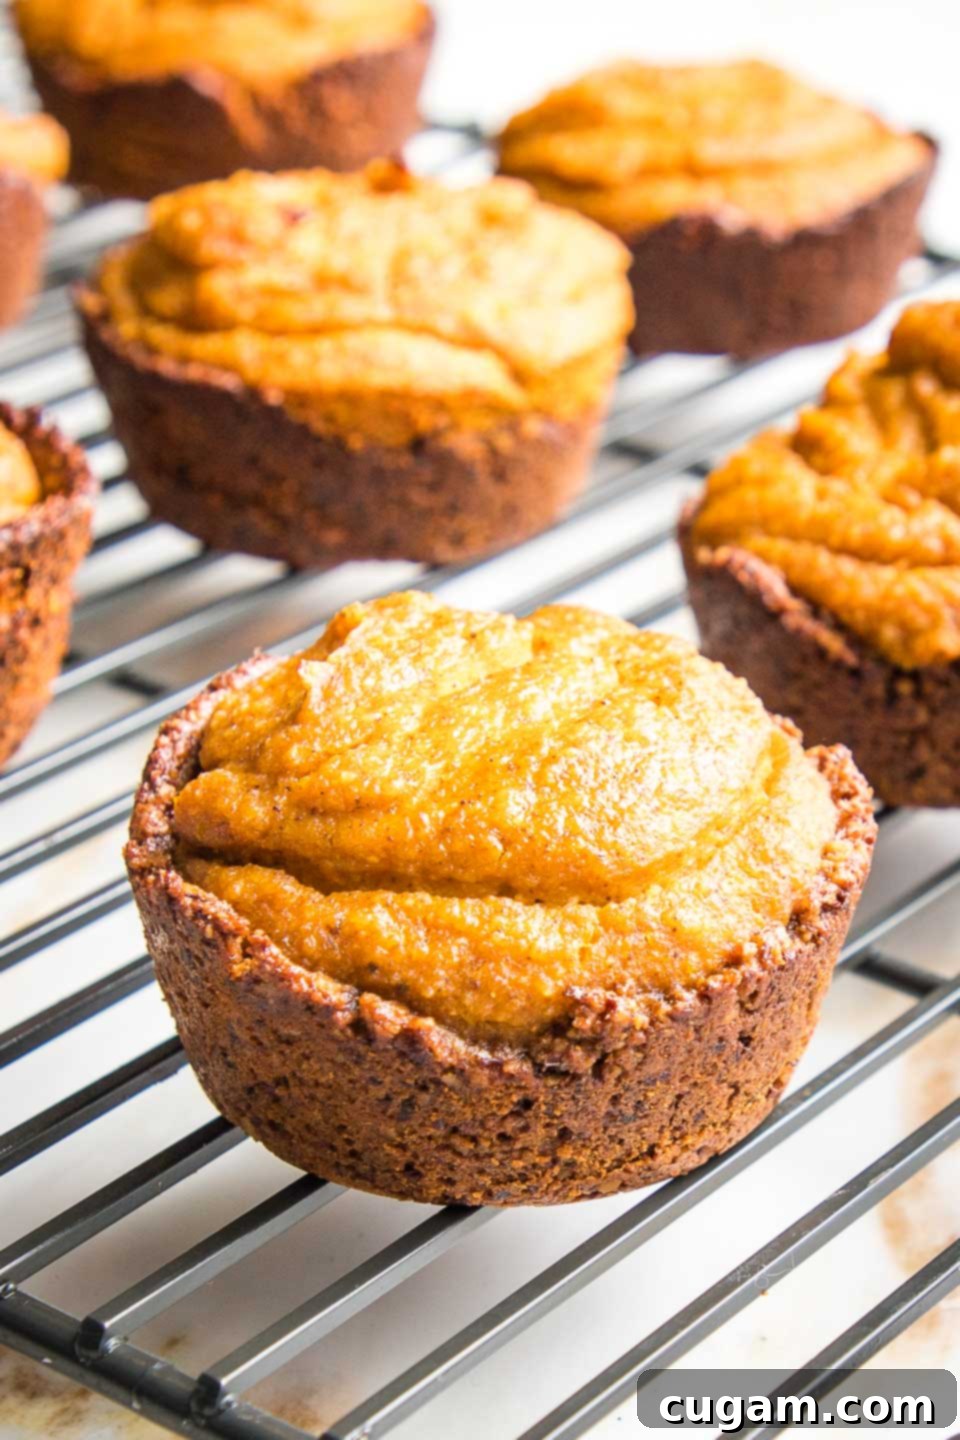
Let’s be honest, sometimes you don’t need a whole pie. Maybe you don’t want the temptation of a full-sized dessert sitting on your counter. Or perhaps, you’re a little worried you might eat the entire thing yourself! Whatever the reason, the desire for that comforting taste of pumpkin pie still lingers.
Imagine a rich and delicious pumpkin pie, infused with all the cozy spices you love, but in a perfectly sized, individual serving. This recipe delivers just that: a creamy, dairy-free filling nestled within a wonderfully textured, gluten-free, and sugar-free crust. Each bite offers the nostalgic warmth of traditional pumpkin pie, transformed into a healthier, more convenient format.
Why You’ll Fall in Love with These Mini Pumpkin Pies
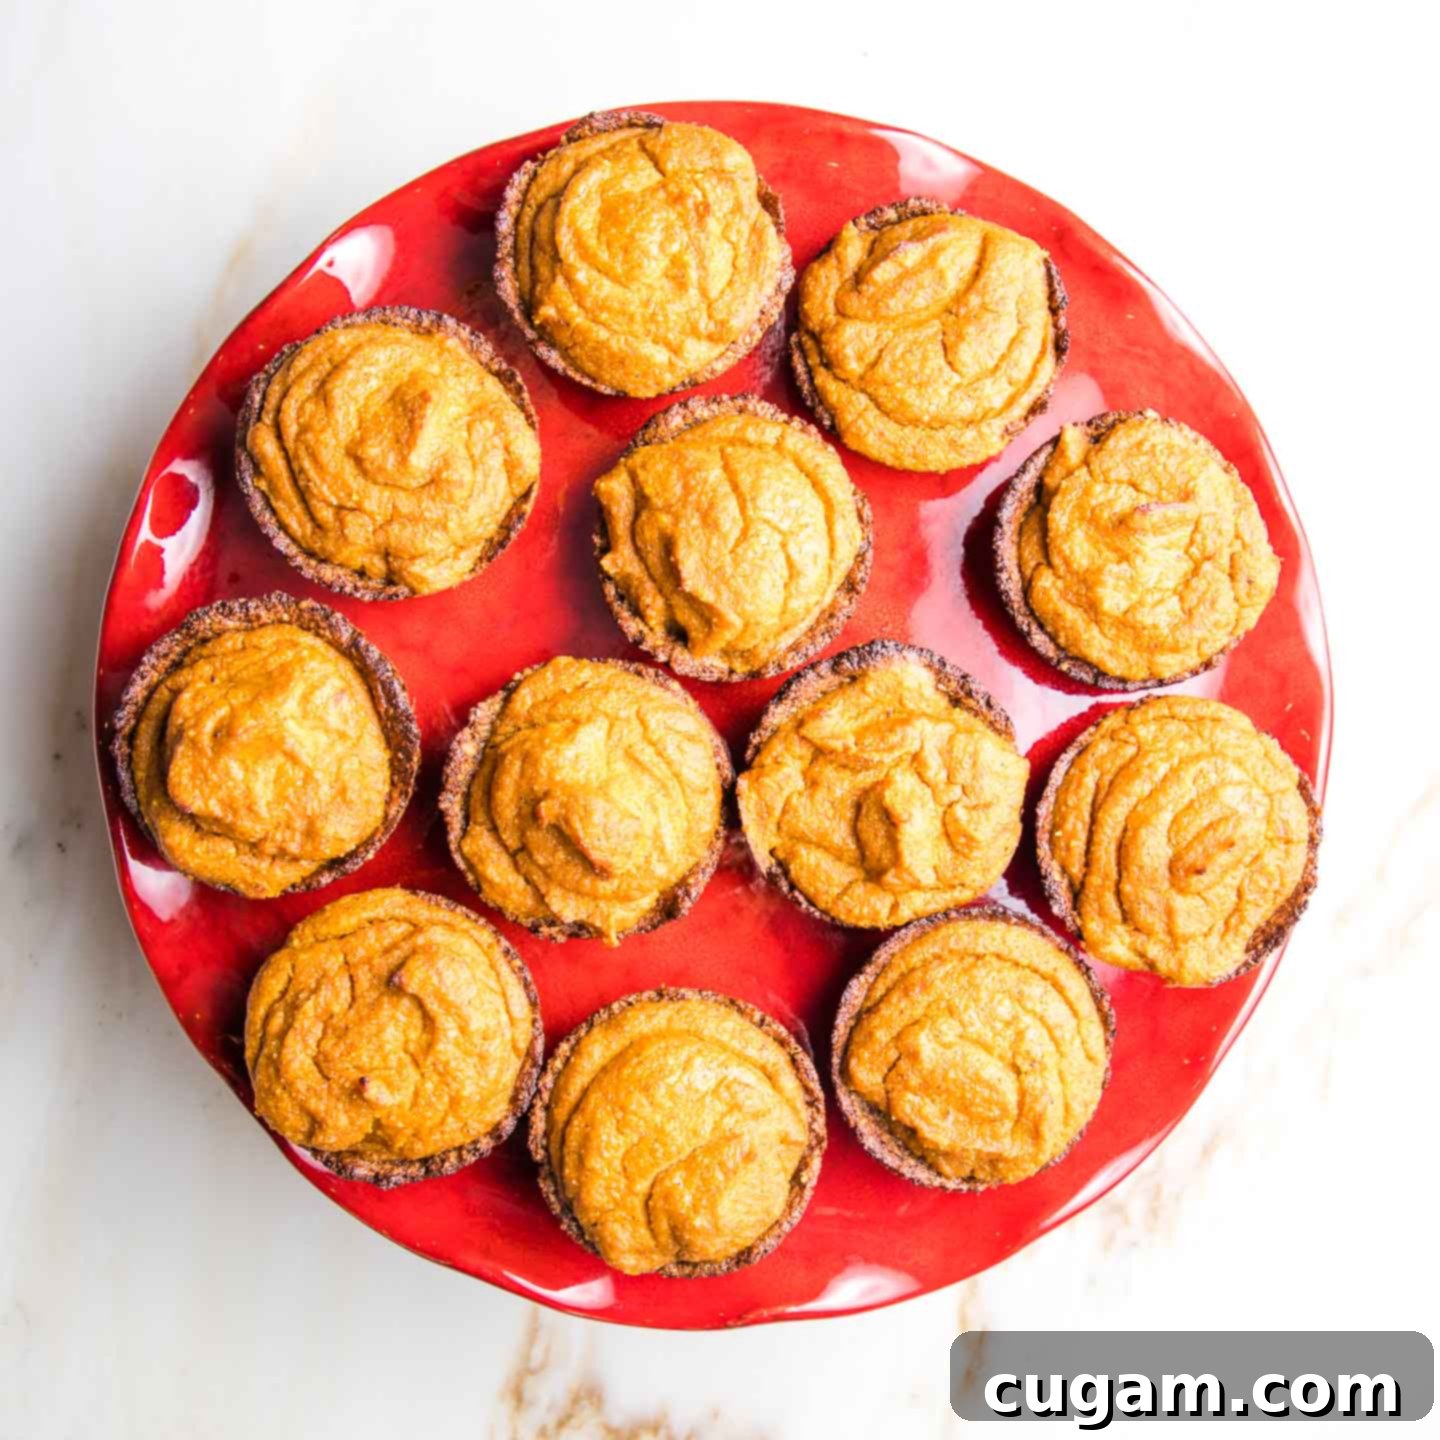
These individual vegan and gluten-free pumpkin pies offer so many compelling reasons to make them your go-to dessert recipe. From their incredible taste to their practical benefits, they’re truly a dream come true for healthy dessert enthusiasts.
- Super Delicious & Flavorful: Each mini pie bursts with the classic, comforting flavors of pumpkin and warming spices, ensuring a delightful experience with every bite.
- No Refined Sugar: Sweetened naturally with ingredients like maple syrup and raisins, these pies offer a guilt-free indulgence without the need for processed sugars.
- Easy-to-Make Gluten-Free Crust: Forget complicated pie doughs! This simple crust comes together quickly in a food processor, providing a fantastic texture without any gluten.
- Creamy, Dreamy Dairy-Free Pumpkin Pie Filling: Achieve an incredibly smooth and rich filling using plant-based ingredients like tofu and cashews, delivering that familiar, luxurious consistency.
- Built-in Portion Control: The individual size makes managing portions effortless, perfect for those looking to enjoy a sweet treat responsibly.
- Perfect Pick-Up Dessert for Parties: Their convenient size makes them ideal for serving at gatherings. No plates or forks required – just grab and enjoy!
- Make as Many or as Few as You Need/Want: Easily scale the recipe to fit your specific needs, whether you’re baking for one or a crowd.
- Excellent for Meal Prepping & Make Ahead: These mini pies are perfect for prepping in advance. They stay fresh in the fridge for up to a week or can be frozen for up to 3 months, making holiday planning a breeze.
Don’t compromise on flavor or convenience. You can truly have it all! The only thing better than a delicious, full-sized pumpkin pie is an individual, perfectly portioned pumpkin pie that’s not only vegan and gluten-free but also incredibly tasty and simple to prepare. These pies prove that healthy and delicious can go hand-in-hand, making them a fantastic addition to any dessert repertoire.
Crafting the Perfect Gluten-Free Pumpkin Pie Crust
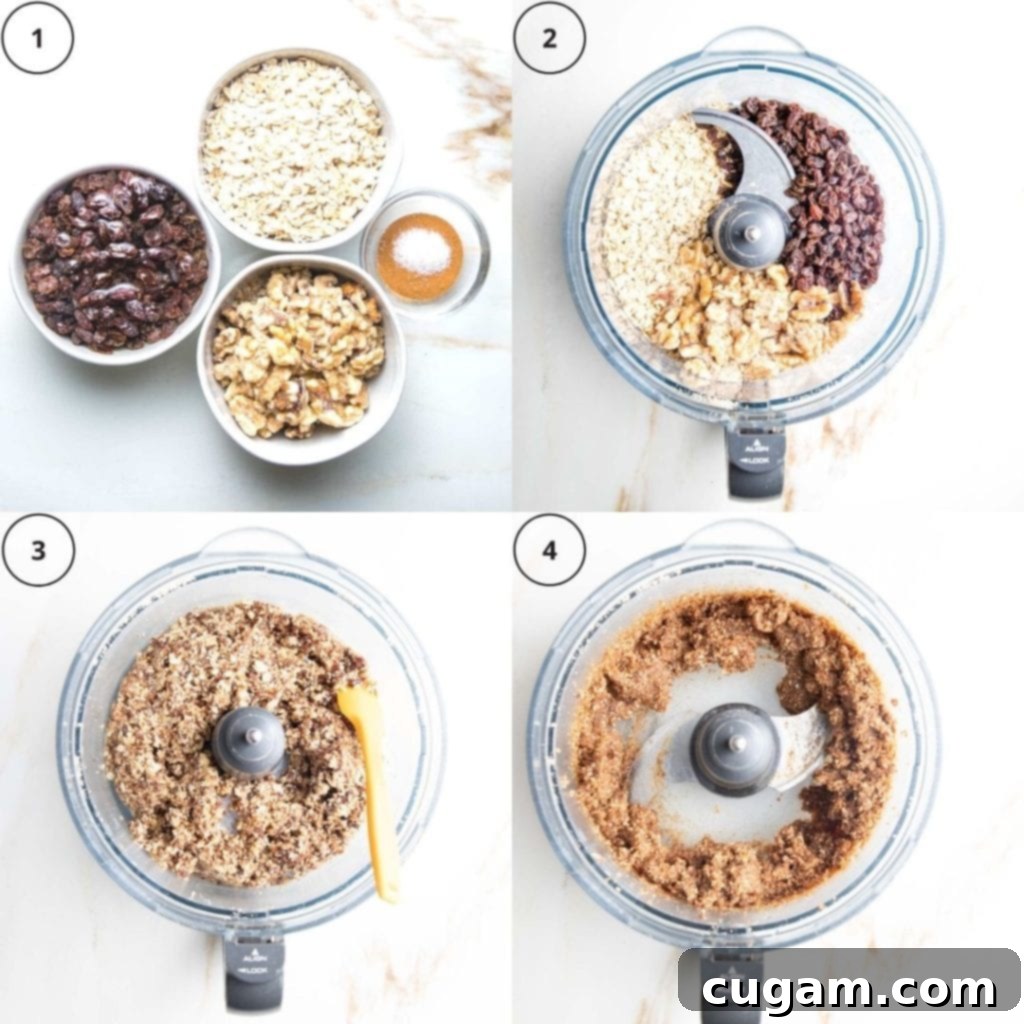
The foundation of any great pie is its crust, and this gluten-free version is no exception. It’s designed to be both flavorful and easy to work with, providing a delightful contrast to the creamy filling. Our crust relies on a blend of wholesome ingredients that come together beautifully in a food processor, eliminating the need for rolling out sticky dough.
- Prepare Ingredients: Begin by soaking your raisins in warm water for about 10 minutes. This softens them and allows them to act as a natural binder and sweetener. While they soak, measure out your raw walnuts, old-fashioned rolled oats, cinnamon, and a pinch of sea salt. These ingredients are key for flavor and texture.
- Combine in Food Processor: Once the raisins are softened, drain them (but remember to save a tablespoon or two of the soaking water – it might come in handy!). Add the drained raisins, oats, walnuts, and spices into the bowl of your food processor.
- Pulse Until Crumbly: Pulse the mixture until it reaches a crumbly, coarse texture. At this stage, it will resemble a loose streusel. Be sure to stop and scrape down the sides of the food processor bowl occasionally to ensure even mixing.
- Process for Dough Consistency: Continue processing until the mixture starts to hold together when pressed between your fingers. It should form a cohesive “dough.” If you find the mixture is too dry or crumbly and won’t hold its shape, add 1-2 tablespoons of the reserved raisin soaking water and process again until the desired consistency is achieved. Avoid adding too much liquid, as this can make the crust soggy.
This method yields a wonderfully nutty, slightly sweet, and perfectly spiced crust that complements the pumpkin filling without being overly rich or heavy. It’s a game-changer for anyone looking for a simple, healthy, and delicious gluten-free pie base.
Creating the Creamy Vegan Pumpkin Pie Filling
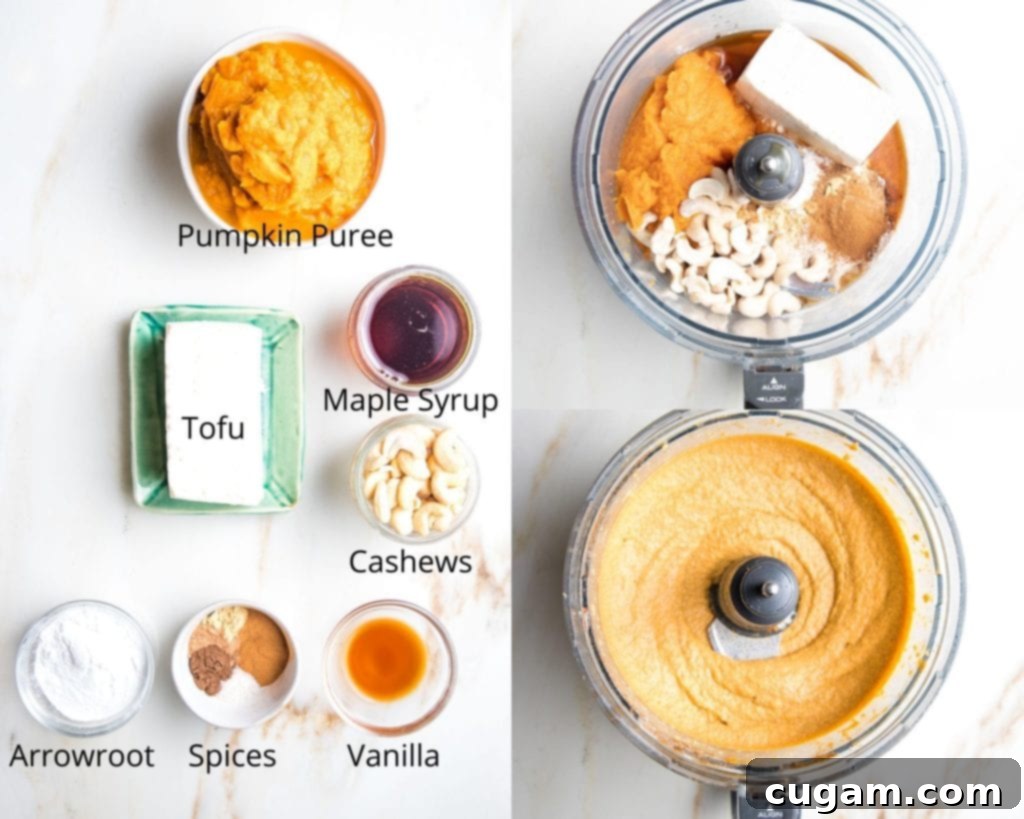
The heart of these mini pies is their incredibly smooth and flavorful vegan pumpkin filling. Achieving a dairy-free filling that rivals traditional pumpkin pie in texture and taste is simpler than you might think, thanks to a few clever plant-based ingredients.
- Prepare Cashews: Start by soaking your raw cashews in boiling water for at least 15 minutes. Even better, aim for 30 minutes to ensure they are thoroughly softened. This step is crucial for achieving that silky-smooth, creamy texture without any dairy. You can easily get this started while you’re preparing and pre-baking your pie crusts.
- Blend Filling Ingredients: Once your cashews are soft, drain them completely and place them in your food processor. Add the full can of pumpkin puree, a block of extra-firm tofu (no need to press it extensively, just drain any excess liquid), pure maple syrup for natural sweetness, vanilla extract, arrowroot powder (which acts as a thickener), and your blend of warm spices: cinnamon, nutmeg, ginger, allspice, and a touch of sea salt.
- Process Until Smooth: Process all the ingredients together until the mixture is completely smooth and creamy. This might take a few minutes, so be patient. Stop the food processor a few times to scrape down the sides, ensuring all ingredients are thoroughly incorporated and there are no lingering cashew pieces or lumps of tofu. The goal is a uniform, velvety consistency that will bake up beautifully.
This combination of pumpkin, tofu, and cashews creates a rich, velvety filling that tastes indulgent without any dairy or eggs. The spices bring that signature autumn warmth, making every bite a comforting experience.
Assembling and Baking Your Perfect Mini Pies
With your crust and filling ready, it’s time to bring these delightful mini pumpkin pies to life. Preheat your oven to 350 degrees Fahrenheit (175 degrees Celsius) to ensure it’s at the optimal temperature when your pies are ready to bake.
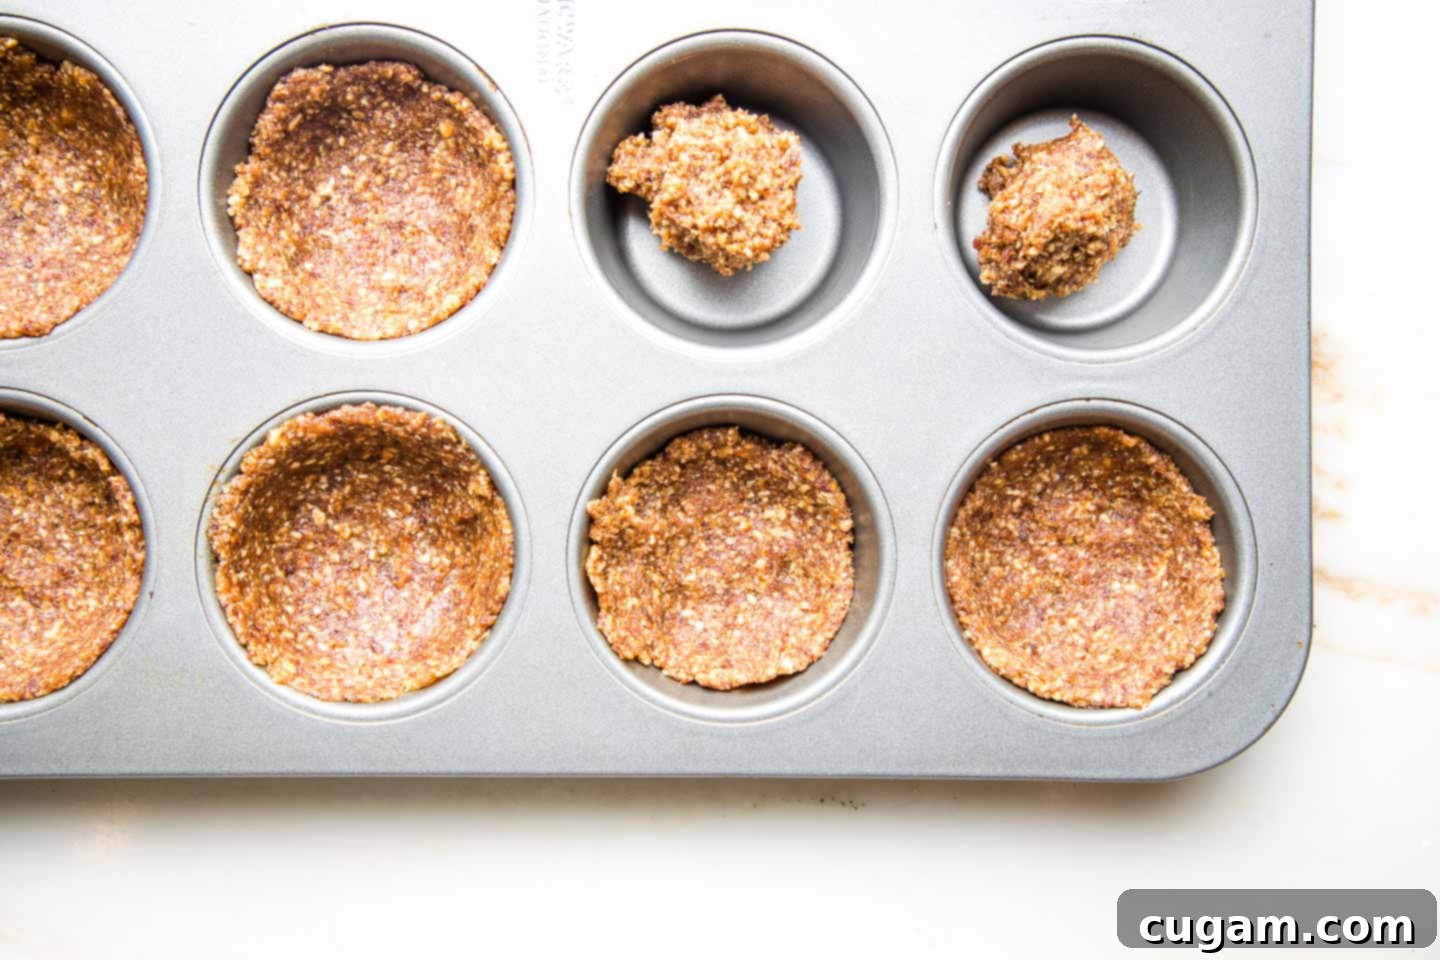
Forming the Crusts: Divide your prepared pie crust “dough” into 12 even portions. Roll each portion into a small ball and place it into a separate cup of a muffin tin. Using slightly wet hands helps prevent the dough from sticking and allows you to easily press it into the bottom and up the sides of each muffin cup. Aim for an even thickness to ensure uniform baking.
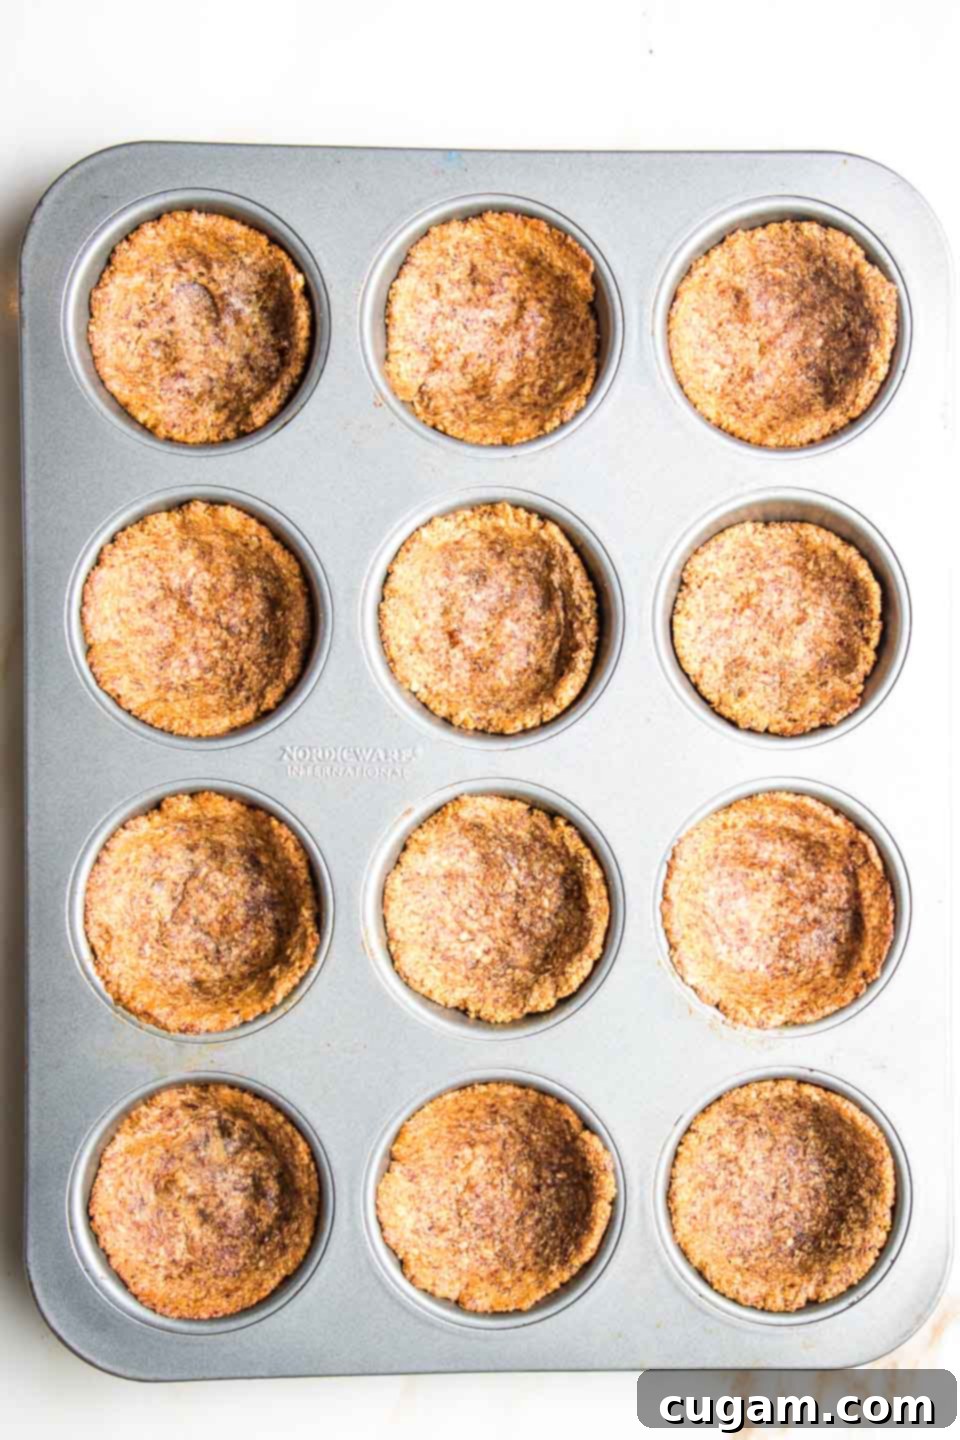
Pre-baking the Crusts: Place the muffin tin with the empty crusts into your preheated oven and prebake for 8 minutes. This step is essential as it helps the crusts set and become slightly crispy before the wet filling is added, preventing them from becoming soggy. While they prebake, you can finish preparing your pumpkin filling.
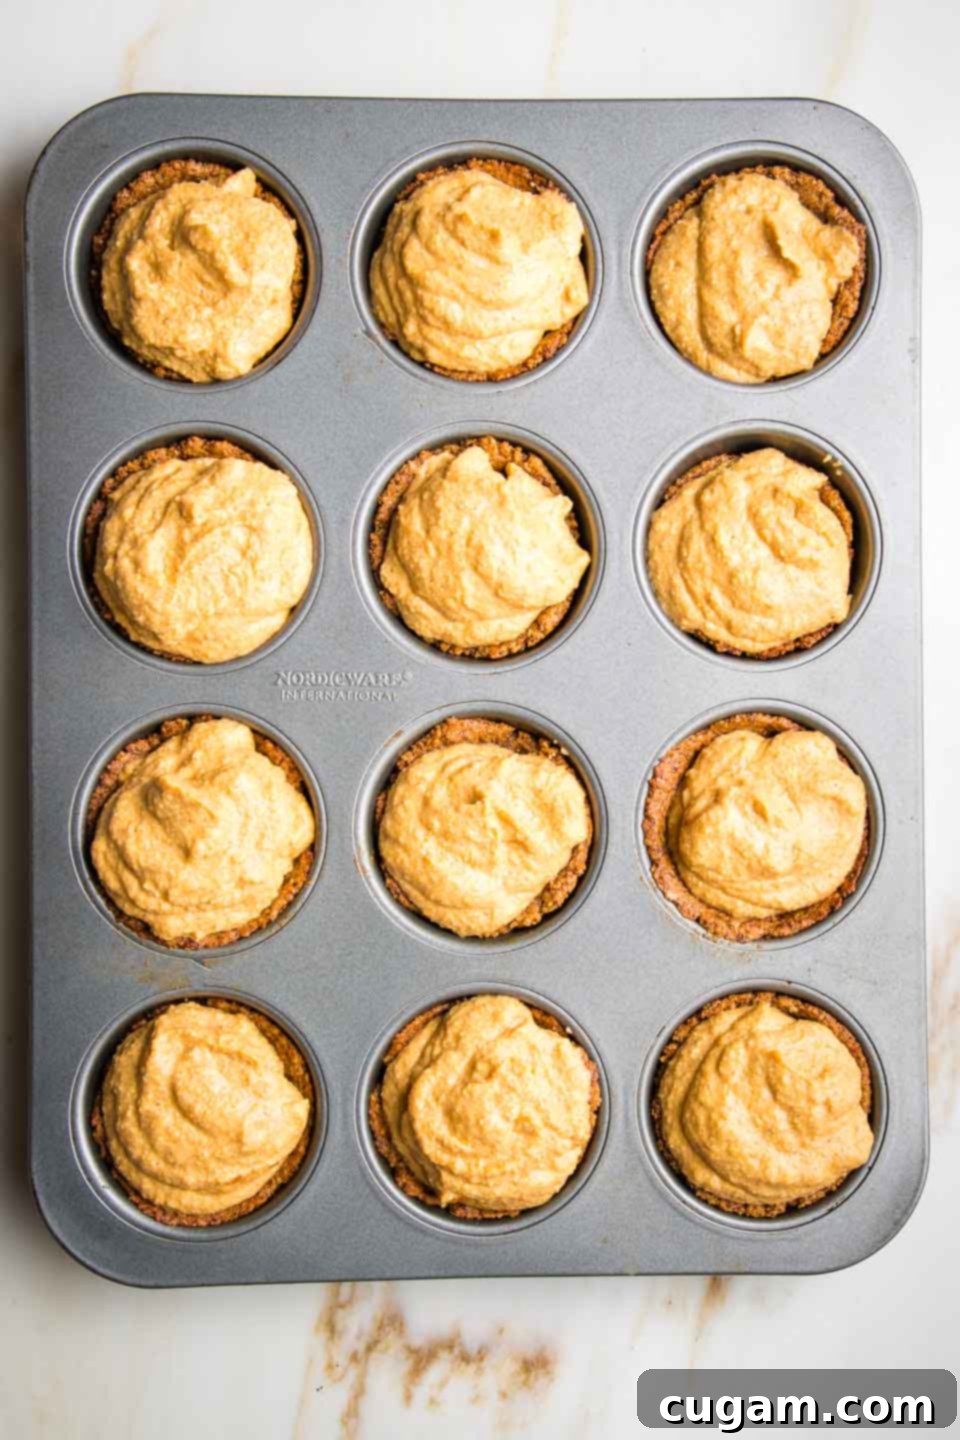
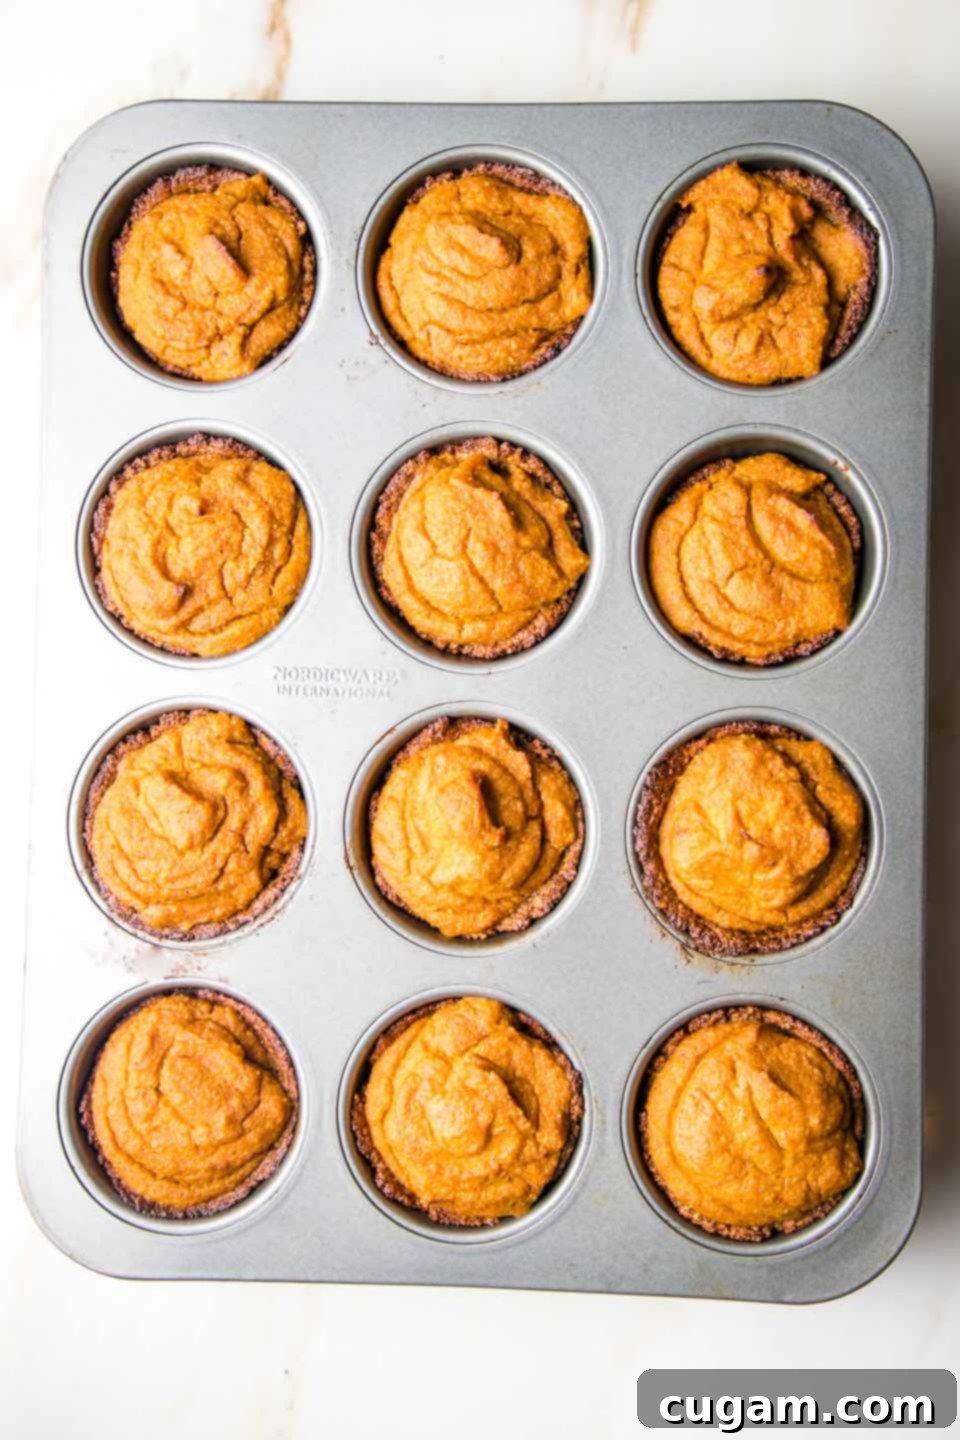
Filling and Final Bake: Once the crusts are pre-baked, carefully spoon the vegan pumpkin pie filling into each one. Distribute the filling evenly among the 12 muffin cups. Return the muffin tin to the 350-degree Fahrenheit oven and bake for an additional 30 minutes. The pies are done when the filling appears set around the edges but still has a slight jiggle in the center. Don’t worry, it will continue to firm up as it cools.
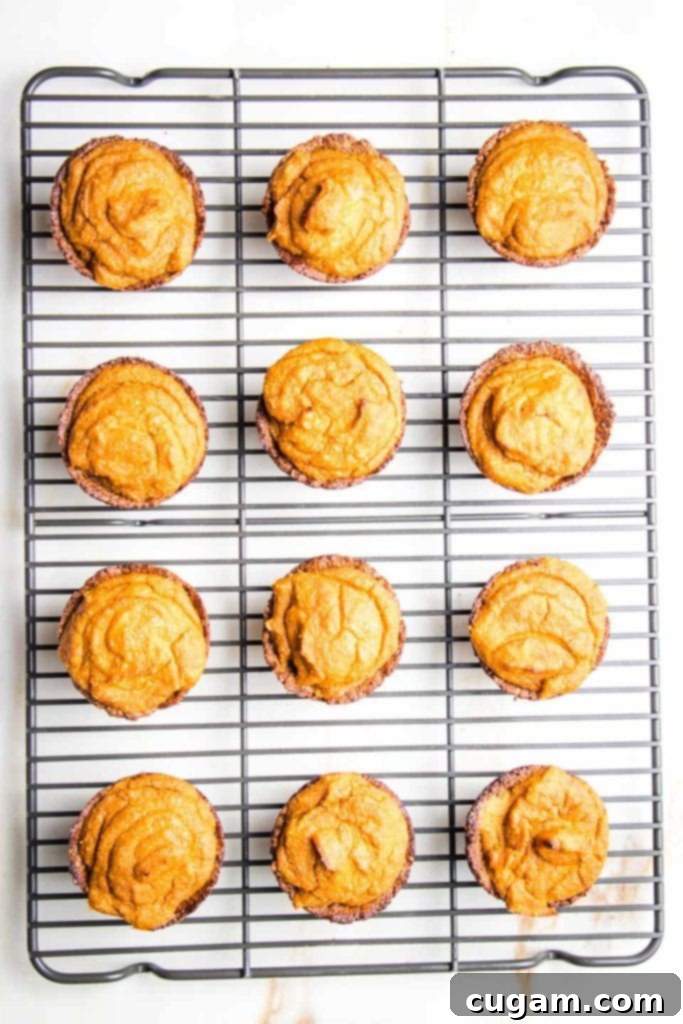
Cooling and Setting: Allow the mini pumpkin pies to cool in their muffin tins until they are cool enough to handle comfortably. This initial cooling helps them hold their shape. Then, using an offset spatula or a butter knife, gently transfer them to a wire cooling rack to cool completely. The pumpkin pie filling will continue to set and firm up as it cools, so resist the urge to cut into them too soon!
For best results and a fully set filling, place the cooled mini pumpkin pies in an airtight container and refrigerate them for a minimum of 3 hours. They’ll be perfectly firm and ready to enjoy after this chilling period. These delightful treats will stay good in the fridge for up to a week, though the crust might start to soften slightly after 4-5 days. For longer storage, they can be frozen for up to 3 months, making them perfect for future indulgence.
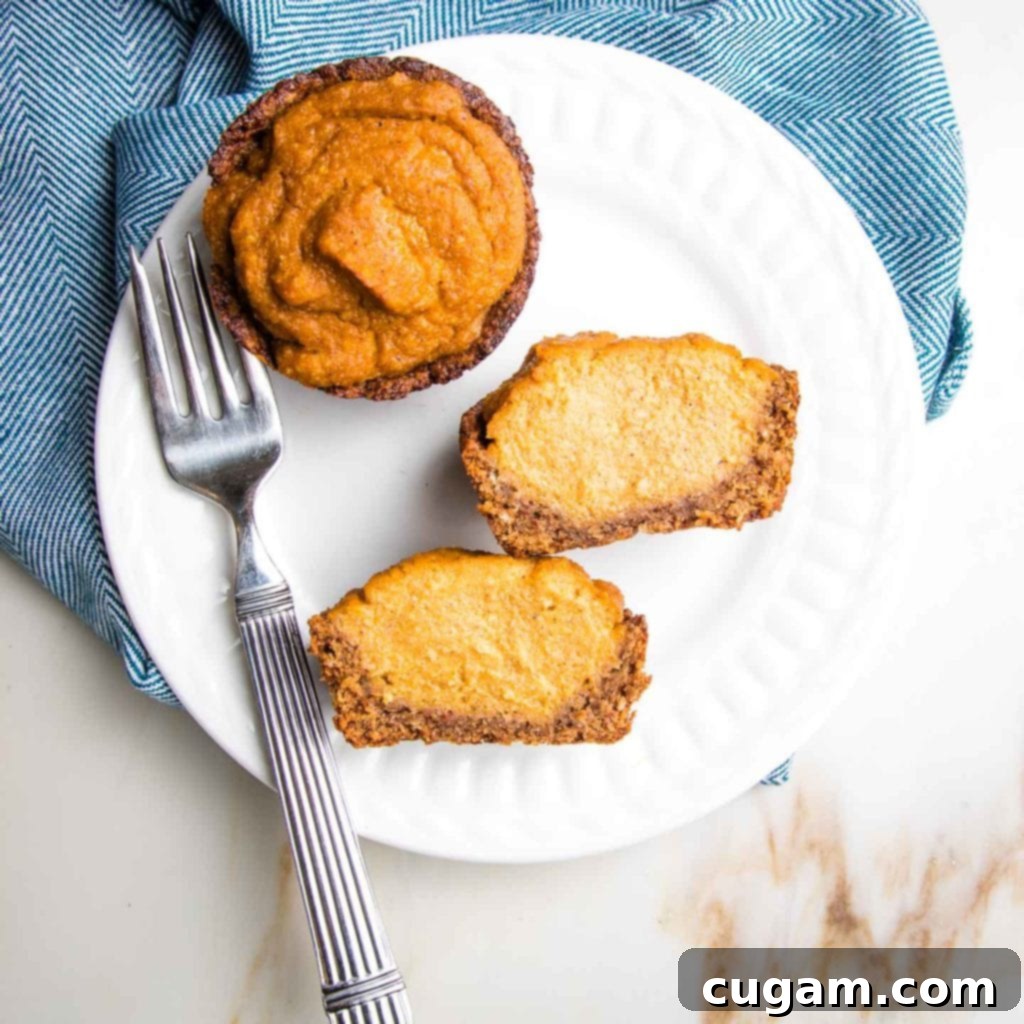
These mini pumpkin pies are incredibly versatile. They make a fantastic dessert for Thanksgiving or any holiday celebration, adding a touch of elegance and convenience to your festive spread. Their grab-and-go nature also makes them the ultimate party treat, easy for guests to enjoy without fuss. But don’t reserve them just for special occasions; they are equally perfect for a simple, healthy indulgence when you’re home alone, craving a little something sweet. Garnish with a dollop of vegan whipped cream or a sprinkle of cinnamon for an extra touch of perfection!
Did you know commenting and rating recipes is one of the best ways to support your favorite food bloggers? If you made this recipe, please consider giving it a five-star rating below and leaving a comment to share your experience. Also, we’d love to see your creations! Please share your photos on Instagram by tagging me @dkhealthcoach and using the hashtag #debraklein. Your support helps us continue to create delicious, healthy recipes for everyone to enjoy!
📖 Recipe
Mini Pumpkin Pies
Rate this Recipe
Pin Recipe
Equipment
-
1-Cup Glass Measuring Cup
-
Muffin Pan
-
Food Processor
Ingredients
Crust
- 1 cup raw walnuts
- 1 cup old fashioned rolled oats
- 1 cup raisins soaked in warm water for 10 minutes
- 2 teaspoons cinnamon
- ¼ teaspoon sea salt
Pumpkin Filling
- 1 15-oz can pumpkin puree
- 8 oz. extra firm tofu
- ½ cup raw cashews soaked in warm water at least 30 minutes
- ½ cup pure maple syrup
- 1 teaspoon vanilla
- 2 Tablespoons arrowroot powder
- 1 teaspoon cinnamon
- ½ teaspoon ground ginger
- ½ teaspoon nutmeg
- ¼ teaspoon allspice
- ¼ teaspoon sea salt
Instructions
-
Soak raisins and cashews. Use enough warm water to totally cover. Gather remaining ingredients while waiting for 10 minute raisin soak.
-
Preheat oven to 350°F (175°C).
-
MAKE CRUST: Drain raisins, and save soaking water. Add raisins, walnuts, oats, cinnamon and salt to bowl offood processorand pulse until crumbly. Scrape down sides and process until you’re able to press together between your fingers. If dough won’t hold together, add 1-2 Tablespoons soaking water.
-
Scoop dough intomuffin tin pan, dividing into 12 equal pieces. Use wet hands to press down and up the sides of each individual muffin section. Prick with tines of a fork.
-
PRE-BAKE CRUST: Bake unfilled mini pies for 8 minutes. Prepare filling while they cook.
-
MAKE PUMPKIN PIE FILLING: Drain cashews and place in bowl of food processor. Drain tofu (it’s not necessary to press) and add to processor bowl. Add remaining ingredients: pumpkin puree, maple syrup, vanilla extract, arrowroot powder, and spices (cinnamon, ginger, nutmeg, allspice, sea salt), and process until smooth, scraping down sides a few times to be sure everything is thoroughly incorporated.
-
Spoon filling into prepared crusts, spreading it evenly between them.
-
Bake for 30 minutes.
-
Let them cool in the tin and then use an offset spatula to transfer to a wire rack. When completely cool, transfer to an air-tight container. Refrigerate a minimum of 3 hours for them to set.
-
Mini pumpkin pies will stay good in the fridge for up to a week. For longer storage, freeze them for up to 3 months.
Video
Notes
RAISINS: Cover with warm water and soak for 10 minutes. Remember to save a few tablespoons of this soaking liquid! It’s your secret weapon if the crust mixture is too crumbly and needs a little extra moisture to bind.
TOFU: When preparing your tofu, simply drain it well on paper towels while you’re working on the crusts. There’s no need for extensive pressing, as its moisture contributes to the creamy texture of the filling.
Nutrition
Note
The nutrition calculations were done using online tools. To obtain the most accurate representation of the nutritional information in any given recipe, you should calculate the nutritional information with the actual ingredients you used. You are ultimately responsible for ensuring that any nutritional information is accurate, complete and useful.
