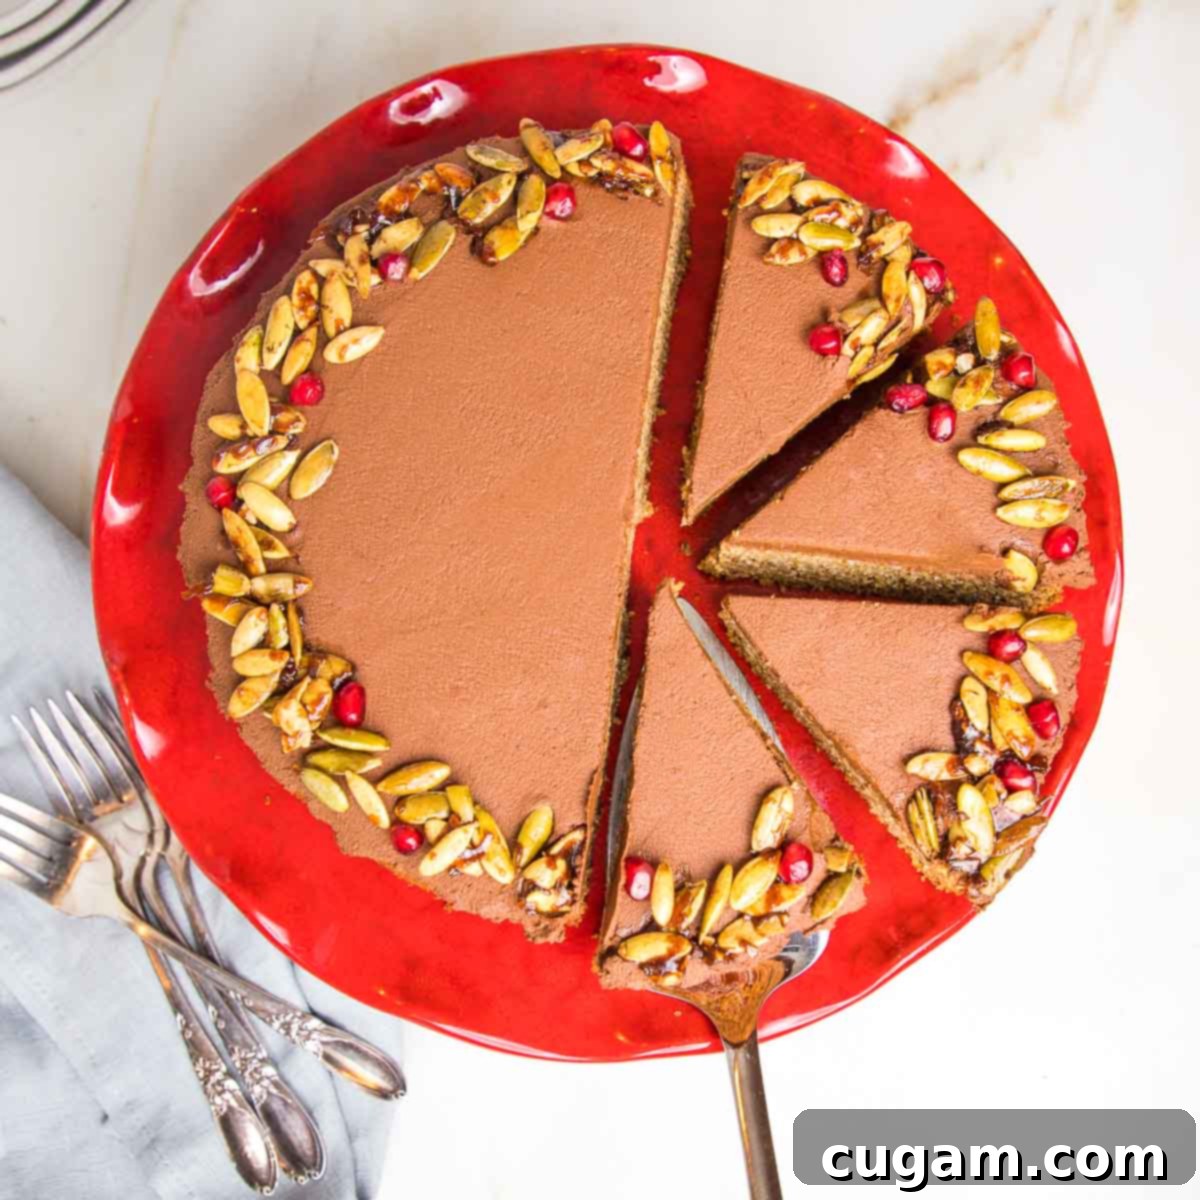
The Ultimate Gluten-Free Pumpkin Cake: Moist, Fluffy, and Perfectly Spiced with Vegan Chocolate Frosting
Prepare to be enchanted by this truly exceptional Gluten-free Pumpkin Cake – a light, fluffy, and incredibly moist dessert that effortlessly captures the essence of fall. While it makes for the ultimate seasonal treat, its delightful flavor profile and wholesome ingredients mean I happily bake this healthy pumpkin dessert all year round, often as a special gluten-free birthday cake. Each slice boasts a perfect crumb, infused with the warm, comforting notes of pumpkin spice. And the best part? It’s generously topped with a decadent, 3-ingredient vegan chocolate frosting that truly is the icing on the cake, elevating it to an unforgettable indulgence!
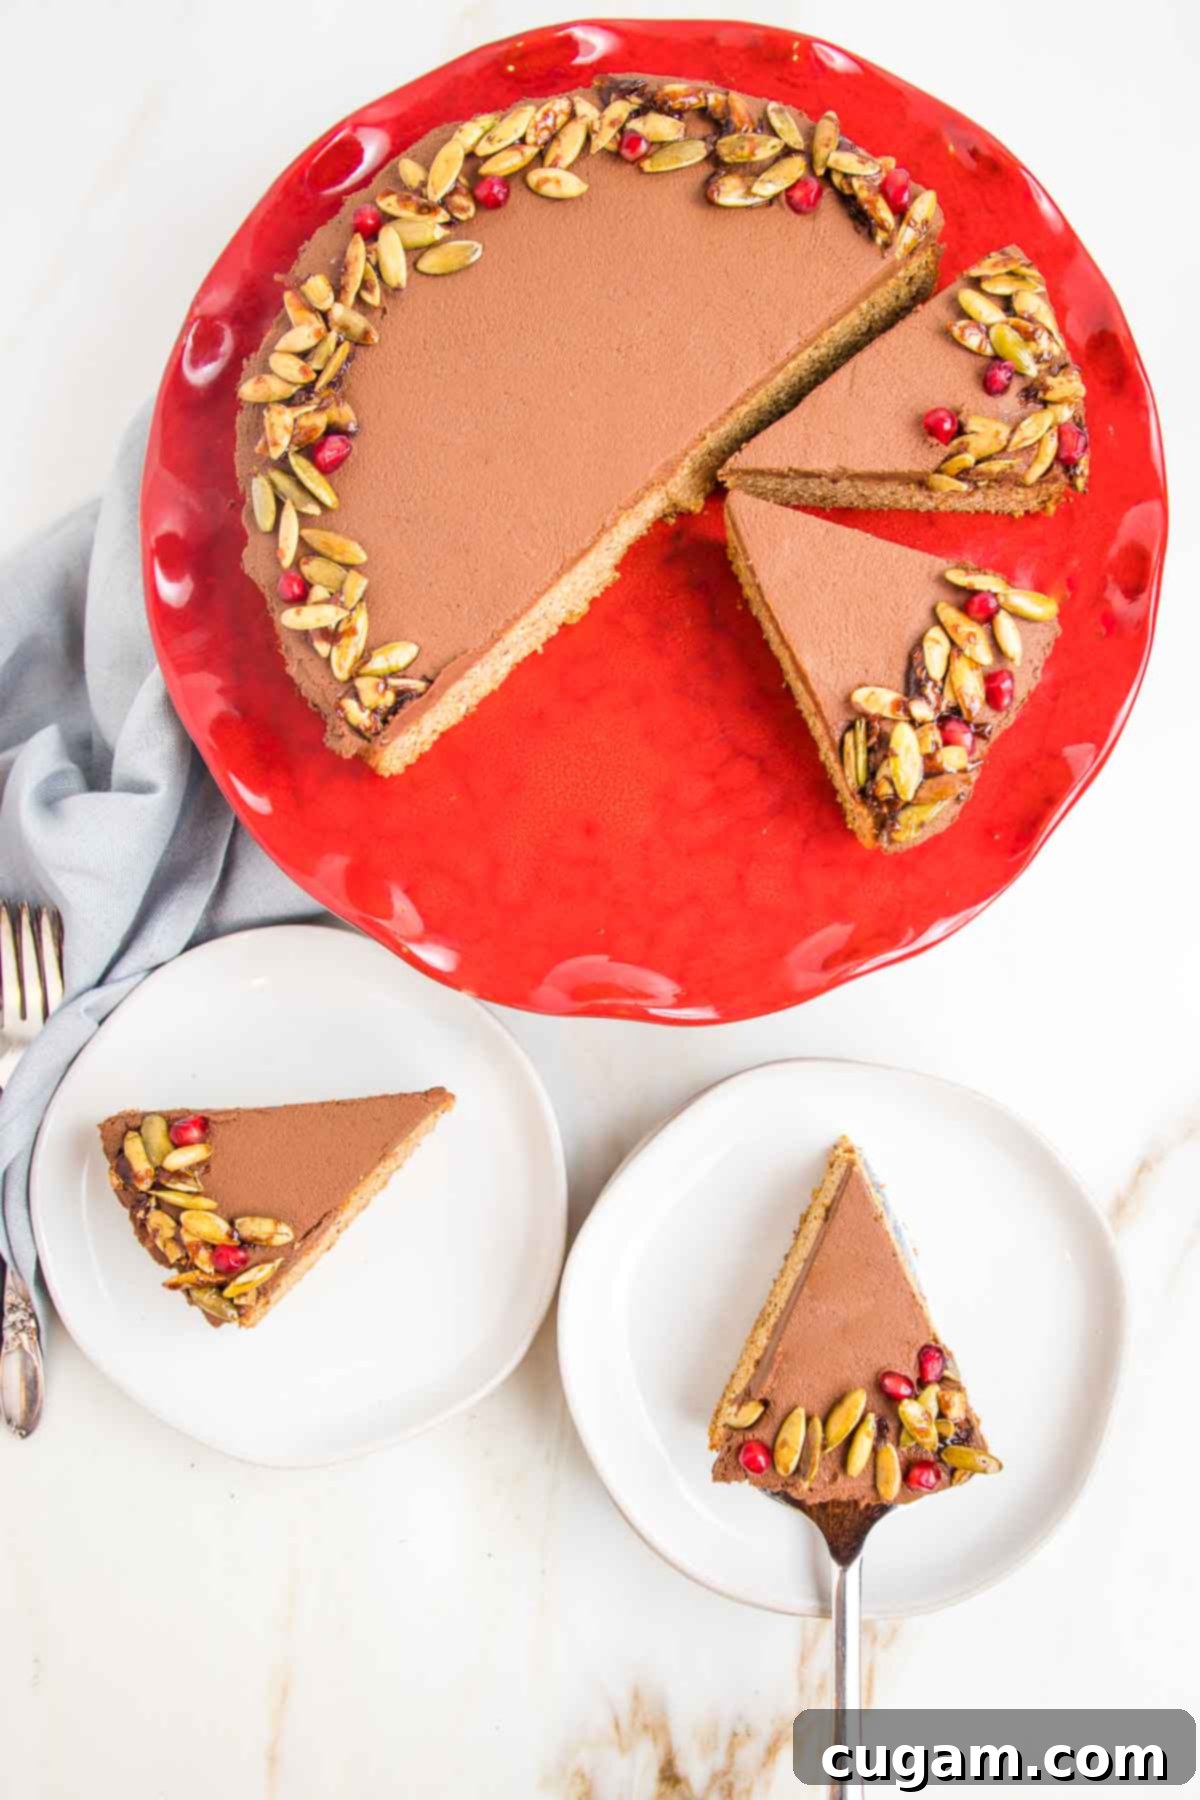
This post has been updated from the original published December 15, 2021.
This isn’t just a good pumpkin cake; it’s a remarkably moist and fluffy creation with a delightful texture that will have everyone reaching for a second – and quite possibly a third – slice! Its inherent elegance makes it simple to frost and decorate for any celebration, from an autumn gathering to a joyful birthday party. We’ve included the recipe for our incredibly easy Vegan Chocolate Frosting, ensuring you can create this show-stopping gluten-free pumpkin cake that’s guaranteed to impress.
Why This Gluten-Free Pumpkin Cake Will Become Your New Favorite
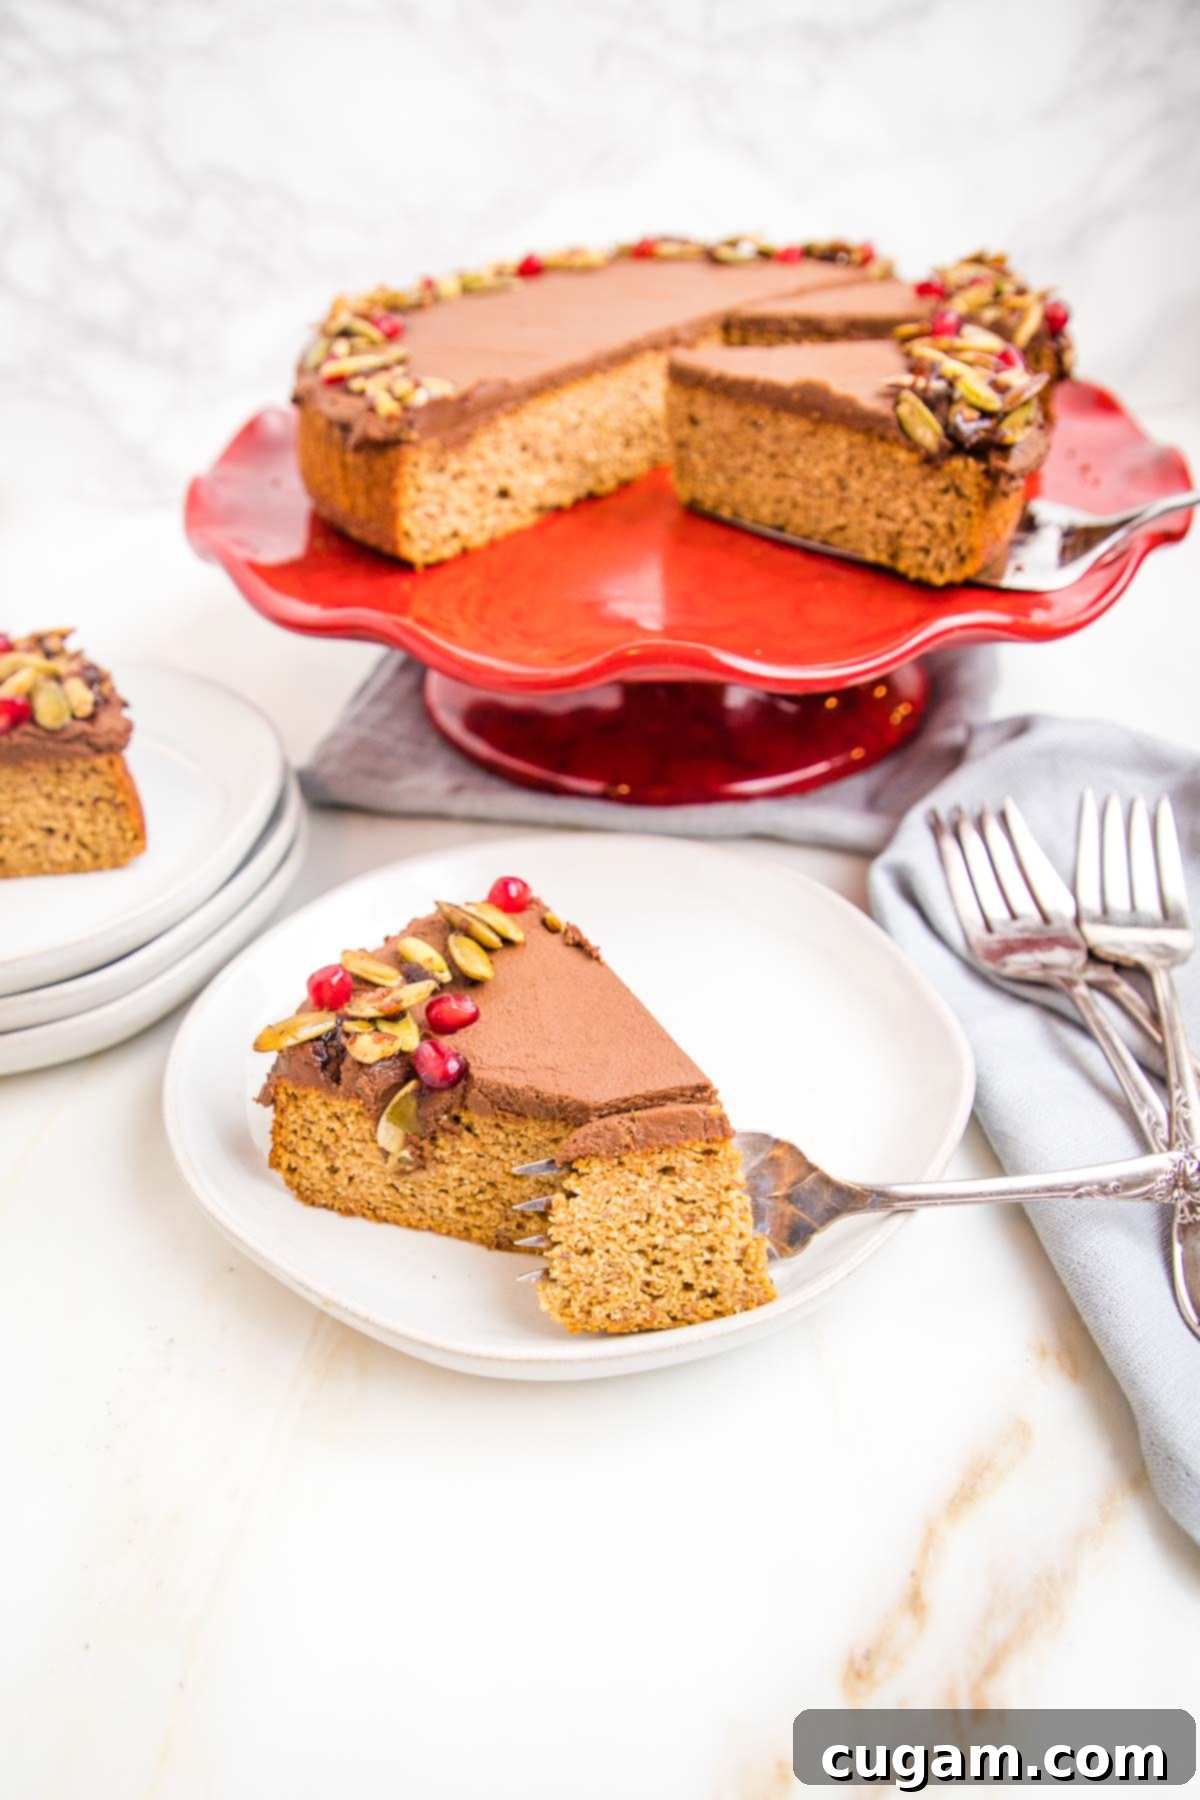
- Authentic Texture & Taste: Enjoy a gluten-free option that doesn’t compromise on the classic pumpkin cake experience. It’s so good, no one will guess it’s gluten-free!
- Effortless One-Bowl Preparation: Say goodbye to piles of dishes! This simple recipe requires minimal cleanup, making baking a breeze.
- A Festive Pumpkin Birthday Cake: Add a unique and wholesome twist to birthday celebrations with this seasonal favorite, enjoyed by all.
- Wholesome Pantry Staples: Crafted with ingredients you likely already have, this recipe is perfect for baking any time of year, not just during the fall.
- Elegant Holiday Centerpiece: Dazzle your guests by decorating this cake with homemade candied pepitas, transforming it into a fancy holiday dessert.
- Zero Waste Pumpkin: The combination of this cake and its accompanying chocolate frosting utilizes exactly one can of pumpkin puree, eliminating any annoying leftovers.
- Move Over, Pumpkin Pie: This fabulous and seasonal cake offers a refreshing alternative to traditional Thanksgiving desserts, sure to be a crowd-pleaser.
- Naturally Sweetened: This recipe contains absolutely no refined sugar, relying instead on natural sweeteners for a healthier treat.
Essential Ingredients for Your Healthy Pumpkin Cake
While the ingredient list might appear extensive at first glance, take a closer look and you’ll find mostly familiar, wholesome items that are probably already staples in your kitchen. Each ingredient plays a crucial role in achieving the perfect texture and flavor for this delightful gluten-free pumpkin cake.
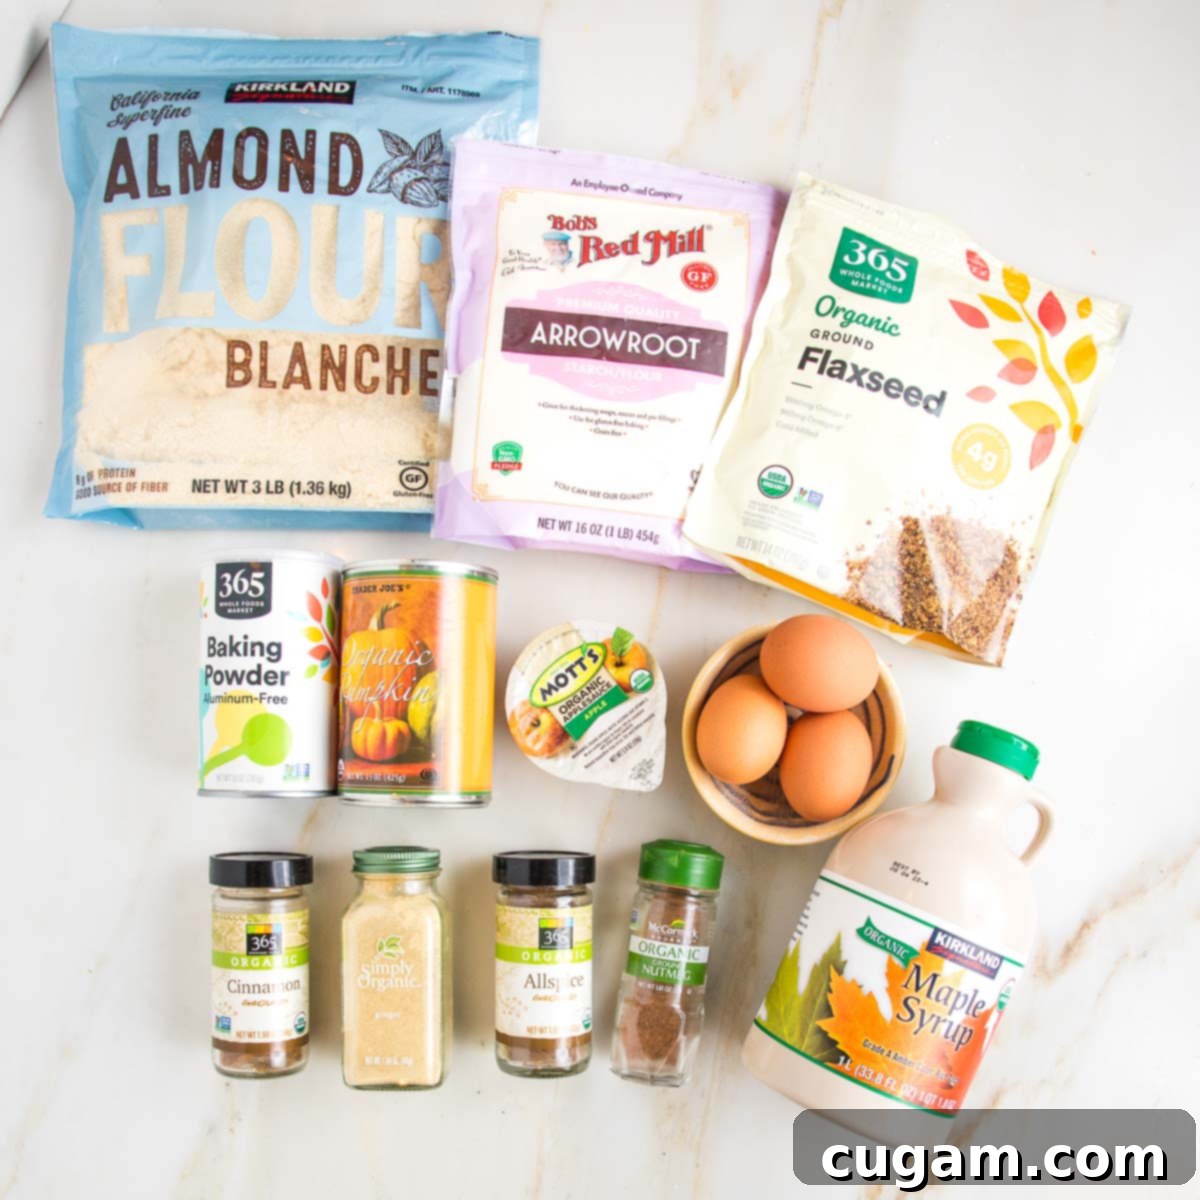
- Almond Flour: Our preferred choice for grain-free baking, almond flour lends a tender, moist crumb to the cake. It’s important to note that almond flour’s moisture content differs significantly from traditional gluten-free flours, so it’s not an exact 1:1 substitute. While a friend successfully swapped in coconut flour, I haven’t personally tested it due to a coconut allergy, so proceed with caution if making that specific substitution.
- Arrowroot Powder: This natural plant-based starch serves as a healthier alternative to cornstarch or inflammatory thickeners like xanthan gum. Arrowroot is easy to digest, naturally gluten-free and vegan, flavorless, and provides beneficial potassium, iron, and B vitamins. You can readily find it in most supermarkets or substitute cassava flour or tapioca starch if necessary.
- Ground Flax: Essential for binding the cake’s ingredients together, ground flax also boosts its nutritional profile. It’s an excellent source of fiber, omega-3 fatty acids, and protein, all while adding a subtle nutty depth to the flavor.
- Baking Powder: This leavening agent is key to giving our gluten-free pumpkin cake its wonderful lift and airy texture, ensuring it’s not dense.
- Pumpkin Spices: We’ve carefully blended ground cinnamon, nutmeg, ginger, and allspice to create that iconic, cozy pumpkin spice flavor. For convenience, you could also opt for a pre-mixed pumpkin pie spice blend.
- Canned Pumpkin: Always use pure pumpkin puree, not pumpkin pie filling. Check the label to ensure the only ingredient is pumpkin for the best, most natural flavor.
- Eggs: Eggs contribute significantly to the cake’s structure and fluffiness. While I’ve experimented with flax eggs as a vegan substitute, the result was a slightly denser cake with less lift compared to using traditional eggs.
- Maple Syrup: Just a quarter cup of pure maple syrup is all that’s needed to perfectly sweeten this entire cake, eliminating the need for any brown sugar, coconut sugar, or powdered sugar.
- Applesauce: The unsung hero! Organic, unsweetened applesauce (with no added ingredients) is the secret ingredient that ensures a wonderfully moist, gluten-free pumpkin cake without any added oil.
Crafting Your Perfect Pumpkin Cake: A Step-by-Step Guide
You’ll be delighted by how quickly and easily this delicious pumpkin cake comes together. Before you begin, remember to preheat your oven to 350°F (175°C) and line the bottom of a 9-inch round cake pan with unbleached parchment paper. This ensures everything is ready for a seamless baking experience!
If you’re looking for a simpler pumpkin snacking cake, you can also bake this recipe in an 8-inch brownie pan. To create a larger sheet cake, simply double the recipe and use a 9×13-inch baking pan, increasing the cooking time to approximately 40 minutes.
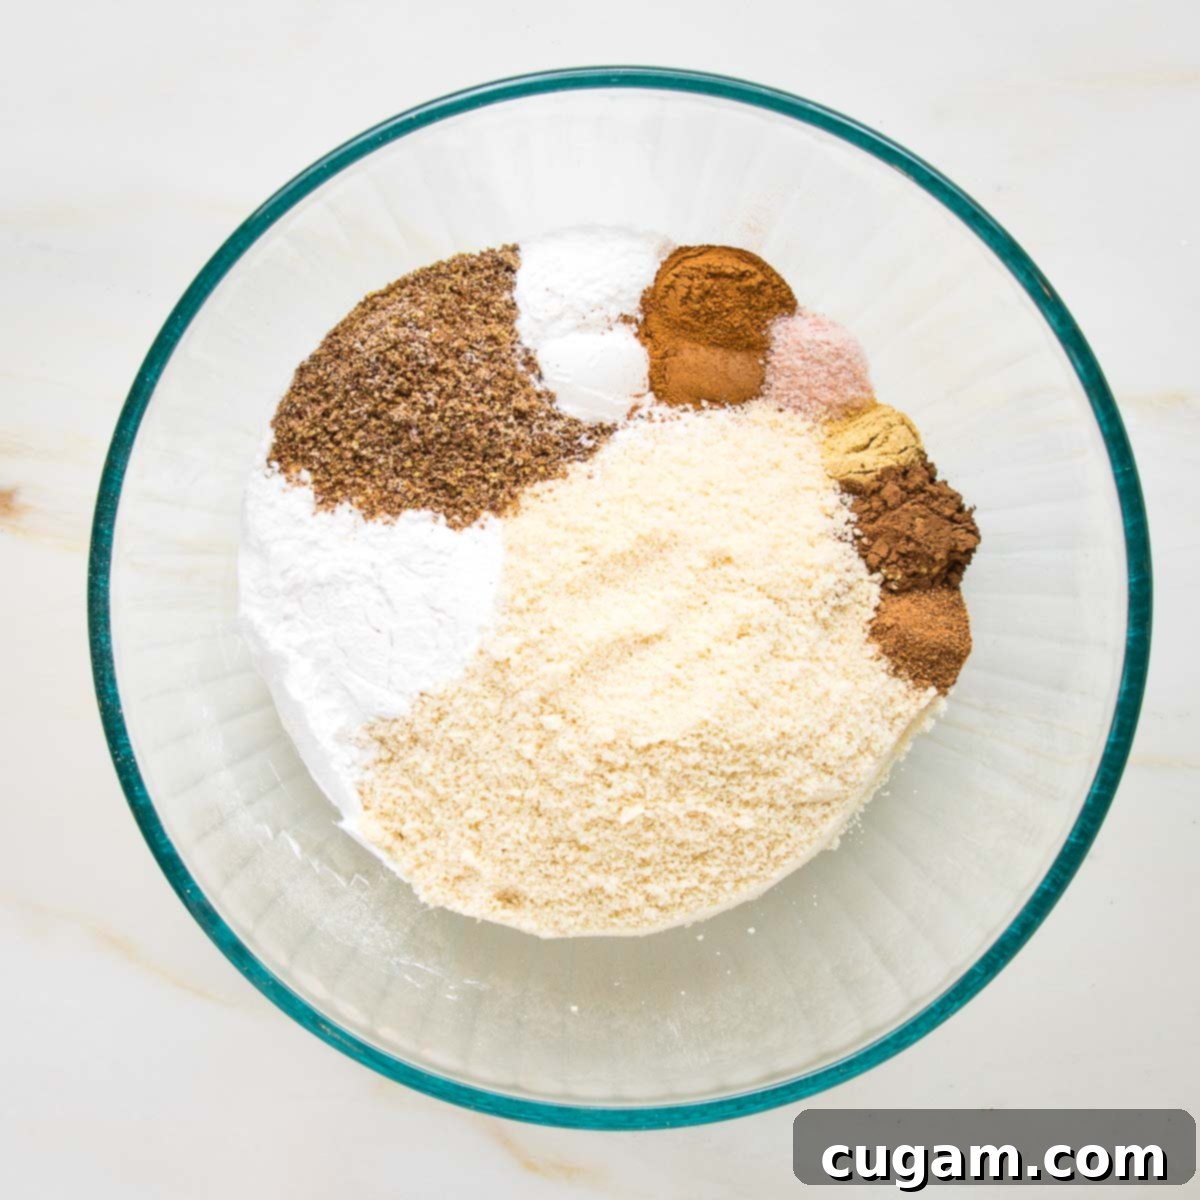
Step 1: Combine Dry Ingredients. In a large mixing bowl, gently gather and combine all the dry ingredients, including the almond flour, arrowroot powder, ground flax, baking powder, and a harmonious blend of fall spices.
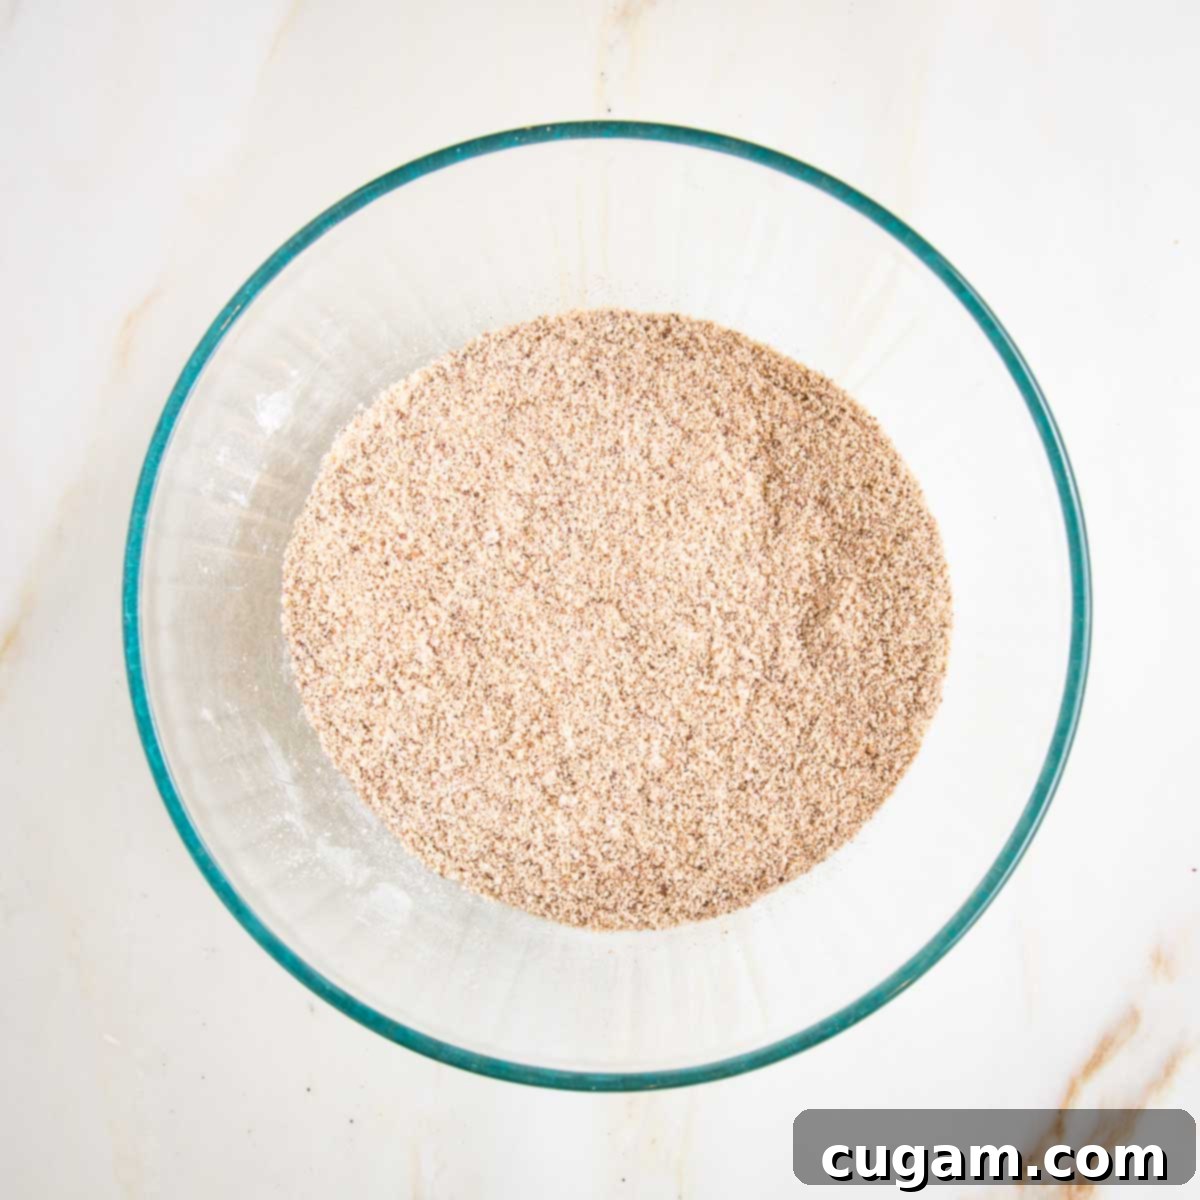
Use a fork or a whisk to ensure all ingredients are thoroughly mixed and there are no clumps of almond flour, creating a uniform, airy dry base.
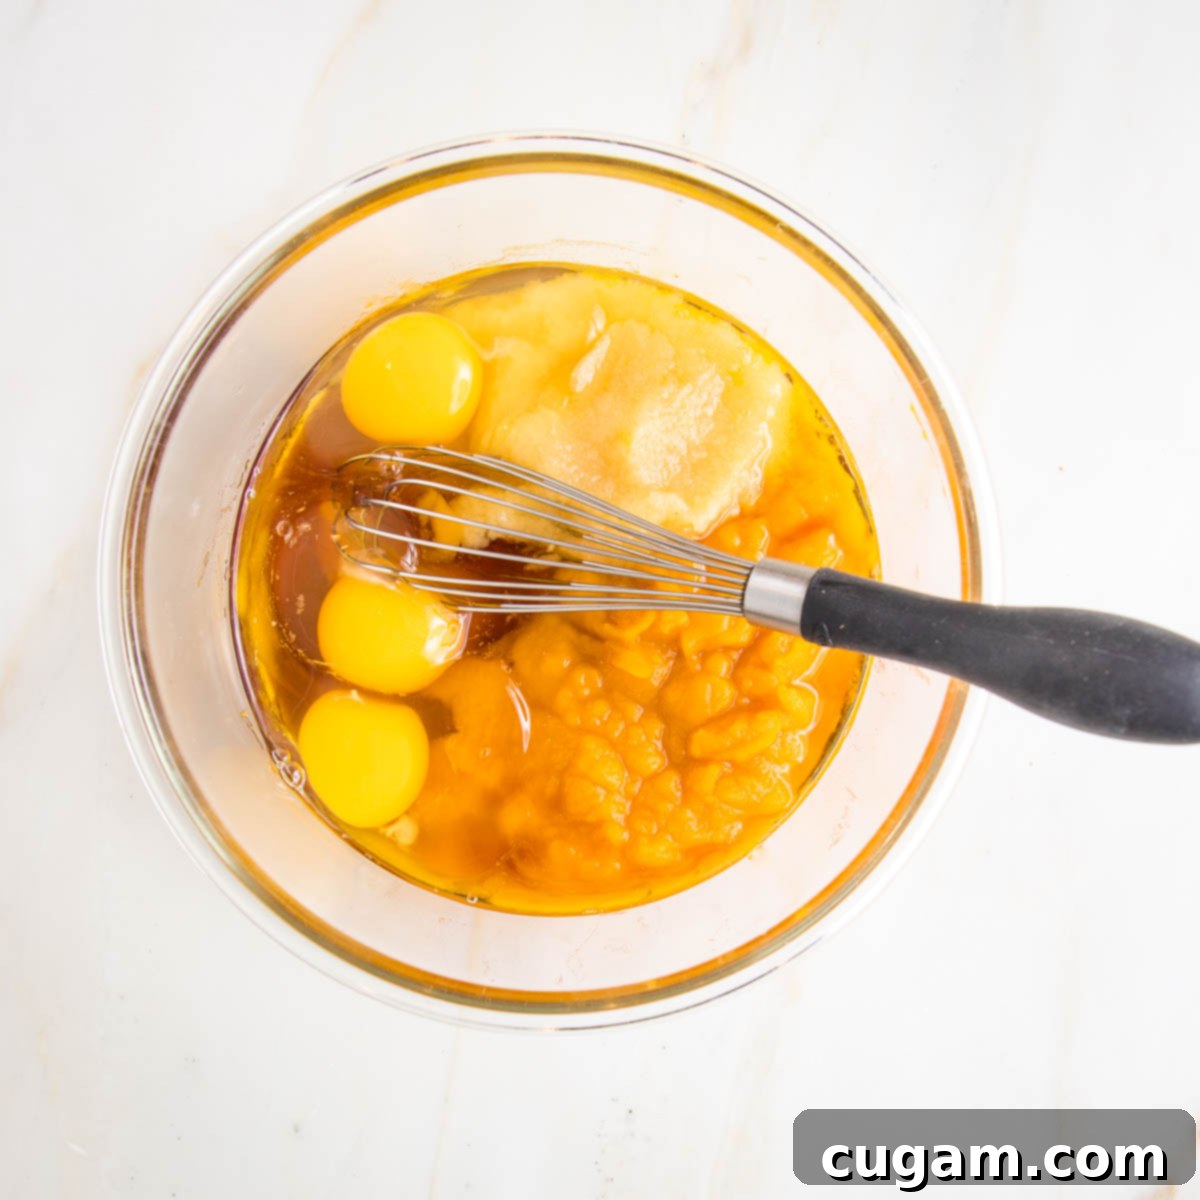
Step 2: Whisk Wet Ingredients. In a separate bowl, bring together all your wet ingredients: the eggs, applesauce, pure maple syrup, and creamy pumpkin puree. Each adds to the cake’s moistness and natural sweetness.
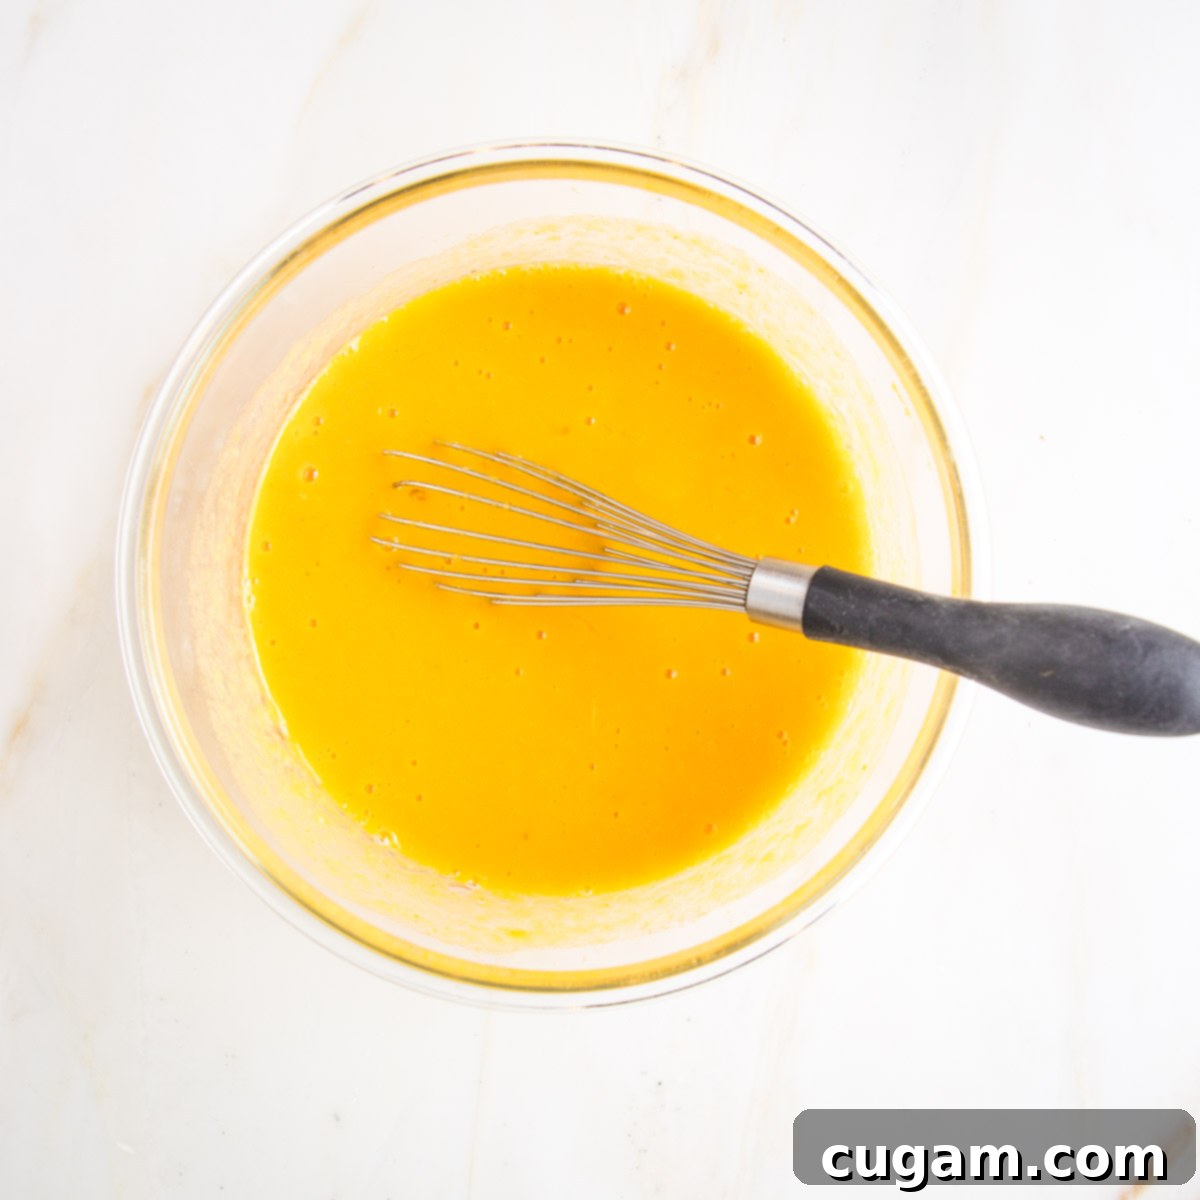
Continue whisking vigorously until the mixture is fully combined, appears light, and takes on a wonderfully fluffy consistency. This aeration contributes to the cake’s final texture.
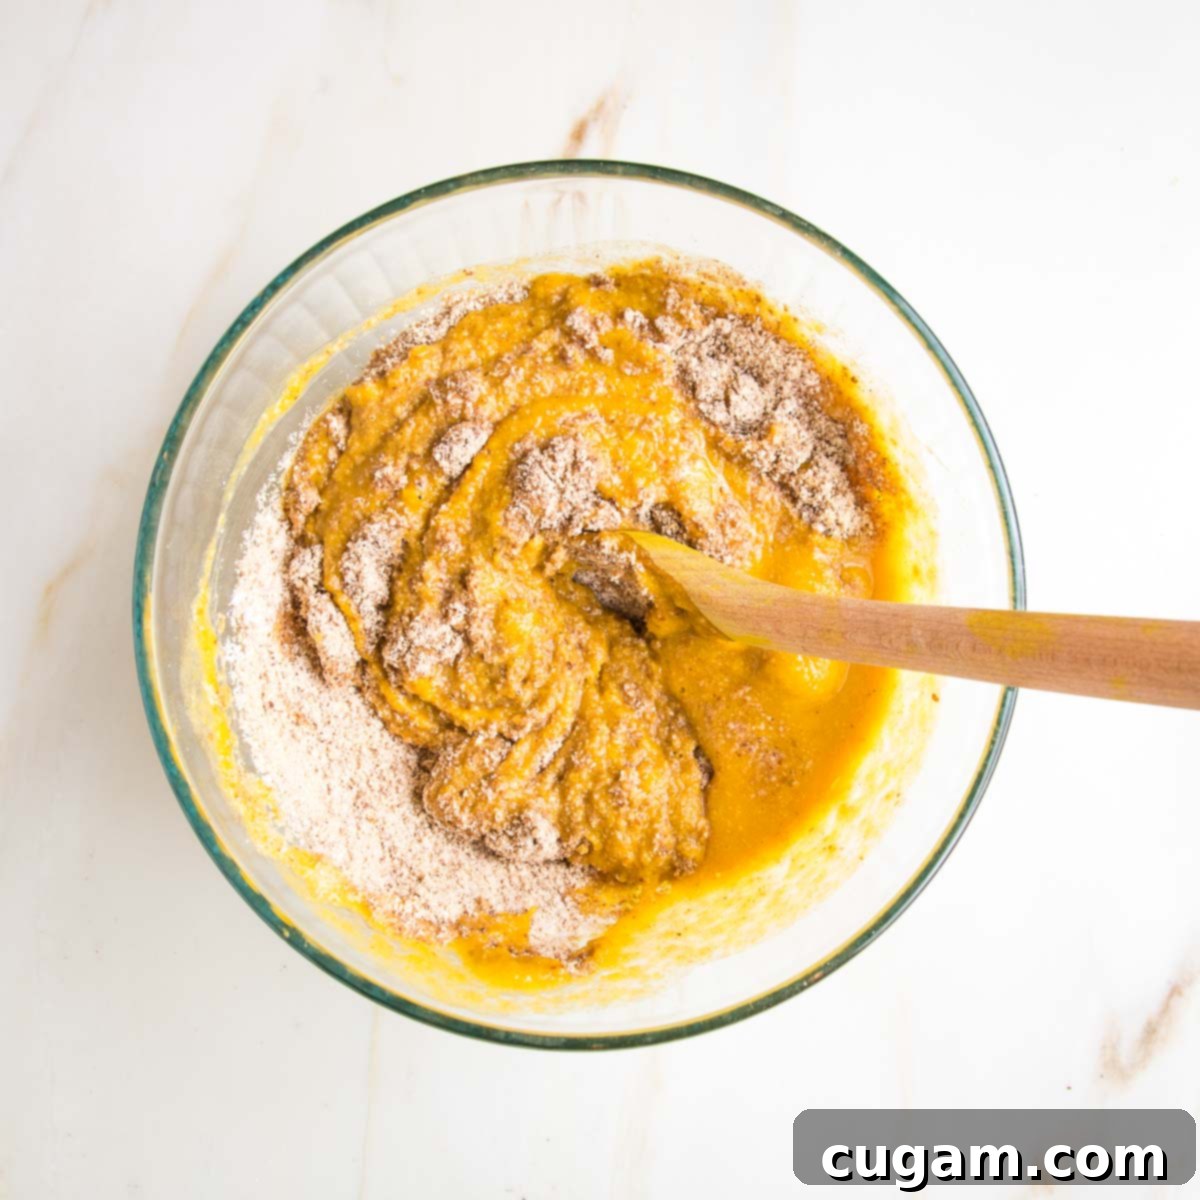
Step 3: Combine Wet and Dry. Carefully pour the whisked wet ingredients into the large bowl containing the dry ingredients. Stir them together with a wooden spoon until just mixed, forming a cohesive batter.
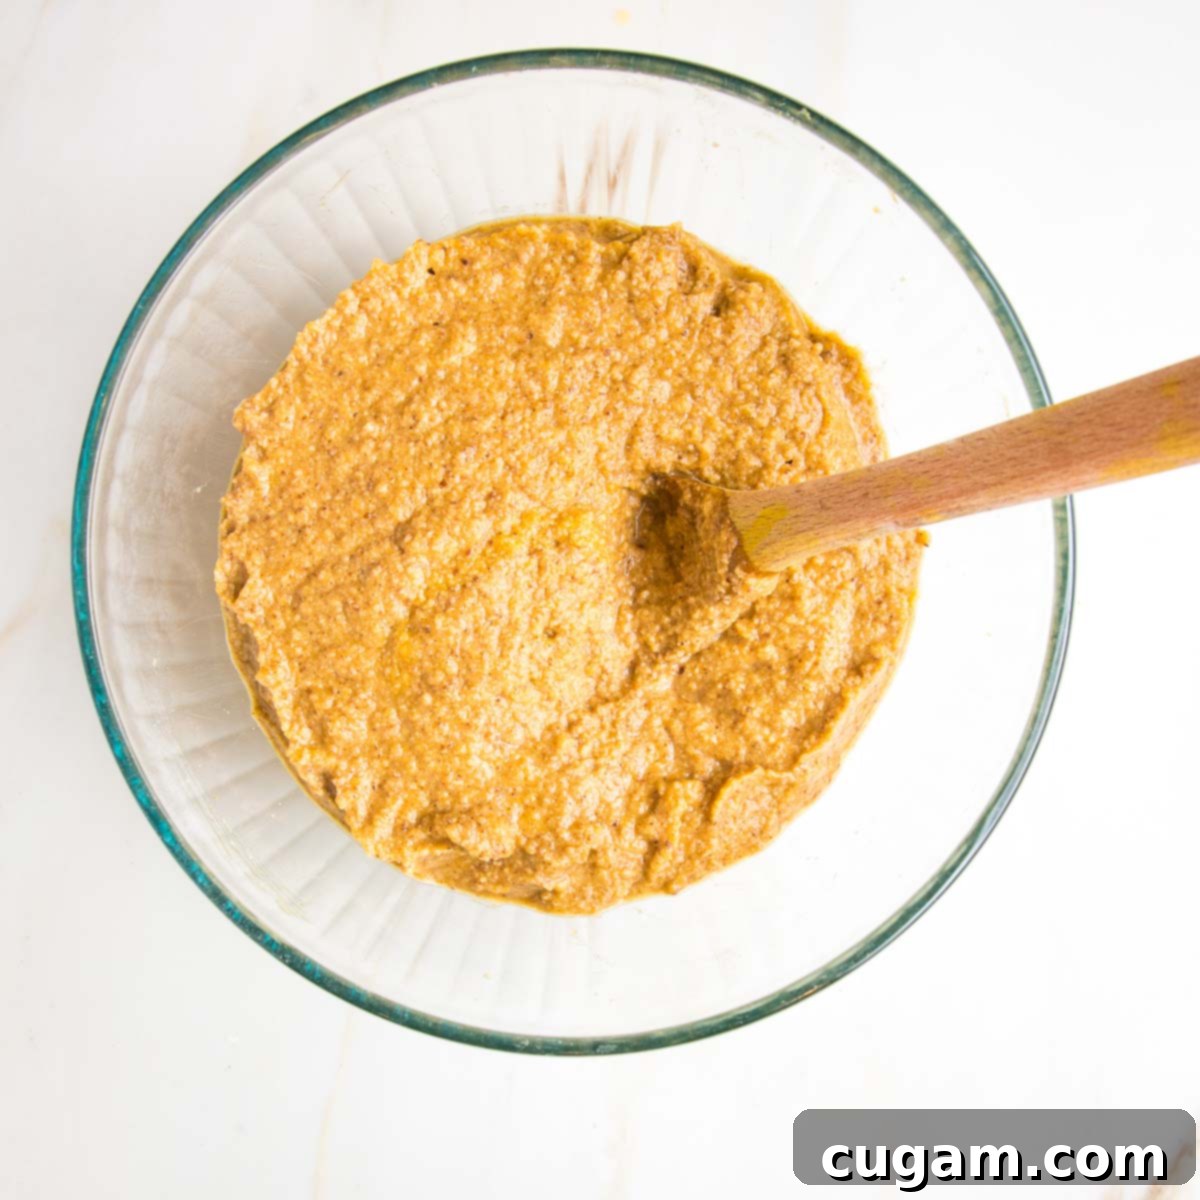
Ensure no dry pockets remain at the bottom of the bowl, but resist the urge to over-mix, which can lead to a tougher cake. Mix just until combined for the best results.
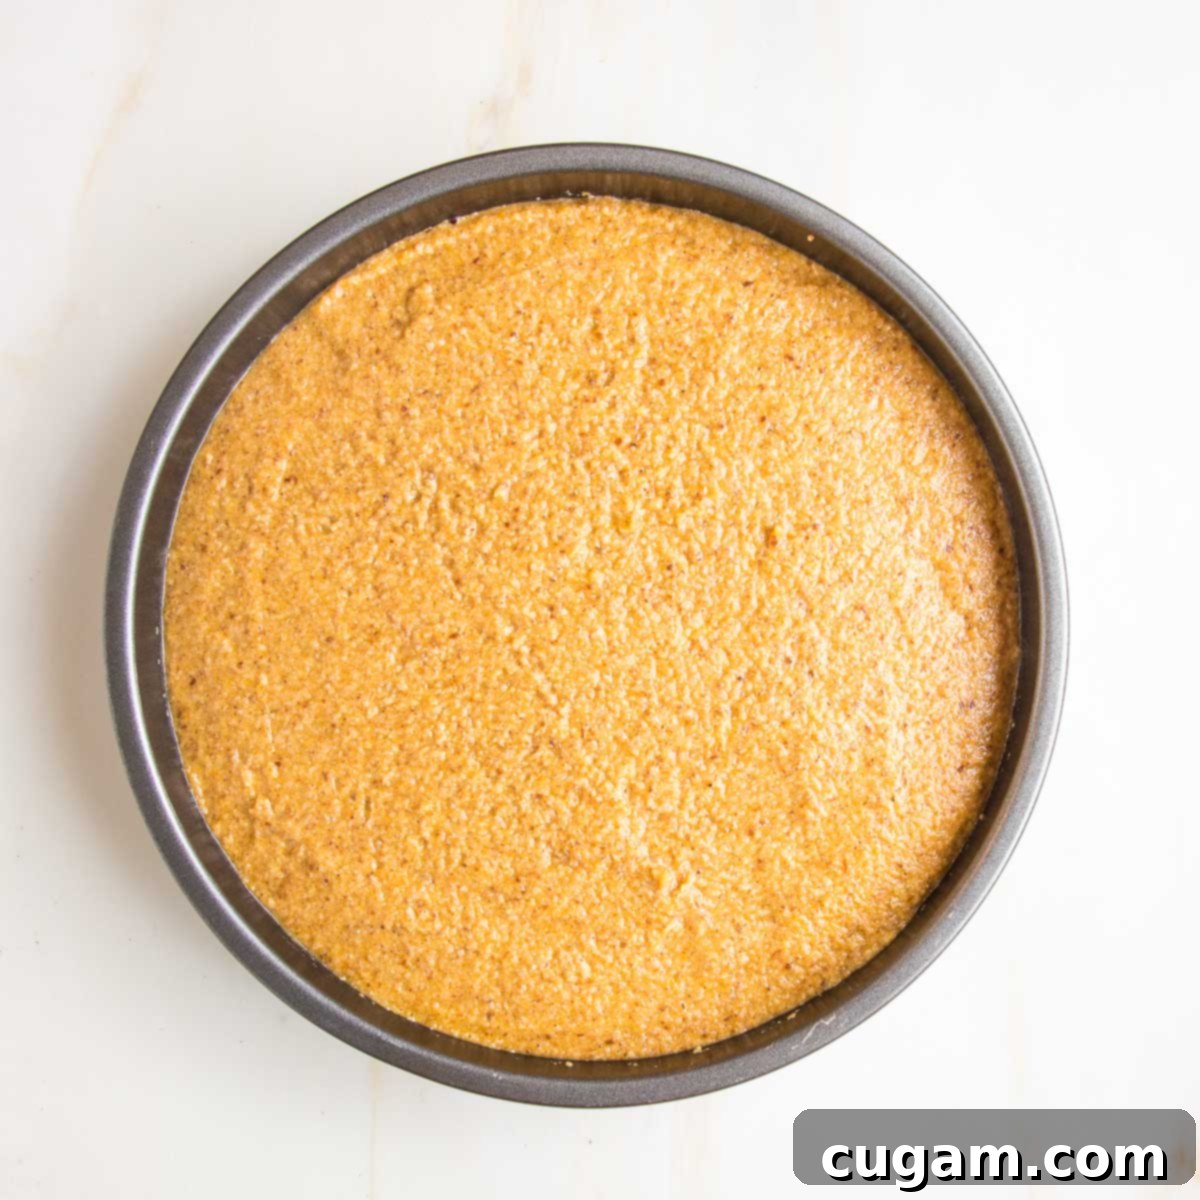
Step 4: Prepare for Baking. Pour the pumpkin cake batter evenly into your prepared 9-inch round cake pan. Gently bang the pan on the counter a couple of times to “settle” the batter, ensuring an even layer and minimizing air bubbles.
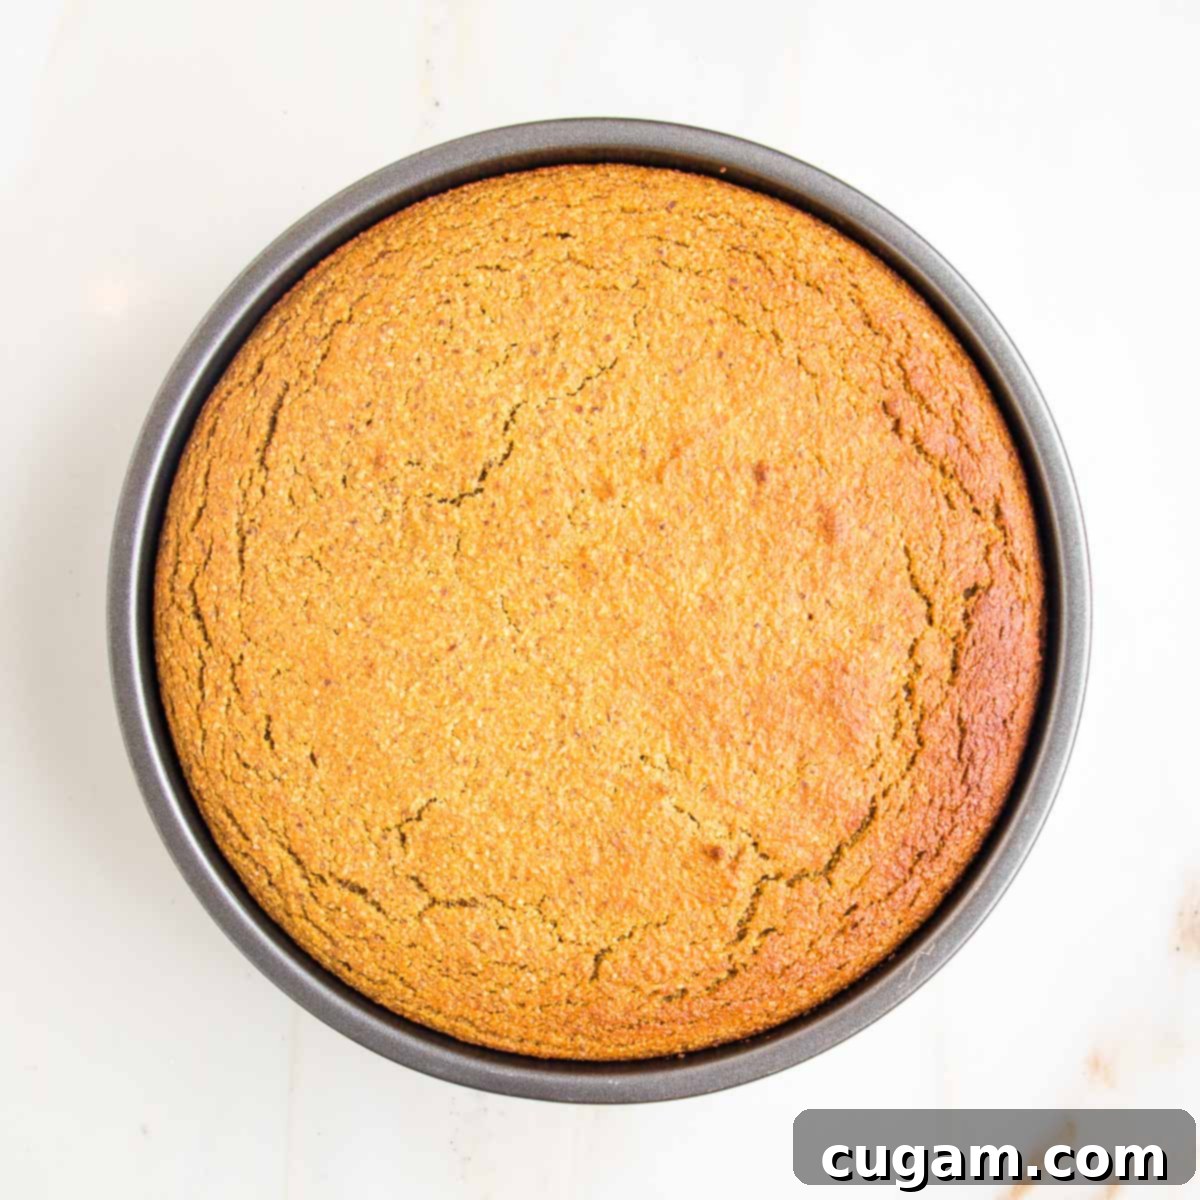
Step 5: Bake to Golden Perfection. Bake in your preheated 350°F (175°C) oven for approximately 40 minutes. The cake is perfectly done when a cake tester or toothpick inserted into the very center comes out completely clean.
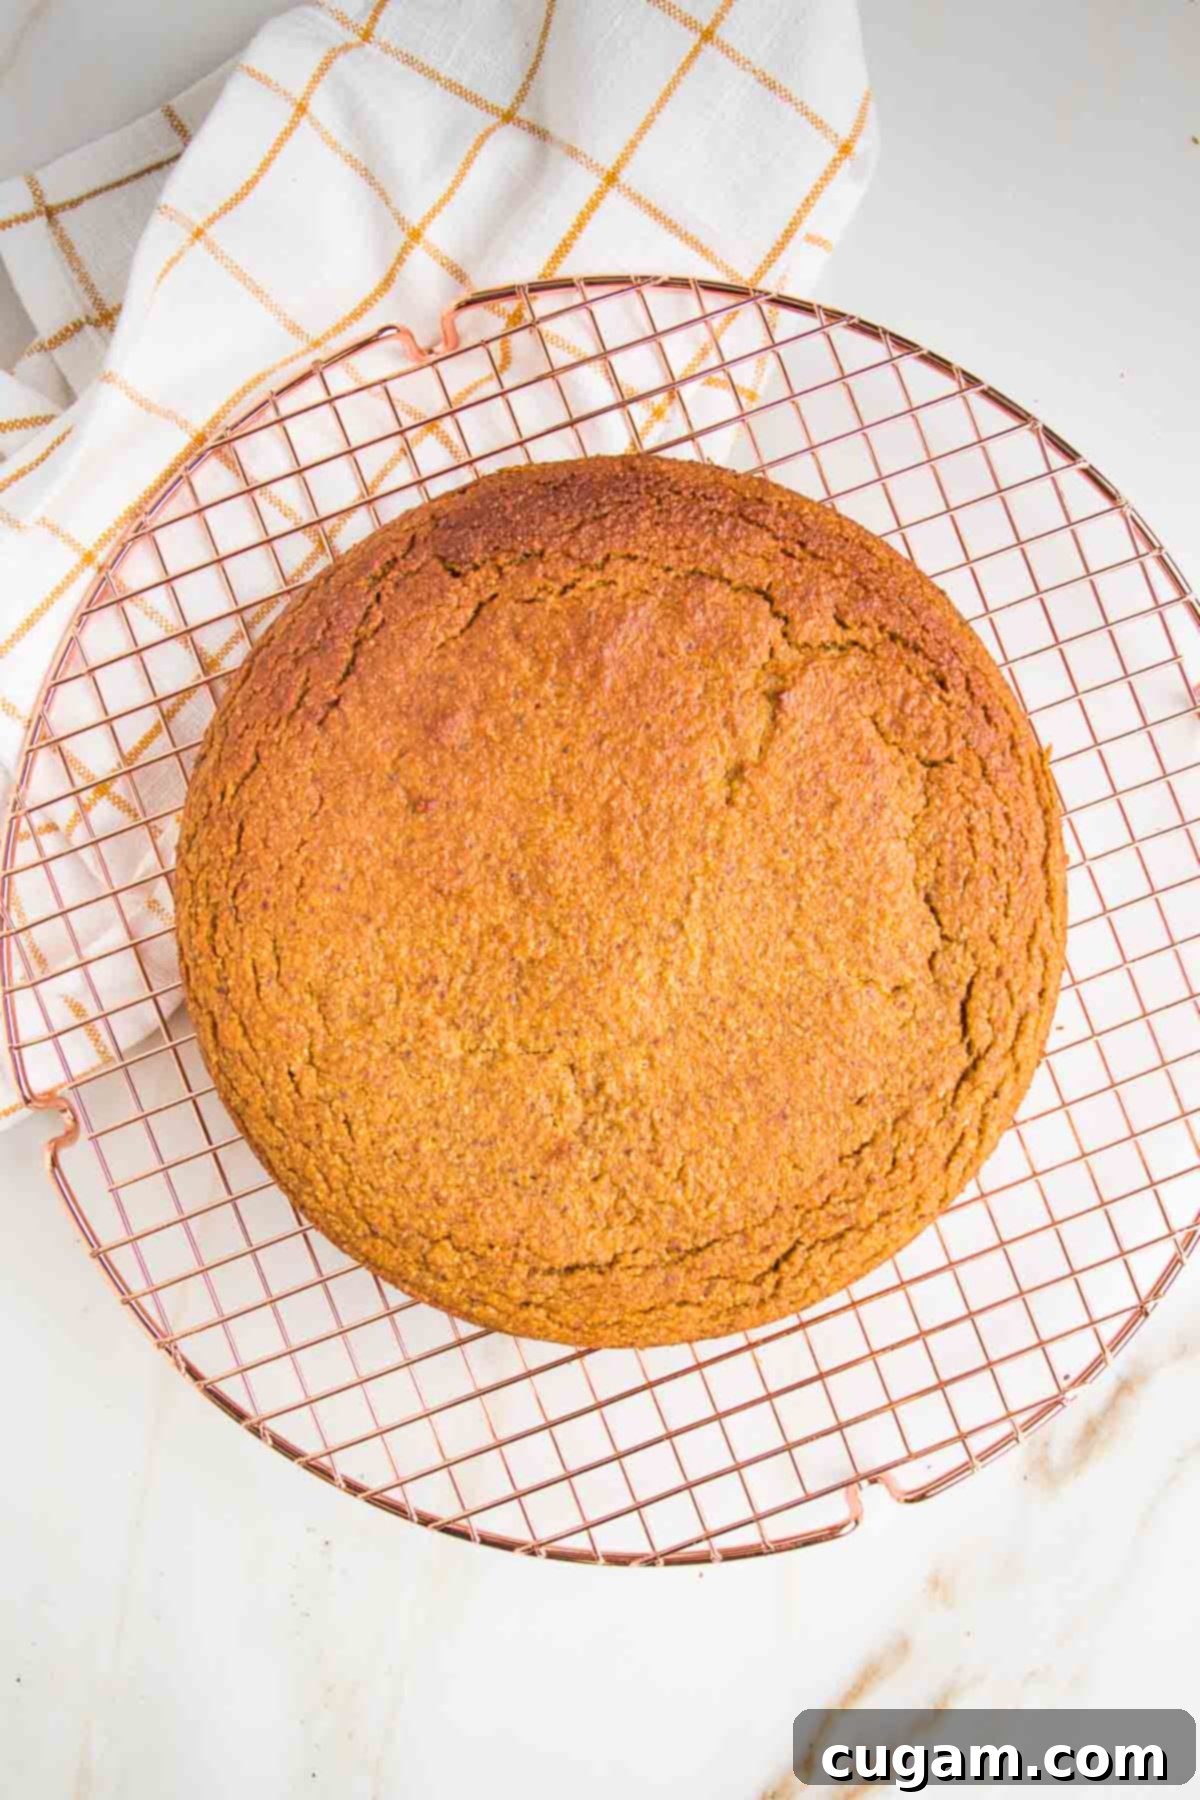
Don’t be alarmed if your cake develops a few slight cracks on top or turns a beautiful golden-brown; this is perfectly normal. You’ll be inverting it before frosting for a smooth finish. Allow the cake to rest in its pan for just 5 minutes after baking. This brief rest helps it firm up before you carefully transfer it to a wire rack to cool completely. It’s crucial that the cake is entirely cool before you proceed with frosting to prevent any melting or sliding.
Decadent 5-Minute Vegan Chocolate Frosting
While this delightful gluten-free pumpkin cake would certainly be delicious with a classic cream cheese frosting, perhaps sprinkled with chopped pecans, I personally gravitate towards a more rich and decadent experience—and that means an indulgent Vegan Chocolate Frosting. The best part? This frosting recipe is incredibly clever: after using ¾ cup of pumpkin puree for the cake, there’s precisely the right amount left in the can to whip up this luscious chocolate frosting! It’s a brilliant way to ensure no pumpkin goes to waste.
Not only is it smart, but this chocolate frosting is also incredibly simple, requiring just 3 ingredients and taking a mere 5 minutes to prepare. Talk about a score!
You’ll only need three key ingredients: pumpkin puree, dark chocolate, and maple syrup. That’s truly it! We’re talking no coconut oil, canola oil, Earth Balance, or other highly processed vegetable oils. Simply choose a high-quality dark chocolate that suits your dietary needs, and you’re all set for a naturally rich and creamy frosting.
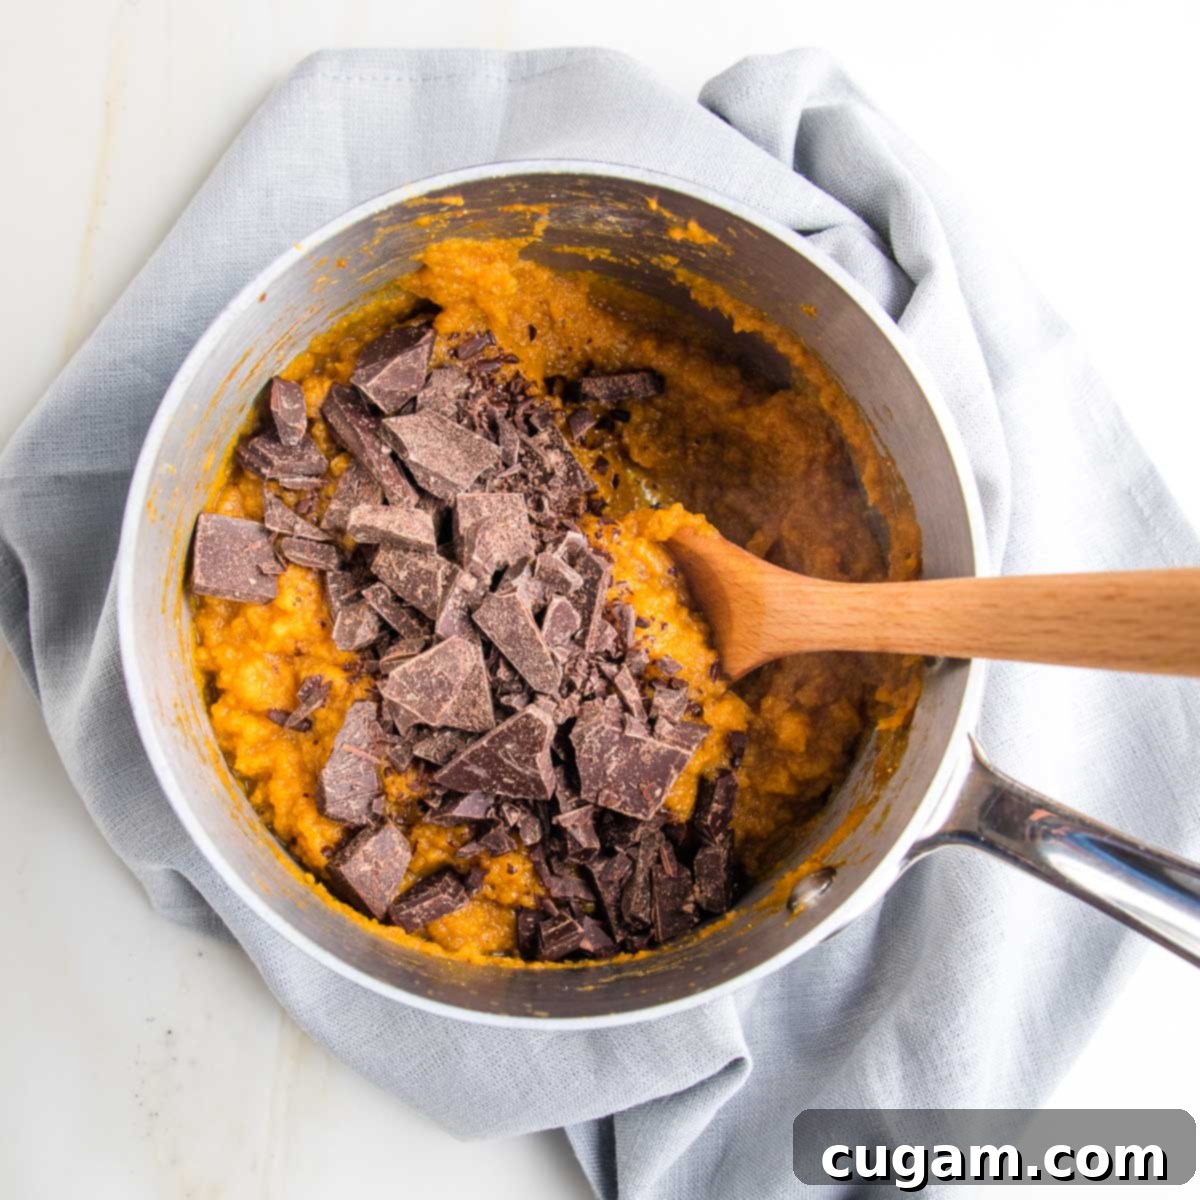
The process is wonderfully straightforward: gently heat the pumpkin puree in a saucepan, stir in the maple syrup, then turn off the heat and mix in the chopped dark chocolate until it’s fully melted and smooth. As I mentioned, it’s super simple, and you’re going to absolutely adore its rich, deep chocolaty taste. Pure yumminess! For an extra smooth and incredibly creamy frosting, consider using an immersion blender to puree the mixture after the chocolate has completely melted into the pumpkin, achieving an impossibly silky consistency.
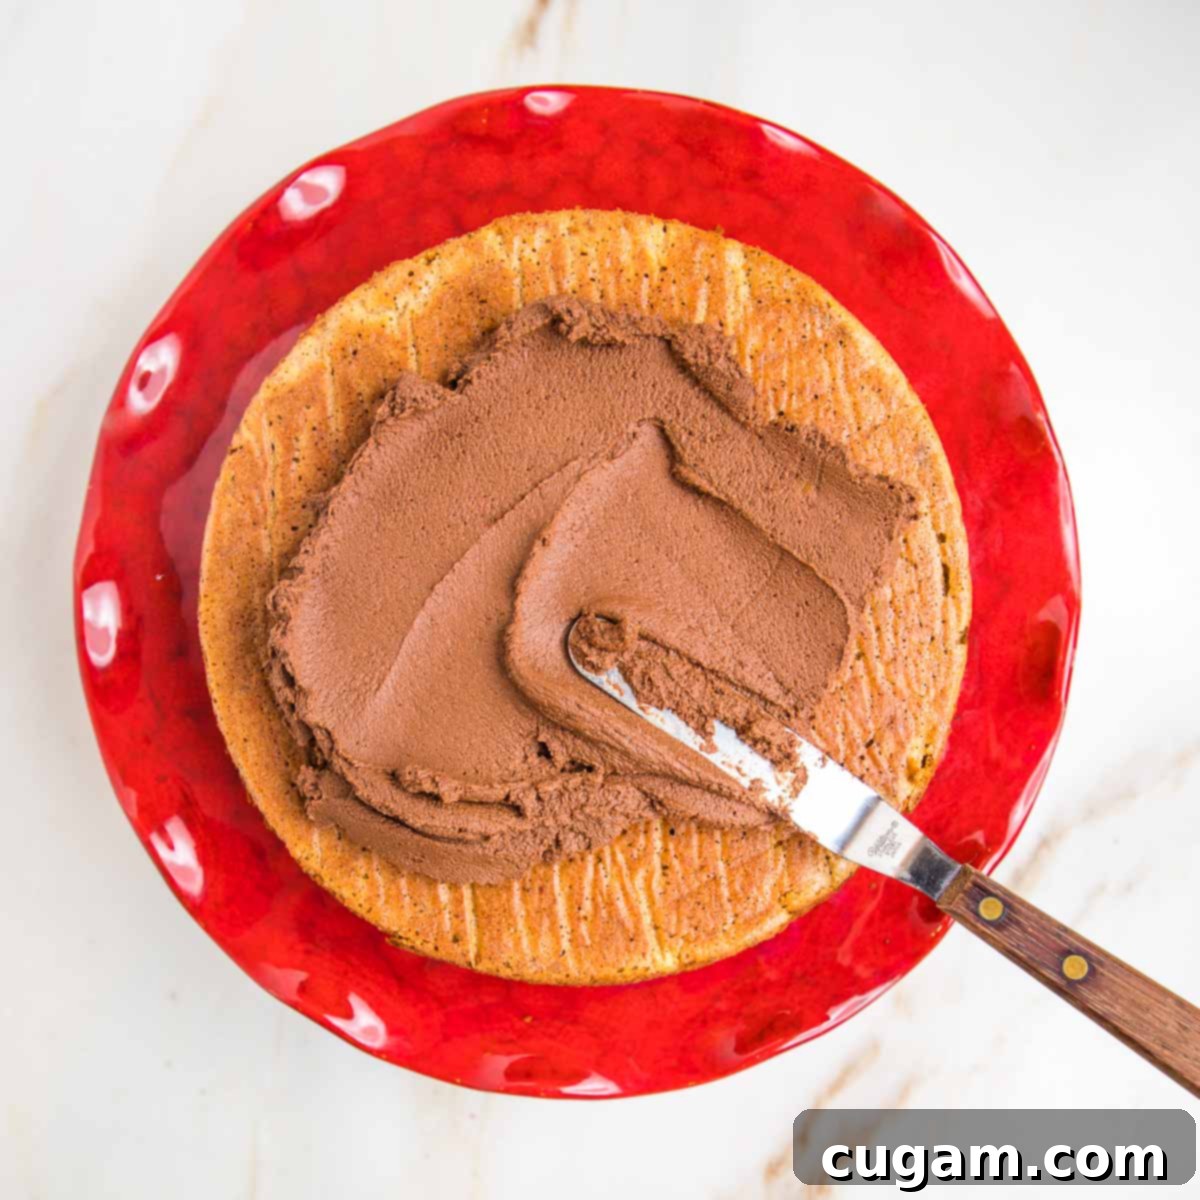
Once your pumpkin cake has completely cooled, carefully invert it onto your desired serving platter. This simple trick ensures the flat bottom of the cake faces upwards, creating a perfectly smooth, dome-free surface that’s ideal for frosting.
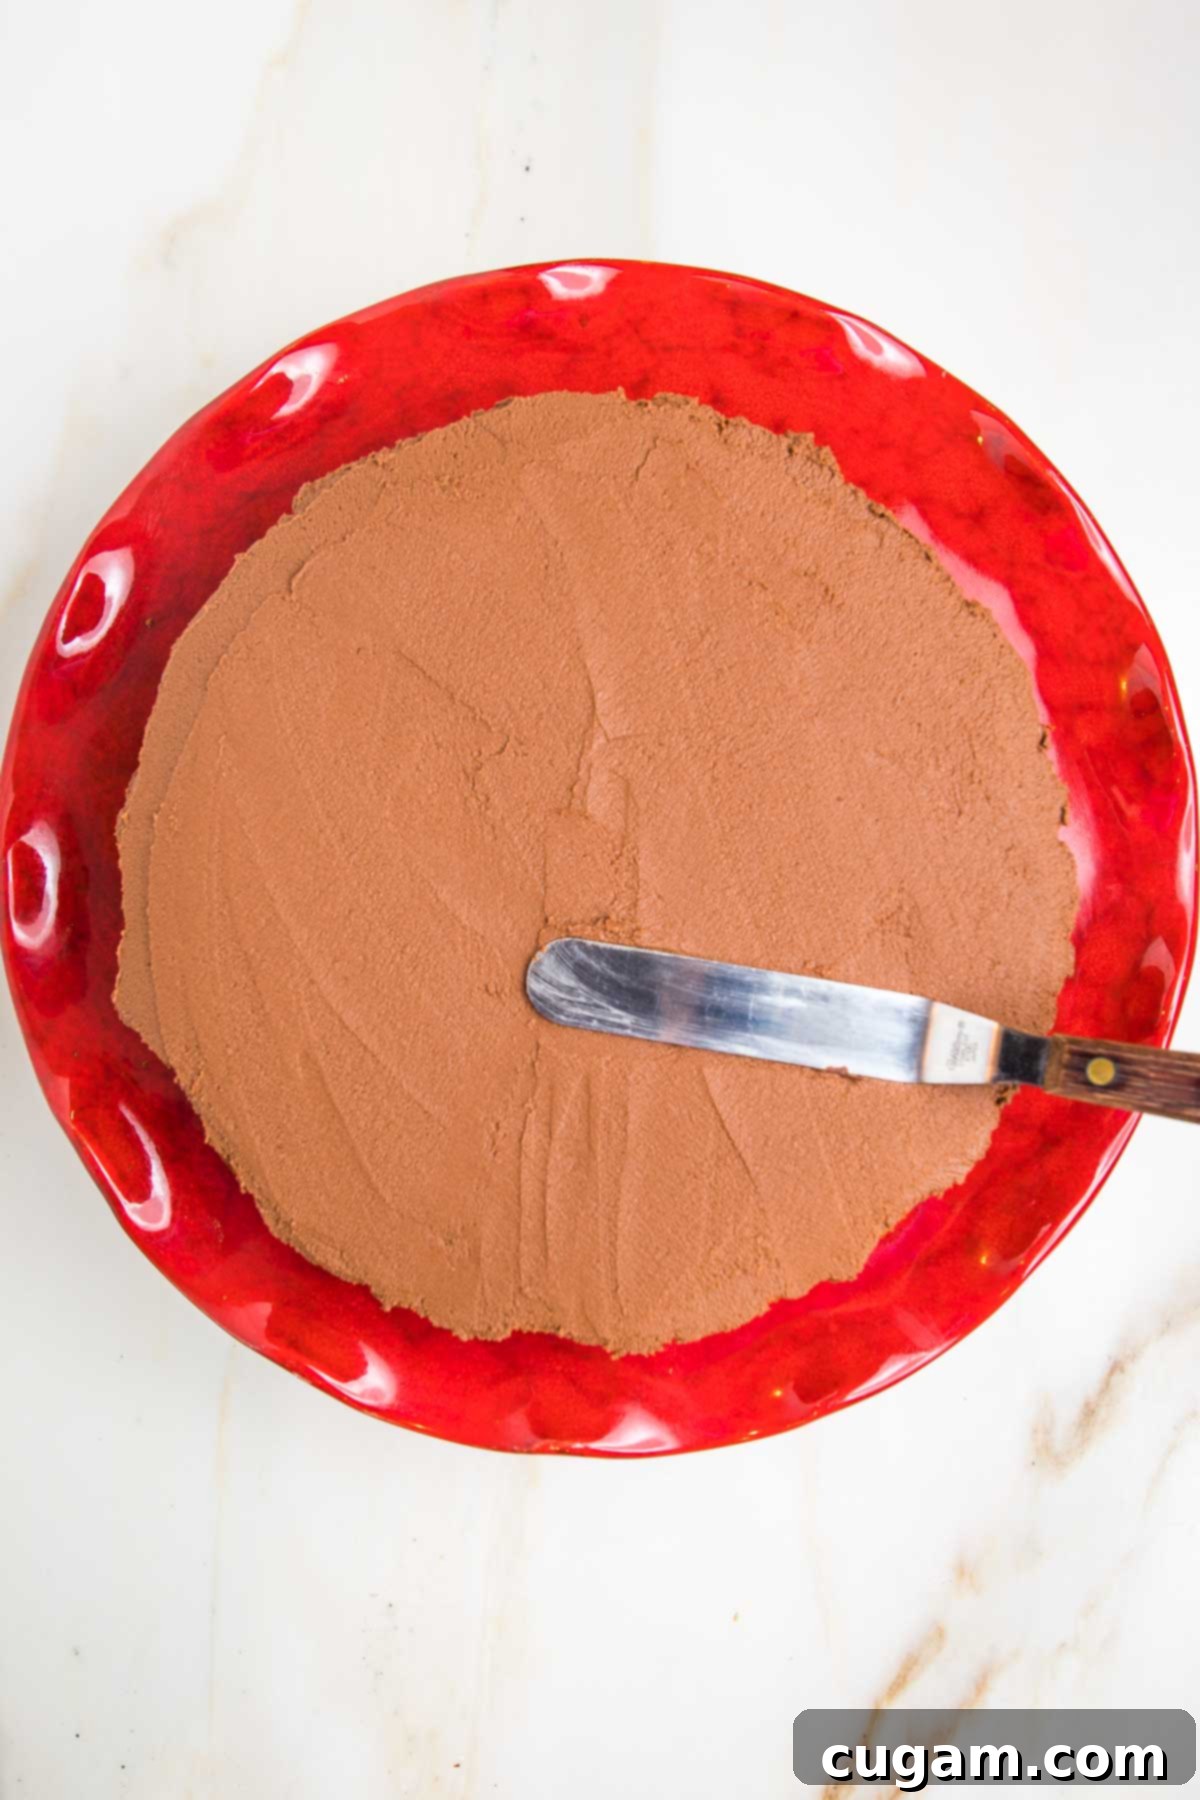
Employ an offset spatula to spread the chocolate frosting evenly over the top of the cake, creating a smooth and appealing finish. Once frosted, unleash your creativity and decorate as desired!
Effortless Candied Pepitas: A Sweet Garnish
Creating homemade candied pepitas (also known as pumpkin seeds) is a surprisingly quick and simple process, and they make for a truly delightful and festive decoration for this cake. Just be mindful that they require about 15 minutes of chilling in the refrigerator to properly harden after simmering, so plan this step accordingly.
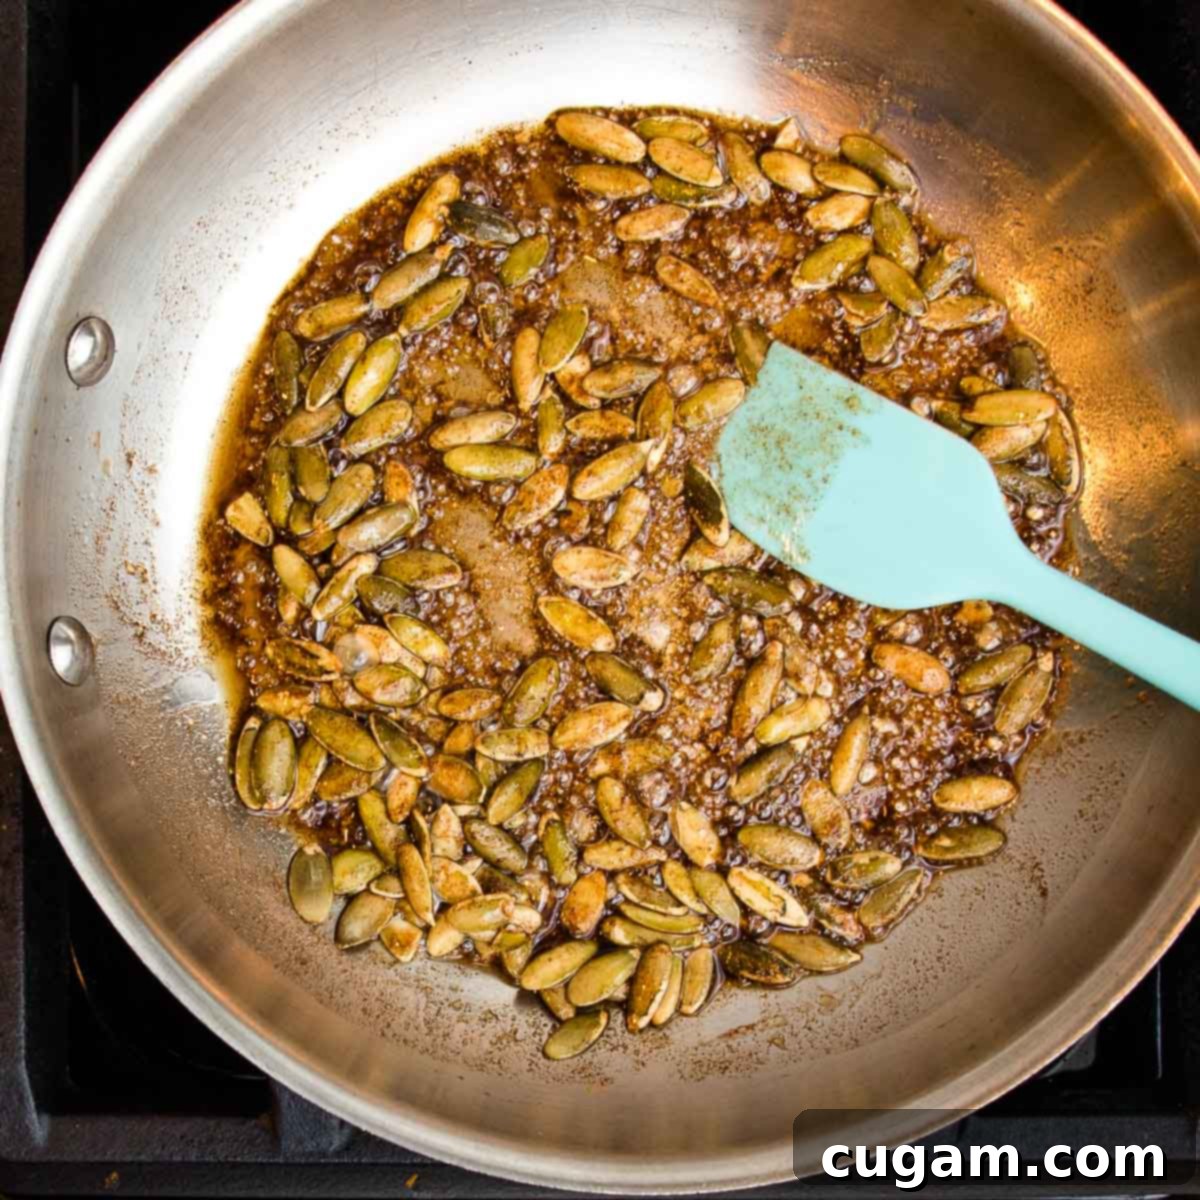
- Place a small skillet over low heat on your stovetop.
- Combine the olive oil, maple syrup, salt, and cinnamon in the skillet, bringing the mixture to a gentle simmer.
- Once simmering, add in the pepitas and watch them very closely. Continue to cook slowly, stirring occasionally, until the pumpkin seeds begin to pop, turn a beautiful golden color, and most of the liquid has evaporated. This process is quick, so pay attention to prevent burning.
- Immediately transfer the candied pepitas onto a sheet of aluminum foil or parchment paper, spreading them into a single layer. Refrigerate for about 15 minutes, allowing the sweet candy coating to firm up and harden.
- Once hardened, break the candied pepitas into smaller pieces and use them to decorate your beautifully frosted pumpkin cake.
Debra’s Expert Baking Tips for Success
- The One-Can Wonder: Here’s my absolute best tip – a single can of pumpkin puree is precisely what you need for both the cake batter and the delicious frosting! If you decide to skip the frosting, you’ll have extra pumpkin. To avoid waste, scoop any remaining puree by tablespoonfuls onto a sheet of parchment paper, freeze until solid, then transfer to a freezer-safe container for future recipes.
- Your Go-To Healthy Birthday Cake: This recipe is my personal favorite for a healthy birthday cake, perfect for any time of the year. For an extra festive touch, consider adding a luscious maple cream cheese frosting and a scattering of colorful sprinkles!
- Patience is Key: Always, always ensure your cake is completely cooled to room temperature before applying any frosting. Attempting to frost a warm cake will result in a messy, sliding disaster.
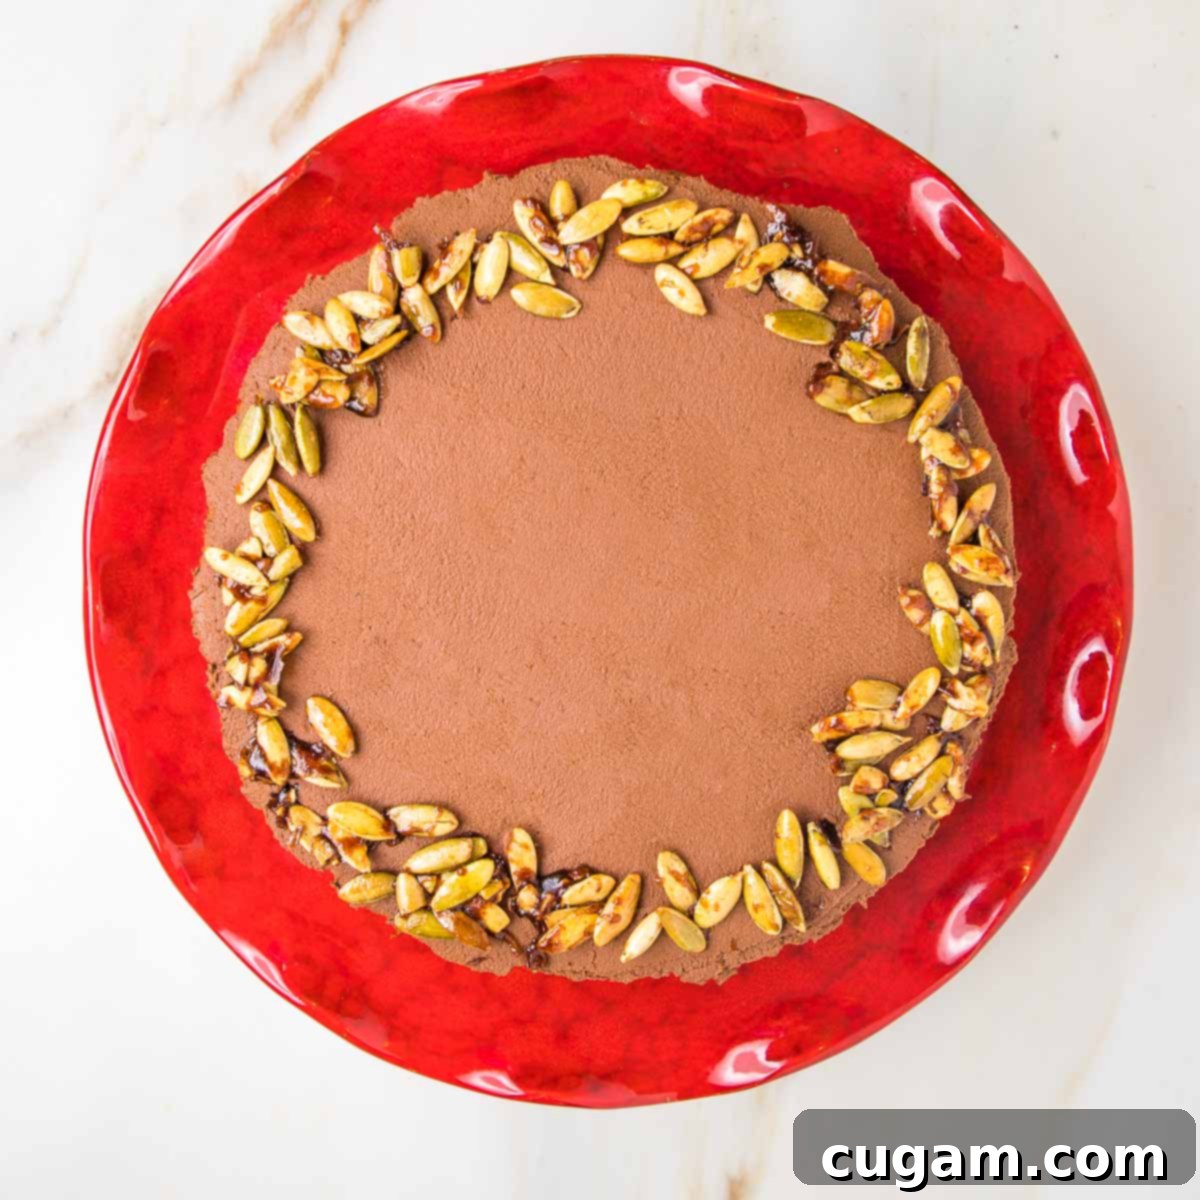
- Holiday Presentation: When preparing this cake for a Thanksgiving dessert or a festive Christmas celebration, arrange the candied pepitas in a beautiful wreath pattern around the cake’s perimeter. It’s an effortlessly elegant and gorgeous presentation!
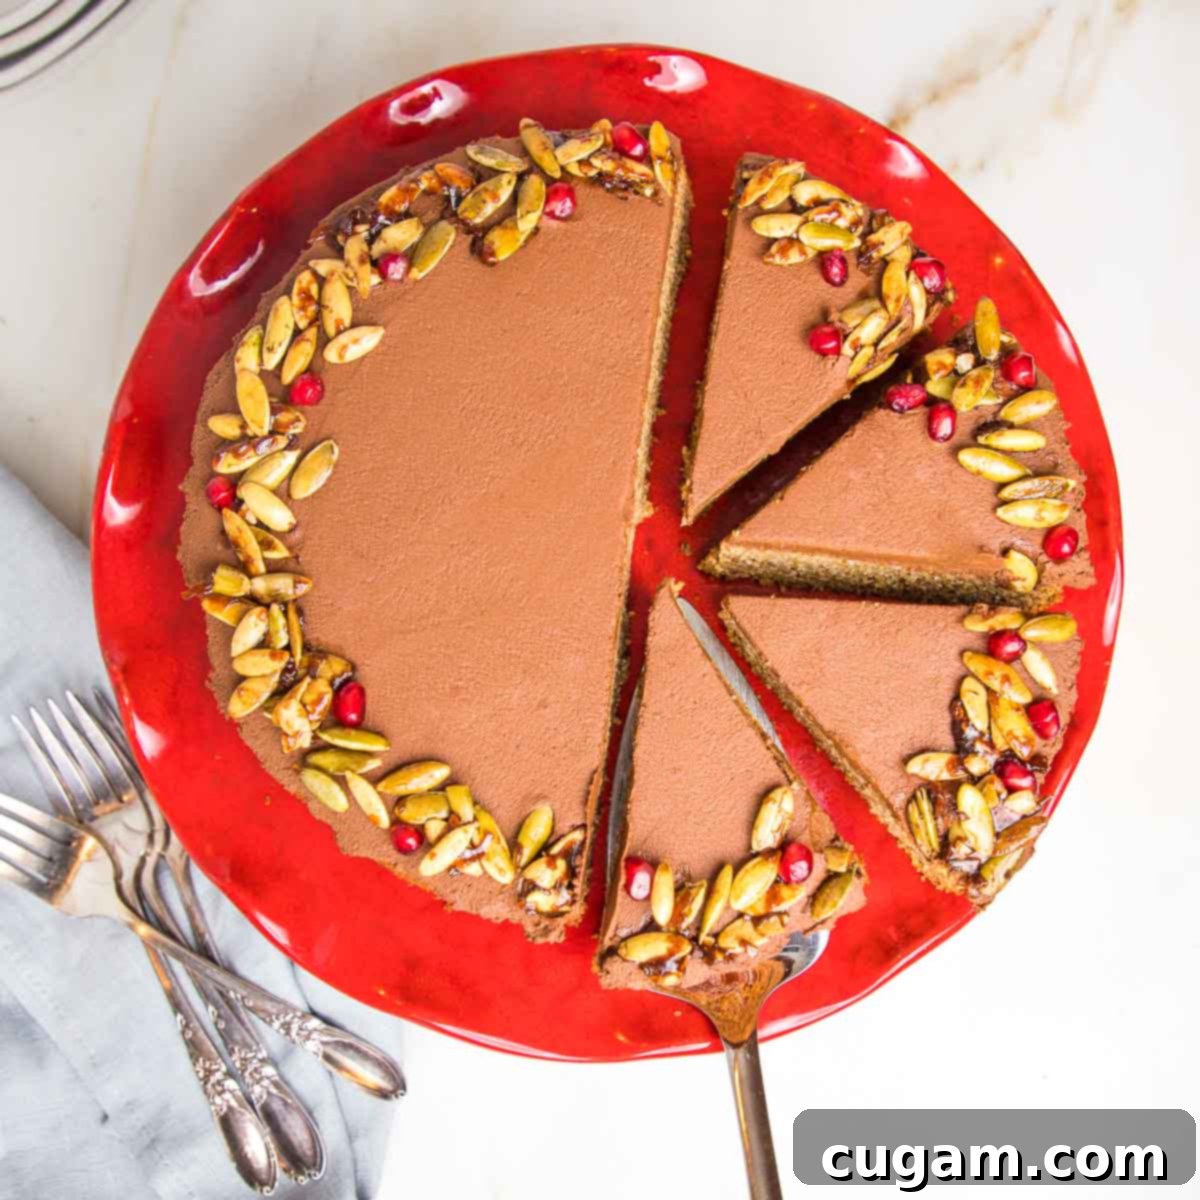
- Seasonal Garnish Ideas: If pomegranates are in season, their ruby-red seeds add a stunning pop of color and a burst of freshness. During other times of the year, fresh raspberries serve as an equally beautiful and delicious red garnish.
Meal Prep and Storage Guidelines
- SERVE: Once frosted and decorated to your liking, simply slice into generous portions and enjoy this delightful cake!
- PREP AHEAD: For convenience, the cake can be baked in advance. Allow it to cool completely, then wrap it well in plastic wrap or aluminum foil. Store at room temperature or in the refrigerator, and frost just before you plan to serve.
- STORE: Your frosted pumpkin cake will remain fresh and delicious for up to 2 days at room temperature. For extended freshness, store it in the refrigerator for up to 5 days, or in the freezer for up to 3 months.
- FREEZE: Freezing a pre-frosted cake can be challenging, as proper wrapping is essential to prevent freezer burn. If you plan to freeze, it’s often best to freeze the unfrosted cake. Wrap it tightly in plastic wrap, then a layer of aluminum foil, or place it in freezer-quality zip-top bags to minimize the risk of freezer burn and maintain its quality.
Explore More Healthy Pumpkin Delights:
- Pumpkin Spice Bliss Balls
- Vegan Banana Pumpkin Bread
- Almond Flour Pumpkin Muffins (gluten-free)
- Gluten-free Baked Pumpkin Donuts
Did you know commenting and rating recipes is one of the best ways to support your favorite food bloggers? If you made this recipe, please consider a five-star rating below and leave a comment. Also, please share your photos on instagram by tagging me @dkhealthcoach and using the hashtag #debraklein!
📖 Recipe
Gluten-free Pumpkin Cake
Rate this Recipe
Pin Recipe
Equipment
-
Jelly Roll Pan
-
Mixing Bowls with Lids
-
9-Inch Round Cake Pan
Ingredients
CAKE
- 2 cups almond flour
- ¼ cup arrowroot powder
- ¼ cup ground flax seeds
- 2 teaspoons baking soda
- 1 ½ teaspoons cinnamon
- ½ teaspoon ground ginger
- ½ teaspoon allspice
- ¼ teaspoon ground nutmeg
- ½ teaspoon sea salt
- 3 large eggs
- ½ cup apple sauce
- ¼ cup maple syrup
- ¾ cup pumpkin puree
Vegan Chocolate Frosting
- 1 cup pumpkin puree
- 1 3-oz bar dark chocolate*, chopped
- 1 Tablespoon maple syrup
OPTIONAL Candied Pepitas
- 3 Tablespoons raw pepitas*
- 1 Tablespoon olive oil
- 1 Tablespoon maple syrup
- ½ teaspoon coarse sea salt
- ¼ teaspoon cinnamon
Instructions
CAKE:
-
Preheat your oven to 350°F (175°C) and line the bottom of a 9-inch round cake pan with unbleached parchment paper.
-
In a medium-sized mixing bowl, combine the almond flour, arrowroot powder, ground flax, baking soda, cinnamon, ginger, allspice, nutmeg, and sea salt. Whisk until thoroughly combined, then set aside.
-
In a separate large bowl, whisk together the eggs, applesauce, maple syrup, and pumpkin puree until the mixture appears light and fluffy.
-
Gently incorporate the dry ingredients into the wet mixture, stirring until they are just well combined. Be careful not to overmix.
-
Pour the batter evenly into the prepared cake pan and bake for 40 minutes, or until a toothpick inserted into the center of the cake comes out clean.
-
Allow the cake to rest in the pan for 5 minutes before carefully transferring it to a wire rack to cool completely.
-
The cake can be made in advance, wrapped tightly, and refrigerated for up to 2 days, or frozen for up to 3 months, before frosting.
FROSTING:
-
Roughly chop your dark chocolate bar into small pieces.
-
In a small saucepan, gently heat the pumpkin puree over medium-low heat, stirring constantly for about 1 minute, until it is thoroughly warmed through.
-
Reduce the heat to low and stir in the maple syrup. Add half of the chopped dark chocolate, stirring until it completely melts. Then, add the remaining chocolate. Turn off the heat and continue to stir until all the chocolate has dissolved and the frosting has a rich, creamy, and smooth texture.
-
For an exceptionally smooth frosting, use an immersion blender to puree the mixture until your desired silky consistency is achieved.
-
Allow the frosting to cool completely to room temperature before using. Any extra frosting, or if you’ve made it ahead, can be stored in the refrigerator for up to a week. Bring to room temperature and stir well before spreading.
CANDIED PUMPKIN SEEDS:
-
Have a piece of parchment paper or aluminum foil ready on your countertop to immediately transfer the candied pumpkin seeds onto in a single, compact layer as soon as they are finished cooking.
-
Place a small skillet over very low heat. Add the olive oil, maple syrup, coarse sea salt, and cinnamon to the skillet. Allow the mixture to come to a gentle simmer, then stir in the raw pumpkin seeds (pepitas). Cook over VERY LOW HEAT, stirring constantly, until the seeds begin to pop, develop a beautiful golden color, and the liquid has mostly cooked off. This process will take approximately 5 minutes, and it requires your full attention; attempting to rush it will result in burning, and you’ll need to start over.
-
Transfer the glistening golden pepitas onto your prepared parchment or foil and place them in the refrigerator for about 15 minutes, allowing the candy coating to harden and become crunchy.
-
Once hardened, break the candied pepitas into smaller pieces and scatter them artfully over your frosted cake for a decorative and delicious crunch.
Notes
CHOCOLATE: You can easily substitute ½ cup of your preferred chocolate chips for the 1 (3-oz) bar of dark chocolate.
PEPITAS: This is simply another name for hulled pumpkin seeds, meaning they are sold without their shell.
Nutrition
Note
The nutrition calculations were done using online tools. To obtain the most accurate representation of the nutritional information in any given recipe, you should calculate the nutritional information with the actual ingredients you used. You are ultimately responsible for ensuring that any nutritional information is accurate, complete and useful.
