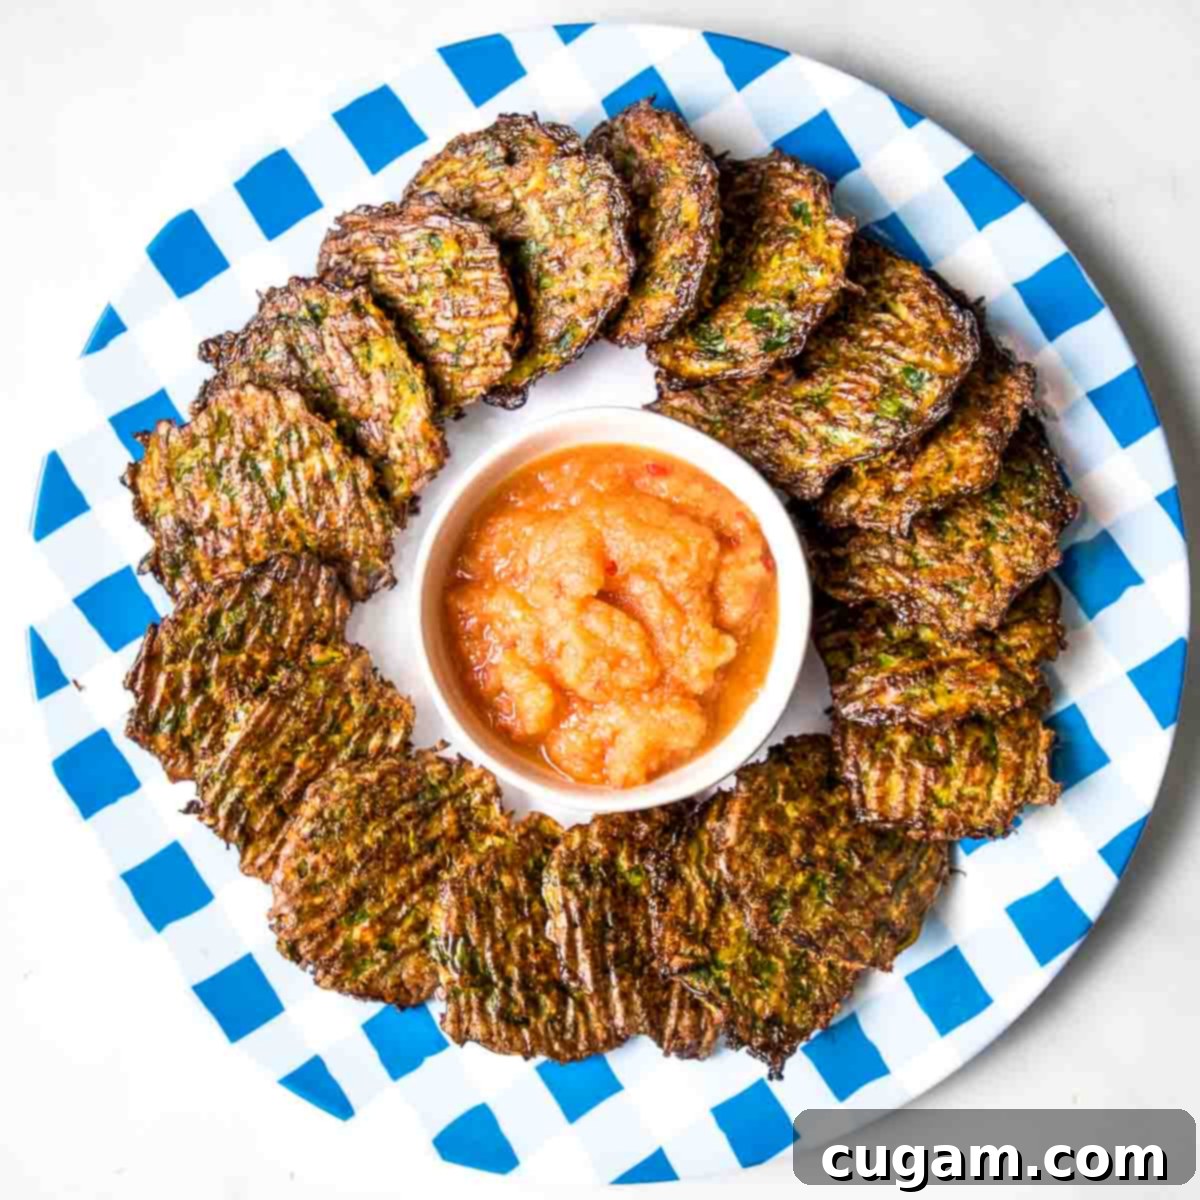
Healthy & Crispy Baked Brussels Sprouts Latkes: A Gluten-Free Twist
My recipe for Brussels Sprouts Latkes offers a delicious and healthy modern twist on traditional potato latkes. Imagine crispy latkes that are baked, not fried – yes, still wonderfully crisp and flavorful, just like you remember, but without the greasy mess and all that extra oil! I’m thrilled to show you how to make these incredible gluten-free latkes using fresh Brussels sprouts. Trust me, they taste so amazing that you won’t even miss the potatoes. These vegetable-packed latkes are a fantastic way to enjoy a classic dish with a lighter, more nutritious profile, perfect for any occasion beyond just Hanukkah.
This recipe for Brussels Sprouts Latkes has been updated from the original which was published on December 4, 2015. Over the years, I’ve refined this recipe to maximize flavor, crispiness, and health benefits, making it even better than before.
[feast_advanced_jump_to]
Latkes aren’t just for Hanukkah anymore! While they are a cherished part of the holiday tradition, these Brussels Sprouts Latkes are versatile enough to be enjoyed year-round. They make an exceptional side dish for any meal, or you can even serve them as a satisfying and healthy meatless Monday dinner. You are truly going to adore this baked latke recipe. Even though I’ve made a few key swaps from my grandmother’s traditional potato latkes, the authentic latke taste and texture are wonderfully preserved. It’s a delightful blend of tradition and modern healthy eating. YUM!
Why You’ll Adore These Healthy Baked Latkes
- Baked, not fried for a healthier crunch! By baking these latkes in a super hot oven, we achieve that coveted crispy exterior without the need for excessive oil or the mess of deep frying. This significantly reduces the fat content, making them a much lighter option.
- Loaded with nutrient-rich veggies rather than starchy potatoes. Brussels sprouts are packed with vitamins K and C, fiber, and antioxidants, offering a powerful nutritional boost compared to traditional potato versions.
- They are naturally low carb and incredibly nutrient-dense. Swapping potatoes for Brussels sprouts drastically lowers the carbohydrate count, making these latkes suitable for those following a low-carb lifestyle, while still providing essential vitamins and minerals.
- Making these easy baked latkes means you’re not standing in front of the stove all night. The oven does most of the work, freeing you up to enjoy time with family and friends instead of constantly tending to a frying pan.
- These gluten-free latkes expertly use oat flour as a binder instead of matzo meal or wheat flour, ensuring everyone can enjoy them, including those with gluten sensitivities or celiac disease.
- Need a vegan latke recipe? Absolutely! Keep reading, and I’ll show you exactly how to make a delicious plant-based version that’s just as satisfying and crispy.
- So delicious…everyone will love them, and nobody will miss the potatoes! The unique, slightly sweet, and savory flavor of Brussels sprouts shines through, creating a truly memorable latke experience that will convert even the most skeptical eaters.
Essential Ingredients and Clever Substitutions
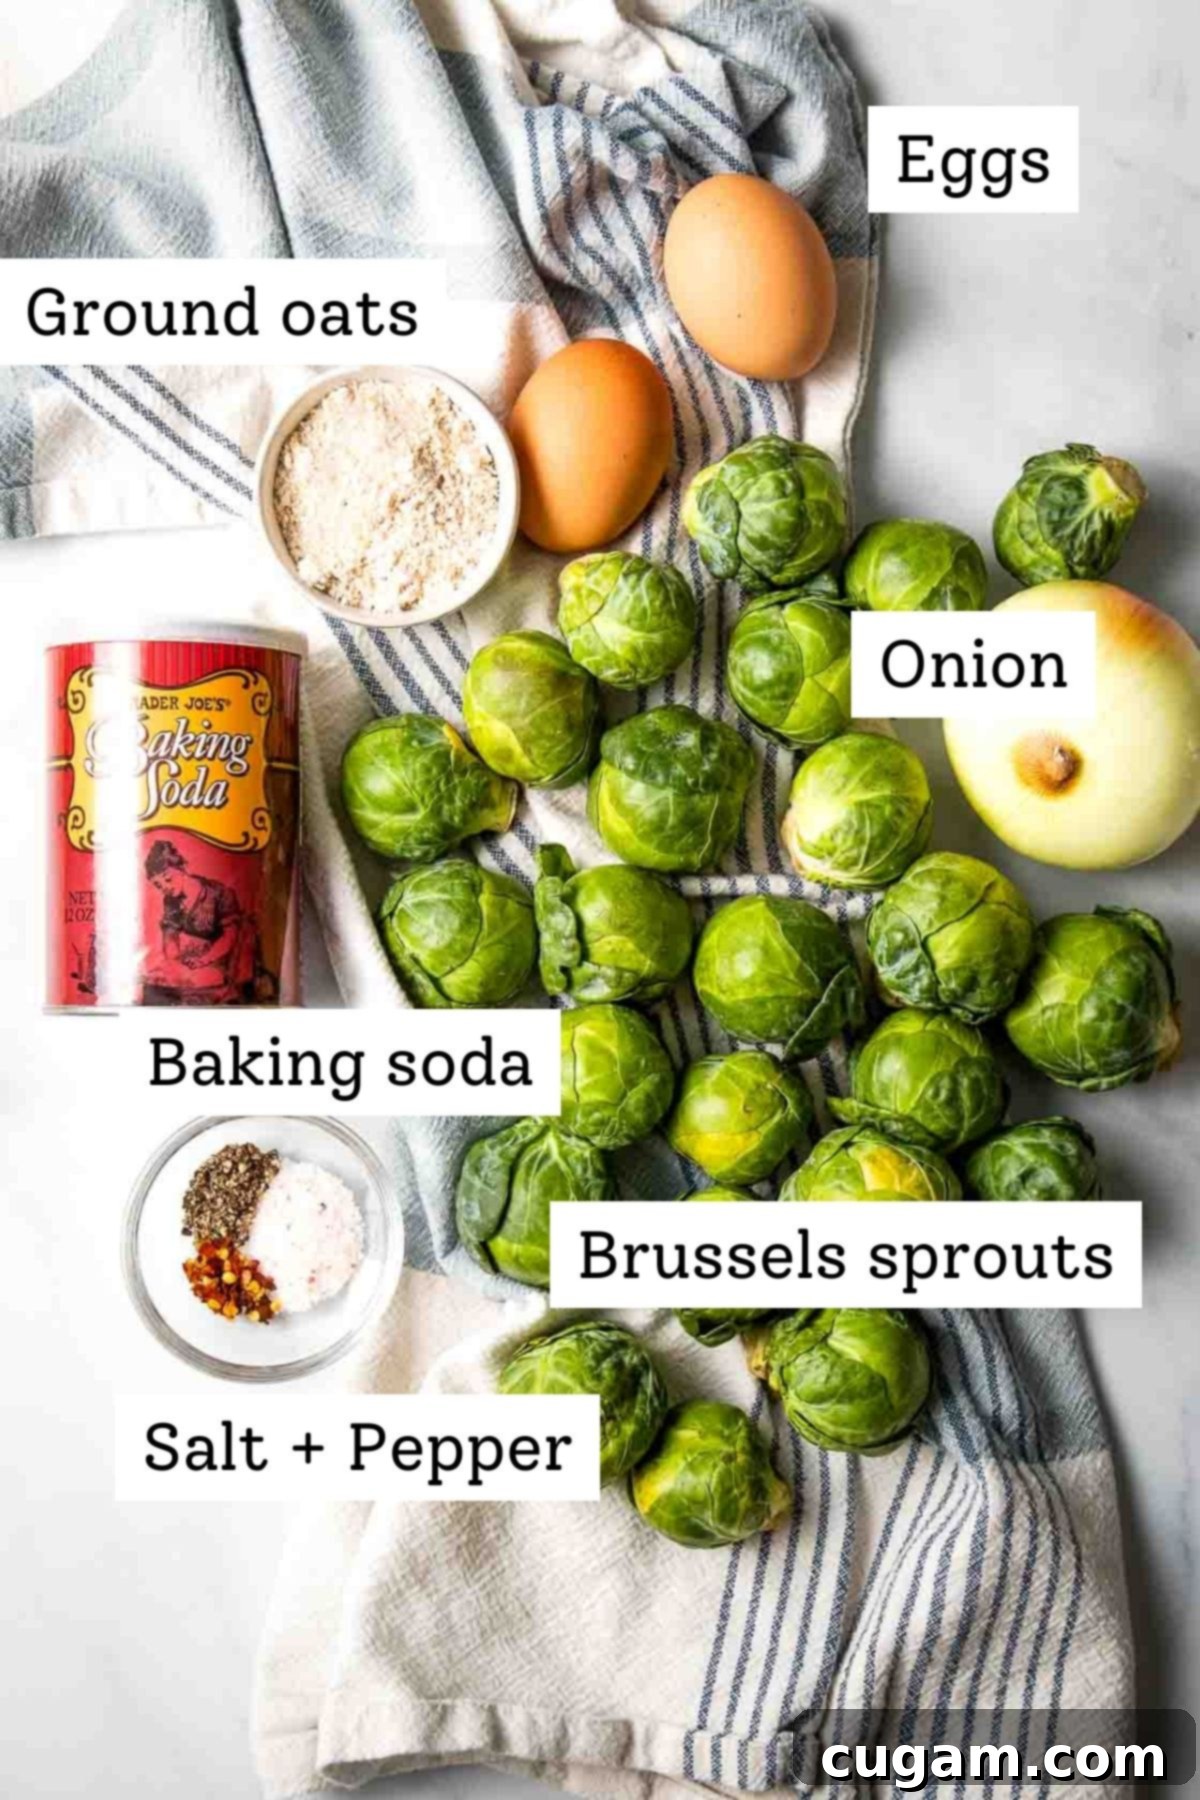
- Shredded Brussels Sprouts: For the best results, opt for larger Brussels sprouts as they are much easier to shred using a food processor or a box grater. If you decide to substitute with another vegetable that has a higher water content (like zucchini for zucchini latkes), it’s crucial to thoroughly drain some of that excess liquid to prevent the latkes from becoming soggy. You can do this by squeezing the shredded vegetables in a clean kitchen towel.
- Shredded Onions: Onions are not just for flavor; their moisture is key to the texture of these latkes! Traditional potato latkes rely on the starch and water from potatoes to bind them together. In our Brussels sprouts version, the “onion water” plays a vital role in achieving the right consistency and preventing the latkes from crumbling. I personally love using a fine shredder for this task – I even have my grandmother’s, which adds a nostalgic touch! However, using the shredding disc of a food processor will save you a tremendous amount of time and effort.
- Ground Oats: To keep these latkes gluten-free, I prefer to grind my own oats (using either your food processor or a dedicated spice grinder) until they reach a fine, matzo meal-like consistency. This provides excellent binding without any gluten. Potato starch is another fantastic gluten-free alternative that works very well as a binder. If neither ground oats nor potato starch are available, you can use any finely ground grain that aligns with your dietary preferences, such as chickpea flour or a gluten-free all-purpose flour blend.
- Eggs: Eggs are crucial for binding in this recipe, especially since we’re not using the starchy properties of potatoes. If you’re aiming for a vegan latke recipe, omitting eggs can be a bit trickier, but it’s entirely doable! My top recommendation for a vegan alternative is a mixture of ground flax and chia seeds. Simply combine 2 tablespoons of ground flax seeds and 2 teaspoons of chia seeds with ½ cup of water. Let this mixture sit for about 5-10 minutes until it thickens into a gel-like consistency before adding it to your veggie mixture. Adding 1-2 tablespoons of potato starch along with the ground oats can also provide extra binding power for vegan latkes, ensuring they hold their shape beautifully.
Step-by-Step Guide: How to Craft Your Brussels Sprouts Latkes
Before you begin shredding your vegetables, if you are making vegan latkes, remember to prepare your flax and chia seed mixture. Set it aside to gel, giving it ample time to thicken and become an effective egg substitute. This small step ensures your vegan latkes will bind perfectly.
Save time and effort by using the shredding disc of your food processor to quickly and efficiently shred both the onions and Brussels sprouts. This method provides a uniform shred, which is essential for even cooking and consistent texture. If you don’t have a food processor, a traditional box grater with large holes will also work effectively, just requiring a bit more elbow grease.
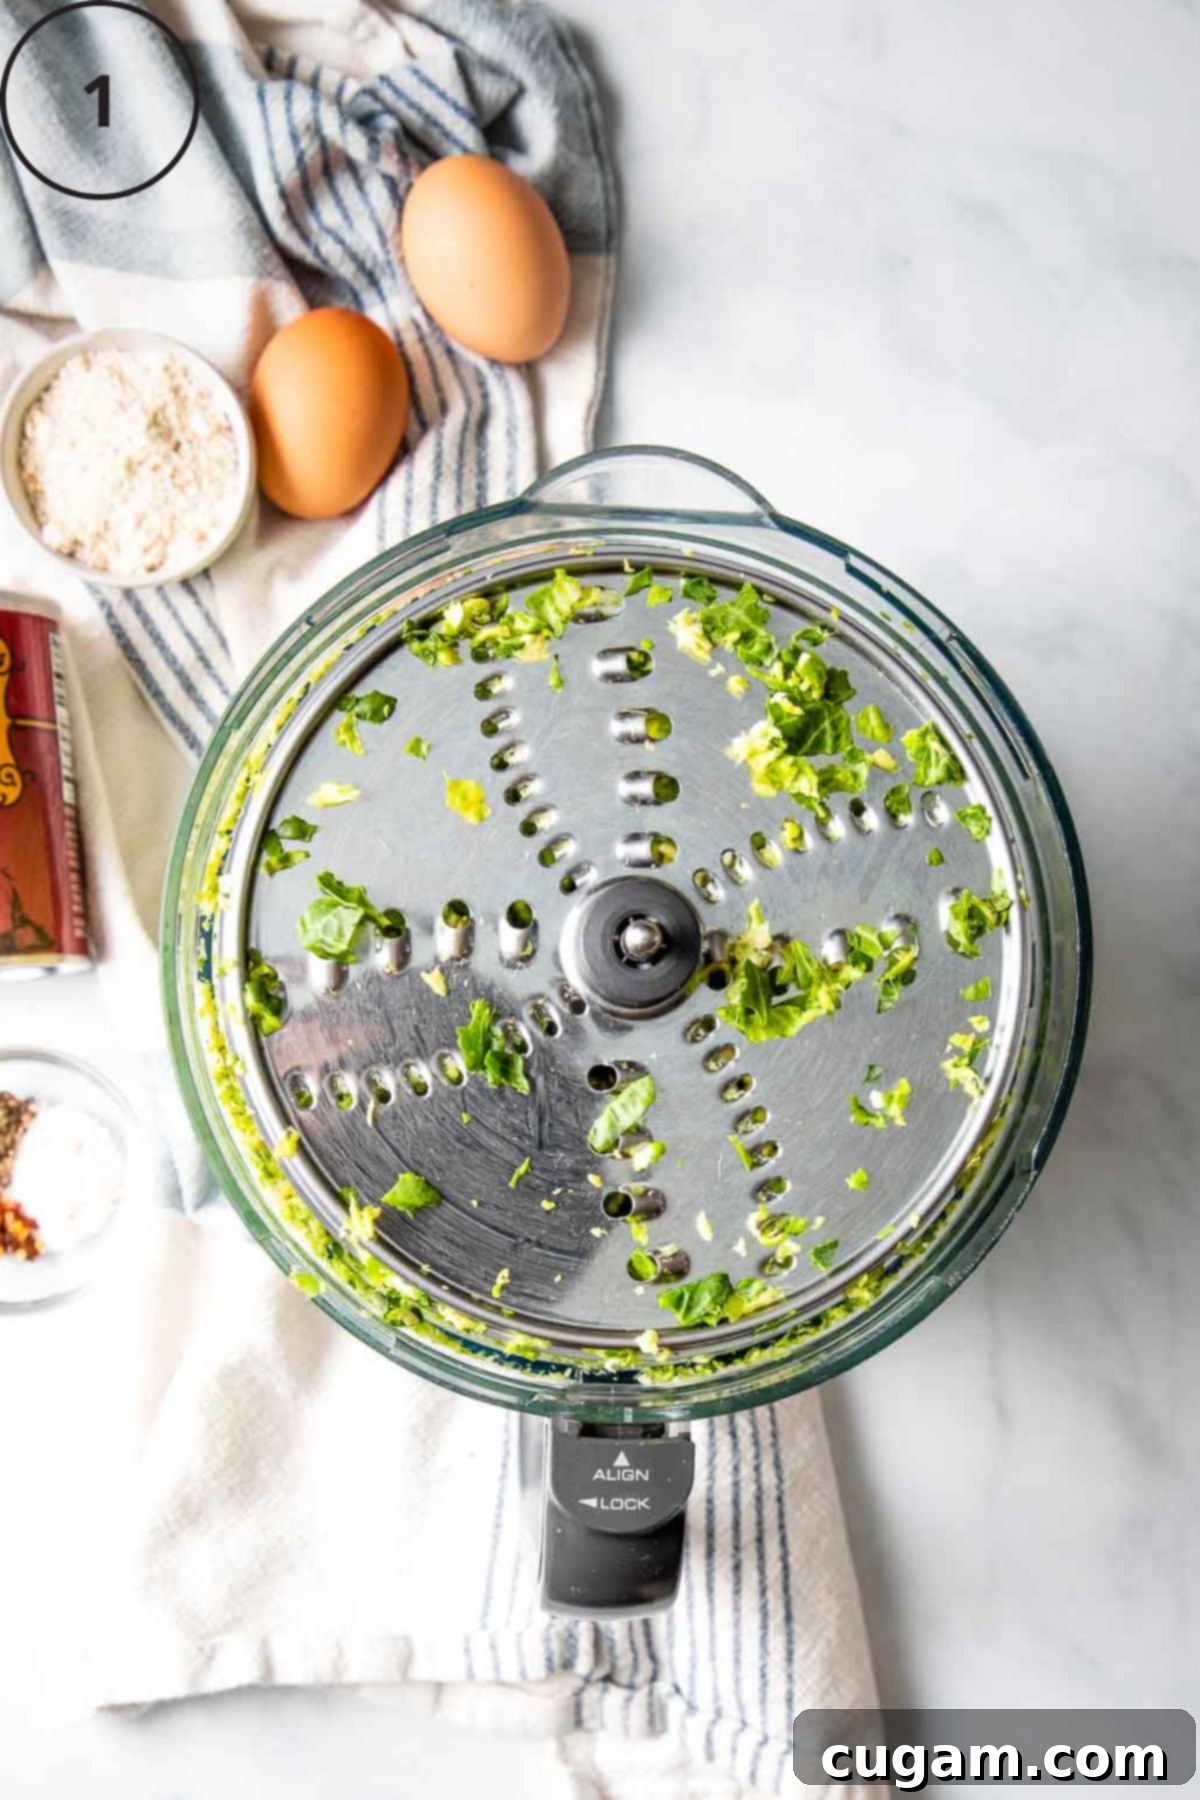
Step 1: Begin by thoroughly shredding your Brussels sprouts and onions. This step is particularly important for the onions, as shredding them effectively helps release their natural juices. Since we’re not using potatoes to provide starchy liquid, these onion juices are absolutely critical for ensuring there’s enough moisture in your latke batter, which in turn helps everything bind together. Plus, the fresh onion juice contributes a fantastic depth of flavor to the latkes.
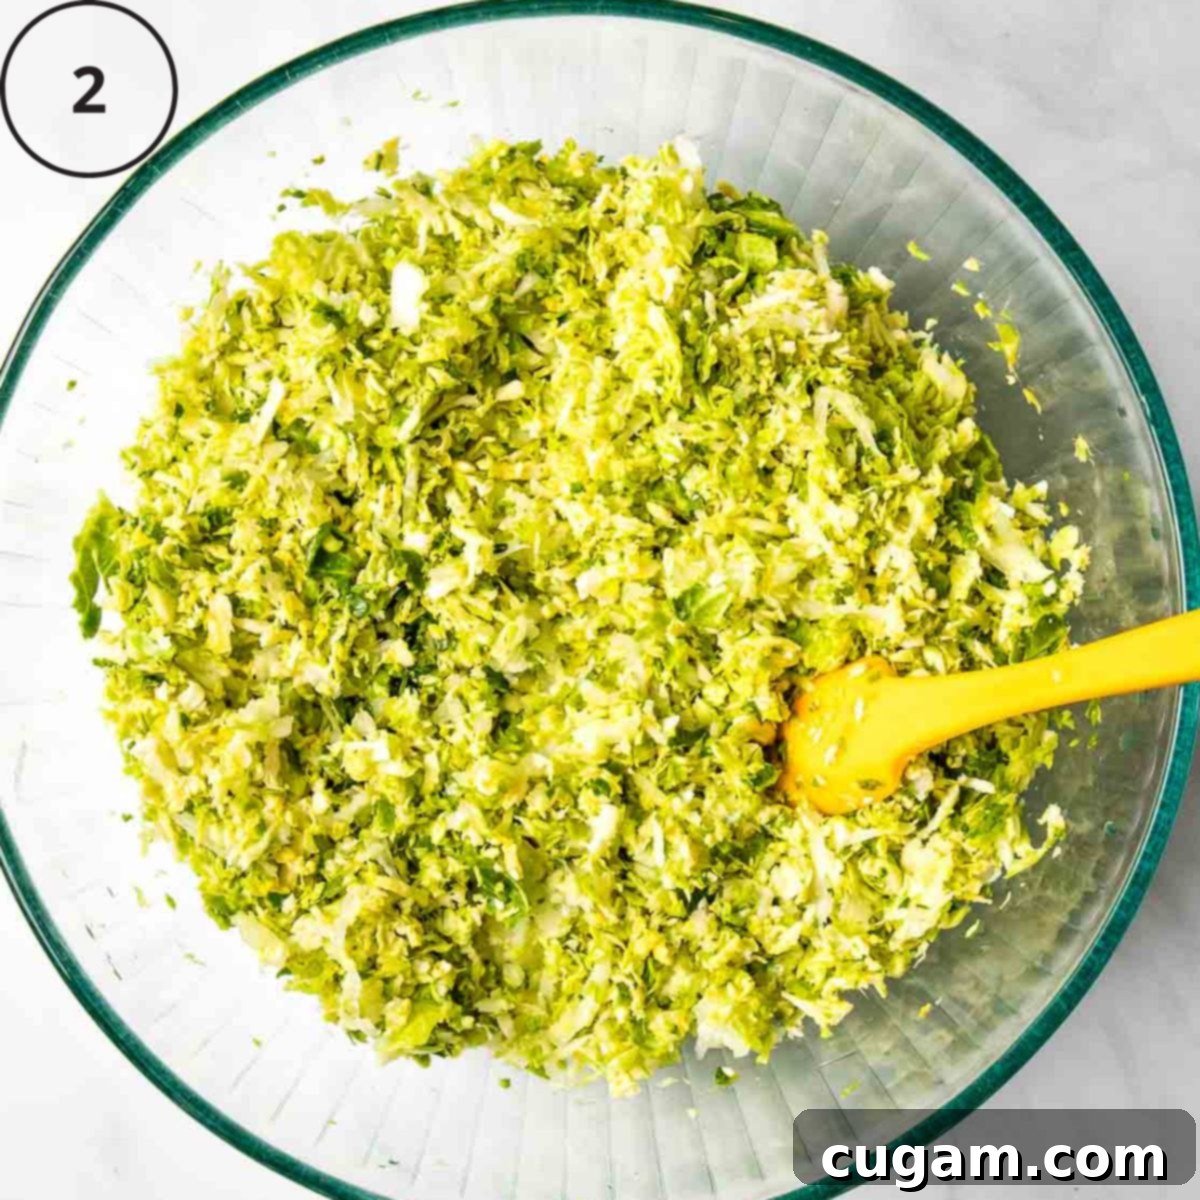
Step 2: Carefully transfer the shredded onions and Brussels sprouts, along with any precious onion juices that have collected, into a large mixing bowl. Make sure the bowl is spacious enough to allow for thorough mixing in the subsequent steps.
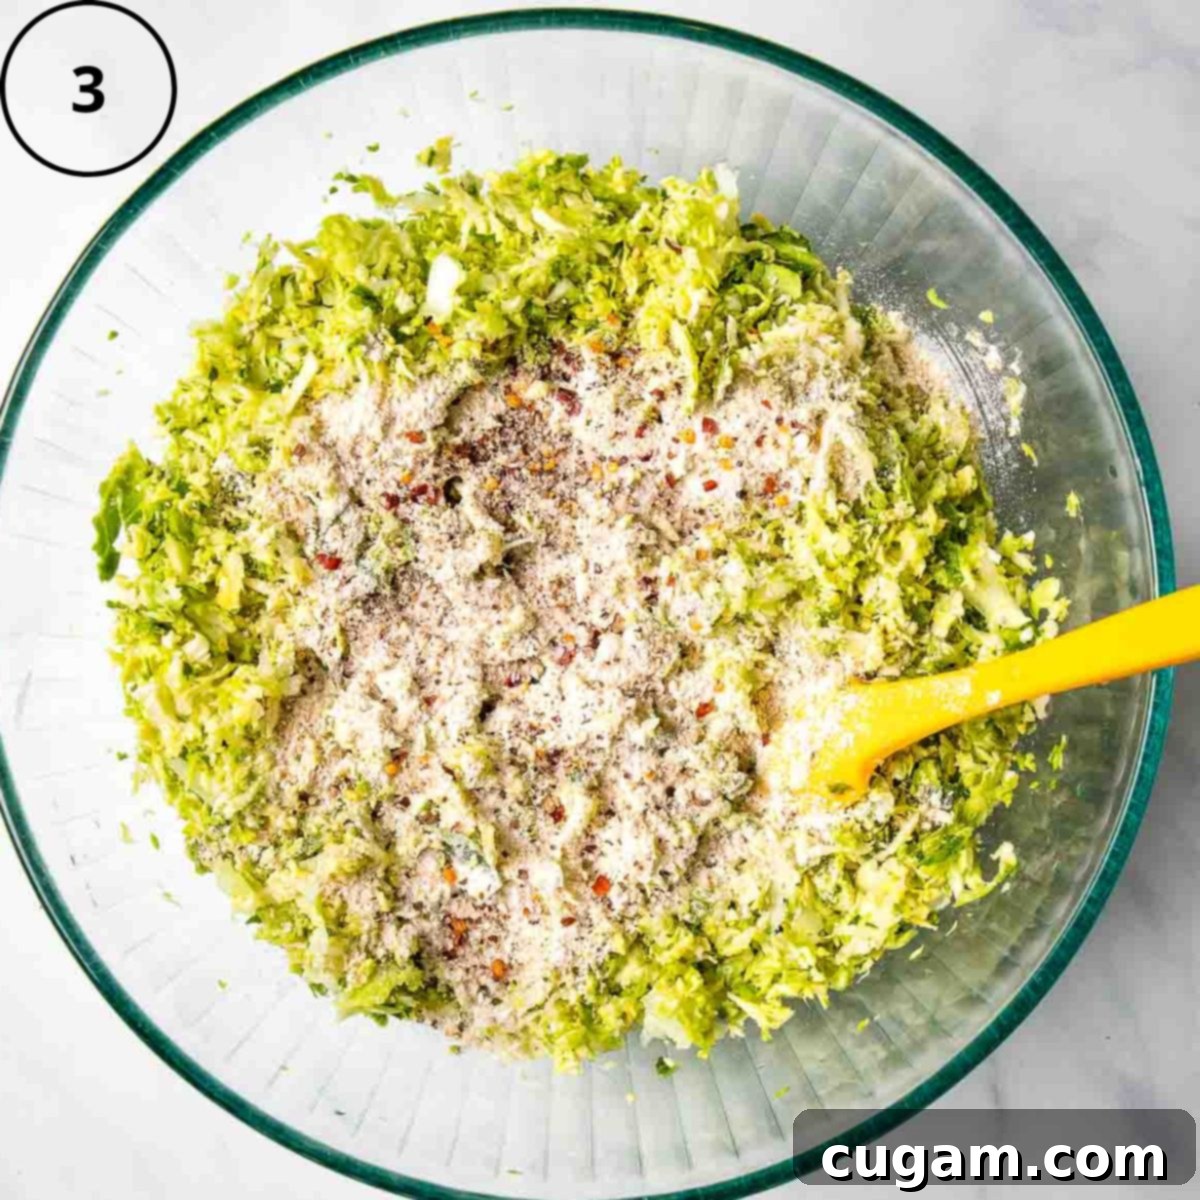
Step 3: Evenly sprinkle the ground oats (or potato starch), salt, pepper, and a hint of crushed red pepper over your shredded vegetables. The red pepper flakes add a subtle warmth and a touch of excitement to the flavor profile. Mix all these ingredients together very well, ensuring the dry components are fully distributed throughout the veggie mixture.
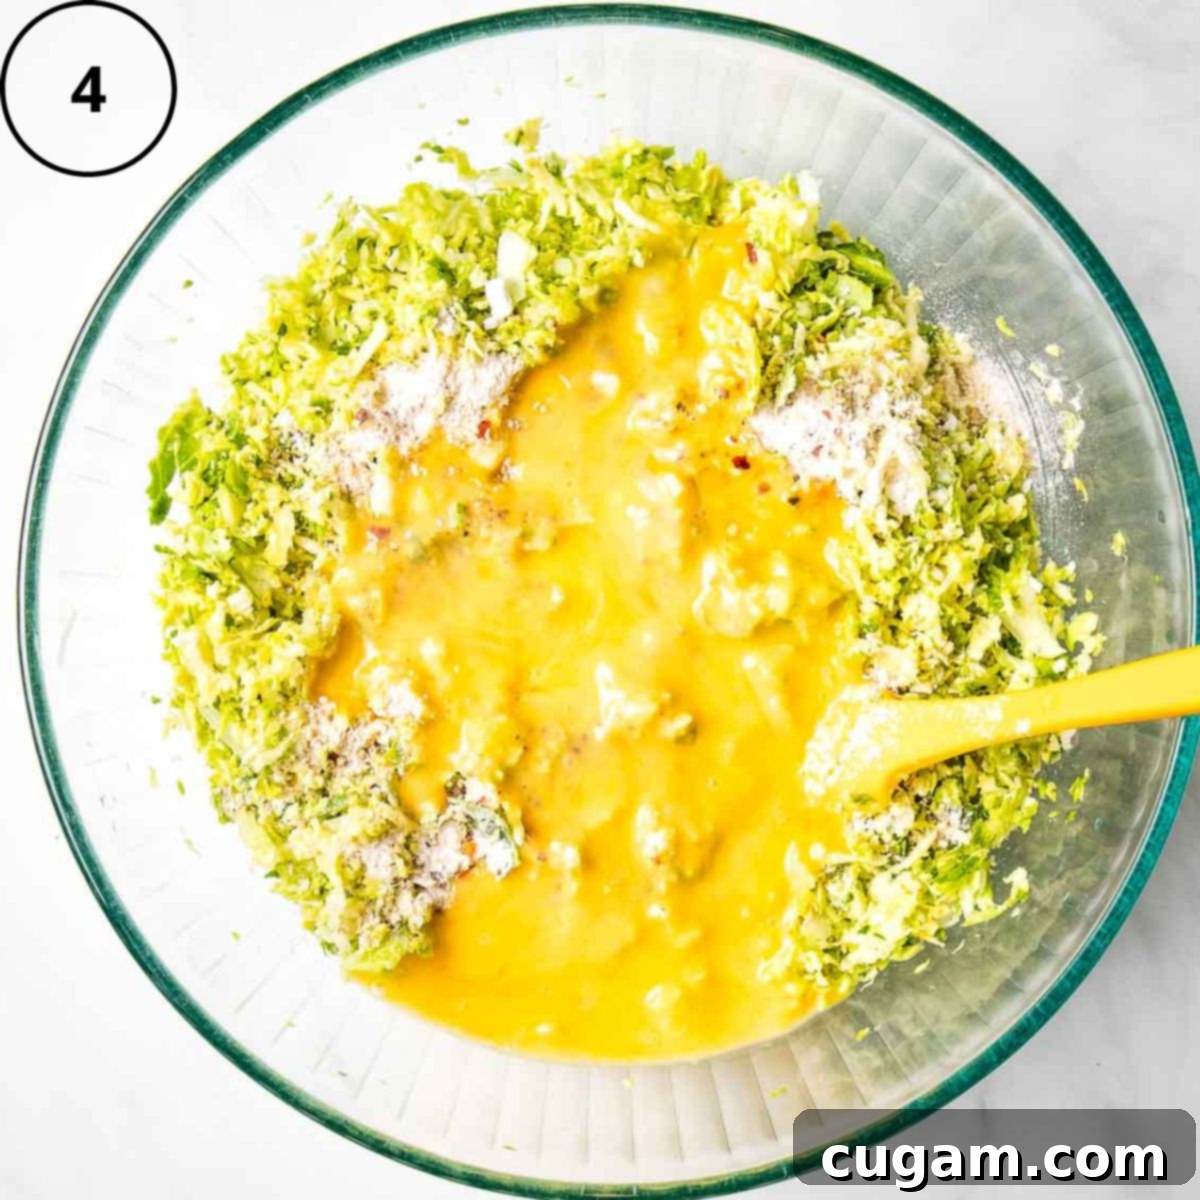
Step 4: In a separate small bowl, lightly whisk your eggs until the yolks and whites are just combined. Then, add the whisked eggs directly to the vegetable and oat mixture. If you are preparing vegan latkes, this is the moment to mix in your pre-gelled flax/chia egg substitute. Thoroughly incorporate the binder into the veggie mixture.
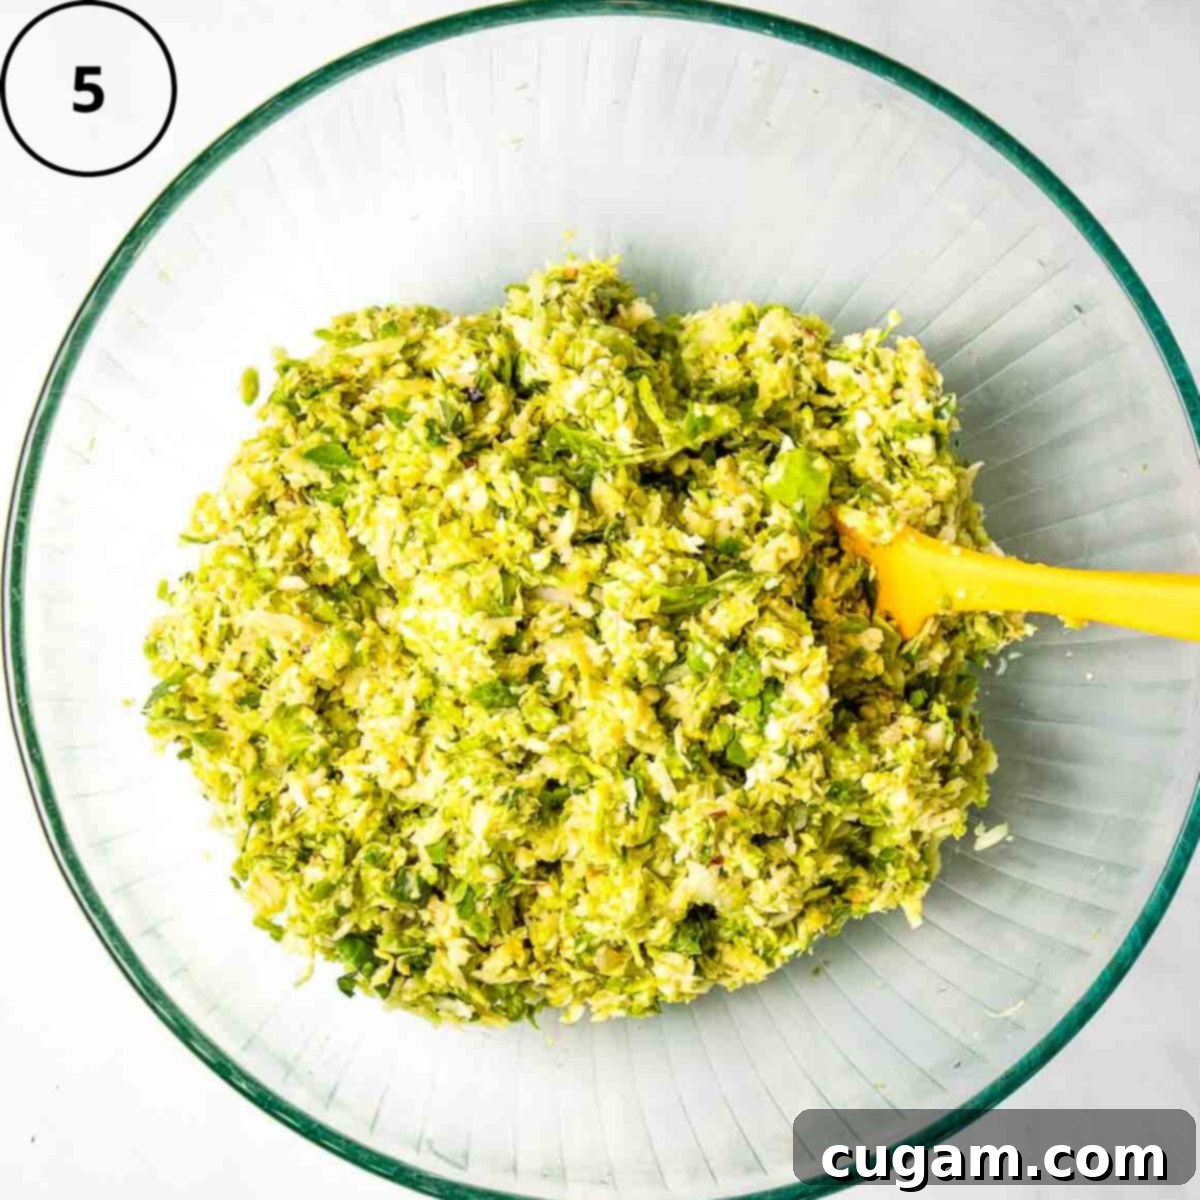
Step 5: Continue mixing everything until all ingredients have been fully incorporated. The goal is to achieve a uniform texture, ensuring that the binding agent (eggs or flax/chia mixture) is evenly distributed throughout the shredded vegetables. This creates a cohesive batter that will hold together beautifully when baked.
Achieving Oven-Baked Crispy Latkes: The Secret to a Perfect Crunch
It’s absolutely possible to achieve a delightful crunch in your latkes without the traditional method of frying them in oil. What? YES, you heard correctly! You can master this technique and enjoy wonderfully crispy latkes that are much healthier. The key lies in your oven temperature: make sure to preheat your oven to a very hot 450°F (232°C). A super hot oven is the absolute secret to getting them incredibly crisp and golden brown, mimicking the texture of fried latkes without the extra fat. Don’t rush the preheating process; give your oven plenty of time to reach and maintain this high temperature.
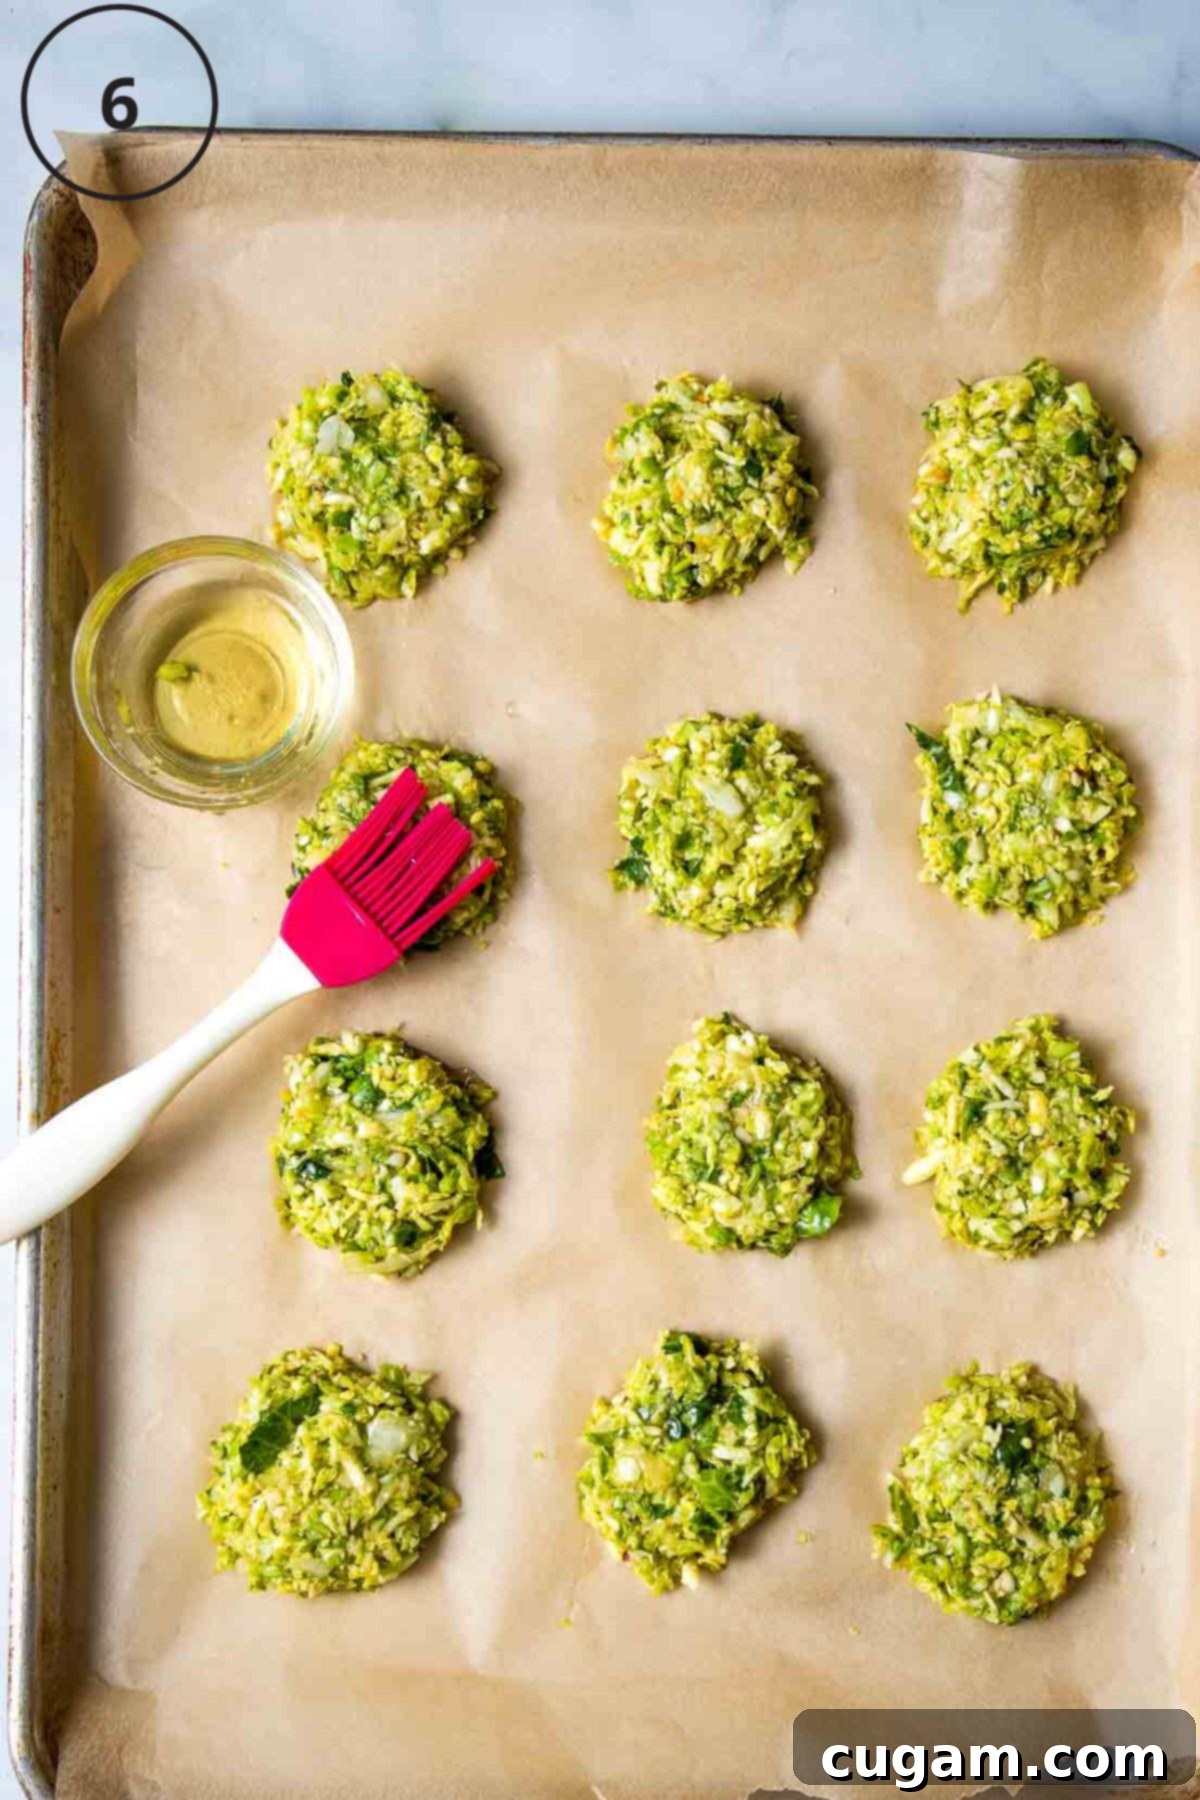
Step 6: Once your oven is blazing hot, scoop spoonfuls of the latke batter onto a large baking sheet that has been generously lined with unbleached parchment paper. I find that using a cookie scoop helps create uniformly sized latkes, ensuring they cook evenly, but a large spoon works just as well. Aim for about 2 tablespoons of batter per latke. Gently flatten each scoop into a disc shape. Then, lightly brush avocado oil onto the top of each latke. This small amount of oil is crucial for promoting browning and crispiness. Bake for an initial 12 minutes.
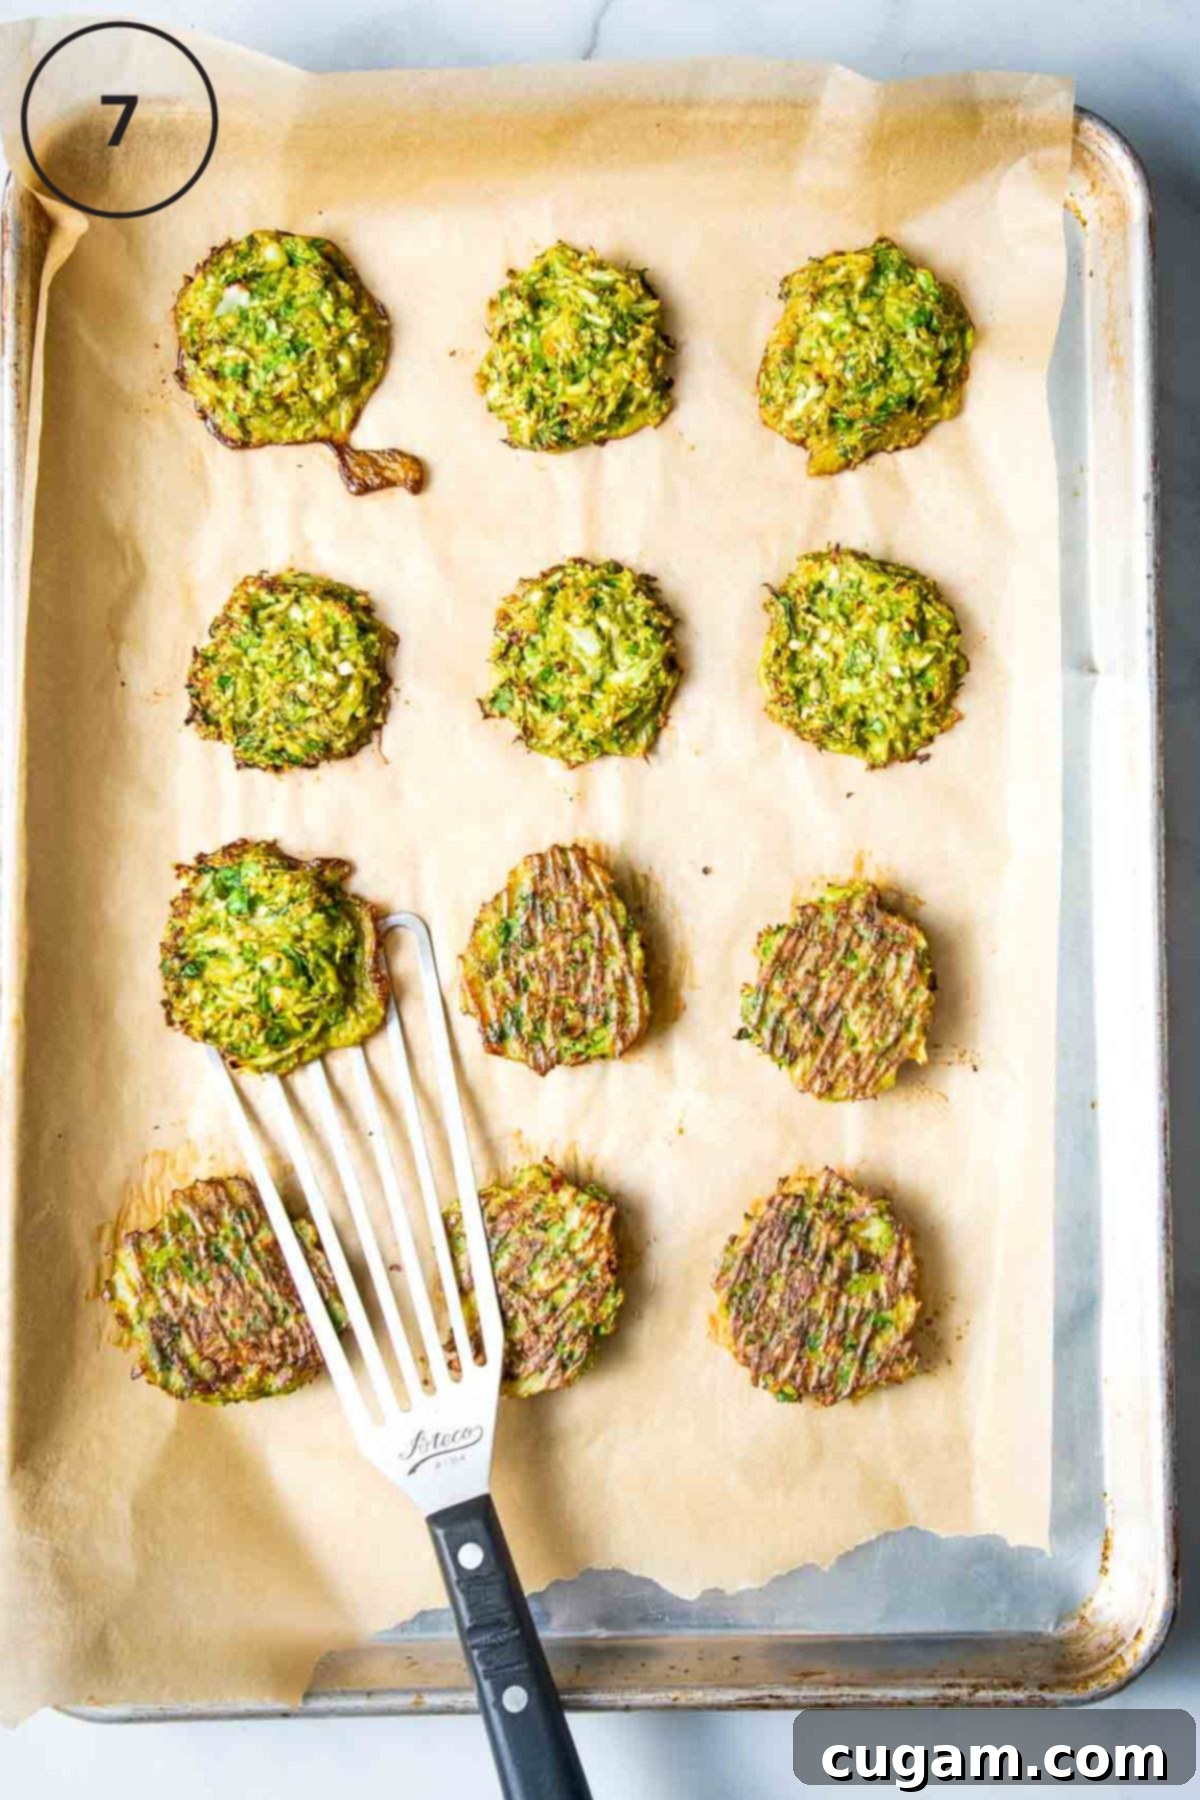
Step 7: After the initial baking time, carefully flip each latke over using a spatula. This ensures both sides get direct contact with the hot baking sheet and crisp up beautifully. Return the baking sheet to the oven and continue baking for another 10 minutes, or until the latkes are golden brown and wonderfully crispy on both sides. Keep a close eye on them during the final minutes to prevent over-browning.
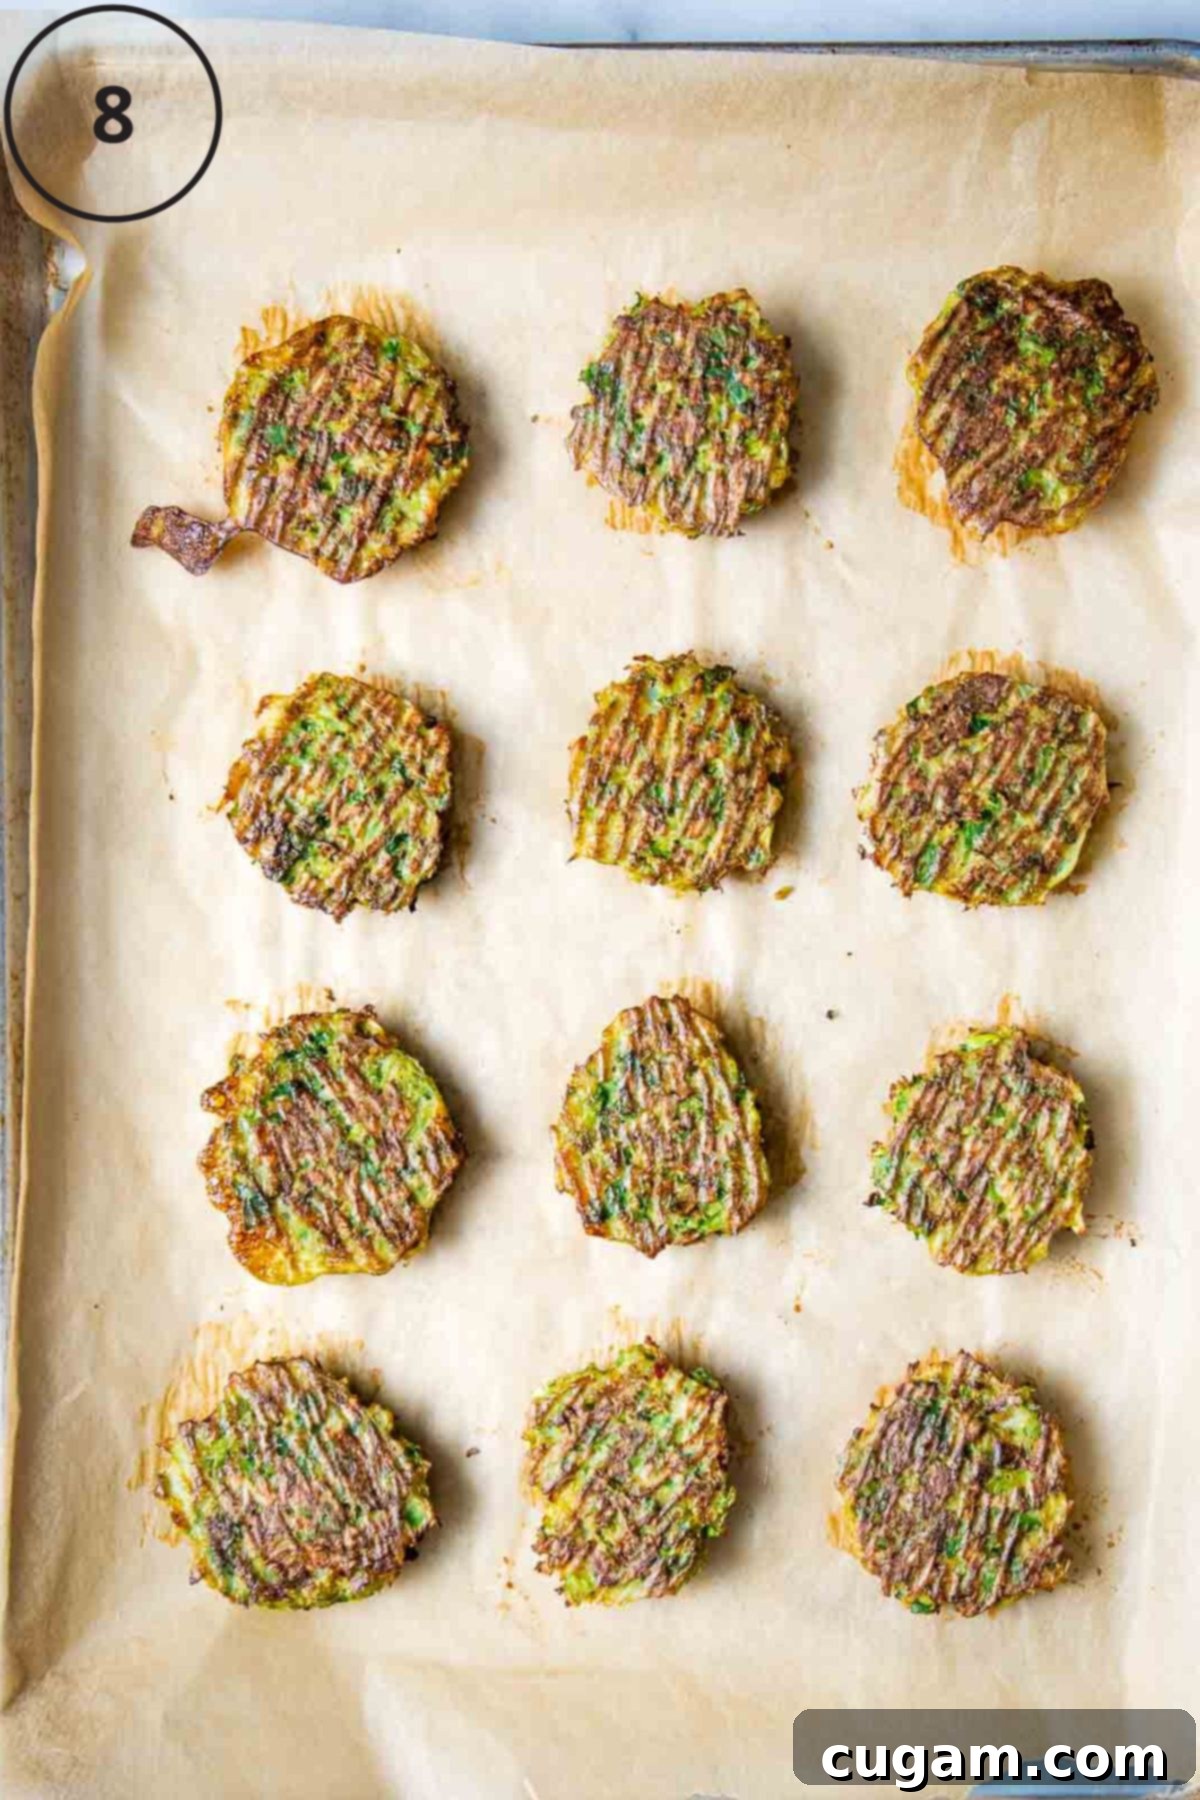
Step 8: Serve your crispy Brussels sprouts latkes immediately while they are still hot. Latkes truly taste their absolute best straight from the oven, when their exterior is at its crispiest and their interior is tender and flavorful. Enjoy them plain or with your favorite toppings!
Debra’s Pro Tips for Perfect Latkes
- Latkes, whether fried or baked, always taste best fresh from the heat source. While these are not traditional potato latkes, which tend to brown quickly, the advantage here is that Brussels sprouts don’t oxidize like potatoes. This means you can shred your Brussels sprouts and onions ahead of time without worrying about discoloration, making prep easier! Just store the shredded veggies in an airtight container in the fridge until you’re ready to mix the batter.
- Avocado oil is my go-to choice for brushing onto these latkes because it boasts a significantly higher smoke point compared to olive oil. Since we’re baking these at a high temperature of 450°F, using avocado oil prevents unwanted smoking and ensures a clean, crisp finish without any burnt flavors. It contributes to the beautiful golden crust we’re aiming for.
- I understand it can be challenging to introduce new twists to family members who are deeply accustomed to traditional potato latkes. For a gentle transition, try a “half-and-half” approach: use 2 cups of shredded russet potatoes along with 2 cups of shredded Brussels sprouts in your mixture. This provides a familiar potato base while gradually introducing the delicious flavor and health benefits of the Brussels sprouts, paving the way for a fully veggie-based latke in the future.
Smart Storage, Freezing, and Reheating Tips for Your Latkes
- Storing Leftovers: Any leftover baked latkes can be stored in the refrigerator. Place them in an airtight container to maintain freshness, and they will keep well for up to 5 days. This makes them excellent for meal prep or quick snacks throughout the week.
- Reheating for Crispiness: To bring your refrigerated latkes back to their original crispy glory, simply place them on a baking tray. Reheat them in a preheated 450°F (232°C) oven for about 10-15 minutes, or until they are thoroughly heated through and have regained their desired crisp texture. Avoid microwaving, as this will make them soft.
- To Freeze for Later: For long-term storage, latkes can be frozen. First, bake them as directed in the recipe for 10 minutes, then flip and bake for another 10 minutes on the other side. The goal here is to slightly undercook them, as they will finish cooking during reheating. Allow the baked latkes to cool completely. Then, lay them flat in a single layer on a baking tray lined with parchment paper. Once the latkes are fully frozen (this prevents them from sticking together), transfer them to a freezer-safe zip-top bag or airtight container. They will last for several months in the freezer. Reheat frozen latkes directly from the freezer as directed above, adding a few extra minutes to the baking time if needed, until hot and crispy.
Delicious Toppings and Pairings for Your Brussels Sprouts Latkes
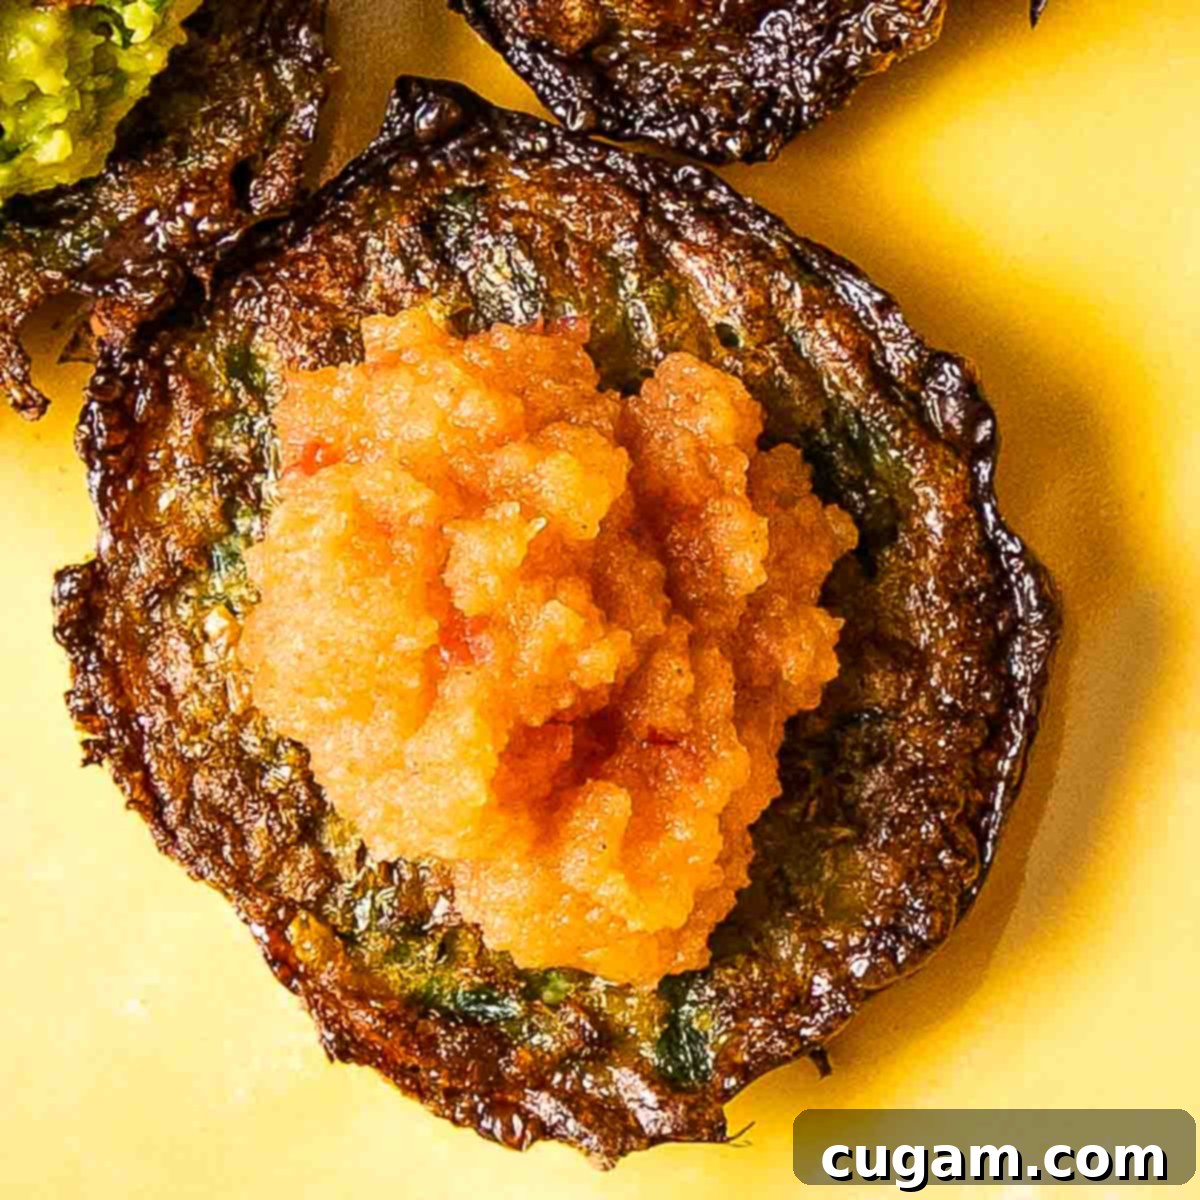
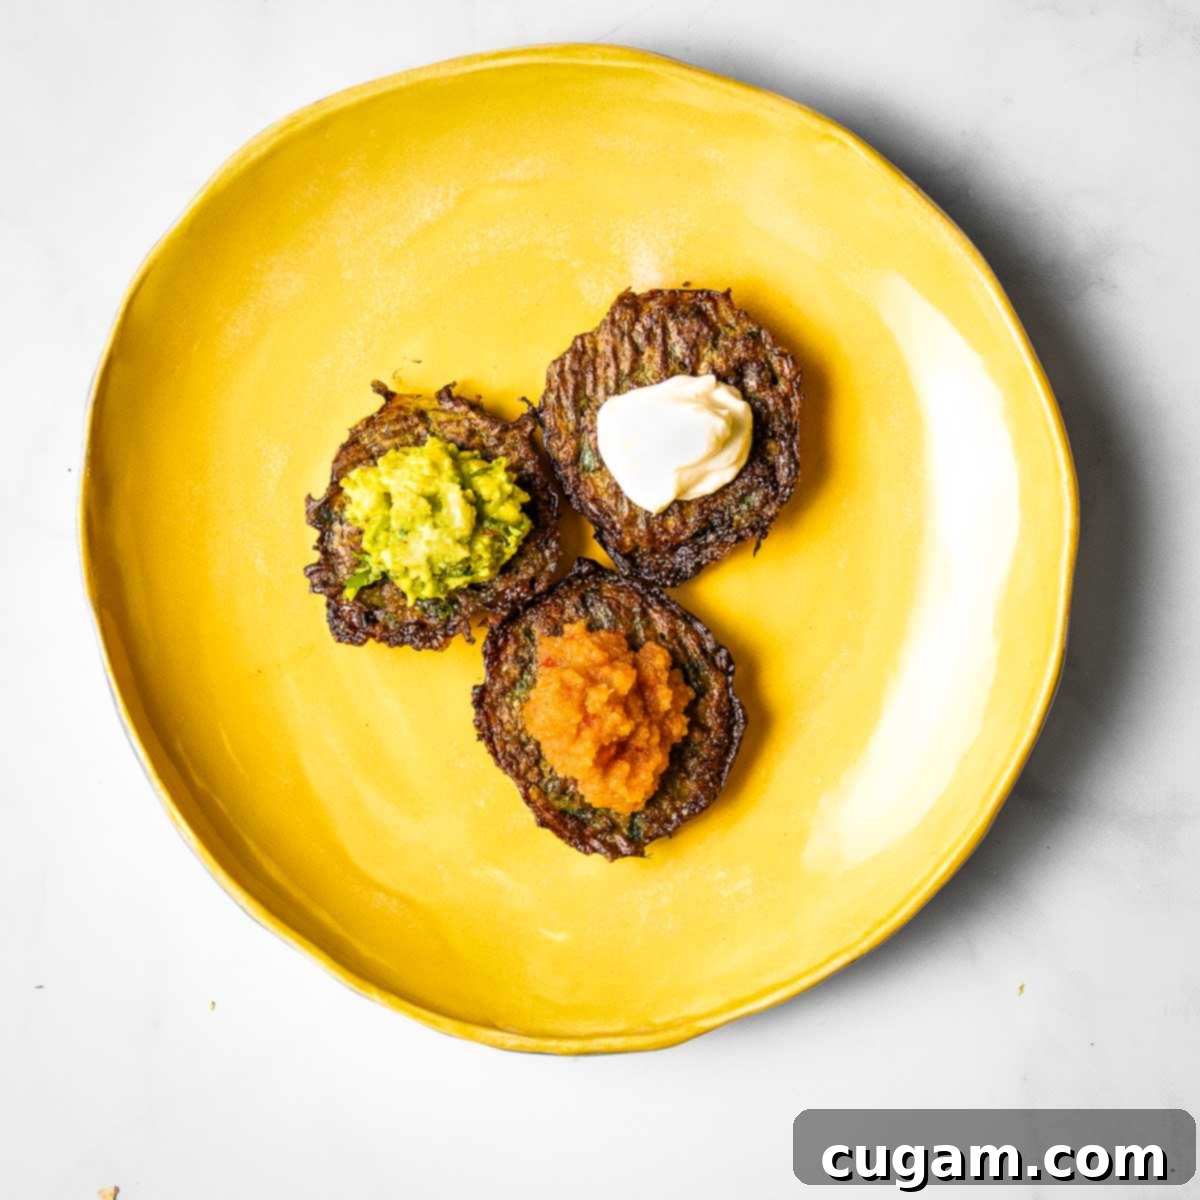
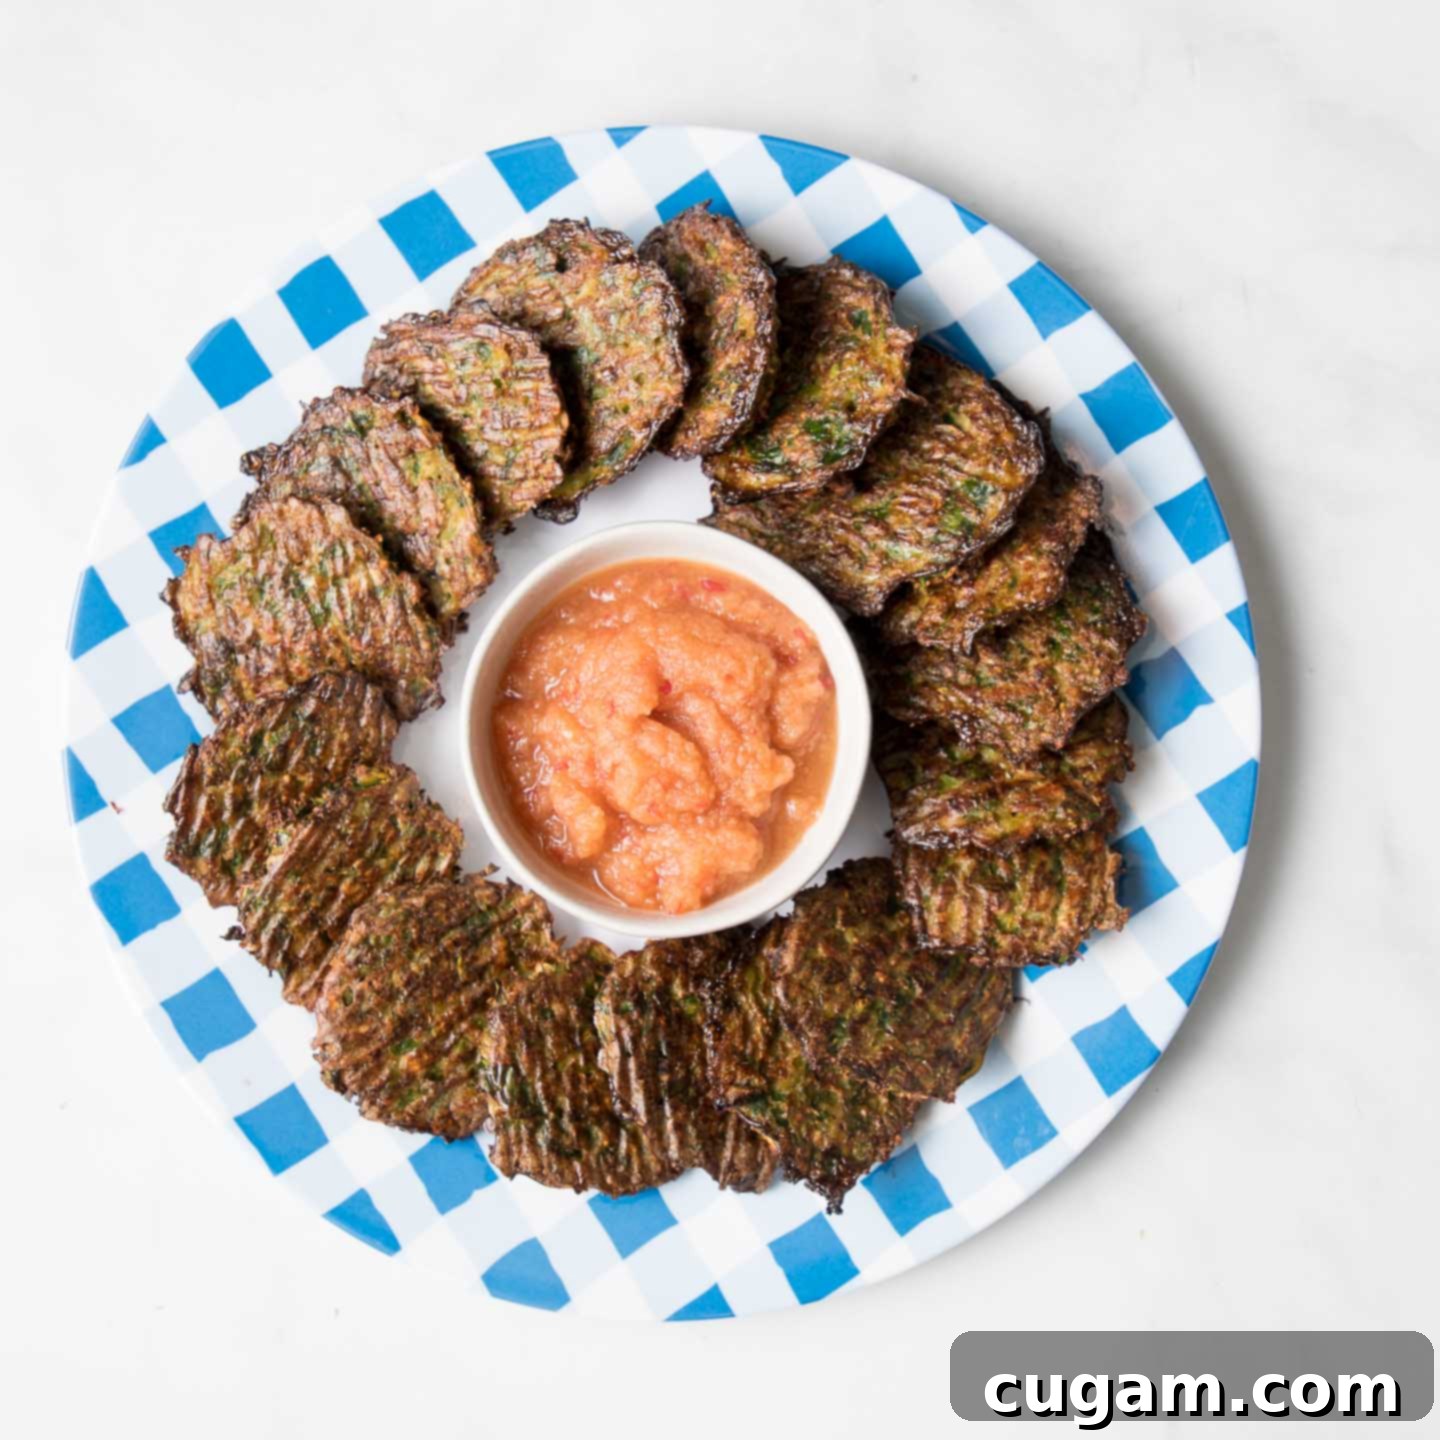
- Applesauce: This is a quintessential and beloved latke topping that perfectly complements the savory notes of the latkes. For an extra healthy and vibrant option, use my no-sugar healthy applesauce recipe. Leaving the skins on red apples will yield a gorgeous, naturally pink-hued applesauce that’s as beautiful as it is delicious.
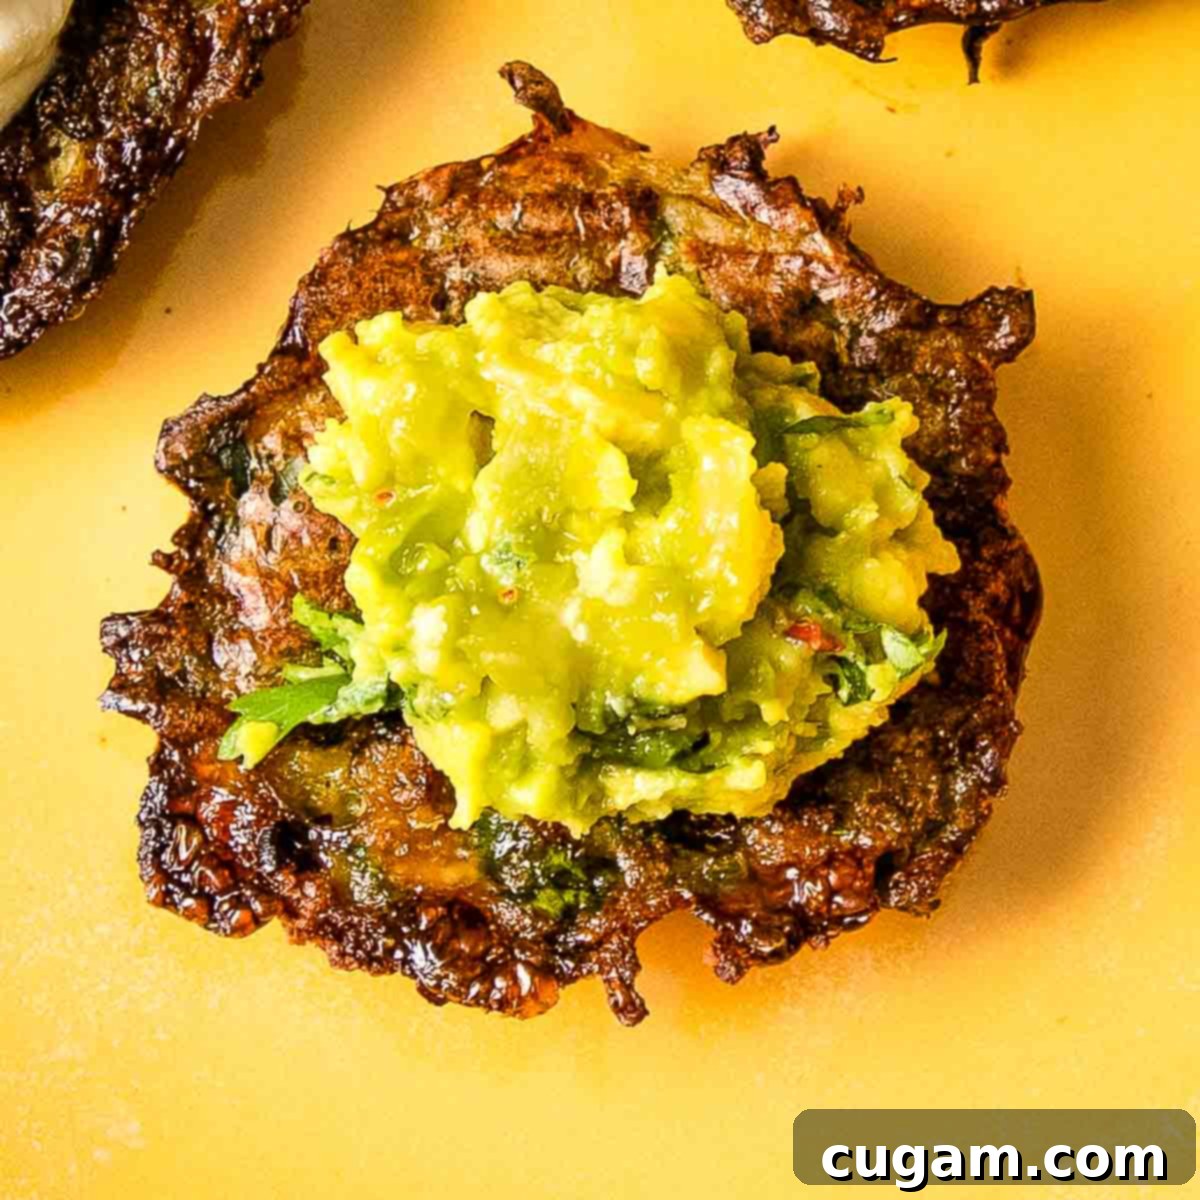
- Fresh Guacamole: For those who prefer a savory experience, creamy guacamole is an absolute revelation as a latke topping. Its rich, herbaceous flavor and smooth texture create a delightful contrast with the crispy latkes, keeping that delicious savory vibe going strong.
- Vegan Sour Cream: Another wonderfully traditional latke topping gets a healthy makeover. My vegan sour cream recipe is incredibly easy to make, taking only about 5 minutes, and it’s incredibly popular. Its tangy, cool creaminess provides a perfect balance to the warmth of the latkes.
- Sweet and Tangy Mango Salsa: If you find yourself torn between sweet and savory toppings, a vibrant mango salsa is an excellent compromise. The tropical sweetness of mango, combined with a hint of tang and spice, offers a refreshing burst of flavor that pairs surprisingly well with the savory Brussels sprouts latkes.
Did you know commenting and rating recipes is one of the best ways to support your favorite food bloggers? If you made this recipe, please consider leaving a five-star rating below and a comment sharing your experience. Also, we’d love to see your creations! Please share your photos on Instagram by tagging me @dkhealthcoach and using the hashtag #debraklein. Your feedback and shares help others discover and enjoy these delicious recipes!
📖 Recipe
Brussels Sprouts Latkes
Debra Klein
Rate this Recipe
Pin Recipe
8 minutes
22 minutes
Main Course, Side Dish
Jewish Holiday
6
servings
92
kcal
Equipment
-
1 Food Processor
-
1 Large mixing bowl
-
1 Large Rimmed Baking Sheet
-
1 Unbleached Parchment Paper
-
1 Pastry Brush
-
1 Cookie scoop
Ingredients
-
1
lb.
Brussels sprouts
about 4 cups shredded -
1
sweet onion
medium sized -
2
tablespoon
oat flour -
1
teaspoon
sea salt
coarse -
½
teaspoon
baking soda -
½
teaspoon
red pepper flakes -
2
large eggs
whisked -
1
tablespoon
avocado oil
Instructions
-
Preheat oven to 450°F (232°C). Line 2 large rimmed baking sheets with unbleached parchment paper to prevent sticking and ensure easy cleanup.
-
Shred Brussels sprouts and onion using the shredding disc of your food processor. Transfer the shredded vegetables into a large bowl, including any juices from the onion, which are vital for moisture.
-
Sprinkle oat flour, baking soda, sea salt, and red pepper flakes over the shredded veggies. Mix well with a spoon or your hands until all ingredients are evenly distributed.
-
Whisk the large eggs (or prepared flax/chia egg substitute for vegan option) until well blended, then add them to the vegetable mixture. Stir thoroughly until everything is completely combined and forms a uniform batter.
-
Using a cookie scoop or a large spoon, drop approximately 2 tablespoons of batter for each latke onto the prepared baking sheets. Gently flatten each scoop into a disc shape. This recipe yields about 24 small latkes.
-
Lightly brush avocado oil on top of each latke. This helps them brown and crisp up. Bake in the preheated oven for 12 minutes.
-
Carefully flip the latkes over onto their other side using a spatula. Return to the oven and bake for another 10 minutes, or until they are beautifully golden brown and crispy on both sides.
-
Serve immediately while hot and crispy. If you need to make them in advance, reheat the baked latkes in a preheated 450°F (232°C) oven for 10-15 minutes until fully heated through and re-crisped to perfection.
Notes
EGGS: For delicious vegan latkes, simply omit the chicken eggs. Instead, create a flax/chia egg substitute by mixing 2 tablespoons of ground flax seeds with 2 tablespoons of ground chia seeds and ½ cup of water. Allow this mixture to sit for 5-10 minutes until it gels before incorporating it into the rest of the ingredients. This vegan binder works wonderfully!
Passover: If preparing these latkes for Passover, please skip the baking soda, as it is generally not permitted during the holiday. The latkes will still be delicious and hold their shape without it.
Nutrition
Serving:
4
latkes
Calories:
92
kcal
Carbohydrates:
10
g
Protein:
5
g
Fat:
4
g
Saturated Fat:
1
g
Polyunsaturated Fat:
1
g
Monounsaturated Fat:
2
g
Trans Fat:
0.01
g
Cholesterol:
55
mg
Sodium:
522
mg
Potassium:
354
mg
Fiber:
3
g
Sugar:
3
g
Vitamin A:
699
IU
Vitamin C:
66
mg
Calcium:
46
mg
Iron:
1
mg
Note
The nutrition calculations were done using online tools. To obtain the most accurate representation of the nutritional information in any given recipe, you should calculate the nutritional information with the actual ingredients you used. You are ultimately responsible for ensuring that any nutritional information is accurate, complete and useful.
Did you make this recipe?
Please leave a review below, then snap a picture and tag me @dkhealthcoach or use hashtag #dkhealtcoach on Instagram so I can see it!!
