Irresistibly Fudgy Gluten-Free Double Chocolate Chip Cookies (Vegan Option!)
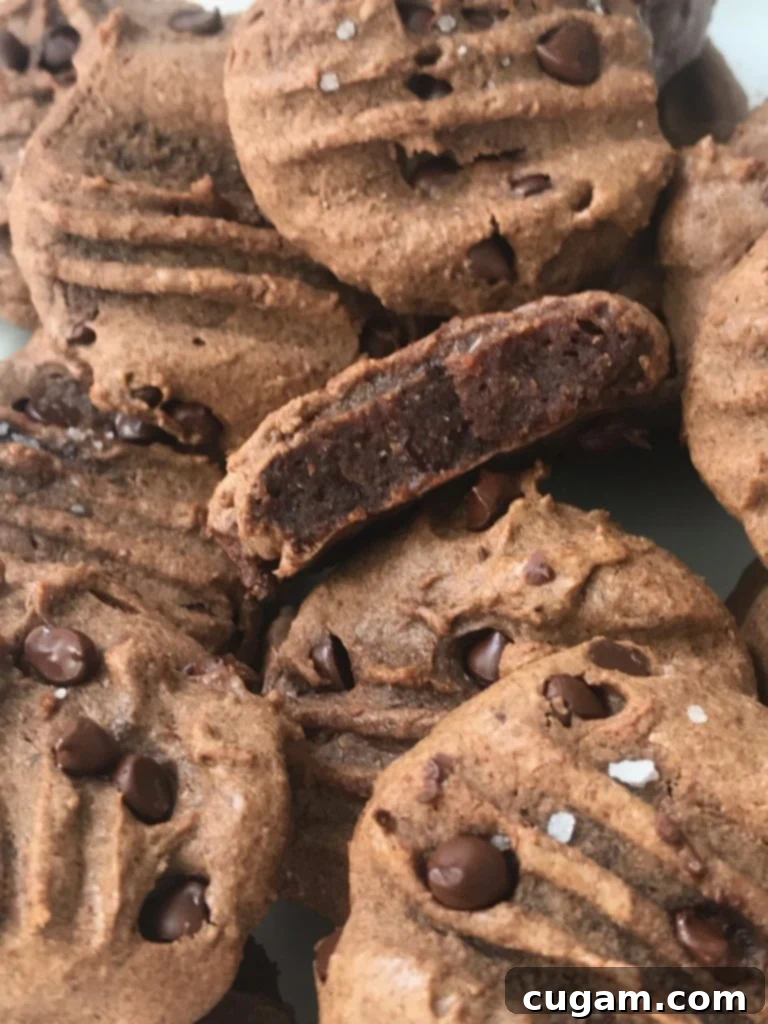
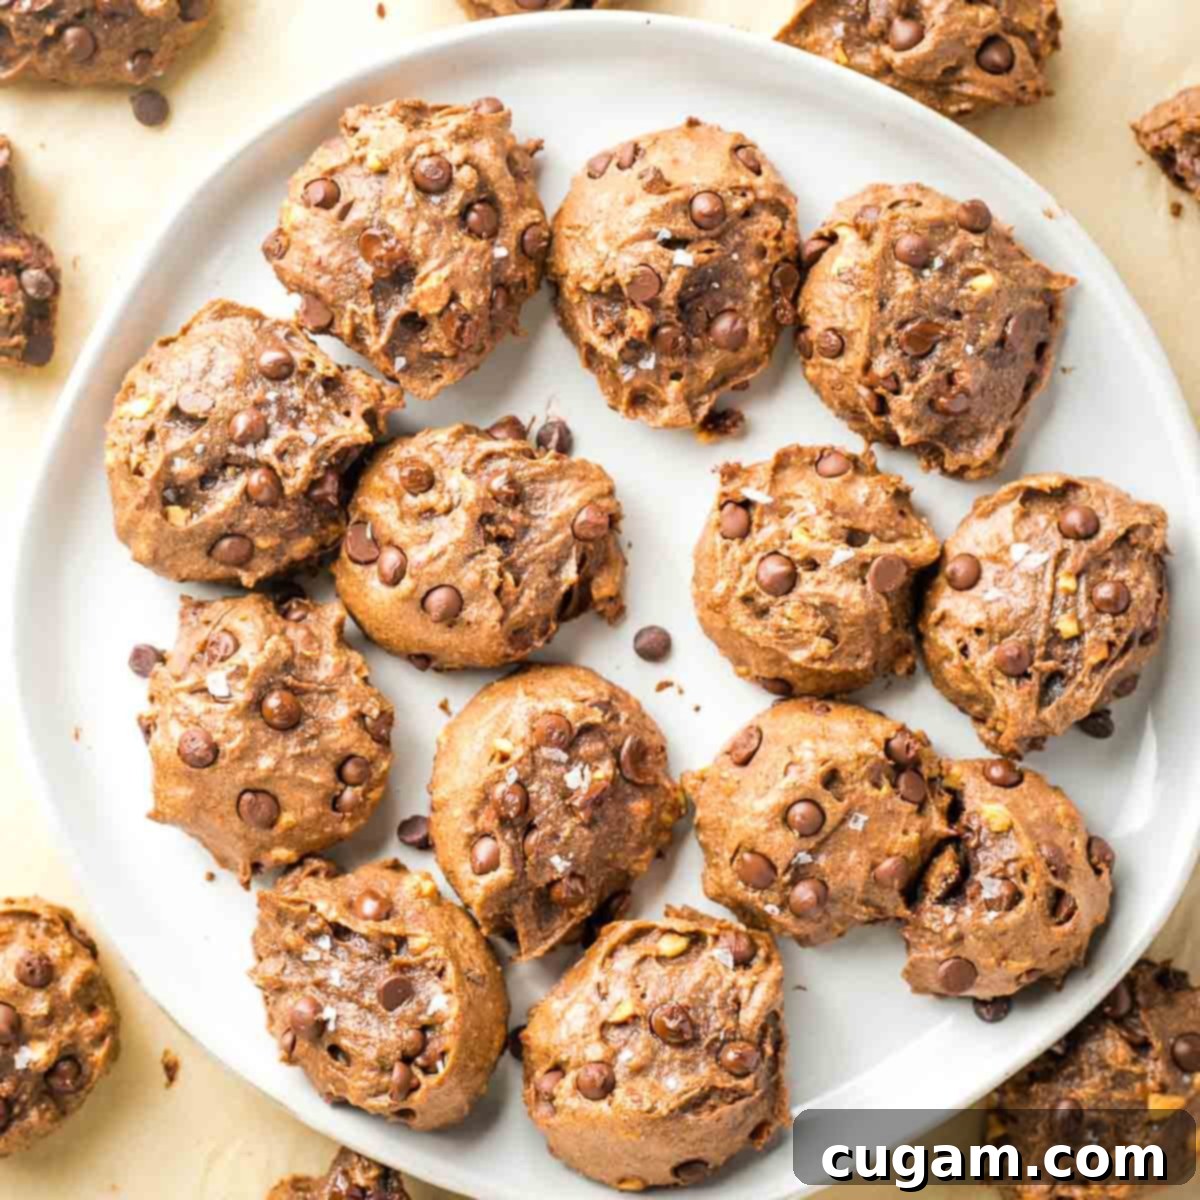
Prepare to fall in love with these Gluten-Free Double Chocolate Chip Cookies! They are wonderfully soft and chewy, bursting with rich chocolate flavor and an undeniably fudgy, brownie-like texture. If you’re a true chocolate enthusiast, these cookies are a dream come true, designed to satisfy even the most intense cravings. What’s even better? This easy recipe uses minimal ingredients and comes together in just 15 minutes of active prep and bake time. Get ready to bake a batch of pure bliss!
This post has been updated from the original that was published on April 16, 2019, to bring you even more delicious details and baking tips!
[feast_advanced_jump_to]
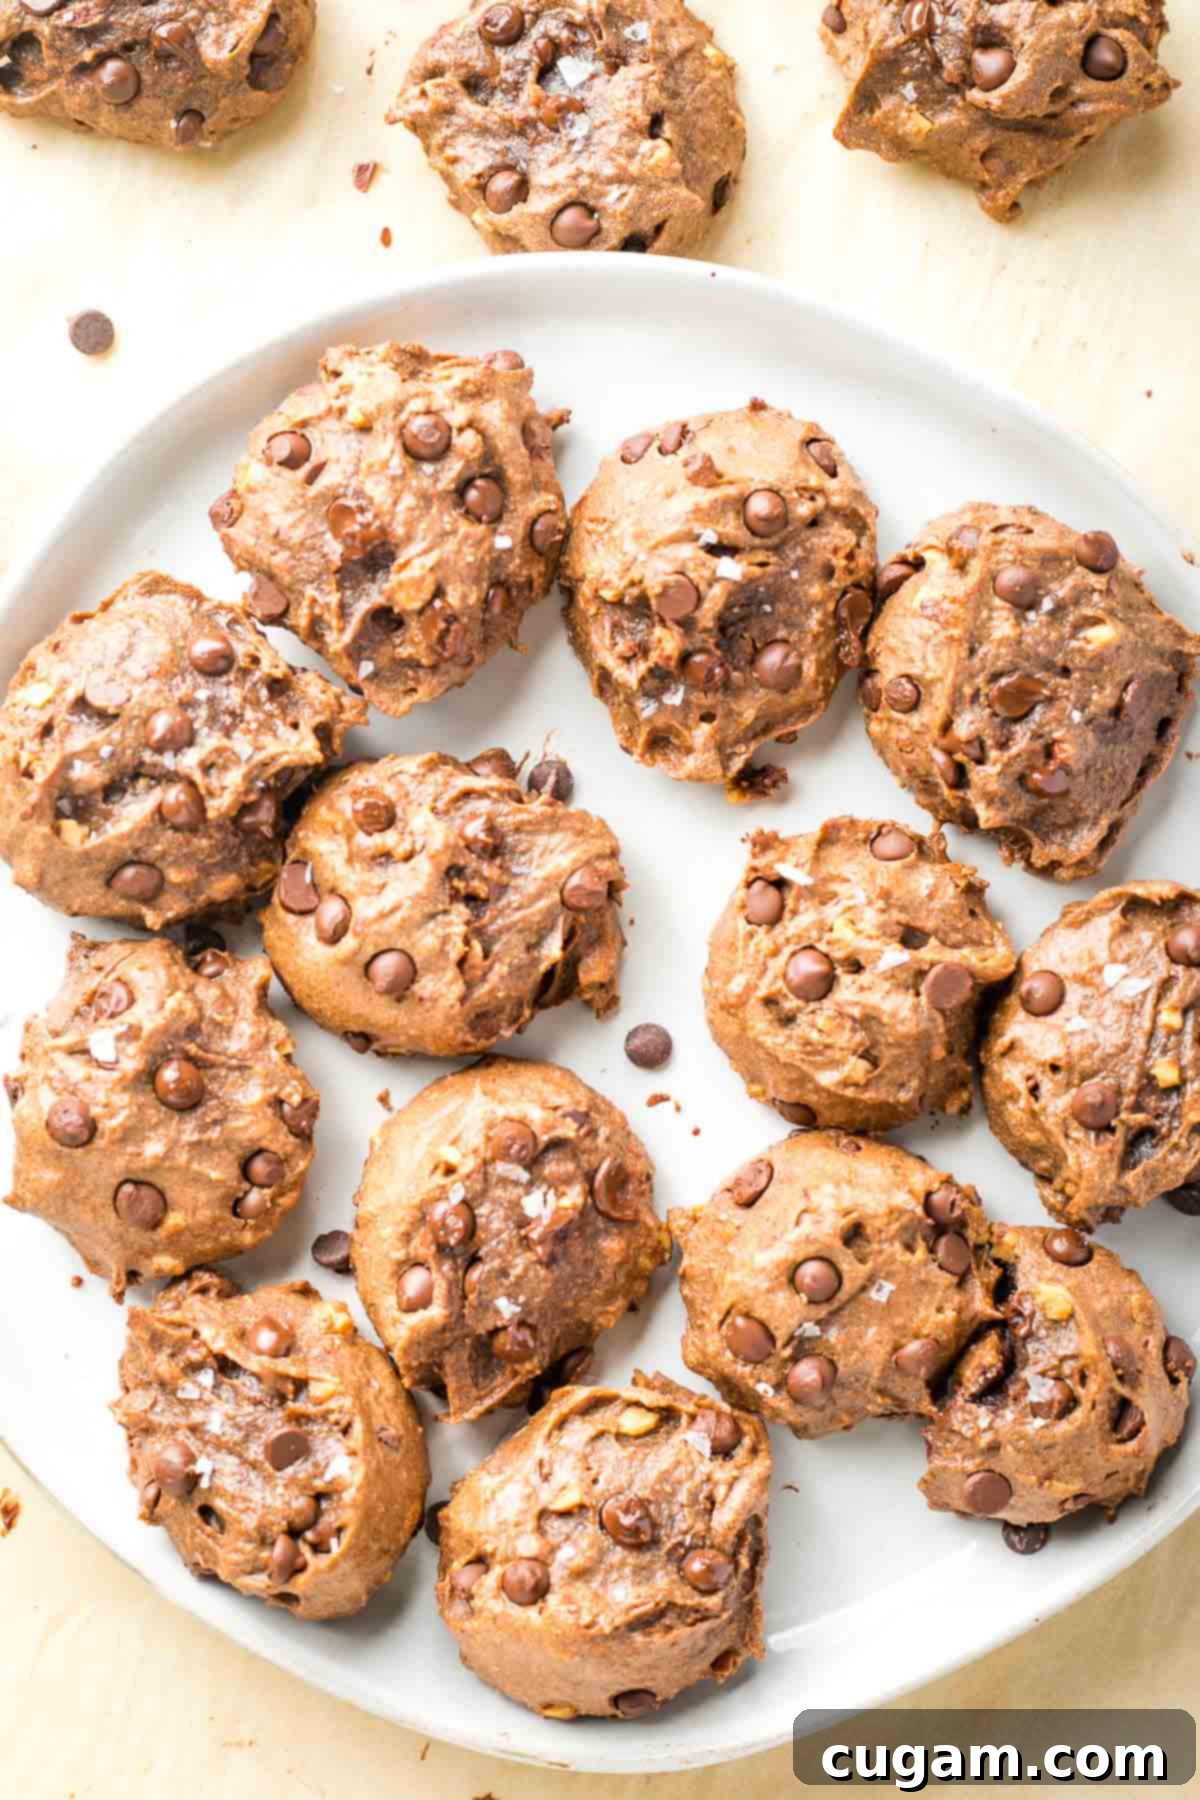
Imagine a cookie that’s so chewy, so intensely chocolatey, and so utterly decadent that it tastes like your favorite rich brownie, but in a convenient, handheld form. That’s precisely what these double chocolate cookies deliver! With their fudgy centers and pockets of gooey chocolate chips, they’re the ultimate treat for any sweet tooth. You didn’t even realize you needed this recipe, but once you try these grain-free double chocolate cookies, they’ll become a staple in your kitchen. While they might not solve all of life’s problems, they’re guaranteed to bring a smile to the face of any cookie monster!
Why You’ll Adore These Gluten-Free Double Chocolate Cookies
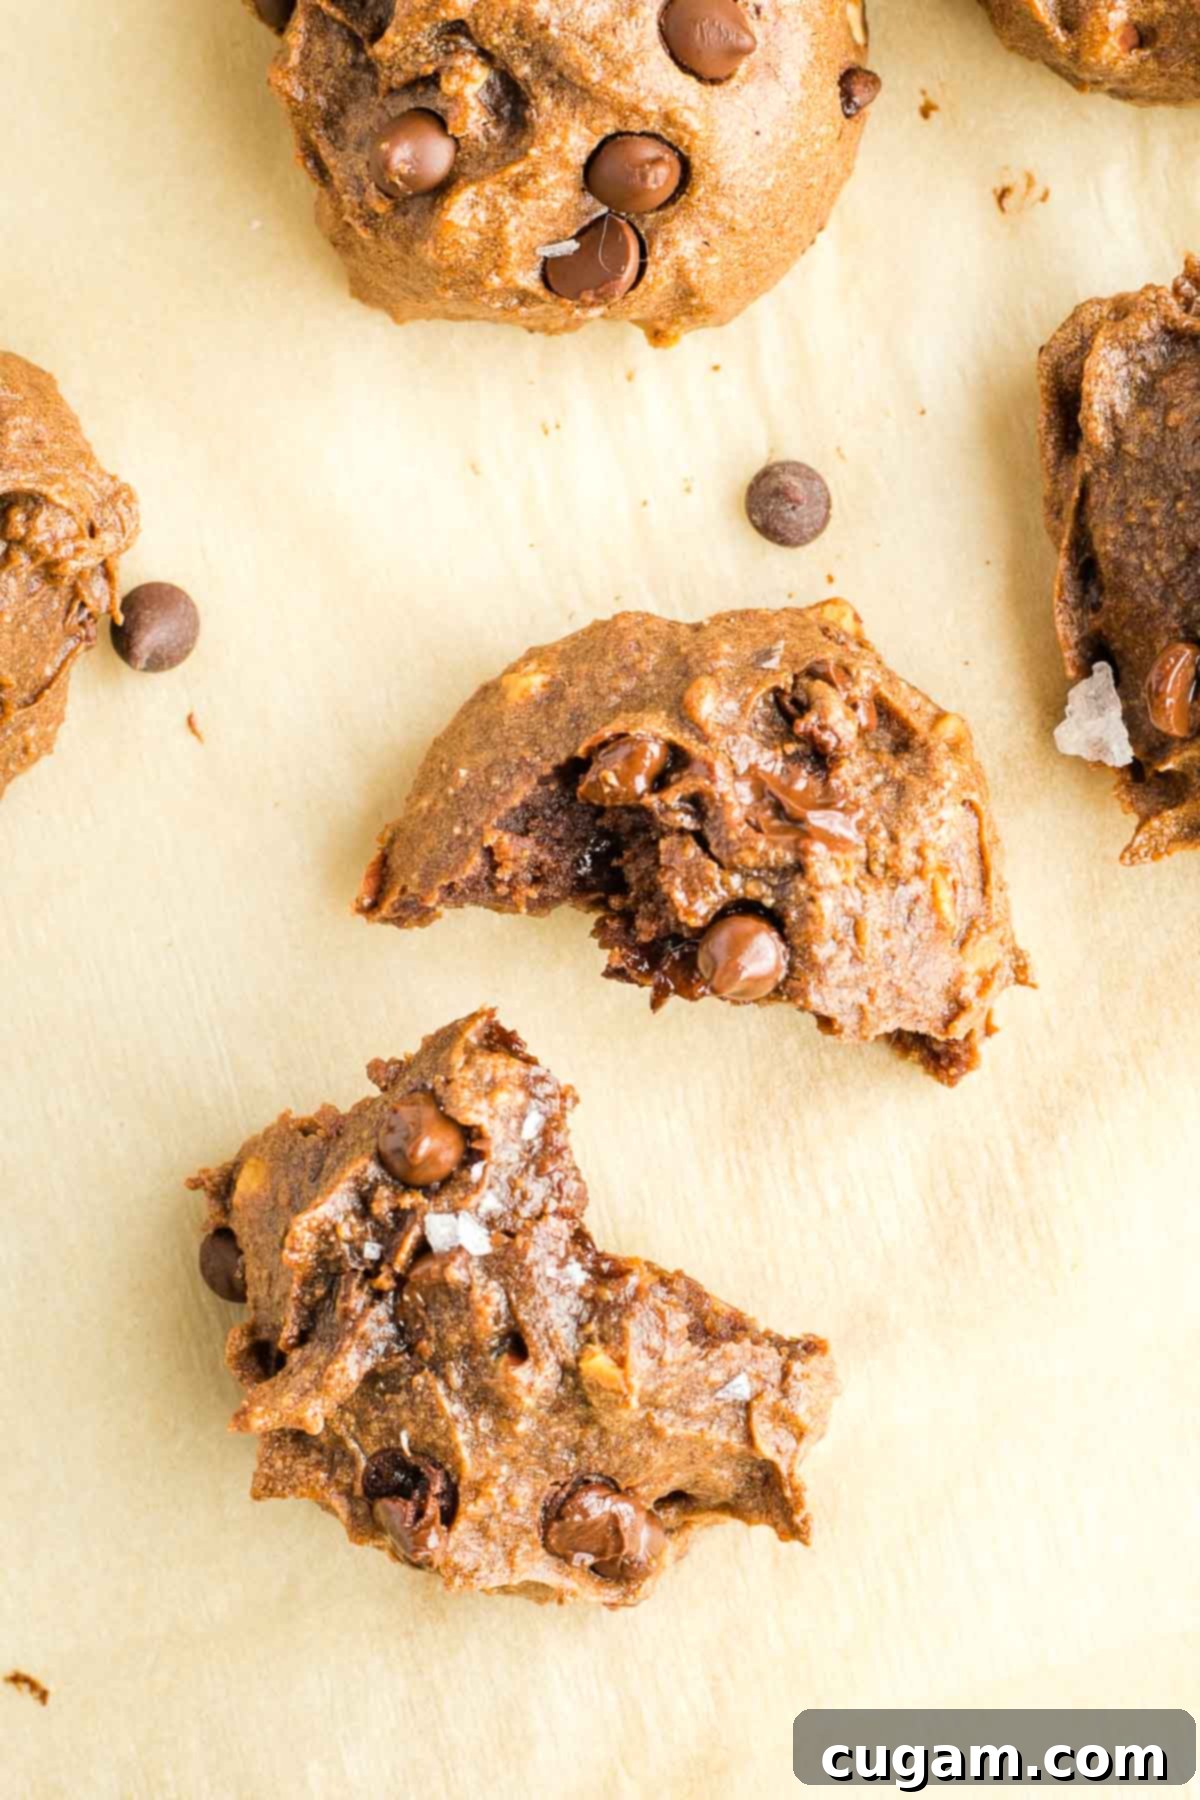
- Double the Chocolate, Double the Joy: Let’s be honest, extra chocolate is always a good idea! This recipe features both cocoa powder and chocolate chips, delivering an intense, layered chocolate experience that will delight any chocoholic.
- Irresistible Texture: These cookies hit that sweet spot right between a rich, dense brownie and a perfectly chewy cookie. The edges are slightly crisp, while the centers remain wonderfully soft and fudgy – pure cookie perfection!
- No Refined Sugars: You can indulge guilt-free! We skip the refined white sugar and brown sugar, opting for natural sweeteners that provide just the right amount of sweetness without any compromise on flavor.
- Effortless One-Bowl Wonder: Say goodbye to piles of dishes! This super easy recipe requires just one large bowl and a spoon. No stand mixer or even a hand mixer is needed, making cleanup a breeze and baking accessible to everyone.
- That Magical Flakey Sea Salt Touch: A sprinkle of flaky sea salt on top elevates these cookies from delicious to truly extraordinary. It perfectly balances the sweetness of the chocolate, enhancing its depth and creating a sophisticated flavor profile that chocolate lovers dream of.
- Truly Delicious Gluten-Free: Forget dry, crumbly, or bland gluten-free cookies! This recipe proves that gluten-free doesn’t mean sacrificing taste or texture. You won’t need an array of special gluten-free flours, xanthan gum, corn starch, or complex flour blends often required in gluten-free baking. It’s naturally gluten-free and utterly satisfying.
- Kosher for Passover & Beyond: Not only are these cookies perfect for year-round enjoyment, but they also fit seamlessly into Passover celebrations without tasting like typical, sometimes dense, Passover desserts. They’re a crowd-pleaser for any occasion!
Cacao or Cocoa: Understanding Your Chocolate Powder
While often used interchangeably, cacao and cocoa powder have distinct differences that can subtly impact your baking:
- Raw Cacao Powder: This is the least processed form of chocolate. It’s made from fermented, dried, and unroasted cacao beans, which are then ground into a fine powder. As a result, raw cacao retains more of its natural minerals, antioxidants, and a more intense, slightly bitter, and complex chocolate flavor. It’s often considered a superfood due to its nutritional density.
- Cocoa Powder: Traditional cocoa powder undergoes more processing. The beans are roasted at higher temperatures, and sometimes, the powder is alkalized (Dutch-processed). This process reduces acidity, resulting in a darker color, a smoother, less bitter taste, and often a slightly sweeter profile. Dutch-processed cocoa also reacts differently with leavening agents like baking soda.
- Which to Use? For this particular recipe, either raw cacao powder or unsweetened natural cocoa powder will yield excellent results. The key is to use unsweetened varieties. Feel free to use whichever you have on hand – both will contribute to the rich, deep chocolate flavor we’re after! If using natural cocoa, your cookies might be slightly lighter in color and a touch less intense in flavor compared to raw cacao.
Essential Ingredients and Smart Substitutions
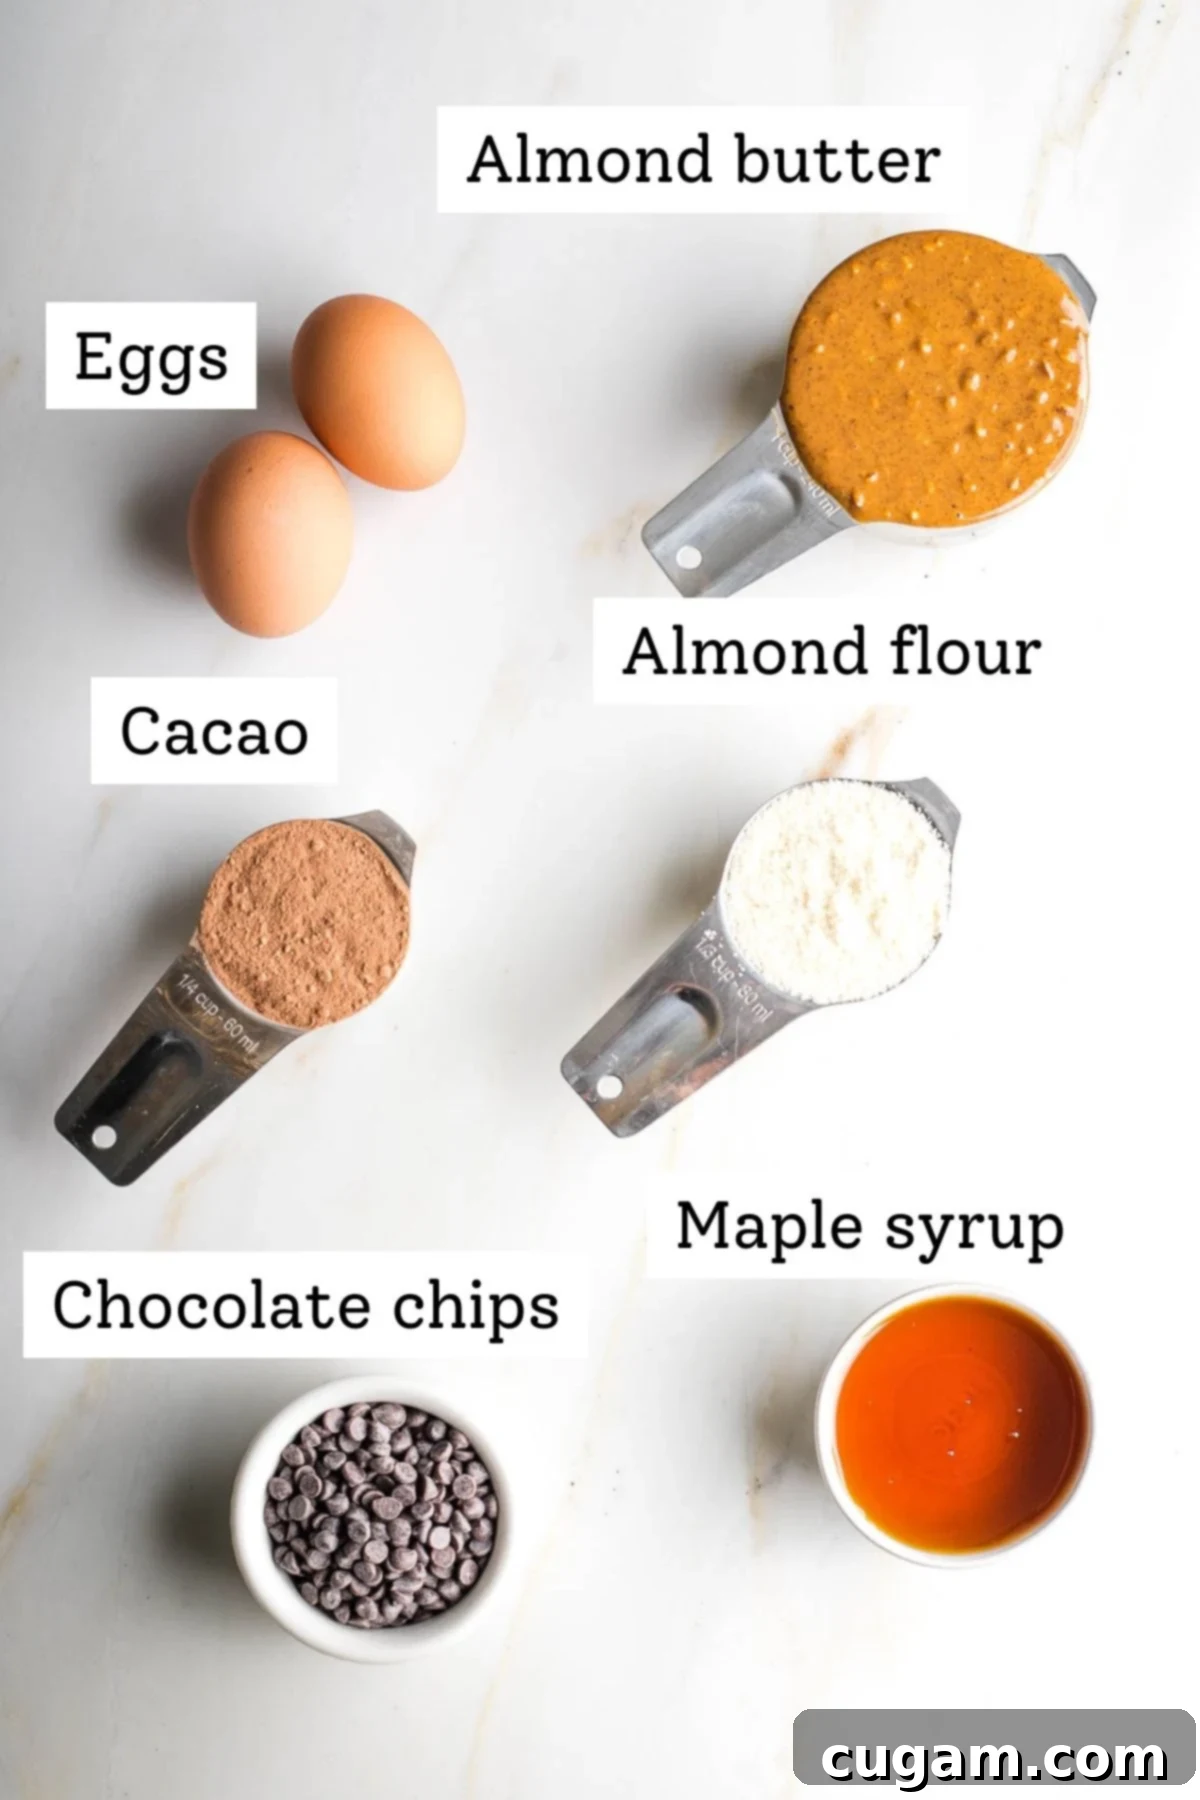
- Chocolate Galore (Cocoa Powder & Chocolate Chips): The magic of these “double” chocolate cookies comes from the harmonious blend of cocoa powder (or cacao) and dark chocolate chips. This combination ensures a profoundly rich and intense chocolate flavor throughout every bite. For a delightful twist next time, consider using dark chocolate chunks for pockets of melty goodness, or even white chocolate chips for a beautiful contrast in flavor and appearance.
- Nut Butter (Your Creamy or Crunchy Base): I personally love using crunchy almond butter in this recipe as it adds an extra layer of texture and a pleasant crunch. However, creamy nut butter will result in a smoother, even more fudgy cookie. If you have nut allergies, don’t fret! Sunbutter (sunflower seed butter) or tahini (sesame seed paste) are fantastic alternatives. Creamy or crunchy peanut butter or cashew butter also work beautifully. Nut butter provides healthy fats and a wonderful binding agent, making it a much healthier choice than highly processed vegan butters.
- Almond Flour (The Gluten-Free Secret): Fine-ground blanched almond flour is the star of our gluten-free base. It imparts a subtle nutty, rich flavor and is crucial for creating that wonderfully moist and tender cookie texture. Blanched almond flour, with its skin removed, is finer and creates a smoother crumb. You can typically find it in most major grocery stores or online. It’s naturally gluten-free and provides a good source of protein and fiber.
- Eggs (or Vegan Flax Eggs): Eggs serve as a binder and add moisture, contributing to the cookie’s structure and richness. For those desiring vegan double chocolate chip cookies, simply substitute the eggs with “flax eggs.” To make two flax eggs, combine 2 tablespoons of ground flaxseed meal with 6 tablespoons of water. Stir well and let it sit for about 5 minutes until it thickens into a gel-like consistency before adding it to your wet ingredients. When making vegan cookies, also remember to add 1 teaspoon of baking powder to the dry ingredients to help with lift.
- Maple Syrup (Natural Sweetness): These cookies are perfectly sweetened using pure maple syrup, making them free from refined sugar. Maple syrup not only provides natural sweetness but also adds a subtle depth of flavor. If you don’t have maple syrup, you can experiment with other liquid sweeteners like agave nectar, though results may vary slightly in flavor profile.
- Important Note for Allergies: If you have celiac disease or a severe gluten allergy, please ensure that all your ingredients – including your nut butter, chocolate chips, and flours – are certified gluten-free to avoid cross-contamination.
Crafting Vegan Chocolate Chocolate Chip Cookies
Creating a delicious vegan version of these double chocolate chip cookies is incredibly simple! The main adjustment involves swapping out the eggs for a plant-based alternative. Here’s how:
To make vegan double chocolate chip cookies, omit the chicken eggs entirely. Instead, prepare “flax eggs” (or “chia eggs”) by combining 2 tablespoons of ground flaxseed meal (or ground chia seeds) with 6 tablespoons of water in a small bowl. Stir the mixture thoroughly and then let it sit undisturbed for at least 5 minutes. During this time, the mixture will thicken and develop a gel-like consistency, mimicking the binding properties of an egg. Once gelled, it’s ready to be incorporated into your wet ingredients. Additionally, to ensure your vegan cookies have a lovely lift and soft texture, remember to add 1 teaspoon of baking powder to your dry ingredients along with the almond flour and cacao powder.
Step-by-Step Guide: How to Make These Decadent Cookies
Making these glorious gluten-free double chocolate chip cookies is surprisingly straightforward, requiring minimal fuss and maximum reward. Follow these simple steps for perfect results every time:
First things first, preheat your oven to 350°F (175°C). While the oven heats up, prepare your baking sheet: line a large rimmed cookie sheet with a silicone baking mat or unbleached parchment paper. If you’re opting for the vegan version of these double chocolate cookies, mix up your flax egg or chia egg mixture now and let it sit for 5 minutes to fully gel.
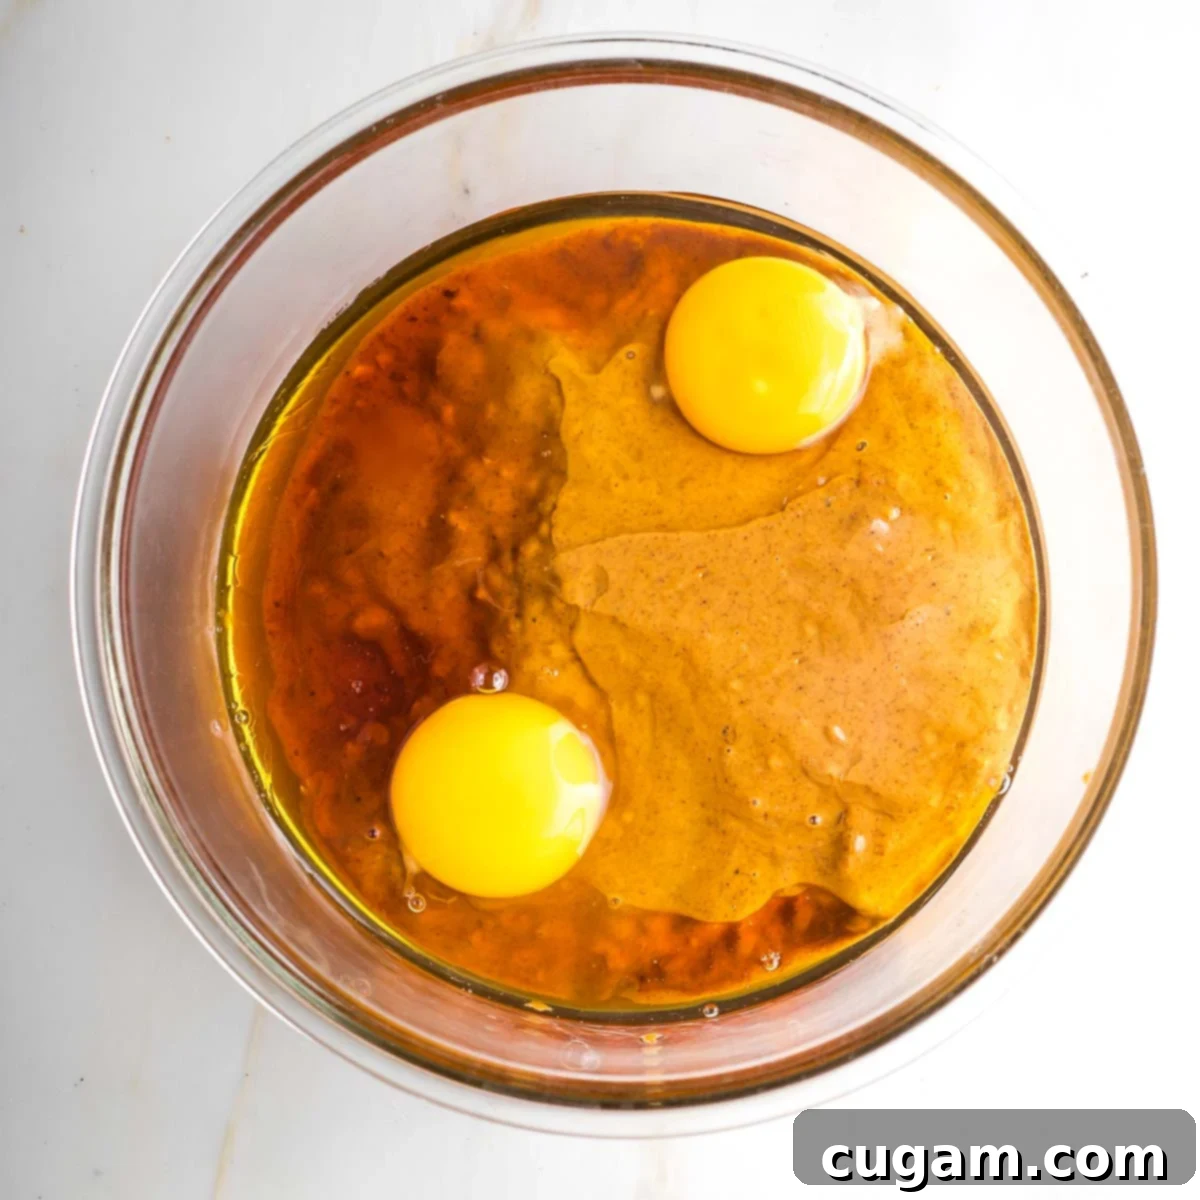
In a medium-sized bowl, begin by mixing the wet ingredients together. If you’re using vegan flax or chia eggs, combine them with the nut butter and maple syrup. For the traditional recipe, simply mix in your large eggs with the nut butter and maple syrup until everything is well combined and smooth.
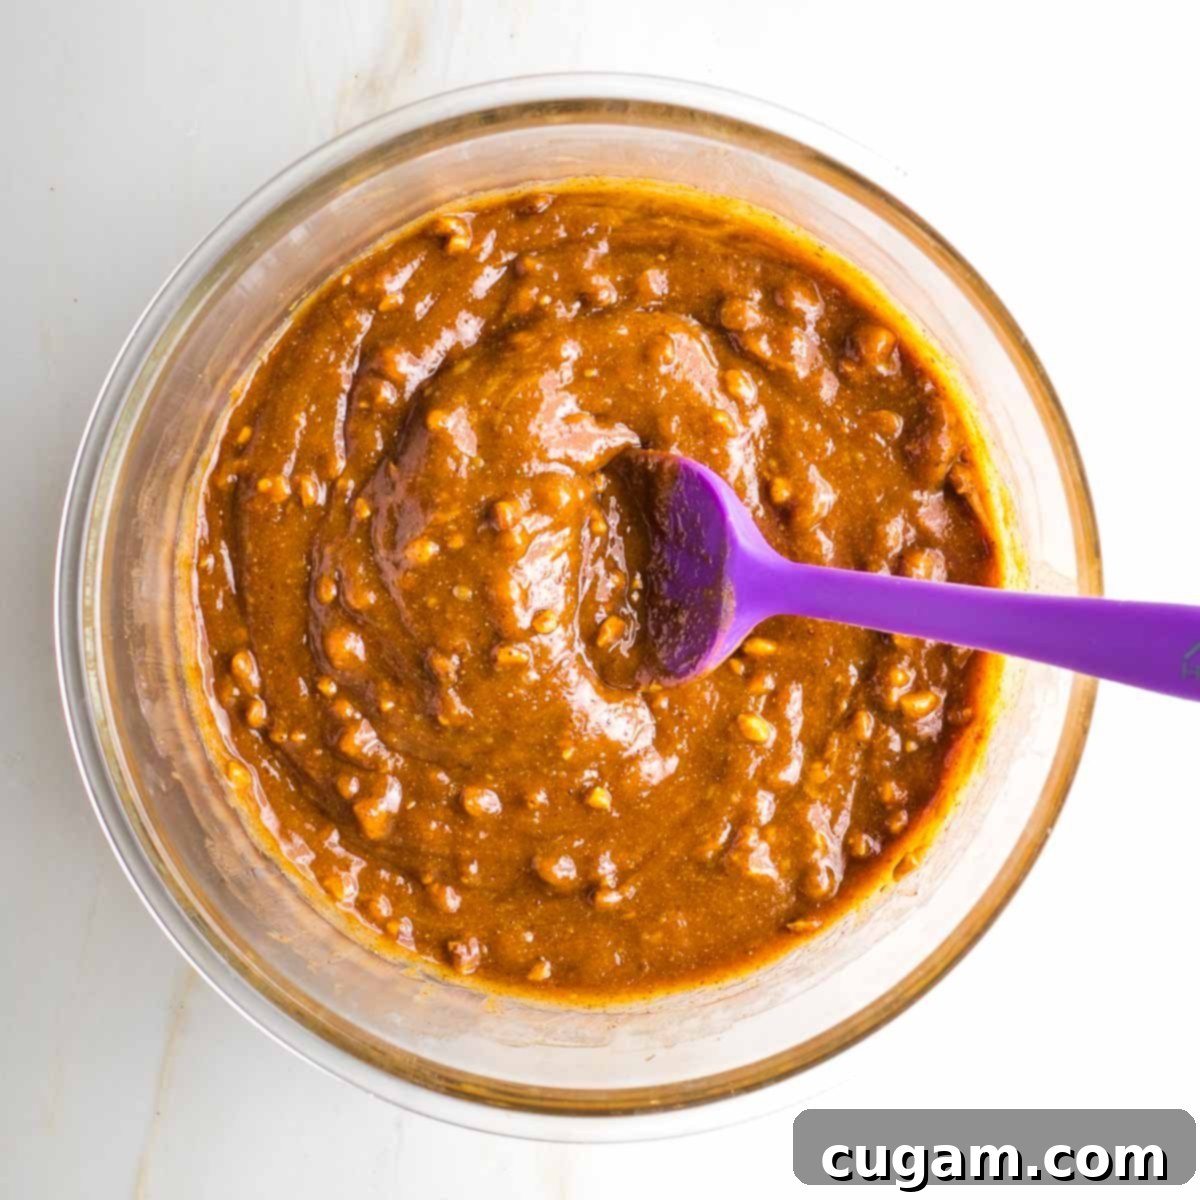
At this stage, you’ll notice the cookie dough is quite thick and wonderfully sticky – this is exactly the desired consistency! Use a sturdy rubber spatula or a large silicone spoon to ensure all ingredients are thoroughly incorporated. If you used crunchy almond butter, your batter will appear a bit lumpy, adding to the rustic appeal. If you opted for creamy almond butter, your batter will be smooth and velvety.
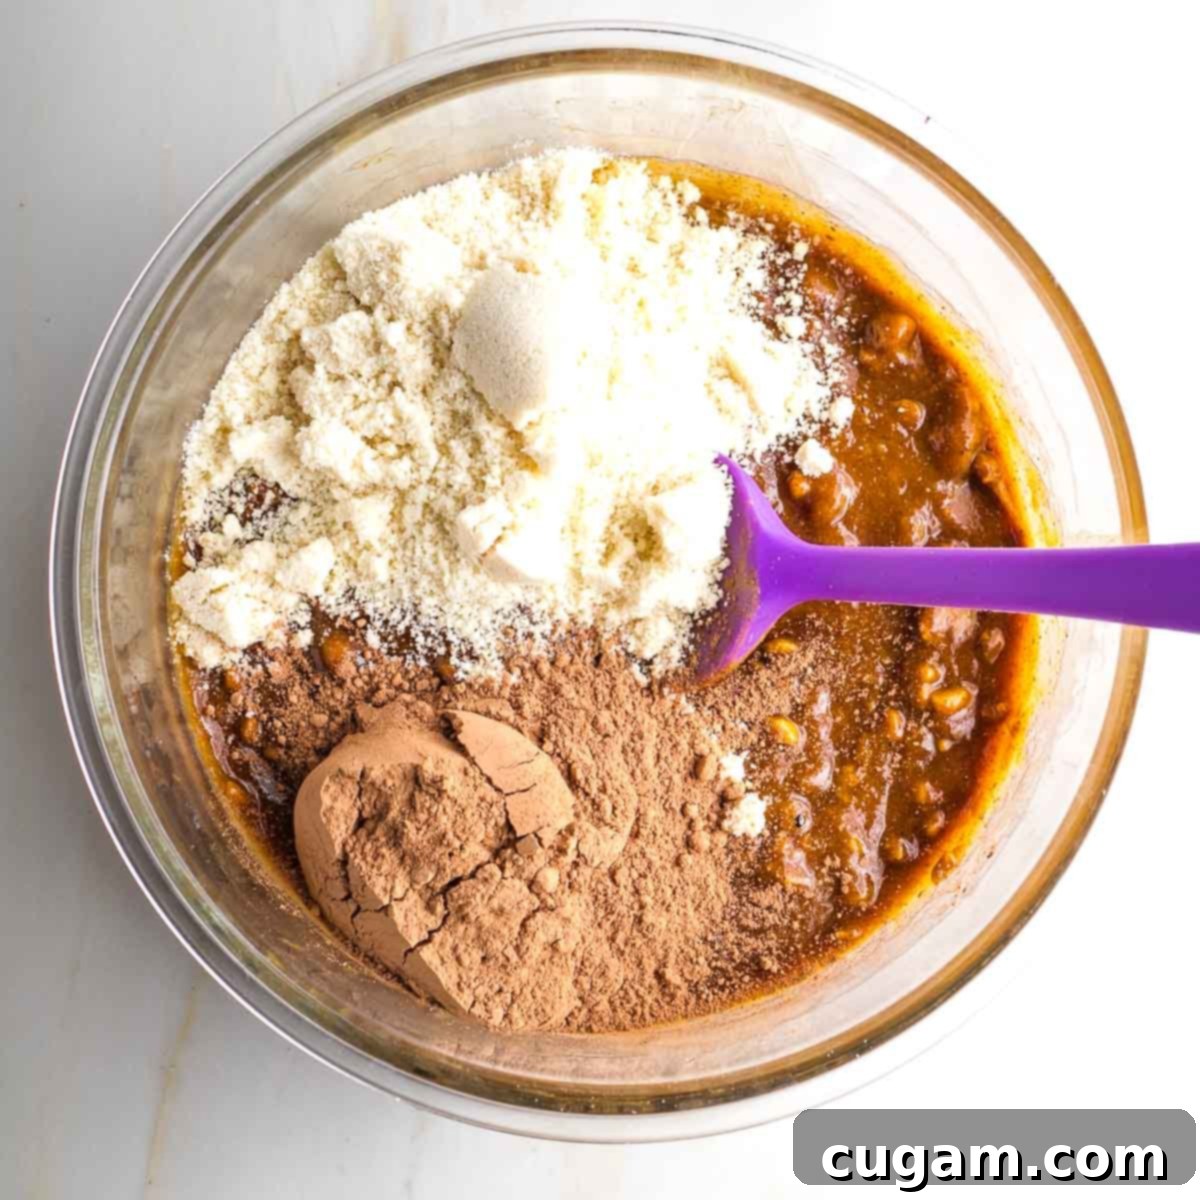
Now, it’s time to introduce the dry ingredients. Sprinkle the cacao powder and almond flour directly over the wet mixture. If you’re preparing the gluten-free vegan cookies, this is also the moment to add your 1 teaspoon of baking powder along with the other dry ingredients.
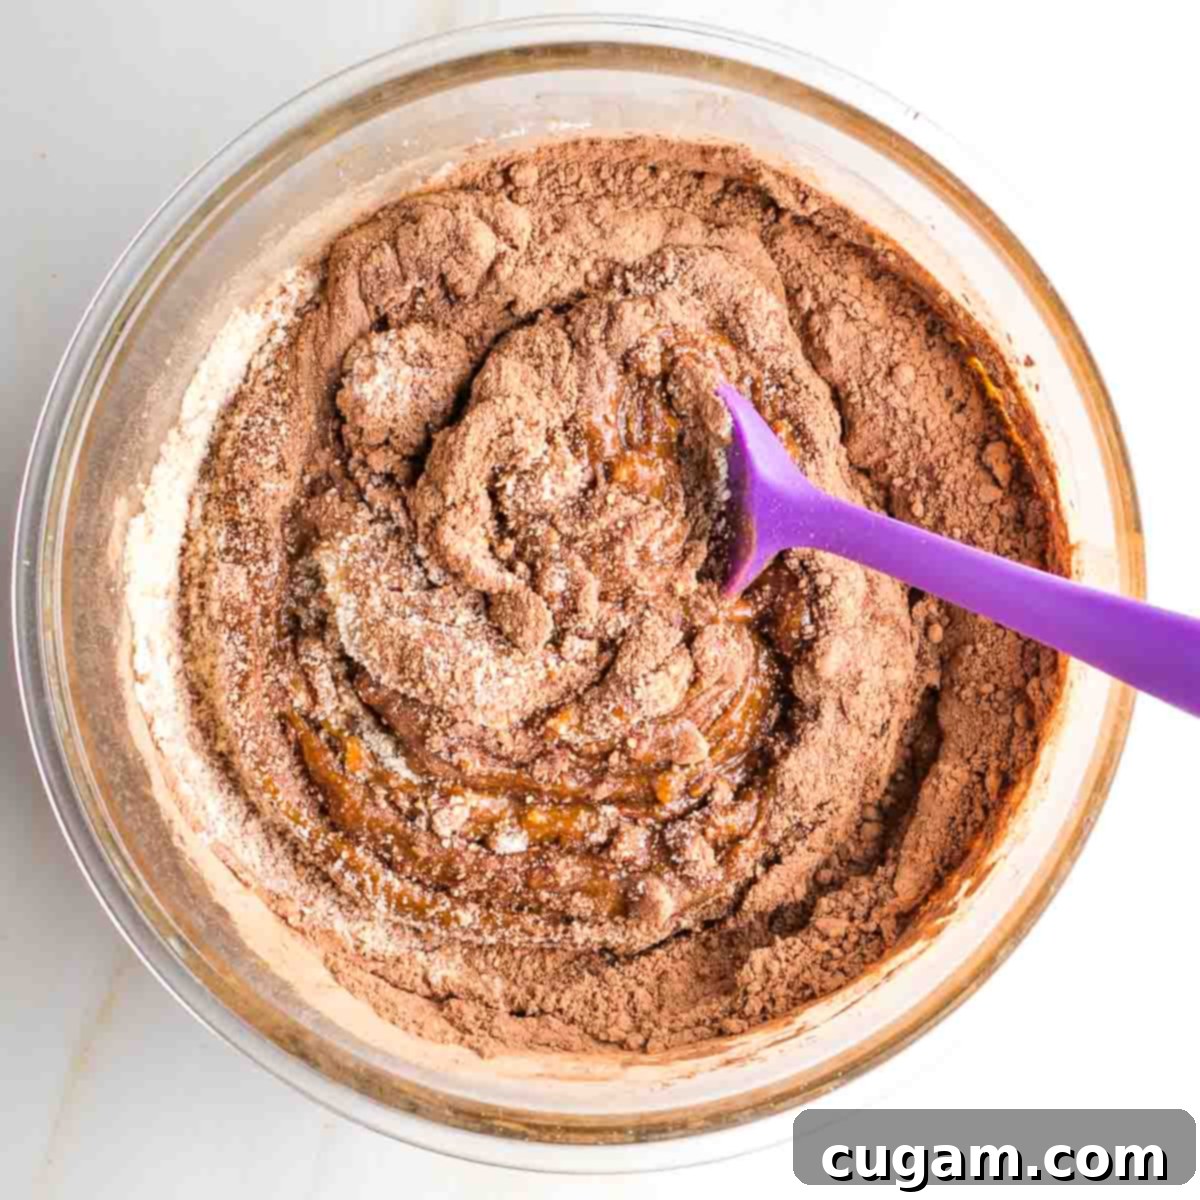
Continue mixing diligently until all the dry ingredients are fully incorporated into the wet mixture. Make sure there are no visible streaks of powder remaining in the dough – a uniform, rich chocolate color is what you’re aiming for. This ensures every cookie is consistently delicious.
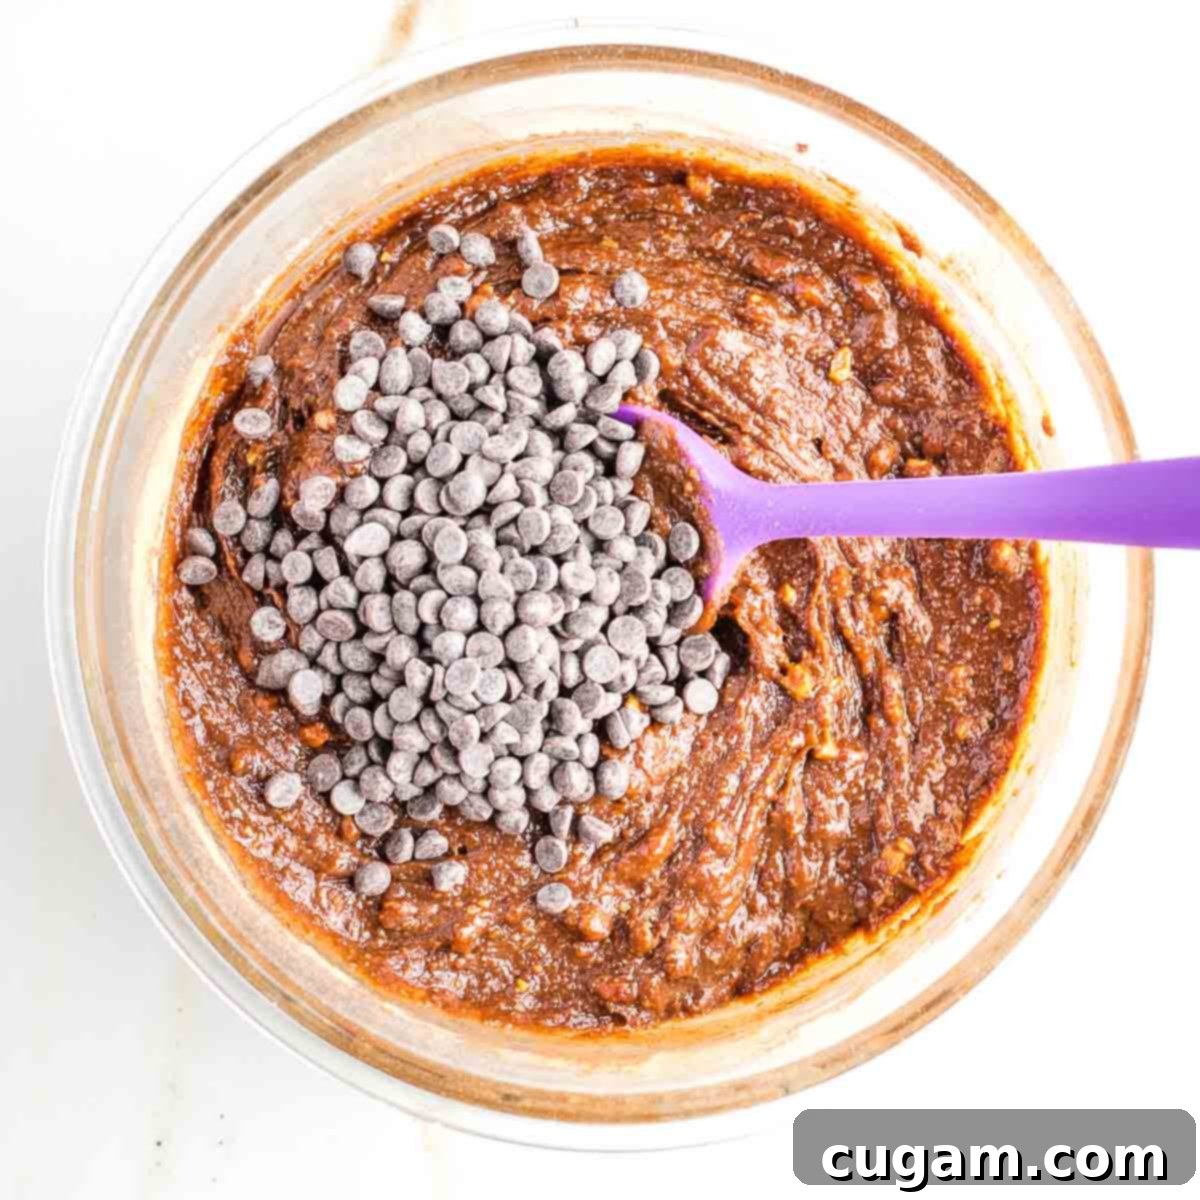
Before you fold in the main batch of chocolate chips, set aside about a tablespoon or two of them. These will be used to artfully decorate the tops of your cookies just before baking, ensuring beautiful, melty pools of chocolate. Once those are set aside, mix the remaining chocolate chips into the cookie batter by hand until they are evenly dispersed throughout the dough.
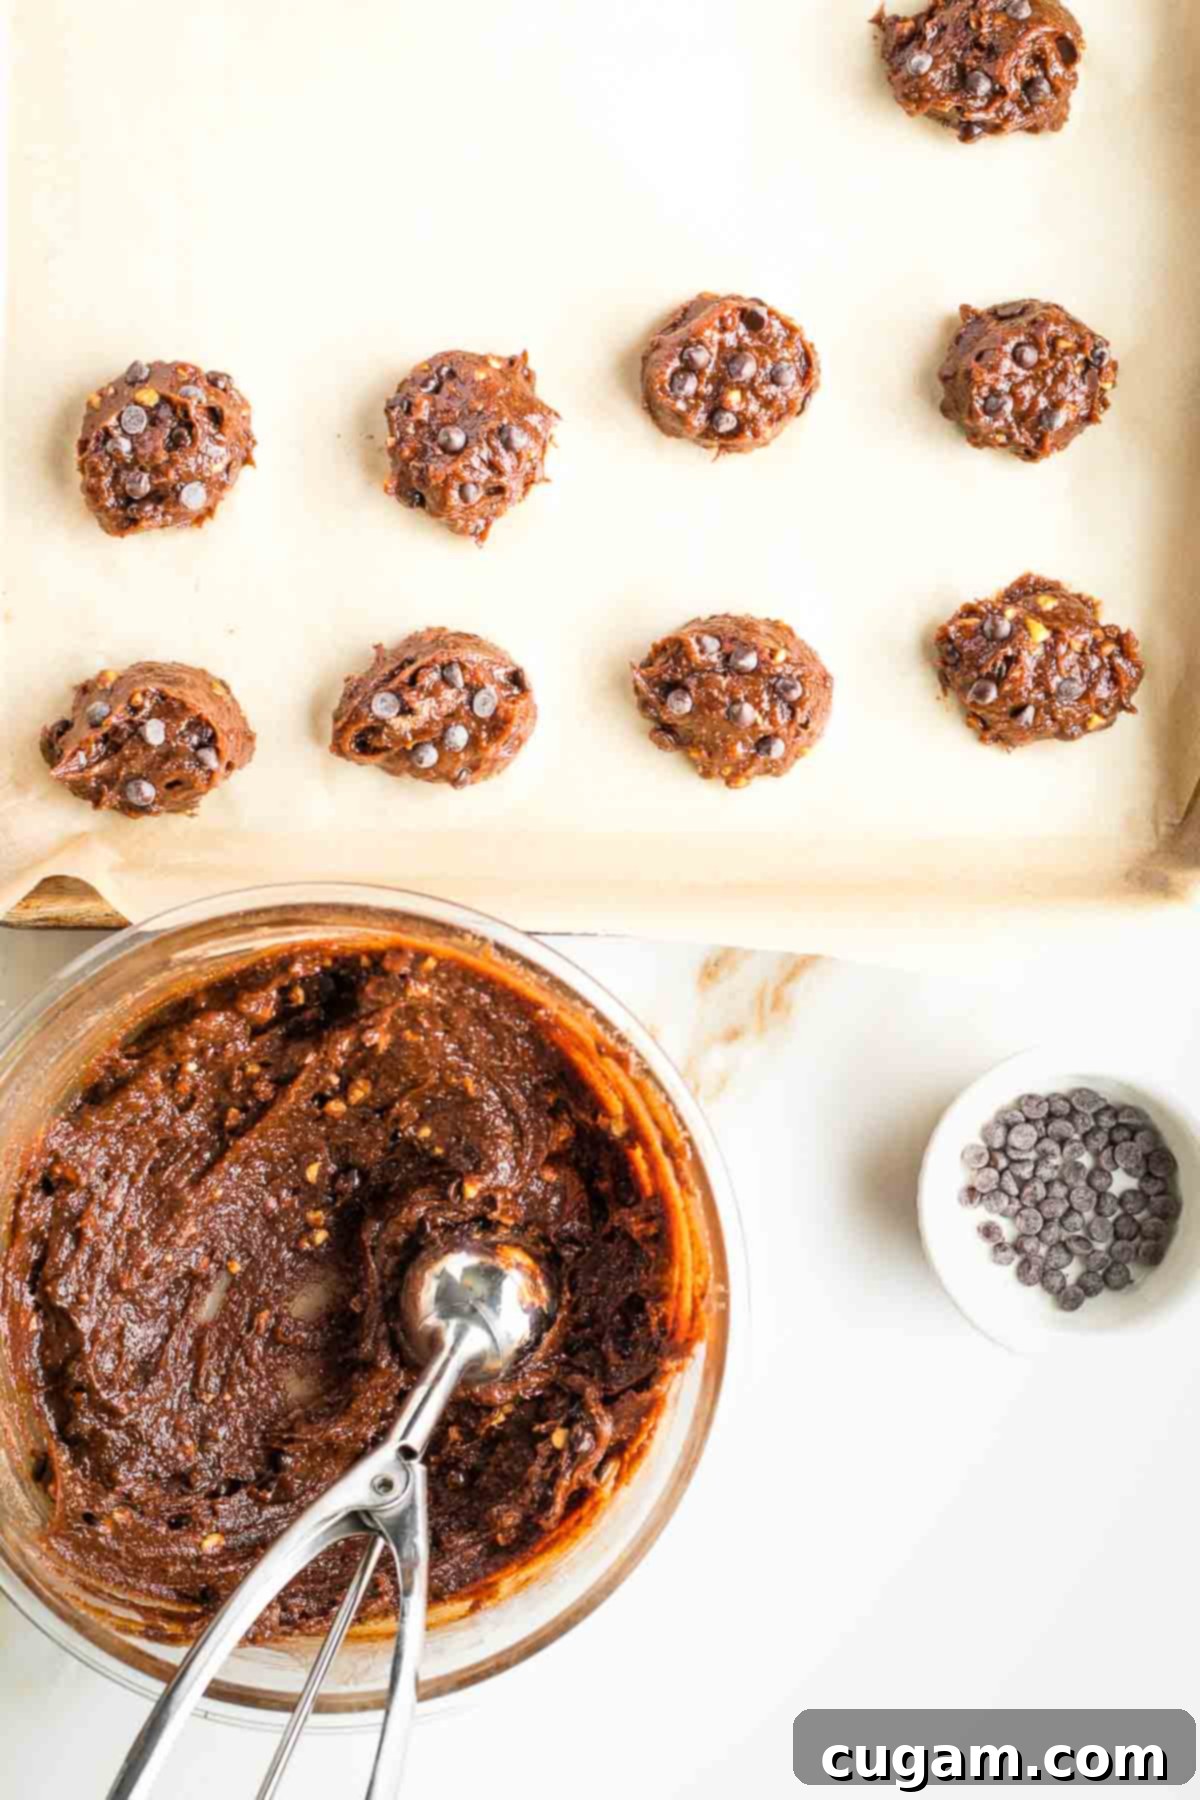
Now, it’s time to portion out your cookie dough. Use a cookie scoop, a small ice cream scoop, or two large spoons to drop rounded mounds of batter onto your prepared baking sheet. Aim for even spacing between each cookie. If your cookie batter is incredibly thick and sticky, congratulations – you’ve nailed the consistency! This ensures a chewy, fudgy result.
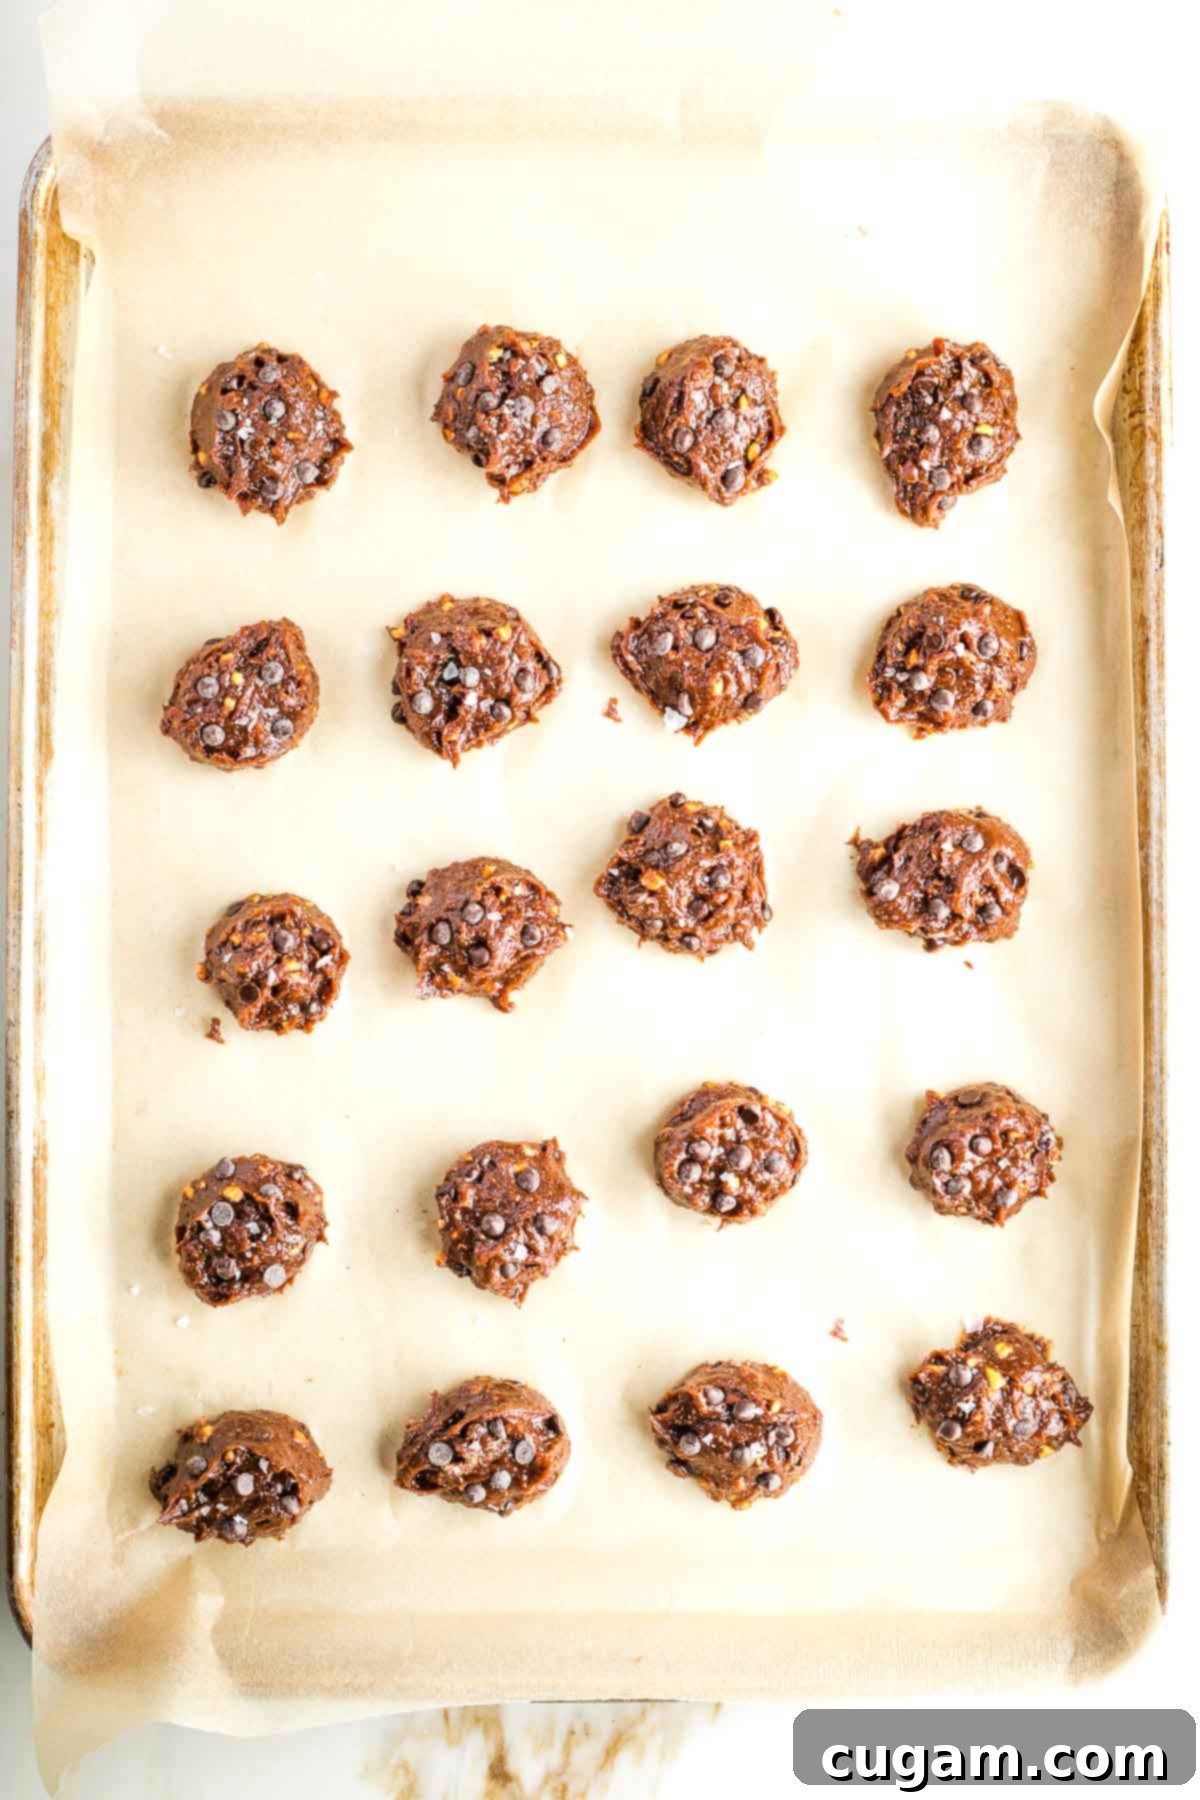
Take the chocolate chips you set aside earlier and gently press a few onto the top of each cookie dough mound. This makes for a visually appealing cookie with irresistible melty chocolate on the surface. Then, if desired, sprinkle a pinch of flaky sea salt over each cookie. This small addition enhances the chocolate flavor and adds a delightful salty crunch.
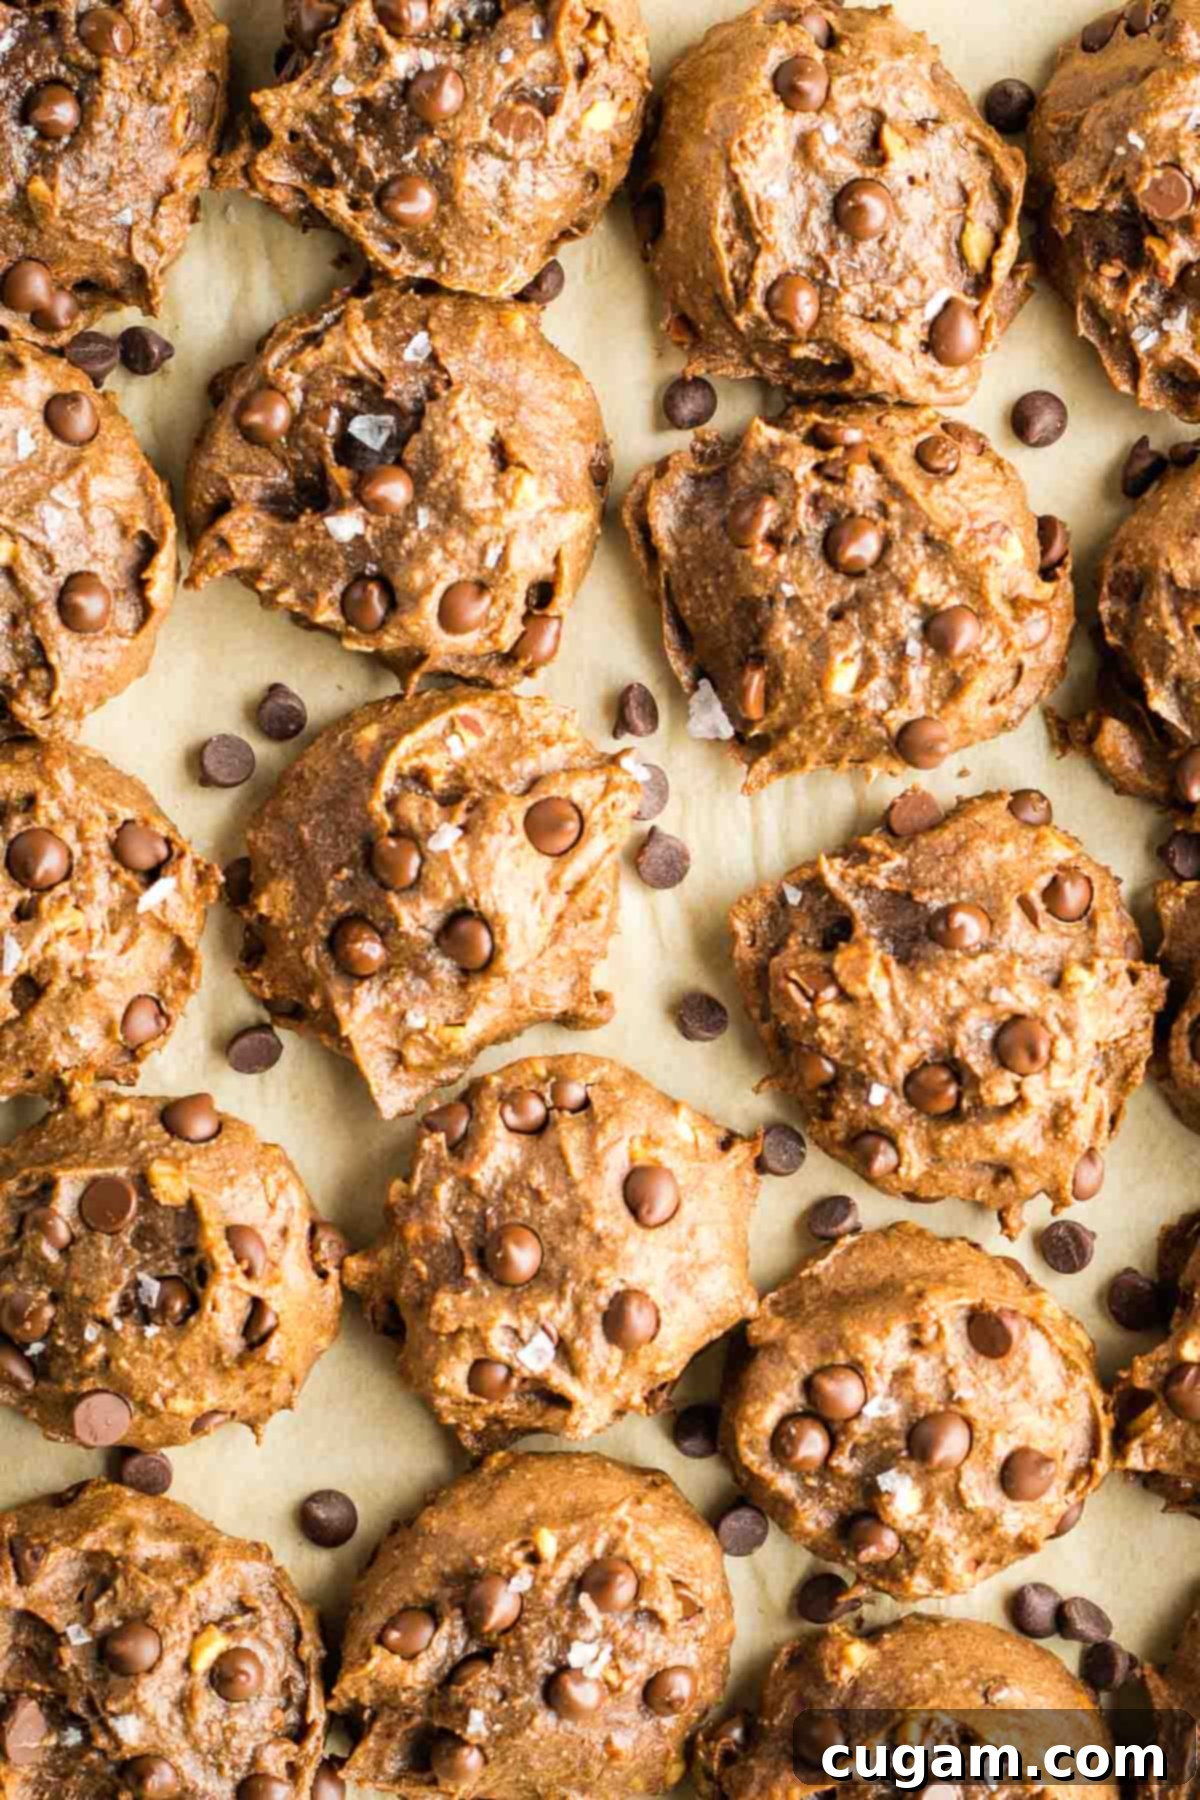
Bake in your preheated oven for approximately 10 minutes. Keep a close eye on them; you want the edges to be just set, while the centers remain soft. When they first emerge from the oven, the chocolate chips or chocolate chunks on top will be gloriously gooey and melted. It’s crucial to let the cookies sit on the baking pan for at least 5-10 minutes as they begin cooling. This crucial step allows them to set up properly and prevents them from breaking apart when you transfer them.
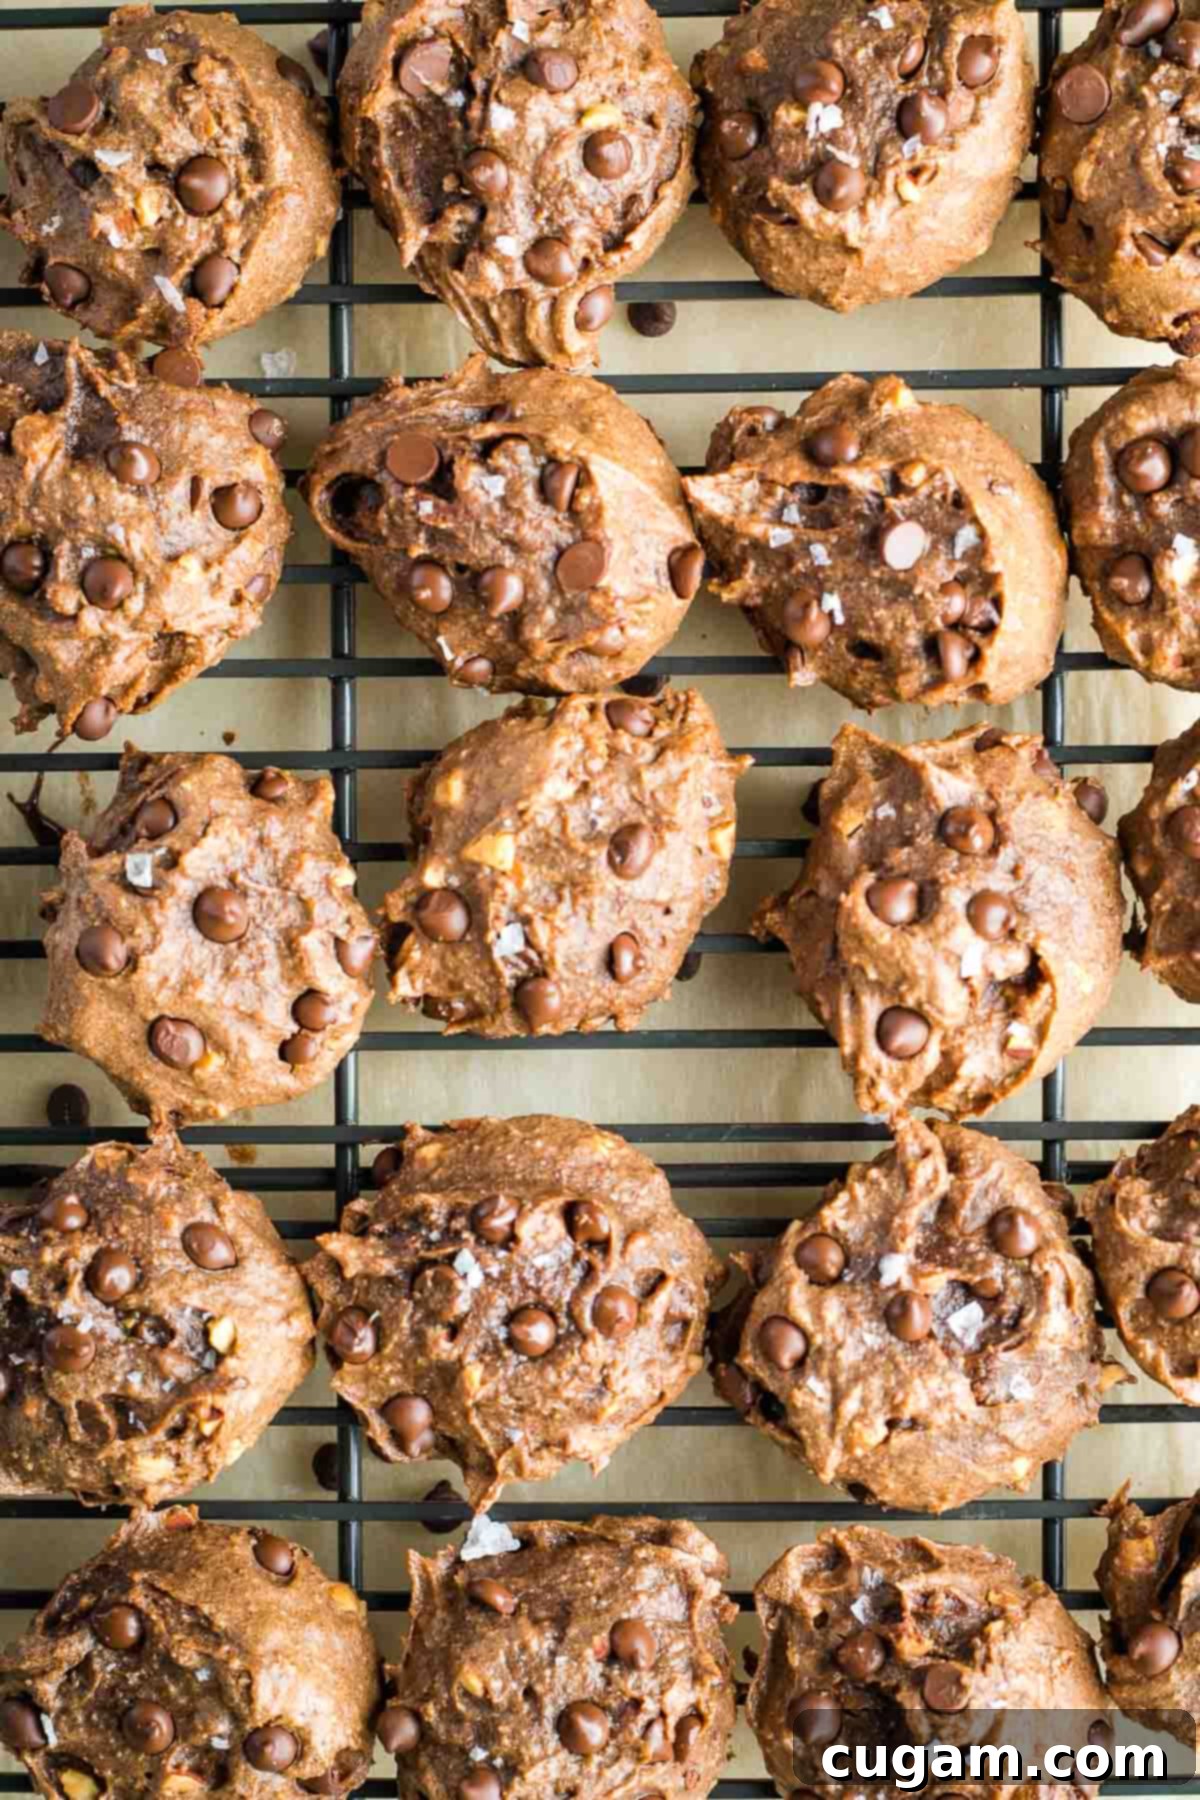
After they’ve set up on the pan, carefully transfer the baked cookies to a wire rack to allow them to cool completely. Cooling thoroughly is key to achieving that perfect chewy texture. Once entirely cool, they are ready to be stored in an airtight container to maintain their freshness.
Debra’s Pro Tips for Cookie Perfection
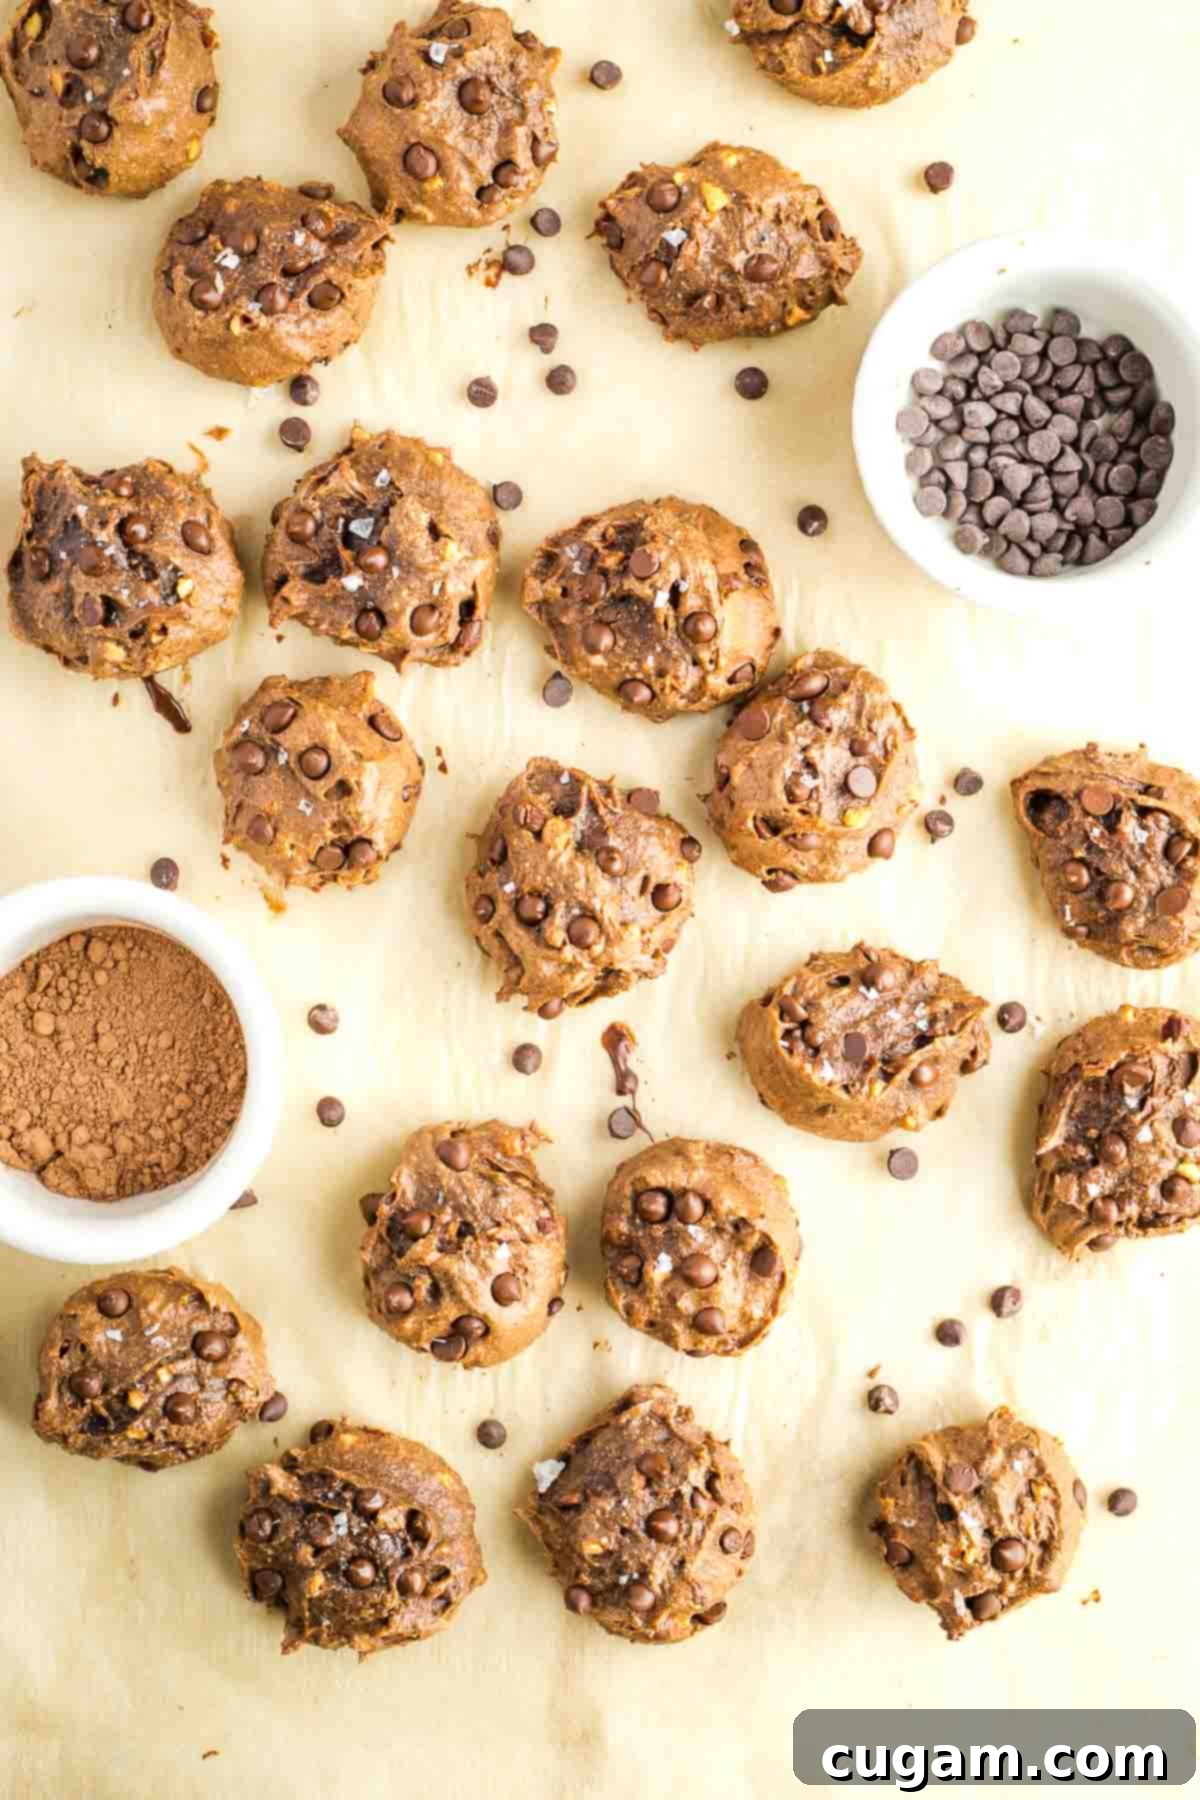
- Always Have a Stash: These cookies are so versatile and delicious that you’ll want to keep a batch in your freezer at all times. They’re perfect for any impromptu occasion, whether it’s a special celebration or just an average Tuesday when you need a little pick-me-up.
- Freeze Dough Balls for Freshness: For the ultimate freshly baked experience anytime, scoop balls of cookie dough onto a parchment-lined baking sheet and flash freeze them until solid. Once frozen, transfer the dough balls to a freezer-safe bag or container. When a craving strikes, simply pop them directly into a preheated oven (you might need to add a minute or two to the baking time), and voilà – warm, gooey cookies on demand!
- Go Big or Go Home: If you prefer larger, more substantial, and stackable cookies, simply divide the dough into just 12 portions instead of 20. Before baking, gently flatten each dough ball with the bottom of a glass (lightly sprayed with oil or moistened with water to prevent sticking). Alternatively, use a fork to create crisscross marks on top, similar to how you would for peanut butter cookies. This yields a chewier, flatter cookie.
- Hand-Chopped Chocolate Chunks: Elevate your chocolate experience by ditching the pre-made chips! Grab your favorite high-quality dark chocolate bar and roughly chop it into irregular chunks. Using these instead of standard chocolate chips will create pockets of truly molten, rich chocolate throughout your cookies – an even more chocolatey goodness, yay!
Storage & Freezing: Keeping Your Cookies Fresh
Proper storage is essential to maintain the deliciousness and texture of your double chocolate chip cookies. Here’s how to keep them fresh, whether for a few days or a few months:
- Room Temperature Storage: Always ensure your cookies are completely cool before storing them. Place them in an airtight container at room temperature. They will remain wonderfully fresh and chewy for up to 4 days.
- Refrigeration: For slightly longer storage, you can keep the cooled cookies in an airtight container in the refrigerator for up to a week. The texture might become a little firmer when cold, but they will still be delicious.
- Freezing Baked Cookies: These cookies freeze beautifully! To prevent freezer burn and maintain quality, allow cookies to cool completely. Arrange them in a single layer on a baking tray and flash freeze until solid (about 1-2 hours). Once firm, transfer them to a freezer-safe zip-top bag or container, using a sheet of parchment paper between layers to prevent sticking. Properly stored, baked cookies can last in the freezer for up to 3 months.
- Thawing Frozen Cookies: When you’re ready to enjoy a frozen cookie, simply take it out of the freezer and let it thaw at room temperature for about 15-30 minutes. For a warm, gooey treat, you can gently reheat them in the microwave for 10-15 seconds or in a low oven (275°F/135°C) for a few minutes.
Did you know commenting and rating recipes is one of the best ways to support your favorite food bloggers? If you made this recipe, please consider a five-star rating below and leave a comment sharing your experience. Also, we’d love to see your creations! Please share your photos on Instagram by tagging me @dkhealthcoach and using the hashtag #debraklein. Your support means the world!
📖 Recipe
Gluten-Free Double Chocolate Chip Cookies
Debra Klein
Rate this Recipe
Pin Recipe
5 minutes
10 minutes
15 minutes
Dessert, Snack
American
20
cookies
123
kcal
Equipment
-
1 Large Rimmed Baking Sheet
-
1 Unbleached Parchment Paper
-
1 Mixing Bowl
Ingredients
-
1
cup
almond butter -
2
eggs -
⅓
cup
maple syrup -
⅓
cup
almond flour -
¼
cup
cacao powder -
¼
cup
dark chocolate chips -
pinch
flakey sea salt
Instructions
-
Preheat oven to 350°F (175°C). Line a large rimmed baking sheet with unbleached parchment paper or a silicone baking mat.
-
In a medium-sized bowl, mix together the almond butter, maple syrup, and eggs (or prepared flax eggs for vegan) until well combined and smooth.
-
Sprinkle the almond flour and cacao powder (and 1 tsp baking powder for vegan version) onto the wet ingredients. Mix well with a sturdy spatula until no dry streaks remain and a uniform chocolate dough forms.
-
Set aside a few chocolate chips (about 1-2 tablespoons) to decorate the tops of the cookies. Mix the remaining chocolate chips into the cookie batter until evenly dispersed.
-
Use a cookie scoop or two spoons to drop cookies onto the prepared tray, leaving some space between each. You can make about 20 small cookies or a dozen larger cookies.
-
OPTIONAL: Gently press the reserved chocolate chips onto the top of each cookie dough ball, then sprinkle with a pinch of flaky sea salt before baking.
-
Bake for 10 minutes, or until the edges are just set and the centers still look soft. Let cookies cool on the tray for 10 minutes before carefully transferring them to a wire rack to finish cooling completely. This helps them firm up and prevents breakage.
-
Ensure cookies are completely cool before storing them in an airtight container to maintain their freshness and texture.
-
Cookies will stay good at room temperature for 4 days, refrigerated for up to a week, or can be frozen for up to 3 months if properly stored.
Notes
Choosing Your Nut Butter: The type of nut butter you choose can influence the final texture of your cookies. If you adore the delightful crunch of nuts in your cookies, then crunchy almond butter is definitely the way to go! Otherwise, opt for a creamy nut butter for a smoother, melt-in-your-mouth experience. For optimal consistency and ease of mixing, I recommend storing unopened nut butter jars upside down in your pantry. When you first open a new jar, give it a thorough stir to achieve an even, drippy consistency. This recipe is highly adaptable; you can successfully use almond butter, peanut butter, cashew butter, sunbutter (for nut allergies), or even tahini, keeping in mind that the flavor profile will subtly change with each choice.
Gluten-Free Certification: For individuals with celiac disease or severe gluten allergies, it is paramount to ensure that all your ingredients, including nut butter, chocolate chips, and any other packaged goods, are certified gluten-free to prevent cross-contamination and ensure safety.
Nutrition
Serving:
2
cookies
Calories:
123
kcal
Carbohydrates:
8
g
Protein:
4
g
Fat:
9
g
Saturated Fat:
1
g
Polyunsaturated Fat:
2
g
Monounsaturated Fat:
4
g
Trans Fat:
0.002
g
Cholesterol:
16
mg
Sodium:
10
mg
Potassium:
142
mg
Fiber:
2
g
Sugar:
5
g
Vitamin A:
24
IU
Vitamin C:
0.01
mg
Calcium:
64
mg
Iron:
1
mg
Note
The nutrition calculations were done using online tools. To obtain the most accurate representation of the nutritional information in any given recipe, you should calculate the nutritional information with the actual ingredients you used. You are ultimately responsible for ensuring that any nutritional information is accurate, complete and useful.
Did you make this recipe?
Please leave a review below, then snap a picture and tag me @dkhealthcoach or use hashtag #dkhealtcoach on Instagram so I can see it!!
