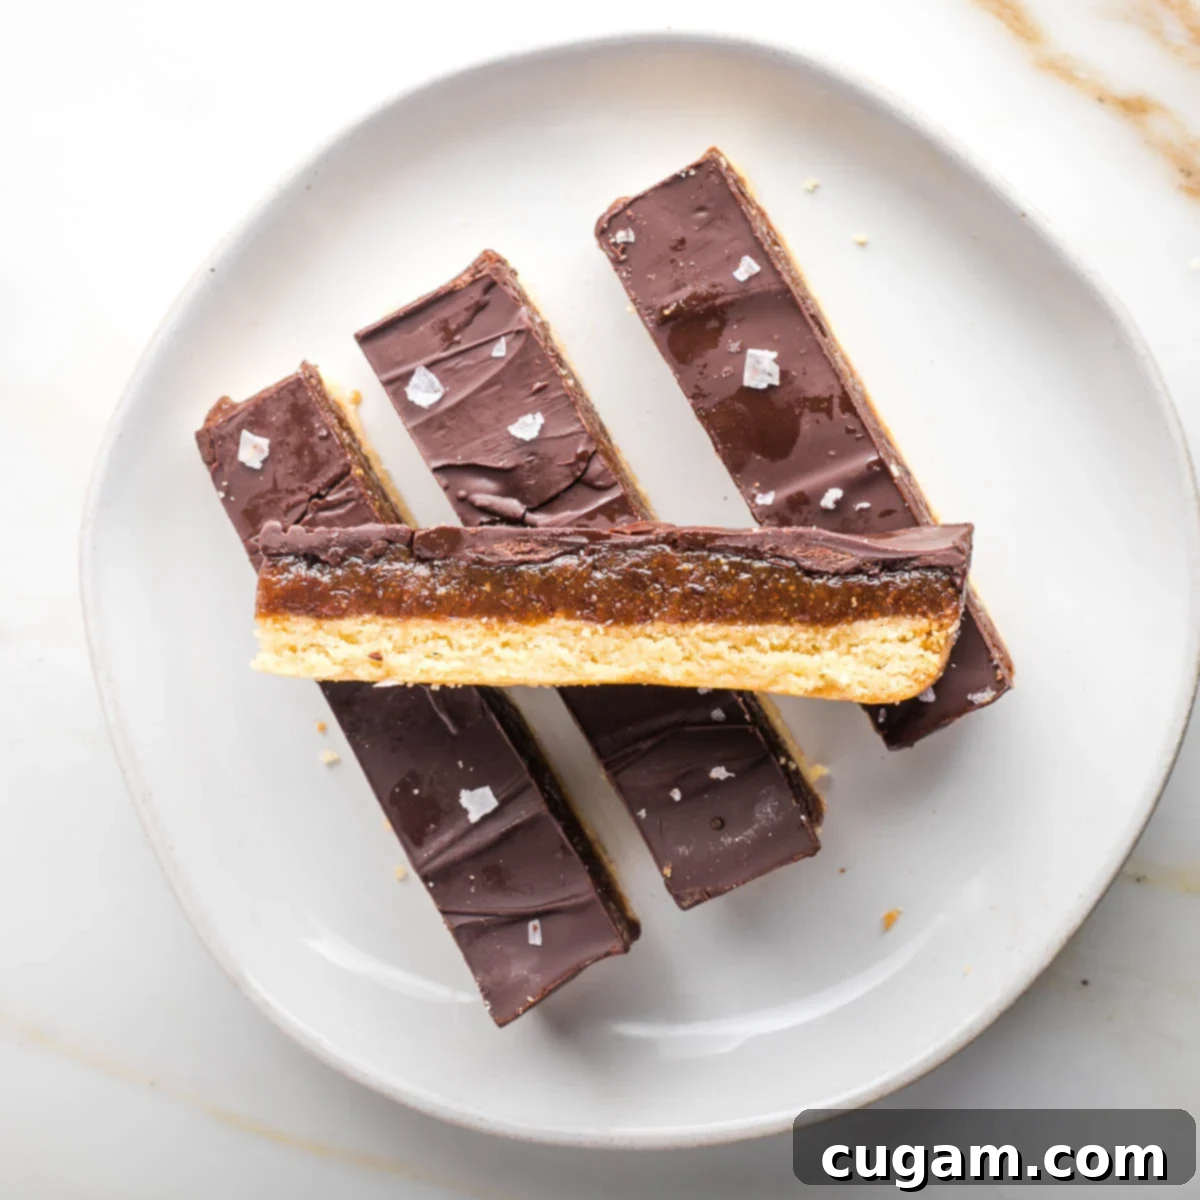
Indulge Guilt-Free: The Ultimate Healthier Homemade Vegan Twix Bars Recipe
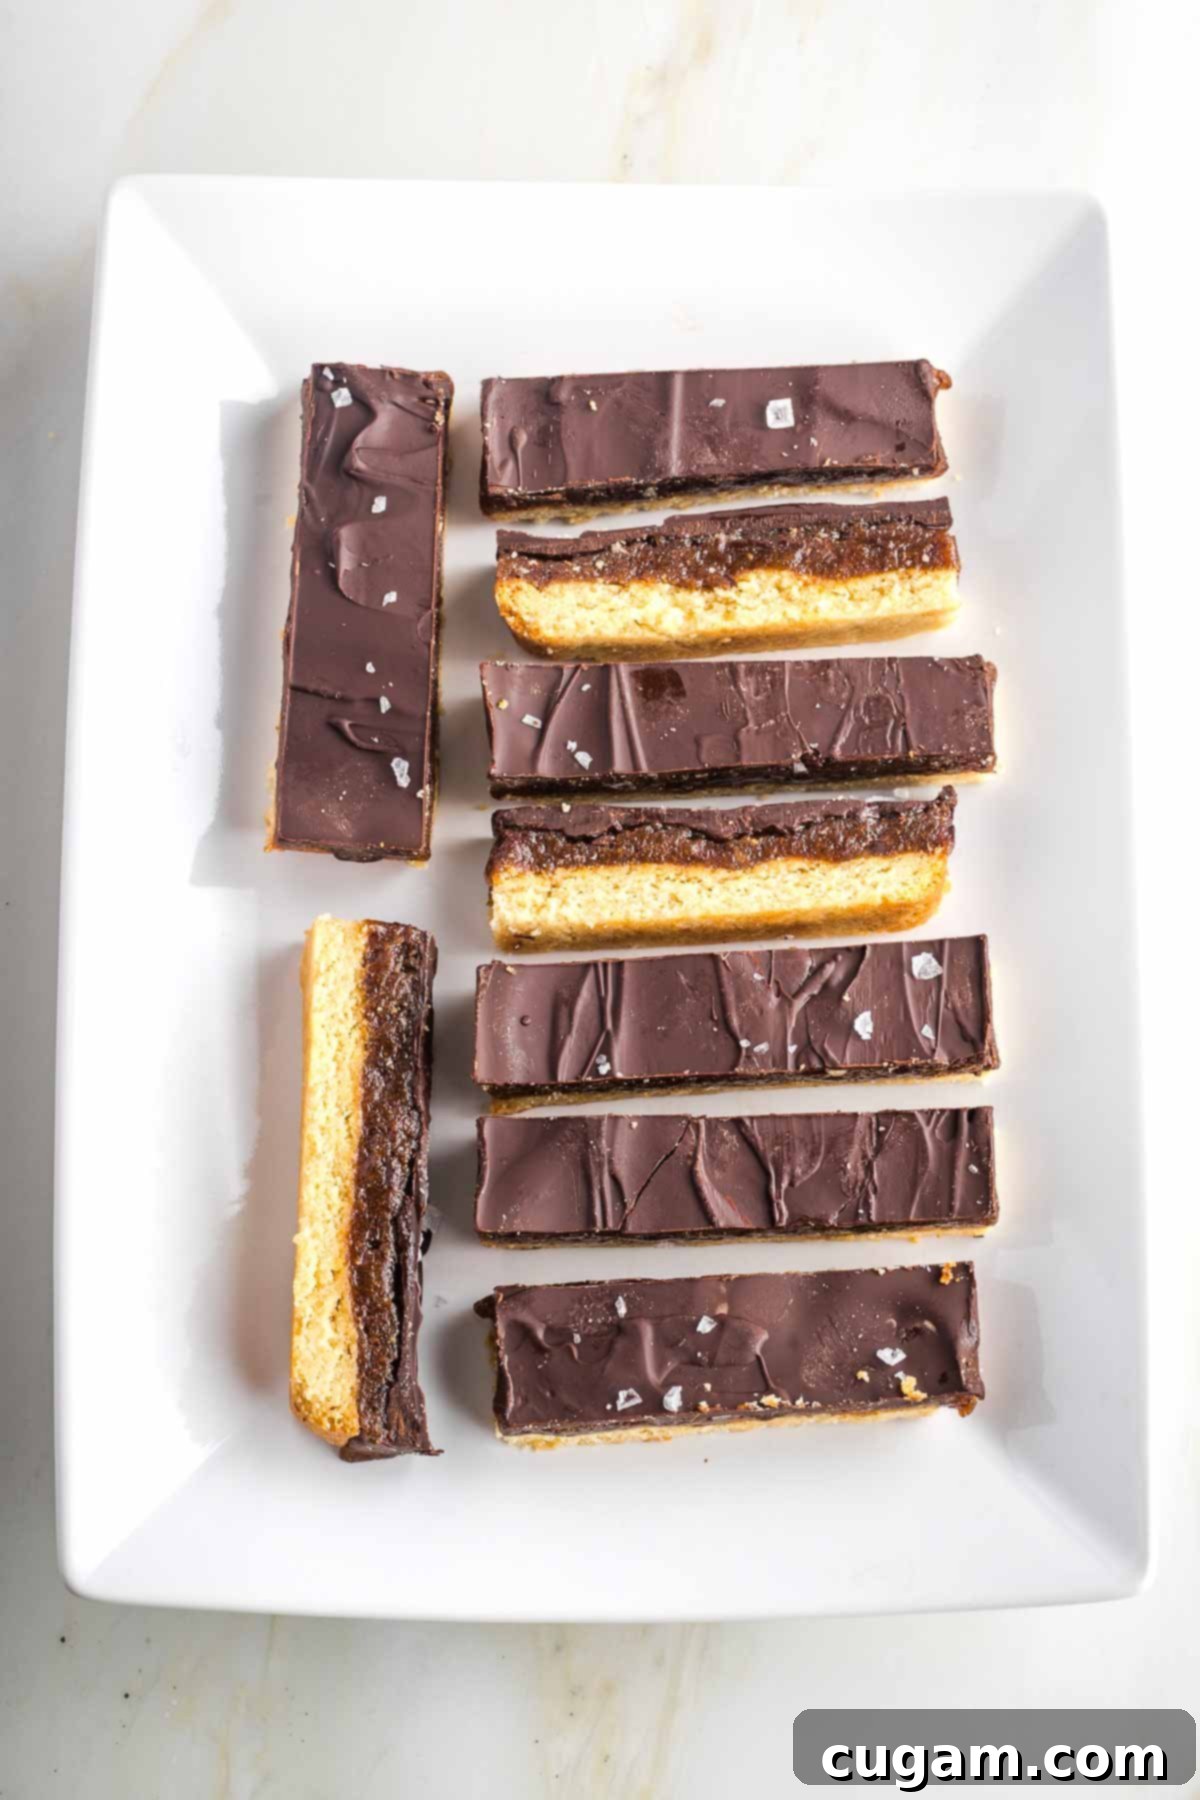
Craving that classic combination of crunchy biscuit, gooey caramel, and rich chocolate but want a treat that aligns with your healthy lifestyle? Look no further! These Healthier Homemade Vegan Twix Bars are a dream come true for anyone with a sweet tooth. They feature a perfectly crisp, gluten-free biscuit base, a layer of luxuriously smooth and chewy date caramel, and are generously topped with a decadent dark chocolate shell. What makes them truly special is that they achieve all this deliciousness without any refined sugar or processed oils, making them a much healthier alternative to the store-bought version.
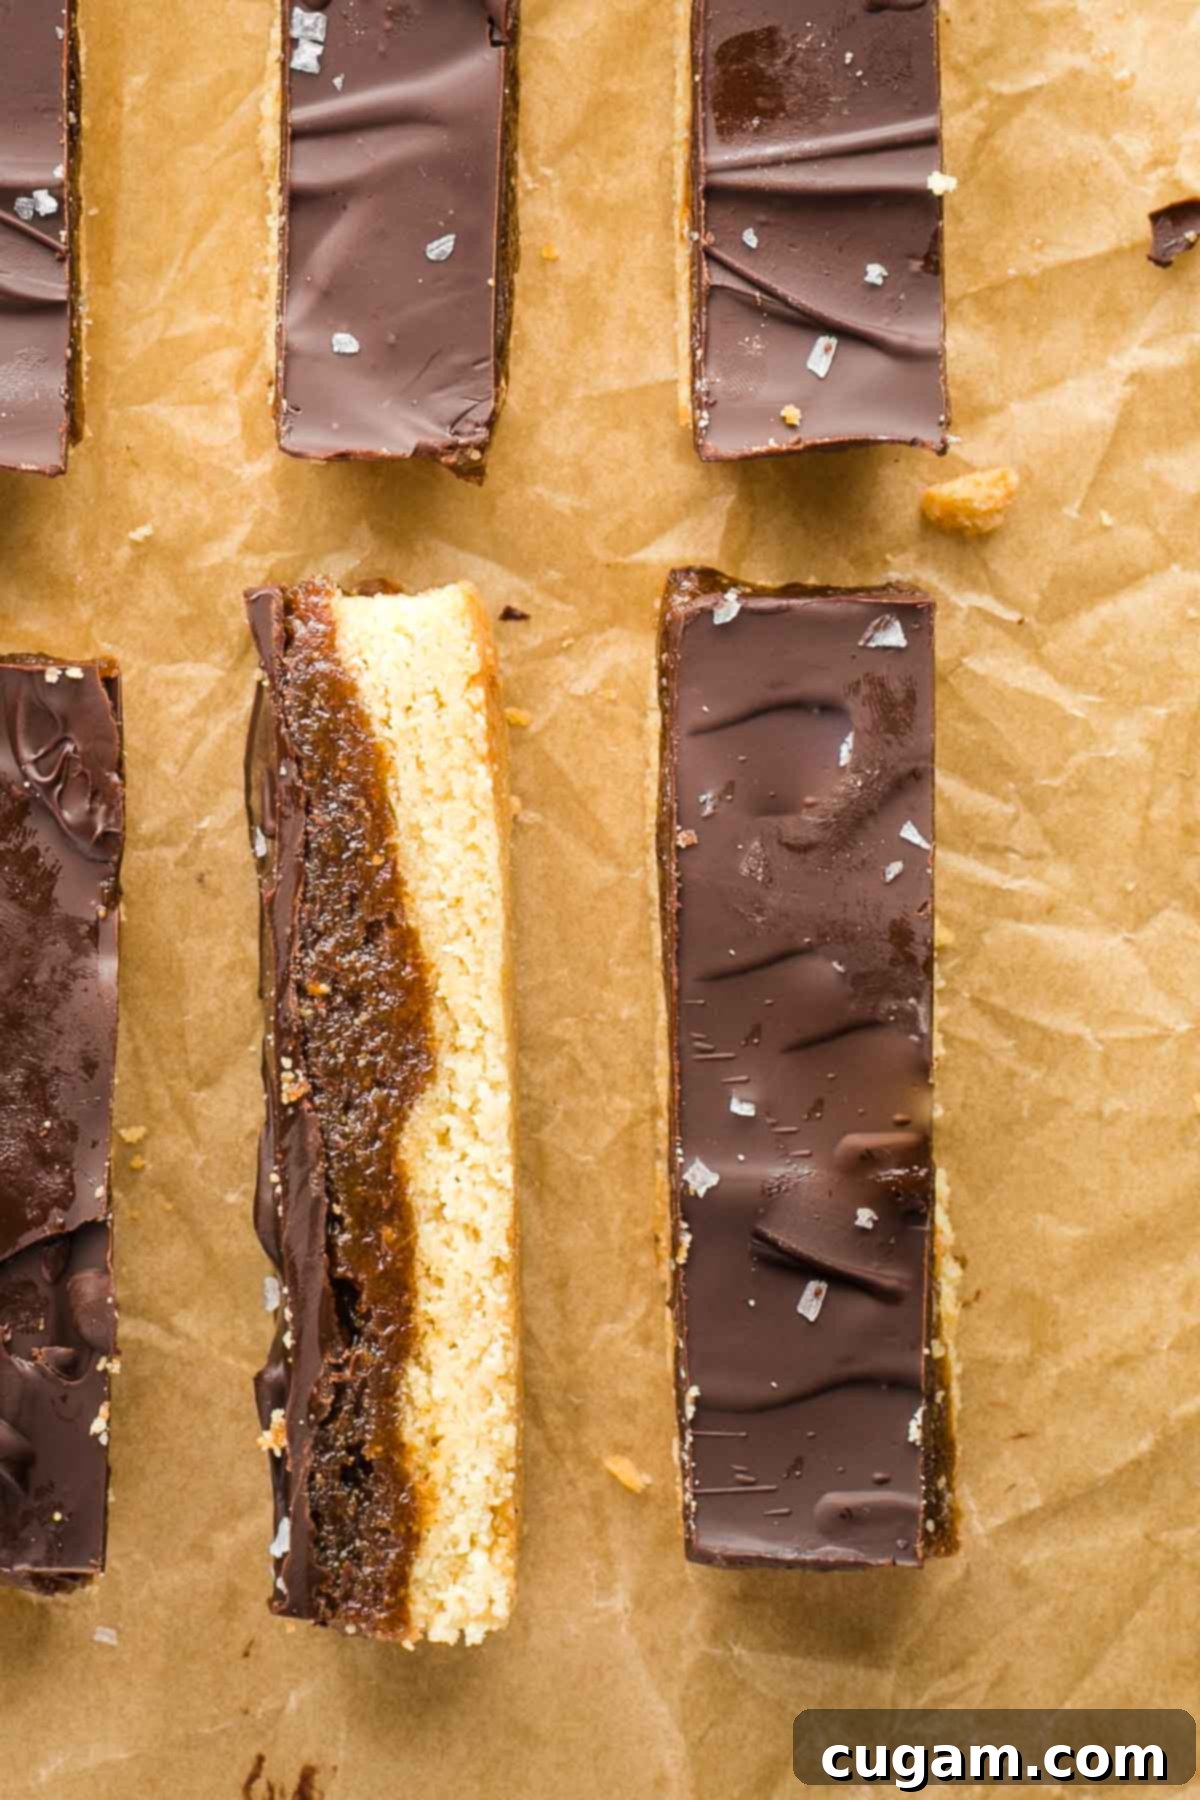
If you’re a chocolate lover who also enjoys the chewy, crunchy texture of a Twix bar, then this recipe is tailor-made for you. These homemade bars capture the nostalgic taste and satisfying experience of the store-bought Twix bars you grew up with, but with a significant nutritional upgrade. Imagine biting into a treat that feels indulgent yet is crafted from wholesome, natural ingredients.
Making Twix bars at home gives you complete control over what goes into your dessert. This healthier rendition delivers all the amazing taste and texture that we cherish from our childhood favorite, but without the harmful trans-fats, refined flour, excessive sugar, corn syrup, and artificial additives commonly found in commercial candy bars. This recipe empowers you to enjoy a beloved classic, guilt-free, knowing exactly what fuels your body.
Why You’ll Adore These Healthier Homemade Twix Bars
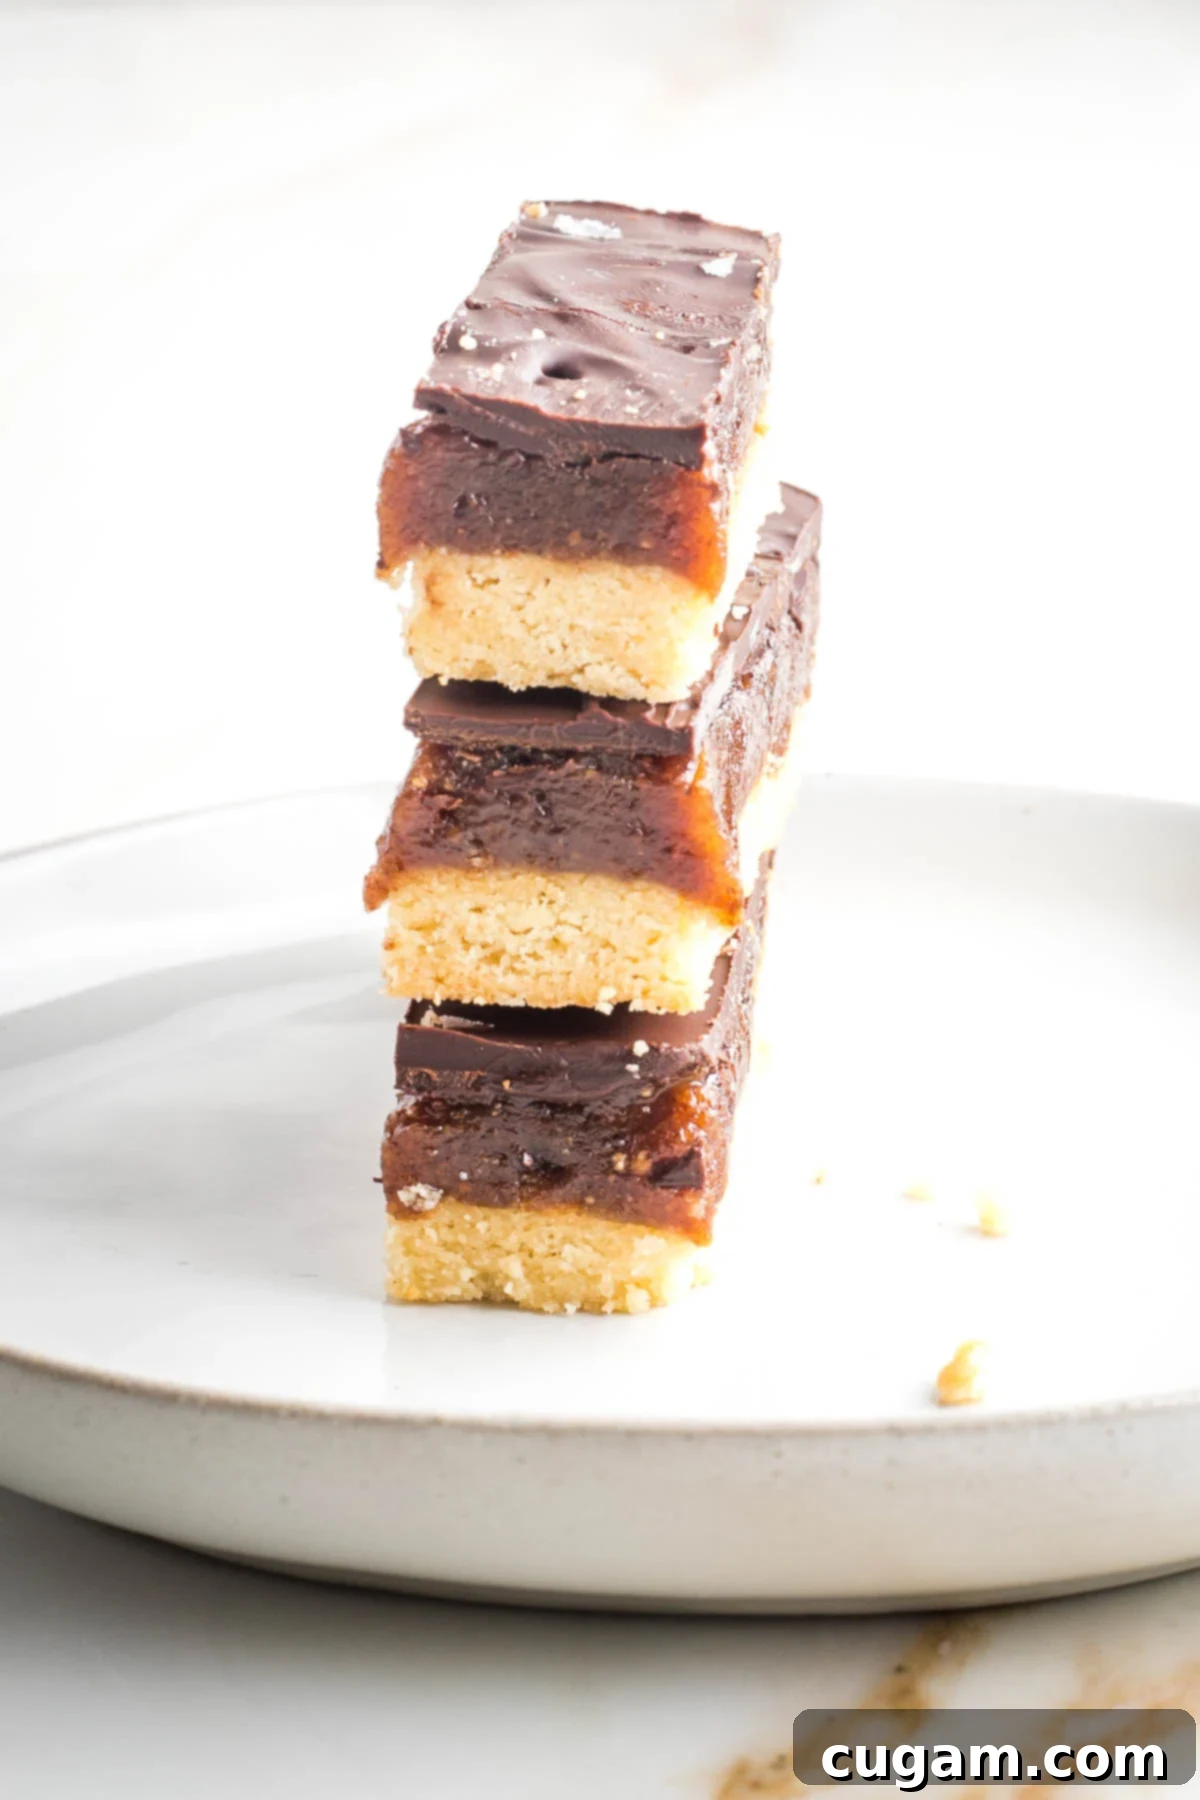
- Irresistible Layers: Gooey, sweet caramel, a perfectly crisp biscuit base, and a rich, dark chocolate topping – do we need to say more? Each layer contributes to a multi-textured delight that truly satisfies.
- Better Than You Remember: These bars taste just like the classic Twix, but with an added bonus: they’re made with nutritious ingredients and contain no refined sugar. You get all the flavor you crave, without the guilt.
- Surprisingly Simple: Don’t be intimidated by the three layers! Each component of this recipe is straightforward and easy to prepare, making homemade candy bars accessible to all bakers.
- Freezer-Friendly Perfection: These bars freeze beautifully and can even be enjoyed straight from the freezer for a refreshing and firm treat. This makes them perfect for meal prepping your desserts or stashing away for later cravings.
- Vegan & Gluten-Free: Crafted with plant-based ingredients and almond flour, these healthier Twix bars are suitable for those with dietary restrictions, ensuring everyone can enjoy a delicious, wholesome treat.
Wholesome Ingredients for Your Vegan Twix Bars
Creating a healthier version of a beloved candy bar starts with selecting quality ingredients. Here’s a closer look at what makes these homemade Twix bars so good for you:
- Almond flour: This grain-free, gluten-free alternative is the star of our cookie base. Unlike refined flours, almond flour is rich in protein and fiber, which help to stabilize blood sugar levels, preventing the sharp spikes and crashes often associated with traditional baked goods. It also provides a lovely tender-crisp texture.
- Almond butter: Opt for a natural almond butter with just one ingredient: almonds. This ensures you’re getting a pure source of healthy monounsaturated fats, along with a good dose of Vitamin E, protein, and additional fiber. Creamy almond butter is ideal for achieving the perfect caramel texture. If almond butter isn’t an option, you can easily substitute it with peanut butter, sunflower seed butter (sun butter), or tahini, making this recipe highly adaptable. Remember to thoroughly mix new jars for a consistent, drippy consistency.
- Medjool dates: These naturally sweet powerhouses are the secret to our luscious caramel layer. Beyond their incredible sweetness, Medjool dates are packed with potassium, dietary fiber, and various B vitamins. Dates with their pits still in tend to retain more moisture, resulting in a softer, more pliable caramel. It’s always best to pit them yourself just before use for optimal freshness.
- Olive oil: We use extra virgin olive oil as our primary fat source. Unlike highly refined vegetable oils, extra virgin olive oil is minimally processed and boasts high levels of both polyunsaturated and monounsaturated fats – the kind that are beneficial for heart health and overall well-being. It contributes to both the cookie’s tenderness and the chocolate’s smooth finish.
- Maple syrup: Another natural sweetener, pure maple syrup adds a subtle richness to both the cookie and caramel layers. It’s less processed than granulated sugar and contains antioxidants, making it a more mindful choice for sweetening.
- Dark chocolate chips: The crowning glory of our Twix bars! Choose a dark chocolate with at least 70% cacao content for a richer, more intense chocolate flavor and lower sugar content. The higher cacao percentage also means more beneficial antioxidants. Feel free to use your favorite brand and type of chocolate that you tolerate well.
- Optional: flakey sea salt: A sprinkle of flaky sea salt on top is highly recommended. It enhances the chocolate and caramel flavors beautifully, adding a delightful contrast and making the bars even more irresistible.
Crafting Your Vegan Twix Bars: A Step-by-Step Guide
Ready to create these healthier treats? Let’s get baking! Start by preheating your oven to 350 degrees Fahrenheit (175°C). Line an 8×8 inch square baking pan with unbleached parchment paper, leaving an overhang on the sides to easily lift the bars out later.
The Crunchy Cookie Layer
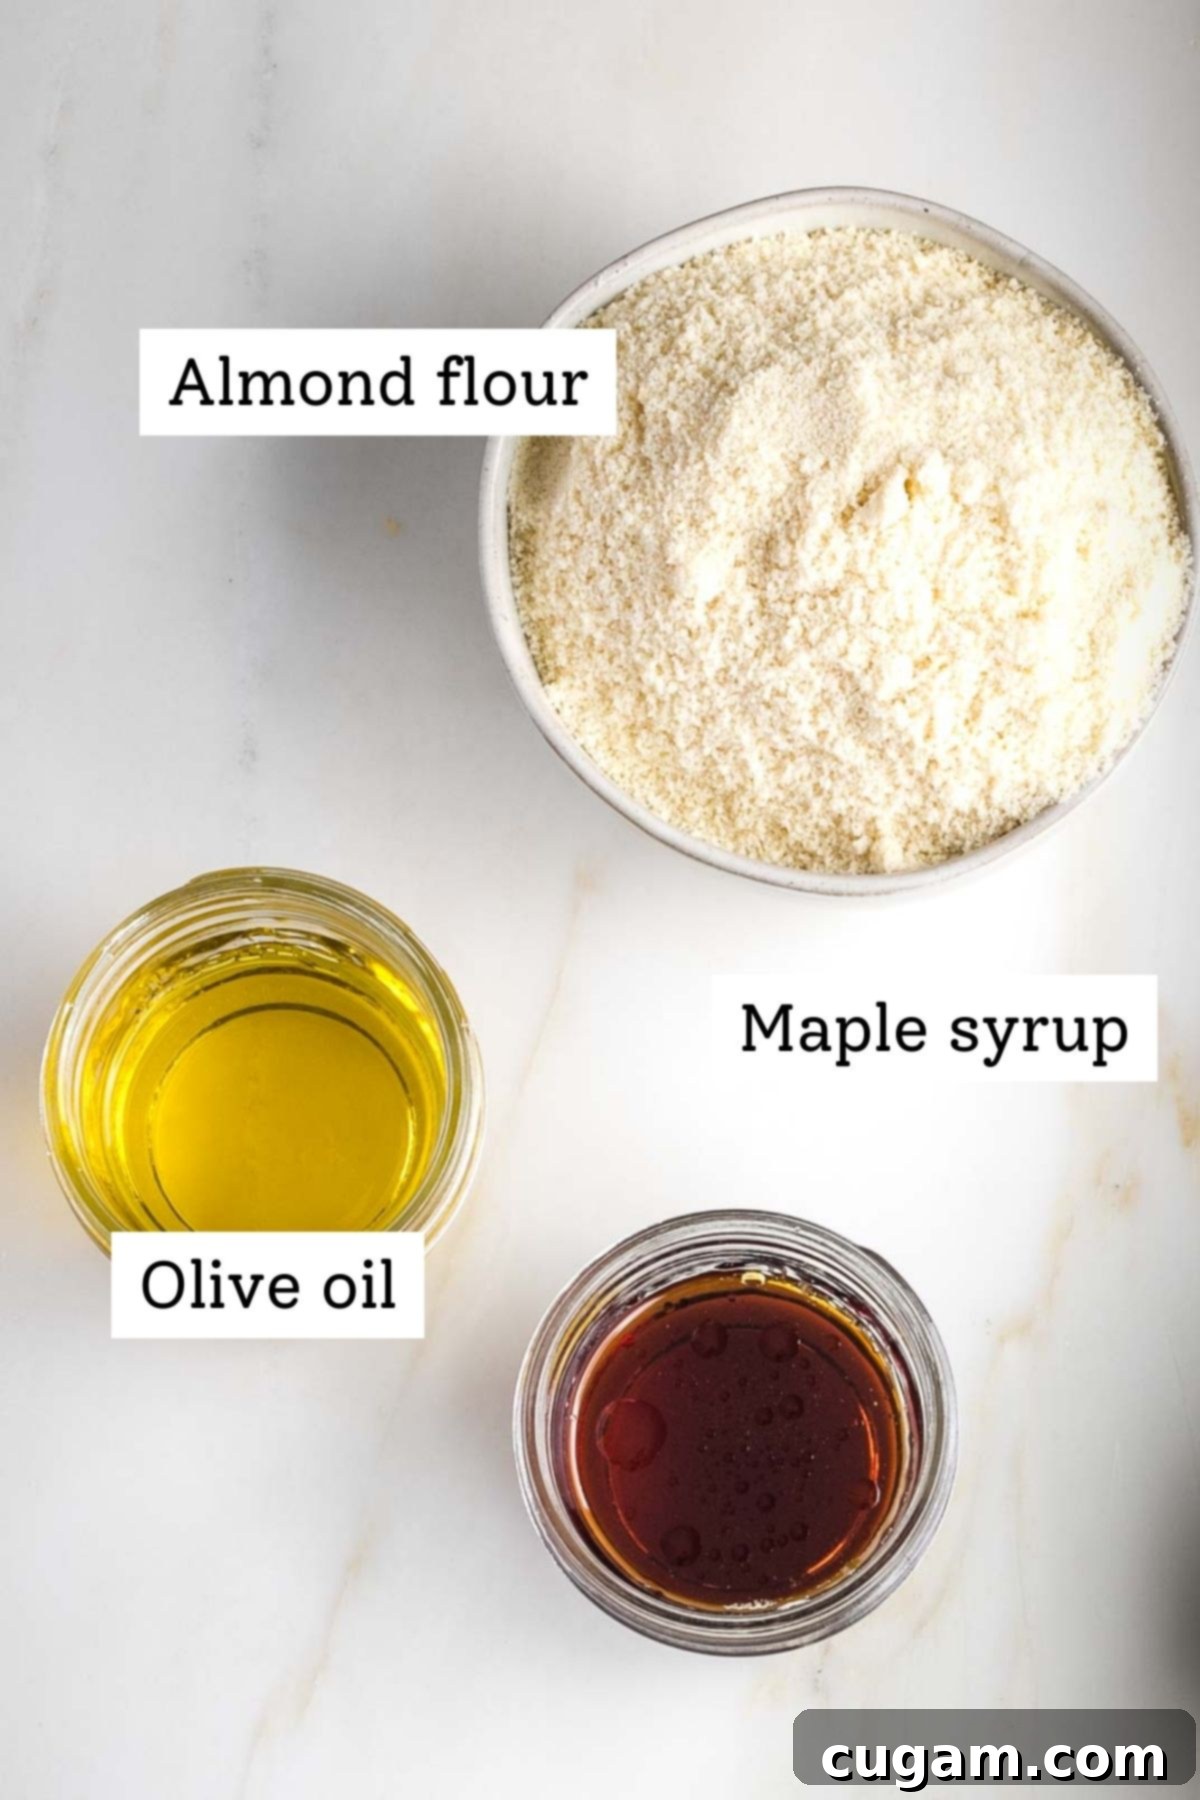
The foundation of our Twix bars is a simple yet satisfying cookie base. This step is quick and easy, requiring minimal effort for maximum flavor.
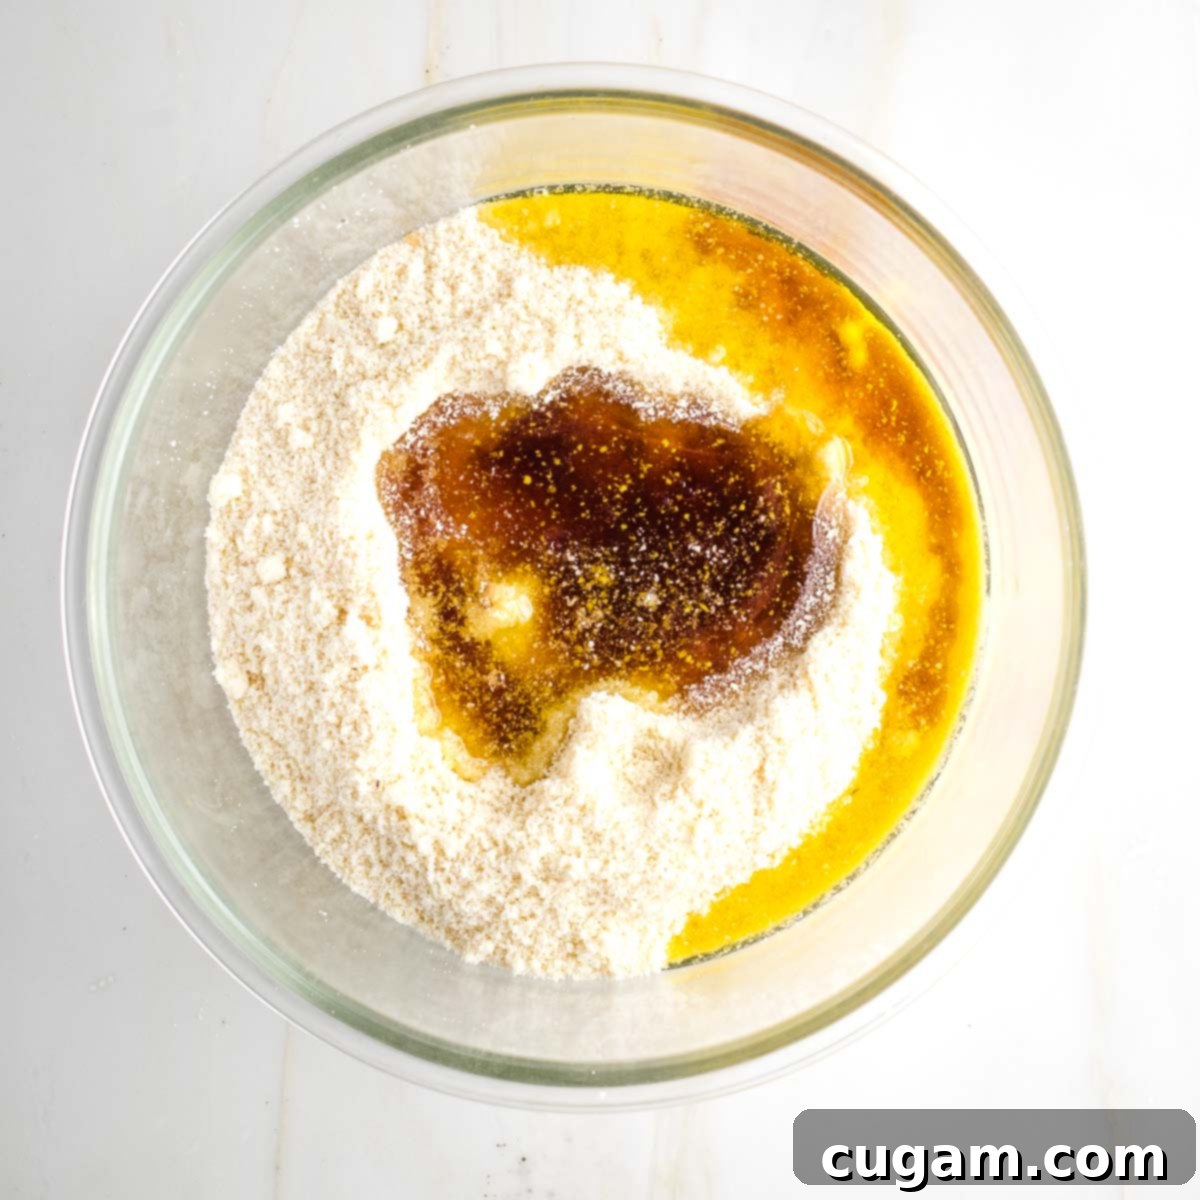
To begin, combine the blanched almond flour, maple syrup, and olive oil in a medium-sized mixing bowl. Stir everything together thoroughly until well combined.
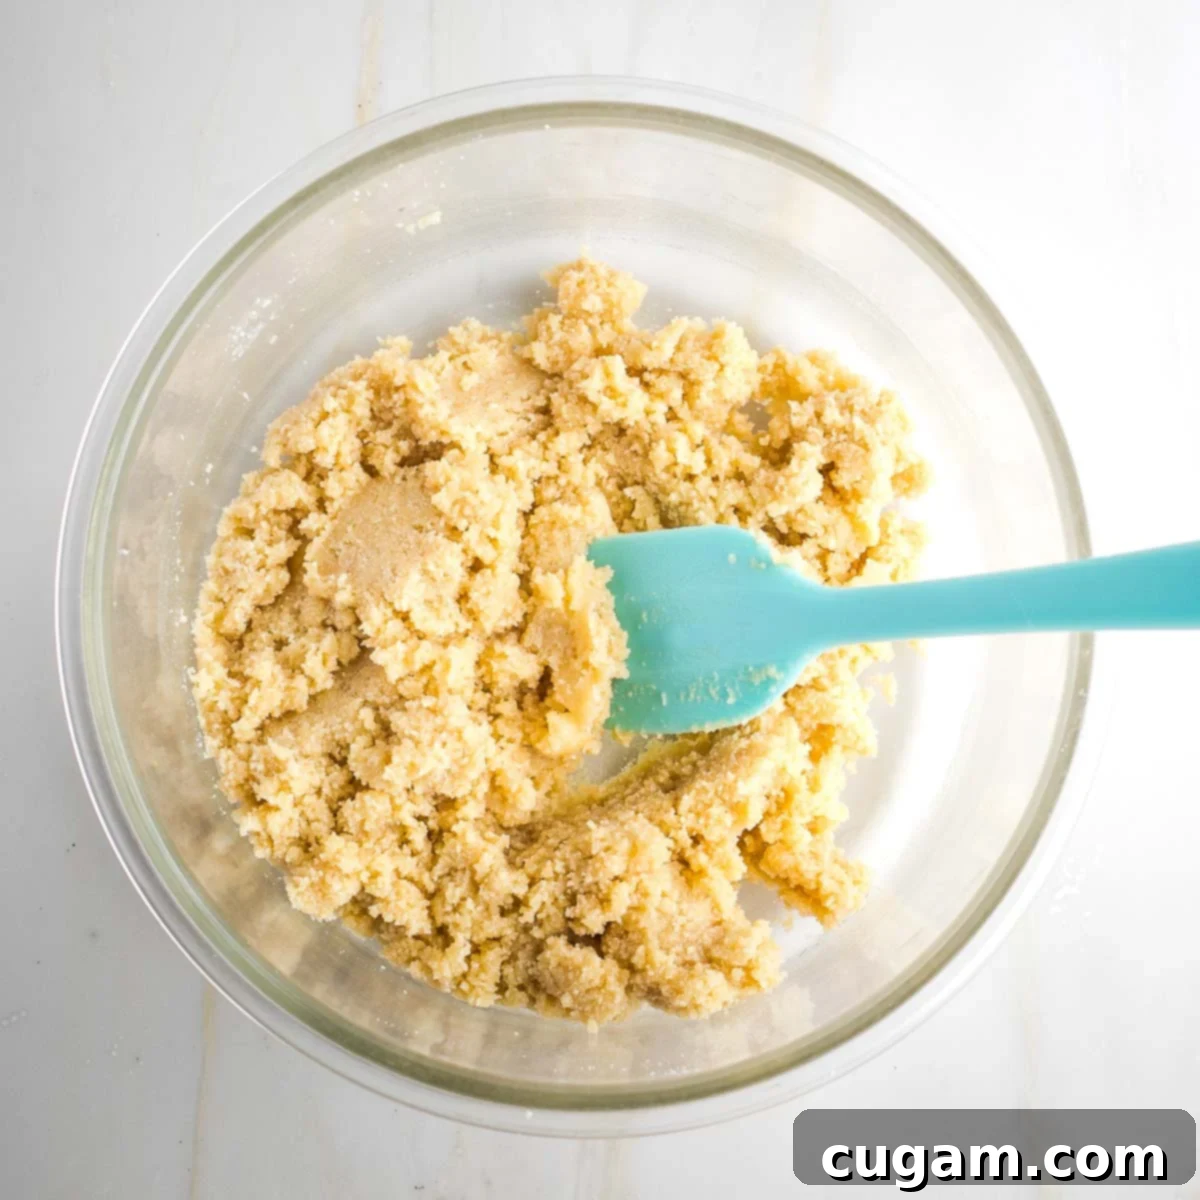
The mixture will have a slightly crumbly texture, but it should hold together easily when pressed between your thumb and finger. This indicates the perfect consistency for our shortbread-like crust.
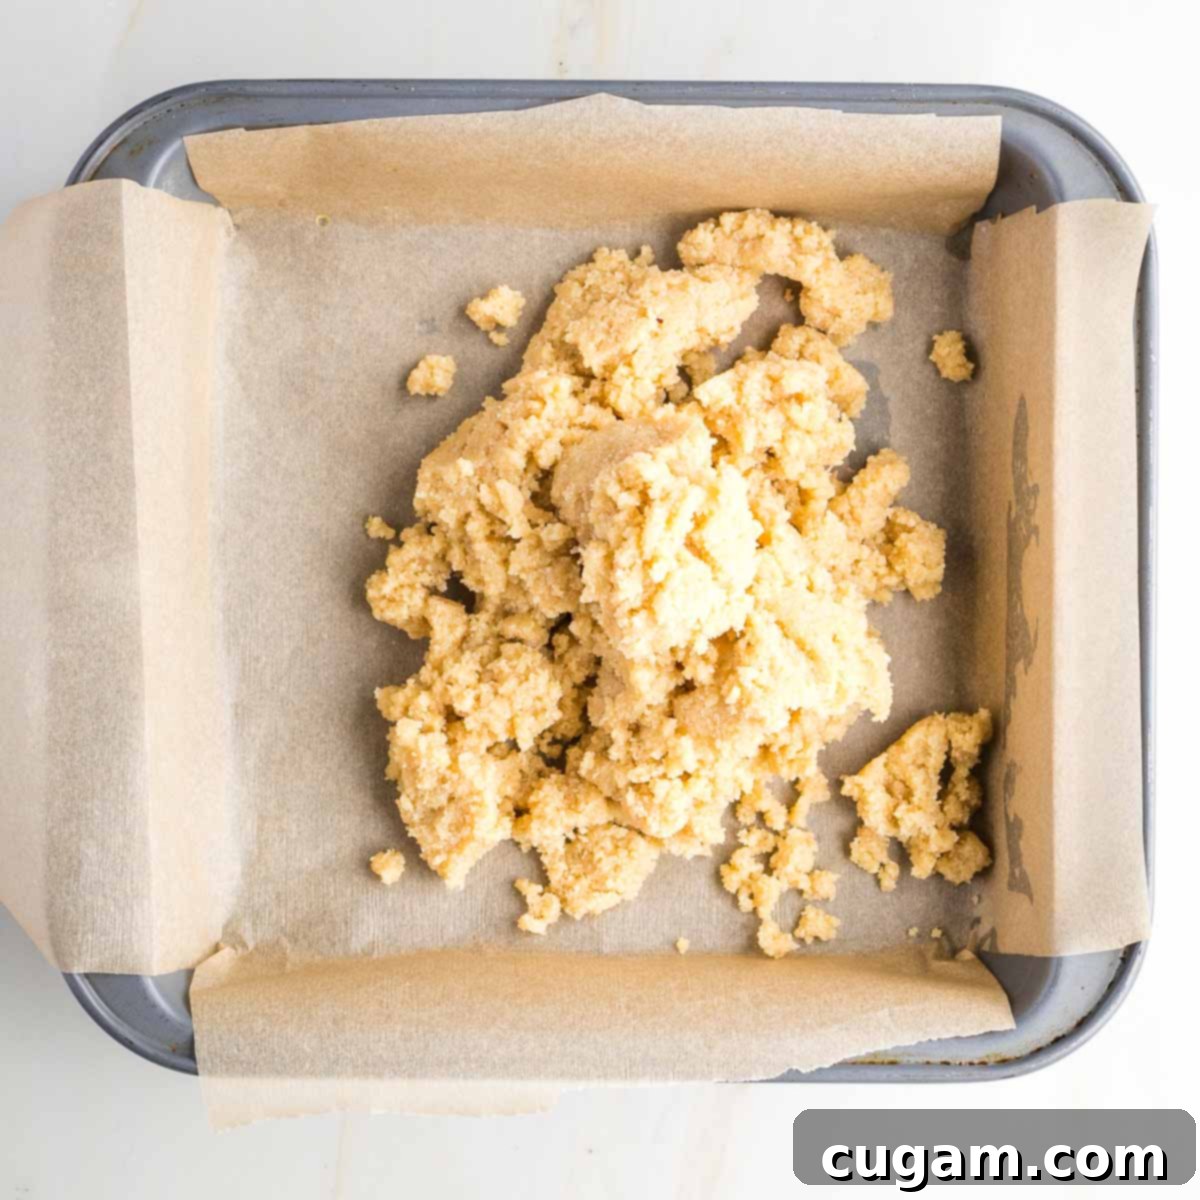
Carefully transfer the cookie dough mixture into your prepared 8×8 inch pan. Use your hands to evenly distribute the dough across the bottom of the pan.
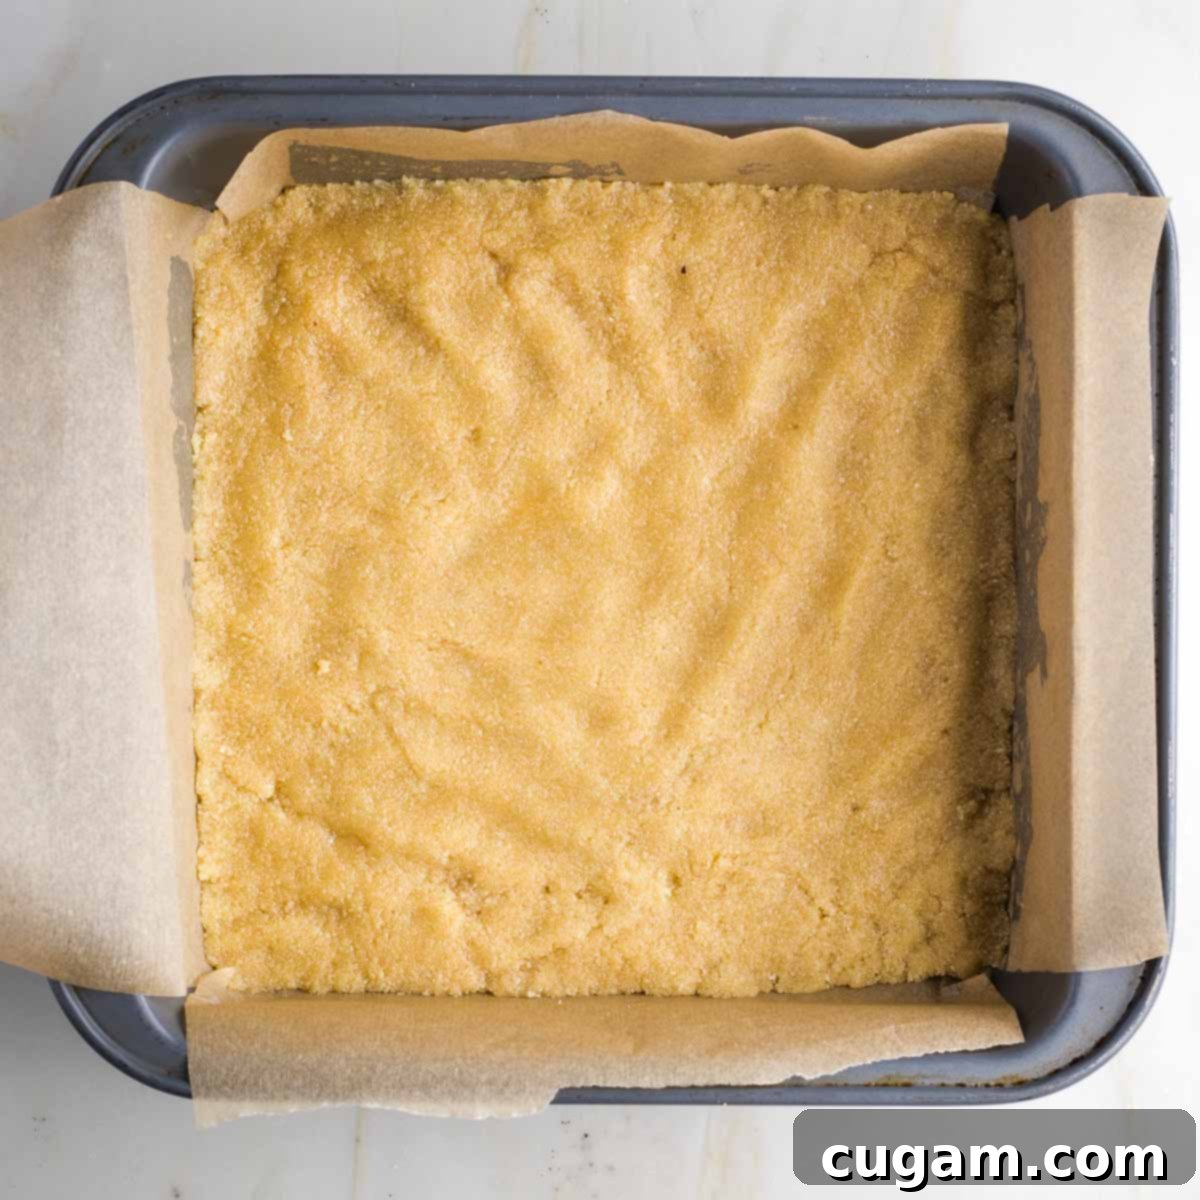
The layer will be quite thin, which is exactly what we want for that authentic Twix bar experience. Gently but firmly compress the dough with your fingers, pushing it all the way into the corners of the pan to create a uniform and compact base. Bake in your preheated oven for 15 minutes, until lightly golden.
The Gooey Caramel Layer
While your cookie layer bakes, it’s the perfect time to prepare the star of the show: the rich, date-based caramel. This natural caramel is incredibly easy to make and contributes a wonderful chewiness and depth of flavor.
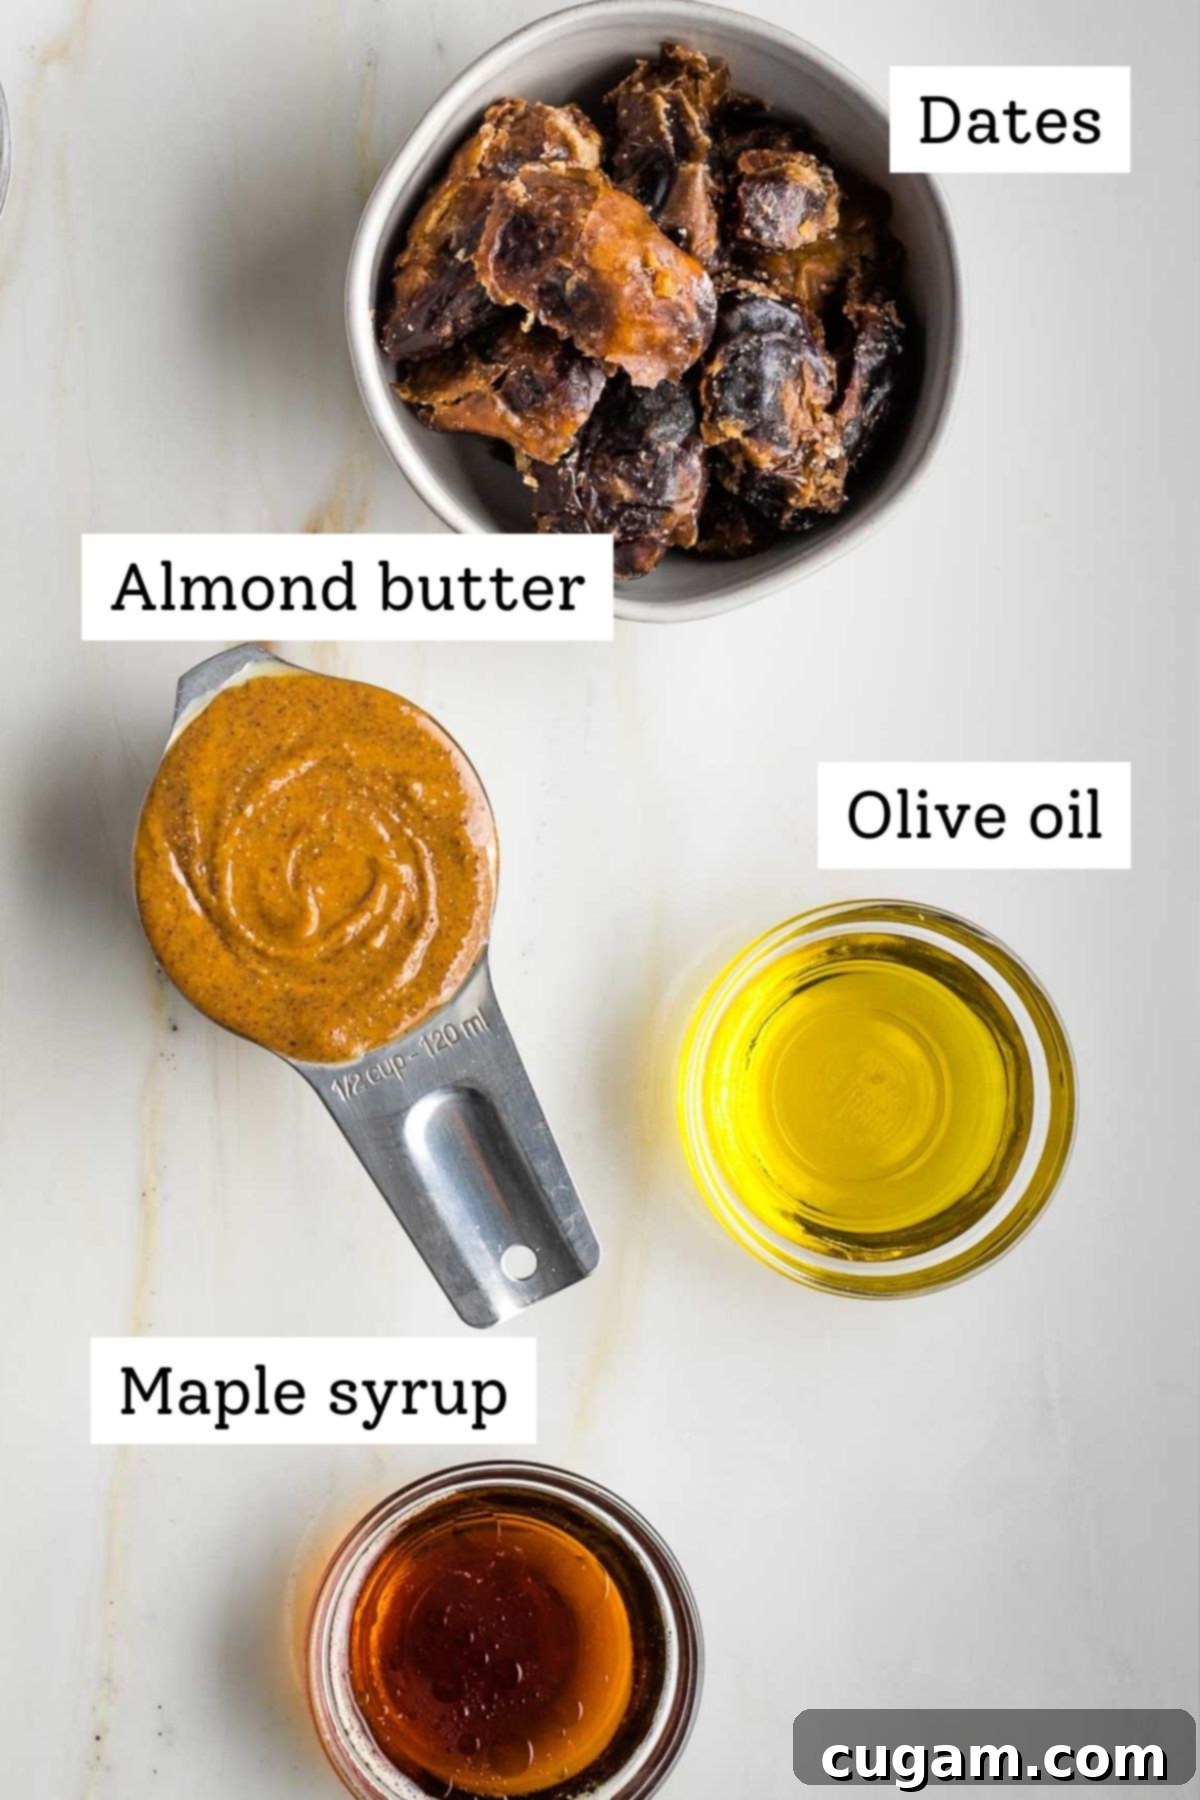
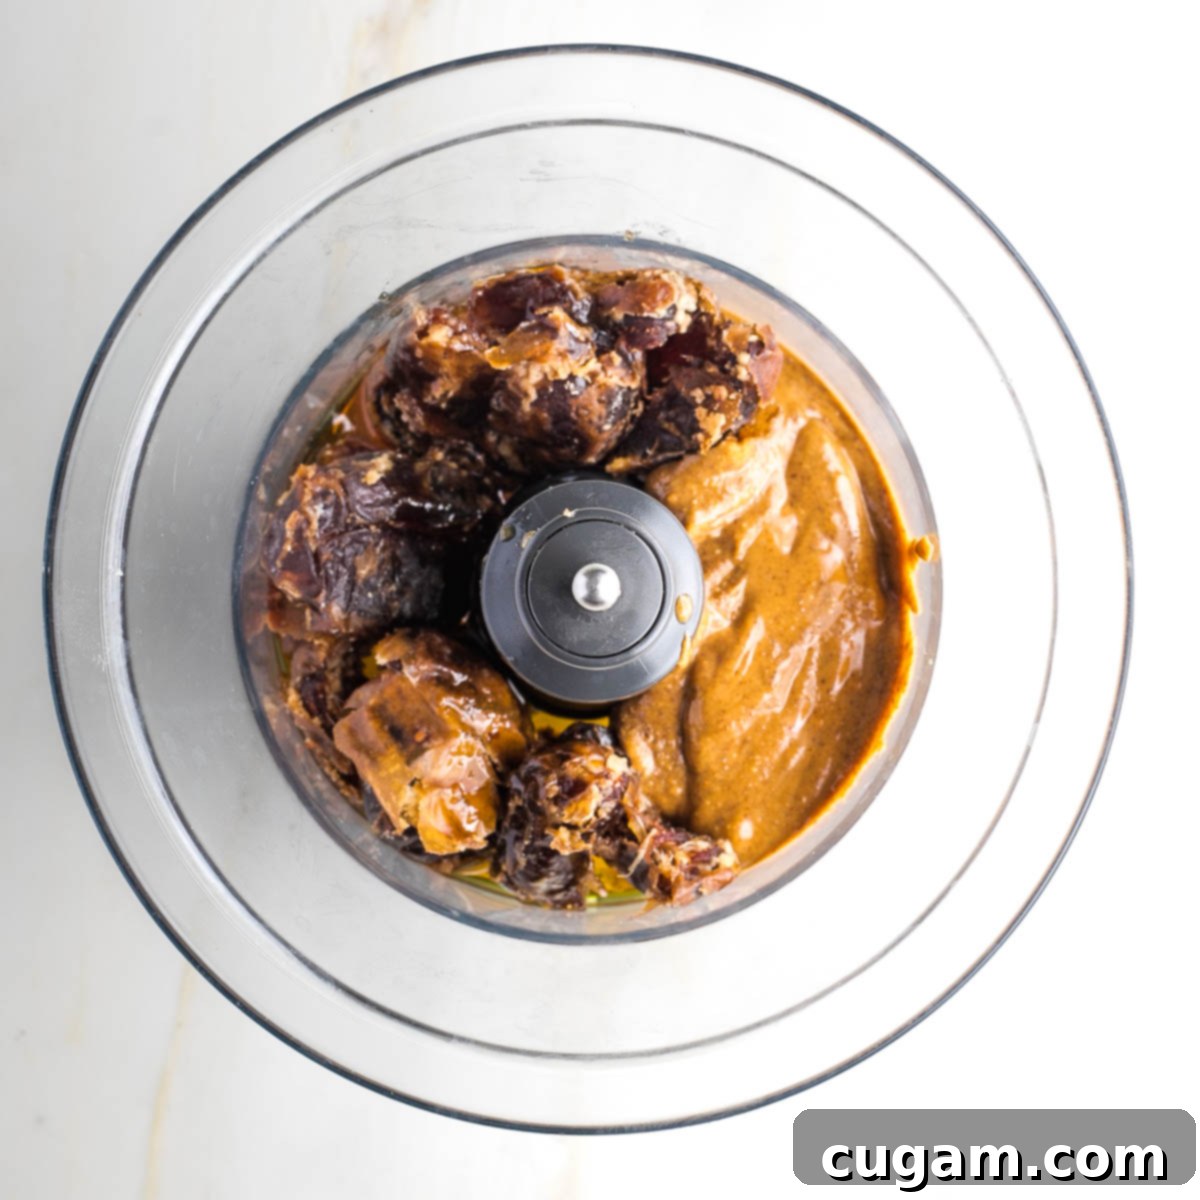
First, carefully remove the pits from your Medjool dates. Place the pitted dates into the bowl of a food processor. Add the creamy almond butter, maple syrup, and olive oil.
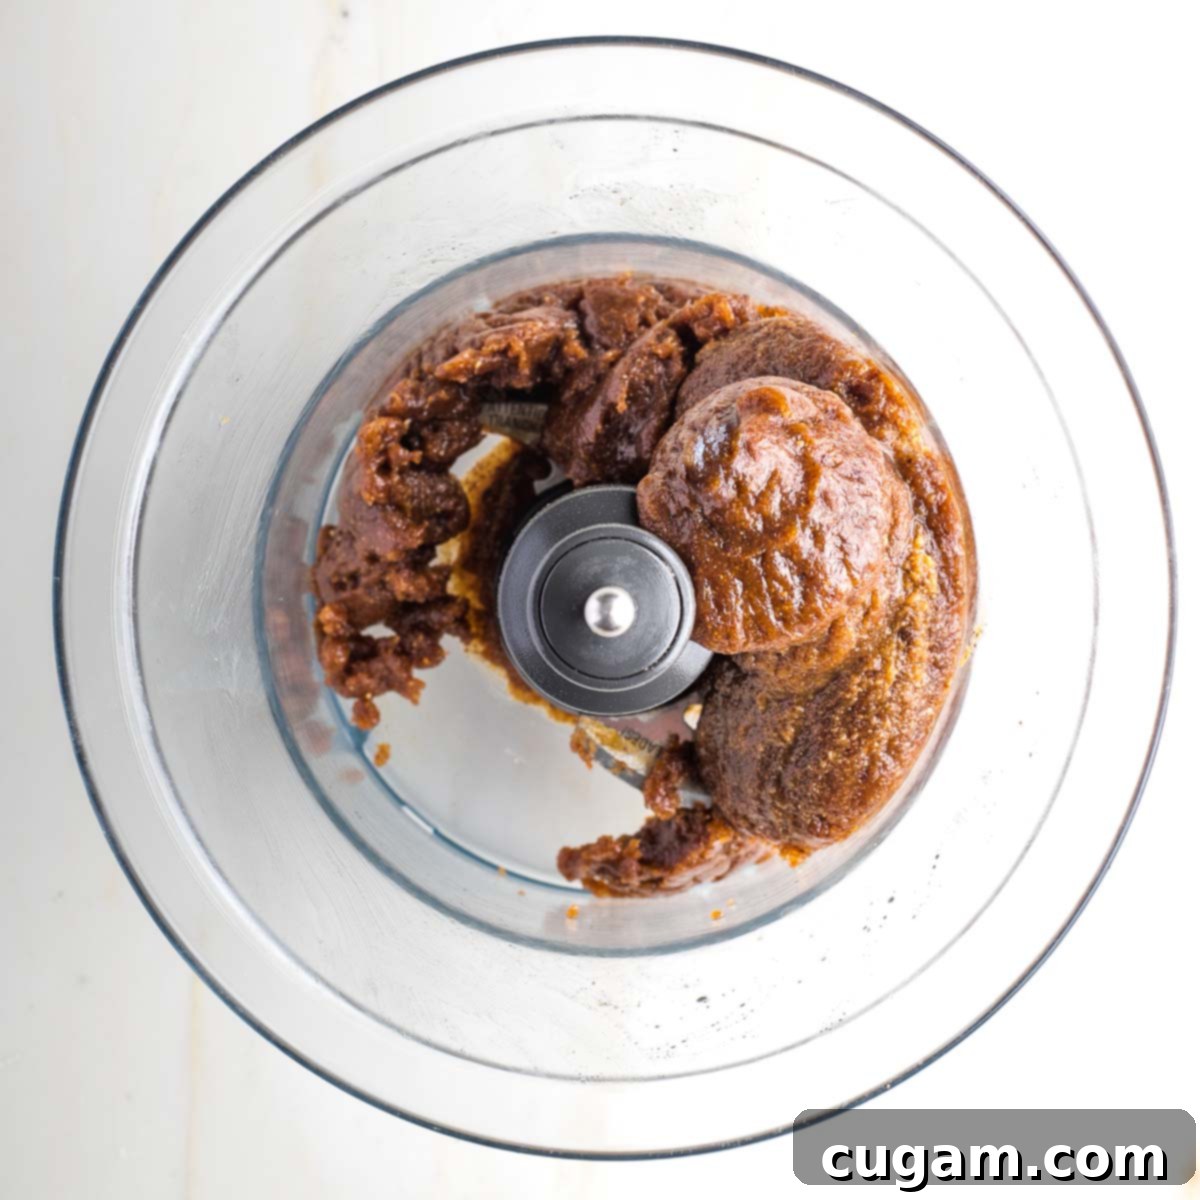
Process the ingredients until they form a uniform, thick, and somewhat pasty mixture. You’ll need to stop and scrape down the sides of the food processor several times to ensure everything is fully incorporated. The resulting caramel will be slightly sticky but easily manageable.
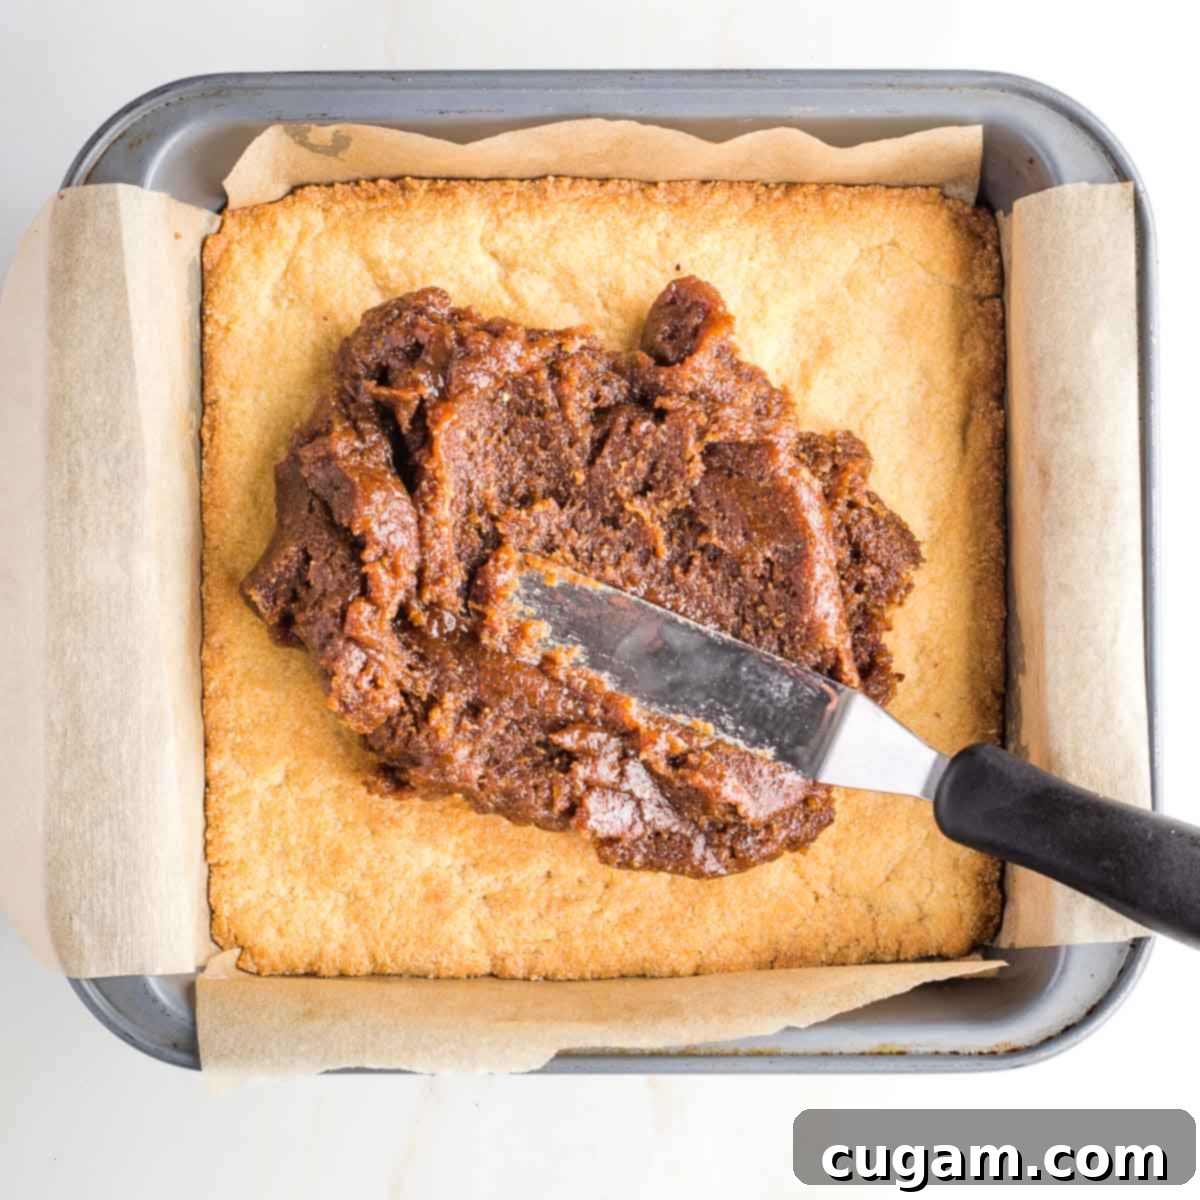
Once the cookie layer comes out of the oven, it should be a lovely golden brown and feel slightly soft to the touch. This indicates it’s perfectly baked for the base of our Twix bars.
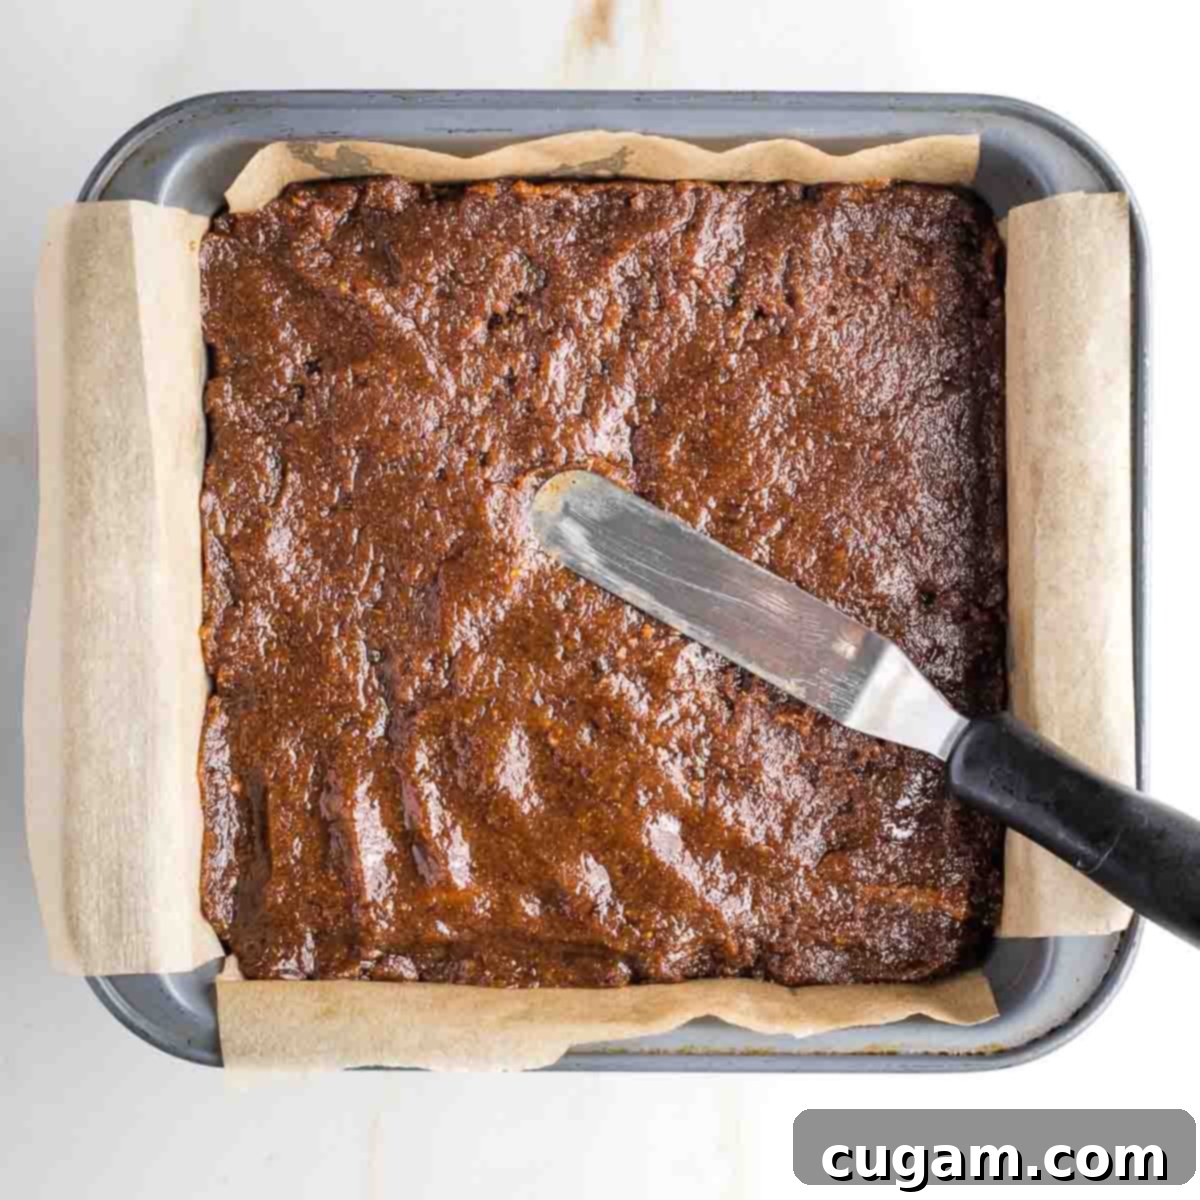
Allow the cookie base to cool for just a few minutes in the pan. Then, use an offset spatula or even your clean hands to carefully spread the date caramel mixture evenly over the biscuit-like cookie. Ensure it reaches all the way to the edges for a full, consistent layer. Once complete, pop the pan with both the cookie and caramel layers into the freezer for at least one hour, or even overnight, to allow the caramel to firm up completely.
The Decadent Chocolate Layer
The final layer brings it all together: a rich, dark chocolate coating that cracks perfectly when you bite into it. This step is quick, but attention to detail ensures a smooth, shiny finish.
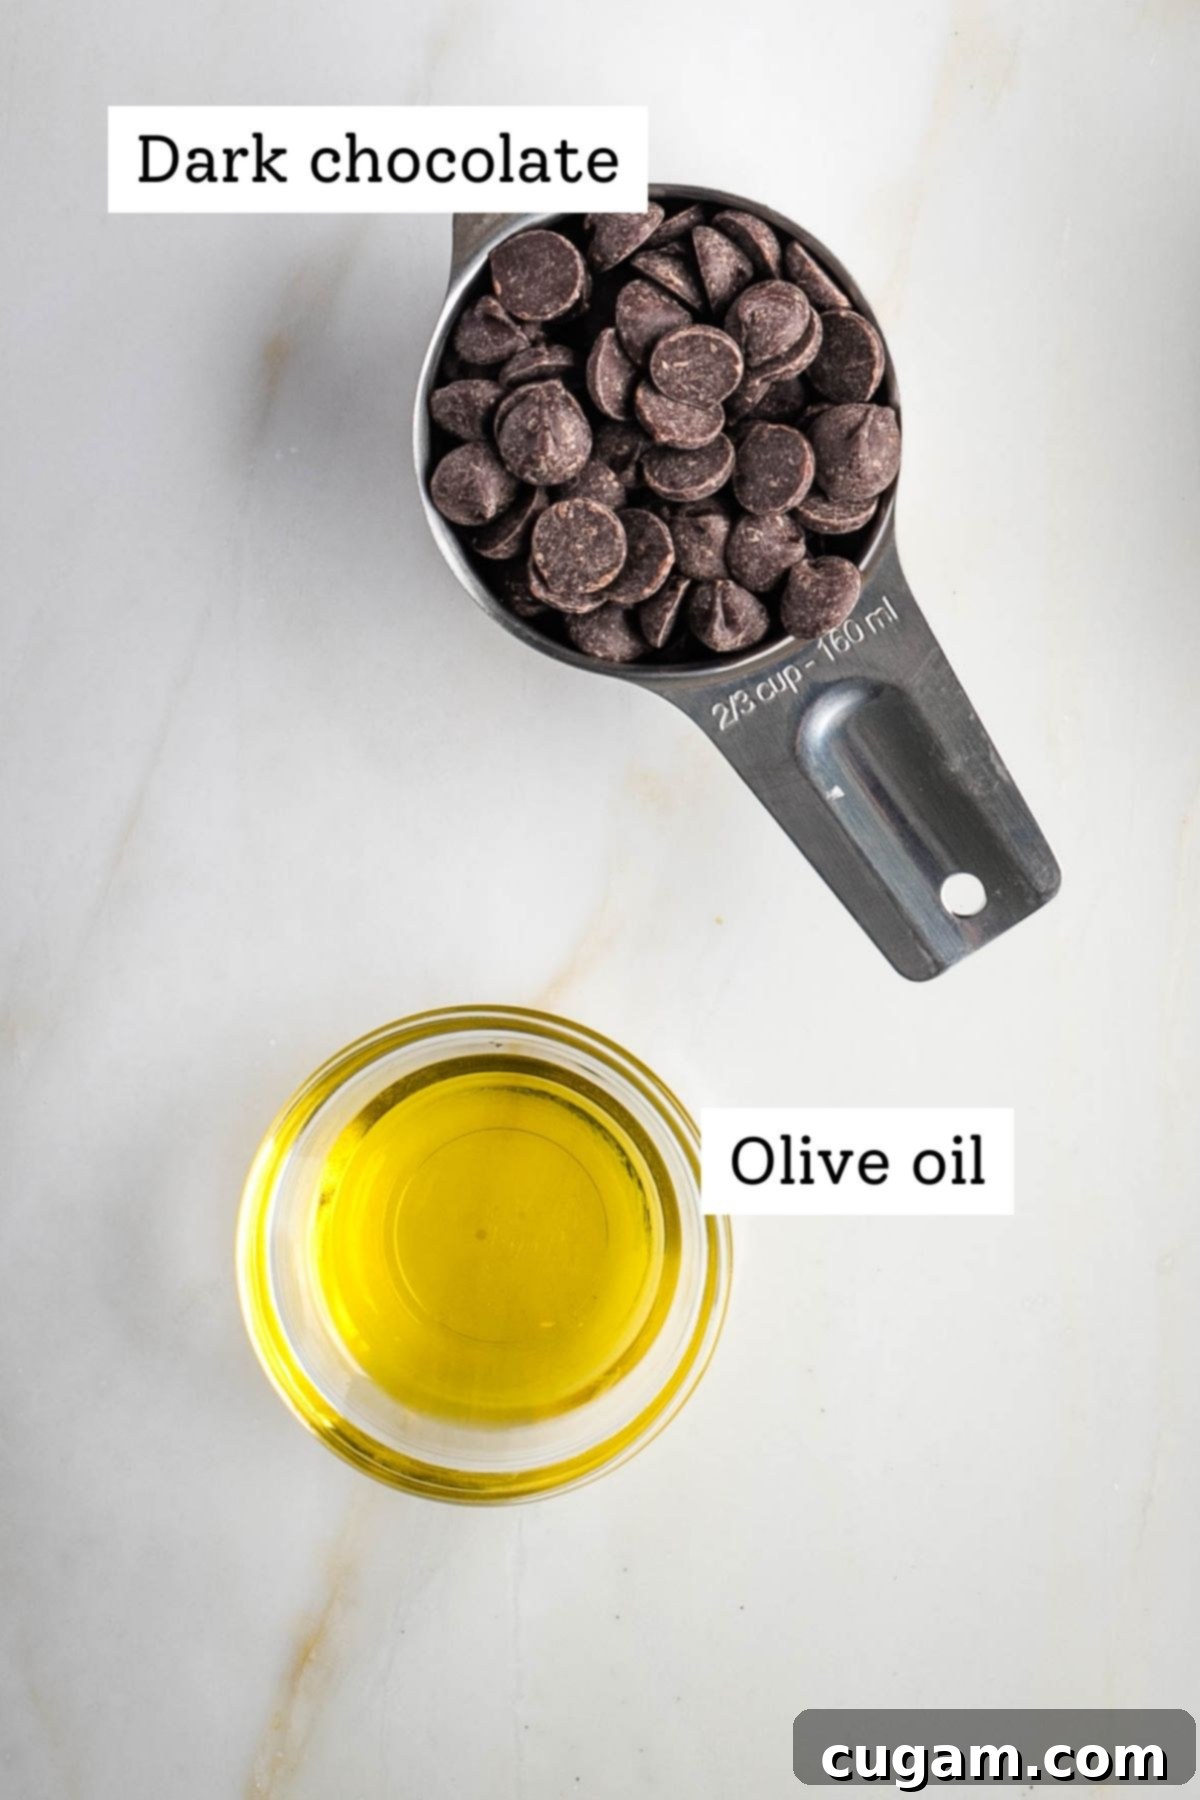
To prepare the chocolate topping, gently melt the dark chocolate chips with the olive oil. The addition of olive oil is key here; it helps to create a smoother chocolate that is less likely to crack when you cut the bars later. I recommend using a small saucepan on the lowest heat setting. As soon as the chocolate begins to melt, stir it constantly. Turn off the heat when there are still a few small solid pieces of chocolate remaining; the residual heat from the melted chocolate will continue to melt the rest, preventing burning and ensuring a perfectly smooth, pourable consistency. This whole process usually takes only about 60 seconds.
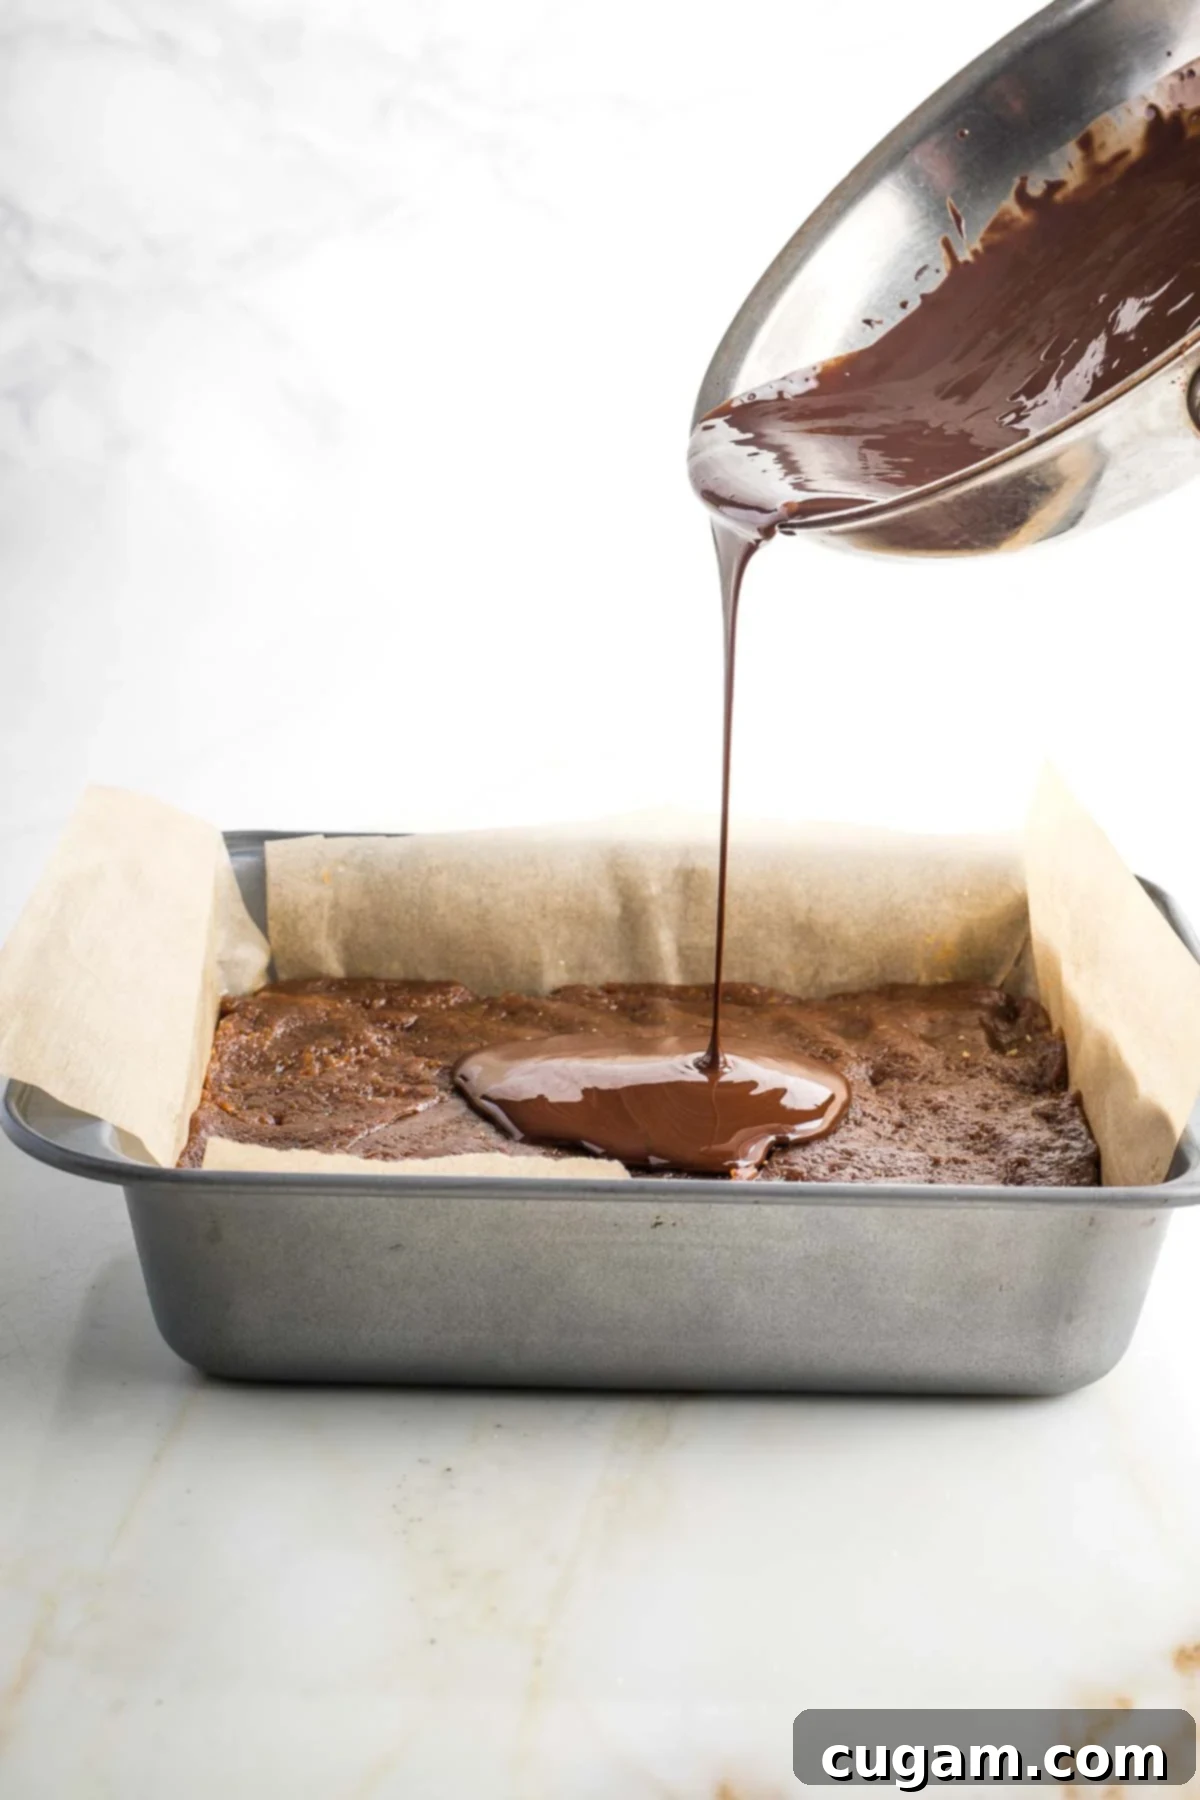
Once your chocolate is perfectly melted and smooth, pour it directly over the hardened caramel layer of your Twix bars. Work quickly but carefully to ensure even coverage.
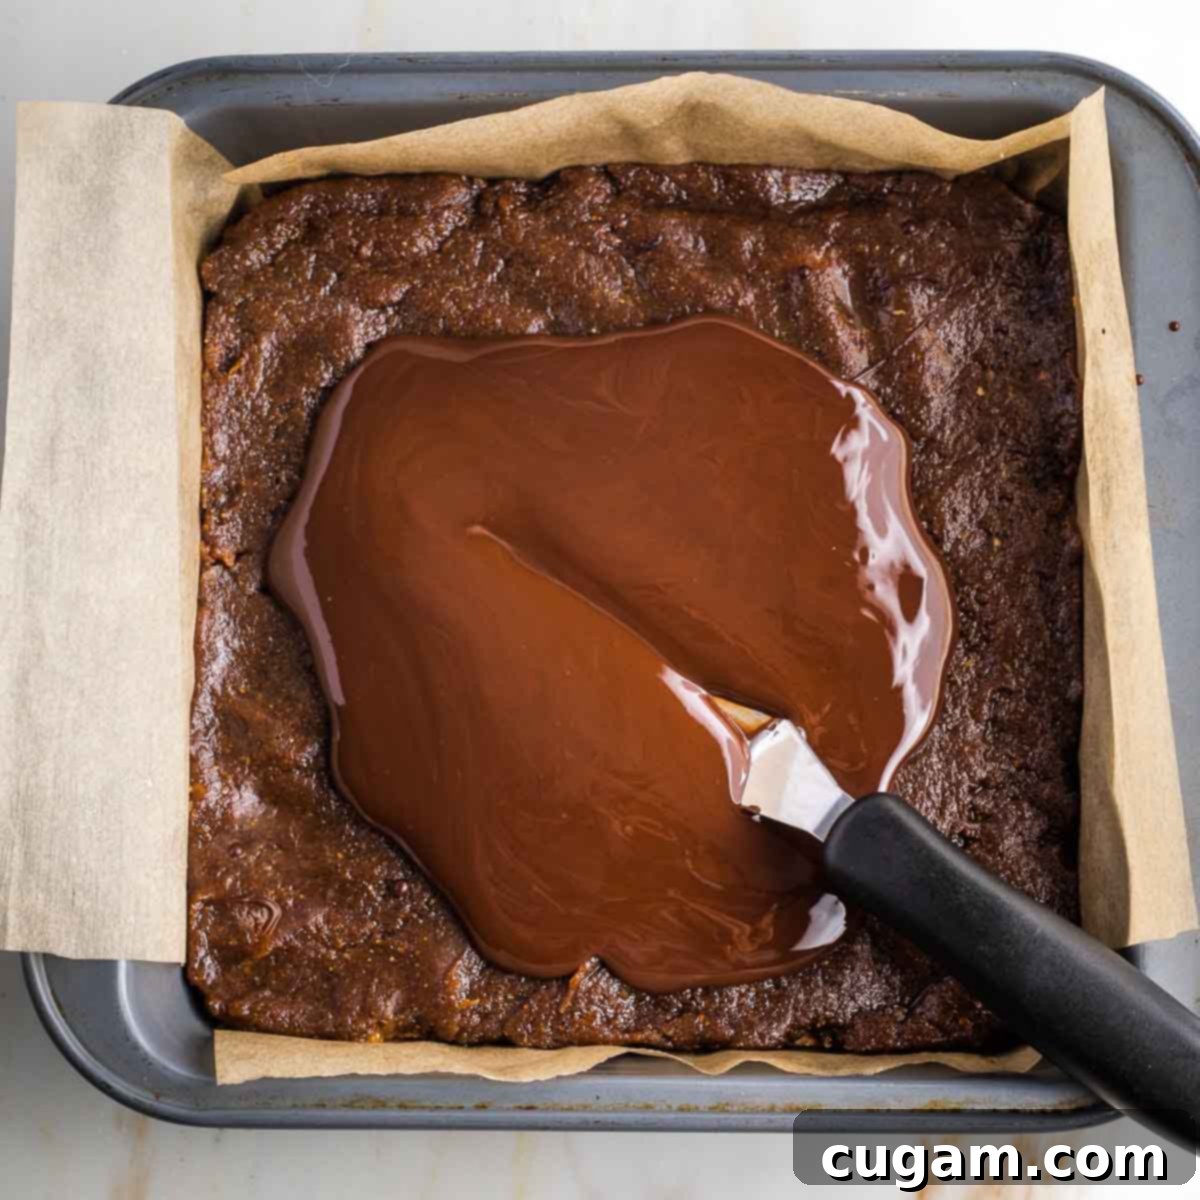
Using your offset spatula, gently spread the melted chocolate towards the corners of the pan, creating a smooth, even, and beautifully coated top layer. Aim for a consistent thickness for the best results.
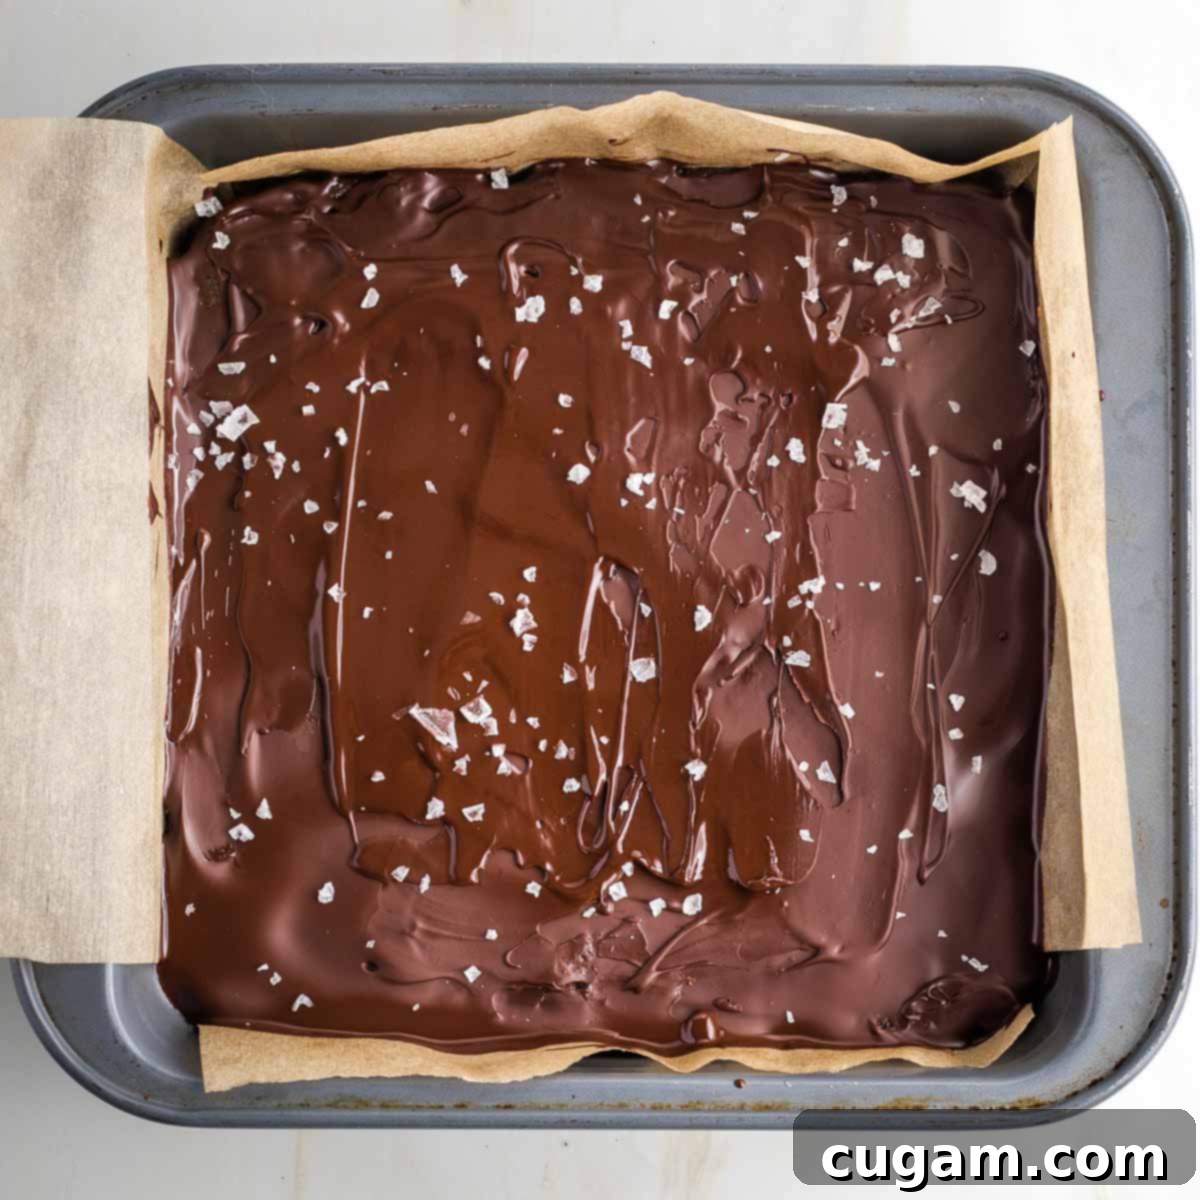
If you desire, sprinkle a pinch of flaky sea salt over the wet chocolate layer. This touch of salt beautifully enhances the sweetness of the caramel and chocolate. Immediately place the pan in the refrigerator for about 5 minutes, just long enough for the chocolate to set and harden. If you leave it in the fridge for longer, that’s perfectly fine, but make sure to let it sit on the counter for about 10 minutes to come closer to room temperature before you attempt to cut it into bars. This crucial step prevents the chocolate from cracking when sliced.
Pro Tips for Perfectly Cutting Your Homemade Twix Bars (No Cracks!)
Learning from my past mistakes can save you frustration! It’s actually quite easy to cut these delicious bars without the chocolate cracking or the layers falling apart, as long as you follow these simple, yet essential, tips.
Once the chocolate has set, take the pan out of the fridge. Carefully pull on the parchment paper overhang to lift the entire slab of Twix bars out of the pan and onto a clean cutting board. Let it sit for a couple of minutes to come closer to room temperature. This slight softening will make a huge difference in preventing cracks.
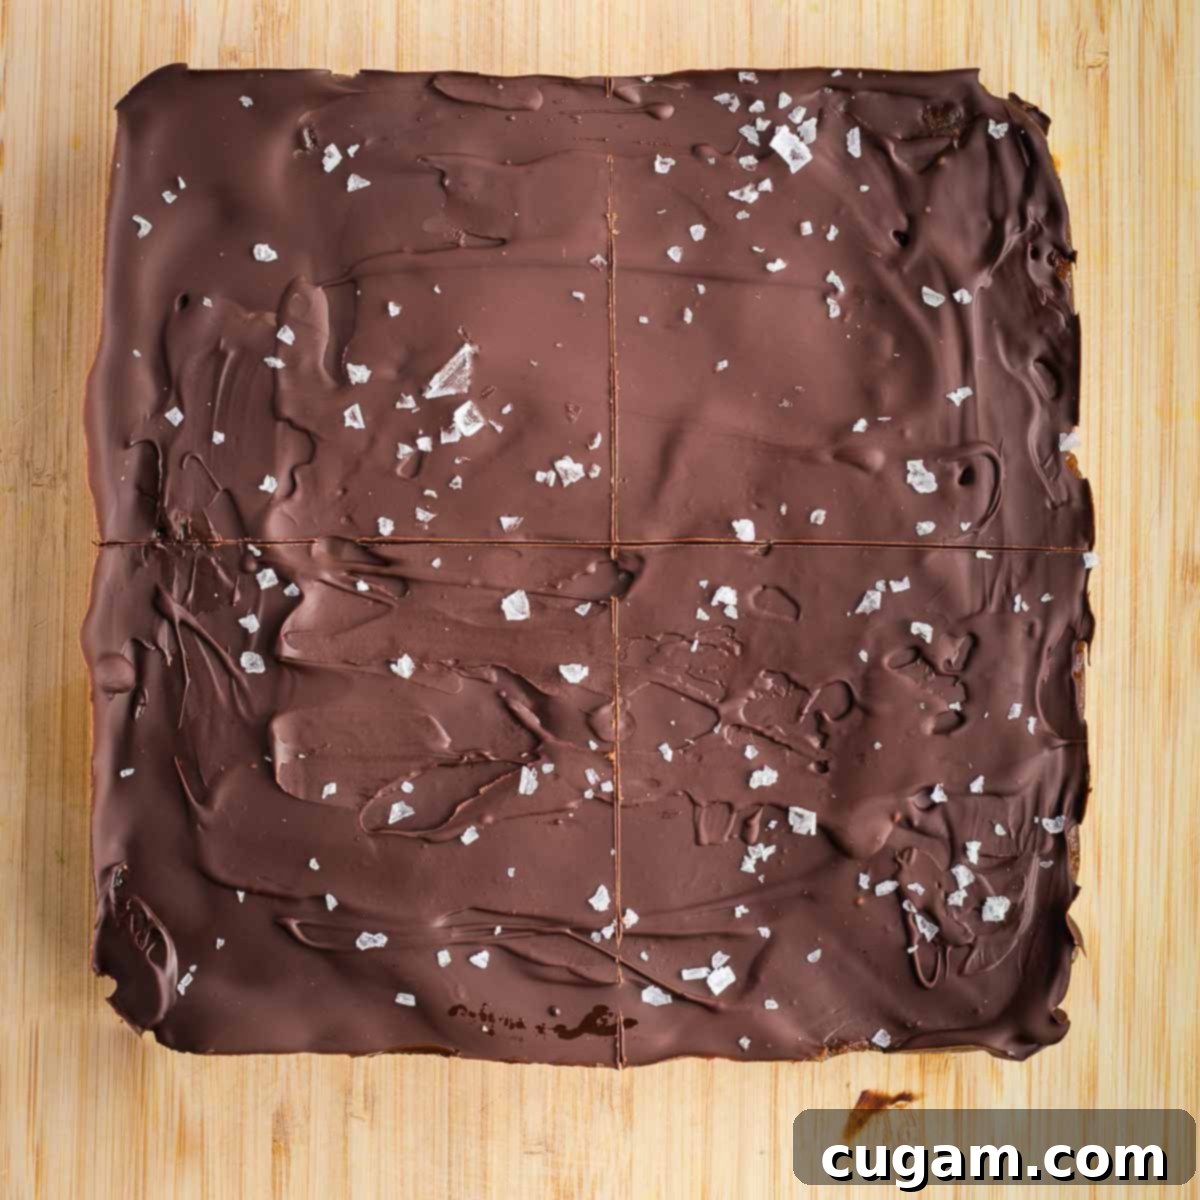
The trick is to score the chocolate first. Using a very sharp knife, make light, shallow cuts – barely slicing through the top layer – to mark your cutting lines. First, make one horizontal and one vertical line across the center, dividing the large square into four equal quarters.
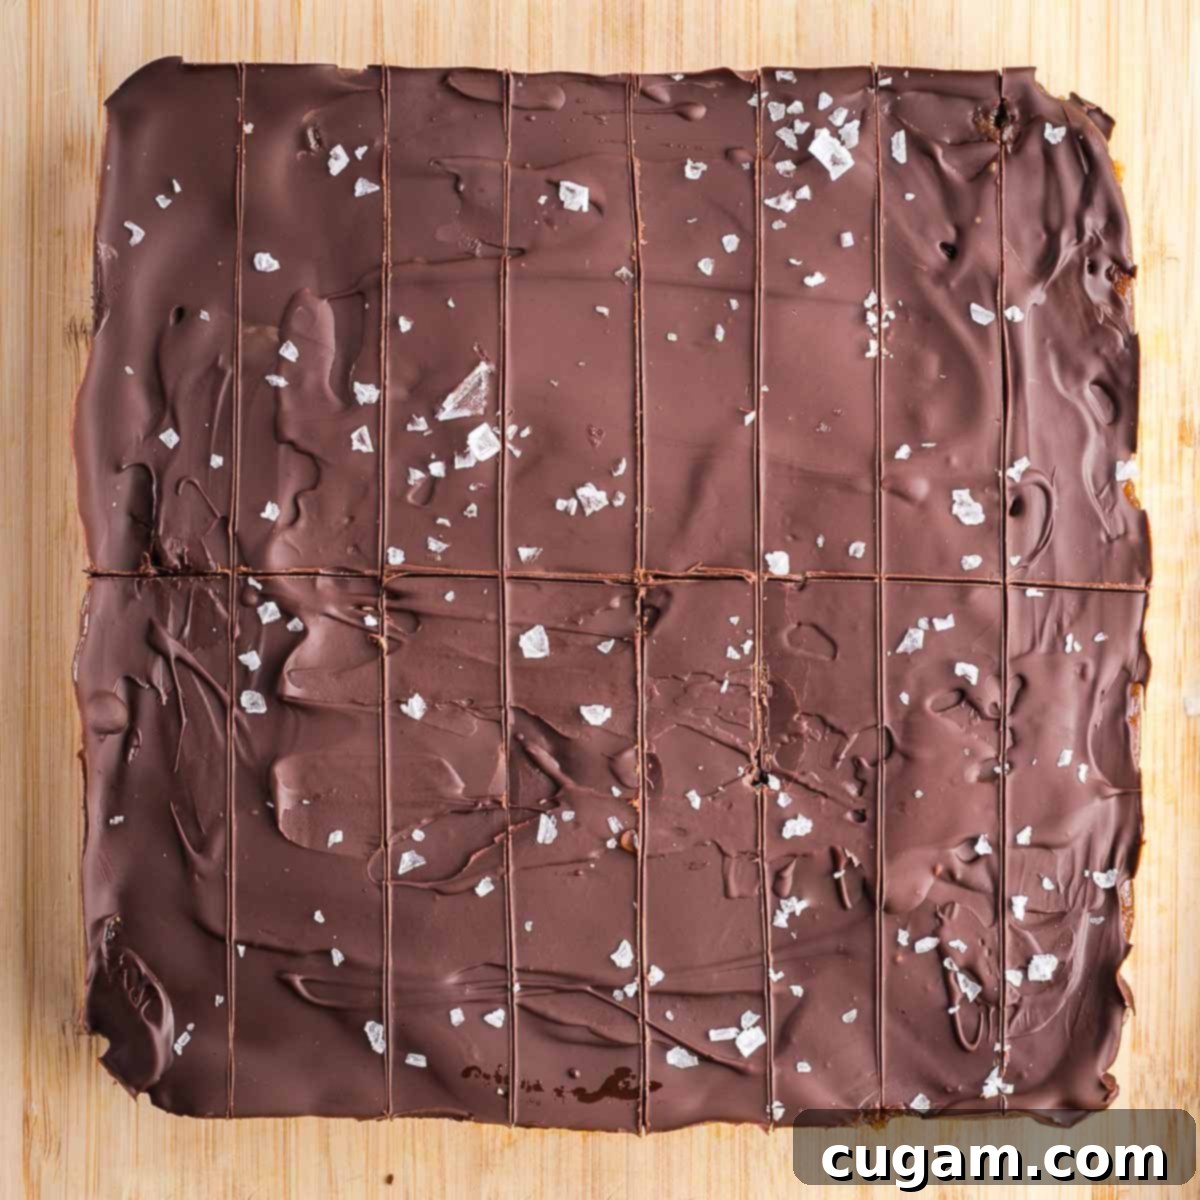
Next, divide each of those four quarters further by making additional vertical lines, aiming for four long bars within each quarter. Now that your “lines” are clearly marked, go back over them with your sharp knife and carefully press down to cut all the way through, creating clean, defined bars. The initial scoring guides the knife and minimizes resistance, preventing unwanted chocolate cracks.
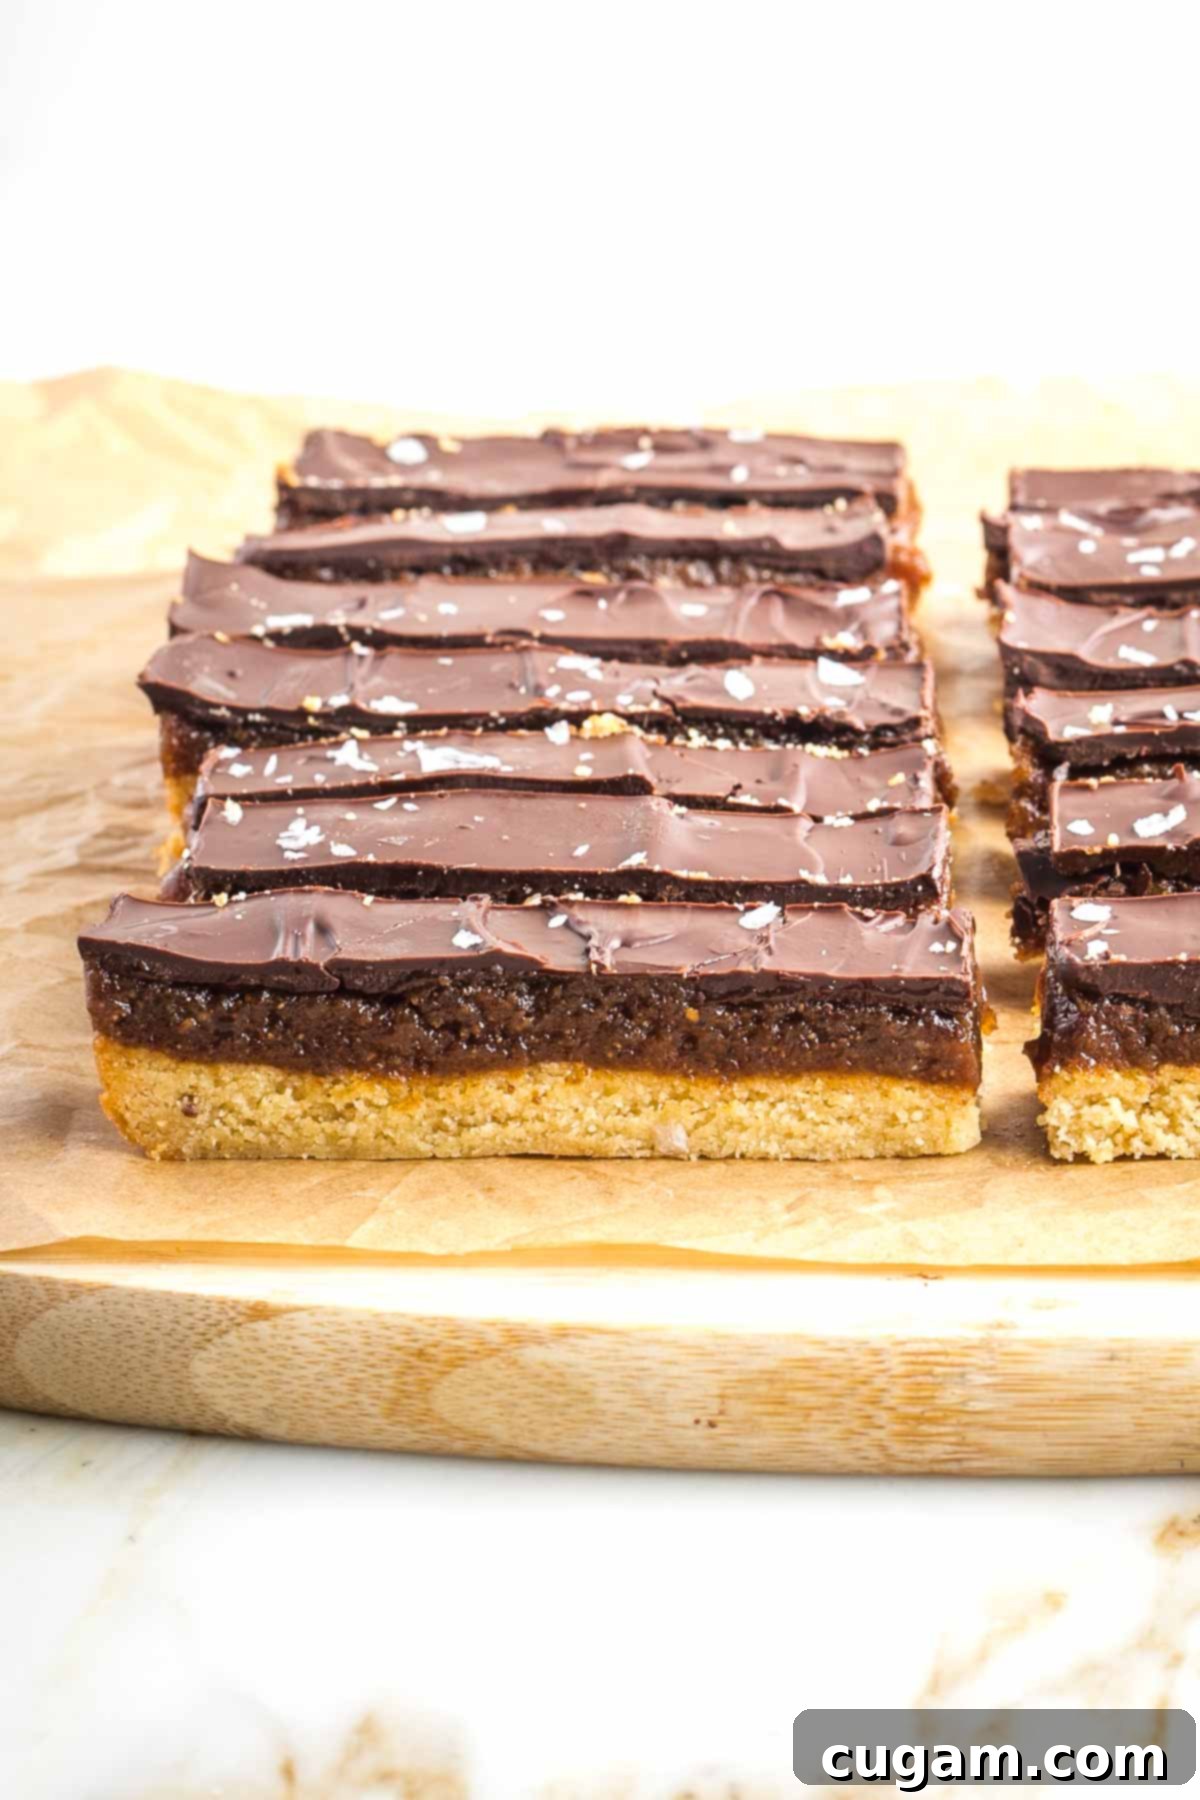
Storing Your Healthier Twix Bars
Proper storage ensures your homemade treats stay fresh and delicious for as long as possible:
- Refrigerator Storage: Once cut, store your healthier homemade Twix bars in an airtight container in the refrigerator. They will remain fresh and tasty for up to 2 weeks.
- Freezer Storage: For longer storage, these homemade Twix bars are excellent candidates for the freezer. Place them in an airtight, freezer-safe container, and they will keep well for up to 3 months. The best part? They can be enjoyed directly from the freezer, offering a wonderfully firm and chewy texture. This is my absolute favorite method for storing and enjoying these delightful treats!
Debra’s Pro Tips for Twix Bar Perfection
- Smart Measuring: When measuring liquids, always measure the olive oil first, then the maple syrup. The oil will coat the measuring spoon, allowing the sticky maple syrup to slide right out with ease, leaving no sticky residue behind.
- Cutting Temperature is Key: These bars are easiest to cut when they are cold, as the caramel won’t ooze. However, if they are *too* cold (straight from the freezer, for example), the chocolate topping is more prone to cracking. For perfectly neat, crack-free Twix bars, precisely follow my advice above about letting them slightly warm up to room temperature for 10 minutes before scoring and cutting.
- Don’t Skip the Salt: While the flaky sea salt on top is optional, I highly recommend it! The subtle crunch and salinity perfectly complement and enhance the sweetness of the chocolate and caramel, taking these bars to the next level. What’s a truly amazing chocolate caramel dessert without that touch of salt?
- Strategic Storage: While they are best stored in the freezer for optimal texture and longevity, be warned: this won’t deter others from finding your delicious stash! If you have specific plans for these treats (e.g., saving them for yourself!), employ your best hiding skills.
Store-Bought Twix vs. Healthier Homemade Twix Bars: A Nutritional Showdown
Understanding the difference between commercial candy bars and their homemade, healthier counterparts is crucial for informed dietary choices. Here’s a detailed comparison highlighting why these homemade Twix bars are a superior choice:
- Sugar Content and Type:
- Store-Bought Twix: Heavily reliant on refined sugar and high-fructose corn syrup, both of which are rapidly absorbed into the bloodstream. This can lead to significant blood sugar spikes, followed by energy crashes, and contribute to chronic inflammation throughout the body. These sugars offer empty calories with no nutritional benefits.
- Healthier Homemade Twix Bars: Sweetened primarily with whole Medjool dates and pure maple syrup. Dates provide natural sugars along with a significant amount of dietary fiber. This fiber slows down sugar absorption, helping to balance blood sugar levels and provide sustained energy. Maple syrup, a less processed sweetener, also contains beneficial antioxidants, offering more than just sweetness.
- Fats Used:
- Commercially Made Twix: Often contain trans fats and other unhealthy processed vegetable oils. Trans fats are notorious for raising “bad” LDL cholesterol levels while lowering “good” HDL cholesterol, significantly increasing the risk of heart disease and contributing to systemic inflammation.
- Healthier Homemade Twix Bars: Made with wholesome fats from extra virgin olive oil and almond butter. Olive oil is rich in monounsaturated fats (MUFAs) and polyunsaturated fats (PUFAs), which are known to be heart-healthy and can help reduce inflammation. Almond butter provides additional healthy fats, Vitamin E, and protein, contributing to satiety and overall nutritional value.
- Carbohydrate Quality:
- Traditional Twix Biscuit Base: Crafted from refined flour, which has been stripped of its bran and germ, along with most of its fiber, vitamins, and minerals. This type of carbohydrate is quickly digested, leading to rapid blood sugar spikes and offering little in terms of sustained energy or nutritional benefit.
- Healthier Homemade Twix Bars Biscuit Base: Our recipe utilizes almond flour, a grain-free and gluten-free alternative. Almond flour boasts a much more balanced nutritional profile, being high in protein and fiber, and significantly lower in carbohydrates. This combination ensures a slower release of energy, helps maintain stable blood sugar, and provides essential nutrients, making for a genuinely healthier and more satisfying cookie layer.
- Additives and Artificial Ingredients:
- Store-Bought Twix: Frequently include artificial flavors, colors, preservatives, and emulsifiers to enhance taste, appearance, and shelf life. These synthetic ingredients can have various negative health impacts and are best avoided in a clean eating plan.
- Healthier Homemade Twix Bars: Champion whole food ingredients like almond butter, pure maple syrup, Medjool dates, and extra virgin olive oil. Every ingredient serves a purpose and is recognizable, ensuring you’re consuming a product free from unnecessary chemicals and artificial substances, supporting a cleaner and more natural diet.
More Delicious & Healthy Chocolate Recipes You’ll Love
If you’re a fan of these healthier Twix bars, you’ll surely enjoy exploring other wholesome chocolatey treats. Here are some more delectable recipes to satisfy your cravings:
- Vegan Chocolate Pudding Recipe
- Vegan Tahini Brownies
- Chocolate Peanut Butter Cups with Pistachios and Pomegranate Seeds.
- Double Chocolate Zucchini Muffins
Did you know commenting and rating recipes is one of the best ways to support your favorite food bloggers? If you made this recipe, please consider giving it a five-star rating below and leaving a comment. Also, we’d love to see your creations! Please share your photos on Instagram by tagging me @dkhealthcoach and using the hashtag #debraklein. Your support means the world!
📖 Recipe
Healthier Homemade Twix Bars
Rate this Recipe
Pin Recipe
Equipment
-
8×8″ square baking pan
-
Mixing bowls
-
Silicone spatula
-
Offset spatula
-
Food Processor
-
Measuring Cups and Spoons
Ingredients
Cookie Base Layer
- 1 ½ cups blanched almond flour
- 3 tablespoon olive oil
- 3 tablespoon maple syrup
- pinch sea salt
Caramel Layer
- 9 medjool dates (pitted)
- ½ cup creamy almond butter
- 2 tablespoon olive oil
- 2 tablespoon maple syrup
Chocolate Layer
- ⅔ cup dark chocolate chips (70% cacao or higher)
- 1 tablespoon olive oil
- flaky sea salt (optional, for sprinkling)
Instructions
-
Preheat oven to 350°F (175°C). Line an 8″ square baking pan with parchment paper, allowing some overhang on the sides.
Make the Cookie Base Layer
-
In a medium-sized mixing bowl, combine almond flour, olive oil, and maple syrup. Stir until thoroughly mixed. The dough will be thick and slightly sticky, holding together when pressed between your fingers.
-
Press the cookie dough evenly into the prepared pan, ensuring it reaches all corners. This is easiest to do with your hands.
-
Bake for 15 minutes, or until the edges are golden brown and the center is slightly soft to the touch.
Make the Caramel Layer
-
While the cookie layer bakes, remove pits from the dates and place them into the bowl of a food processor. Add the almond butter, olive oil, and maple syrup.
-
Process until the mixture is uniform in texture, thick, and somewhat pasty. Scrape down the sides of the bowl as needed to ensure all ingredients are incorporated.
-
Once the cookie layer is baked and slightly cooled, spread the caramel mixture evenly over it. Use an offset spatula or your hands to ensure it’s dispersed all the way to the corners.
-
Place the pan in the freezer for at least one hour, or ideally overnight, until the caramel layer is firm.
Make the Chocolate Layer
-
Melt the dark chocolate chips with the olive oil.
-
Use a small saucepan on the lowest heat setting, stirring constantly. Turn off the heat as soon as the chocolate begins to melt and continue stirring until completely smooth and pourable (about 1 minute total).
-
Pour the melted chocolate over the firm caramel layer. If desired, sprinkle with flaky sea salt. Immediately place the pan in the fridge for 5 minutes to set the chocolate.
Cut into bars
-
If the pan was in the fridge for longer than 5 minutes, let it sit at room temperature for about 10 minutes before cutting to prevent chocolate cracking.
-
Lift the entire block out of the pan using the parchment paper. Use a sharp knife to lightly score (mark the lines) the chocolate into 4 equal quarters (one horizontal, one vertical line through the center). Then, mark each ¼ section into 4 long strips.
-
Once all 16 bars are scored, use your sharp knife to carefully cut all the way through the marked lines, creating clean, individual bars.
Storage
-
Store these bars in an airtight container in the fridge for up to 2 weeks, or in the freezer for up to 3 months. For an optimal firm and chewy texture, I highly recommend enjoying them straight from the freezer!
Nutrition
Note
The nutrition calculations were done using online tools. To obtain the most accurate representation of the nutritional information in any given recipe, you should calculate the nutritional information with the actual ingredients you used. You are ultimately responsible for ensuring that any nutritional information is accurate, complete and useful.
