The Ultimate Guide to Healthy Gluten-Free Biscotti: Crunchy, Vegan, and Delightfully Dippable
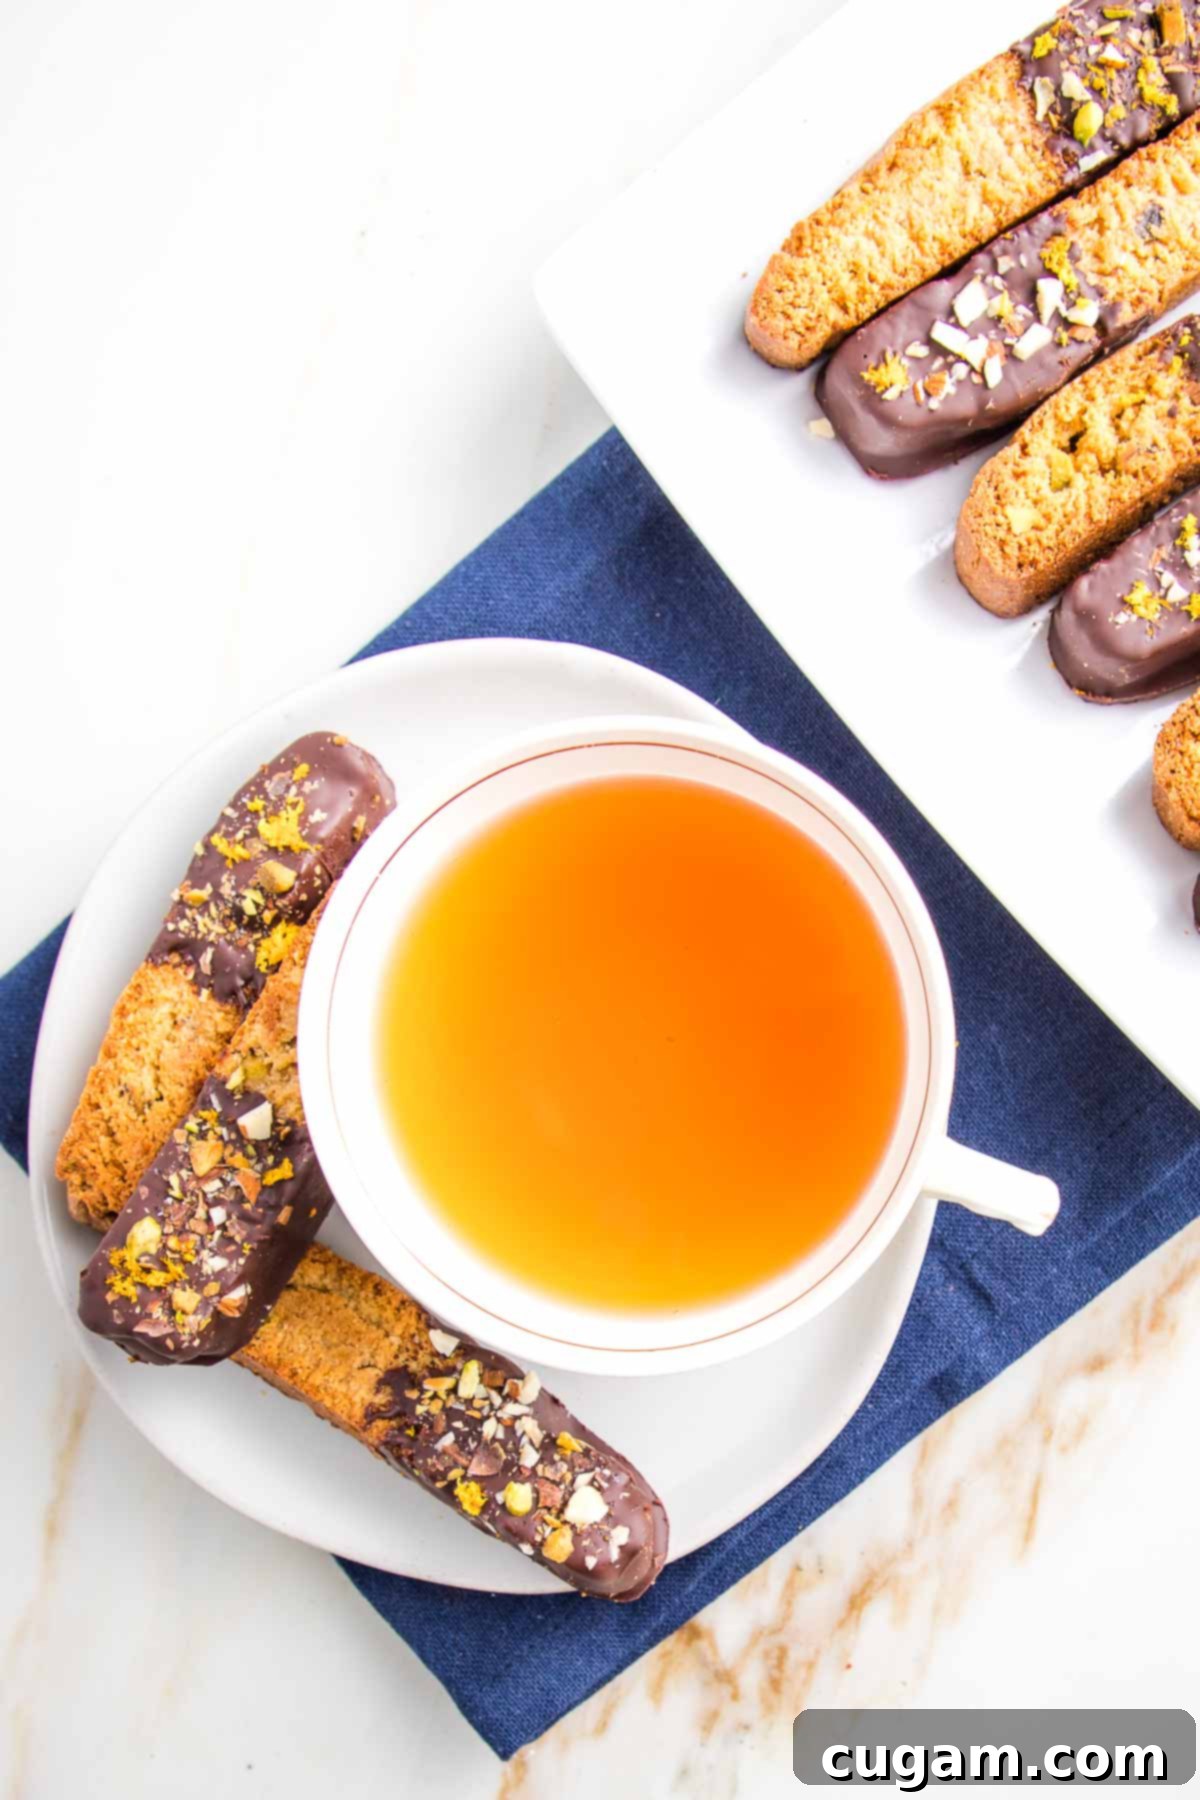
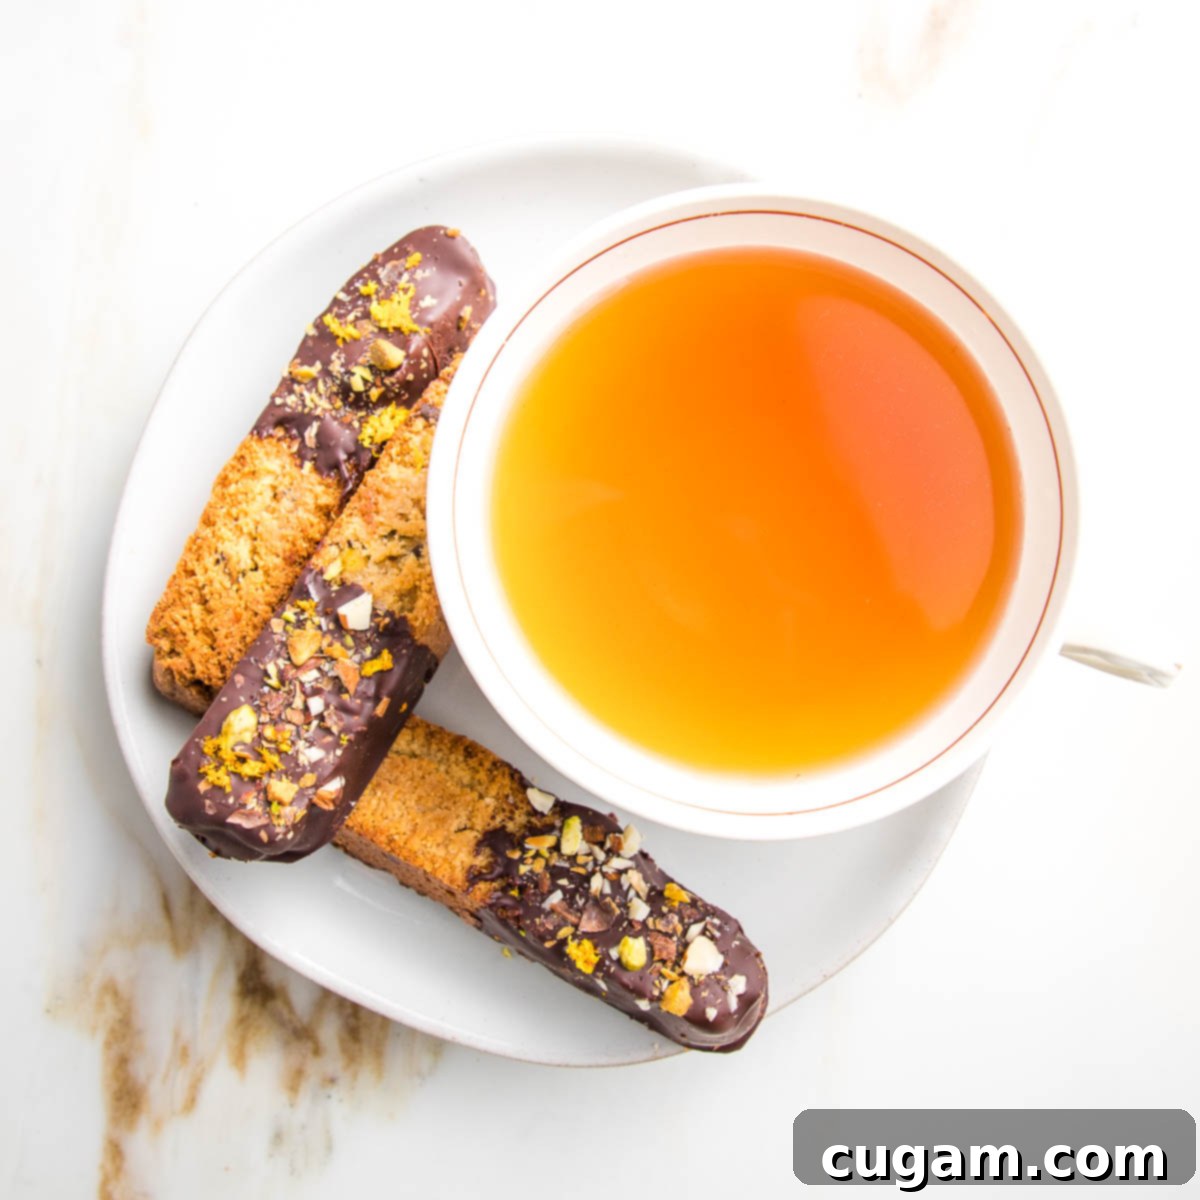
Prepare to be enchanted by the perfect gluten-free biscotti! These delightful treats are twice-baked to achieve an irresistible crunch, making them ideal for dunking into your favorite hot beverage. Crafted with nutritious almond flour, they offer a wholesome option for breakfast, a satisfying snack, or a light dessert. Elevate your experience by dipping them in rich dark chocolate and generously dusting with chopped nuts, a sprinkle of sea salt, and aromatic orange zest for a truly decadent touch. This recipe ensures a guilt-free indulgence that is both healthy and utterly delicious!
This post was thoughtfully updated from the original version, first published on March 24, 2021, to provide even more valuable insights and delicious details.
[feast_advanced_jump_to]
These gluten-free biscotti aren’t just a treat; they’re a delightful revelation! Baked twice to achieve that signature crunch, each bite offers a symphony of sweet almond and vibrant orange flavors, all while keeping refined sugar out of the picture. This isn’t just a healthy biscotti recipe; it’s a testament to how utterly satisfying and wholesome a sweet indulgence can be, especially when paired with your morning coffee or an afternoon pick-me-up.
What makes this almond flour biscotti recipe truly a gem is its simplicity. Requiring just one bowl and a handful of straightforward ingredients, you can whip up a batch of crisp, satisfying biscotti with minimal fuss. It’s perfect for busy weeknights or a relaxed weekend baking session, proving that healthy baking doesn’t have to be complicated.
And the good news keeps on coming! These healthy biscotti don’t just taste amazing fresh; they also freeze beautifully. This means you can always have a stash of these delightful cookies ready for unexpected guests or when a sudden craving strikes. But be warned: don’t count on them lasting long in the freezer for storage purposes, because (speaking from personal experience here!) they’re incredibly tempting and just as delicious eaten straight from the freezer!
Why You’ll Fall in Love with This Healthy Biscotti Recipe:

- Wholesome & Dietary Friendly: This recipe delivers a truly healthy vegan treat that’s completely grain-free and made without any refined sugars, making it perfect for various dietary needs and preferences.
- Effortlessly Easy: With a simple one-bowl mixing process, preparing these biscotti is a breeze, minimizing cleanup and maximizing your enjoyment.
- Perfectly Crunchy: The traditional twice-baked method ensures each biscotti is wonderfully crisp and firm, achieving that satisfying “dunkable” perfection every time.
- Superb for Meal Prep: These biscotti keep exceptionally well when stored in an airtight container, and they’re incredibly freezer-friendly, offering a convenient grab-and-go option for up to three months.
- Absolutely Delicious: Beyond all the health benefits, the primary reason you’ll adore these is their incredible flavor and delightful texture – they are truly irresistible!
- Kosher for Passover Option: Surprisingly, this recipe can be easily adapted to be kosher for Passover, providing a truly super tasty and healthy dessert option during the holiday. No compromise on flavor or health here!
Essential Ingredients and Smart Substitutions
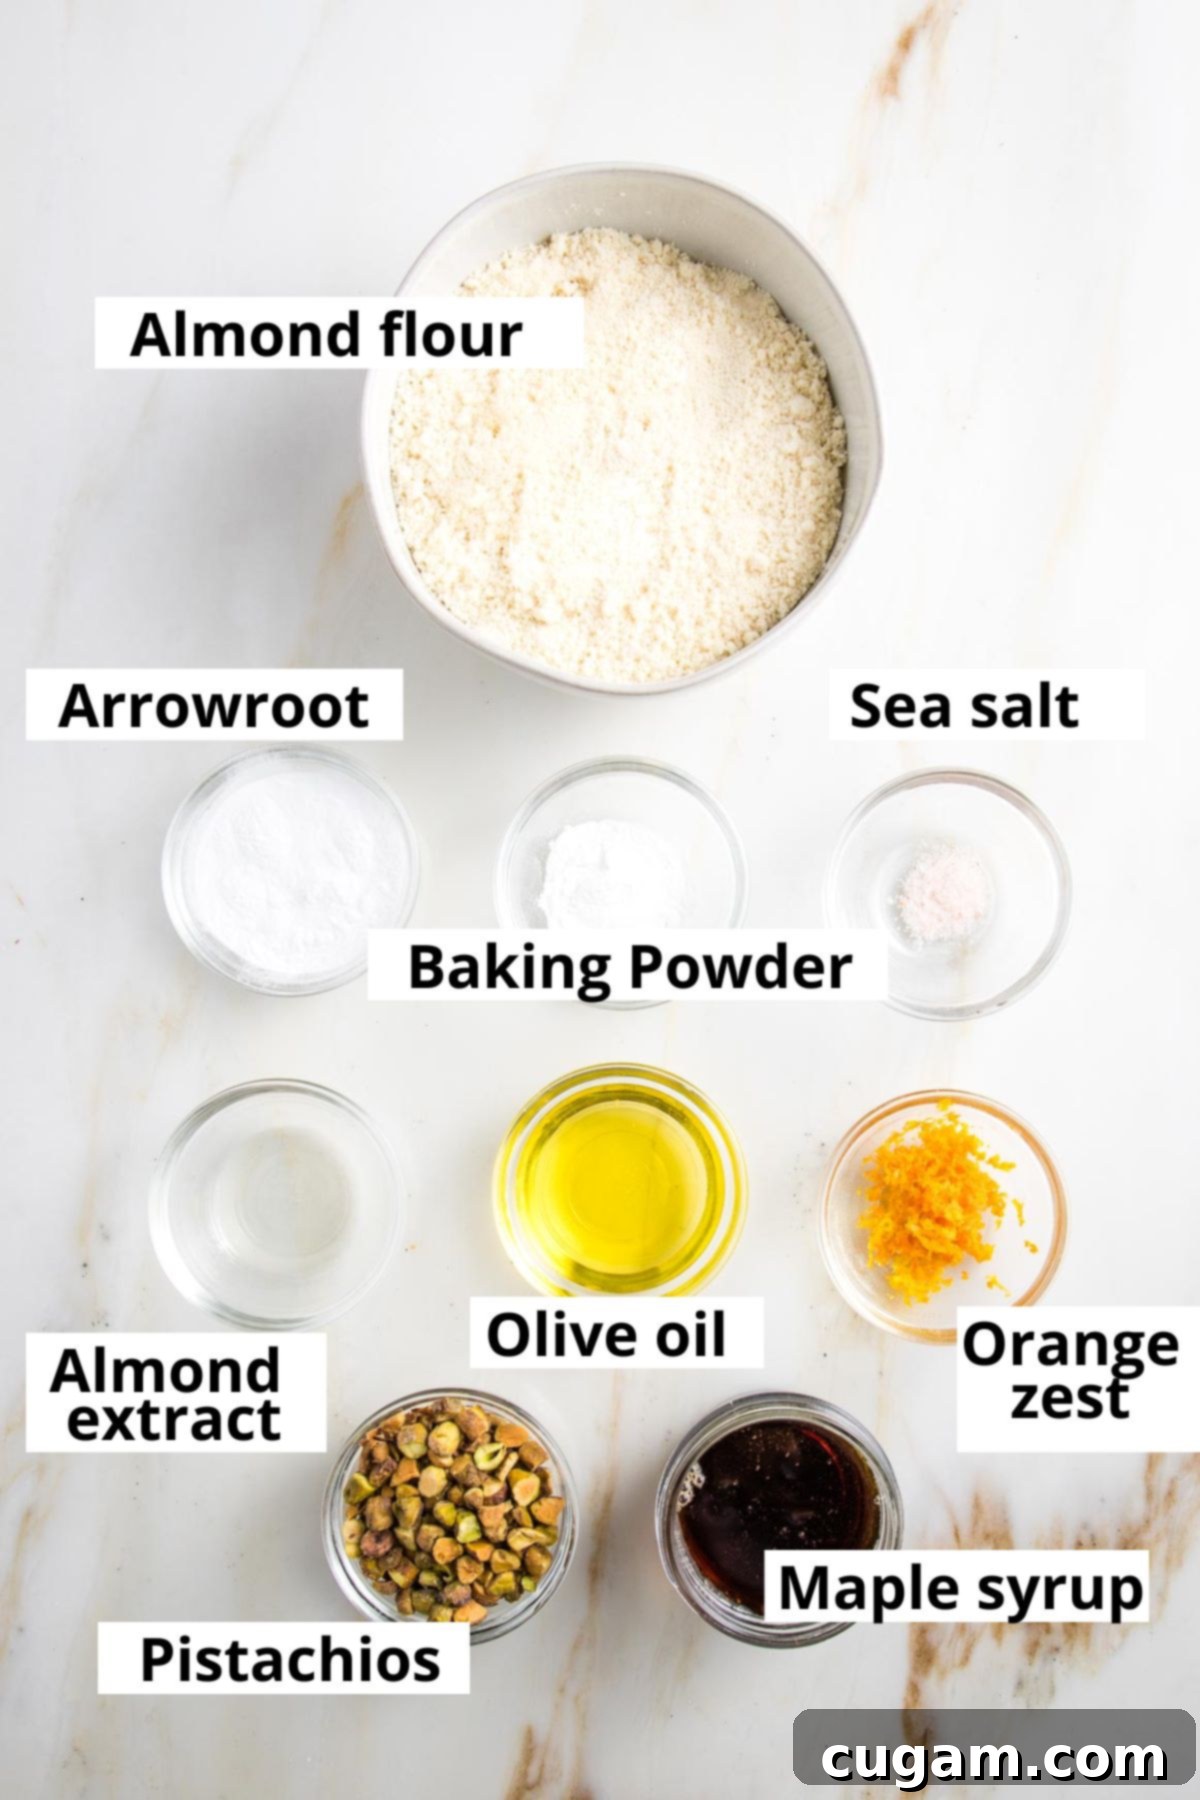
- Almond Flour: This is the star of our gluten-free biscotti! Choose blanched almond flour for the best results, as it’s finely ground and made from almonds with their skins removed, resulting in a lighter texture. Avoid almond meal, which is coarser and includes the skins. Almond flour is naturally low in carbs and packed with heart-healthy nutrients, including protein and good fats.
- Arrowroot Powder: Acts as a fantastic binder and helps achieve that perfect crisp texture. If you’re preparing this recipe for Passover, you can easily substitute potato starch without any issues.
- Baking Powder: Our leavening agent that gives the biscotti a slight lift and helps create that tender-crisp interior. If you’re making these for Passover, it’s perfectly fine to omit the baking powder; the biscotti will still be wonderfully delicious and dunkable.
- Sea Salt: Just a pinch of sea salt enhances all the other flavors, particularly bringing out the nutty richness of the almonds and pistachios. It’s a subtle but important addition, though it can be omitted if you are monitoring your sodium intake.
- Almond Extract: For those who, like me, adore a rich almond flavor, this extract is a must! It amplifies the natural almond taste from the flour, creating a deeper, more aromatic profile.
- Olive Oil: Provides moisture and contributes healthy fats to the recipe. If you prefer to bake without oil, you can replace it with an equal amount of water. This might slightly alter the texture, making them a touch denser, but they will still be tasty.
- Orange Zest: The finely grated peel of an orange adds a bright, zesty citrus accent that beautifully complements the almond flavor. It also lends a lovely, subtle color. Feel free to substitute lemon zest (or even lime) for a different kind of vibrant zing.
- Chopped Pistachios: While optional, chopped pistachios add an extra layer of crunch and introduce beautiful specks of green color, making the biscotti even more visually appealing. You can easily substitute any of your favorite nuts here; almonds, walnuts, and pecans are all excellent choices that will add their own unique flavor and texture.
- Maple Syrup: We use just a bit of maple syrup to provide a delicate, natural sweetness without making the biscotti overly sweet. This keeps them healthy and balanced. If you’re on the hunt for a recipe that uses dates as the primary sweetener, my vegan biscotti recipe might be more your style!
Step-by-Step Guide: Crafting Your Delicious Gluten-Free Biscotti
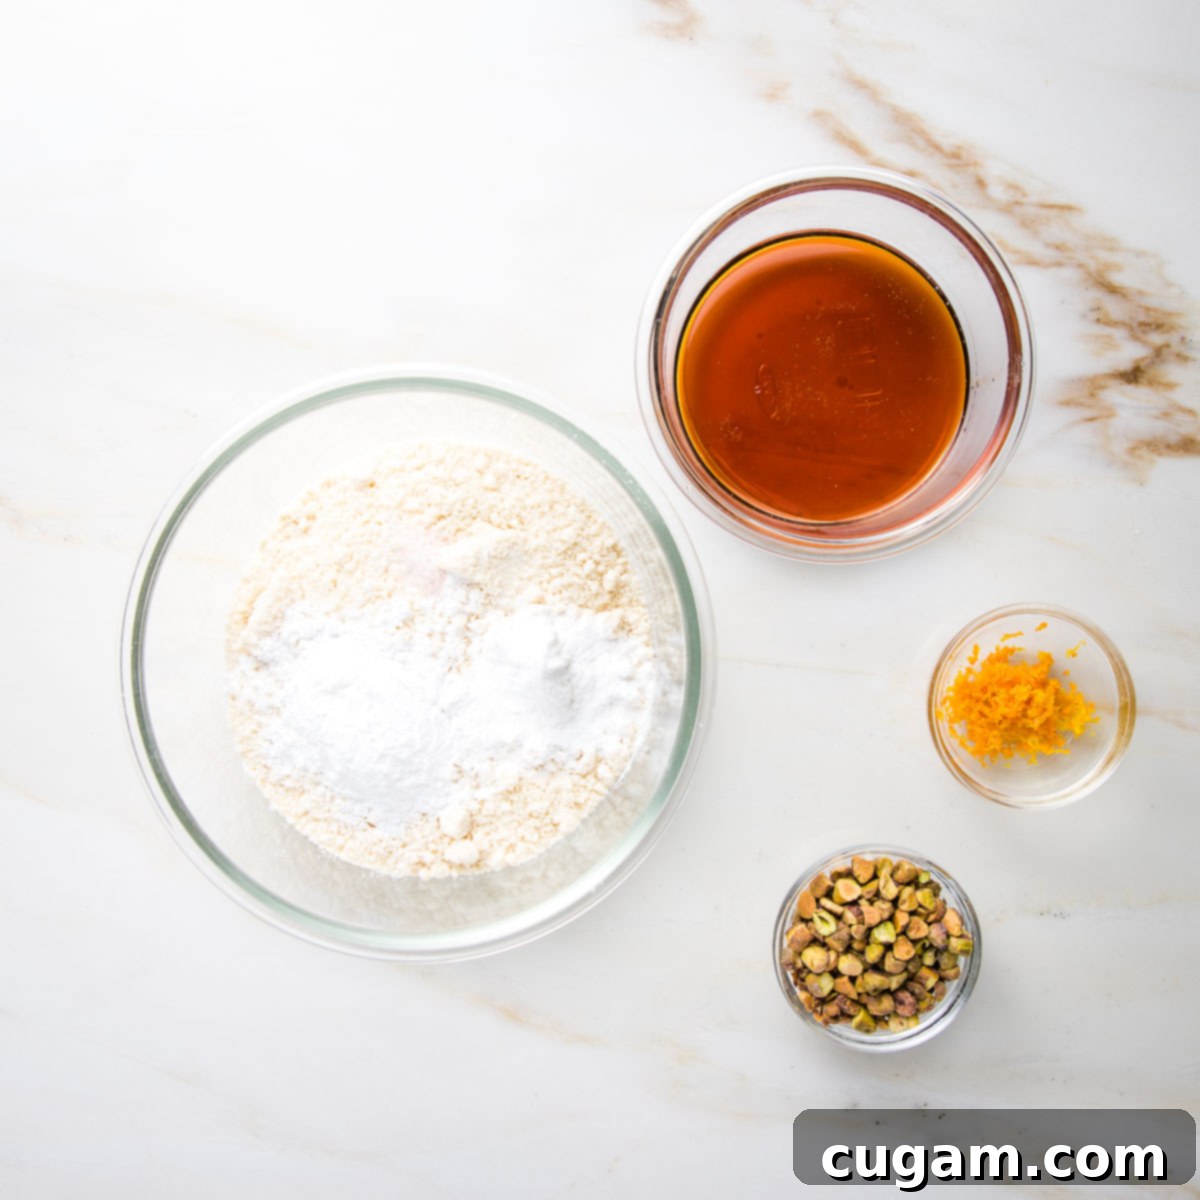
The beauty of this recipe lies in its simplicity. First, you’ll gather all your dry ingredients – almond flour, arrowroot powder, baking powder, and sea salt – and combine them thoroughly in a large mixing bowl. In a separate, smaller bowl, whisk together your wet ingredients: olive oil, maple syrup, and almond extract. Ensure your chopped nuts and orange zest are prepped and ready to be incorporated.
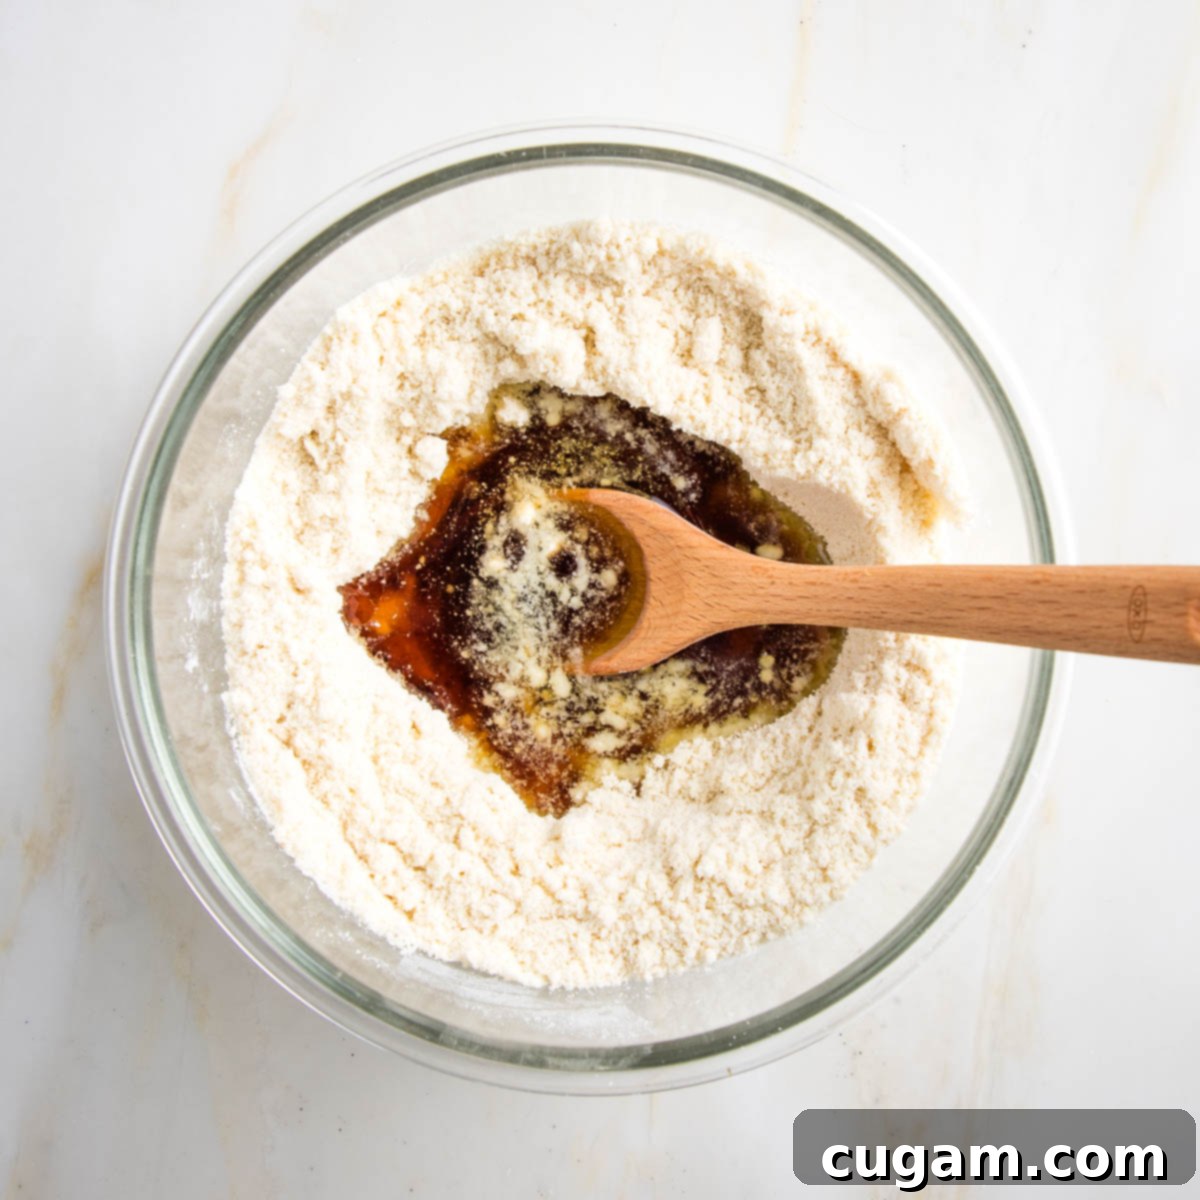
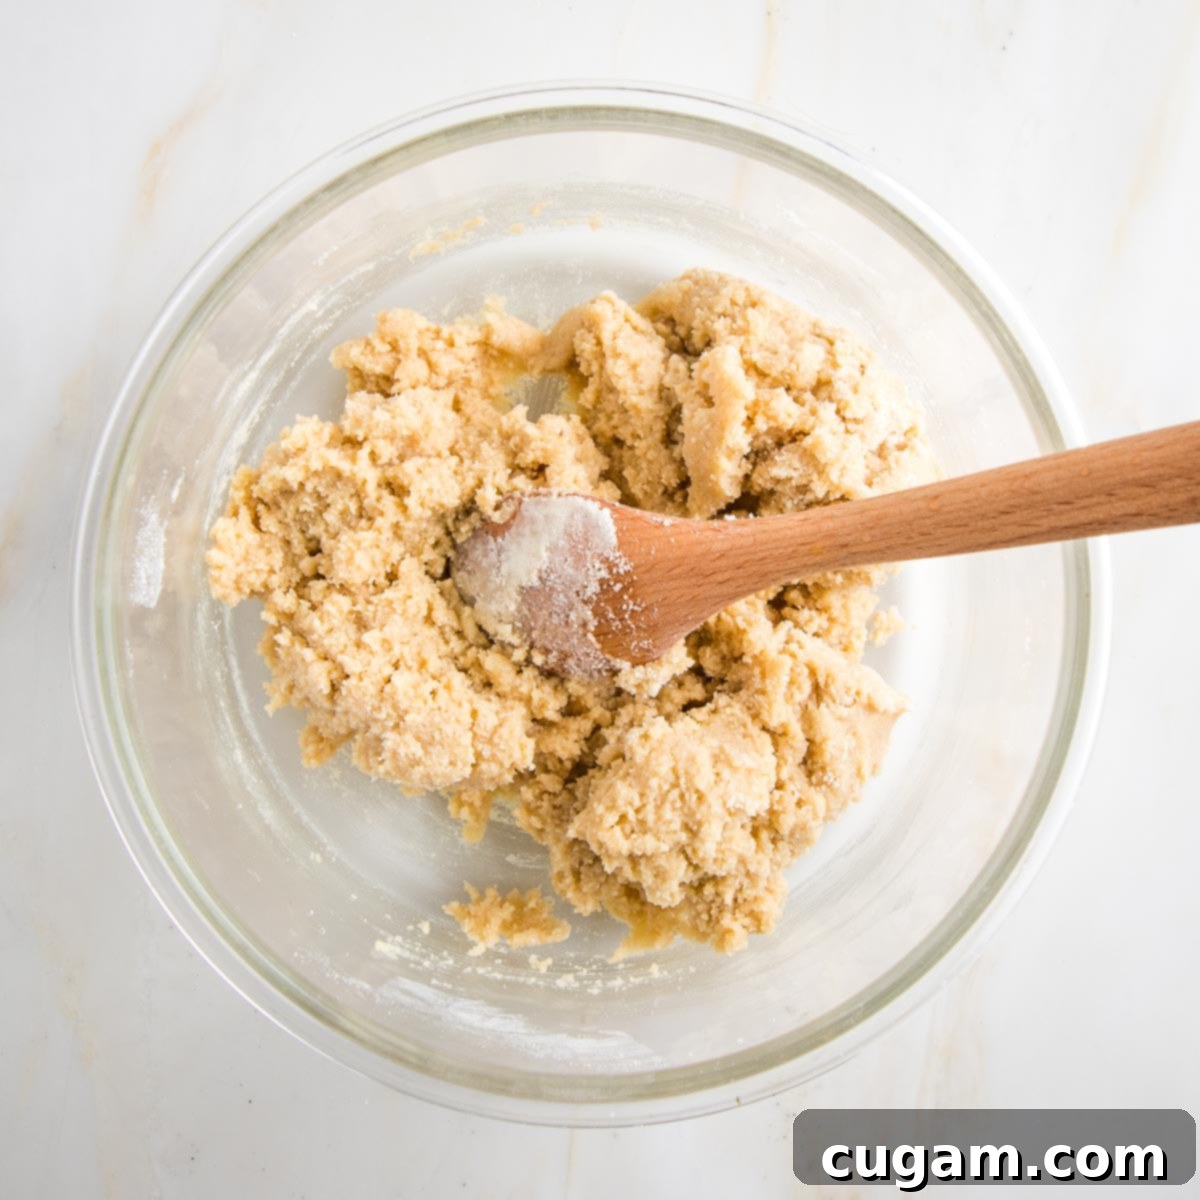
As you mix the dry ingredients, take a moment to break up any clumps in the almond flour to ensure a smooth dough. Once combined, create a small well in the center of your dry mixture and pour in the wet ingredients. Gently stir everything together until a cohesive dough forms and all ingredients are well incorporated. Be careful not to overmix; just combine until uniform. The dough will have a somewhat sticky consistency at this stage.
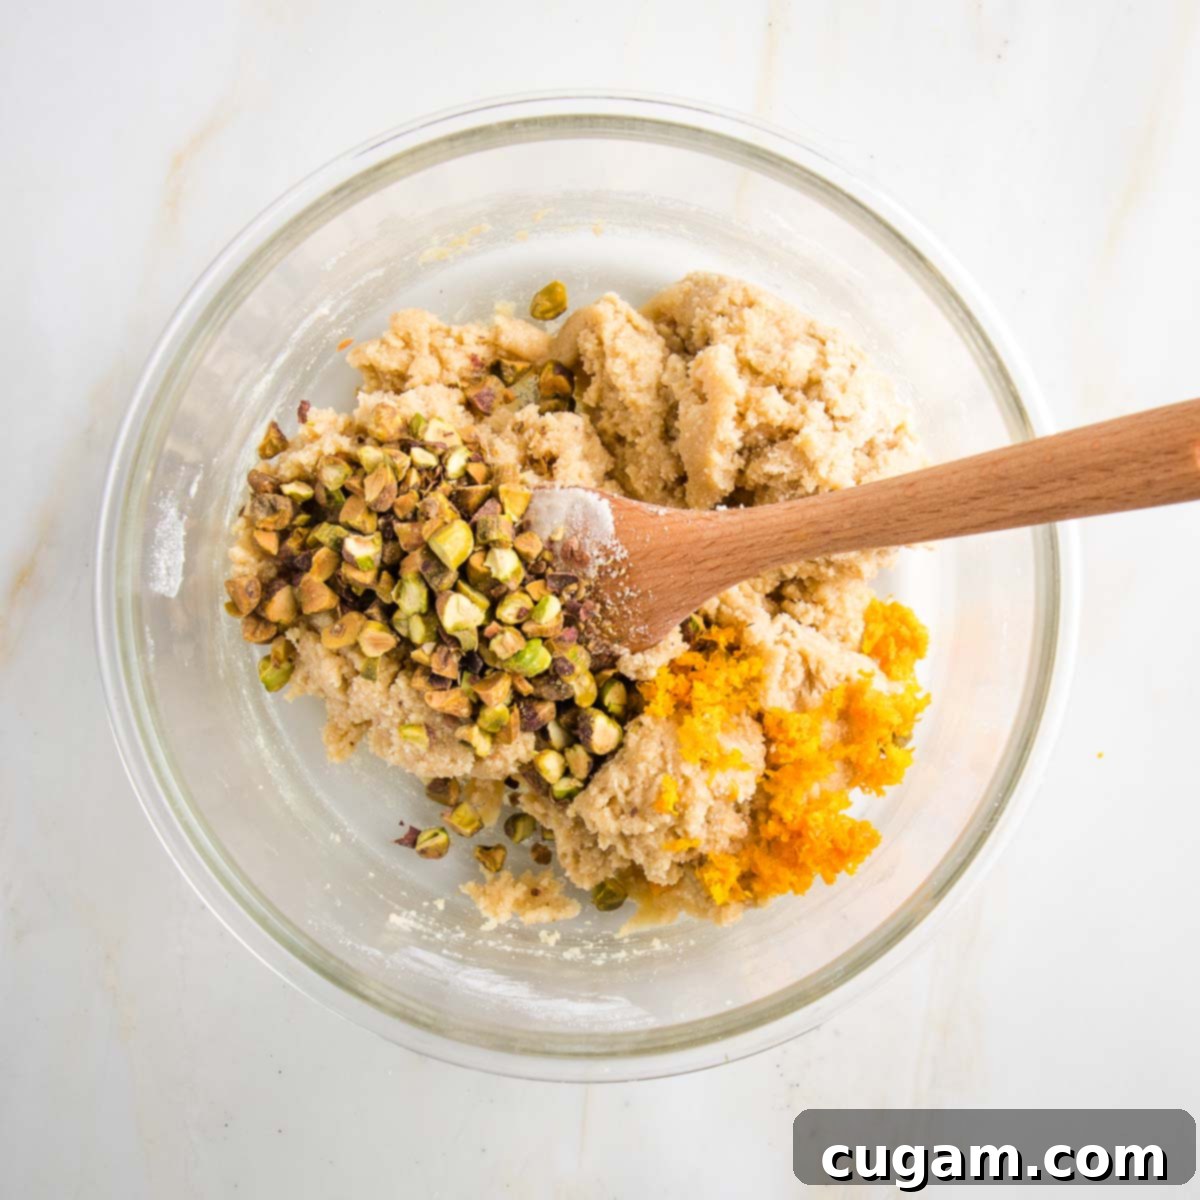
Now, it’s time to add your flavorful mix-ins! Fold in the chopped nuts and orange zest, mixing thoroughly until they are evenly dispersed throughout the dough. This ensures every biscotti piece gets a burst of flavor and texture.
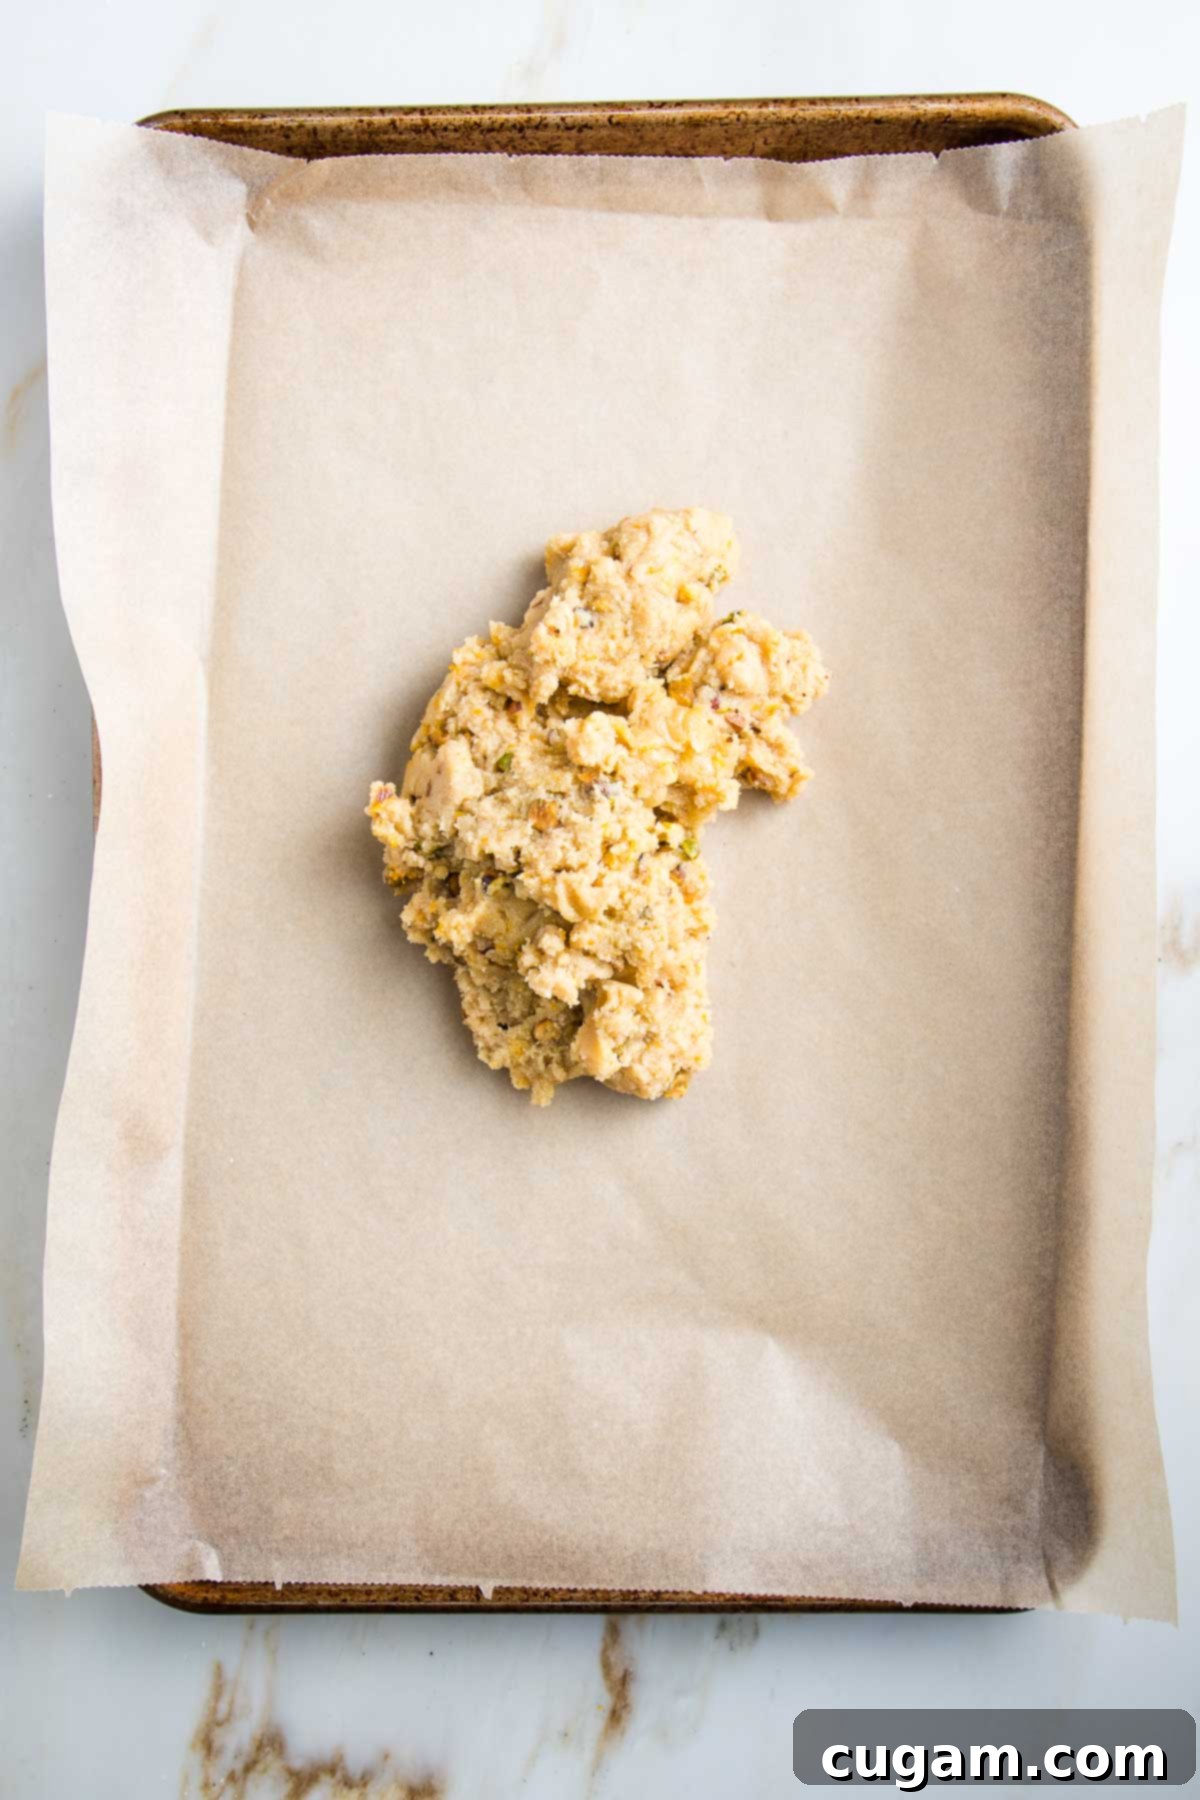
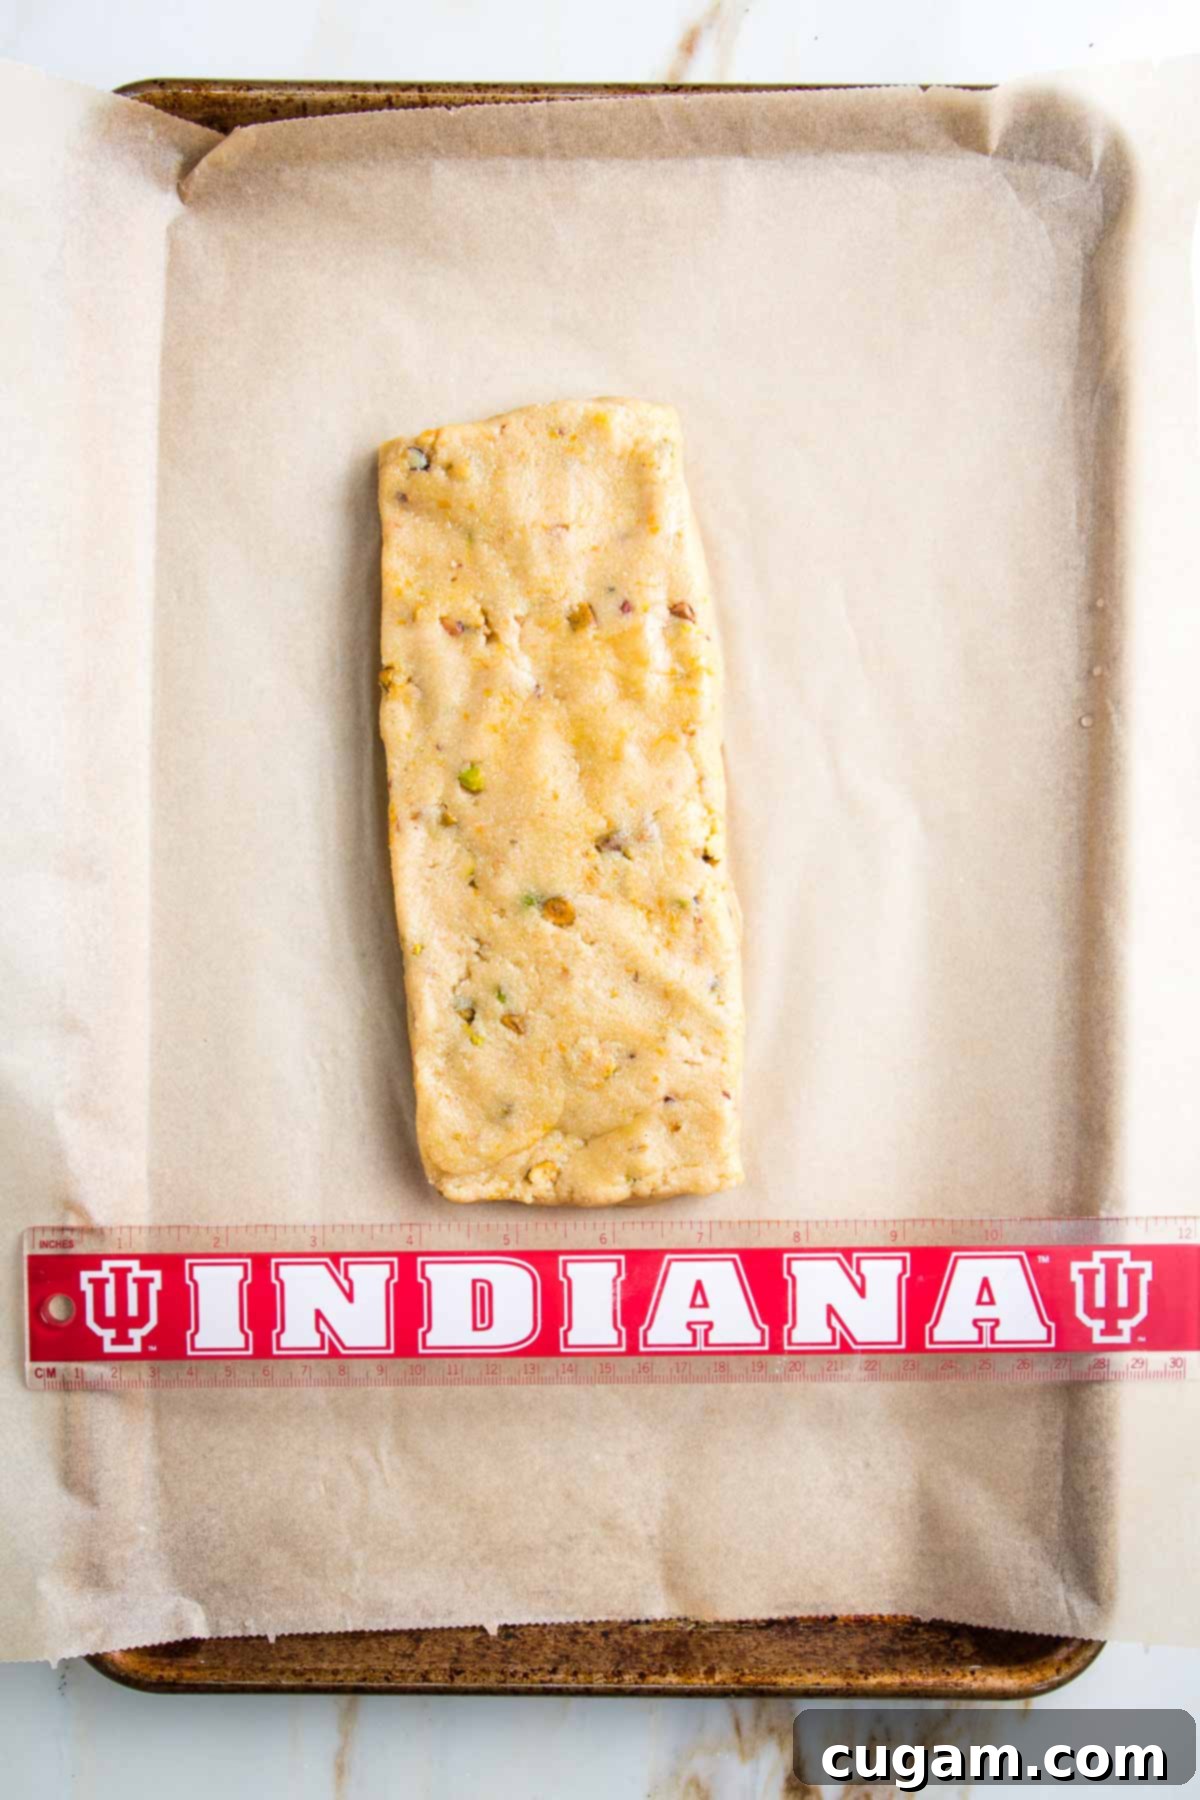
Turn the dough out onto a baking sheet that you’ve lined with parchment paper. Because the dough will be quite sticky, there are two easy ways to shape it: either wet your hands thoroughly to prevent sticking and gently flatten the dough into a uniform log, or place another sheet of parchment paper on top of the dough and use it to manipulate and press the dough into your desired log shape. This method keeps your hands clean and makes shaping much easier. Ensure your log is no more than ½ inch thick; the width of this log will directly determine the length of your finished biscotti cookies once they are cut.
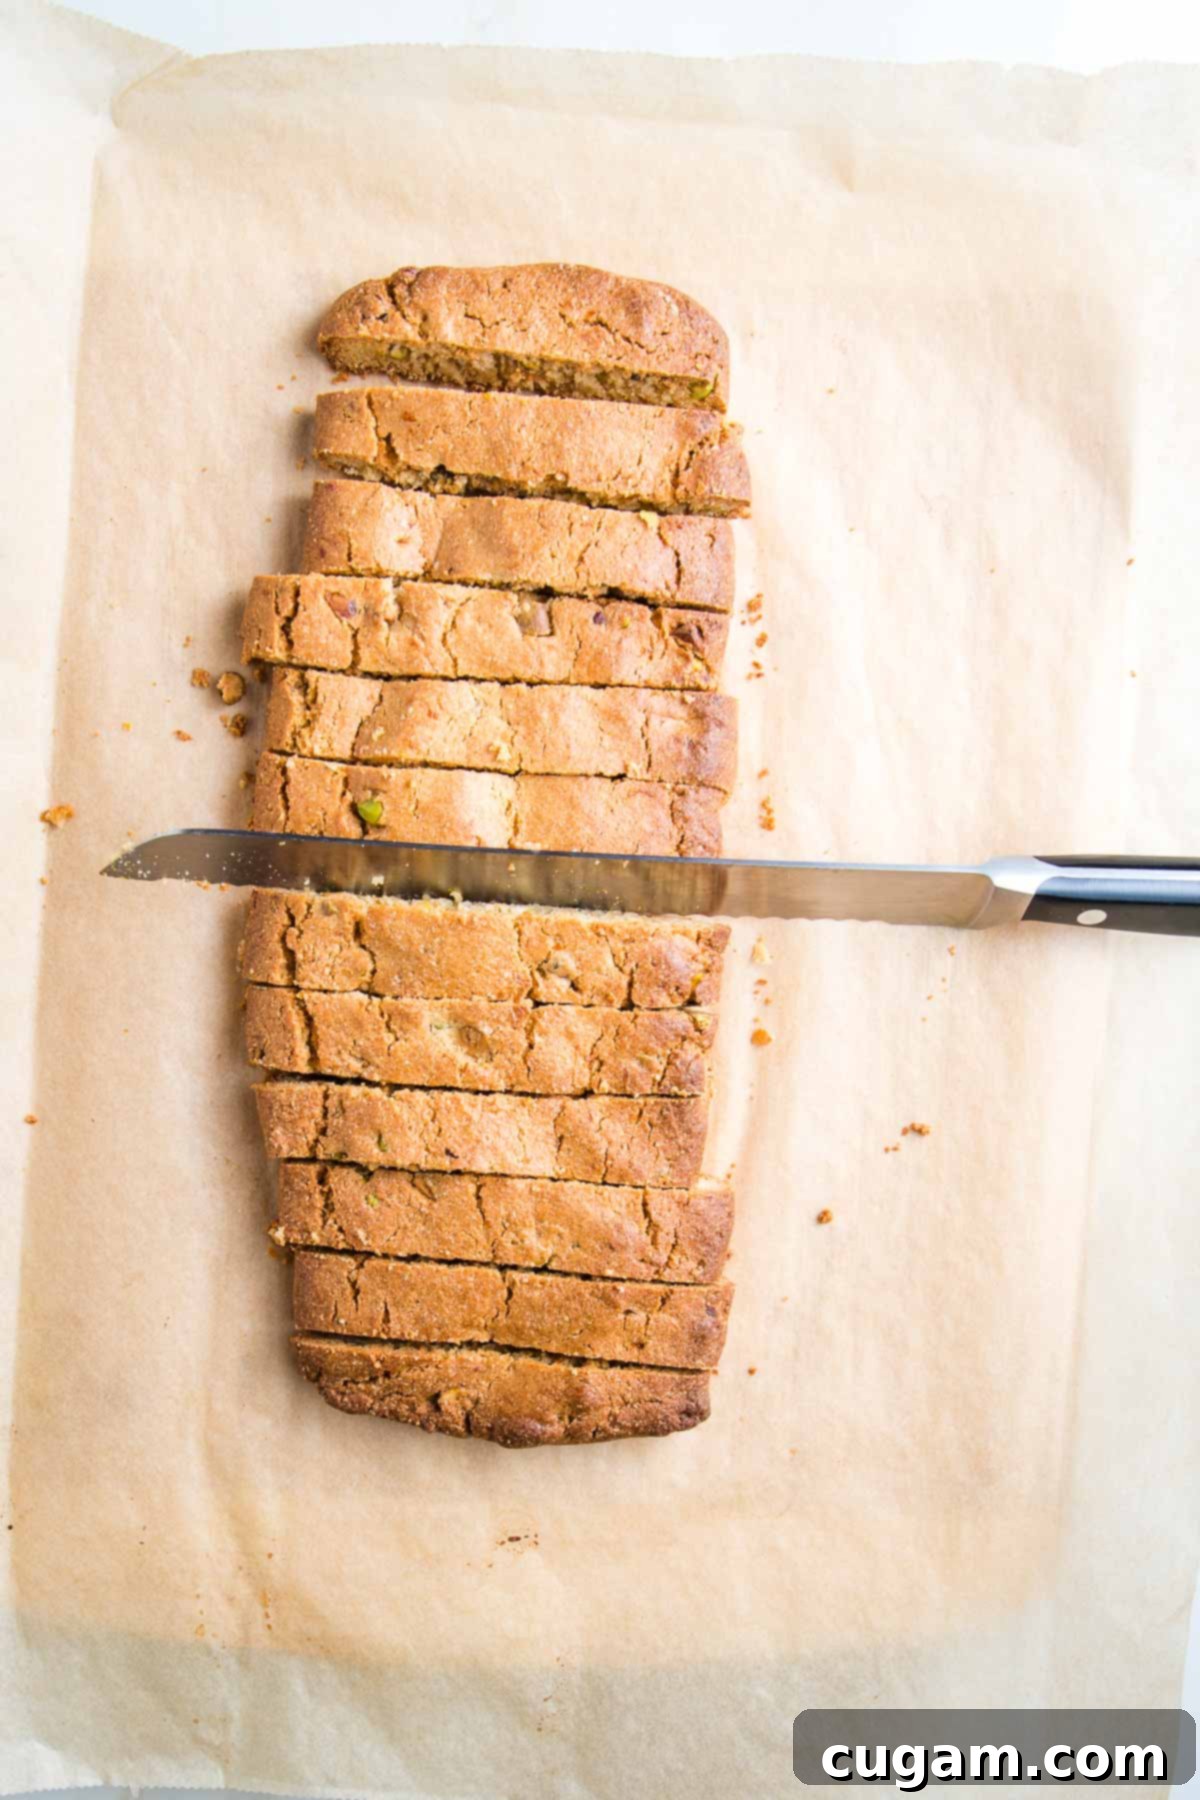
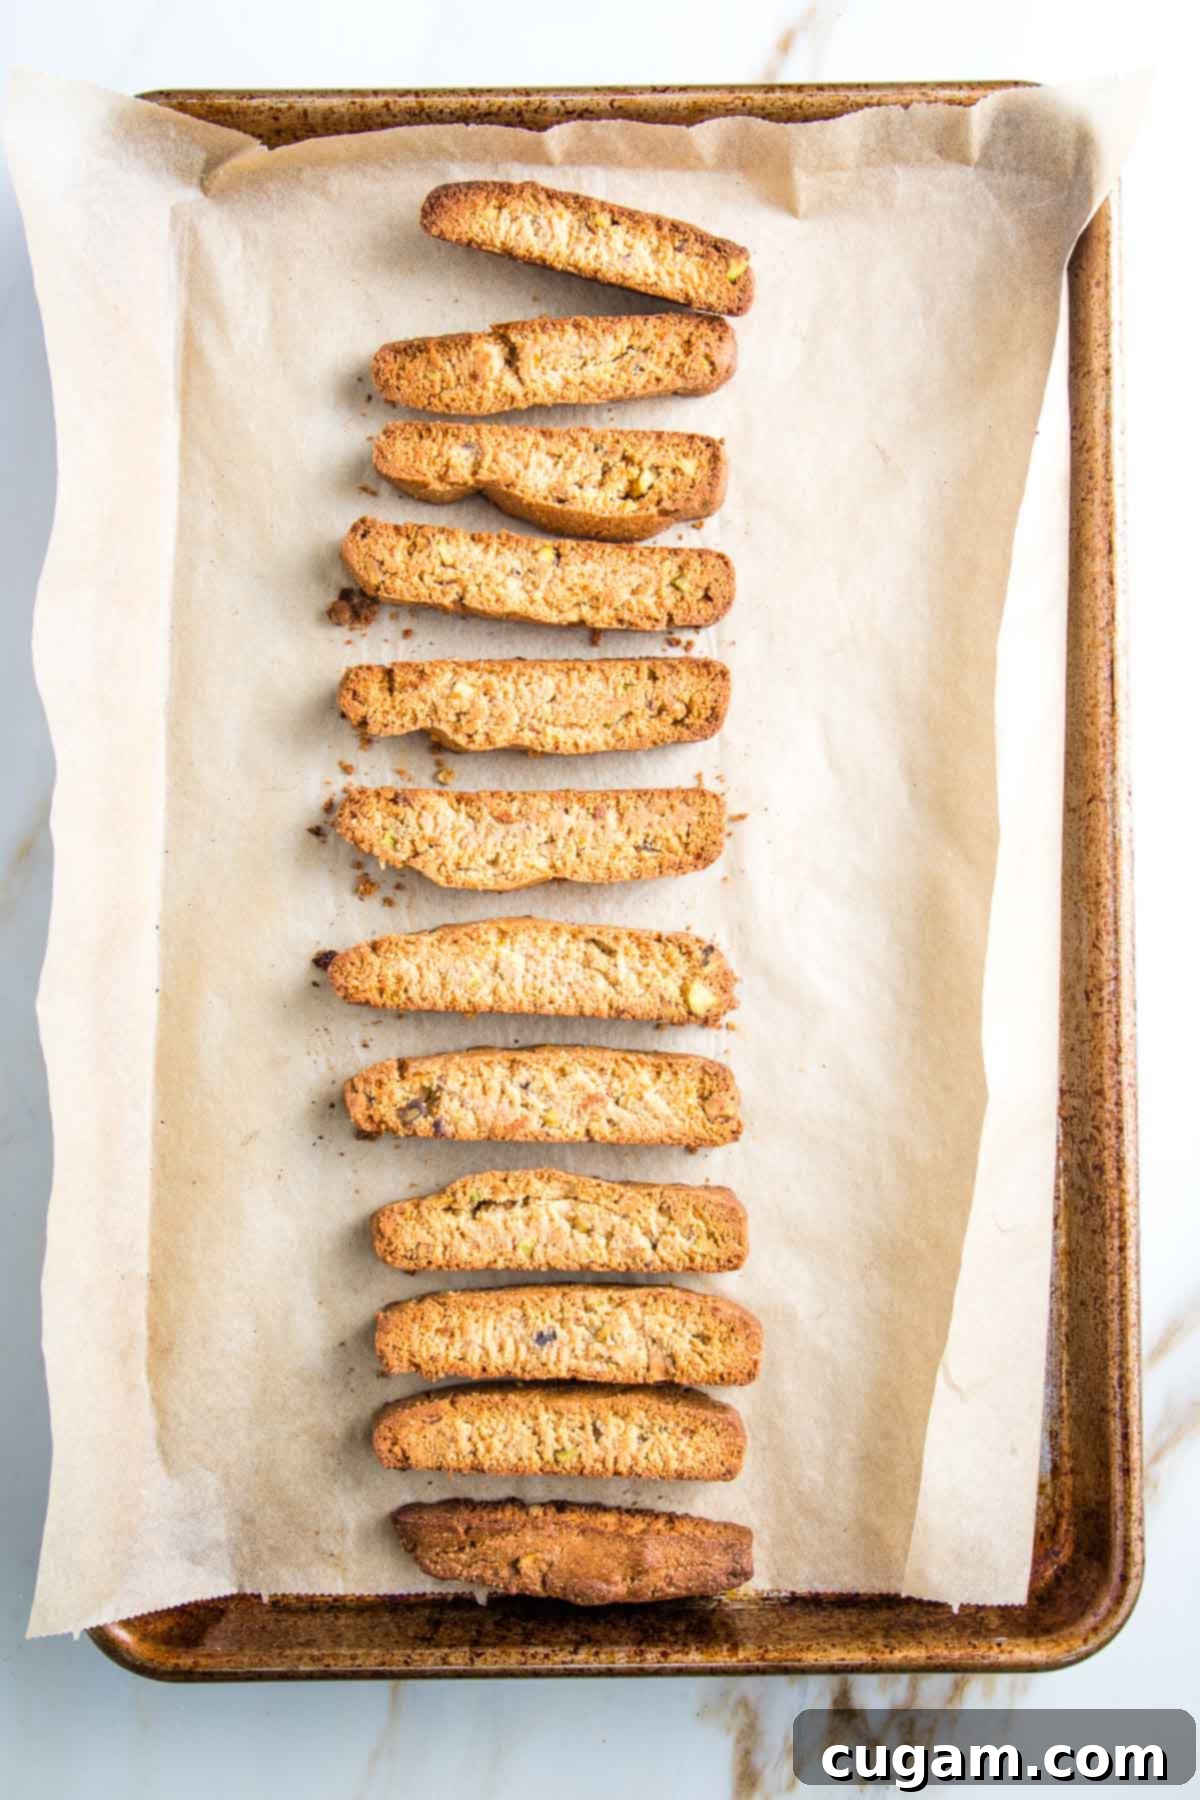
Bake the log until it achieves a beautiful golden hue. Once it’s cool enough to handle (usually about 10 minutes out of the oven), carefully transfer it to a cutting board. Using a sharp serrated knife and employing a gentle sawing motion will help you achieve clean 1-inch slices without crumbling. This technique is key to maintaining their perfect shape.
The magic of biscotti lies in being “twice baked.” To achieve that characteristic crunchy texture, turn your newly sliced biscotti pieces cut-side down on the parchment paper. Return them to the oven for a second bake, allowing the exposed sides to crisp up beautifully. This double-baking process is what gives biscotti its unique, satisfying snap.
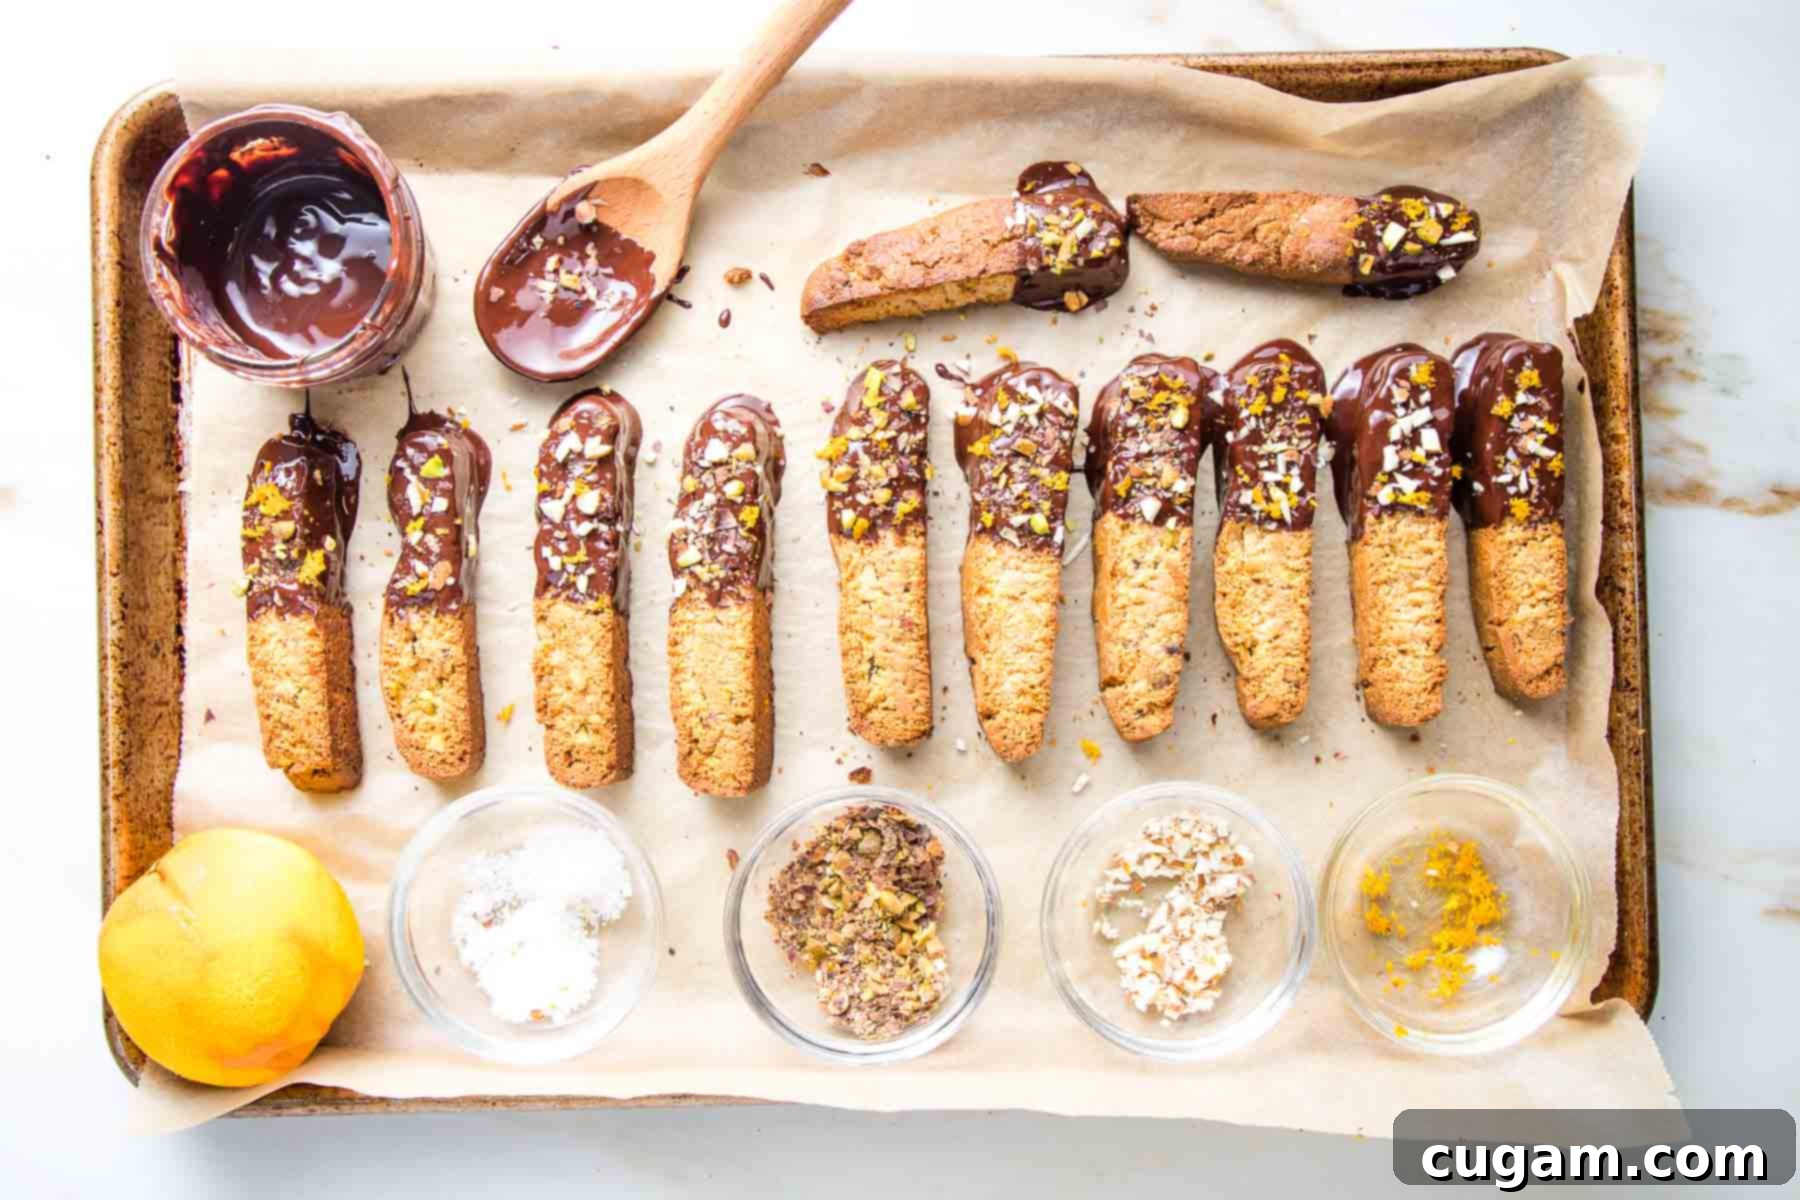
Once your gluten-free biscotti are baked to perfection, allow them to cool completely. This is crucial for them to fully harden and maintain their crispness. After cooling, comes the fun part: decorating! While optional, adding toppings elevates these healthy treats into a truly special indulgence. Here, they’ve been elegantly dipped in rich dark chocolate, then generously sprinkled with flakey sea salt (which beautifully contrasts the sweetness), a mix of chopped almonds or pistachios for extra crunch, and a final flourish of vibrant orange zest for an aromatic finish. These toppings not only add visual appeal but also enhance the flavor and texture profile significantly.
Debra’s Pro Tips for Perfect Biscotti
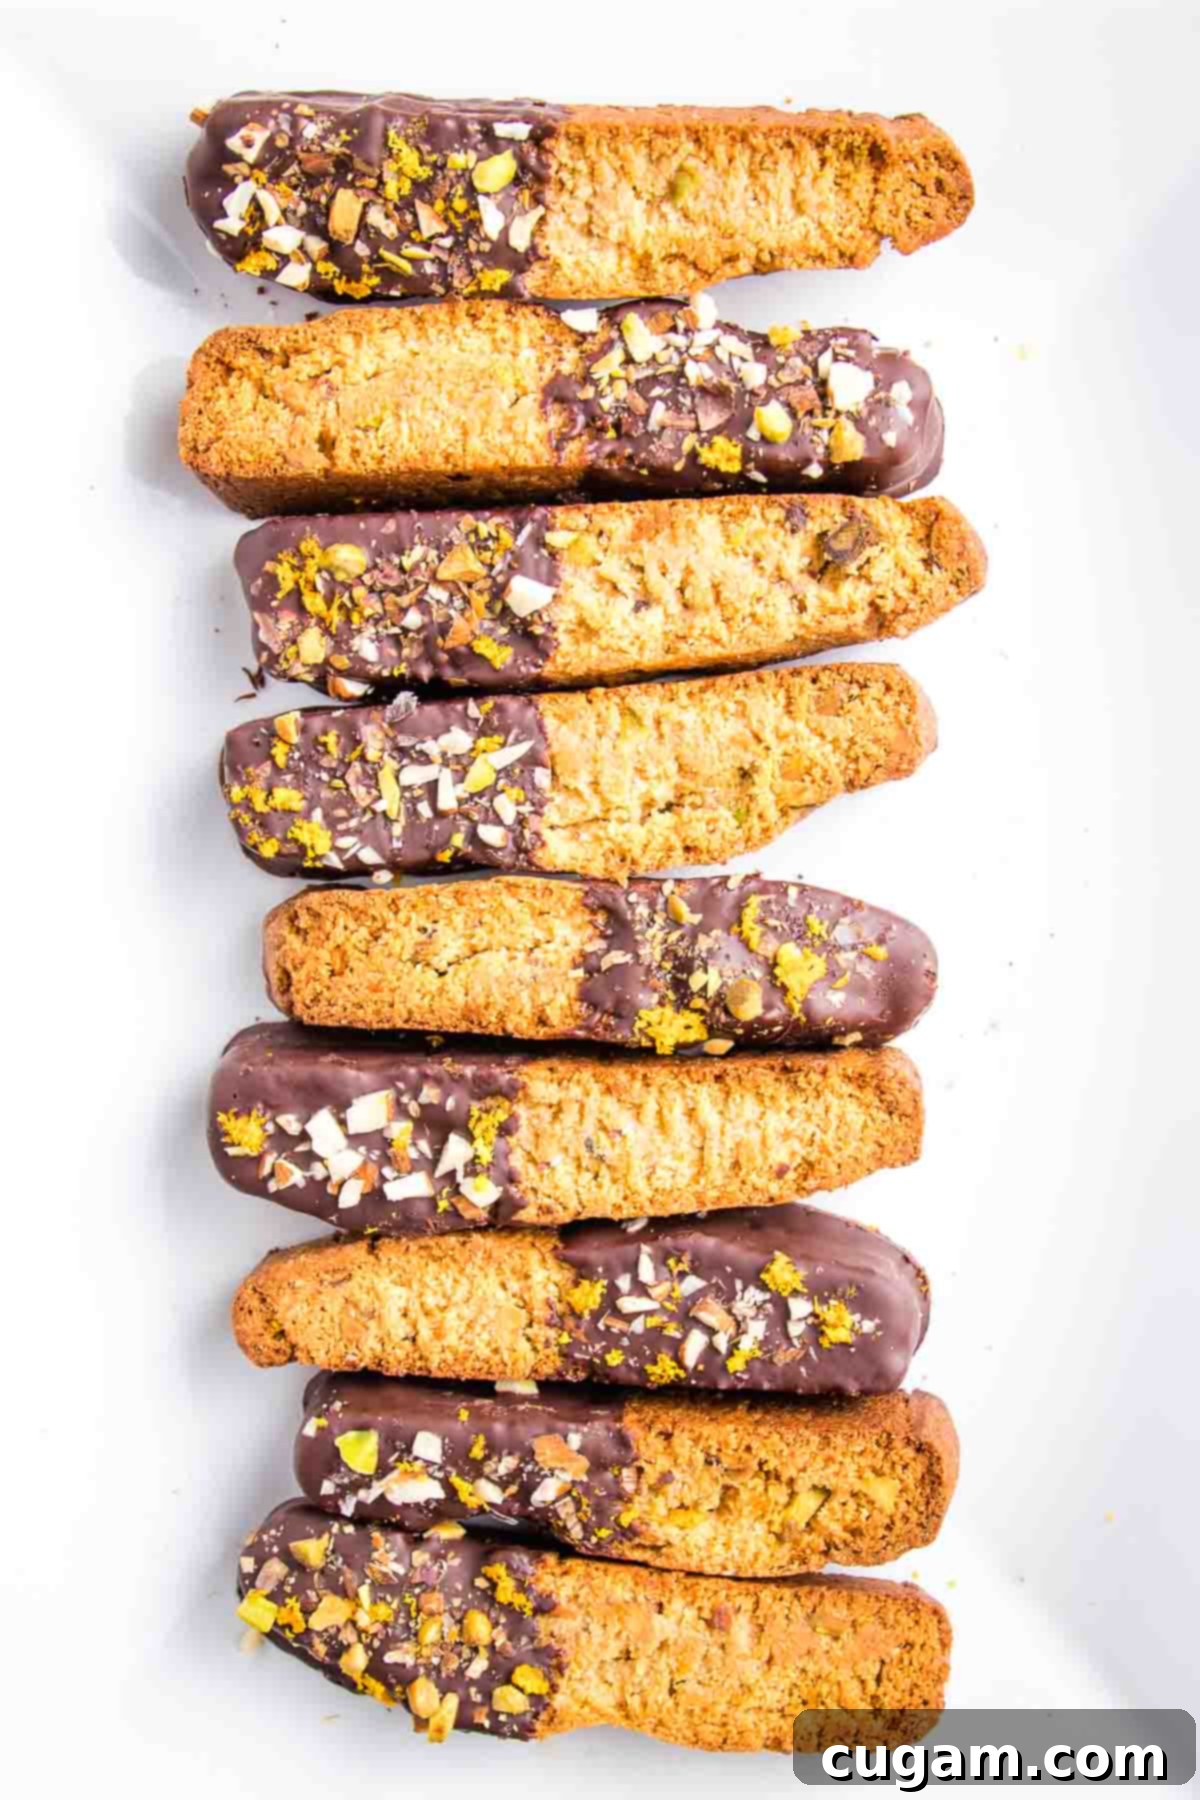
- Savor the Moment: These biscotti are more than just a snack; they are the perfect companion for a quiet moment. Grab a hot cup of coffee, tea, or your favorite beverage, sit down, and truly take a moment for yourself to enjoy this delicious treat. It’s a small act of self-care that makes a big difference.
- Wet Your Hands for Shaping: The dough for these biscotti can be quite sticky. To make shaping it into a neat log much easier and less messy, simply wet your hands before you begin. This prevents the dough from adhering to your fingers.
- Customize Biscotti Length: The width of your dough log directly impacts the length of your finished biscotti cookies. If you desire longer, more elegant biscotti, form a wider log. For shorter, more bite-sized pieces, make your log narrower. Adjust according to your preference!
- Don’t Skip the Orange Zest: Taking the extra moment to zest the orange is incredibly worthwhile. The citrus not only boosts the overall flavor of the biscotti from within, but it also adds a beautiful and tasty garnish when sprinkled on top, especially if you’re dipping them in chocolate.
- Excellent Shelf Life: These biscotti are incredibly convenient for make-ahead purposes. They will remain fresh and delicious at room temperature for up to two weeks when stored in an airtight container.
- Freezer Friendly: For longer storage, these biscotti freeze beautifully for up to three months. The best part? You can genuinely enjoy them straight from the freezer! Their crunch holds up perfectly, offering an instant healthy treat whenever you need one.
- Creative Use for Leftover Chocolate: If you find yourself with extra melted chocolate after dipping your biscotti, don’t let it go to waste! Use it to make other quick, delicious treats like chocolate-covered bananas, strawberries, or even clementine segments. A sprinkle of sea salt on these is always a good idea too!
- Make it a Family Affair: Baking should be fun! Let the kids get involved in the decorating process. It’s a wonderful way to spend time together and create cherished memories in the kitchen.
- Share the Joy: Given how well these biscotti store and travel, they make perfect homemade gifts for friends, family, or neighbors. They’re also an excellent item to pull out of the freezer to effortlessly serve guests, ensuring you always have something delightful on hand.
Frequently Asked Questions (FAQs) About Gluten-Free Biscotti
- What exactly is biscotti? Biscotti, meaning “twice-baked” in Italian, is a traditional cookie known for its dry, crunchy texture. This double baking process removes moisture, giving it a long shelf life and making it perfect for dipping into coffee, tea, or dessert wine.
- Why is biscotti twice-baked? The initial bake cooks the log of dough. After slicing, the second bake dries out the individual cookies, giving them their characteristic crisp, firm, and dunkable texture, which is a hallmark of authentic biscotti.
- How should I store these gluten-free biscotti? Once completely cooled, store your biscotti in an airtight container at room temperature for up to two weeks. For longer preservation, they can be frozen in a freezer-safe container or bag for up to three months.
- Can I make these biscotti ahead of time? Absolutely! Biscotti are excellent for make-ahead baking. Their impressive shelf life and freezer-friendly nature mean you can prepare a batch well in advance, making them perfect for entertaining, gifting, or simply having on hand for a quick treat.
- Can I use a different flour instead of almond flour? This recipe is specifically formulated for blanched almond flour due to its unique fat content and texture profile, which is crucial for gluten-free baking. Substituting other flours (like coconut flour or gluten-free all-purpose blends) would drastically change the results and require significant adjustments to the liquid and binder ratios. For best results, stick with blanched almond flour.
Serving Suggestions for Your Homemade Biscotti
- Classic Coffee or Tea Companion: The most traditional and perhaps most satisfying way to enjoy biscotti is by dipping them into a hot cup of coffee, espresso, or tea. The crunch softens slightly, absorbing the rich flavors of your beverage.
- Elegant Dessert Pairing: Serve them alongside a glass of dessert wine, such as Vin Santo, or with a rich hot chocolate for a sophisticated treat.
- On-the-Go Snack: Their sturdy nature makes them perfect for packing in lunchboxes or carrying for a healthy, satisfying snack during your day.
- Ice Cream Topping: Crumble a few pieces over a scoop of your favorite dairy-free ice cream for an added layer of texture and flavor.
- Thoughtful Homemade Gifts: Arrange them beautifully in a decorative tin or bag, tied with a ribbon, for a heartfelt and delicious homemade gift during holidays or special occasions.
More Delicious Grain-Free Recipes You Will Love
- Cauliflower Onion Rolls
- Gluten-Free Stuffed Mushrooms
- Vegan Zucchini Rollatini (gluten-free)
- Gluten Free Lemon Cake
Did you know commenting and rating recipes is one of the best ways to support your favorite food bloggers? If you made this recipe, please consider leaving a five-star rating below and a comment sharing your experience. Also, we’d love to see your creations! Please share your photos on instagramby tagging me @dkhealthcoach and using the hashtag #debraklein. Your feedback and shares truly help our community grow!
📖 Recipe

Gluten-free Biscotti
Rate this Recipe
Pin Recipe
Equipment
-
Sauce Pan
-
Bread Knife and Cake Slicer
-
Parchment Baking Paper
-
Half Sheet Pan
-
Glass Mixing Bowls with Lids
Ingredients
- 2 cups blanched almond flour not almond meal
- 2 Tablespoons arrowroot powder*
- 1 teaspoon baking powder*
- ⅕ teaspoon sea salt
- 2 Tablespoons olive oil
- ⅓ cup maple syrup
- ½ teaspoon almond extract
- ¼ cup chopped pistachios*
- 1 Tablespoon orange zest
OPTIONAL TOPPINGS
- 1 3-oz bar dark chocolate
- pinch flakey sea salt
- 1 Tablespoon chopped pistachios or almonds
Instructions
-
Preheat oven to 350°F (175°C) and line a rimmed baking traywith unbleached parchment paper.
-
In a medium sized bowl, whisk together the almond flour, arrowroot powder, baking powder, and salt. Make sure to break up any clumps of almond flour for an even mixture.
-
In a separate, small bowl, whisk together the olive oil, maple syrup, and almond extract until well combined.
-
Create a well in the center of your dry ingredients. Pour the wet ingredients into this hollow and gently stir everything together until a cohesive, sticky dough forms and all components are well incorporated. Avoid overmixing.
-
Add the chopped nuts and orange zest to the dough. Mix well to ensure they are evenly dispersed throughout the mixture.
-
Turn the dough out onto your prepared baking tray. Since the dough will be sticky, either cover it with another sheet of parchment paper and gently flatten it, OR wet your hands to easily shape it into a long, flat log that is uniform in height (no more than ½” thick).
-
Bake for 30 minutes, or until the top and sides are lightly browned and firm to the touch. Remove the baking tray from the oven and immediately reduce the oven temperature to 325°F (160°C).
-
Carefully lift the parchment paper with the baked log off the baking tray and transfer it to a cutting board. As soon as it’s cool enough to handle (typically around 10 minutes), carefully cut the log into ¾” slices. To prevent crumbling, use a long, serrated knife and a gentle sawing motion. Turn each slice so they are cut side down onto the parchment paper and carefully return them to the baking sheet.
-
Place the baking tray back in the oven and bake for another 10 minutes. Flip each biscotti slice to the other side, and bake for an additional 10 minutes, or until both sides are beautifully golden brown and crisp.
-
Let the biscotti cool on the baking tray for about 10 minutes to allow them to firm up slightly. Then, carefully transfer them to a wire rack to finish cooling completely. This final cooling stage is essential for achieving maximum crispness.
-
Ensure the biscotti are completely cool before storing them in an airtight container to maintain their crisp texture and freshness.
-
These delicious biscotti will stay fresh and good at room temperature for up to 2 weeks, or you can freeze them for up to 3 months for longer storage.
Notes
HOW TO DETERMINE LOG SIZE: The dimensions of your initial dough log will dictate the final size of your biscotti. A wider log will yield longer biscotti cookies. Conversely, if you make a narrower log, you’ll get more individual pieces, though they will be shorter. For reference, the log shown in the photos was approximately 8 inches long, 3.5 inches wide, and ½ inch thick, which resulted in 12 medium-sized, thick slices. For smaller, more delicate biscotti, aim for a log about ⅖ inch wide. If you desire impressively long biscotti, consider doubling the recipe and forming a log that is at least 4 inches wide.
OPTIONAL TOPPINGS GUIDELINES: To apply the optional toppings, melt your dark chocolate over low heat using a double boiler, stirring constantly until it is just melted and smooth. Dip one end of each completely cooled biscotti into the melted chocolate, allowing any excess to drip off, then place it on a piece of parchment paper. Immediately sprinkle with flakey sea salt, your choice of chopped nuts, and fresh orange zest. To help the chocolate set quickly, pop the decorated biscotti into the fridge or freezer for about 30 minutes.
Nutrition
Note
The nutrition calculations were done using online tools. To obtain the most accurate representation of the nutritional information in any given recipe, you should calculate the nutritional information with the actual ingredients you used. You are ultimately responsible for ensuring that any nutritional information is accurate, complete and useful.
