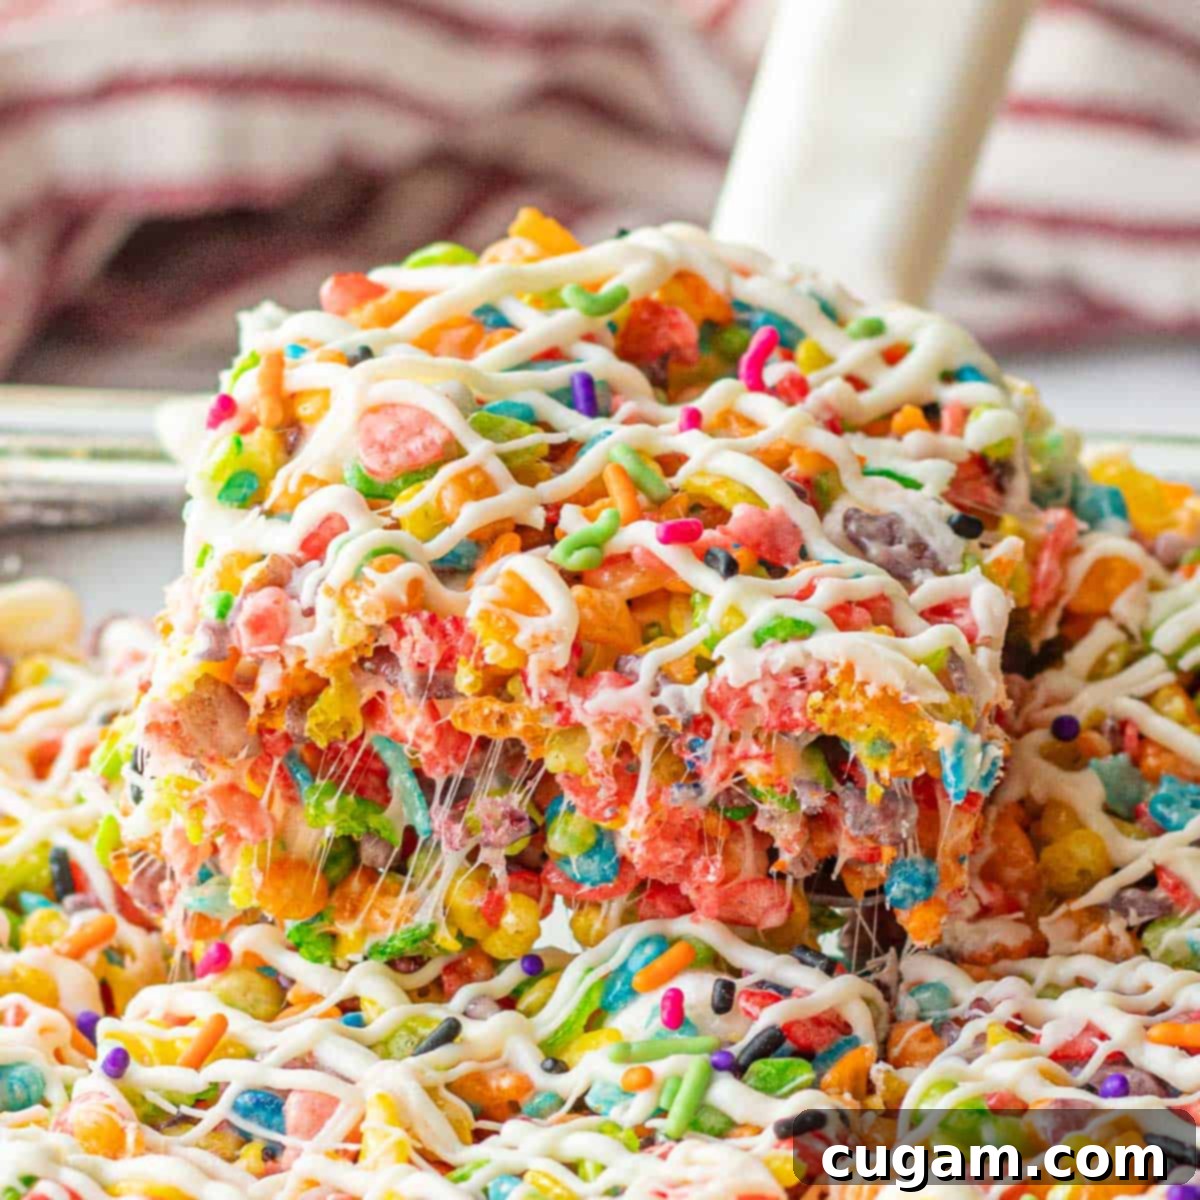
Irresistible Fruity Pebble Rice Krispie Treats: Your Go-To No-Bake Recipe for Sweet, Colorful Fun!
Get ready to whip up your new favorite sweet indulgence: these delightful fruity pebble rice crispy treats! This beloved recipe features a perfect balance of gooey marshmallows, a vibrant splash of rainbow cereal, and a elegant white chocolate drizzle that makes every bite an absolute pleasure. They’re not just a treat; they’re an experience, combining nostalgic flavors with eye-catching appeal that’s sure to bring a smile to anyone’s face.
While these brightly colored rice krispie treats are fantastic for festive occasions like St. Patrick’s Day, their universal appeal means you’ll find yourself making them year-round. Much like our popular Cookie Butter Rice Krispie Treats, these Fruity Pebble versions transcend seasonal limitations. Whether it’s a summer BBQ, a cozy fall evening, a winter holiday party, or simply a spontaneous craving, there’s never a wrong time to enjoy these wonderfully chewy and sweet squares. They are incredibly versatile, easy to customize, and always a crowd-pleaser, cementing their status as a staple in your no-bake dessert repertoire.
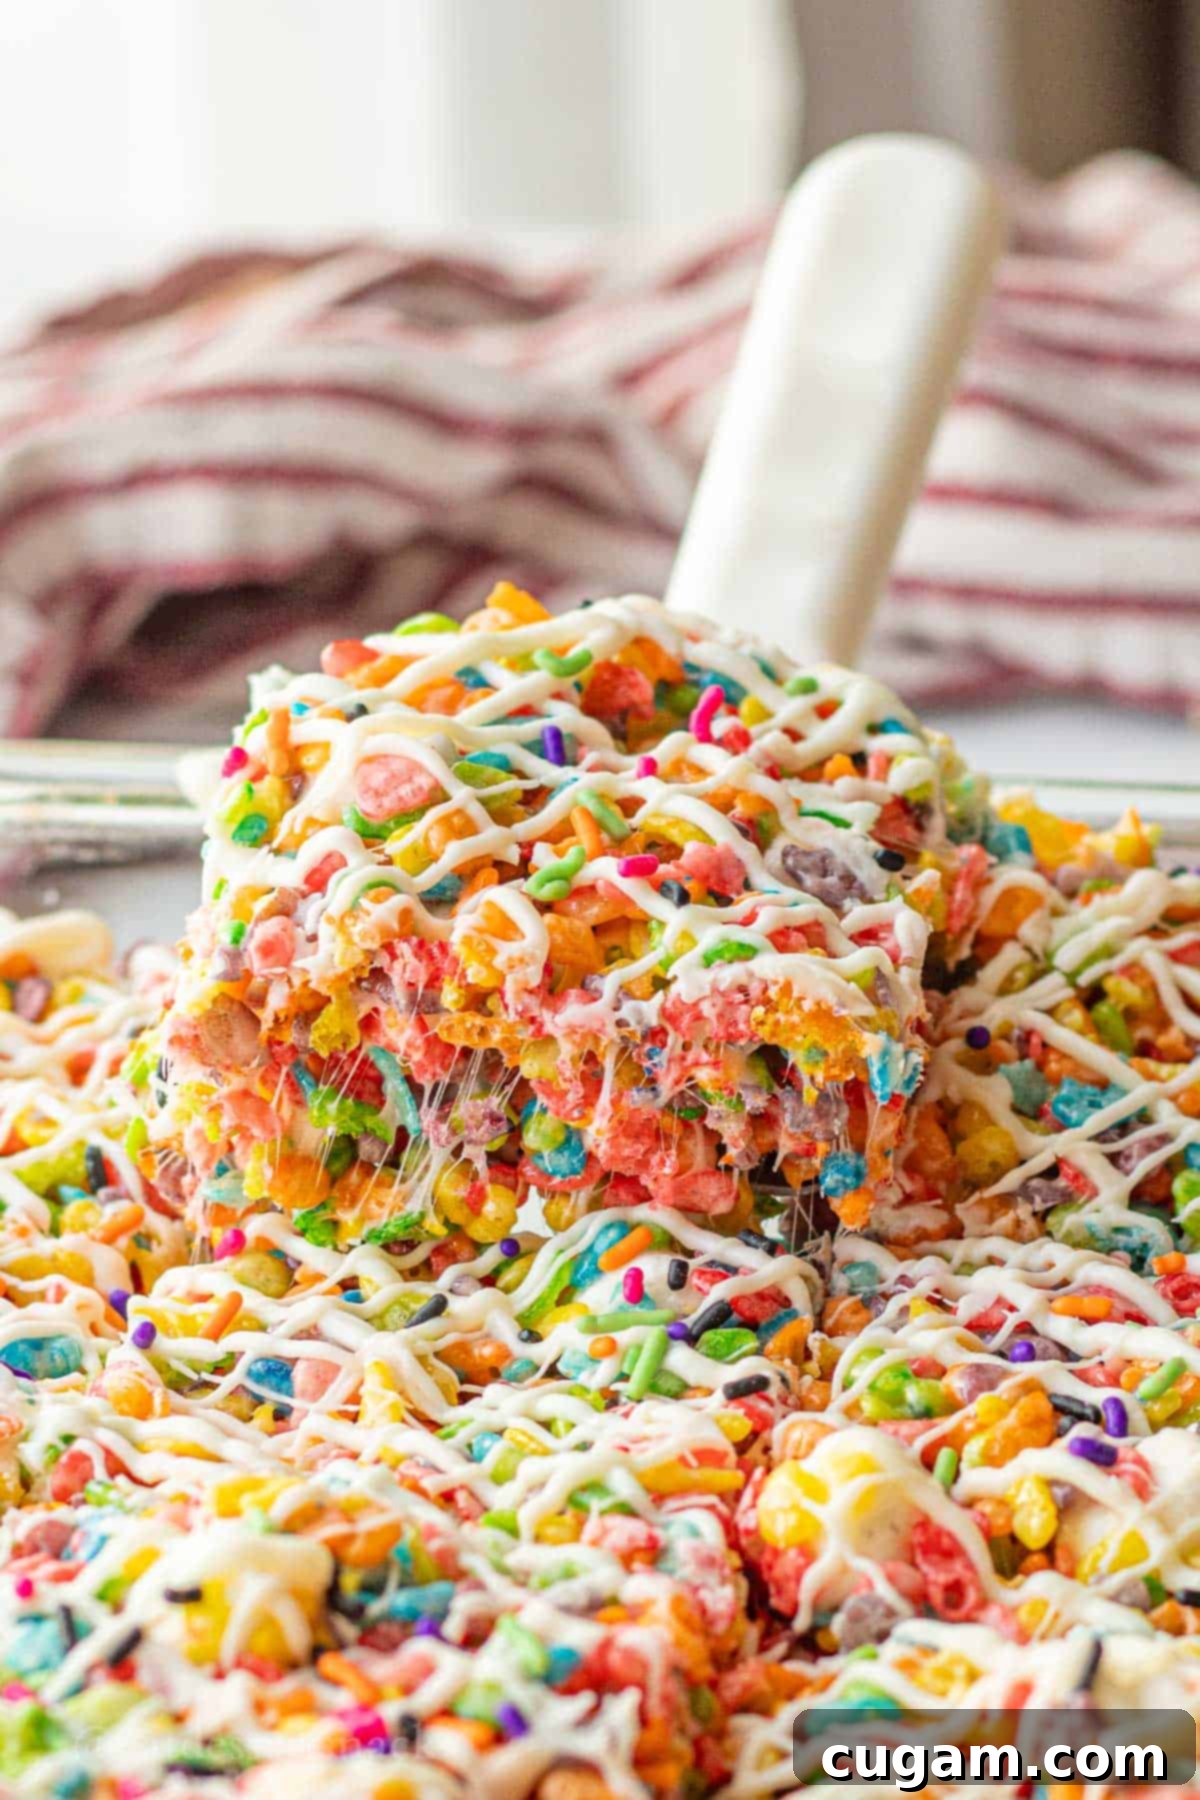
Searching for an effortlessly simple yet impressively delicious treat? Look no further! These Fruity Pebble Rice Krispie Treats are among the absolute EASIEST desserts you can make, making them ideal for any celebration, including St. Patrick’s Day, or just a regular Tuesday when a sweet craving hits. They consistently receive rave reviews, especially from the younger crowd. In my household, my children – and my husband, bless his sweet tooth – are absolute sugar enthusiasts, and it’s no exaggeration to say an entire pan of these colorful, chewy delights often vanishes within a single afternoon. They are truly that addictive and that satisfying!
Beyond their amazing taste, these treats require no baking, making them perfect for those hot summer days when you want a dessert without turning on the oven, or for beginner bakers looking for a foolproof recipe. The vibrant colors of the Fruity Pebbles also make them a fantastic option for school events, birthday parties, or simply adding a pop of color to your dessert table. Get ready to impress with minimal effort and maximum flavor!
What To Expect from These Fruity Pebble Treats
Before you dive into making these incredible treats, here’s a quick overview of what you can expect in terms of flavor, ease of preparation, and time commitment. Spoiler alert: they’re absolutely delightful and incredibly straightforward!
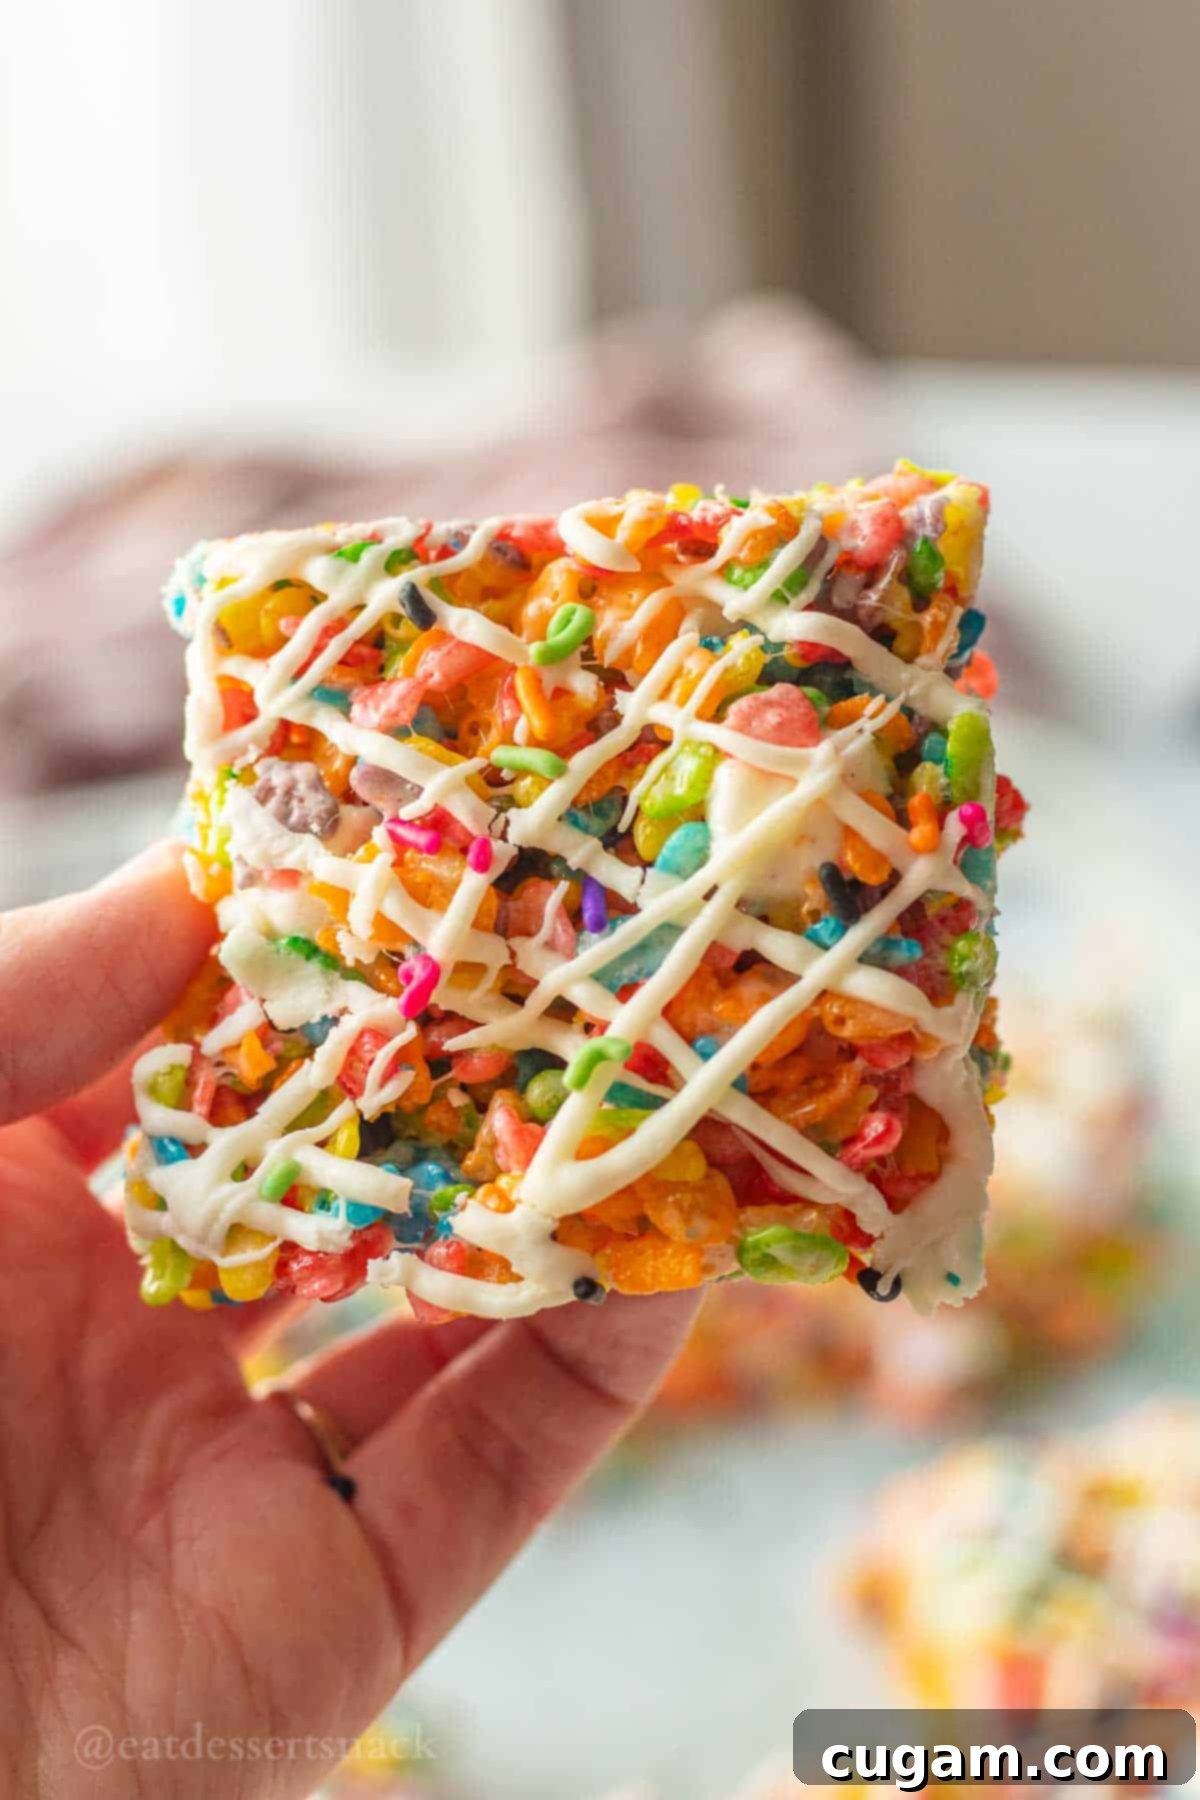
- Taste: Prepare your taste buds for an explosion of buttery, gooey goodness, perfectly balanced with a subtle pinch of salt that cuts through the sweetness and enhances all the vibrant fruit flavors. These treats are wonderfully sweet and distinctly fruity, thanks to the star cereal. The elegant white chocolate drizzle on top elevates them from simple snacks to something a little more fancy, especially when adorned with some cheerful sprinkles, adding an extra layer of sweetness and visual appeal. Each bite offers a delightful chewiness and a burst of fruity flavor that’s utterly satisfying.
- Ease: This is truly a beginner-friendly recipe, requiring no baking whatsoever. If you can melt butter and marshmallows, you can master these! The steps are straightforward, making it an ideal activity to do with kids, or for anyone new to making desserts. There’s minimal equipment needed, and the process is incredibly forgiving, ensuring a successful outcome every time. It’s one of those recipes that looks impressive but is secretly super easy.
- Time: You’ll be amazed at how quickly these come together. The active prep time for whipping up the marshmallow and cereal mixture is a mere 5 minutes. After mixing, they’ll need approximately 20-30 minutes to set at room temperature, allowing the treats to firm up enough for perfect slicing. If you’re in a hurry, a quick stint in the refrigerator can speed up the setting process. This means you can go from craving to serving in under an hour, making them perfect for last-minute desserts or impromptu gatherings.
These treats are not just quick and easy, but also provide a fun, colorful, and delicious experience that makes them a favorite for all ages. Get ready for a hassle-free dessert that delivers on taste and charm!
🛒 Key Ingredients for Vibrant Fruity Pebble Treats
Creating these delightful Fruity Pebble Rice Krispie Treats requires just a handful of simple ingredients, each playing a crucial role in achieving that perfect texture and flavor. Here’s a closer look at what you’ll need and why each component is important:
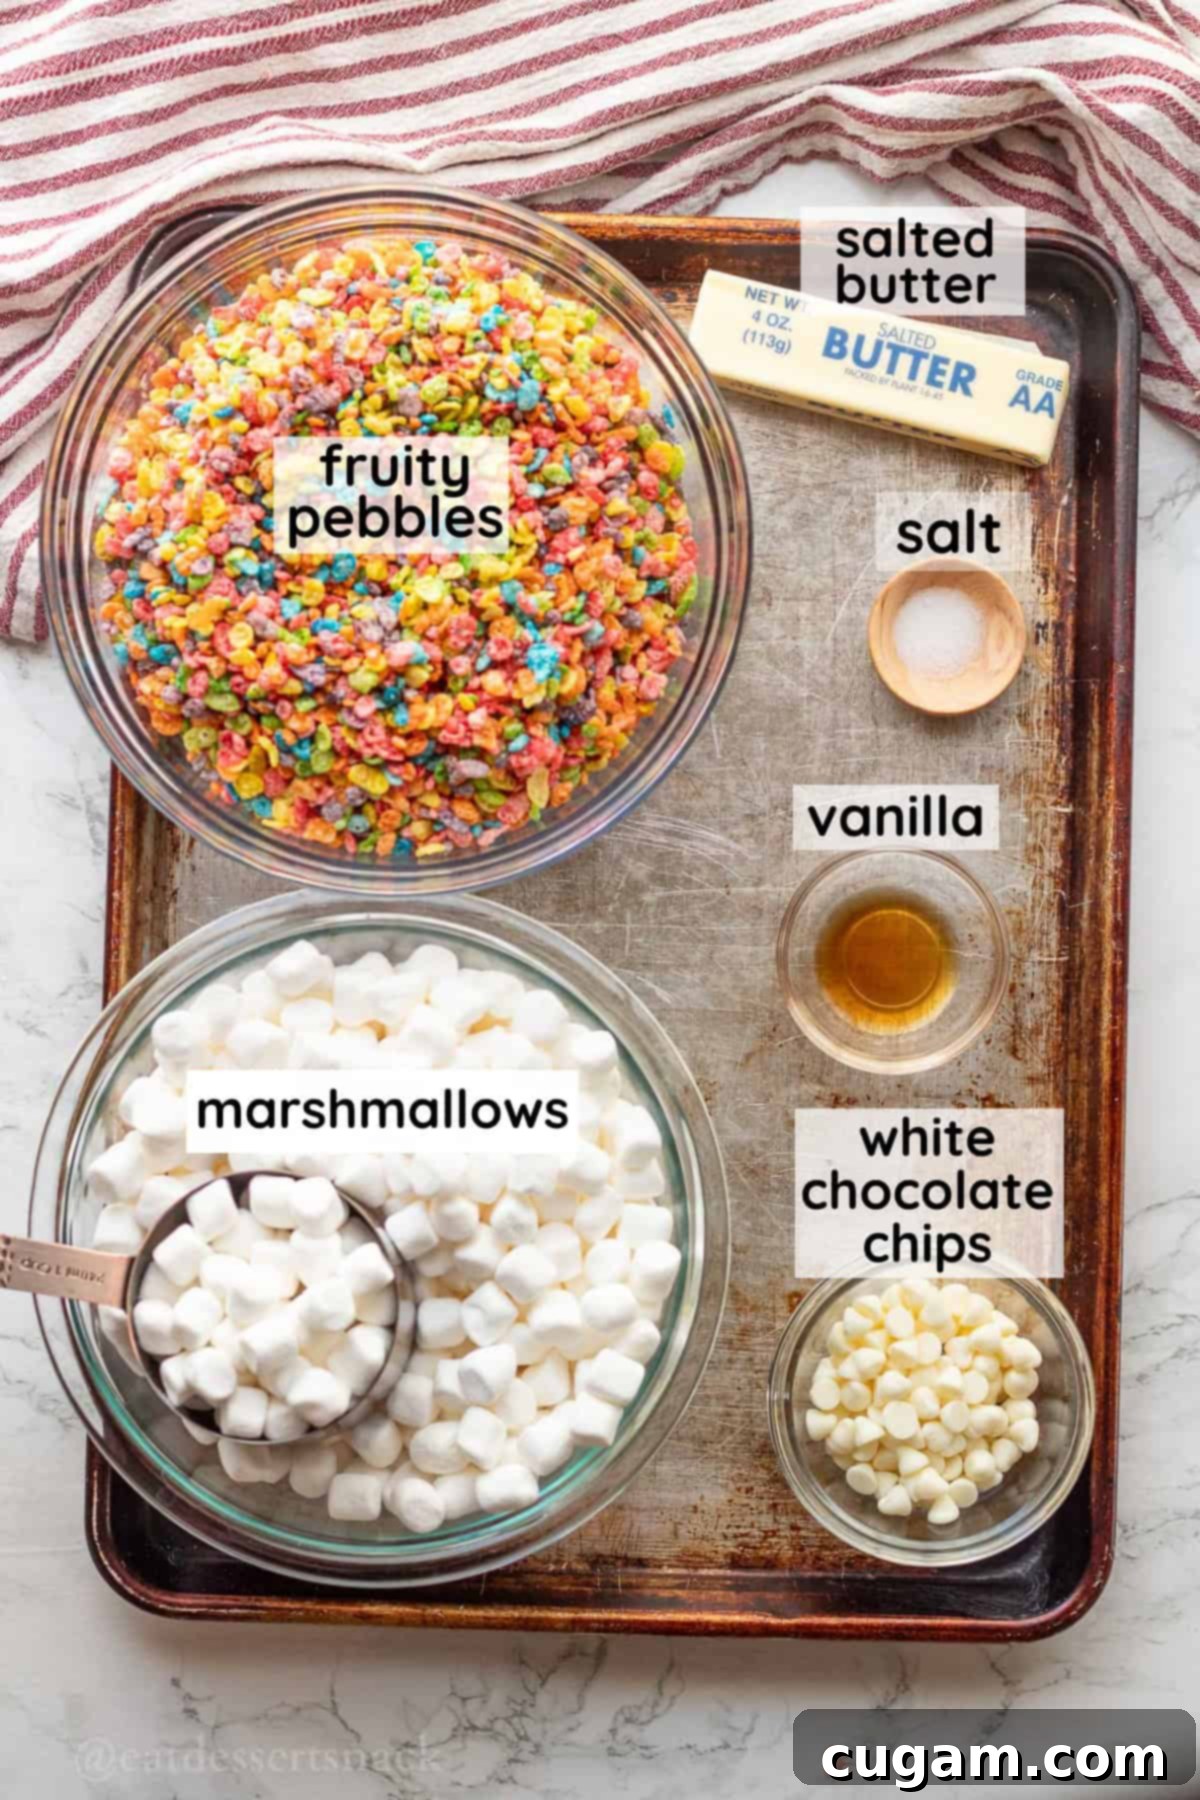
- Fruity Pebbles – The star of our show! Fruity Pebbles are a popular American cereal known for their small, rice-krispie-like shape, an irresistible fruity flavor, and a stunning array of rainbow colors. They provide the iconic crunch, vibrant hue, and distinct sweet, tangy taste that sets these treats apart. Don’t confuse them with regular Rice Krispies; the unique flavor profile of Fruity Pebbles is essential for this recipe. Make sure your cereal is fresh for the best texture and flavor.
- Marshmallows – These are the magical binding agent that creates the gooey, chewy texture we all love. For optimal melting and a smoother mixture, I highly recommend using mini marshmallows. They melt significantly quicker and more evenly than full-sized marshmallows, which can sometimes clump or require more stirring, making your prep time faster and easier. Fresh marshmallows are key for the softest, most pliable treats.
- Butter – Butter adds richness, flavor, and helps to create that signature chewy texture. I personally ALWAYS use salted butter in my recipes, especially for sweet treats. The touch of salt perfectly balances out the intense sweetness of the marshmallows and cereal, enhancing all the flavors without making the final product overly sugary. If you only have unsalted butter, you can add an extra pinch of salt to the mixture.
- White chocolate – This is used for the beautiful and delicious drizzle on top. You can use regular white chocolate chips; there’s no need for super special, high-quality gourmet chocolate unless you prefer it. The most important thing is to melt them correctly to achieve a smooth, pourable consistency for an easy drizzle. White chocolate adds another layer of sweetness and a creamy contrast to the fruity cereal.
For precise measurements and detailed instructions, please refer to the comprehensive recipe card located below. Each ingredient is carefully selected to ensure your Fruity Pebble Rice Krispie Treats are nothing short of spectacular!
✏️ Substitutions & Variations for Your Fruity Pebble Treats
One of the best things about no-bake treats like these Fruity Pebble Rice Krispie squares is how easily they can be customized to suit your taste or whatever ingredients you have on hand. Don’t be afraid to get creative and experiment with these fun substitutions and variations!
- Cereal Swap: While Fruity Pebbles are iconic, you could definitely use other cereals for different flavor profiles. For a fun chocolate version, try using Cocoa Pebbles in place of the fruity ones. Or, if you prefer a classic, stick to regular Rice Krispies and add a few drops of food coloring to the marshmallow mixture for a rainbow effect. Other sweet cereals like Lucky Charms (especially the marshmallows!) or even a blend could work for a unique twist.
- Topping Adventures: The white chocolate drizzle is fantastic, but the possibilities don’t stop there. You can add different colored sprinkles to match a holiday or party theme, or melt down other types of chocolate like milk or dark chocolate for a rich alternative. A swirl of colored candy melts would also look incredible and add extra sweetness. Consider adding a few mini chocolate chips or chopped nuts on top for added texture and flavor right after drizzling the chocolate.
- Marshmallow Magic: For an extra burst of color and a softer chew, try adding colored marshmallows at the very end of the mixing process. You can find rainbow-colored mini marshmallows that would perfectly complement the Fruity Pebbles, giving your treats an even more whimsical and playful look. Alternatively, if you want to dial up the marshmallow factor, you can gently fold in extra mini marshmallows right after you’ve added the reserved cup, but before pressing into the pan.
- Flavor Boosters: Beyond vanilla extract, consider adding a few drops of other flavor extracts to the melted marshmallow mixture. Almond extract could add a subtle nutty note, or a citrus extract (lemon or orange) could amplify the fruity flavors of the cereal. Just a small amount is usually enough!
- Holiday Themes: These treats are incredibly adaptable for any holiday! For Halloween, use orange and black sprinkles and a dark chocolate drizzle. For Valentine’s Day, pink and red sprinkles with white chocolate are perfect. The possibilities are endless when it comes to seasonal decorating.
Experimenting with these options can lead to exciting new versions of your favorite no-bake dessert, ensuring there’s always a fresh way to enjoy these delicious treats!
🧑🍳 Step-by-Step Instructions for Perfect Fruity Pebble Rice Krispie Treats
Follow these easy instructions to create a batch of perfectly gooey, chewy, and colorful Fruity Pebble Rice Krispie Treats. The key is to work quickly once the marshmallows are melted!
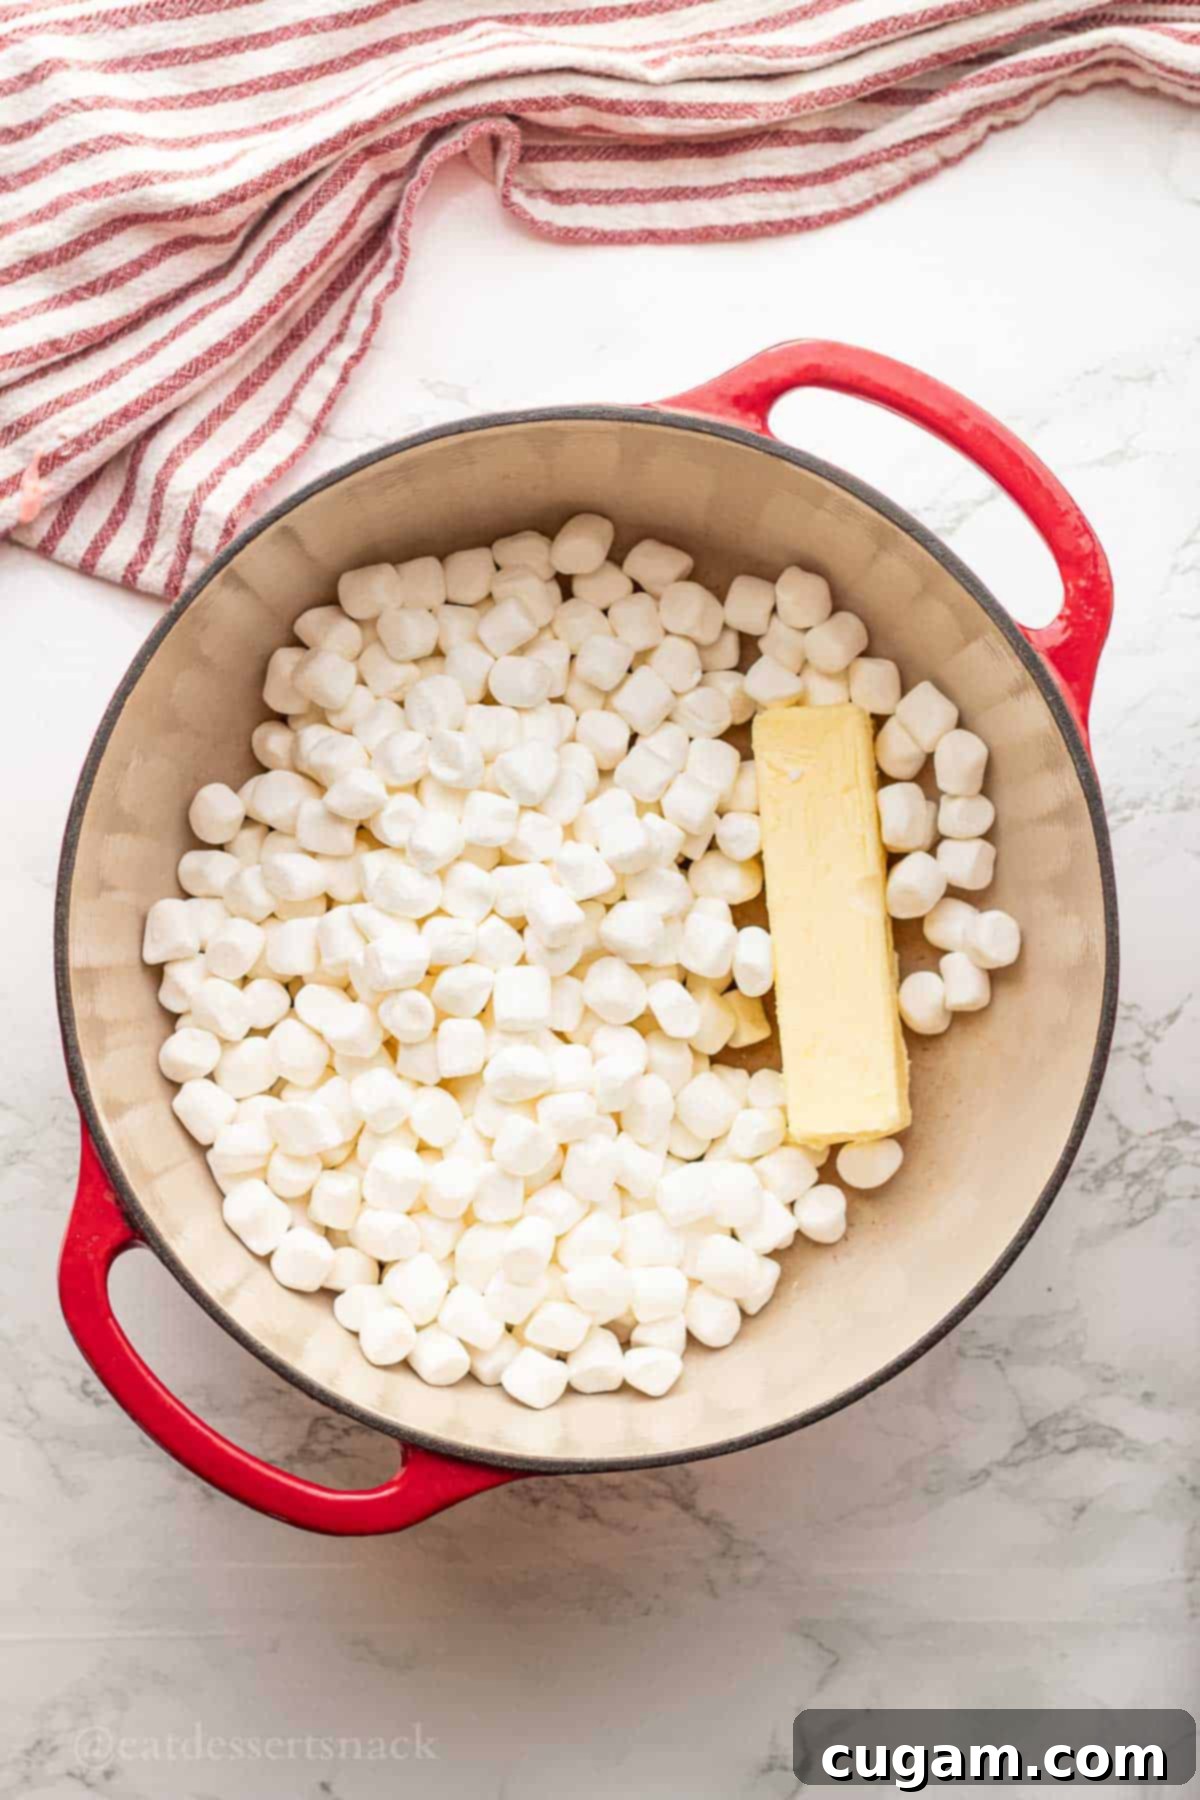
- Step 1. Begin by preparing your marshmallow base. In a large, sturdy pot (a non-stick pot works best for easy cleanup) over low to medium heat, melt the butter until it’s completely liquid. This low heat is crucial to prevent the butter from burning and the marshmallows from turning hard. Before adding all the marshmallows, make sure to remove about 1 cup of mini marshmallows from your bag and set them aside. These will be folded in later to create delightful gooey pockets throughout your treats. Now, add the remaining marshmallows to the pot with the melted butter. Stir occasionally with a rubber spatula, allowing them to melt down slowly and evenly for approximately 3-5 minutes, until you have a smooth, completely melted marshmallow mixture. Avoid overcooking the marshmallows, as this can lead to hard treats.
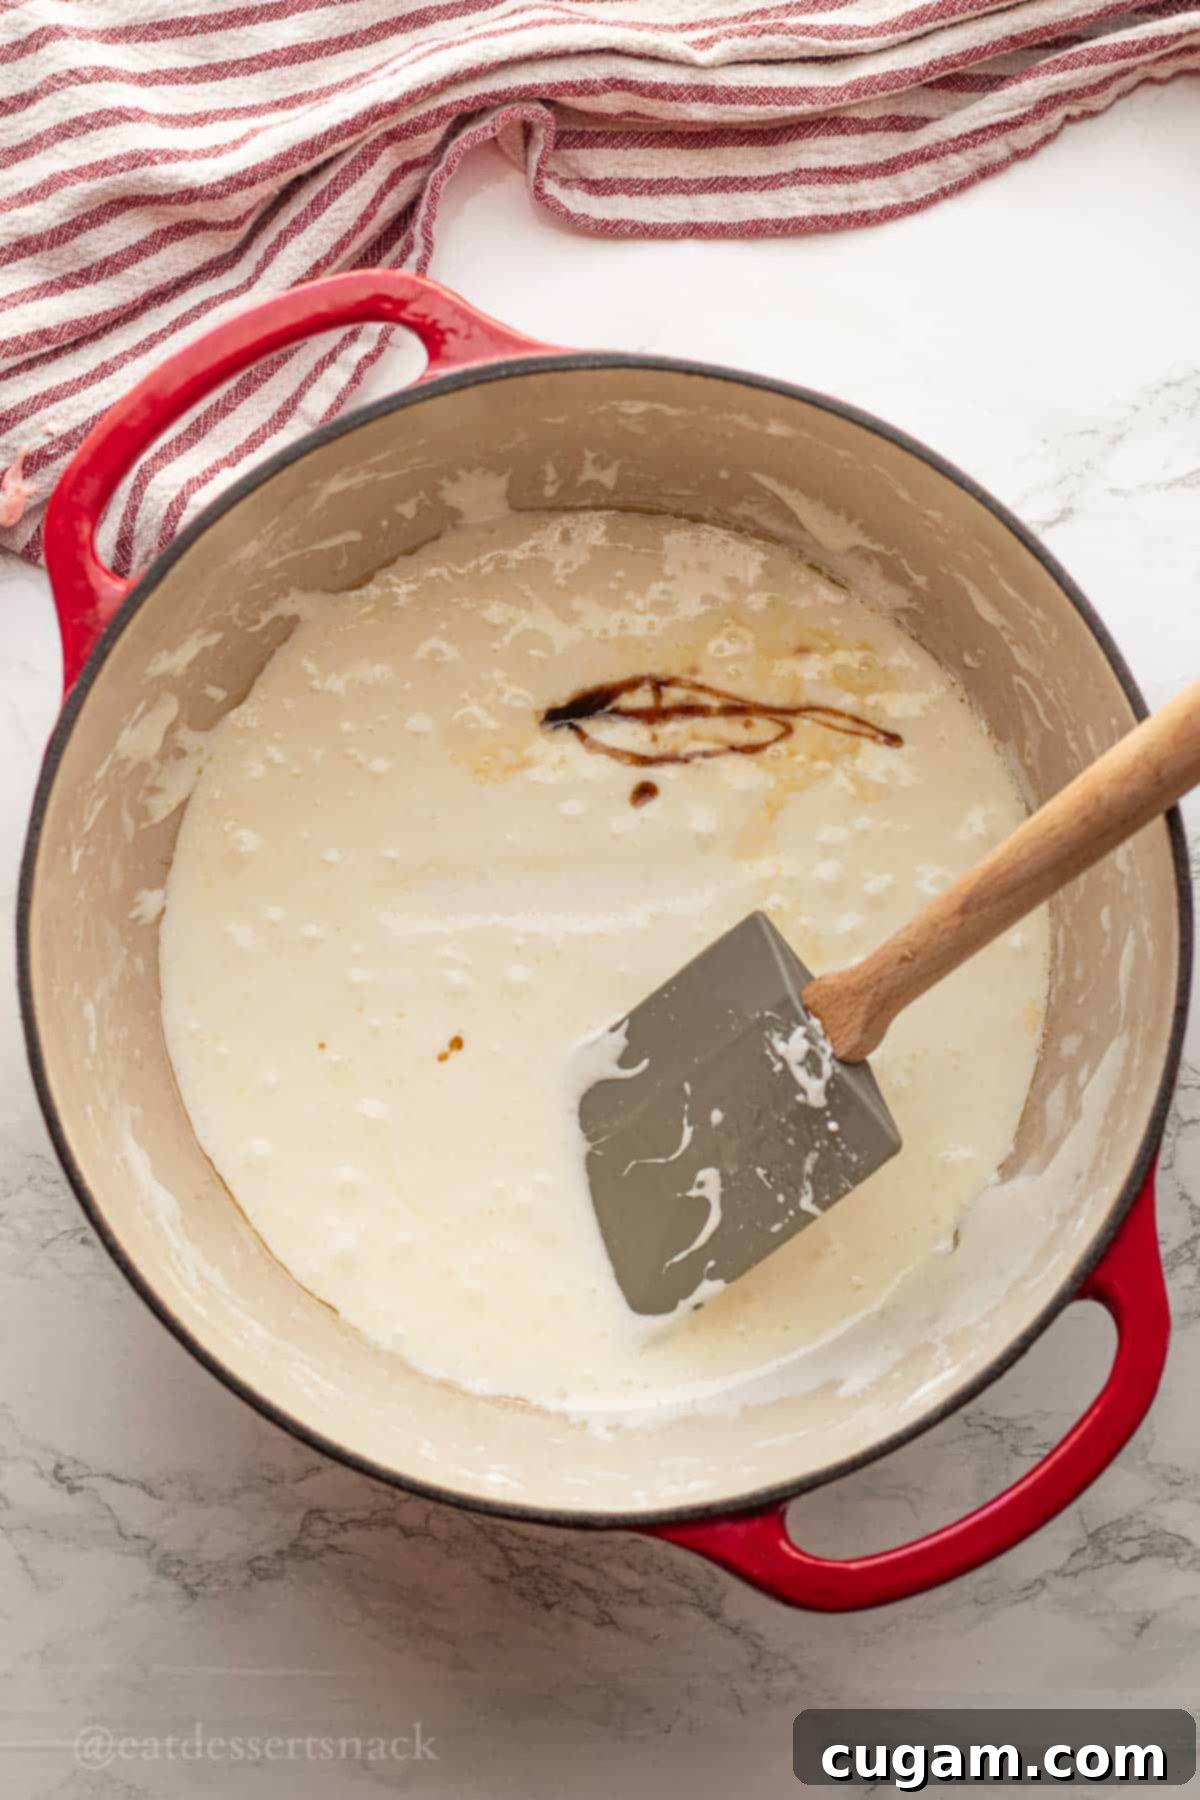
- Step 2. Once the marshmallows are fully melted and smooth, promptly remove the pot from the heat. This prevents further cooking and ensures a soft, pliable treat. Immediately add the vanilla extract and the pinch of salt to the melted marshmallow mixture. Stir vigorously to ensure they are well combined. The vanilla adds a warm, sweet aroma and flavor, while the salt, as mentioned earlier, is key to balancing the sweetness and enhancing the overall taste profile of your treats.
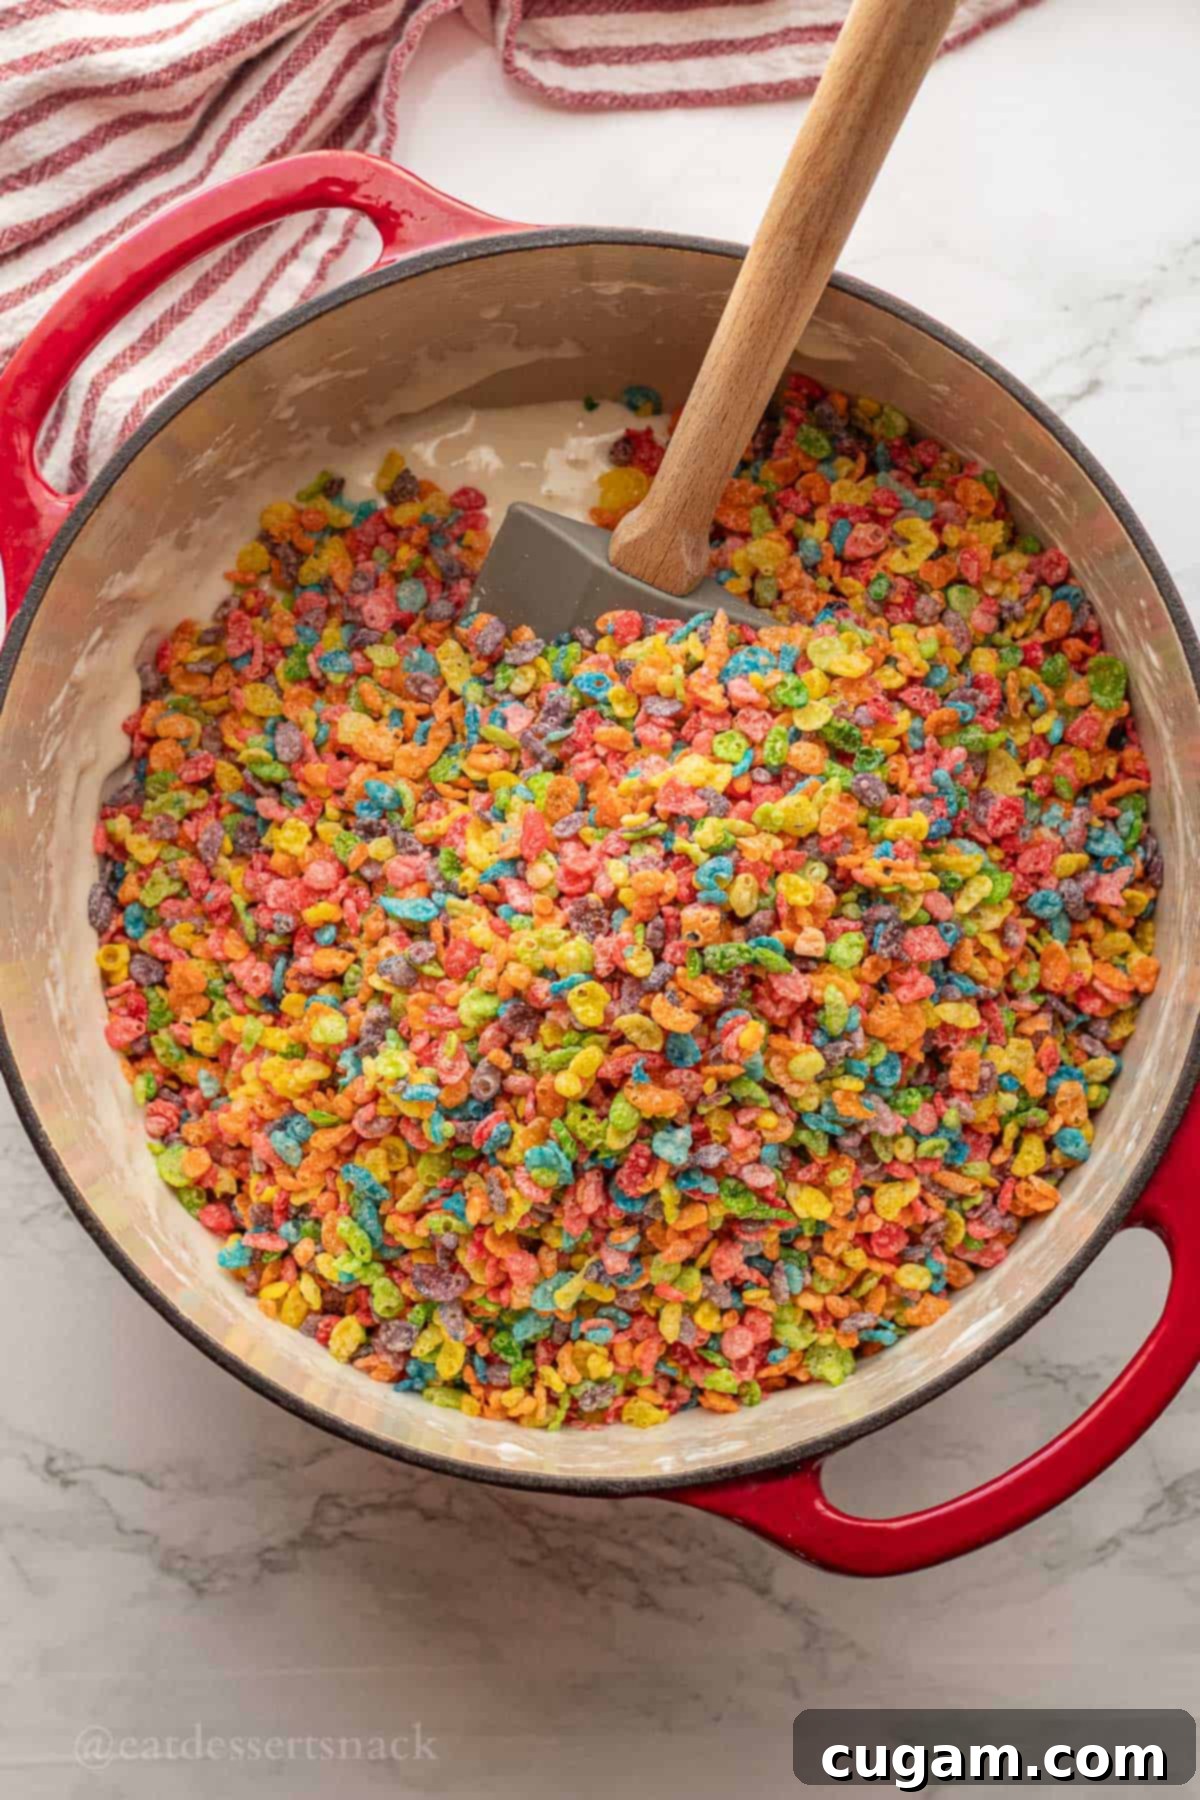
- Step 3. Now for the main event! Pour all the Fruity Pebbles cereal into the warm marshmallow mixture. Working quickly but gently, use a sturdy rubber spatula to carefully stir and fold everything together. Continue to mix until the cereal is evenly coated with the marshmallow mixture. Be mindful not to crush the cereal too much, as you want to maintain some of its crispy texture. The vibrant colors of the cereal will start to meld with the gooey white marshmallow, creating a beautiful rainbow effect.
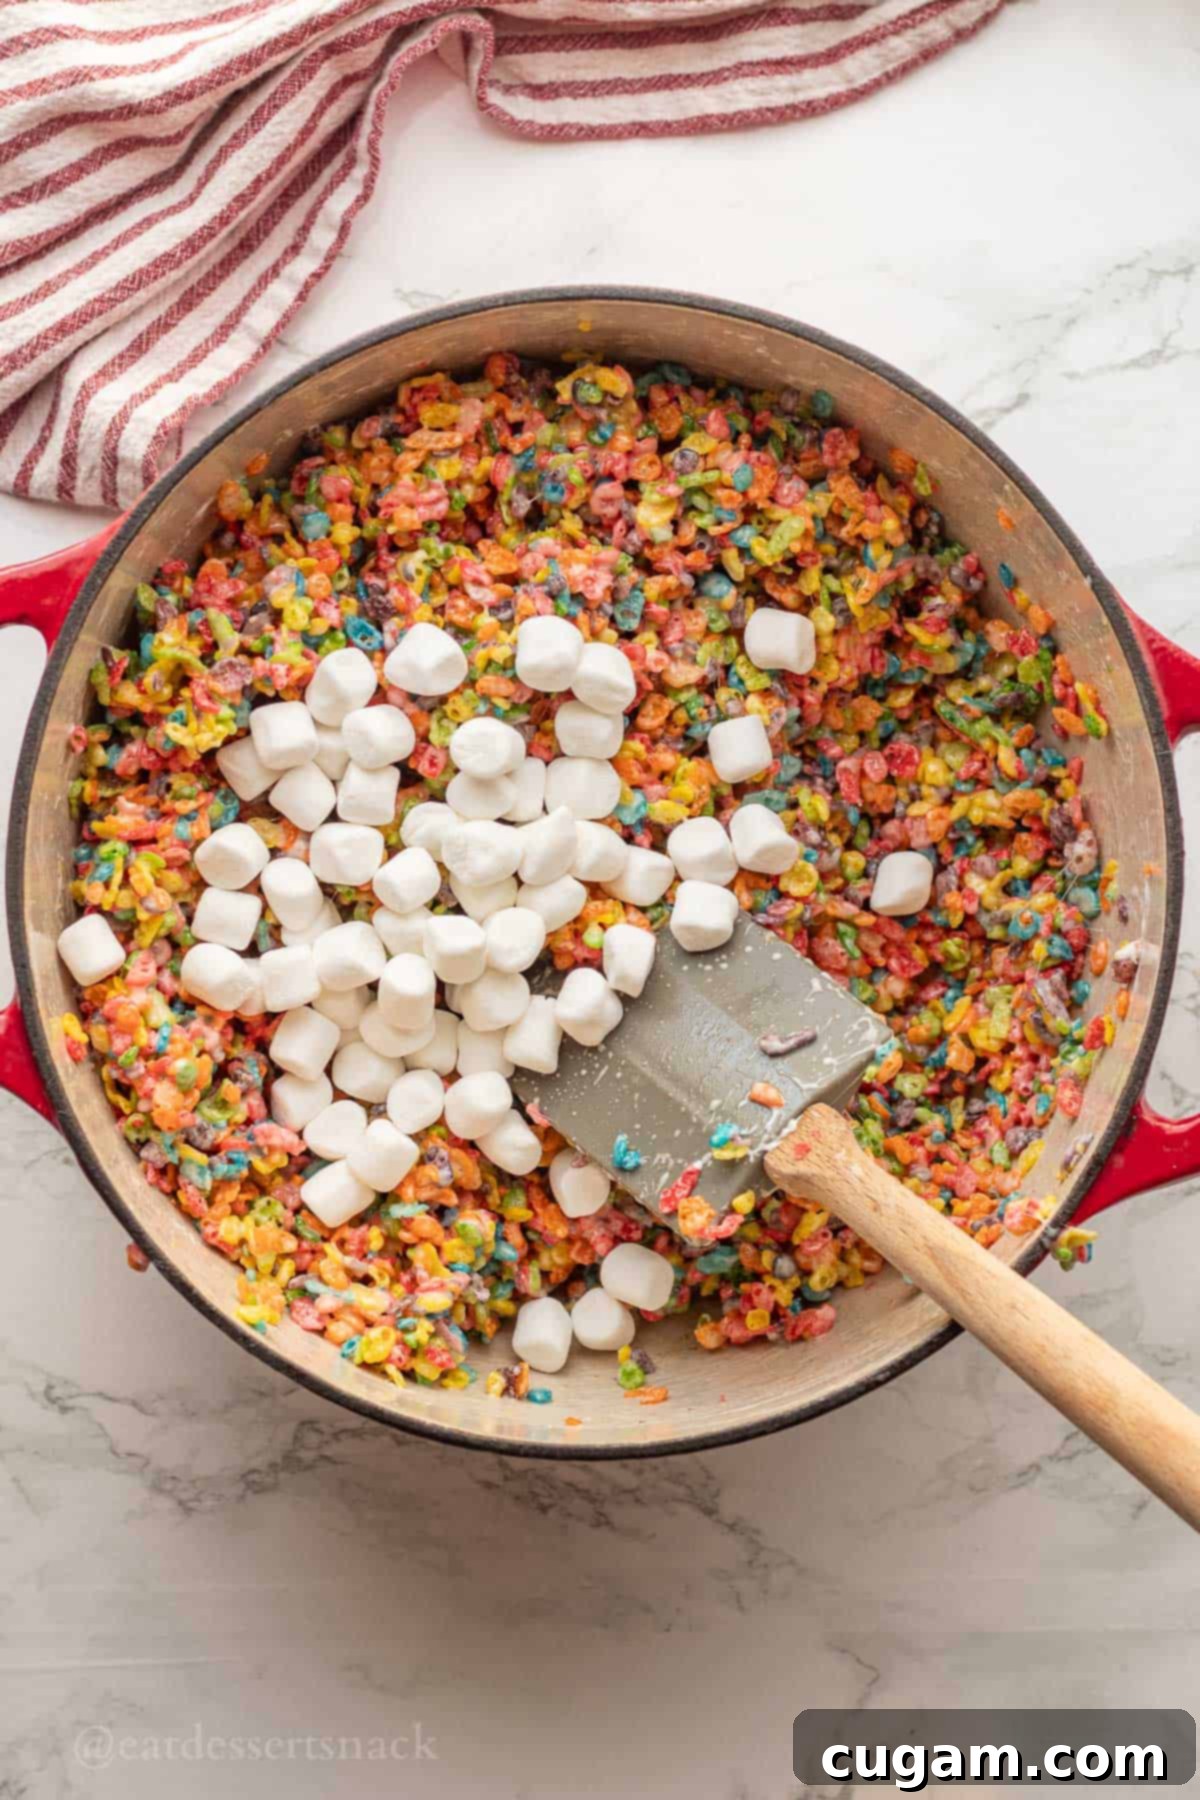
- Step 4. At this stage, add the reserved cup of mini marshmallows to the cereal mixture. Gently fold them in just enough so they are distributed throughout but still largely intact. These will create those wonderful pockets of gooey, soft marshmallow in the finished treats. Immediately transfer the entire mixture into a greased 9×13 inch baking pan. It’s helpful to lightly grease the pan with butter or baking spray to prevent sticking. Using your greased rubber spatula or even greased hands, gently press the mixture down until it’s evenly distributed and relatively flat in the pan. A helpful trick is to spray your spatula with a little baking spray before pressing the mixture; this will prevent it from sticking to the crispy treats as you spread them flat. Avoid pressing too firmly, as over-compressing can result in hard, dense treats.
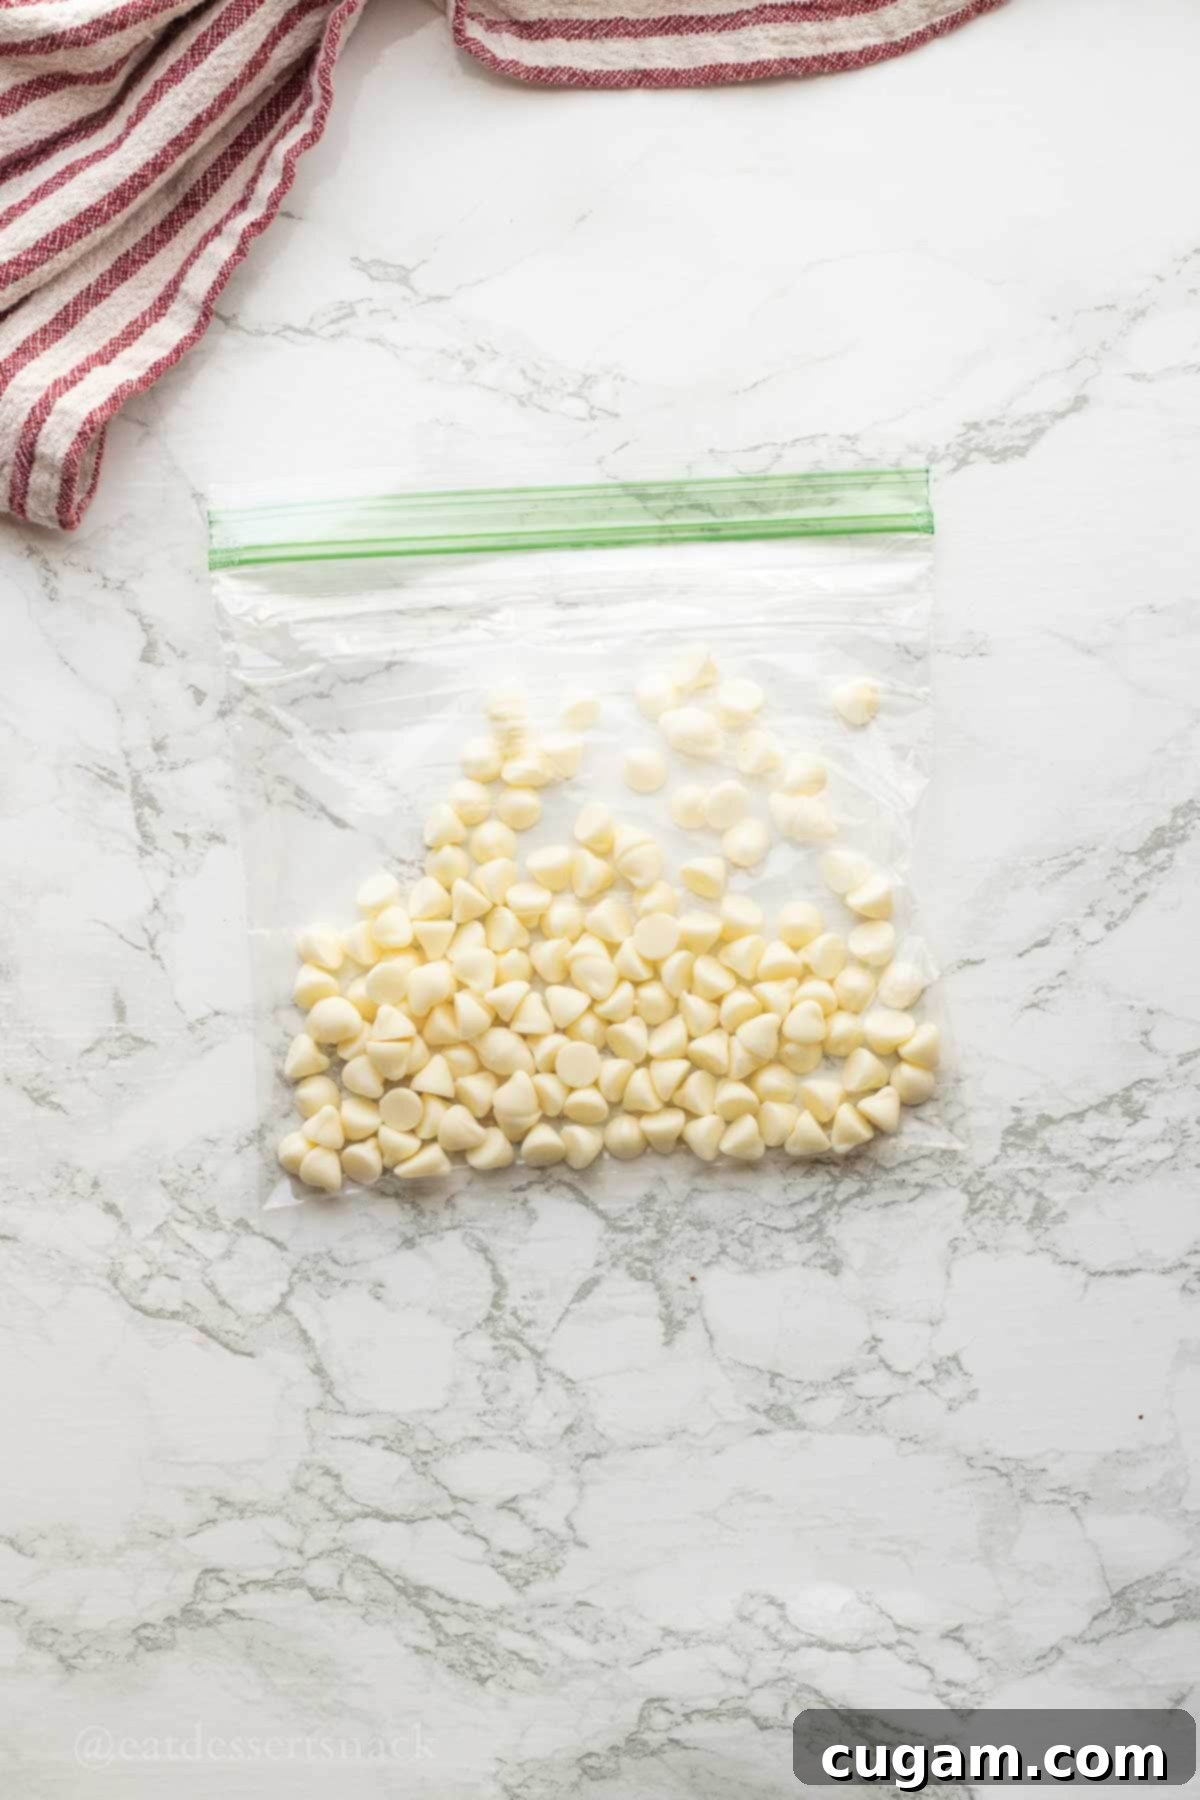
- Step 5. Now for the decorative touch! Place the white chocolate chips into a disposable piping bag or a sturdy sandwich bag (you can snip off a tiny corner later). Microwave the chocolate chips in short, 15-second increments, mixing or massaging the bag gently between each interval. This gradual melting prevents the chocolate from burning or seizing. It typically takes 2-3 rounds of microwaving to achieve a smooth, pourable consistency. If using a sandwich bag, gather the chocolate to one corner.
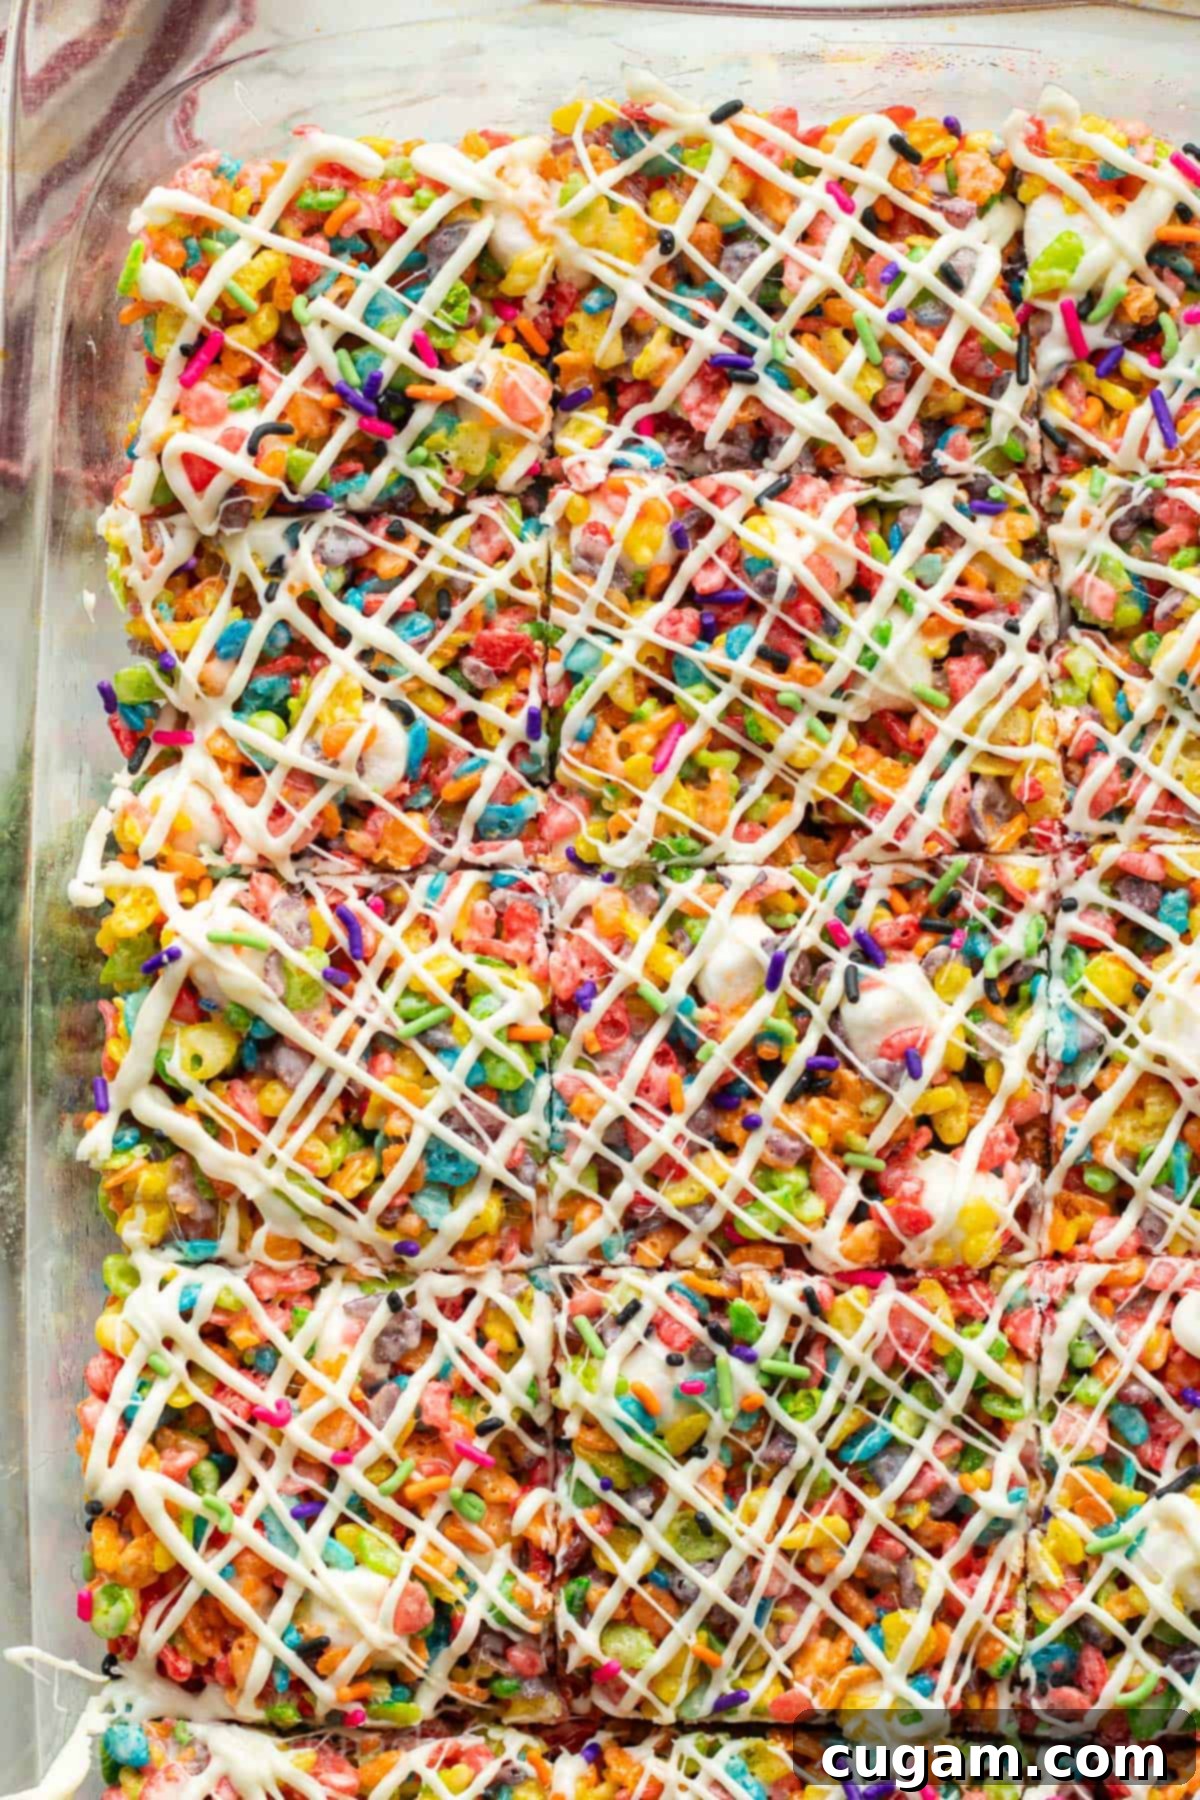
- Step 6. Carefully snip a tiny tip off the corner of your piping or sandwich bag. Drizzle the melted white chocolate decoratively over the top of your Fruity Pebble Rice Krispie Treats in the pan. You can create zig-zags, swirls, or any pattern you like. For an extra festive touch, you can optionally sprinkle with fun rainbow sprinkles immediately after drizzling the chocolate, before it sets. Allow the white chocolate drizzle to set for at least 10 minutes (or pop it in the fridge for a few minutes) before slicing your treats into squares. This ensures a clean cut and prevents the chocolate from smudging.
And there you have it! A batch of vibrant, delicious, and perfectly set Fruity Pebble Rice Krispie Treats ready to be enjoyed. These are guaranteed to be a hit!
📌 Top Tips & Hacks for Perfect Rice Krispie Treats
Achieving that perfectly gooey and flavorful rice krispie treat is simple when you know a few key tricks. Here are my top tips and hacks to ensure your Fruity Pebble Rice Krispie Treats are the best they can be:
- Don’t Skip the Reserved Marshmallows: This is a game-changer! Make sure to save a cup of marshmallows to fold in at the very end, just before pressing the mixture into the pan. These un-melted marshmallows create wonderful, soft, gooey pockets throughout the rice crispy treats, adding an extra layer of chewiness and freshness that fully melted marshmallows alone can’t provide. It significantly enhances the texture.
- The Power Duo: Vanilla & Salt: Never underestimate the importance of vanilla extract and a pinch of salt. These two ingredients are an absolute MUST for this treat. Vanilla deepens the overall flavor profile, adding warmth and complexity. The salt, even just a small amount, is critical for balancing the intense sweetness of the marshmallows and cereal, preventing the treats from tasting one-dimensionally sweet and truly making all the flavors sing.
- Fresh Marshmallows Make a Difference: For the softest, chewiest, and most pliable rice krispie treats, always use fresh marshmallows. Older, dried-out marshmallows tend to make the treats harder and more brittle. If you do find yourself using older marshmallows that might be a bit drier, consider reducing the amount of cereal slightly (by about ½ cup). The moisture content in the marshmallows directly impacts how soft and gooey your finished rice krispie treats will be.
- Don’t Overcook the Marshmallows: When melting the butter and marshmallows, keep the heat on low to medium. Overcooking marshmallows on high heat can cause them to become stiff and lead to hard rice krispie treats once cooled. Gentle, consistent heat is your friend here.
- Grease Everything: To prevent a sticky mess, generously grease your pot, spatula, and especially your hands (or use baking spray on your spatula) when pressing the mixture into the pan. This will make the process much smoother and cleaner.
- Gentle Pressing is Key: When pressing the mixture into the pan, be gentle. Avoid compacting the mixture too tightly, as this will result in dense, hard treats rather than the light and airy chewiness you’re aiming for. Just press enough to evenly distribute and flatten.
By following these simple tips, you’ll consistently create perfect, irresistible Fruity Pebble Rice Krispie Treats that disappear in a flash!
❓Frequently Asked Questions About Fruity Pebble Rice Krispie Treats
Here are some common questions about making, storing, and customizing these delicious no-bake treats. Hopefully, these answers will help you achieve the best results!
Room temperature: When stored in an airtight container at room temperature, your Fruity Pebble Rice Krispie Treats will stay fresh, soft, and delicious for 4-5 days. Be sure the container is truly airtight to prevent them from drying out. Keep them away from direct sunlight or heat sources, which can make them sticky or melt the chocolate drizzle.
Freezer: For longer storage, you can absolutely freeze these treats! Wrap individual squares tightly in plastic wrap, then place them in a freezer-safe bag or container. Separate layers with parchment paper to prevent sticking. They will last for up to 3 months in the freezer. Thaw them at room temperature for about 30 minutes before serving for the best texture.
The possibilities for decorating rice krispie treats are endless, making them perfect for any occasion!
• White chocolate drizzle: A classic and elegant choice, as used in this recipe, it adds a touch of sweetness and sophistication.
• Sprinkles: Rainbow sprinkles are always a hit, but you can also use themed sprinkles (holiday, birthday, specific colors) to match any event.
• Chocolate chips: Press mini chocolate chips into the top while the treats are still warm, or melt them down for an alternative drizzle.
• Colored marshmallows: Gently fold in colored mini marshmallows at the end of the mixing process for an extra pop of color and chewiness.
• By holiday: Get creative with seasonal candies! Use different colored M&M’s for Christmas or Easter, candy corn for Halloween, or crushed Cadbury eggs for spring. You can also use melted candy melts in various colors.
These Fruity Pebble Rice Krispie Treats are fantastic for making ahead, which is great for parties or meal prepping snacks! You can prepare them up to 5 days in advance, storing them in an airtight container at room temperature. However, for the absolute best flavor and softest, chewiest texture, they are truly best eaten within 3 days of making them. After three days, they can start to lose some of their moisture and get a little stale tasting, although they’ll still be perfectly safe to eat. Freezing them is your best option if you need to make them much further in advance.
While butter offers the best flavor and texture, you can use a dairy-free butter substitute if needed. Be sure to choose a stick-style vegan butter that melts well for similar results. Margarine can also work, but it may slightly alter the flavor and texture.
Hard rice krispie treats are usually a result of one of two things: either the marshmallows were cooked at too high a heat or for too long, causing them to crystallize and become brittle, or the mixture was pressed too firmly into the pan, compacting the cereal and making the treats dense. Remember to melt marshmallows slowly over low heat and press the mixture gently into the pan.
🍪 More Easy & Delicious Treats to Satisfy Your Sweet Tooth
If you loved how simple and delicious these Fruity Pebble Rice Krispie Treats were, you’re in for a treat! We have a collection of equally easy and delightful recipes that are perfect for any occasion, from quick snacks to impressive desserts. Explore these other fantastic options to keep your sweet tooth happy and your kitchen buzzing with minimal effort:
- Valentine Cookie House
- Strawberry Cheesecake Cookies
- Banana Cream Pie Bars
- Chocolate Chocolate Chip Cookie Bars
Did you try this recipe? Your feedback truly helps others! Make sure to leave a ⭐️ star rating and a comment below the recipe card. I love hearing from you, and it is so helpful to other readers who are looking for their next favorite treat!
📲 FOLLOW Sara on Social! 👋 Facebook, Instagram, or Pinterest to see the latest delicious recipes, behind-the-scenes glimpses, and sweet inspirations from the kitchen! Don’t miss out on new treats and baking adventures.
📝 Printable Recipe for Fruity Pebble Rice Krispie Treats
Fruity Pebble Rice Crispy Treats
Pin Recipe
Ingredients
- ½ cup butter 113 g
- 1 (10 oz) bag mini marshmallows
- 1 teaspoon vanilla extract 4 g
- ⅛ teaspoon salt 1 g
- 8 cups Fruity Pebbles 392 g
- ⅓ cup white chocolate chips 75 g
Instructions
-
In a large pot over low/medium heat, melt butter. Remove 1 cup of marshmallows from bag and set aside.
Add remaining marshmallows to the pot of melted butter. Stir occasionally for 3-5 minutes until everything is completely melted.
-
Remove from heat and add vanilla and salt.
-
Add in fruity pebbles and carefully stir with a rubber spatula to combine everything.
-
Add the reserved cup of marshmallows. Transfer mixture to a greased 9×13 inch pan to set. Press on mixture until it’s evenly distributed in the pan.
-
Place the white chocolate chips into a disposable piping bag or sandwich bag, and microwave for 15-second increments until melted, mixing between each. It usually takes 2-3 rounds.
-
Snip the tip of the bag and drizzle white chocolate over rice crispy treats. Optional: sprinkle with fun rainbow sprinkles! Let chocolate set for at least 10 minutes before slicing.
Notes
Freeze for up to 3 months. To prevent sticking, separate individual treats with parchment paper before placing them in a freezer-safe bag or container.
Nutrition

Hi, I’m Sara! Your Host at Eat Dessert Snack!
By day, I’m a dedicated Registered Nurse, and by weekend, I transform into a passionate food blogger. My mission? To be the perfect dip tester and snack quester, always on the hunt for the next delicious treat. When I’m not in the kitchen, you can find me enjoying short, peaceful walks on the beach or indulging in long, well-deserved naps. I absolutely adore sharing my love for food, one bite at a time, hoping to inspire you to create amazing desserts and snacks in your own kitchen!
