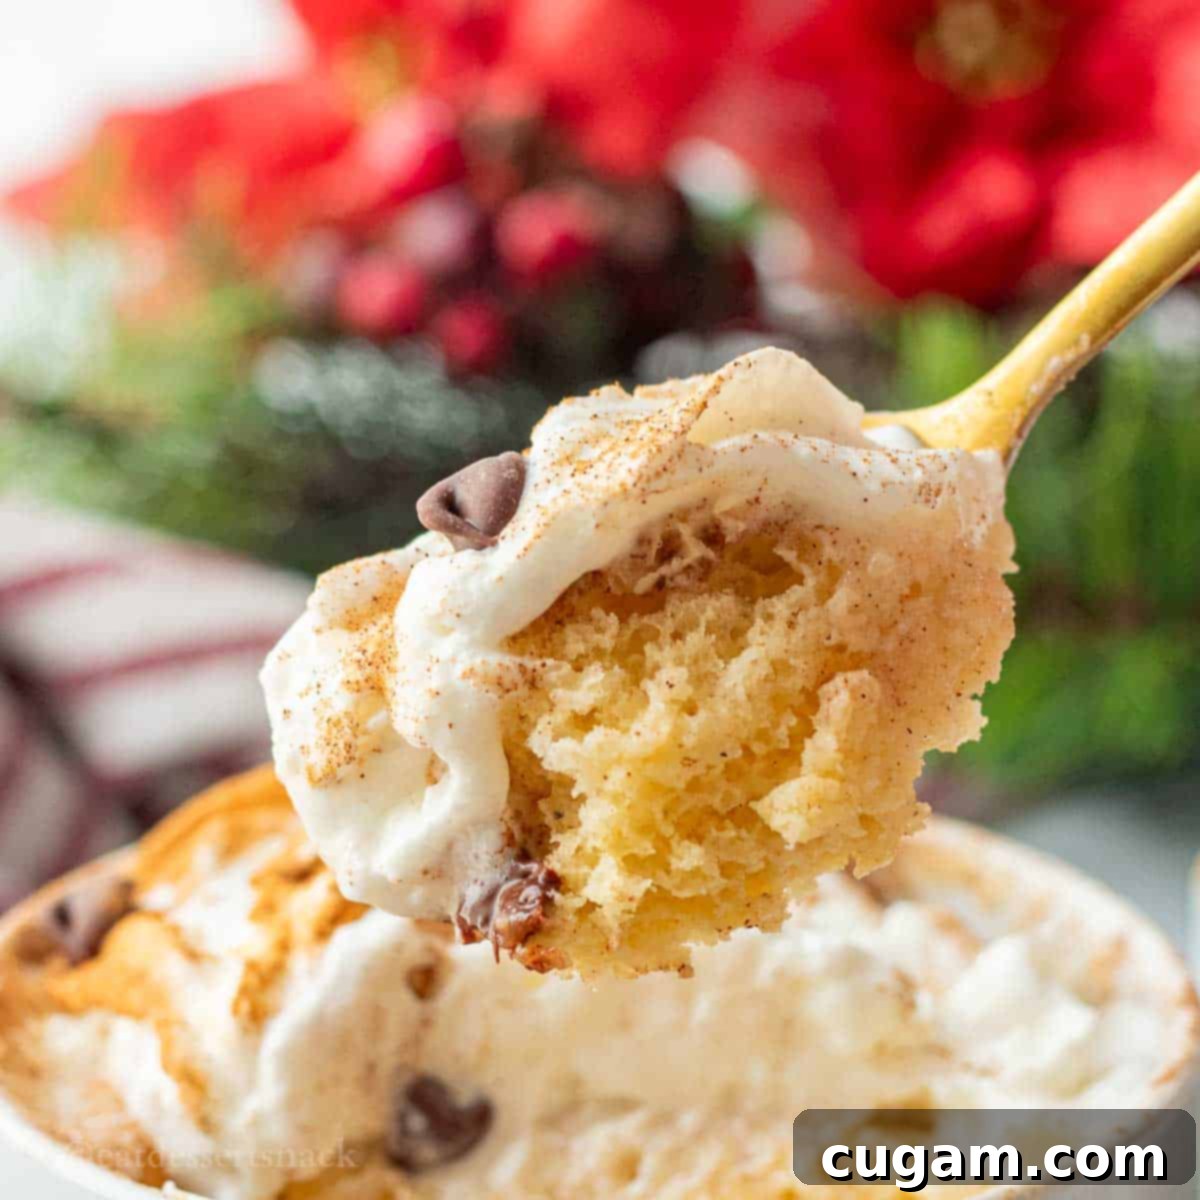
The Ultimate 6-Ingredient Eggnog Mug Cake: Your Quick & Cozy Holiday Delight
Embrace the festive spirit with our incredible Eggnog Mug Cake, a truly light and fluffy Christmas dessert that comes together in mere minutes using just SIX simple ingredients! This delightful treat is the quintessential snack for the bustling holiday season, offering a warm and comforting indulgence when you need it most.
While I absolutely adore sipping on a classic glass of eggnog, sometimes you just crave a different way to enjoy that rich, creamy flavor. That’s why I’ve perfected this quick mug cake, along with other seasonal delights like my popular Eggnog Rice Pudding. This mug cake is a fantastic alternative for those times when you have leftover eggnog or simply want to transform it into a delectable baked good.
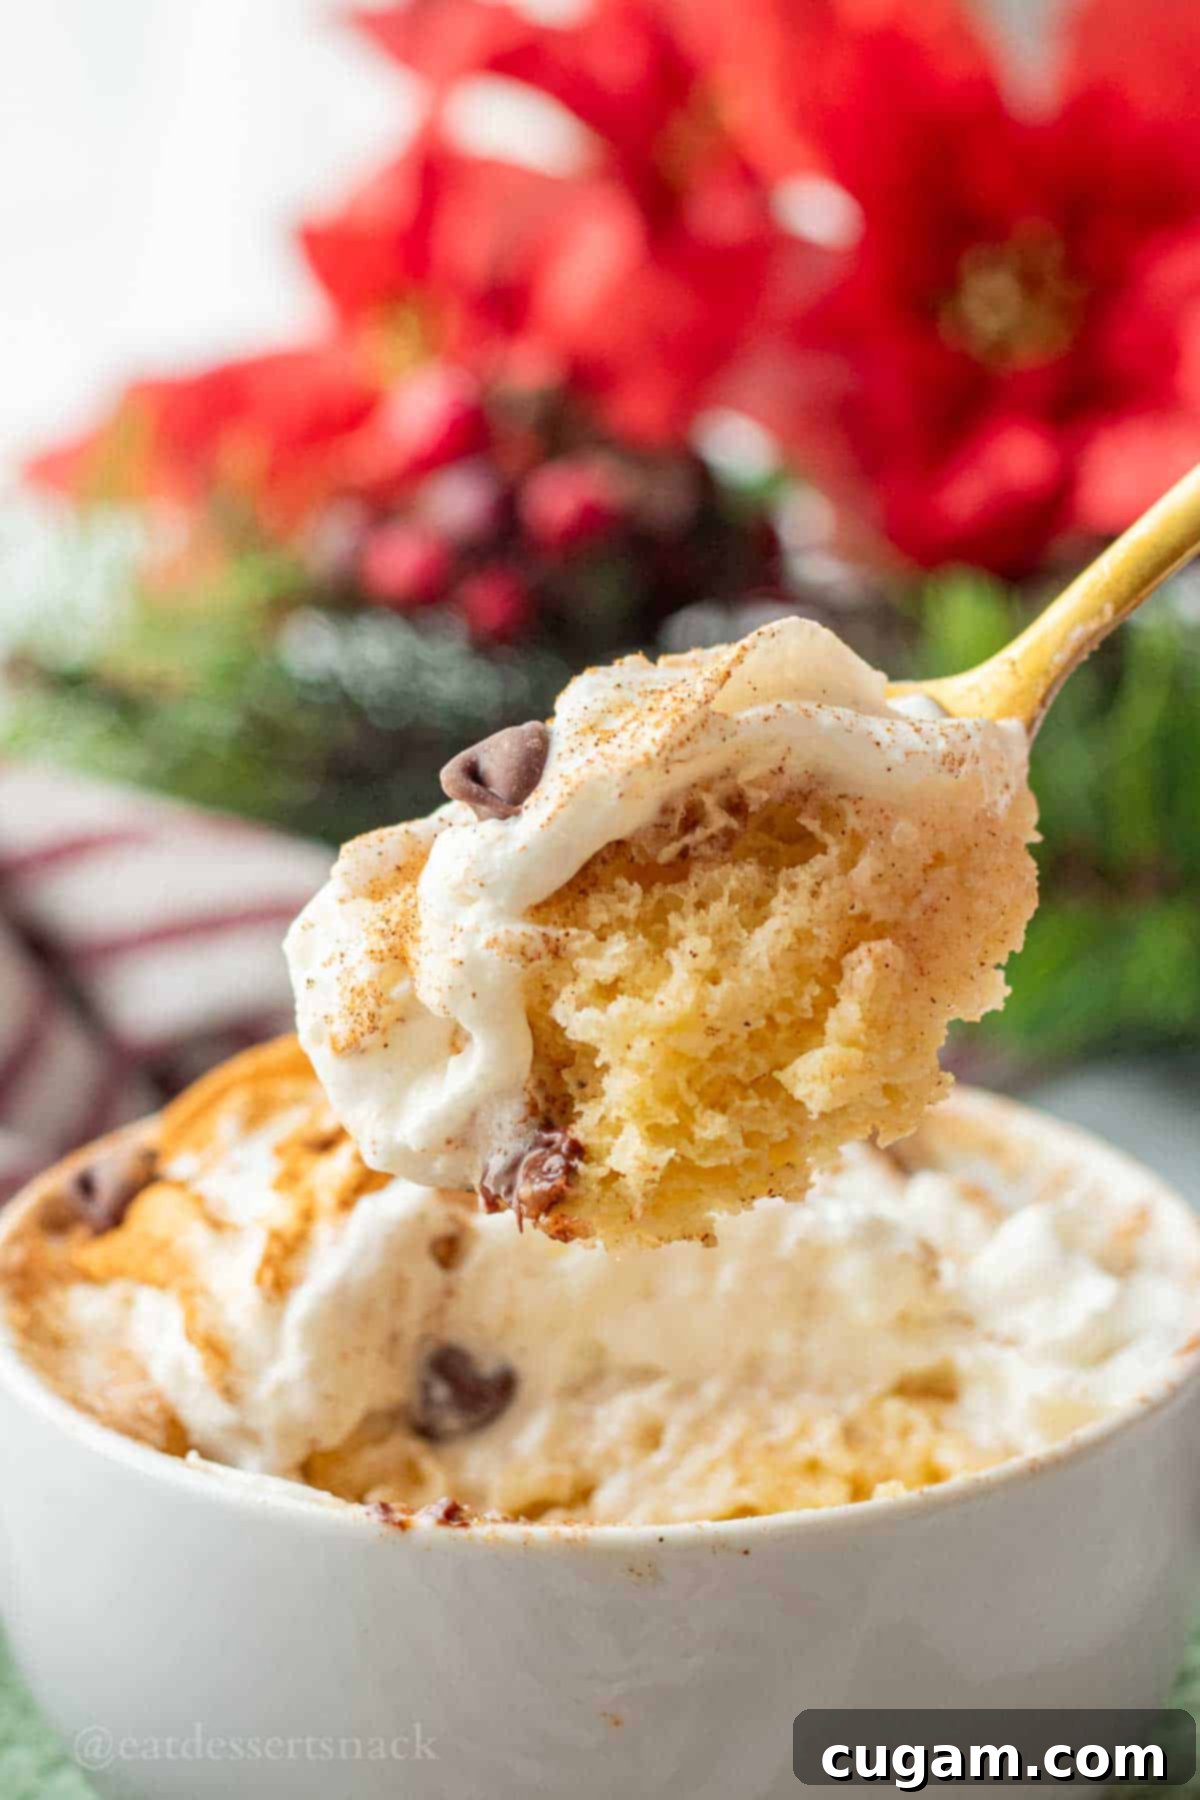
Mug cakes, in general, are my go-to for a quick, satisfying dessert, and this eggnog version is no exception. It’s incredibly convenient, requiring only 60 to 90 seconds in the microwave to bake to perfection. This truly is Christmas cake in a mug – super festive and just as comforting as my Caramel Stuffed Pumpkin Mug Cake. Imagine a chilly evening, a cozy blanket, and a warm, spiced eggnog cake ready in moments. It’s pure holiday magic!
What makes this Eggnog Mug Cake truly stand out is its simplicity without compromising on flavor. The beautiful balance of classic eggnog spices, a hint of vanilla, and a perfectly moist, airy crumb makes it an irresistible treat. Whether you’re a seasoned baker or a complete novice, this recipe is designed for effortless success, making it perfect for last-minute cravings or a delightful surprise for family and friends. It’s an excellent way to introduce children to the joy of baking, as it involves minimal fuss and quick gratification.
What To Expect From This Eggnog Mug Cake
- Taste: Prepare for a truly sweet and wonderfully soft eggnog cake. The dominant flavors are the rich, creamy notes of eggnog perfectly complemented by warm vanilla, often with subtle hints of nutmeg and cinnamon already present in the eggnog itself. It’s a simple yet incredibly effective flavor profile that screams holiday comfort. Each bite is moist, tender, and reminiscent of traditional Christmas baking.
- Ease: This recipe truly is a beginner’s dream. With just 6 core ingredients and minimal steps, anyone can whip up this delightful treat. You won’t need any special equipment beyond a microwave-safe mug and a spoon, making cleanup a breeze. It’s a fantastic recipe for those who are new to baking or simply looking for a no-fuss dessert solution, especially during the busy holiday season.
- Time: From gathering your ingredients to taking the first heavenly bite, this mug cake takes less than 5 minutes to prepare and cook. The active preparation time is less than 2 minutes, with the microwave doing all the hard work in just over a minute. This lightning-fast bake time makes it ideal for spontaneous dessert cravings or when you need a quick treat for a small gathering. I often make 3 or 4 at a time to ensure everyone in our family gets to enjoy their own warm, personalized mug cake.
- Texture: Expect a remarkably light and fluffy cake that’s moist and tender. It’s not dense or heavy, but rather airy and delicate, melting in your mouth with every spoonful. The perfect balance of wet and dry ingredients ensures a consistent, pleasing texture every time, provided you don’t overmix.
- Versatility: While delicious on its own, this eggnog mug cake is a blank canvas for your favorite toppings. From a simple dusting of cinnamon to a dollop of whipped cream and a sprinkling of festive sprinkles, you can easily customize each mug cake to suit individual preferences, making it even more fun for family gatherings.
Why a Mug Cake for the Holidays?
The holidays are often a whirlwind of activity, from gift shopping to decorating, and hosting festive gatherings. In the midst of all this, finding time for elaborate baking can be a challenge. That’s where the magic of the eggnog mug cake truly shines. It offers instant gratification – a warm, homemade dessert experience without the fuss of a full-sized cake, multiple baking sheets, or extensive cleanup. It’s perfect for a cozy night in, a quick treat after decorating the tree, or even a thoughtful, personalized dessert for unexpected guests. Plus, it’s an excellent way to use up any leftover eggnog you might have lingering in the fridge after holiday parties, ensuring none of that seasonal goodness goes to waste.
🛒 Key Ingredients You’ll Need
Crafting this delightful Eggnog Mug Cake requires just a handful of staple ingredients, most of which you likely already have in your pantry during the holiday season. The beauty of this recipe lies in its simplicity and the way these core components come together to create a rich, festive flavor.
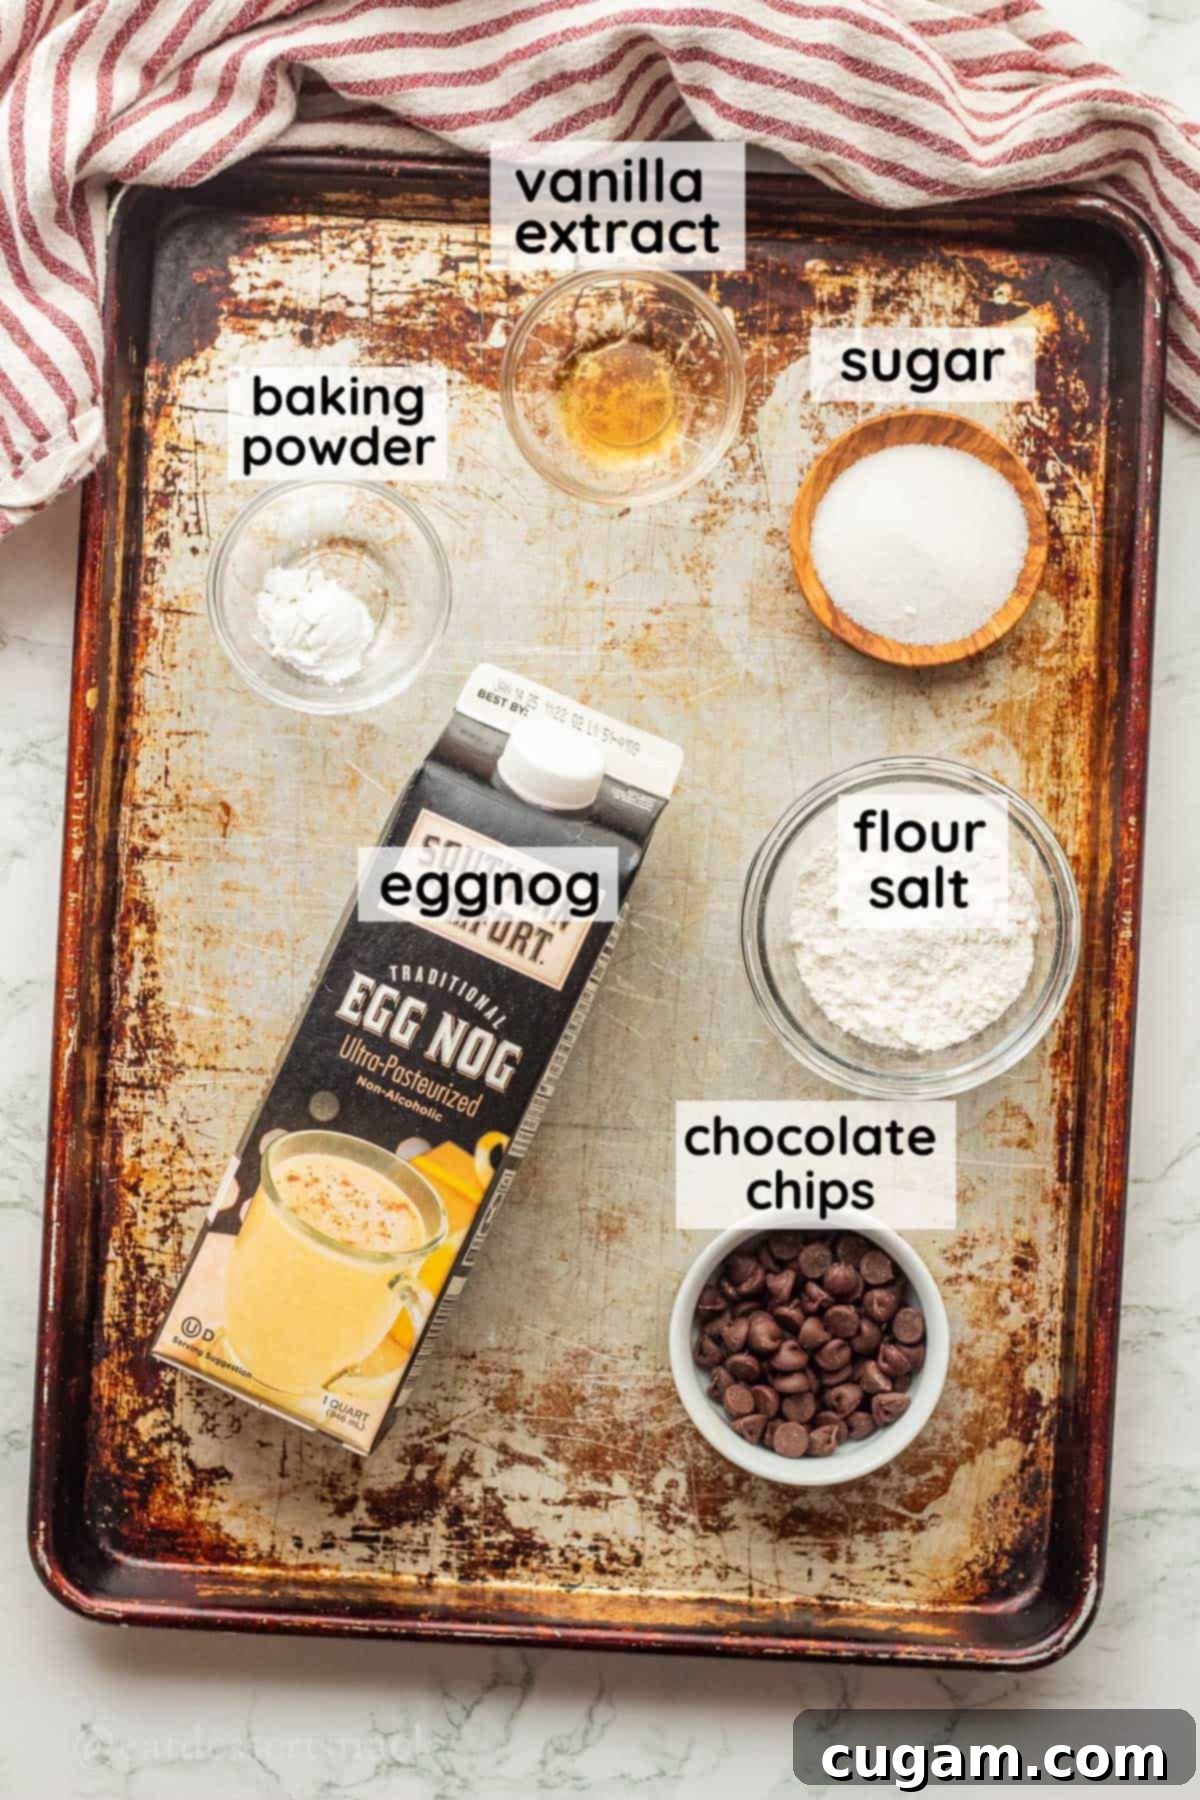
- All-Purpose Flour: This forms the foundational structure of our cake. Ensure you use good quality all-purpose flour for the best texture. Measuring it correctly, by spooning it into a measuring cup and leveling it off, will prevent a dense cake.
- White Granulated Sugar: While eggnog itself is sweet, a little extra sugar is essential to achieve that true cake-like sweetness and perfectly balanced flavor. Feel free to adjust the quantity slightly to match your personal preference for sweetness.
- Eggnog: The star ingredient! Any store-bought brand will work wonderfully. If you prefer a more pronounced spice flavor, look for eggnog with extra cinnamon or nutmeg, or consider adding a pinch of ground nutmeg directly to the batter. The richness of the eggnog contributes to the cake’s moist texture and signature holiday taste.
- Vanilla Extract: A touch of vanilla extract enhances the overall warmth and sweetness of the eggnog flavor, adding depth and complexity to the cake. It’s a small addition that makes a big difference.
- Baking Powder: This is our leavening agent, responsible for the cake’s light and fluffy rise. Make sure your baking powder is fresh for optimal results; old baking powder can lead to a flat or dense cake.
- A Pinch of Salt: Don’t skip this! A small pinch of salt helps to balance the sweetness and brings out all the wonderful flavors in the cake, preventing it from tasting overly sweet and one-dimensional.
- Toppings – While optional, toppings elevate this simple mug cake into a truly festive indulgence. Consider classic options like a dollop of creamy whipped cream, a sprinkle of ground cinnamon or nutmeg, mini chocolate chips (white, dark, or milk chocolate all work!), fresh sliced strawberries for a burst of color and tartness, or even festive Christmas sprinkles to truly capture the holiday spirit.
See the recipe card below for full information on ingredients and precise quantities for one perfect mug cake serving.
✏️ Easy Substitutions & Creative Variations
One of the best things about this Eggnog Mug Cake is how adaptable it is! Whether you need to accommodate dietary restrictions or simply want to experiment with different flavor profiles, these substitutions and variations will help you customize your perfect holiday treat.
- Sugar Alternatives: Instead of white granulated sugar, you can easily swap in brown sugar for a deeper, molasses-like flavor, which pairs wonderfully with eggnog. Coconut sugar is another excellent option if you prefer a less refined sweetener. Adjust to your desired level of sweetness.
- Flavor Extracts: To intensify the holiday spirit, replace vanilla extract with rum extract for an even more authentic eggnog flavor, or try a dash of brandy extract. Almond extract can also offer a unique and delicious twist.
- Dairy-Free Eggnog: If you’re looking for a dairy-free option, many brands now offer excellent plant-based eggnogs made from almond or oat milk. These can be used directly in the recipe with fantastic results, ensuring everyone can enjoy this festive treat.
- Added Spices: For an extra kick of holiday warmth, stir a small pinch (1/8 teaspoon) of ground nutmeg, cinnamon, or even a tiny bit of allspice directly into the dry ingredients. This enhances the inherent spice notes of eggnog.
- Mix-ins: Beyond just toppings, consider adding small mix-ins directly into the batter before microwaving. Mini chocolate chips (white chocolate chips are particularly complementary!), chopped pecans or walnuts, or even a few dried cranberries can add delightful texture and flavor.
- Gluten-Free Flour: For a gluten-free version, use a 1:1 gluten-free baking flour blend that contains xanthan gum. The cooking time might vary slightly, so keep a close eye on it.
- Serving Suggestions: While whipped cream and cinnamon are classic, get creative! A scoop of vanilla bean ice cream melting over the warm cake is divine. A drizzle of caramel sauce or a spoonful of cranberry compote can also add a gourmet touch.
🧑🍳 Step-by-Step Instructions for Your Eggnog Mug Cake
Making this Eggnog Mug Cake is incredibly straightforward, perfect for a quick dessert. Follow these simple steps for a warm, fluffy treat every time.
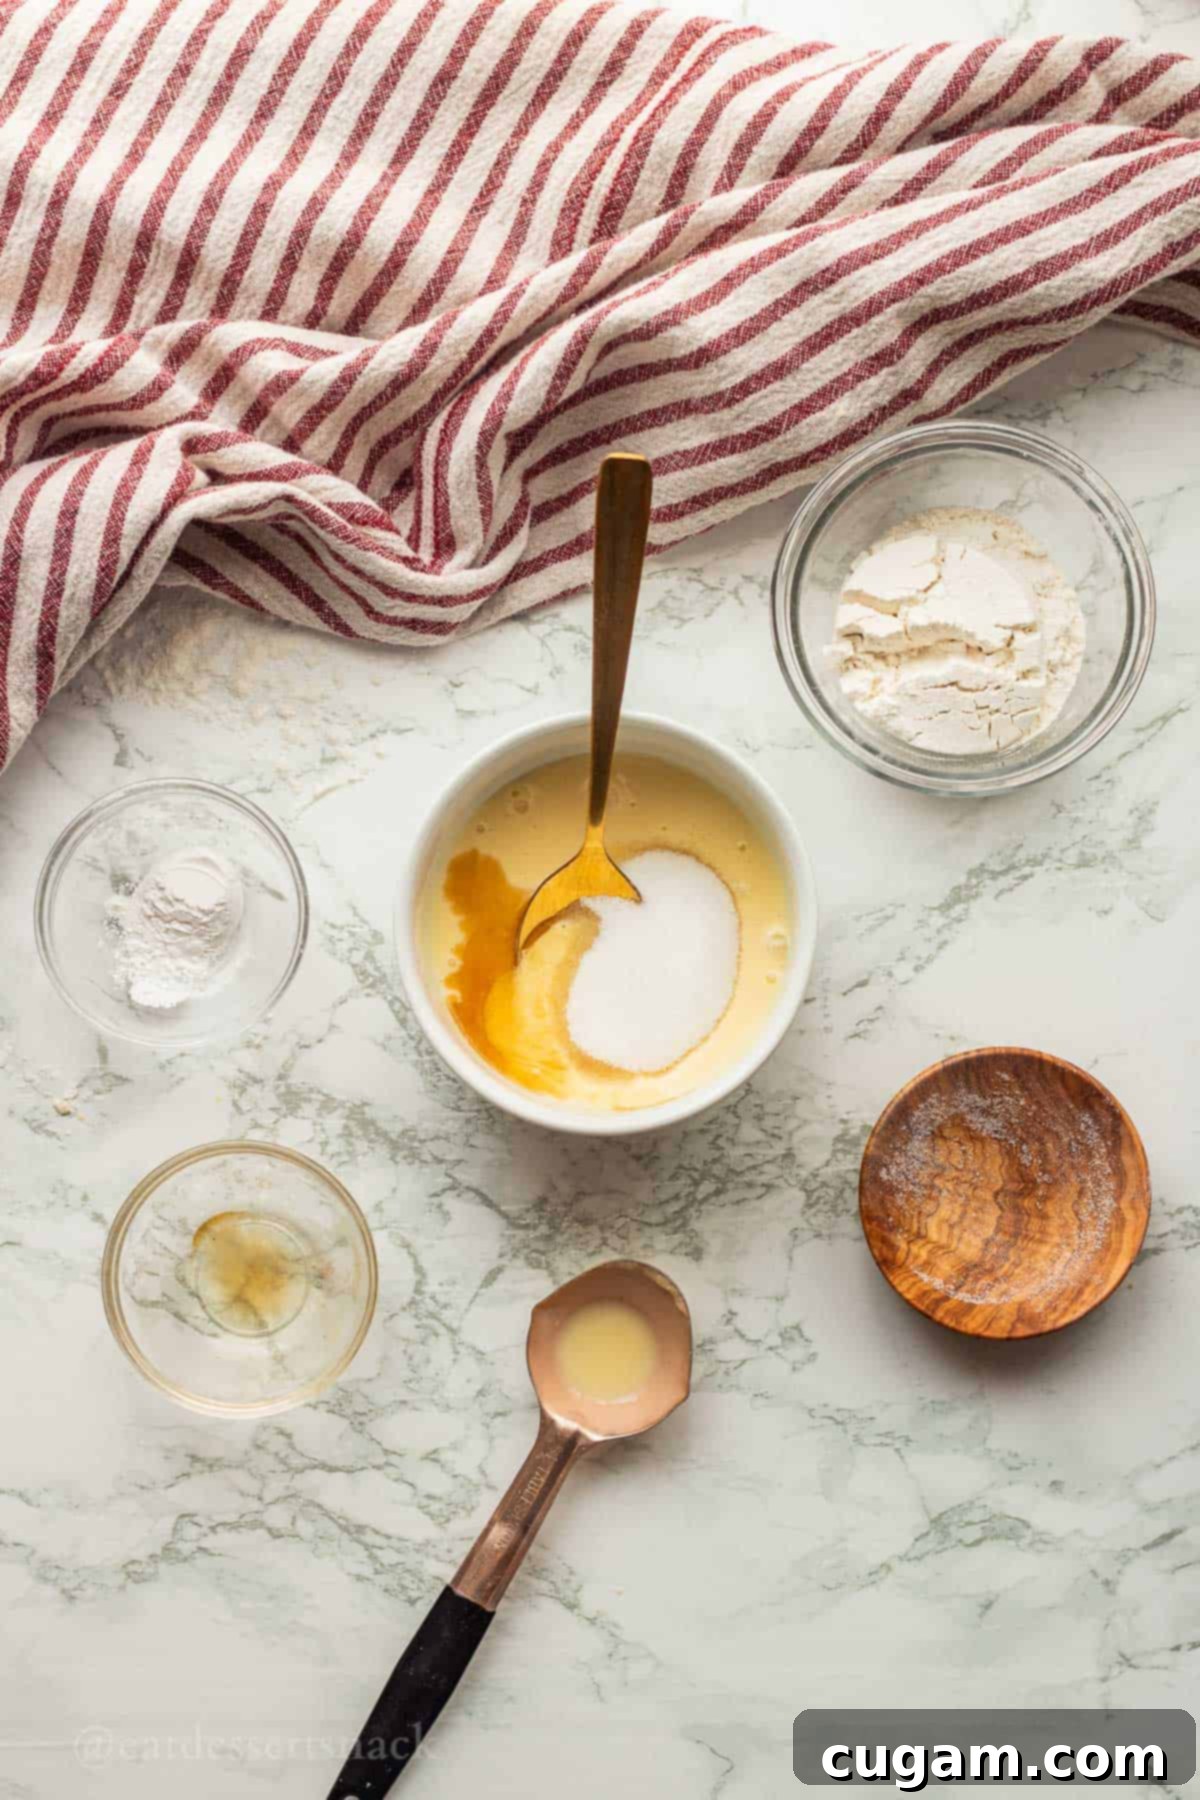
- Step 1: Combine Wet Ingredients. In an 8 to 12 oz. microwave-safe mug (ensure it’s large enough to prevent overflow), or a small bowl if you plan to transfer it, combine the eggnog, vanilla extract, and white granulated sugar. Stir these ingredients thoroughly with a spoon or a small whisk until the sugar is mostly dissolved and the mixture is well incorporated. This step ensures an even distribution of flavor and sweetness.
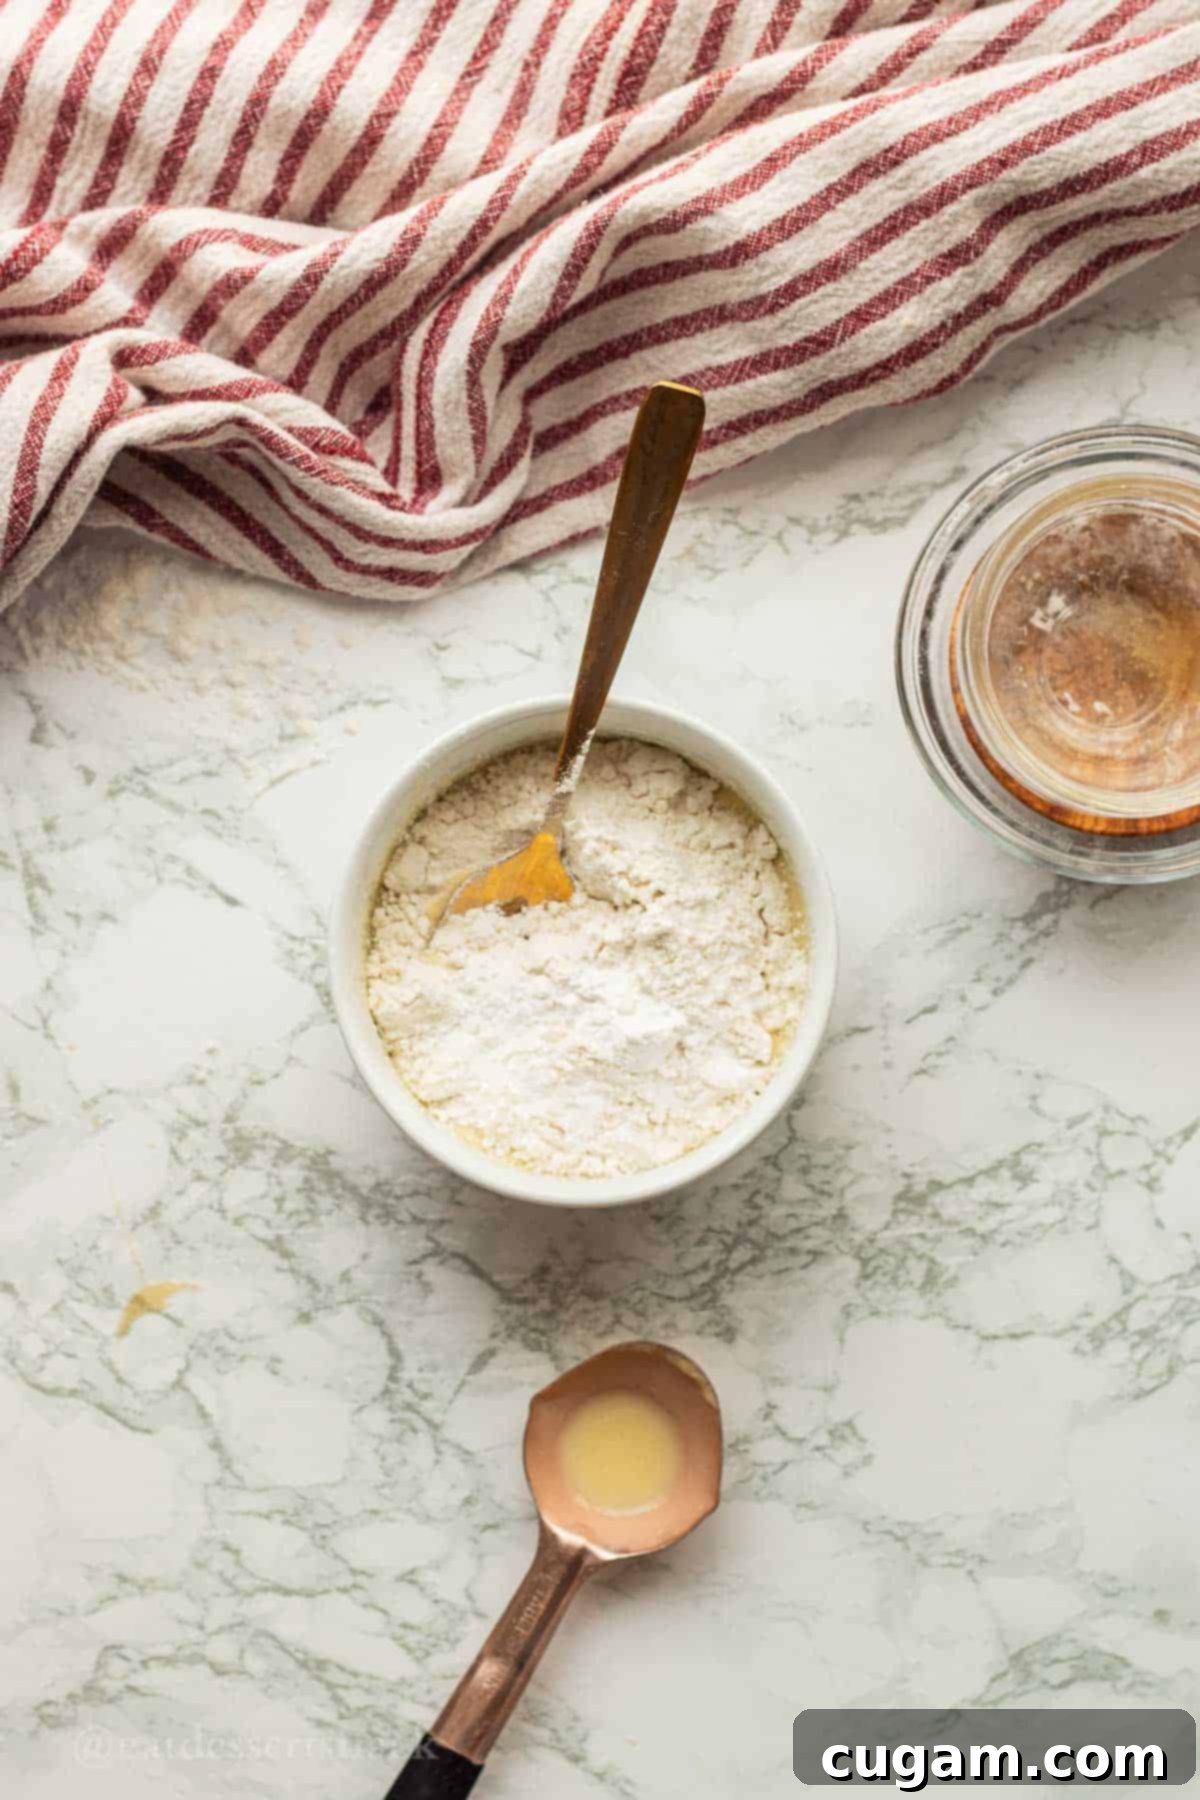
- Step 2: Add Dry Ingredients and Mix Gently. Carefully add the all-purpose flour, baking powder, and a pinch of salt on top of the wet ingredients in the mug. Using your spoon, gently fold and mix the ingredients until just combined. Be careful not to overmix; overmixing can develop the gluten in the flour, leading to a tough and rubbery cake. A few small lumps are perfectly fine. Ensure there are no large pockets of dry flour visible.
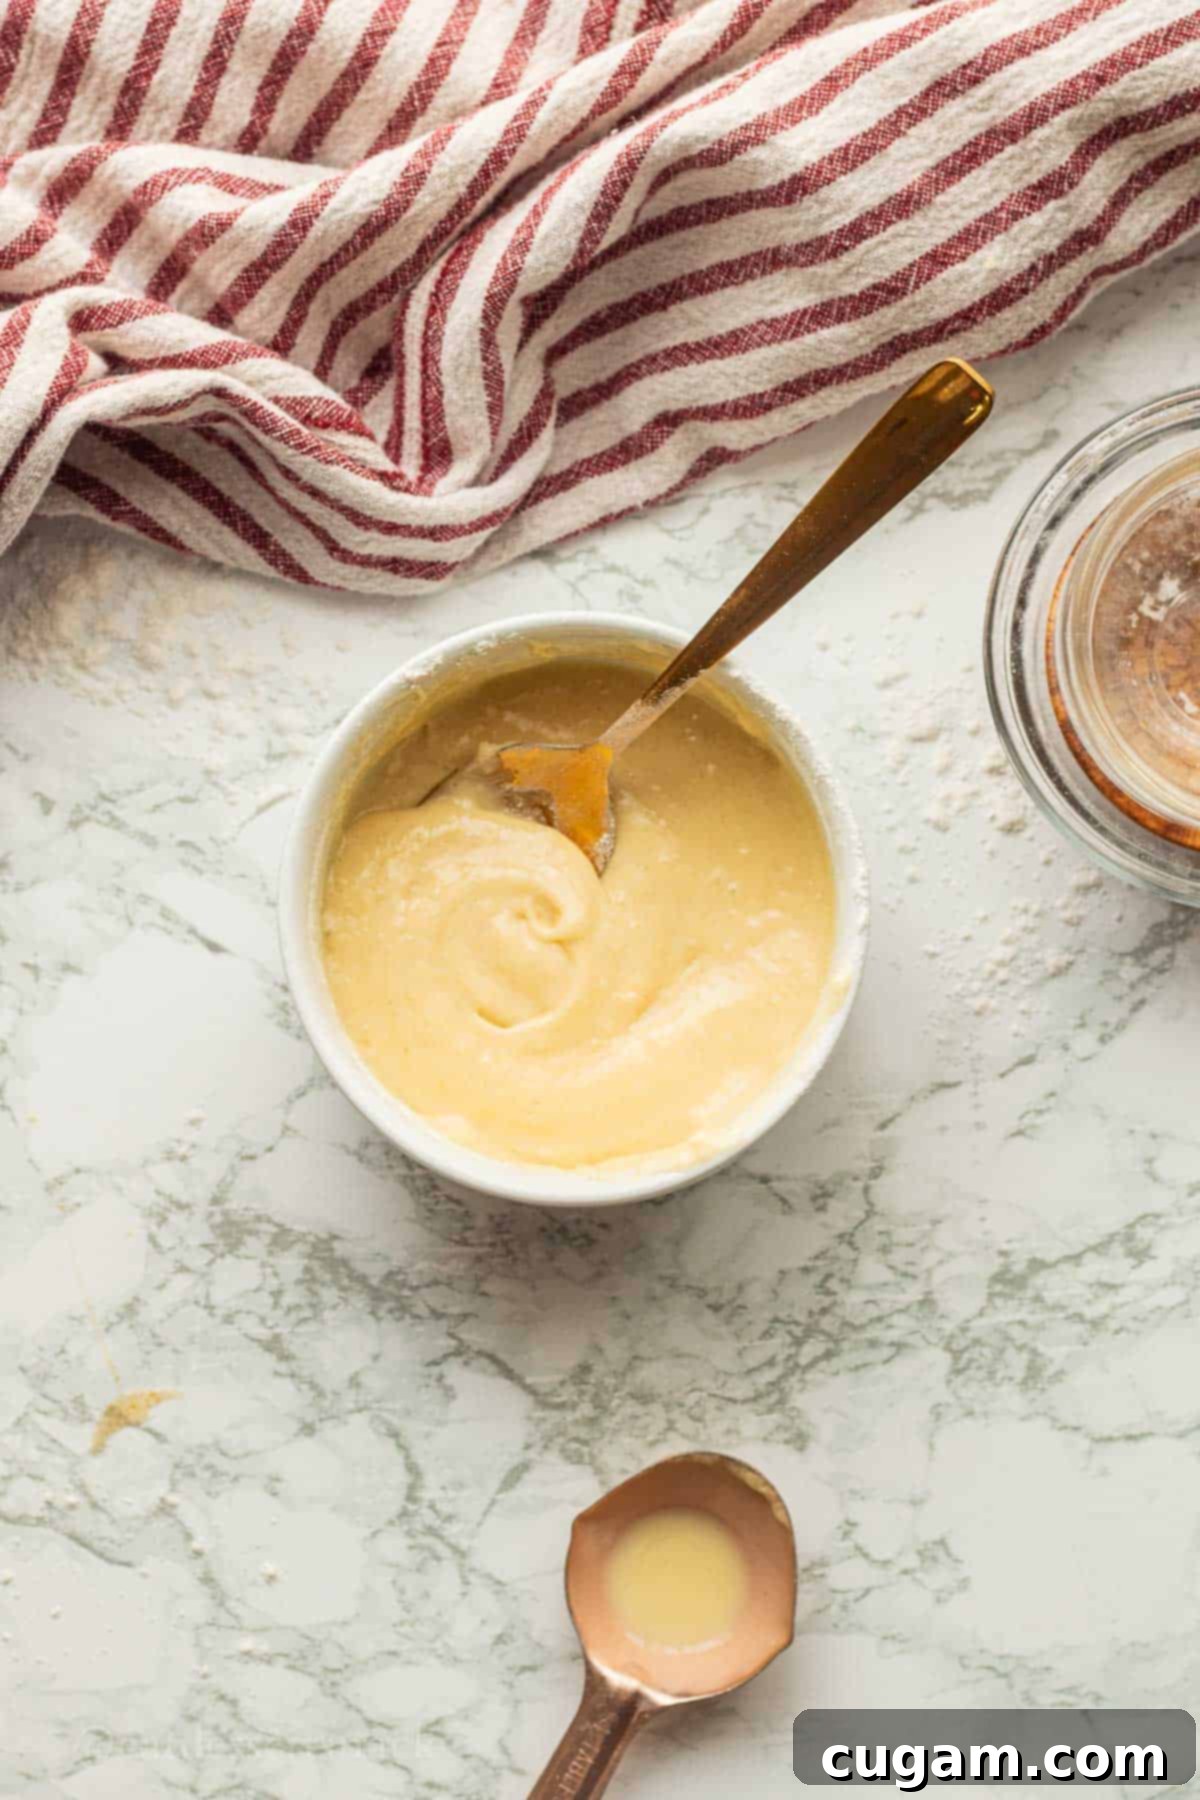
- Step 3: Microwave and Cook. Place the mug in your microwave and cook on high for approximately one minute and 15 seconds. Microwave wattages vary, so you might need a little more or less time. The cake is done when it looks set on top, springs back slightly when gently touched, and a toothpick inserted into the center comes out clean. Start with 75 seconds and add 10-15 second increments if needed, to avoid overcooking.
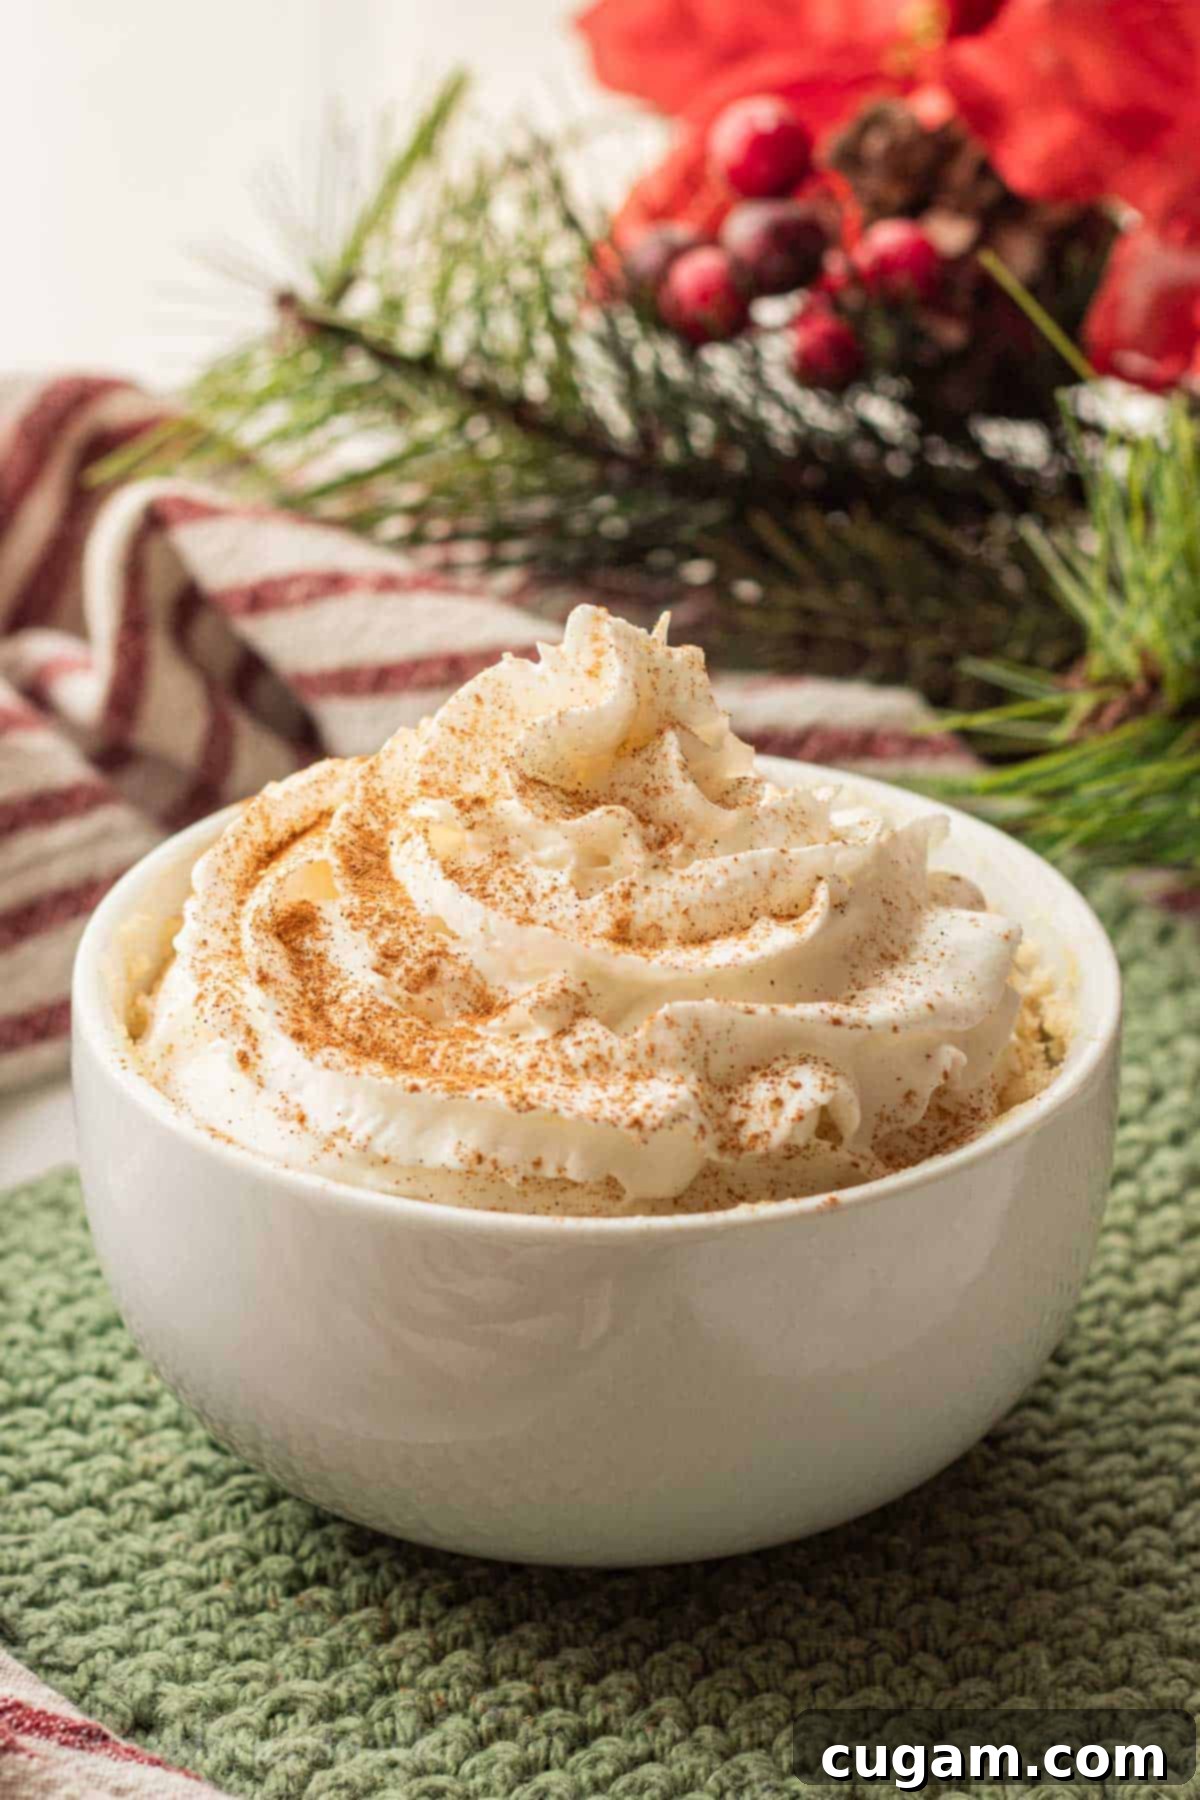
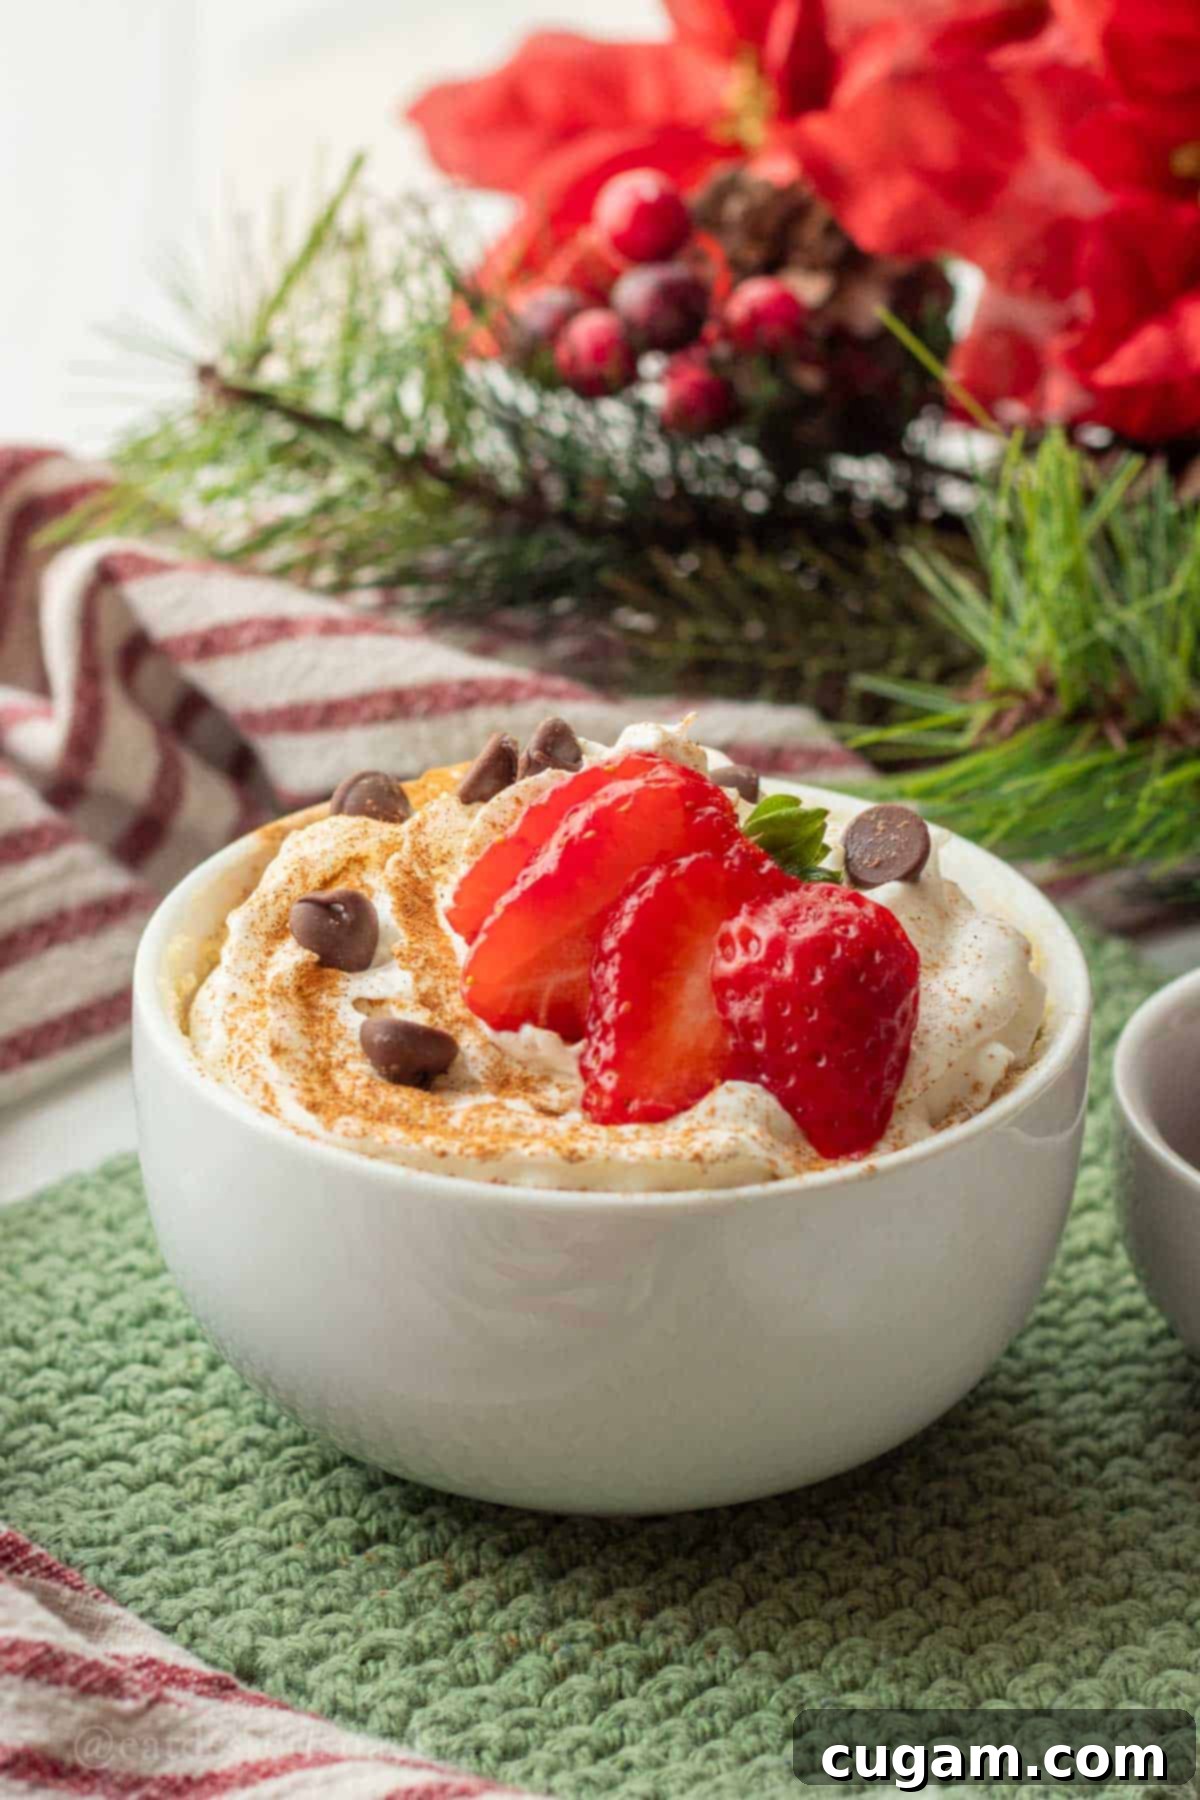
- Step 4: Garnish and Enjoy. Once cooked, carefully remove the hot mug from the microwave. Allow it to cool for a minute or two before adding your favorite fun toppings. A generous dollop of whipped cream, a dusting of cinnamon or nutmeg, a sprinkle of mini chocolate chips, or even some fresh strawberries or festive sprinkles will make this simple cake extra special. Serve warm and savor every festive bite!
Preparing Your Mug for Success
While this recipe is incredibly forgiving, a little preparation can go a long way in ensuring your mug cake turns out perfectly every time. First and foremost, choose a microwave-safe mug that is at least 8 ounces, and ideally 10-12 ounces, to prevent any overflow during cooking. A wider, shallower mug can sometimes cook more evenly than a very tall, narrow one. You might also consider lightly greasing the inside of your mug with a tiny bit of butter or non-stick spray, especially if you plan to gently invert the cake onto a plate after cooking, although it’s perfectly delightful to eat straight from the mug.
📌 Top Tips & Hacks for the Perfect Eggnog Mug Cake
- Do Not Overcook: This is the golden rule for any mug cake! Overcooking is the quickest way to end up with a dry, rubbery, or tough cake. For our microwave, 1 minute and 15-20 seconds is usually ideal, but always consider your specific microwave’s wattage. Start with the lower end of the time range and add small increments (10-15 seconds) if needed, until the cake is set and a toothpick comes out clean. The top should look firm, not wet.
- Mix Wet Ingredients First: Always combine your liquid ingredients (eggnog, vanilla, sugar) thoroughly before adding the dry ingredients. This method helps the sugar dissolve properly and makes it much easier to incorporate the flour without overmixing, which in turn helps prevent those dreaded pockets of dry flour in your finished cake.
- Choose the Right Mug Size: Use at least an 8 oz mug or bowl, but a 10-12 oz mug is even better. Using a mug that’s too small is a common mistake and will almost certainly result in your cake batter overflowing in the microwave, creating a messy situation (trust me, I’ve been there!). A slightly larger mug gives the cake enough room to rise beautifully.
- Don’t Overmix the Batter: Once you add the dry ingredients, mix just until they are combined. A few small lumps are perfectly acceptable and actually better than overmixing, which develops the gluten in the flour and can lead to a dense, chewy, or rubbery texture.
- Let it Rest (Briefly): After cooking, let your mug cake sit in the microwave or on the counter for 1-2 minutes. This allows the cake to finish cooking with residual heat and firm up slightly, preventing it from collapsing and making it easier to enjoy.
- Warm Serving is Best: This Eggnog Mug Cake is absolutely best when served warm, straight from the microwave. The heat enhances the festive aromas and keeps the cake wonderfully moist.
- Personalize with Toppings: Don’t underestimate the power of toppings! Whipped cream and a sprinkle of cinnamon or nutmeg are classic, but consider mini chocolate chips (white chocolate is amazing here!), a drizzle of caramel, or even a few candied pecans for extra crunch and flavor.
❓Frequently Asked Questions About Eggnog Mug Cakes
A rubbery mug cake is usually a sign of one of two things: either the baking powder was overmixed (which can overdevelop gluten), or more commonly, the cake was cooked too long in the microwave. Microwaves vary greatly in power, so it’s always best to start with less time and add in short bursts until done.
Fortunately, this recipe does not contain any raw eggs, which are typically the main concern with undercooked batter. So, if you’re comfortable with a slightly gooey center (some even prefer it!), you can certainly take a risk and eat it. However, for the best cake-like texture, ensure it’s fully cooked.
The best way to check for doneness is the classic toothpick test. Insert a toothpick into the center of the mug cake; if it comes out clean with no wet batter attached, your mug cake is perfectly done. The top of the cake should also look set and spring back slightly when gently touched.
Once you’ve finished enjoying your delicious mug cake, the easiest way to clean the mug is to fill it with hot water and let it soak for a few hours (or even overnight). This will loosen any stuck-on cake bits, making it much easier to wash away. For extra stubborn residue, a little dish soap during soaking helps.
Mug cakes are best enjoyed fresh, right after they’re cooked, for the optimal warm, fluffy texture. They tend to dry out quickly as they cool. However, you can prepare a dry mix (flour, sugar, baking powder, salt) in advance and store it in an airtight container. When ready to enjoy, simply combine it with the wet ingredients (eggnog, vanilla) in your mug and microwave!
Any store-bought eggnog will work wonderfully for this recipe. You can choose full-fat for a richer cake or a lighter version if preferred. If you enjoy a strong spice flavor, opt for an eggnog that explicitly states “extra spiced” or add a tiny pinch of ground nutmeg or cinnamon to your batter.
While designed for the microwave, you can bake this mug cake in an oven. Transfer the batter to an oven-safe ramekin or small baking dish. Bake at 350°F (175°C) for approximately 12-18 minutes, or until a toothpick inserted into the center comes out clean. Keep an eye on it as baking times can vary greatly depending on the size and material of your dish.
🎄 More Festive Holiday Recipes You’ll Love
If you’re looking for more delicious treats to make your holidays extra special, explore some of my other favorite recipes:
- Iced Molasses Cookies
- Caramel Apple Pie
- Pumpkin Cinnamon Rolls
- Eggnog Rice Pudding
Did you try this recipe? Make sure to leave a ⭐️ star rating and a comment below the recipe card! I absolutely love hearing from you, and your feedback is incredibly helpful to other readers and fellow bakers.
📲 FOLLOW Sara on Social! 👋 Facebook, Instagram, or Pinterest to see the latest delicious creations and baking adventures from my kitchen!
📝 Printable Recipe

Eggnog Mug Cake
Pin Recipe
Ingredients
Ingredients:
- 3 Tablespoons Eggnog
- ½ teaspoon vanilla extract
- 2 Tablespoons white granulated sugar
- 4 Tablespoons all-purpose flour
- 1 teaspoon baking powder
- pinch of salt
Optional Toppings:
- whipped cream
- cinnamon
- 1 teaspoon mini chocolate chips
Instructions
-
In an 8 oz (at least) microwave-safe mug, combine eggnog, vanilla, and sugar. Stir well until the sugar is mostly dissolved.
-
On top of the wet ingredients, add the flour, baking powder, and a pinch of salt. Mix gently with a spoon until just combined and no large flour pockets remain. Be careful not to overmix to keep the cake tender.
-
Microwave on high for one minute and 15 seconds. If needed (depending on your microwave), continue cooking in 10-15 second increments until a toothpick inserted into the center comes out clean.
-
Carefully remove the mug. Top with whipped cream and a sprinkle of cinnamon, chocolate chips, or fresh strawberries, and enjoy warm!
Notes
Enhance your serving with a generous dollop of whipped cream and a festive sprinkle of cinnamon. If you’re feeling adventurous and want to add a fresh, bright contrast, a few sliced strawberries on top are a wonderful addition.
