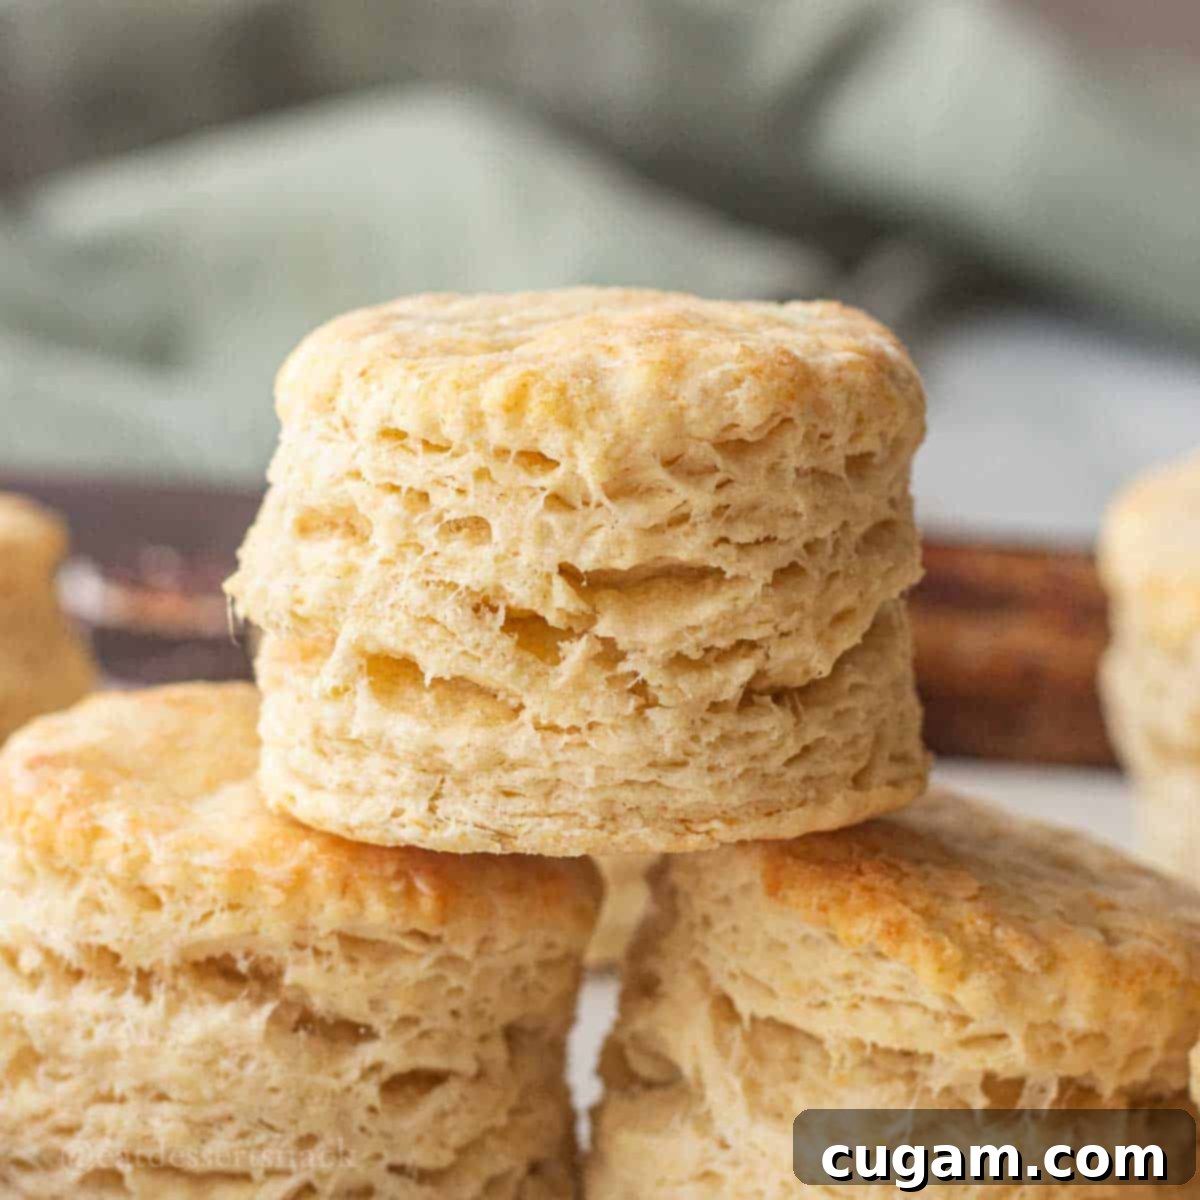
Mastering Flaky Sourdough Discard Biscuits: An Easy & Delicious Recipe
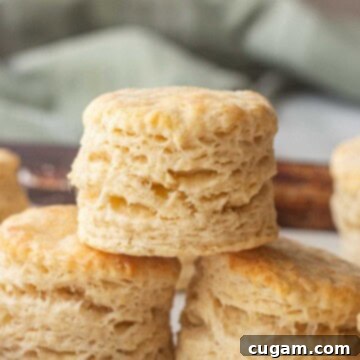
Imagine a warm, tender biscuit, its layers separating effortlessly, with a rich, buttery flavor and a subtle tang from sourdough. These sourdough discard biscuits are exactly that – flaky, utterly buttery, and bursting with flavor. They offer a quick and ingenious way to transform your leftover sourdough starter into something truly extraordinary. Whether you’re looking for the perfect accompaniment to your morning coffee, a delightful addition to brunch, or a comforting side for dinner, these biscuits are destined to become a staple in your kitchen.
This recipe for buttery sourdough biscuits is remarkably straightforward, requiring just ½ cup of sourdough discard, much like our popular sourdough discard cornbread. It yields a generous batch of 12-15 biscuits, depending on your preferred size, and incredibly, they only take about 10 minutes to bake! The efficiency of this recipe makes it an absolute favorite. What truly sets it apart is the flexibility it offers: you can bake the biscuits immediately for instant gratification, or prepare the raw dough and chill it overnight, ready to be popped into the oven for fresh, warm biscuits first thing in the morning.
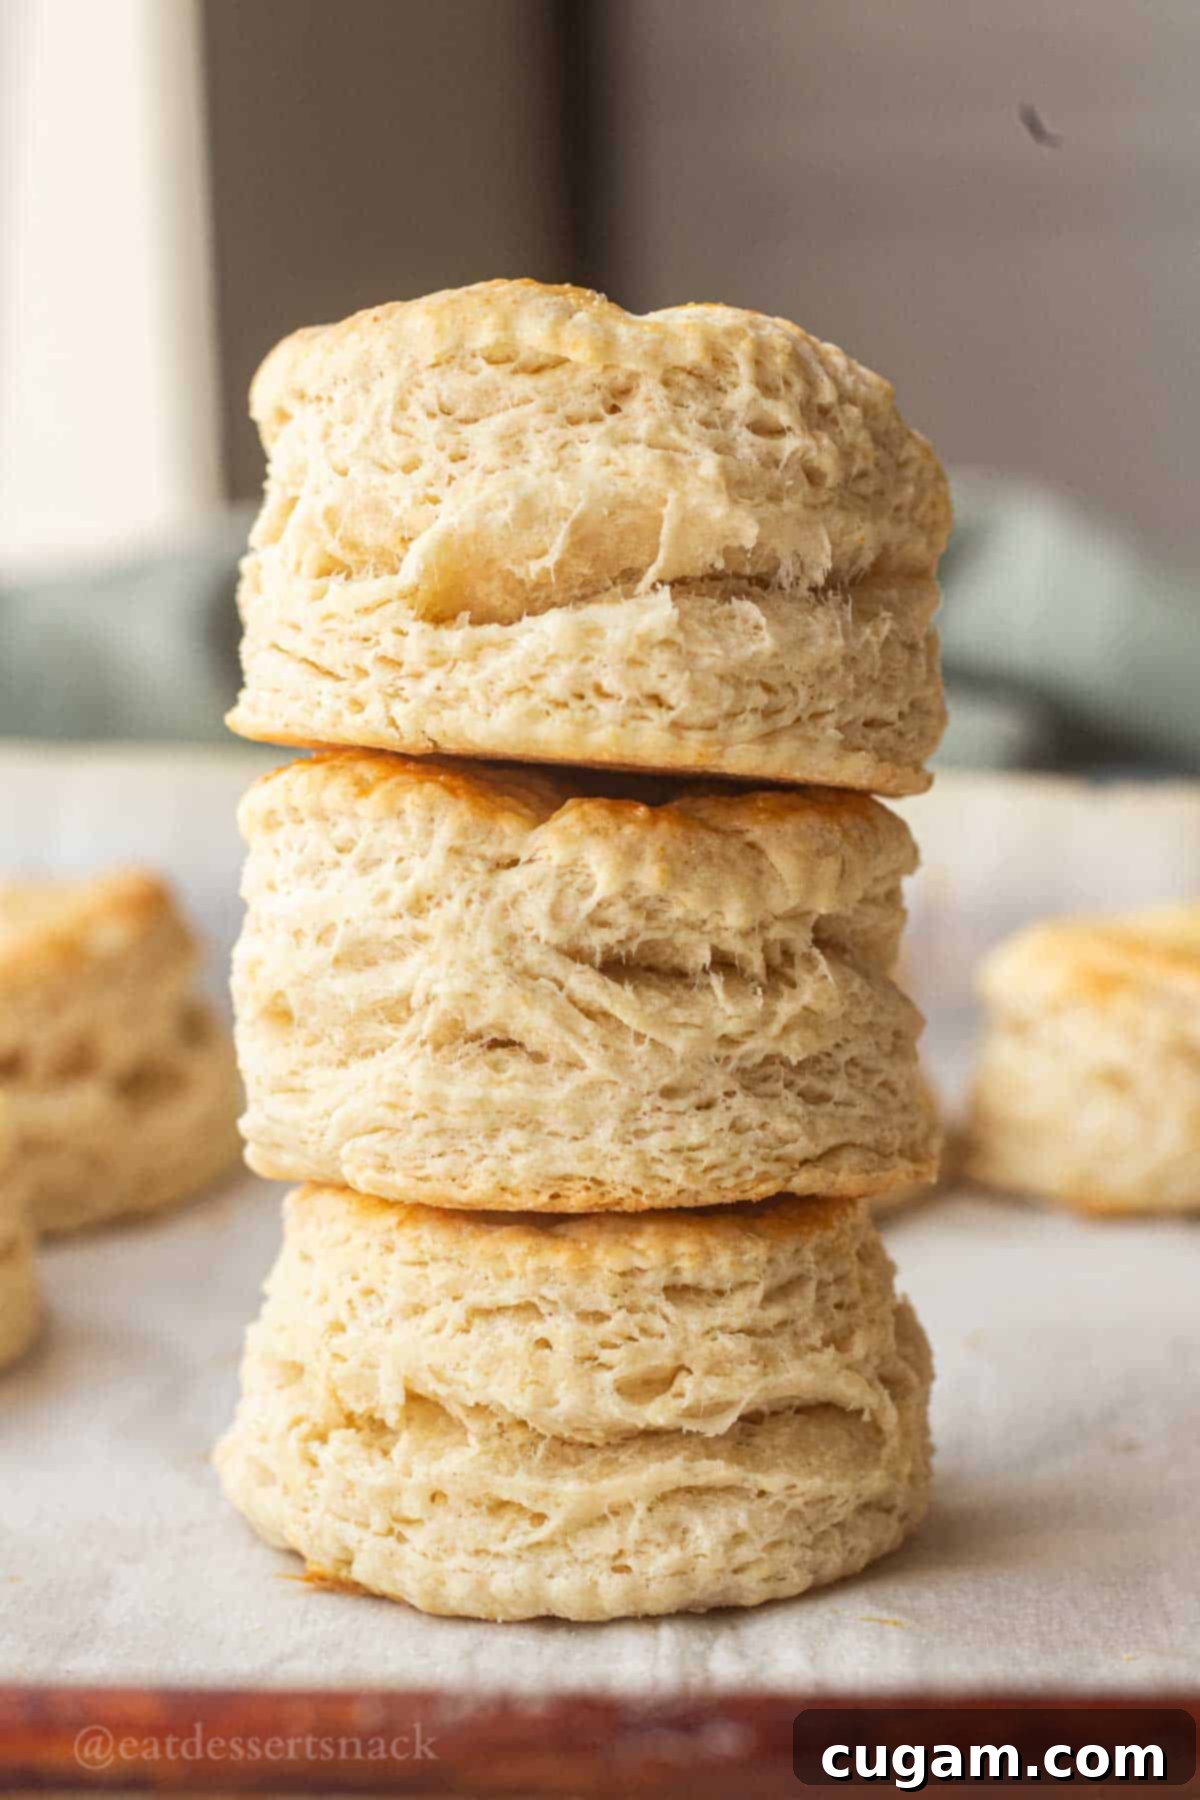
We absolutely adore these biscuits as a versatile side dish. They pair wonderfully with hearty homemade soup recipes, such as our soul-warming bone broth homemade chicken noodle soup, perfect for dipping and soaking up every last drop. Beyond savory pairings, they are simply divine slathered with softened butter, sweet jam, or a drizzle of golden honey. And if you’re feeling adventurous, you absolutely must try them with hot honey – it’s an unexpected combination that creates an explosion of sweet and spicy flavor that is truly AMAZING!
One of the best aspects of this recipe is that there’s no need for buttermilk to achieve those coveted mile-high biscuits. While you certainly *can* use buttermilk if you prefer, the sourdough discard itself provides a mild acidity. This natural acidity reacts beautifully with the baking powder in the recipe, creating a powerful leavening effect that helps the biscuits rise tall and ensures they are wonderfully tender, soft, and flaky. It’s the magic of sourdough working its charm, making these biscuits accessible and delicious even without extra specialty ingredients.
Why You’ll Fall in Love with This Recipe
Once you try these sourdough discard biscuits, you’ll understand why they quickly become a household favorite. They effortlessly combine gourmet flavor with weeknight simplicity, making them a joy to bake and an even greater pleasure to eat. Here’s a closer look at what makes them so special:
- Taste: Prepare for a truly irresistible experience. Each biscuit boasts a rich, buttery foundation perfectly balanced with just enough salt to enhance the flavor without being overwhelming. The sourdough discard contributes a subtle, pleasant tanginess that elevates the overall profile, distinguishing them from traditional biscuits without being overly sour. The middles are always soft and pillowy, contrasting beautifully with the crisp, golden exterior. This unique flavor combination makes them incredibly addictive.
- Ease: Don’t let the word “sourdough” intimidate you! This recipe is surprisingly accessible, even for novice bakers. The key lies in following a few simple steps, focusing on the correct order of mixing ingredients and maintaining the right temperatures. We provide incredibly detailed notes and helpful tips throughout the recipe to guide you, ensuring delicious and consistent results every single time. For an even simpler approach, you can easily transform this into a drop biscuit dough, eliminating the need for cutting.
- Time: In today’s busy world, a quick yet impressive recipe is a treasure. These biscuits fit the bill perfectly, requiring only about 10 minutes of active mixing time and another 10 minutes in the oven. That’s a total of approximately 20 minutes from start to finish, allowing you to whip up a fresh batch for breakfast, brunch, or dinner without any fuss. The option to prepare the dough ahead of time further enhances their convenience, making them perfect for planned meals or spontaneous cravings.
🛒 Key Ingredients for Perfect Sourdough Biscuits
Crafting the perfect flaky sourdough discard biscuits starts with understanding the role each ingredient plays. While the list is simple, the quality and preparation of these components are crucial for achieving that irresistible texture and flavor.
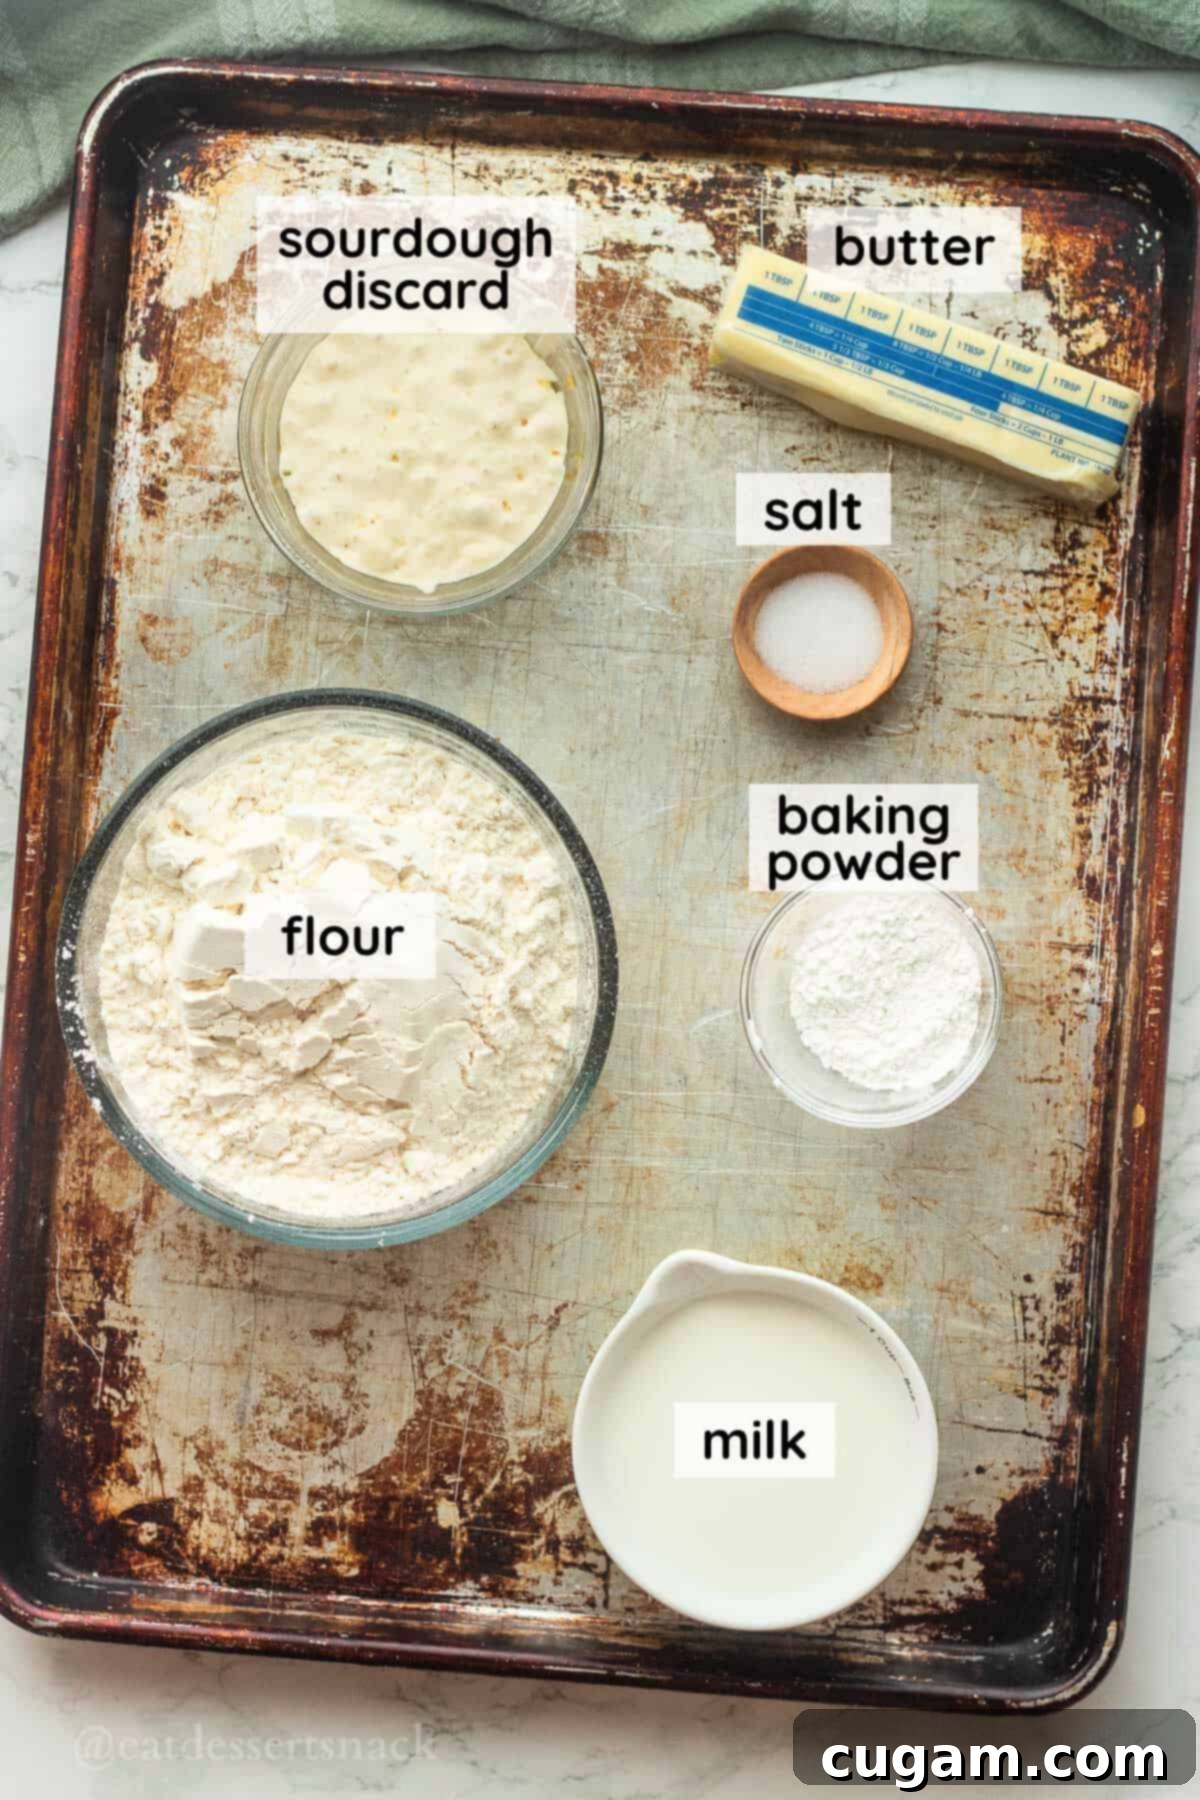
- All-Purpose Flour: The foundation of our biscuits. While other flours can be used for variations, all-purpose flour provides the ideal structure and tenderness. For the most consistent results, always measure flour by weight using a kitchen scale, rather than by volume, as scooping can lead to too much flour.
- Baking Powder: This leavening agent is essential for giving our biscuits their impressive rise and airy texture. Combined with the acidity from the sourdough discard, it creates the perfect lift, making them tall and fluffy.
- Salt: A non-negotiable ingredient that brings out all the flavors in the biscuits. We recommend using good quality fine salt. If you’re using unsalted butter, you might want to add a tiny bit more salt to the dry ingredients to achieve that perfect savory balance.
- Butter – This is where the magic happens for flavor and flakiness. We strongly recommend using high-quality salted butter for the best taste. The key to truly flaky biscuits is to ensure your butter is ice-cold. This prevents it from fully incorporating into the flour, instead creating pockets of butter that melt during baking, releasing steam and creating those beautiful, distinct layers. Freezing your butter beforehand can make it even easier to grate or cut.
- Sourdough Discard – The star of the show! You have flexibility here: you can use either an active, fed starter or unfed discard. The crucial part is to give it a good stir before measuring and, ideally, to weigh it for accuracy. The discard adds a complex, mild tang and contributes to the tenderness of the biscuits, reacting with the baking powder to aid in leavening.
- Milk – This recipe works beautifully with dairy milk, which contributes to a rich, soft crumb. However, if you prefer, plant-based milk (such as almond or oat milk) can be substituted with good results. Since the sourdough discard already provides the necessary acidity, there’s no specific need for buttermilk in this recipe, simplifying your ingredient list.
See the recipe card below for full information on ingredients and quantities.
NOTE: The temperature of your sourdough discard can affect your dough’s consistency. Cold discard tends to yield a stiffer dough, which can be a bit harder to work with but still produces excellent results. Room temperature discard will result in a slightly wetter, more pliable dough. For optimal texture and ease of mixing, I typically use discard that has the texture of pancake batter – neither too thick nor too runny – and is usually at room temperature. This consistency ensures the dough comes together beautifully.
✏️ Substitutions & Creative Variations
While the classic sourdough discard biscuit is a delight on its own, this recipe is incredibly versatile, allowing for numerous substitutions and exciting flavor variations to suit your taste and pantry. Don’t hesitate to experiment and make these biscuits uniquely yours!
- Alternative Fats: If you’re out of butter or simply want to try something different, I’ve had great success using vegetable shortening in place of butter. Shortening can sometimes create an even tenderer biscuit, though the flavor will be slightly less rich than butter. For a vegan option, a high-quality, solid plant-based butter substitute can also work wonders, ensuring it’s kept very cold.
- Savory Flavor Boosters: Elevate your biscuits with delicious savory add-ins. Try folding in ½ cup of freshly grated cheddar cheese for a cheesy, comforting biscuit. For a hint of freshness and mild onion flavor, add ¼ cup of finely chopped green onions (scallions) to the dry ingredients. Other fantastic savory additions include:
- Herbs: Freshly chopped rosemary, thyme, or chives for an aromatic touch.
- Garlic & Spice: A teaspoon of garlic powder or a pinch of black pepper can add extra depth.
- Different Cheeses: Consider Parmesan, smoked gouda, or even a spicy pepper jack for a kick!
Just be sure not to overmix the dough once these ingredients are added.
- Sweet Sensations: Turn these savory biscuits into a sweet treat! Omit the savory add-ins and instead try:
- Cinnamon Sugar: Mix a tablespoon of cinnamon with two tablespoons of sugar and sprinkle over the dough before folding, or on top of the cut biscuits before baking.
- Dried Fruit: Add ½ cup of chopped dried cranberries, raisins, or apricots for a fruity twist.
- Lemon Zest: A tablespoon of fresh lemon zest can brighten the flavor beautifully.
- Effortless Drop Biscuits: For an even quicker, no-fuss biscuit experience, transform this recipe into drop-style biscuits. Simply add another ⅓ cup (or more, if needed) of milk to the dough to make it noticeably wetter and stickier. Instead of rolling and cutting, use a large spoon or ice cream scoop to drop dollops of dough onto your prepared baking sheet. While they won’t have the distinct flaky layers of cut biscuits, they’ll still be wonderfully soft, fluffy, and delicious, with a more rustic appearance.
🧑🍳 Step-by-Step Baking Instructions
Achieving those coveted flaky, tall sourdough discard biscuits is simpler than you might think when you follow these clear, detailed steps. Remember, preparation is key for success!
First and foremost, don’t forget to **preheat your oven to a blazing 450℉ (230°C)**. This high heat is absolutely crucial for creating the perfect environment for your biscuits, causing the butter to melt rapidly and release steam, which contributes significantly to making them tall and wonderfully flaky. While your oven preheats, line a baking sheet with parchment paper or a silicone mat to prevent sticking and ensure even baking.
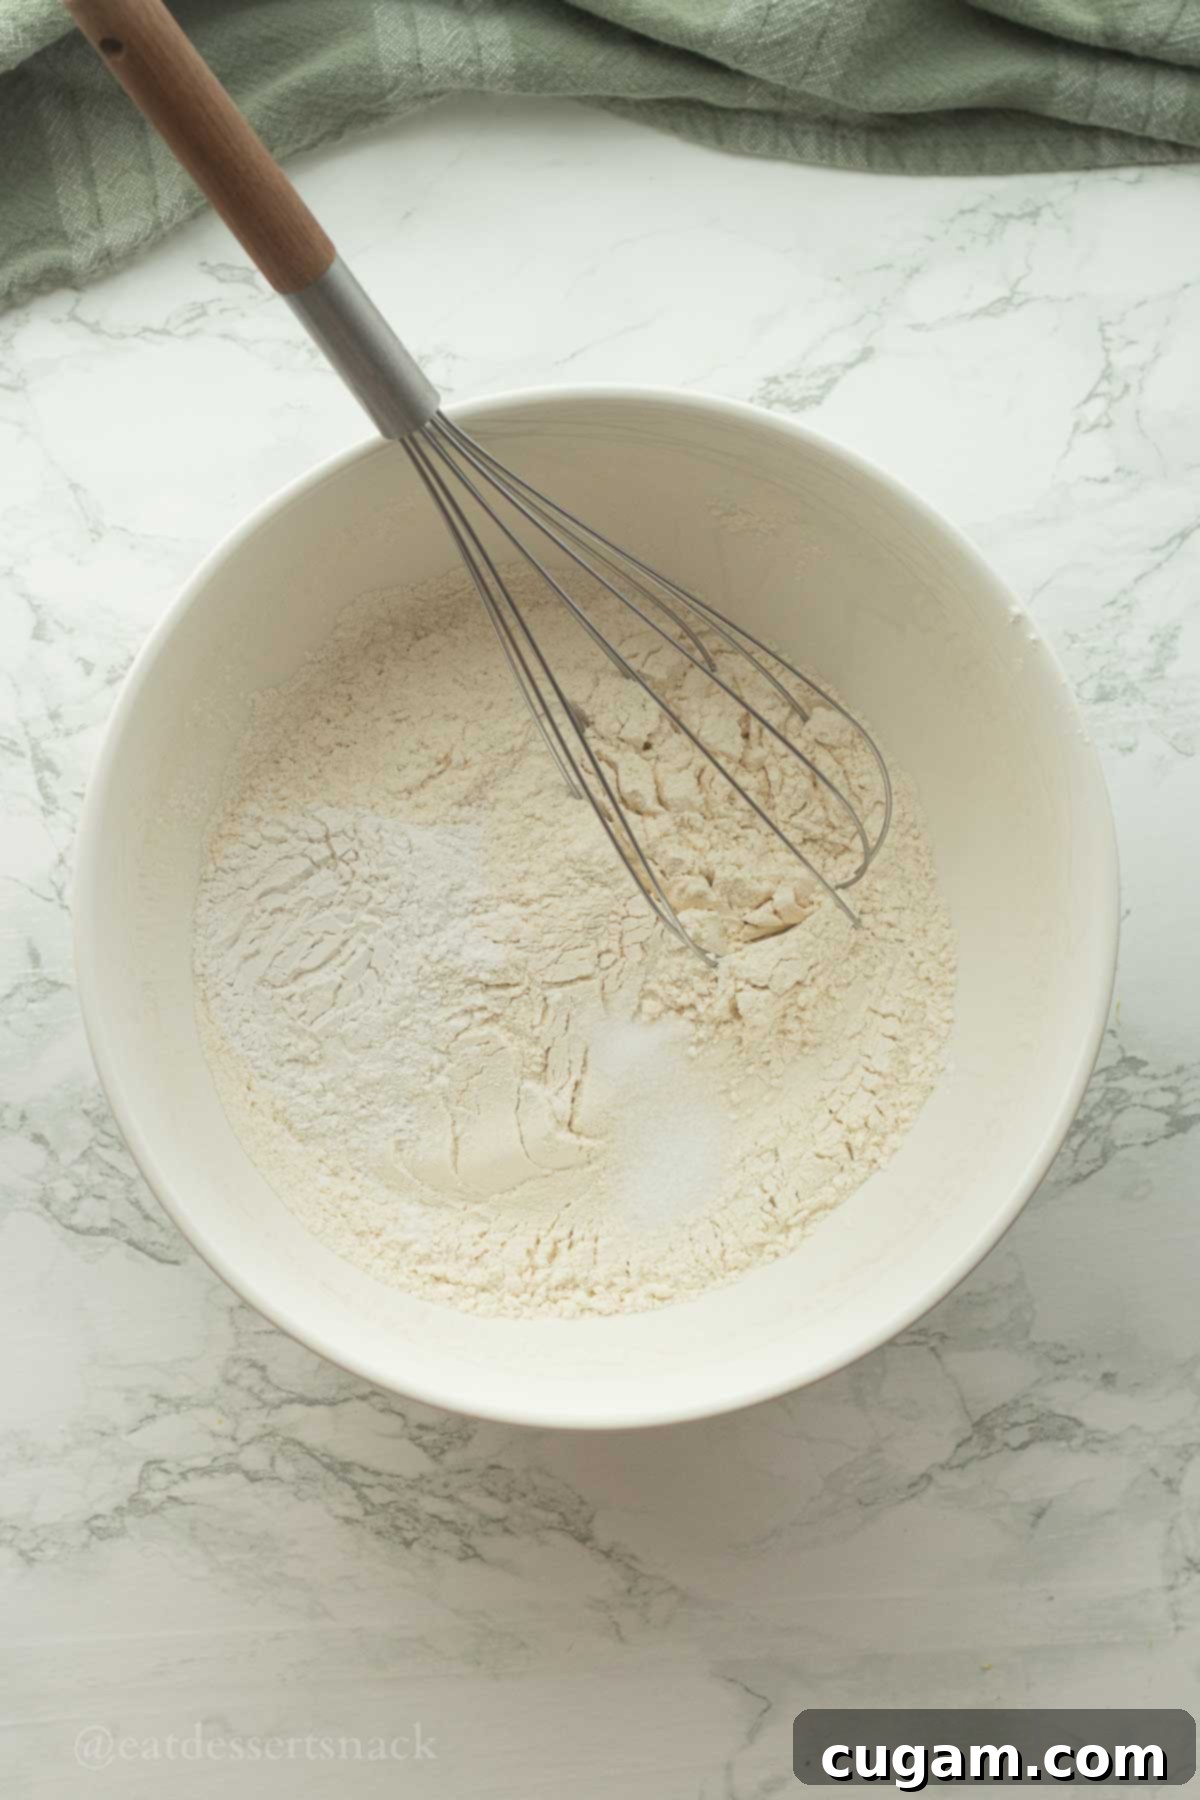
- Step 1. Prepare Dry Ingredients. In a large mixing bowl, combine the all-purpose flour, baking powder, and salt. Use a whisk to thoroughly mix these ingredients together. This ensures the leavening agent and salt are evenly distributed throughout the flour, which is important for uniform rise and flavor in every biscuit.
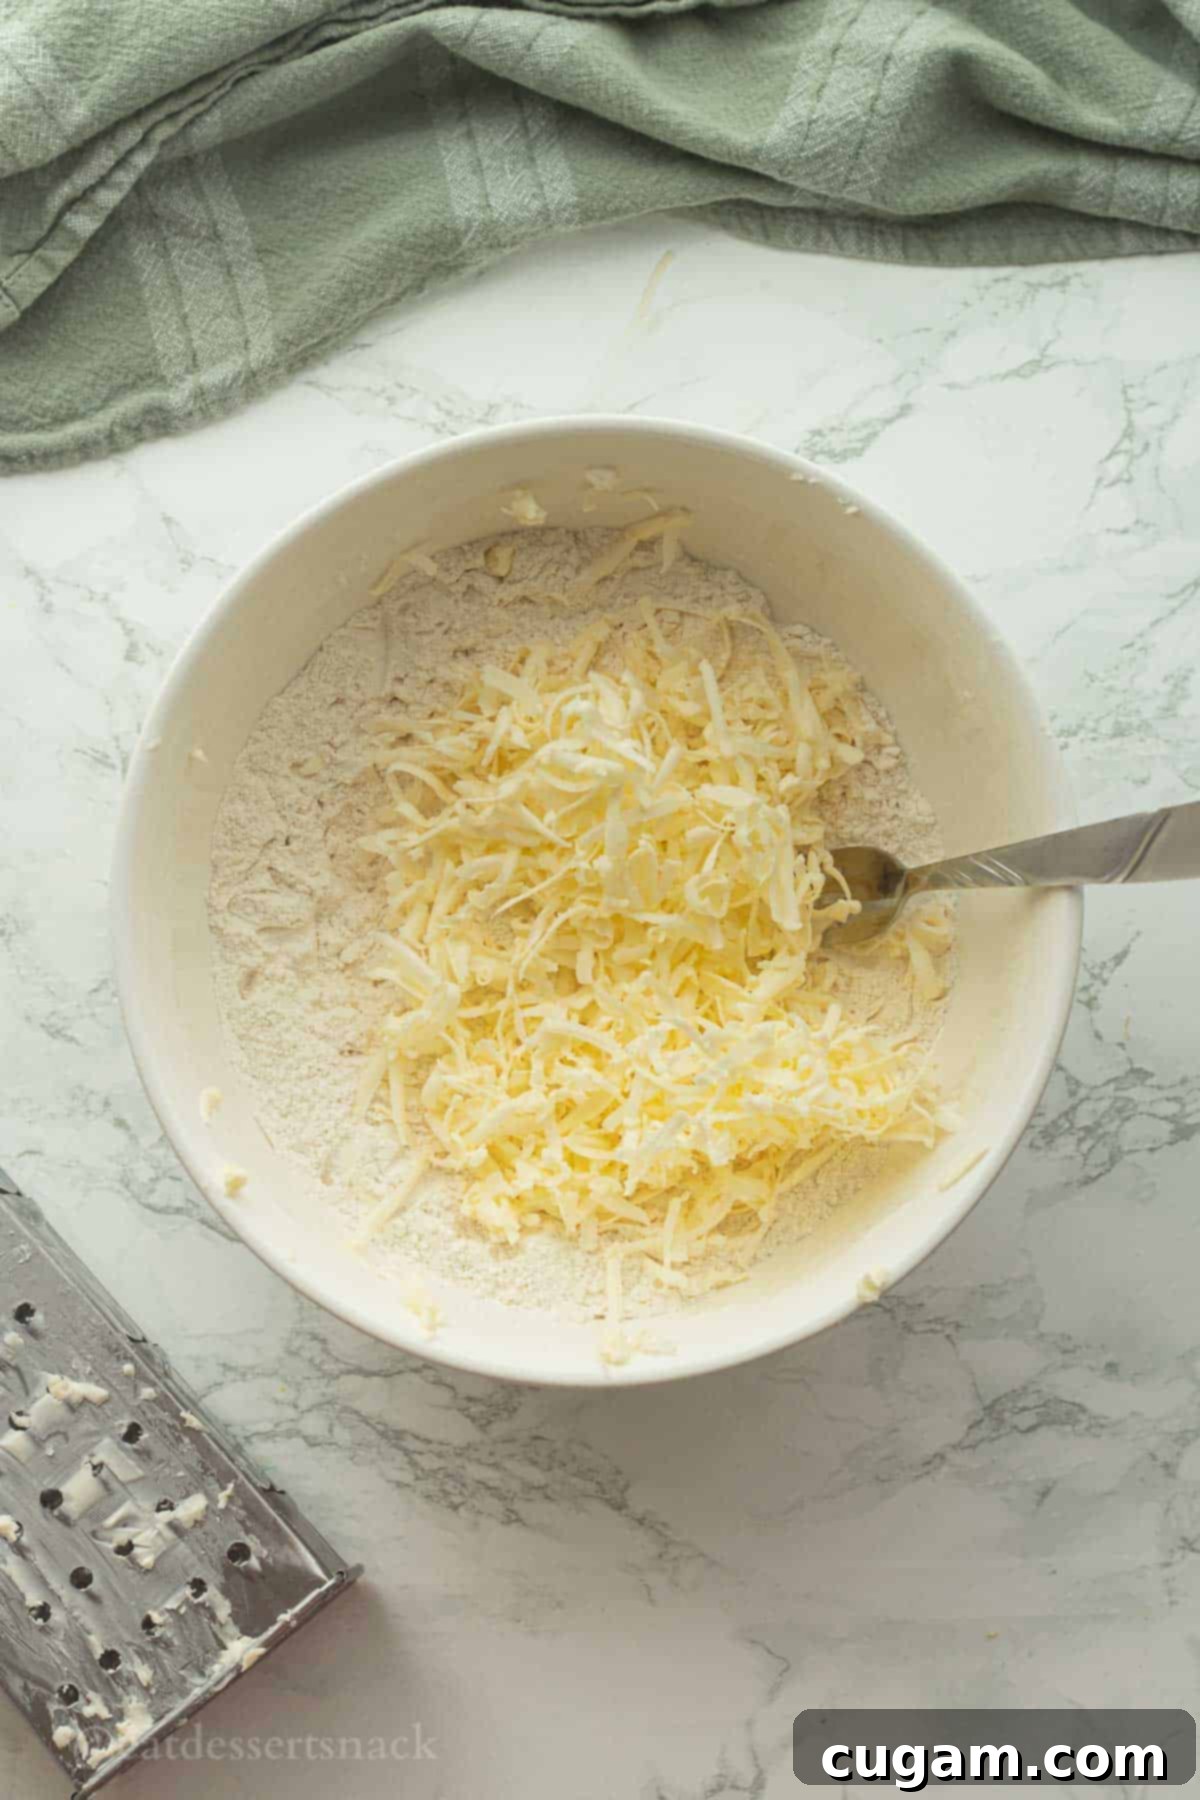
- Step 2. Incorporate Cold Butter. Next, grate your COLD butter directly into the bowl with the flour mixture. Using a cheese grater is an excellent method for quickly creating small, even pieces of butter. The butter can be straight from the freezer or refrigerator – just ensure it is not room temperature. Alternatively, you can cut the cold butter into small pea-sized pieces using a pastry blender, two knives, or your fingertips. The goal is to distribute the butter without melting it.
TIP: The secret to truly flaky, layered biscuits is cold butter. When small pieces of cold butter melt in the hot oven, they release steam, creating air pockets that separate the dough into distinct, tender layers. If you use room temperature butter, it will blend into the flour too easily, resulting in a more fluffy and bready biscuit texture, similar to drop biscuits, rather than the desirable flaky consistency. Keep everything as cold as possible!
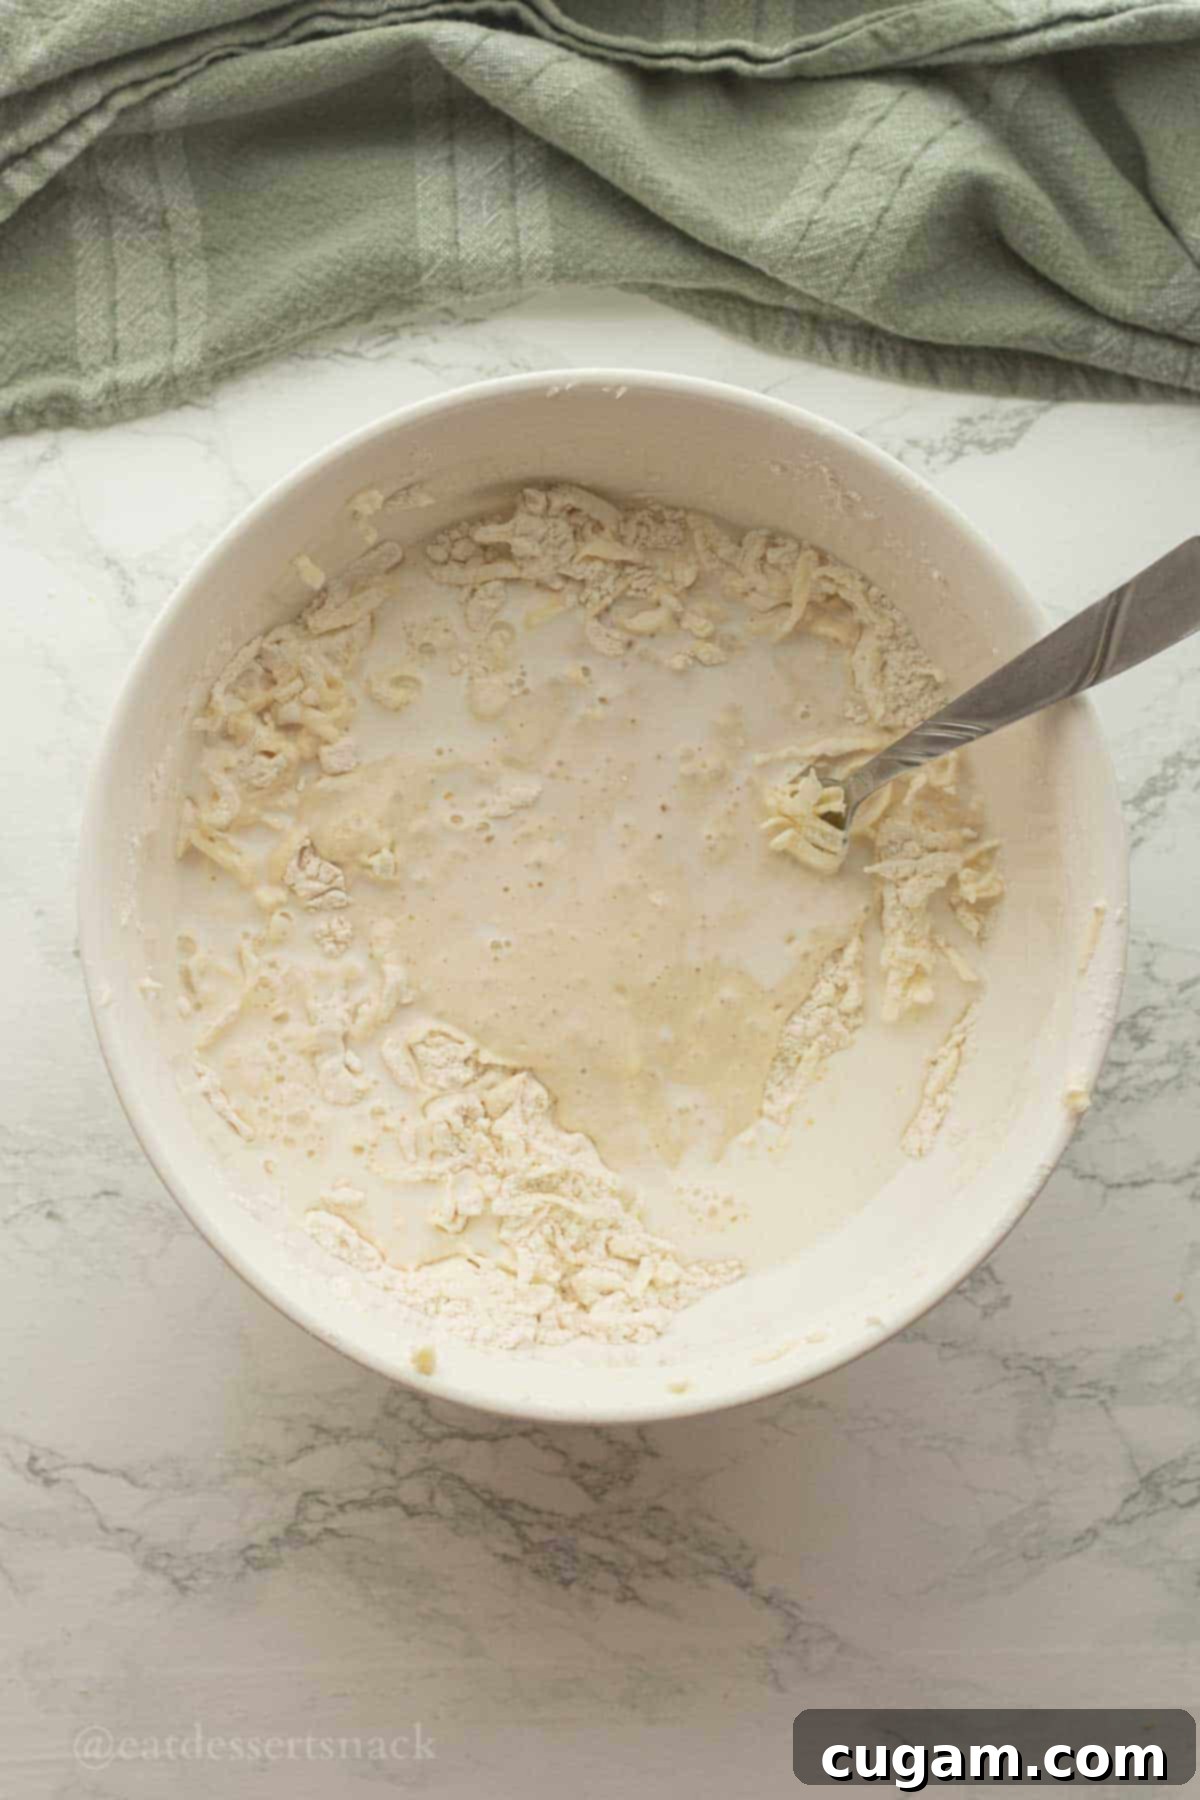
- Step 3. Combine Wet Ingredients. Pour in the sourdough discard (it’s fine if it’s cold or room temperature, as noted below) and the milk. Use a fork or spatula to stir these wet ingredients into the dry mixture until a cohesive dough begins to form. Mix just until it comes together – a few dry spots are okay. The dough should be soft and manageable, but not overly wet or sticky. If your dough feels too dry and crumbly, indicating that it’s struggling to come together, add an additional tablespoon or two of milk, one at a time, until the correct consistency is achieved.
Note: The temperature of your sourdough discard influences the dough. Cold discard typically yields a stiffer dough, which can be a bit more challenging to work with, but still good. Room temperature discard, on the other hand, will result in a slightly wetter, less stiff dough that is often easier to handle. My personal preference is to use discard with a consistency similar to pancake batter – not too thick, not too runny – and generally at room temperature, for the best balance of workability and final texture. Keep in mind that for the best flakiness, the butter must remain cold, regardless of discard temperature.
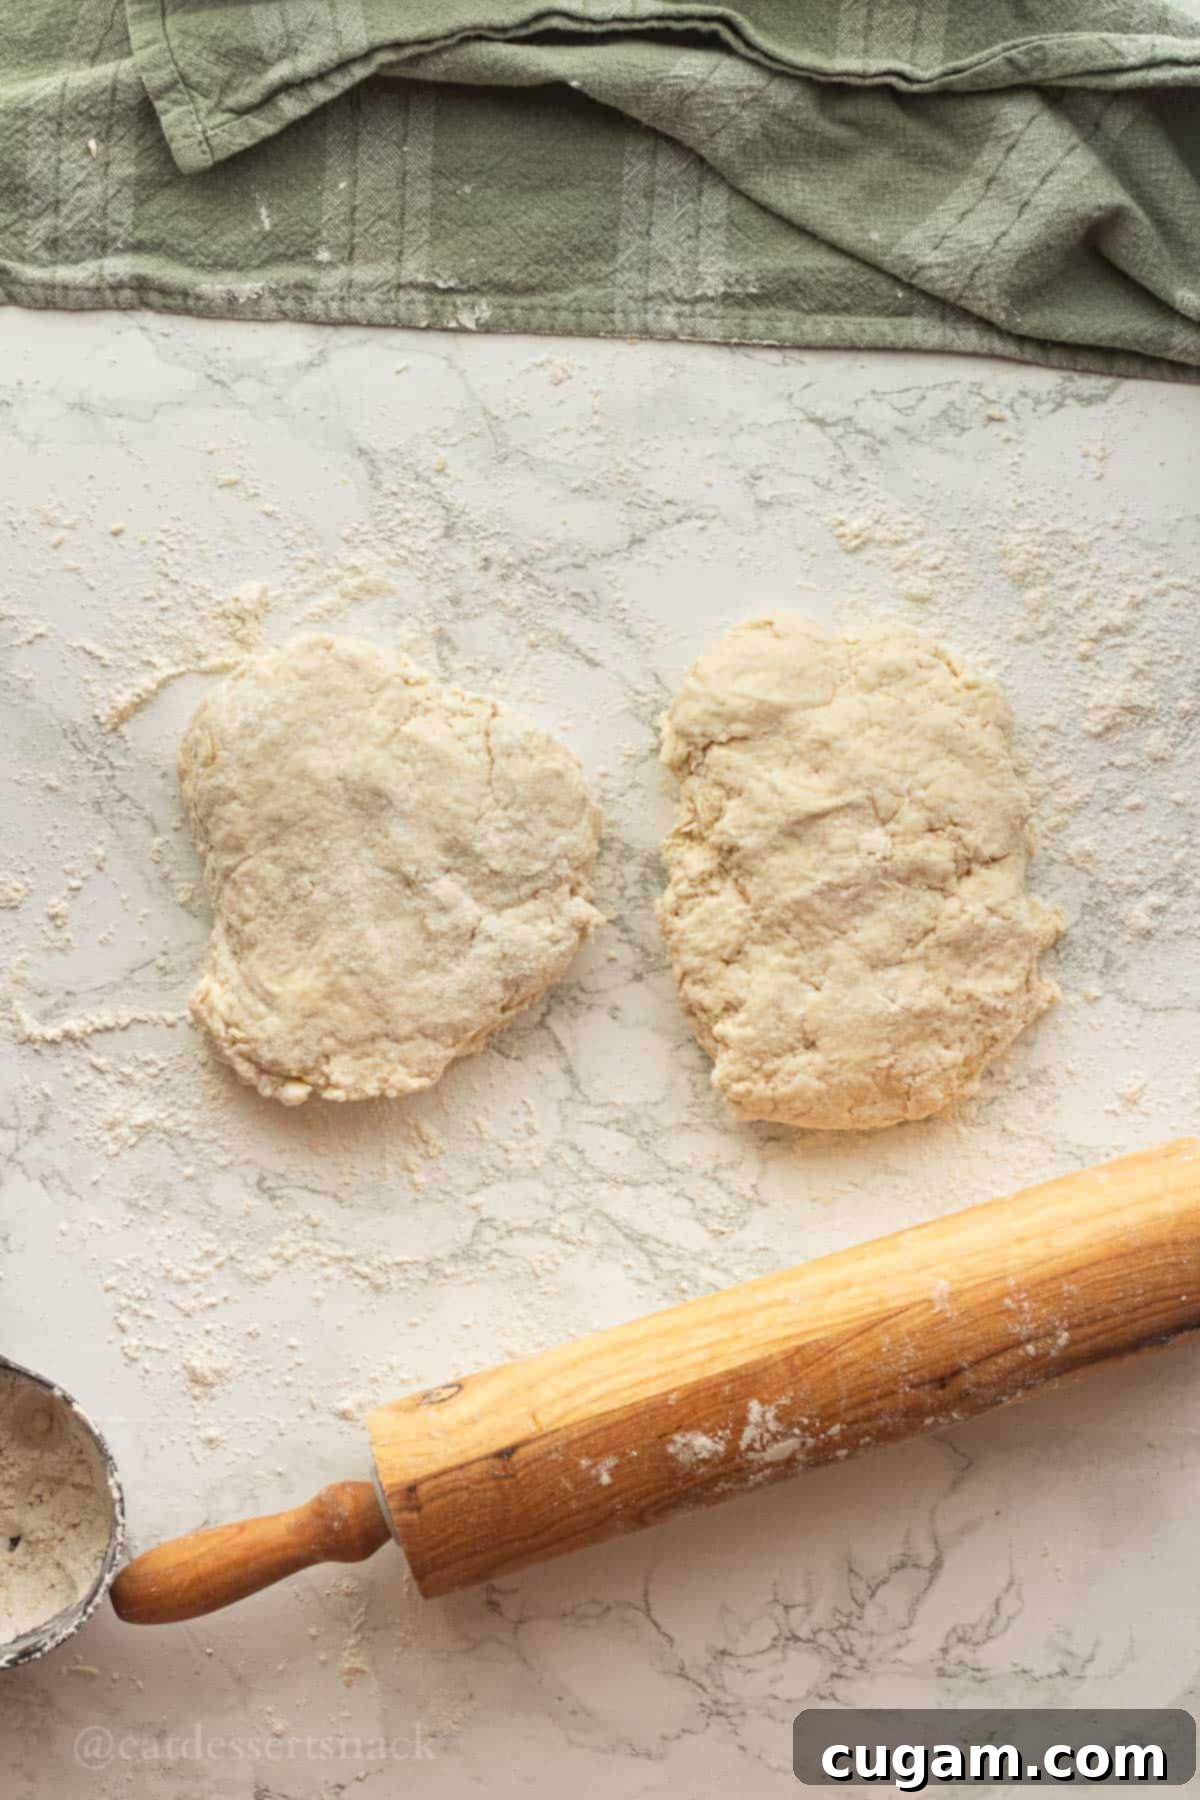
- Step 4. Laminate for Layers. Turn the dough out onto a lightly floured surface. Gently flatten the dough into a rectangle about 1-2 inches thick. Then, cut or divide this rectangle into 2-3 equal flat pieces. Stack these pieces directly on top of each other. This simple stacking and subsequent rolling process is a basic form of lamination, crucial for creating those beautiful, distinct flaky layers in your biscuits. Avoid overworking the dough; just a few gentle folds are enough.
Note: Stacking and then gently rolling out the biscuit dough mimics a very basic lamination technique. This process helps to build and define layers within the dough, which, combined with the cold butter, is what gives homemade biscuits their characteristic flakiness. Don’t press too hard when rolling; a light touch is best to preserve these layers.
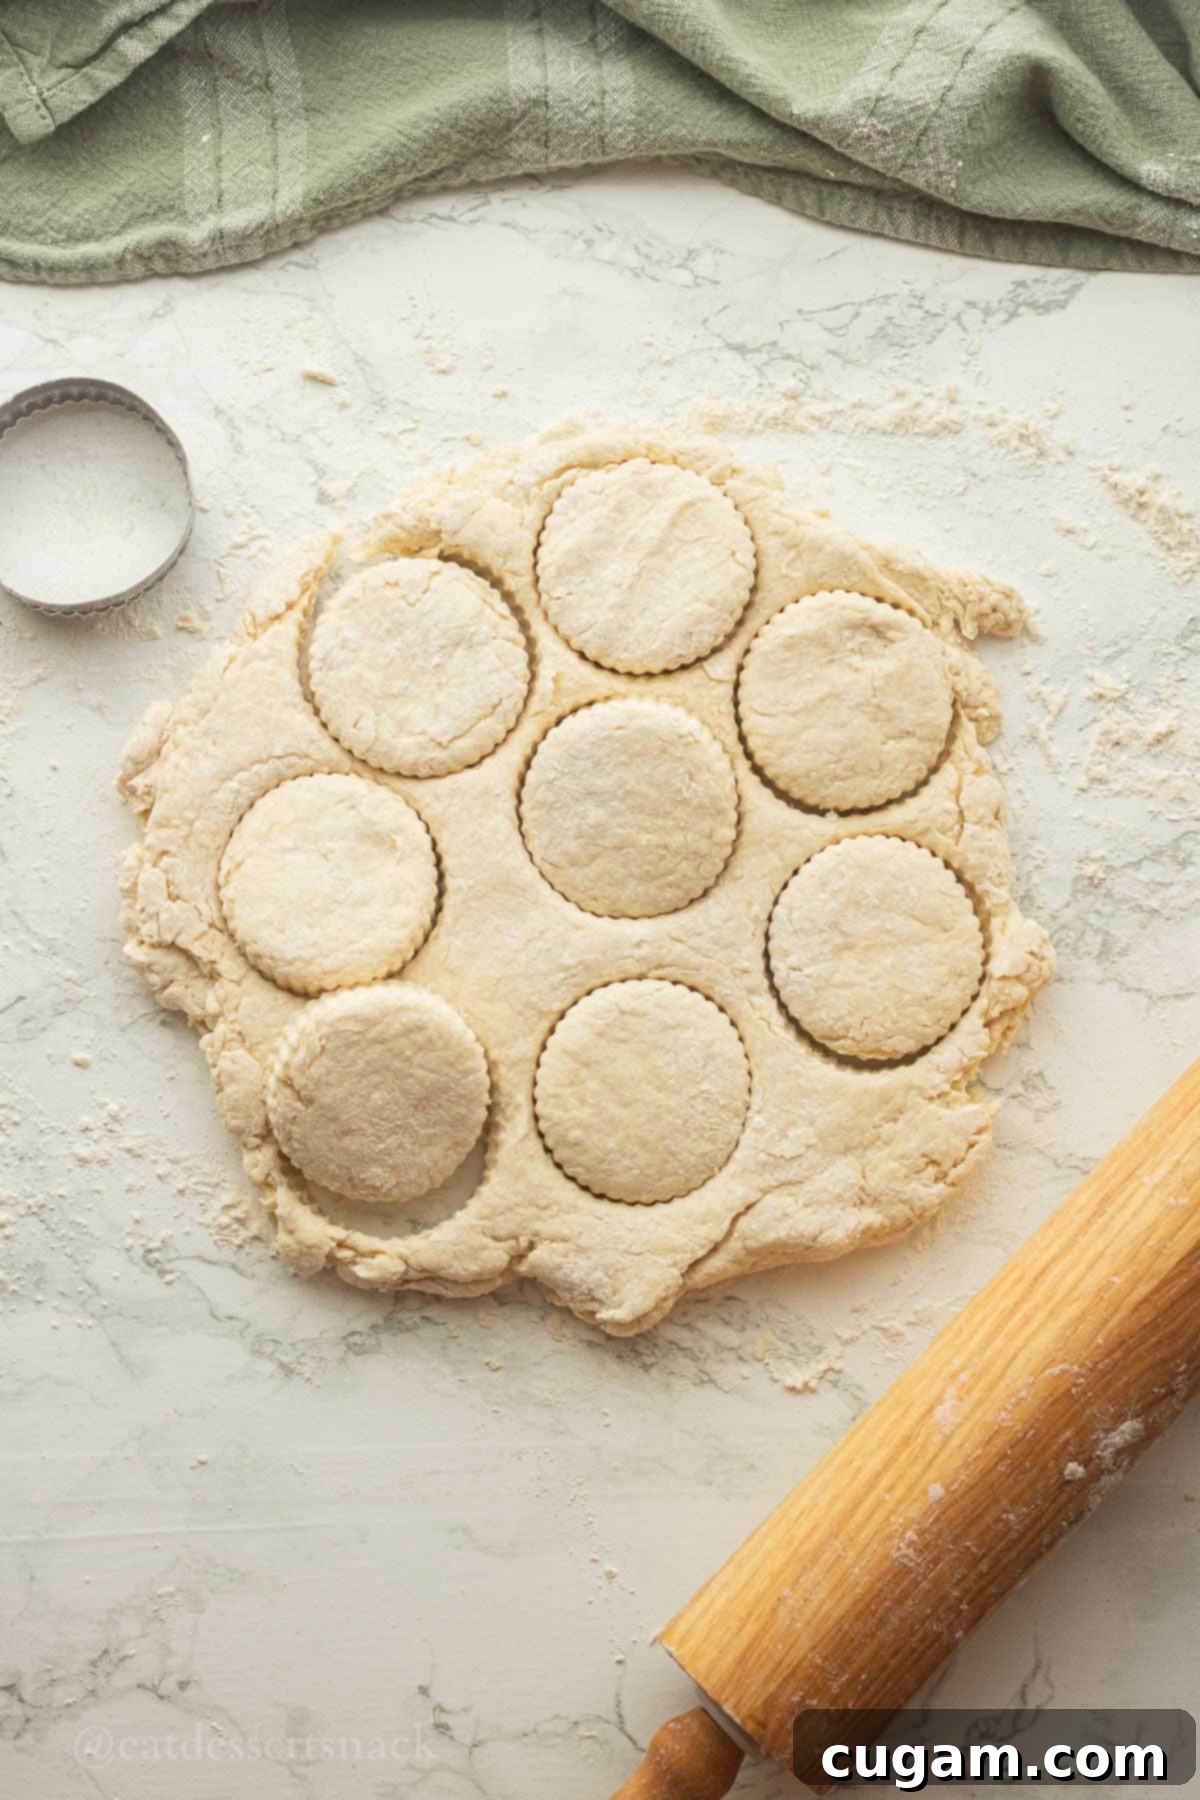
- Step 5. Cut the Biscuits. After stacking, gently roll out the dough to a uniform thickness of about 1 inch. Avoid rolling too thin, as this will compromise height. Now, using a round biscuit cutter or even an upside-down drinking glass, cut out your biscuits. Press straight down firmly without twisting the cutter. Twisting seals the edges, which can inhibit rising and reduce flakiness. A 6 cm (approximately 2.4-inch) biscuit cutter will typically yield 13-15 biscuits, while a slightly larger 7 cm (approximately 2.7-inch) cutter will make about 12. Gather any scraps, gently press them together (avoid kneading), and cut out any remaining biscuits.
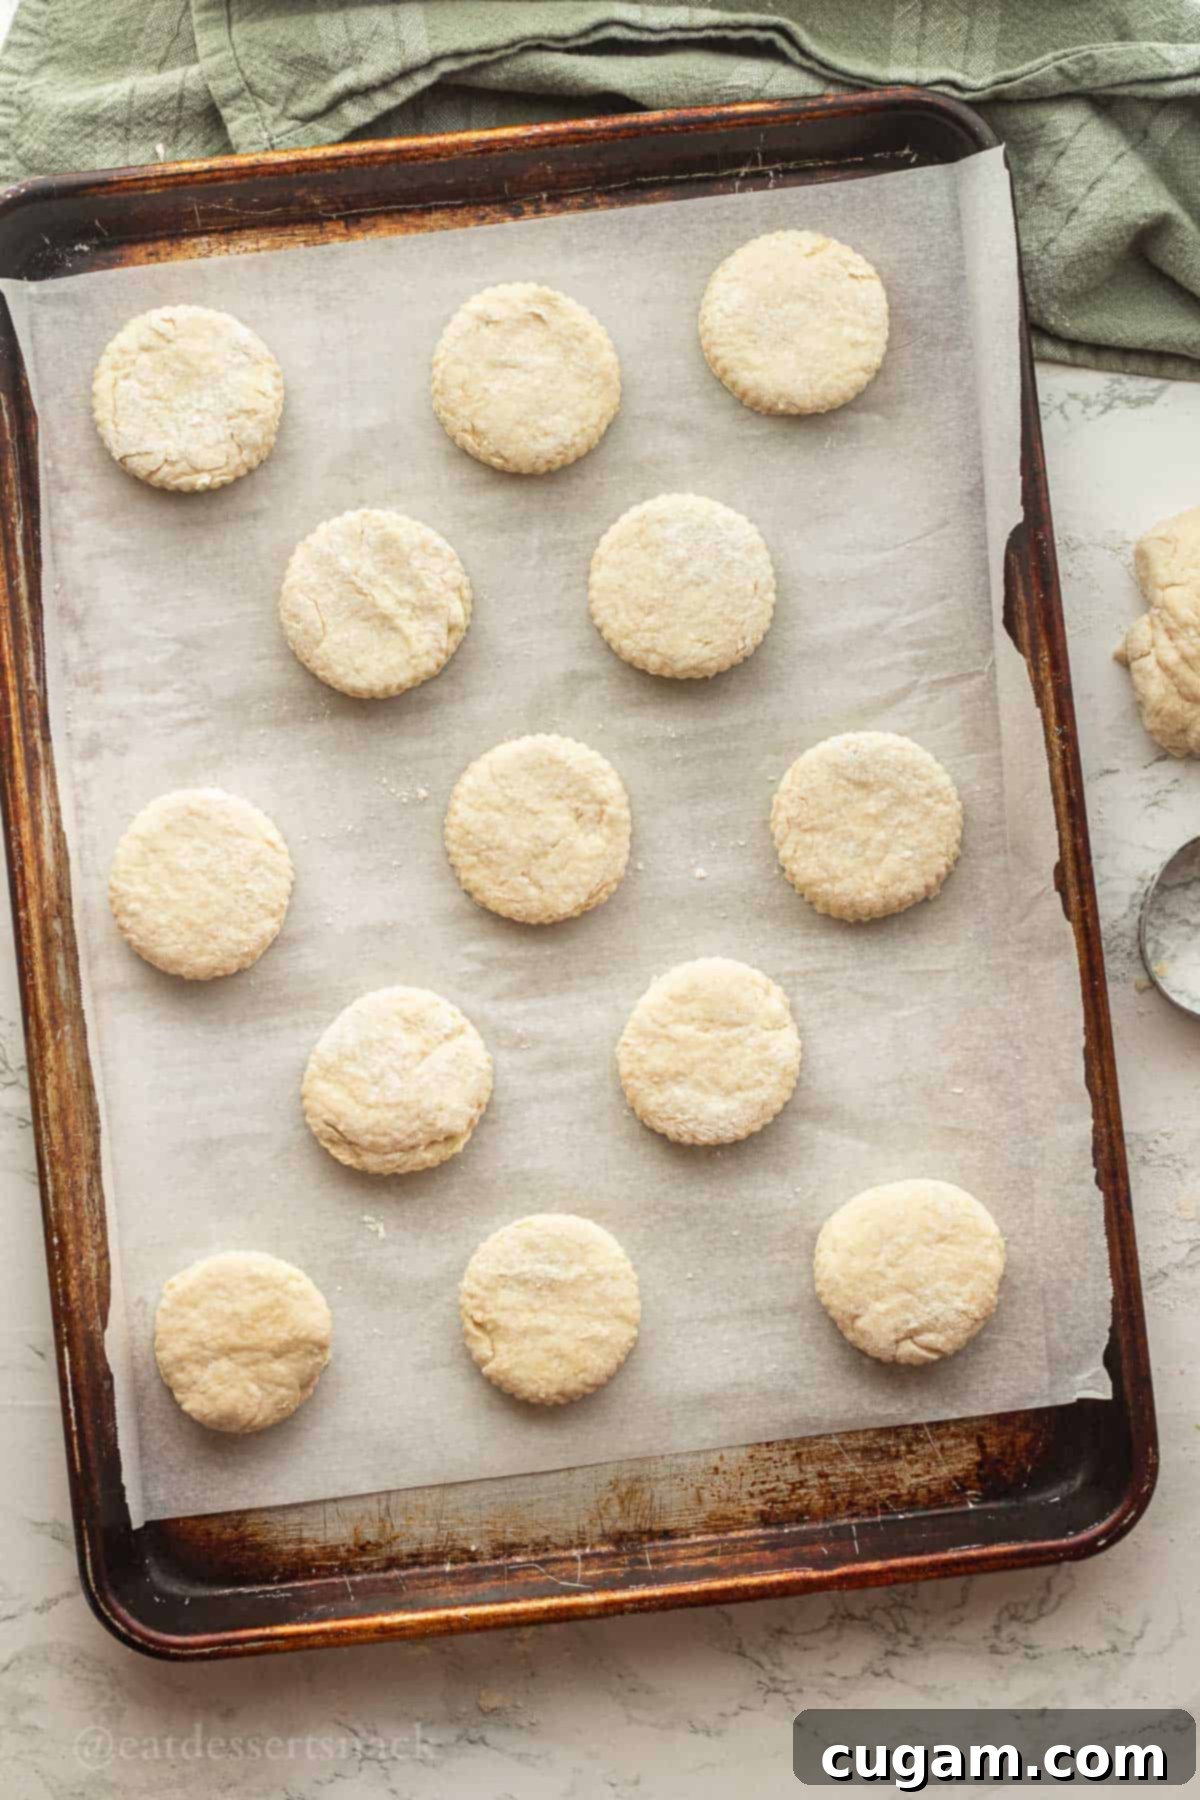
- Step 6. Bake to Golden Perfection. Carefully transfer the cut biscuits to your prepared baking sheet, ensuring they are placed at least an inch apart. This spacing allows for even air circulation, promoting uniform baking and browning. If you desire a beautiful golden, shiny top, brush the raw biscuits lightly with a beaten egg before placing them in the oven (optional, but highly recommended!). Bake at 450℉ (230°C) for approximately 10 minutes, or until the tops are golden brown and the biscuits have risen significantly. Keep a close eye on them, as oven temperatures can vary.
TIP: For an extra special touch and a beautiful golden sheen, brush the tops of the biscuits with a beaten egg (an egg wash) just before baking. This simple step creates a lovely golden crust. Alternatively, for biscuits that are incredibly soft and rich right out of the oven, brush them with a little melted butter immediately after baking and before serving. Yum!
📌 Common Troubleshooting Tips
Even with a straightforward recipe, baking can sometimes present challenges. Here are some common issues you might encounter with sourdough discard biscuits and how to fix them:
- Dough was too crumbly – If your biscuit dough feels excessively dry and won’t come together, it could be due to a few factors. Your sourdough starter might have been particularly thick or very cold, both of which can lead to a drier dough. Over-measuring flour (especially by volume) is another common culprit. The solution is simple: gradually add 1-2 tablespoons of milk or more, mixing gently after each addition, until the dough reaches the right soft, cohesive consistency. As always, for the most consistent and reliable results, use a kitchen scale to accurately measure your flour and sourdough discard.
- Biscuits spread flat and didn’t rise – This is a common frustration, but usually easy to diagnose. The primary reason for flat biscuits is butter that was too warm when incorporated into the dough. If the butter melts before baking, it won’t create those crucial steam pockets for lift. Additionally, an oven that isn’t hot enough will also hinder rising. Make sure your oven is accurately preheated to 450℉. An oven thermometer is an invaluable tool to confirm your oven reaches and maintains the correct temperature. Old or expired baking powder can also be a factor, so check its freshness!
- Biscuits are tough instead of tender – If your biscuits have a chewy or tough texture, the most likely cause is overmixing. When you overmix biscuit dough, you develop the gluten in the flour too much, leading to a less tender result. Mix the dough just until the ingredients are combined and it forms a cohesive mass. Avoid kneading it extensively, as this also develops gluten. Gentle handling is key to a light and tender crumb.

❓Frequently Asked Questions
Absolutely! Freezing biscuit dough is a fantastic way to prepare ahead and have fresh, warm biscuits on demand.
1. Follow the recipe as instructed to make the dough.
2. Roll out the dough and cut the biscuits to your desired size and shape.
3. Arrange the raw biscuits on a baking sheet, making sure no edges are touching, and freeze them for about 30 minutes. This initial freeze prevents them from sticking together.
4. Once partially frozen, transfer the biscuits to a freezer-safe airtight container or a heavy-duty freezer bag.
You can freeze them for up to 3 months. When ready to bake, simply place them on a prepared baking sheet directly from the freezer and bake for 12-14 minutes at 450℉ (230°C), adding a few minutes to the baking time compared to fresh dough.
Yes, definitely! This recipe is specifically designed to work wonderfully without buttermilk. I use regular dairy milk in these biscuits because the sourdough discard itself already possesses a mild acidity. This acidity, when combined with the baking powder in the recipe, provides all the necessary leavening power and helps tenderize the dough. There’s no additional need for the acidity typically found in buttermilk, making this recipe more accessible and just as delicious.
There are a few key reasons why your biscuits might turn out dense instead of wonderfully flaky and light:
1. Butter Temperature: The most common culprit! Ensure your butter is ice-cold when you cut or grate it into the flour. If the butter is too warm, it melts into the dough before baking, preventing the steam from creating those distinct flaky layers.
2. Overmixing: Resist the urge to overmix! Once the dough comes together, stop mixing. Excessive kneading or stirring develops gluten, which leads to a tough, dense biscuit rather than a tender one. Mix until just combined, plus a little extra to ensure flour pockets are incorporated, then roll and cut.
3. Oven Temperature: An oven that isn’t hot enough can prevent the biscuits from rising quickly and creating flaky layers. You may need an oven thermometer to verify that your oven truly reaches and maintains the recommended 450 ℉ (230°C) temperature.
To maintain freshness, store leftover baked biscuits in an airtight container at room temperature for up to 2-3 days. For longer storage, you can refrigerate them for up to a week. For the best texture and flavor, bring them back to room temperature or gently reheat them before serving.
Reheating biscuits properly ensures they retain their tender texture. For the best results, reheat them in a preheated oven at 300°F (150°C) for about 5-7 minutes, or until warmed through. You can also toast them lightly in a toaster oven. Microwaving is quicker, but can sometimes make them a bit chewy, so do so sparingly (15-30 seconds) if time is of the essence.
Yes, you can use an active sourdough starter! However, since an active starter is typically more bubbly and has more leavening power, your biscuits might rise even more significantly. The flavor profile will be similar, but sometimes an active starter can contribute a slightly stronger tang. The key is to ensure the consistency is similar to that of pancake batter, adjusting milk slightly if your active starter is particularly thick or thin.
🥖 More Easy Sourdough Discard Recipes
If you love the simplicity and deliciousness of baking with sourdough discard, you’re in luck! There are countless ways to put your unfed starter to good use, transforming it into incredible treats and staples. Check out these other fantastic and easy sourdough discard recipes that are sure to become new favorites in your baking rotation:
- Easy Soft Sourdough Discard Tortillas
- Sourdough Oatmeal Cookies
- Sourdough Discard Banana Bread
- Sourdough Discard Brownies
Did you try this recipe? Your feedback is incredibly valuable! Make sure to leave a ⭐️ star rating and a comment below the recipe card. I love hearing from you and seeing your creations, and your insights are so helpful to other readers looking to try out new recipes. Thank you for baking with us!
📲 FOLLOW Sara on Social! 👋 Facebook, Instagram, or Pinterest to see the latest deliciousness from the kitchen, get behind-the-scenes glimpses, and connect with a community of food lovers!
📝 Printable Recipe
Flaky Sourdough Discard Biscuits
Pin Recipe
Ingredients
- 2½ cups all purpose flour
- 3 Tablespoons baking powder
- ¾ teaspoon salt
- ½ cup salted butter
- ½ cup sourdough discard/starter
- ¾ cup milk
Instructions
-
Preheat the oven to 450℉. Line a baking sheet with parchment paper or silicon mat.
In a bowl, combine 2½ cups all purpose flour , 3 Tablespoons baking powder, and ¾ teaspoon salt.
-
Grate ½ cup salted butter (COLD) into the bowl using a cheese grater (can be frozen or refrigerated, not room temp, see note 1). You can also cut into small pea sized pieces.
-
Add in ½ cup sourdough discard/starter (See note 2) and ¾ cup milk and stir together until a dough forms. It should be soft and not be too wet, if it is dry and super crumbly add 1-2 Tablespoons (or more) if needed.
-
Flatten the dough to 1-2 inches thick and split it in to 2-3 flat pieces. Stack them on top of each other before rolling out. (See note 3)
-
Roll out the dough to about 1 inch thick, then cut with a glass or biscuit cutter. A 6 cm biscuit cutter will yield 13-15 biscuits, a 7 cm circle will make about 12 biscuits.
-
Lay the biscuits at least 1 inch apart on a baking sheet lined with parchment paper or baking spray.
Optional: brush tops of biscuits with beaten egg before baking for shiny golden tops.
Bake at 450℉ for 10 minutes, until golden on top.
Notes
Note 2 : Cold discard can yield a stiffer dough, room temperature will make a slightly wetter, less stiff dough. I use discard that is the texture of pancake batter, not very thick, not very runny and usually room temperature.
Note 3: Stacking and then rolling out the biscuit dough is a very basic form of lamination. This helps some nice flaky layers form in the biscuits.
Make ahead & freeze:
1. Follow the recipe to make the dough.
2. Roll and cut the biscuits.
3. Freeze for 30 minutes on a baking sheet (no edges touching) before transferring to a freezer safe container to freeze.
Freeze for up to 3 months, then you can bake from frozen for 12-14 minutes.
Nutrition

Hi, I’m Sara!
Registered Nurse by day, food blogger by weekend. Perfect dip tester & snack quester. I love short walks on the beach and long naps. Sharing my love for food, one bite at a time.
