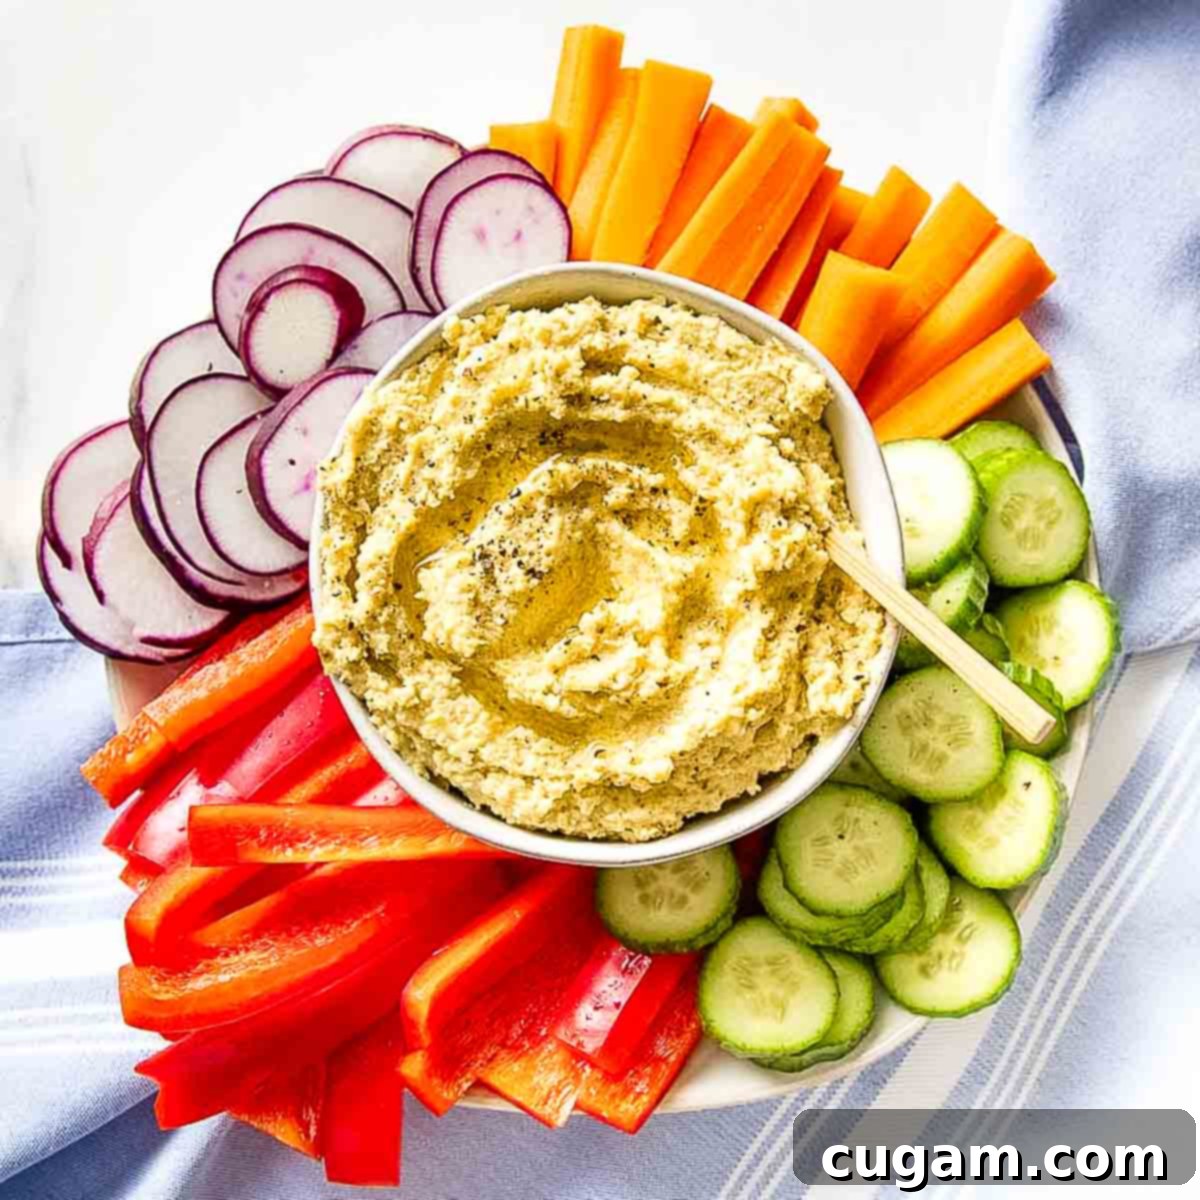
Roasted Cauliflower Hummus: Your New Favorite Low-Carb, Chickpea-Free Dip
Craving the creamy, savory goodness of hummus but looking for a healthier, low-carb, or chickpea-free alternative? Look no further! This Roasted Cauliflower Hummus recipe delivers all the classic flavor and smooth texture you love, without any beans. It’s a culinary revelation – a delightful, plant-based dip that’s surprisingly similar to traditional hummus but with a fraction of the carbohydrates and calories. By roasting cauliflower until perfectly tender and blending it with essential hummus ingredients like tahini, fresh lemon juice, and aromatic garlic, we create an irresistible vegan treat that’s big on taste and light on your waistline.
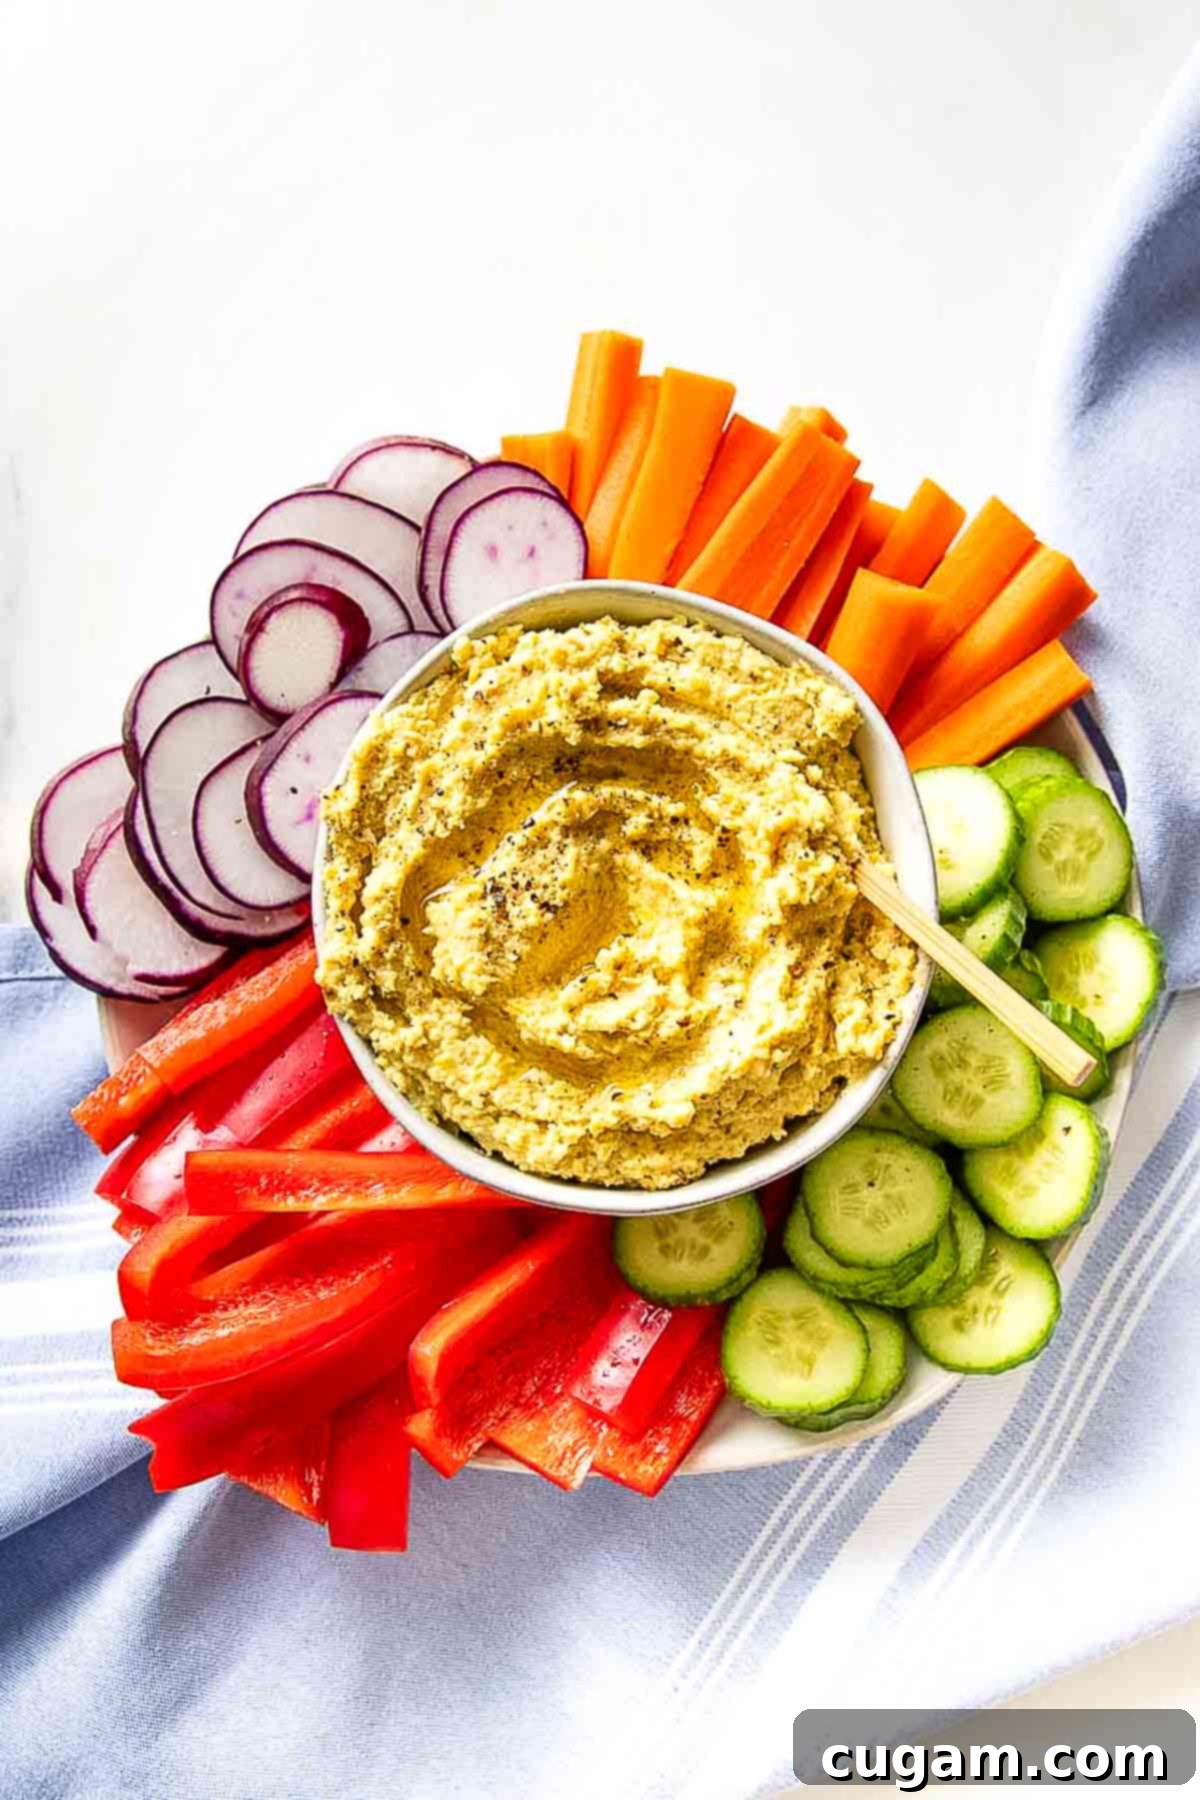
This post has been updated from the original posted August 7, 2019. We’ve refined the recipe and added even more helpful tips to make your cauliflower hummus experience exceptional.
Why Choose Chickpea-Free Cauliflower Hummus?
Traditional hummus, made from chickpeas, is a beloved staple in many diets. However, for those following specific dietary paths like keto, paleo, or Whole30, or simply aiming to reduce carbohydrate intake, chickpeas can be a no-go. This roasted cauliflower hummus offers a fantastic solution. It replicates the satisfying mouthfeel and complex flavor profile of its chickpea counterpart, but utilizes nutrient-dense cauliflower as its base. The result is a dip that is not only low in carbs and high in fiber but also inherently lighter, making it a perfect guilt-free snack or appetizer.
If you’re a foodie with health goals, this recipe is tailor-made for you. It’s incredibly flavorful, thanks to the star ingredient – perfectly roasted garlic – which adds a sweet, mellow depth that raw garlic simply can’t achieve. This makes the dip more digestible for many, avoiding the potential heartburn sometimes associated with uncooked garlic. Enjoy all the benefits of a satisfying dip without compromise!
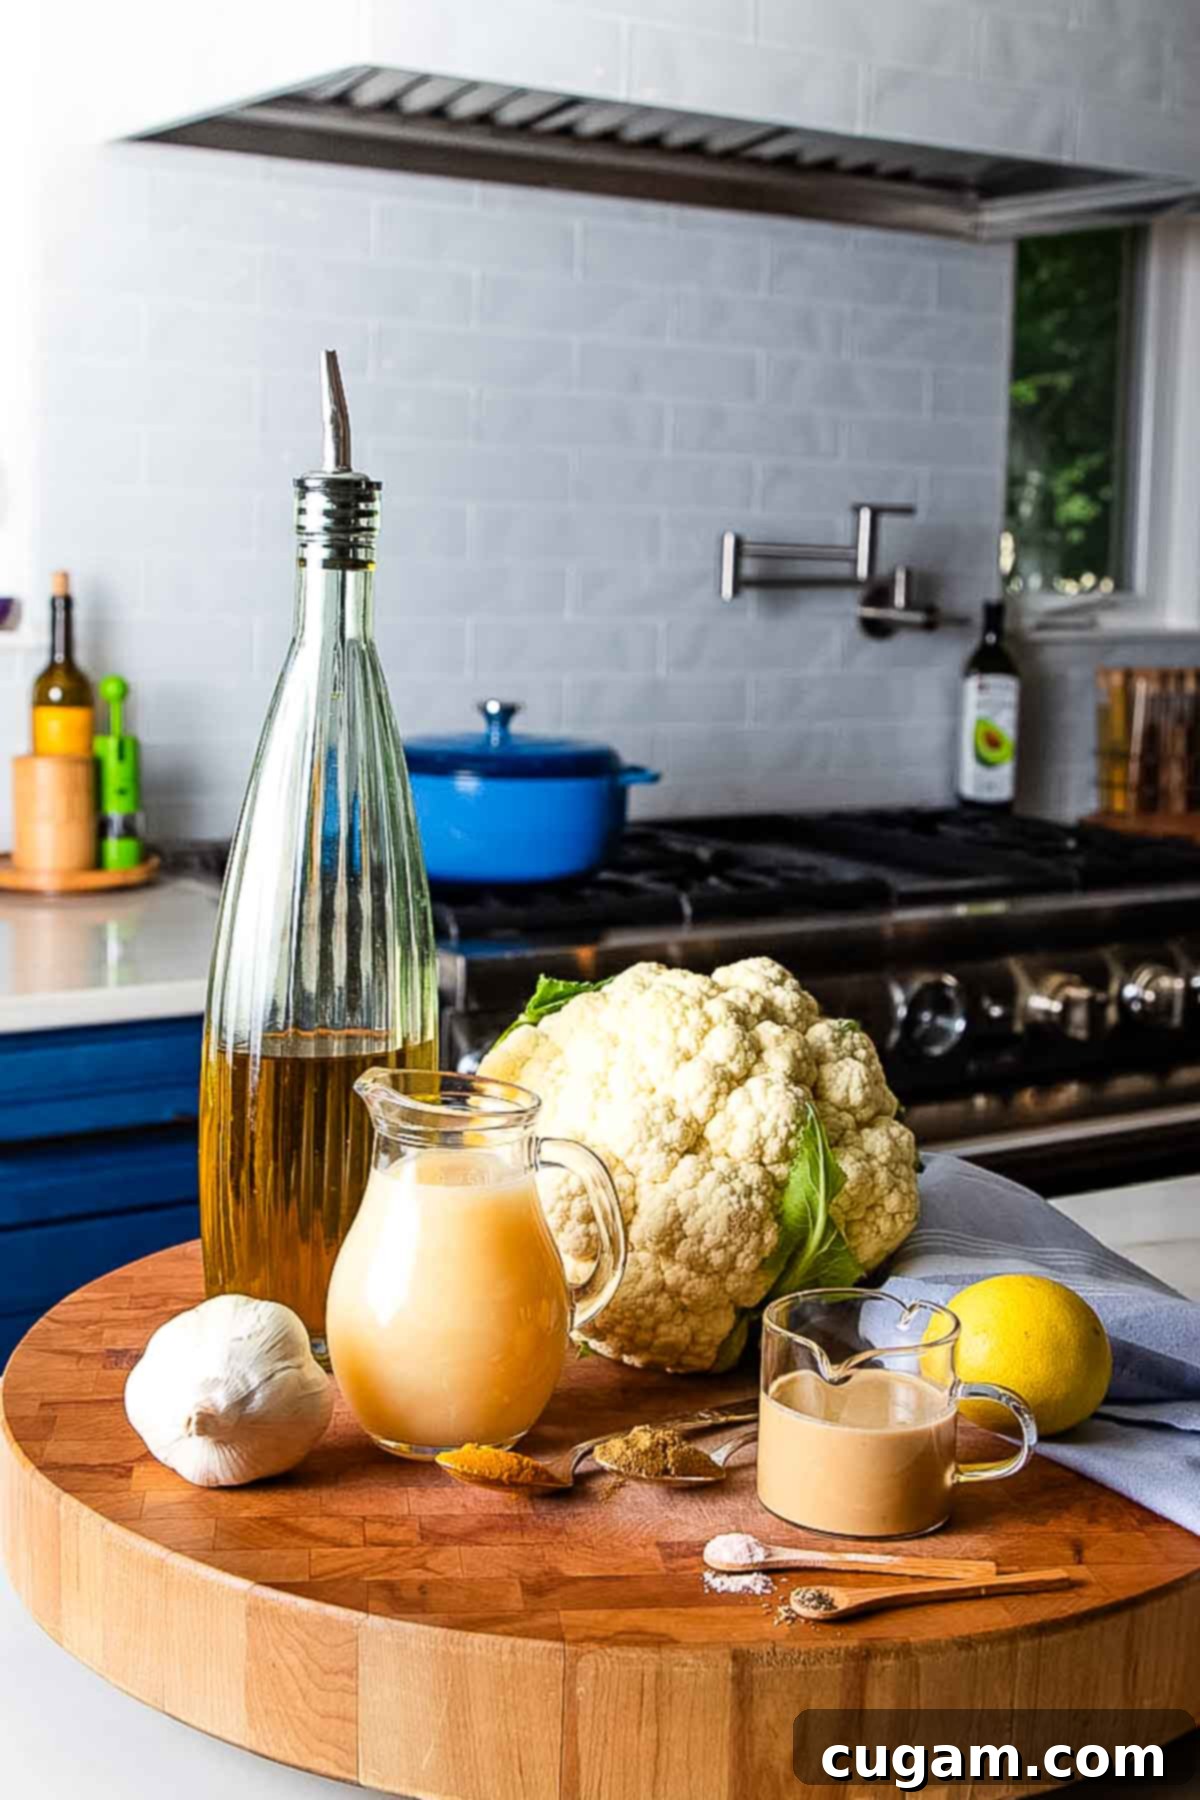
Key Ingredients for the Best Cauliflower Hummus
The beauty of this roasted cauliflower hummus lies in its simplicity and the familiar flavor profile it shares with traditional hummus. We simply swap the chickpeas for cauliflower and keep all the other essential components that give hummus its distinctive taste.
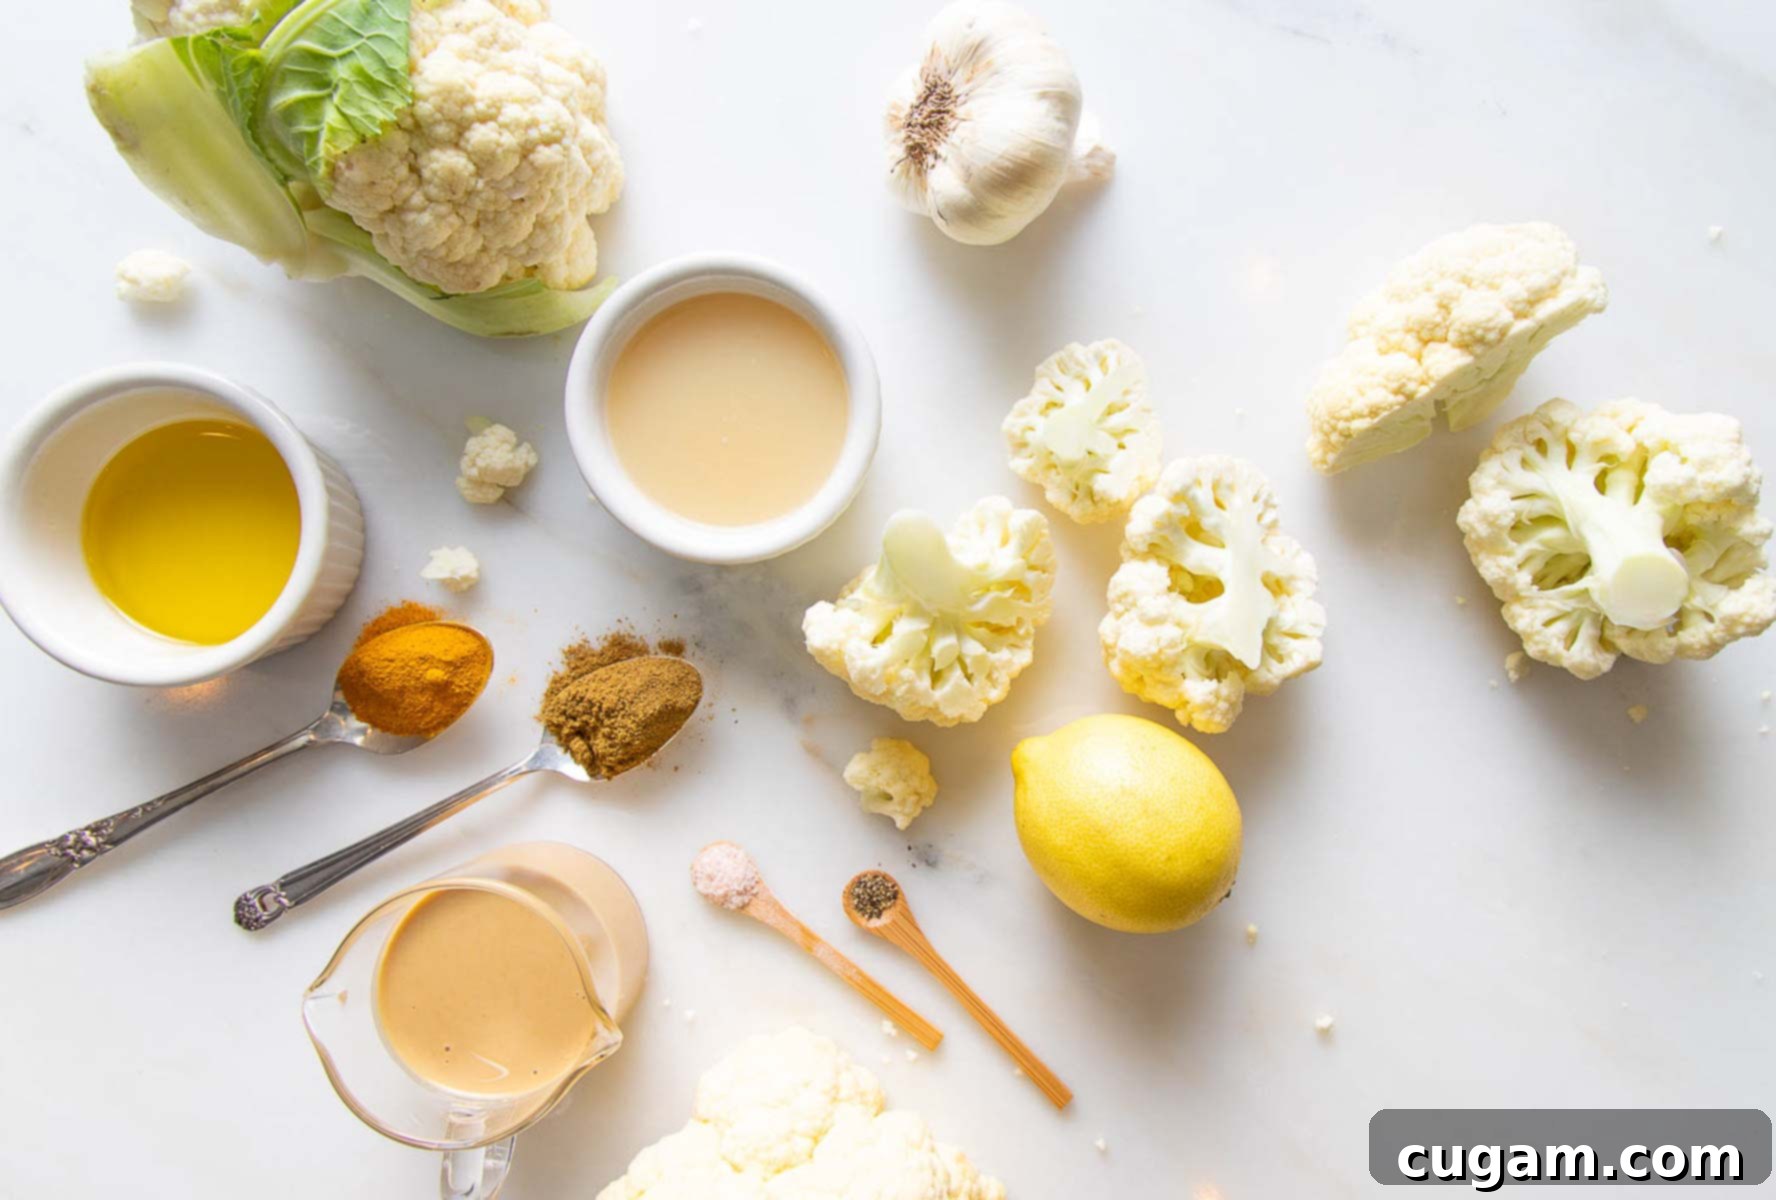
- Cauliflower: The star of our show! When roasted, cauliflower transforms, becoming sweet, nutty, and incredibly tender, providing the perfect creamy base. It’s also packed with vital nutrients, including fiber, B-Vitamins, antioxidants, and phytonutrients. For a slight variation, you could experiment with parsnips, though they require a longer roasting time to achieve similar tenderness.
- Tahini: This rich sesame paste is non-negotiable for authentic hummus flavor and texture. It adds a delightful nutty note and contributes to the dip’s creaminess. Nutritionally, tahini is a good source ofprotein, calcium, B-Vitamins, and healthy fats like Omega 3s. Choose a good quality, smooth tahini for the best results.
- Lemon Juice: Freshly squeezed lemon juice is paramount! It brightens all the other flavors, adding a zesty tang that balances the richness of the tahini and the sweetness of the roasted cauliflower and garlic. Don’t skimp on fresh lemon for maximum impact.
- Garlic: Roasted garlic is a game-changer here. Unlike raw garlic, which can be sharp, roasting it mellows its intensity, turning it sweet and wonderfully aromatic. This step is crucial and highly recommended for the best flavor profile.
- Spices: Our blend includes Turmeric, Cumin, and Black Pepper. These spices are carefully chosen not just for their warm, earthy flavors that are characteristic of hummus, but also for their health benefits. Turmeric, in particular, is renowned for its anti-inflammatory properties, while black pepper helps enhance its absorption.
- Olive oil: A drizzle of extra virgin olive oil helps the spices adhere to the cauliflower during roasting and adds a touch of richness to the final dip. You can also dry roast the cauliflower for an even lighter version, using a little water spray to help spices stick, and adjust creaminess with additional water or lemon juice in the food processor.
- Water (as needed): To achieve your desired consistency, you’ll add water gradually to the food processor. This allows you to control how thick or thin your hummus becomes.
Mastering the Art of Roasting Cauliflower for Hummus
The secret to exceptional cauliflower hummus lies in perfectly roasted cauliflower and garlic. This step is simple but critical for developing the rich, deep flavors that make this dip so irresistible.
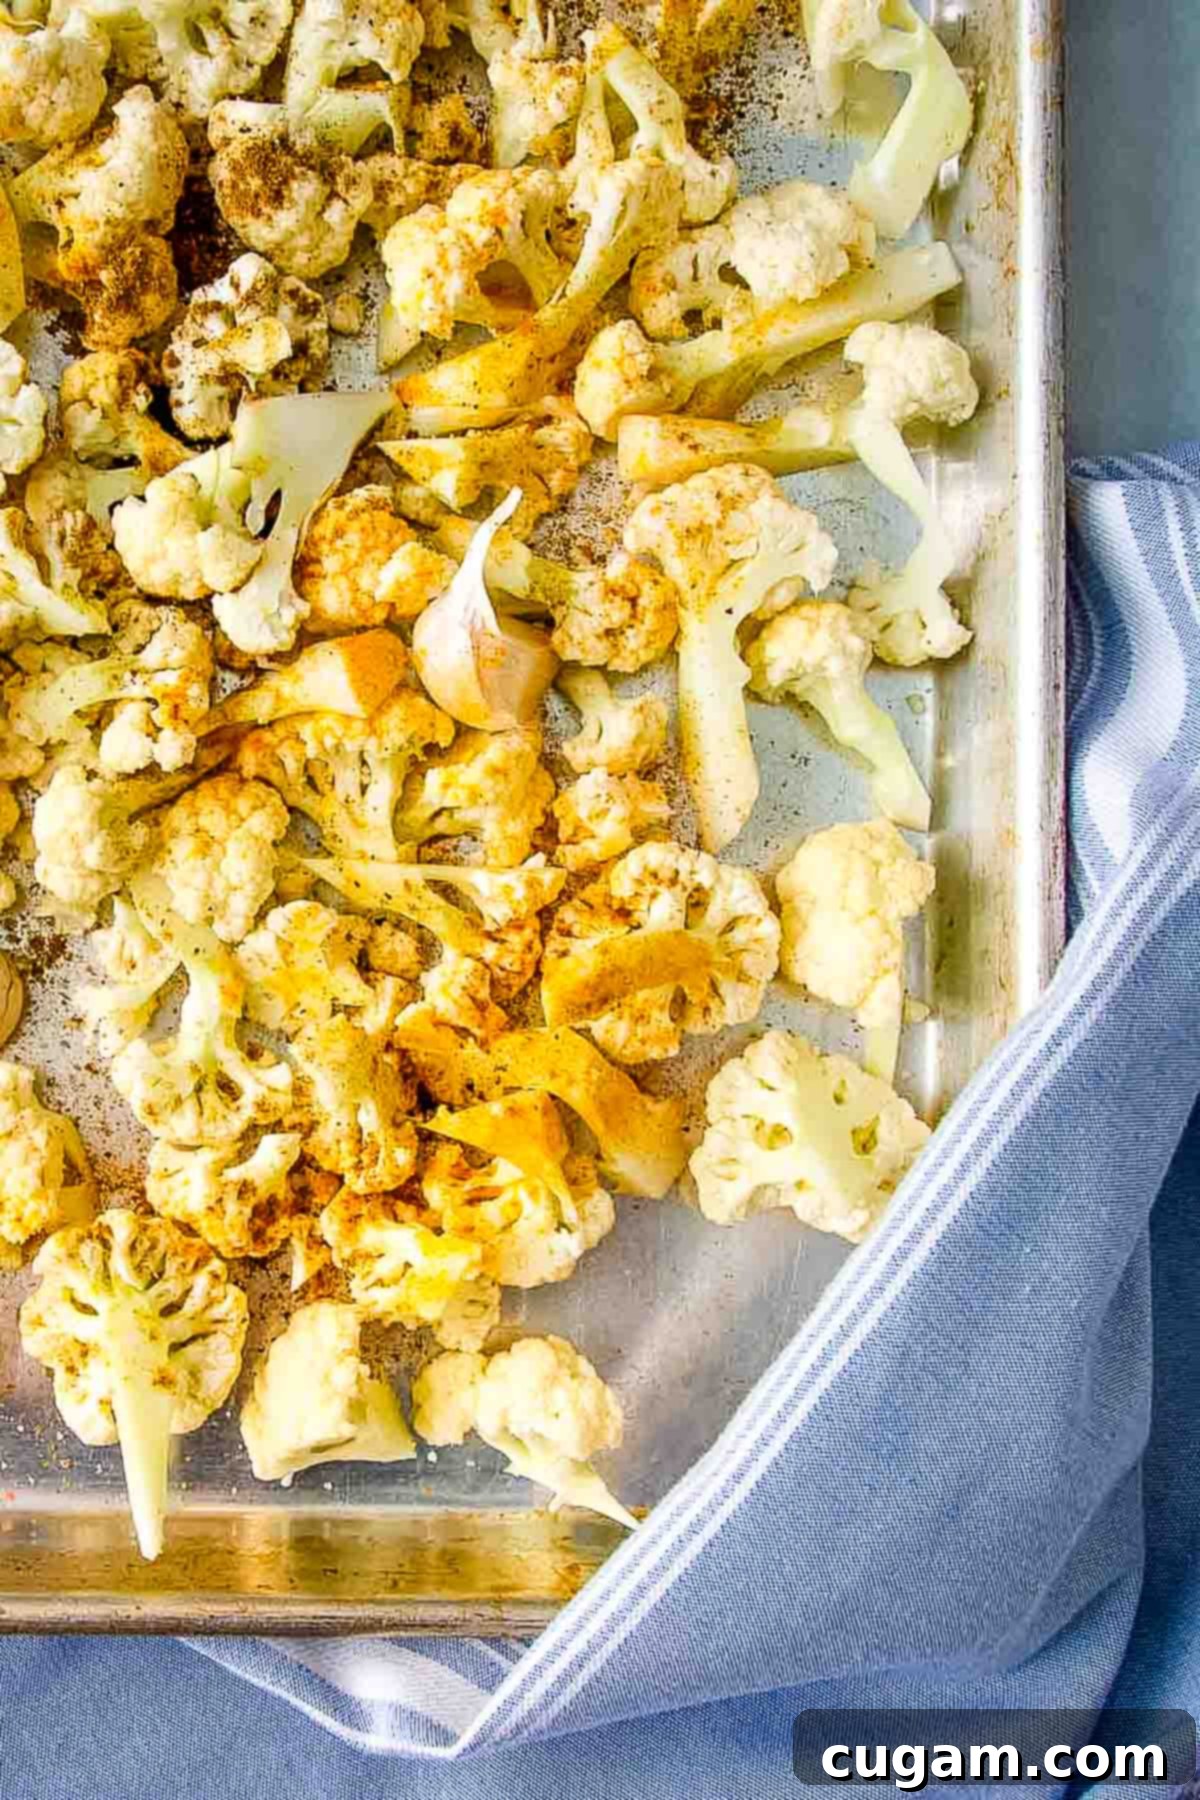
- Prepare the Cauliflower: Start by cutting a whole head of cauliflower into small, uniform florets. Smaller pieces roast more evenly and become tender faster, ensuring a smoother blend.
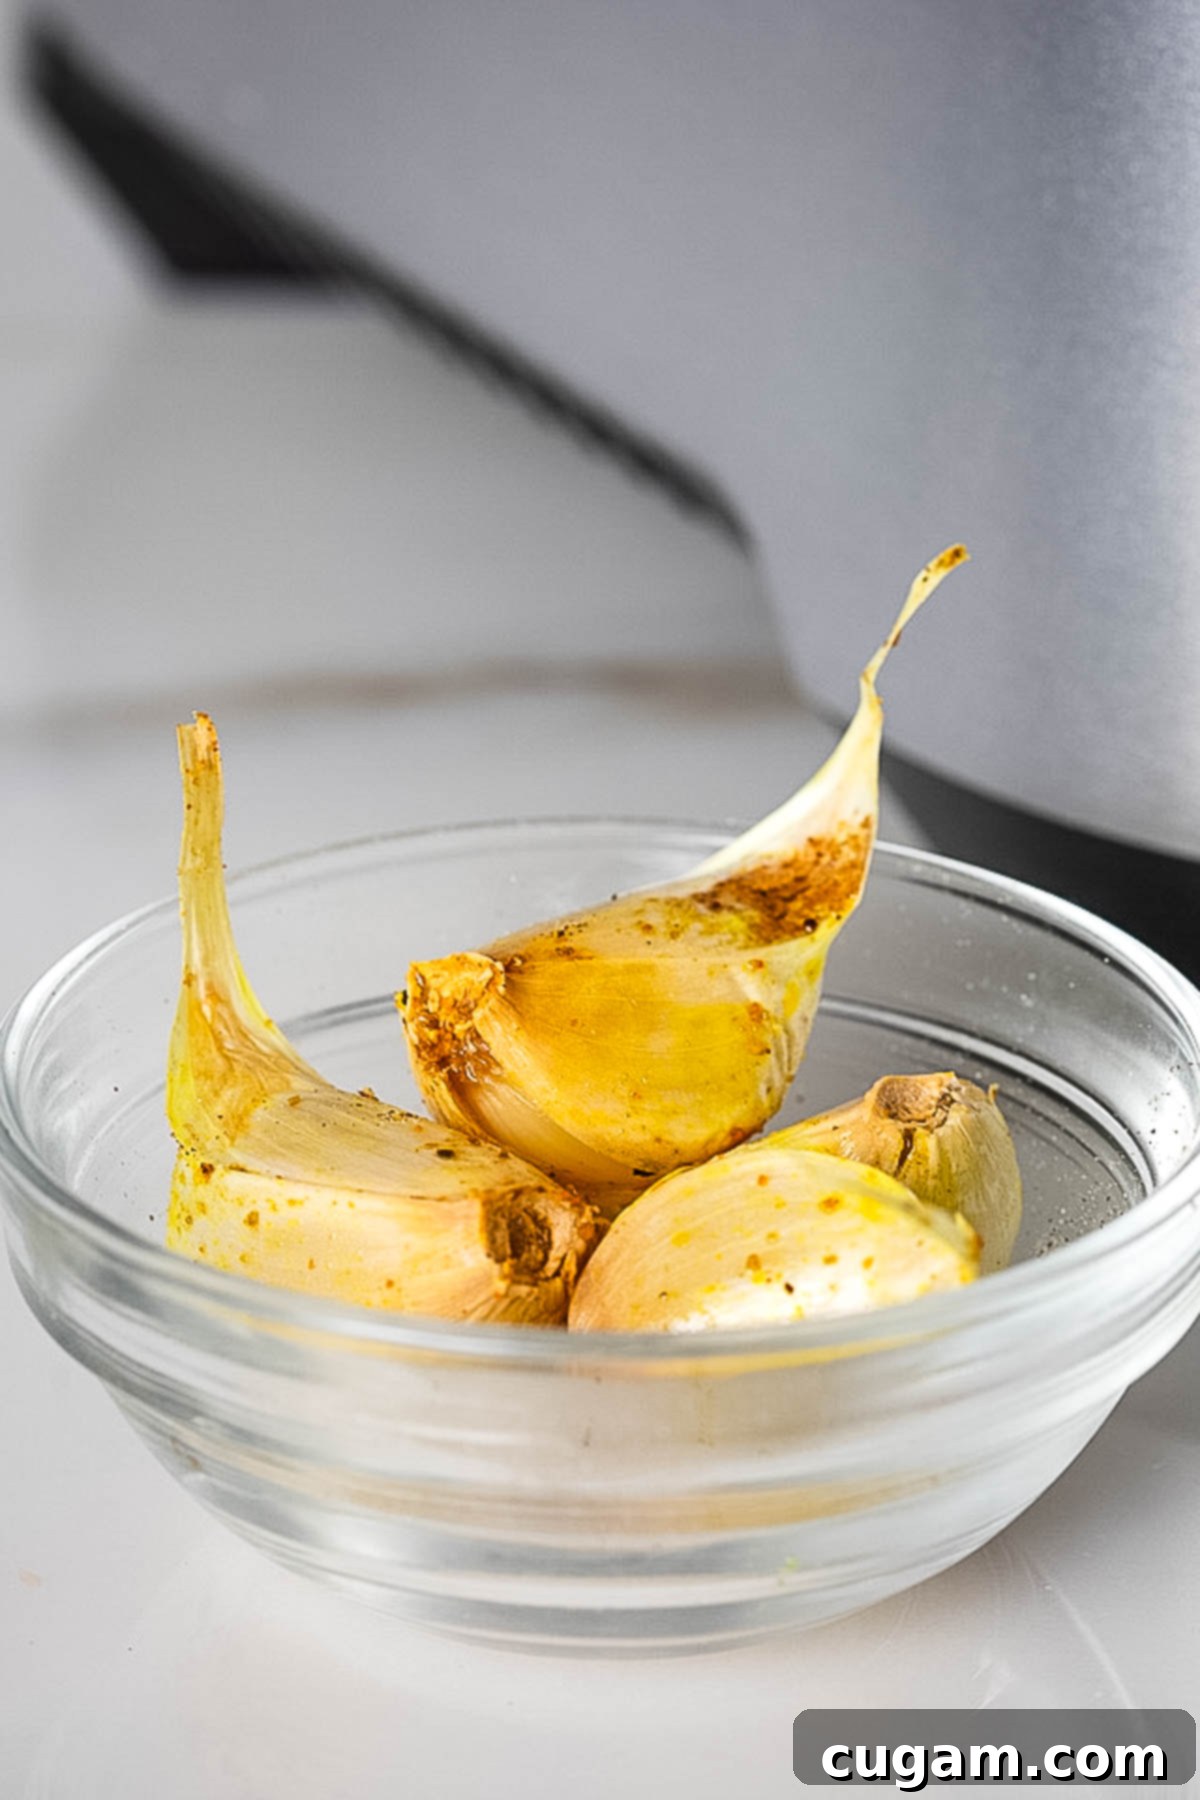
- Add Garlic (Skins On!): Place the whole, unpeeled garlic cloves directly onto the baking tray with the cauliflower. Roasting the garlic in its skin protects the flesh from burning and allows it to soften and sweeten beautifully. It also makes it incredibly easy to squeeze out the soft, cooked pulp directly into your food processor later.
- Season Generously: Drizzle the cauliflower and garlic with your chosen olive oil and sprinkle generously with the spices (turmeric, cumin, black pepper, and half of the sea salt). Toss everything well to ensure an even coating. This even distribution of oil and spices is key to a flavorful roast.
- Roast to Perfection: Roast in a preheated 400°F (200°C) oven for approximately 25-30 minutes. Keep an eye on it – you want the cauliflower to be fork-tender and slightly caramelized at the edges, not burnt. The roasting process draws out the natural sugars, intensifying the flavor and creating that delightful nutty sweetness.

The Magic of Roasted Garlic
Let’s take a moment to appreciate roasted garlic. Beyond its incredible flavor, roasting garlic also makes it more palatable for many. Raw garlic, while potent and beneficial, can sometimes trigger acid reflux or be difficult to digest for sensitive stomachs. Roasting transforms garlic, mellowing its pungent edge and making it sweeter and often easier on the digestive system. Plus, garlic is well-known for its numerous medicinal properties, including antibacterial, anti-fungal, and antioxidant benefits that protect against cell damage and aging. So, enjoy the health perks along with the delicious taste!
Blending for the Perfect Creamy Texture
Once your cauliflower and garlic are beautifully roasted, the rest is a breeze. The simple swap from chickpeas to cauliflower means you achieve a lower-carb, lower-calorie dip with the same great texture and taste. This roasted cauliflower hummus comes together in mere minutes once your roasting is done.
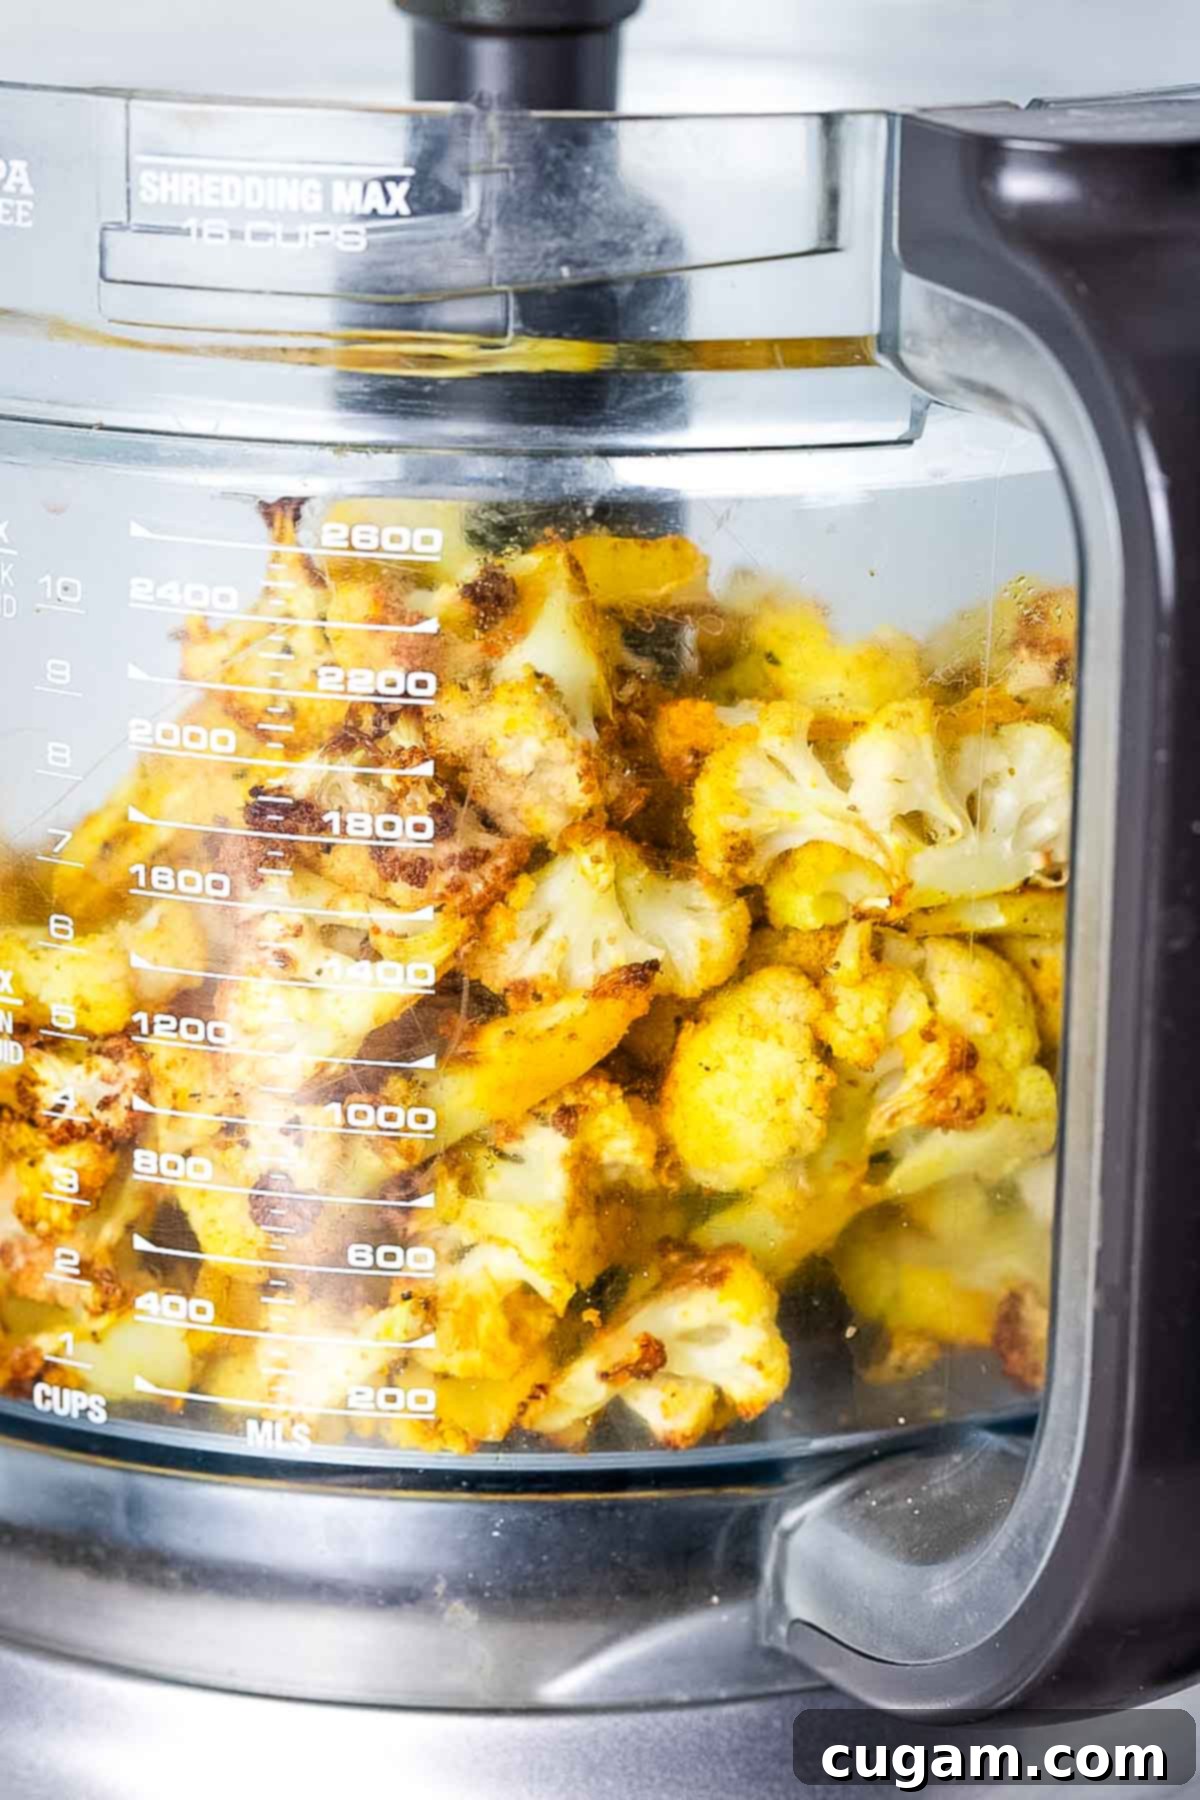
- Combine in Food Processor: Transfer the tender, roasted cauliflower and the squeezed-out pulp from the roasted garlic to the bowl of your food processor. Add the tahini, fresh lemon juice, and an initial amount of water (as specified in the recipe card).
- Process Until Smooth: Begin processing. Scrape down the sides of the bowl a few times to ensure all ingredients are thoroughly combined. Continue processing until the mixture is incredibly smooth and creamy. The longer you process, the silkier your hummus will be!
- Adjust Consistency: This is where personal preference comes in. If the hummus appears too thick, add additional water, one tablespoon at a time, and process again until you reach your desired consistency. You can also add a touch more olive oil for extra richness.
- Taste and Adjust Seasoning: Always taste your hummus! You might want to add a bit more salt, a squeeze of fresh lemon juice for brightness, or even a pinch of red pepper flakes for a subtle kick. Don’t be afraid to make it your own!
Endless Possibilities: How to Enjoy Your Roasted Cauliflower Hummus
This recipe is incredibly versatile, much like your regular favorite hummus, opening up a world of culinary uses. Its rich flavor and creamy texture make it suitable for so much more than just a dip!
- The Perfect Dip: Serve it as a healthy dip with a colorful crudités platter featuring carrots, celery, bell peppers, cucumbers, radishes, or cherry tomatoes. It’s also fantastic with gluten-free crackers, pita bread, or vegetable chips.
- Savory Spreads: Spread it generously on wraps (lettuce wraps work exceptionally well for a low-carb option!), sandwiches, or toasts. Load it up with extra veggies, avocado, or your favorite leftovers for a quick, satisfying meal or packed lunch for work or school.
- Delightful Accompaniment: It’s a superb addition to Mediterranean-inspired dishes. Pair it with tofu shawarma, healthy baked falafel, or grilled meats. Don’t forget to add some tangy pickled onions for an extra burst of flavor!
- Unique Pizza Base: Get creative and use this low-carb cauliflower hummus as a flavorful alternative to traditional red sauce on pizza. Try it on a vegan flatbread pizza with your favorite toppings for a truly delicious and healthy meal.
- Breakfast Booster: A slice of toasted bread with a dollop of this hummus and some fresh tomato and onion salad is simply heavenly. You can even try it inside an omelet instead of cheese for a unique, savory breakfast!
- Bowl Builder: Integrate it into a healthy grain bowl or salad bowl. Its creaminess adds moisture and flavor, tying all the ingredients together.
- Diet-Friendly for Everyone: A batch of this delicious dip will get you through a weekend of healthy snacking and meal prep in so many ways. Plus, it’s naturally low-carb, gluten-free, grain-free, keto-compliant, paleo-friendly, and Whole30 approved – making it a fantastic option that almost all your friends and family can enjoy, regardless of their dietary needs.
Tips for Storage and Making Ahead
- Storage: Once cooled completely, store your roasted cauliflower hummus in an airtight container in the refrigerator for up to a week. Its flavors often meld and deepen over time, making it even better the next day!
- Refreshing Consistency: If your hummus has thickened too much in the fridge, simply whisk in a tablespoon of cold water or a little extra lemon juice until it reaches your desired creamy consistency again.
- Freezing: While it’s best fresh, you can freeze cauliflower hummus for longer storage. Place it in an airtight, freezer-safe container, leaving a little space for expansion. Thaw in the refrigerator overnight and re-whisk with a little water or lemon juice if needed before serving.
Frequently Asked Questions About Cauliflower Hummus
Does it really taste like hummus?
Yes, remarkably so! The combination of tahini, lemon, garlic, and classic spices creates a flavor profile that is strikingly similar to traditional chickpea hummus. The roasted cauliflower provides a smooth, creamy base, and the roasted garlic adds a depth of flavor that really makes it shine. Many people are genuinely surprised at how closely it mimics the original!
Can I use frozen cauliflower?
Absolutely! If fresh cauliflower isn’t available or you’re looking for a shortcut, frozen cauliflower florets work well. You can roast them directly from frozen, although they might take a few extra minutes to become tender. Ensure they are thoroughly dried before roasting to promote caramelization.
Can I use raw garlic instead of roasted?
While technically possible, we highly recommend roasting the garlic. Raw garlic has a much sharper, more pungent flavor that can overpower the delicate sweetness of the roasted cauliflower. Roasting mellows and sweetens the garlic, making it a harmonious component in the dip. If you must use raw garlic, start with just one small clove and adjust to taste.
How can I make it spicier?
For a kick, you can add a pinch of red pepper flakes to the food processor when blending, or sprinkle some on top before serving. A dash of cayenne pepper or a small amount of roasted jalapeño (peeled and deseeded) would also work wonders.
Is this recipe suitable for a vegan diet?
Yes, this roasted cauliflower hummus is entirely plant-based and vegan-friendly. All ingredients are derived from plants, making it a delicious and healthy option for those following a vegan lifestyle.
Did you know commenting and rating recipes is one of the best ways to support your favorite food bloggers? If you made this recipe, please consider a five star rating below and leave a comment. Also, please share your photos on instagramby tagging me @dkhealthcoach and using the hashtag #debraklein
📖 Recipe
Roasted Cauliflower Hummus
Rate this Recipe
Pin Recipe
Equipment
-
Large Rimmed Baking Sheet
-
Food Processor
Ingredients
- 1 head cauliflower
- 4 cloves garlic skins on
- 2 tblsp extra virgin olive oil
- 1 teaspoon coarse sea salt divided
- ½ teaspoon turmeric
- ½ teaspoon cumin
- ½ teaspoon ground black pepper
- ½ cup tahini
- ¼ cup lemon juice
- 2 tablespoon water
Instructions
-
Preheat oven to 400 degrees
-
Cut cauliflower into florets. Place on rimmed baking sheet along with garlic cloves with their skins still on. Drizzle with oil, half the salt and remaining spices. Toss to evenly coat. Roast for 25-30 minutes, until cauliflower is tender when pierced with a fork.
-
Put roasted cauliflower plus tahini, lemon juice and water in bowl of food processor. Squeeze pulp form roasted garlic out of skins and into processor. Process until smooth and creamy, scraping down sides a few times.
-
If hummus is too thick, add additional water, one tablespoon at a time and process again.
-
Taste for seasoning, adding additional lemon or a pinch of red pepper flakes as desired.
Notes
Nutrition
Note
The nutrition calculations were done using online tools. To obtain the most accurate representation of the nutritional information in any given recipe, you should calculate the nutritional information with the actual ingredients you used. You are ultimately responsible for ensuring that any nutritional information is accurate, complete and useful.
