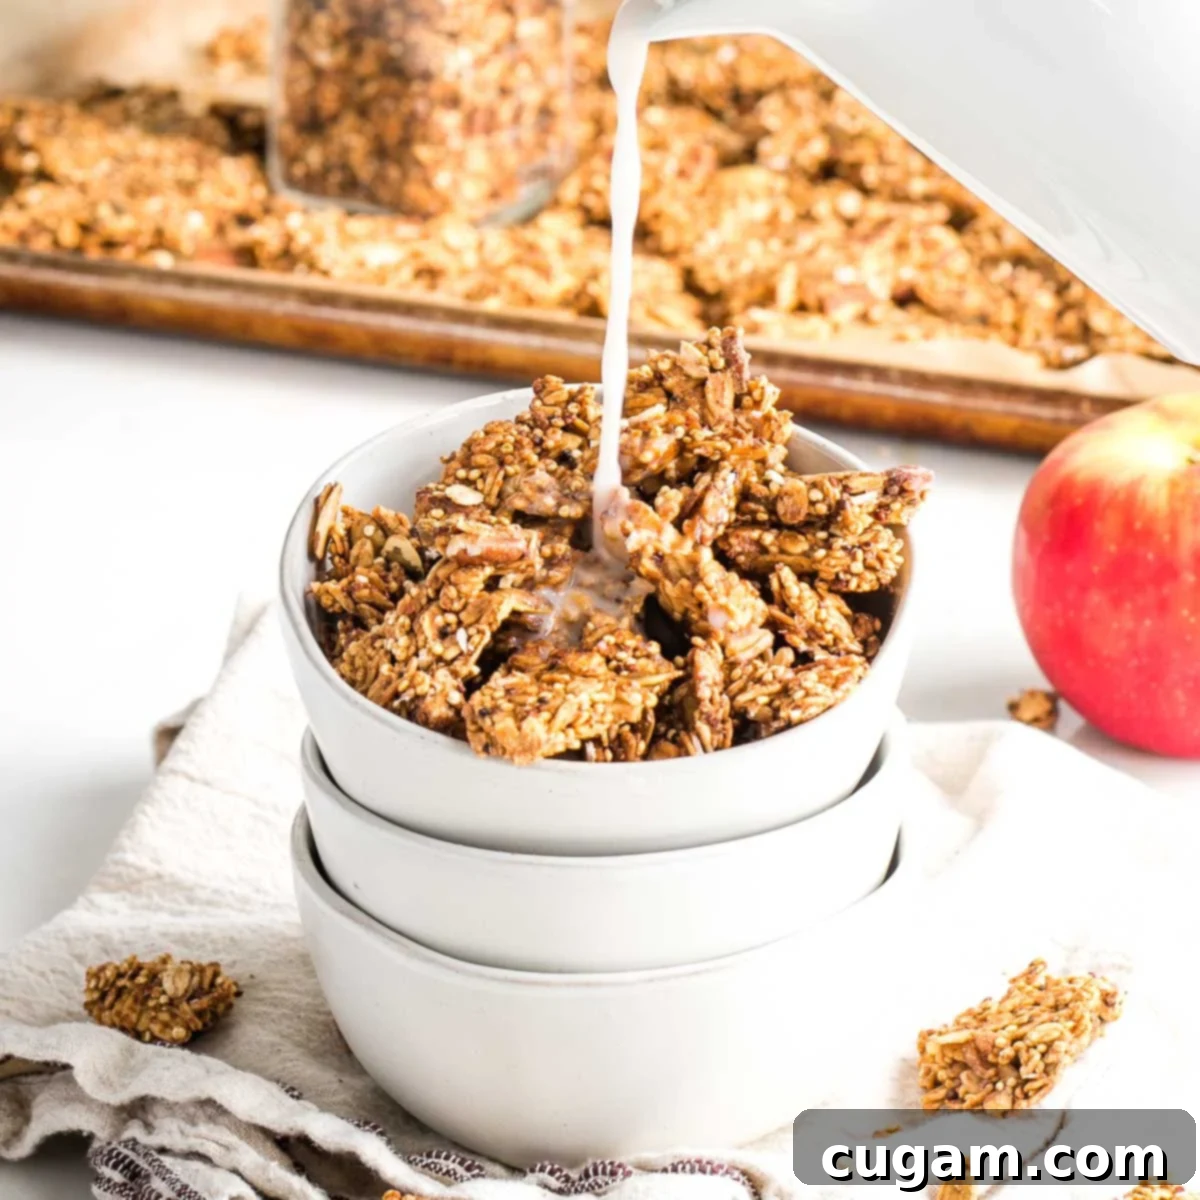
Homemade Apple Cinnamon Granola: The Ultimate Healthy, Oil-Free & Vegan Recipe
Prepare to elevate your snacking and breakfast routine with this incredible homemade apple cinnamon granola! This recipe is a game-changer, offering a delightful blend of flavors and textures that store-bought versions simply can’t match. It’s not just easy to make with a handful of wholesome ingredients; it also produces irresistible crunchy clusters with a wonderfully rich flavor profile. This stands out as one of my absolute favorite vegan recipes, adored by the entire family. Whether you enjoy it as a quick, nutritious breakfast, a healthy afternoon snack, or even sprinkled over a scoop of dairy-free ice cream for a delicious treat, this granola is versatile and utterly satisfying.
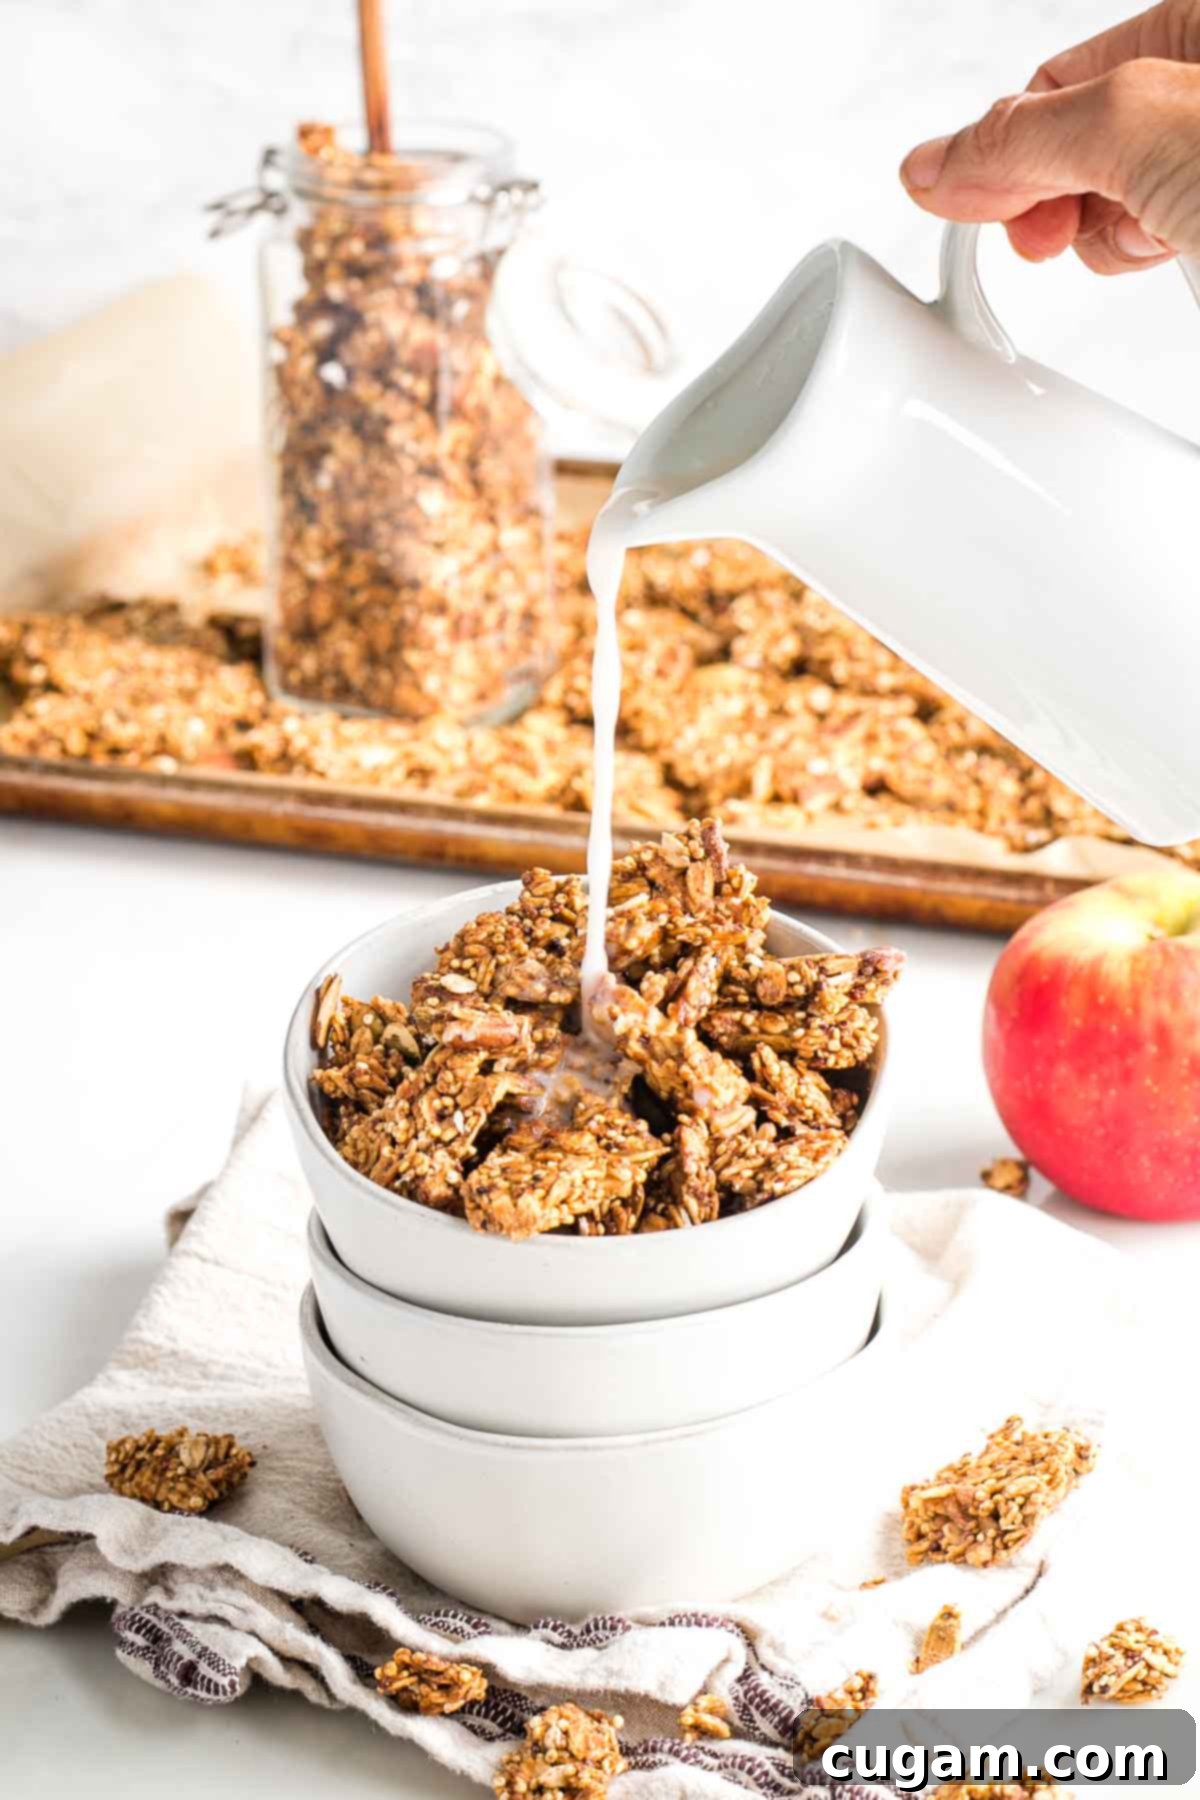
This post was updated from the original that was posted December 5, 2016. We’ve refined the recipe and added even more helpful tips to ensure your granola-making success!
Imagine: perfectly crisp, delightfully crunchy, and satisfyingly nutty granola with a comforting apple pie-like essence. Oh, yes, please! I’ll happily grab a handful any day. There’s a special joy in making your own granola, and this easy vegan recipe brings that joy right into your kitchen. The aroma alone is enough to make your mouth water!
The beauty of homemade granola lies in its superior taste and the control you have over its ingredients. Store-bought granolas are often overpriced and packed with highly refined oils and excessive sugars that many of us prefer to avoid. This healthy, oil-free granola recipe cleverly replaces refined fats like sunflower or canola oil with nourishing unsweetened applesauce and creamy almond butter, ensuring a wholesome and delicious outcome without compromise.
And here’s one of my best homemade granola tips: no added refined sugar is needed! There are fantastic, natural ways to sweeten granola without relying on brown sugar or cane sugar. A touch of pure maple syrup, combined with the natural sweetness and binding power of unsweetened applesauce, creates a perfectly balanced and flavorful cinnamon apple granola that’s both healthy and incredibly tasty. This thoughtful approach ensures you get all the sweetness you crave, purely from nature’s bounty.
Why You’ll Fall in Love with This Oil-Free Granola
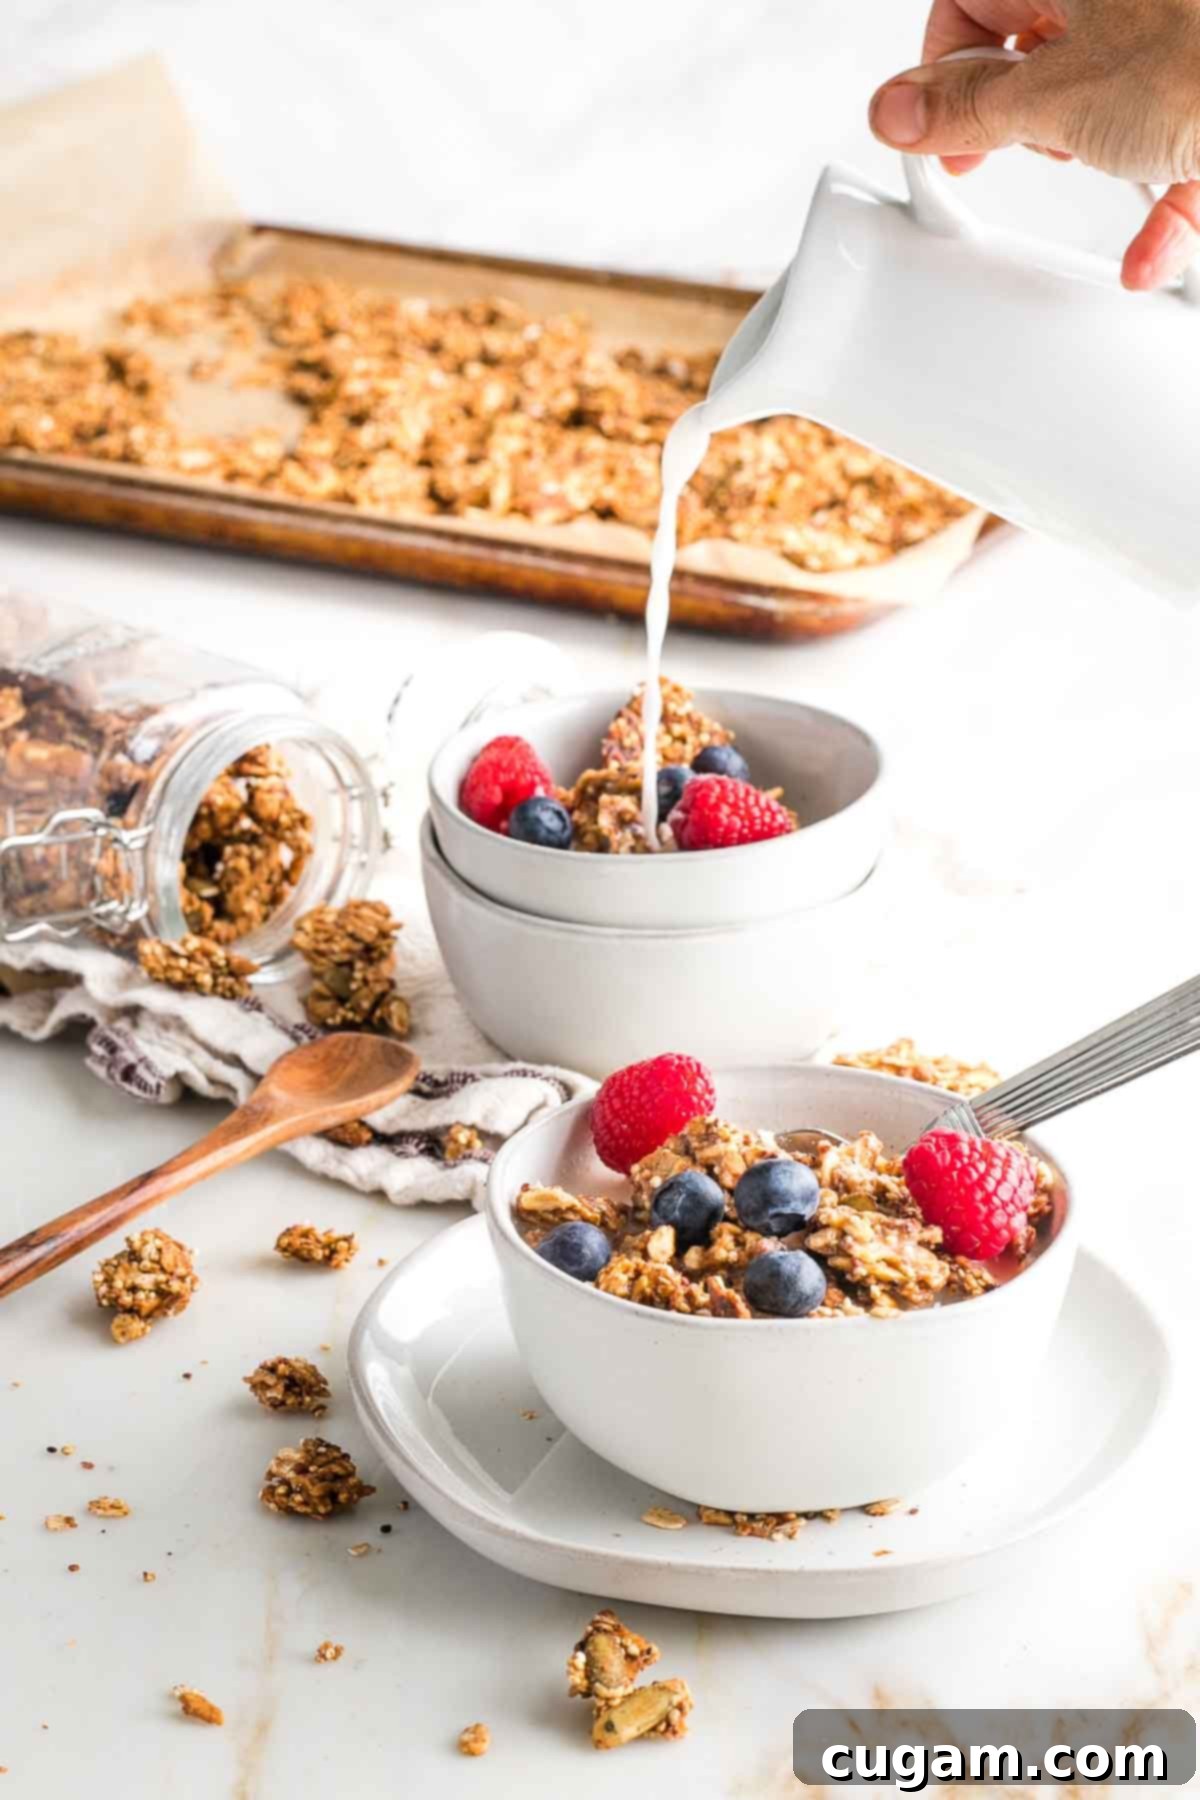
- Crispy, Crunchy Granola Clusters: Achieve the perfect texture every time! Whether you prefer large, satisfying clumps or smaller, bite-sized pieces, this recipe delivers that irresistible crispiness and crunch that makes granola so snackable and utterly delicious. The secret lies in the right combination of wet and dry ingredients and proper baking technique.
- Wholesome Oil-Free Goodness: Say goodbye to unhealthy refined oils! This recipe is crafted without any added oils, deriving its healthy fats from nutrient-dense nuts and seeds. This makes it a heart-healthy choice that you can feel good about indulging in.
- Naturally Sweetened Perfection: Enjoy a subtly sweet flavor profile thanks to natural sweeteners. Maple syrup and unsweetened applesauce work in harmony to provide just the right amount of sweetness, allowing the natural flavors of the oats, nuts, and spices to shine through without being overpowered by sugar.
- Freezer-Friendly for Freshness: Prepare a big batch and store it in an airtight container in the freezer. This allows you to enjoy that fresh-baked taste and satisfying crunch whenever a craving strikes, making meal prep a breeze and ensuring you always have a healthy option on hand.
- Invoking Warm Fall Flavors: With a blend of aromatic ground cinnamon, nutmeg, and allspice, this granola brings the cozy, comforting essence of fall to your table, no matter the season. These warm spices not only add incredible flavor but also boast their own health benefits.
- Perfect Pantry Staple Recipe: This recipe utilizes common ingredients you likely already have in your pantry, making it convenient and accessible. No need for special trips to the grocery store; just gather your staples and get baking!
- Effortlessly Easy & Vegan: This plant-based granola recipe requires minimal hands-on time – only about 5 minutes of active preparation! It’s straightforward enough for beginner bakers and a quick favorite for experienced cooks.
- Packed with Whole Grain Benefits: Old-fashioned oats are a fantastic source of whole grains and soluble fiber. Incorporating this granola into your diet is a delicious way to support healthy digestion and maintain regular bowel movements, contributing to overall gut health.
- Ideal for Meal Prep: Its ease of preparation and excellent storage capabilities make this granola perfect for meal prepping. Whip up a large batch on the weekend, and you’ll have healthy breakfasts and snacks ready for the entire week, saving you time and stress.
- Delicious Grab-and-Go Option: Whether you need a quick breakfast on a busy morning or a satisfying afternoon snack to tide you over, this granola is the perfect solution. Its convenient, munchable form makes it an excellent choice for a healthy boost anytime, anywhere.
Key Ingredients & Smart Substitutions
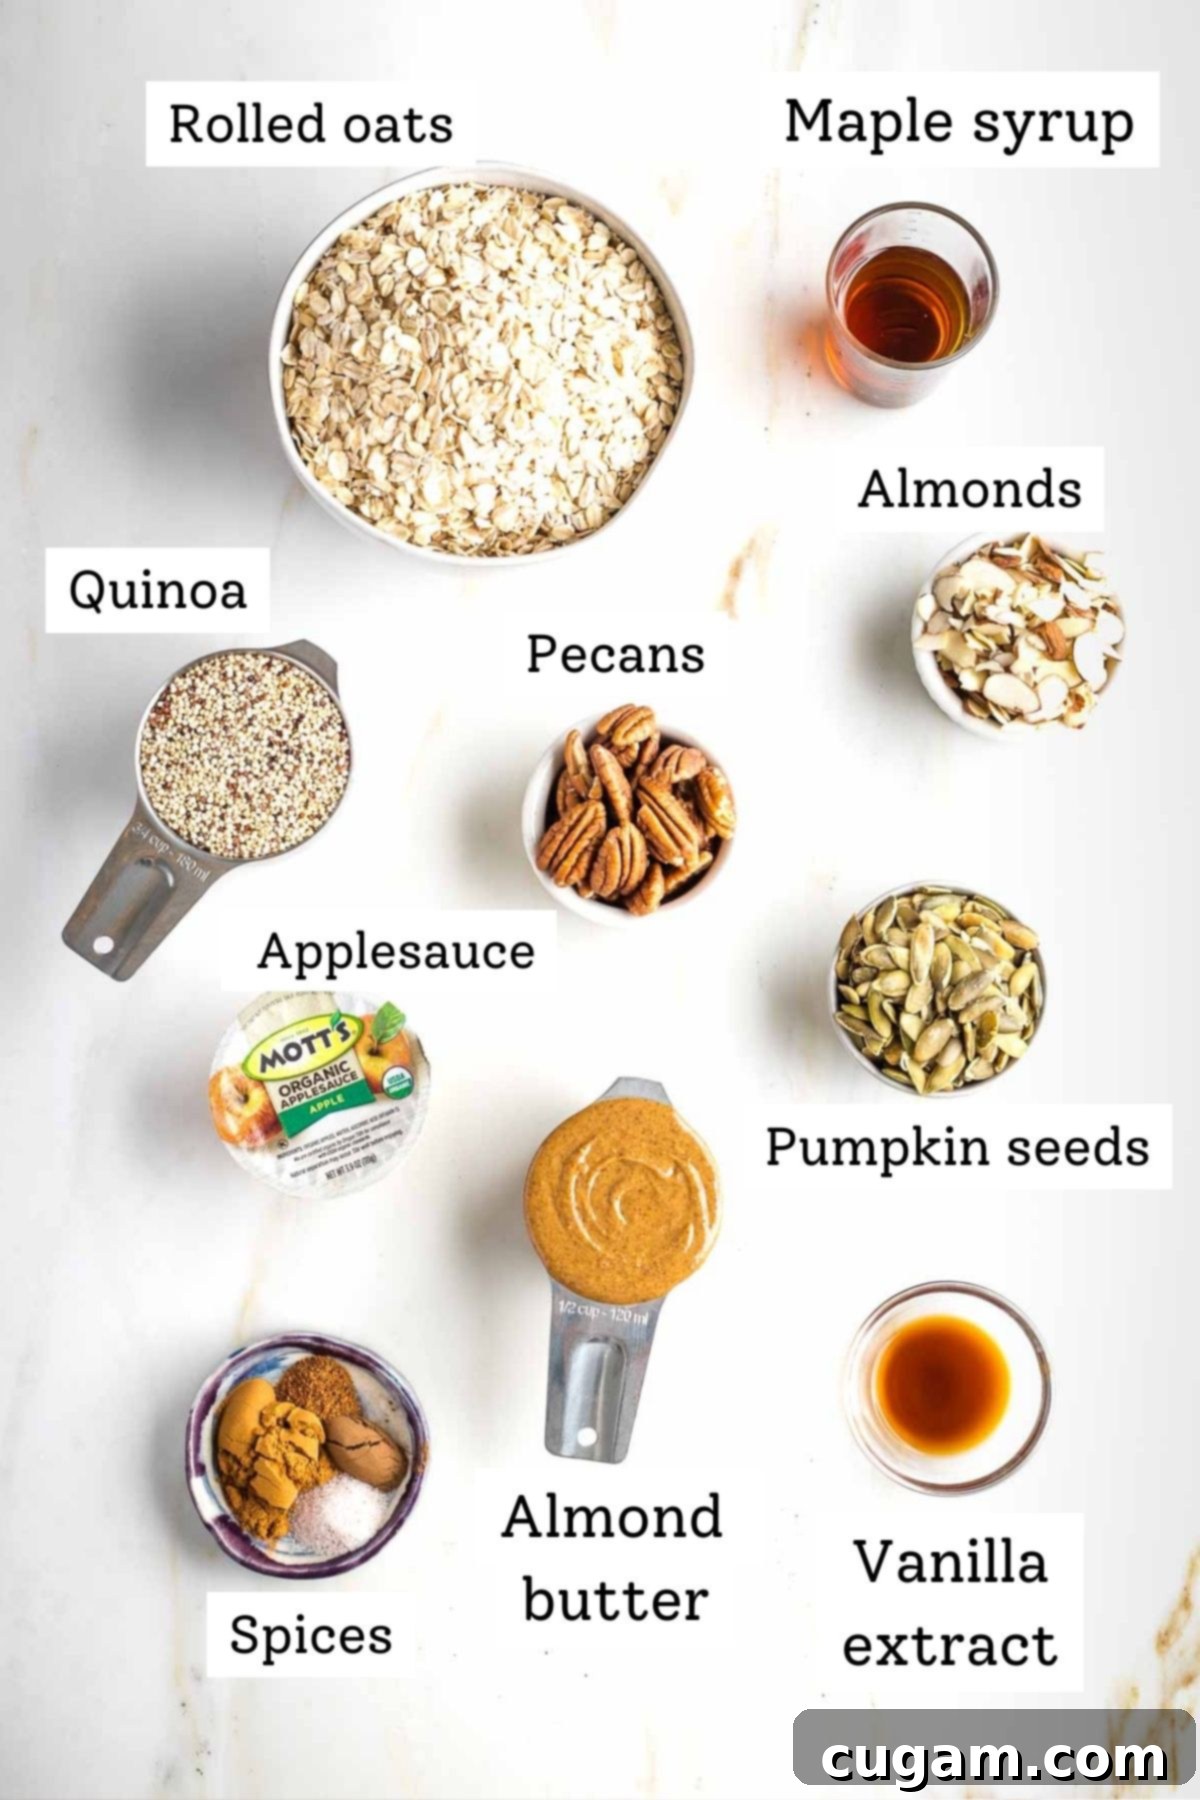
- Old Fashioned Rolled Oats: For the best results and a truly hearty texture, always opt for rolled oats (sometimes labeled “old fashioned”). Avoid quick oats, as they tend to become mushy and won’t create those desirable crunchy clusters. If you’re following a gluten-free diet, ensure your oats are certified gluten-free to prevent cross-contamination.
- Uncooked Quinoa: This might seem like an unconventional addition, but the uncooked quinoa toasts beautifully in the oven, adding a fabulous, delicate crispy texture and a boost of plant-based protein and fiber to your granola. It’s truly a secret ingredient for an enhanced textural experience.
- Assorted Nuts: Nuts provide healthy fats, protein, and an irresistible crunch. You’ll need a total of 1 cup of nuts to add to your seeds. I personally love the combination of pecans and almonds for their distinct flavors and textures, but feel free to choose your favorites. Walnuts, hazelnuts, pistachios, or cashews are all excellent choices. If you have a tree nut allergy, peanuts work wonderfully, or you can simply use 2 cups of various seeds instead.
- Mixed Seeds: Seeds are nutritional powerhouses, packed with healthy fats, fiber, and micronutrients. You’ll need a total of 1 cup of seeds for this recipe. Experiment with any combination of pumpkin seeds, hemp seeds, sunflower seeds, or chia seeds. Each brings its own unique flavor and nutritional profile.
- Unsweetened Applesauce: This is the hero ingredient that binds the granola mixture together and helps it achieve its crispy texture without the need for any oil or added sugar. Ensure you use unsweetened applesauce to control the overall sweetness of your granola. Pro tip: Buying individual applesauce cups in bulk (like at Costco) ensures you always have the perfect amount on hand for this and other recipes.
- Creamy Almond Butter: Any nut or seed butter can be used here, providing healthy fats and contributing to the granola’s clumping ability. While I often gravitate towards tahini (it’s a staple in many of my favorite recipes!), my husband prefers peanut butter. We often compromise with almond butter, which offers a neutral, creamy base. Use whatever you have in your pantry and enjoy the most.
- Maple Syrup: Just ¼ cup of pure maple syrup is all it takes to make this granola perfectly sweet in my opinion. Its distinct flavor complements the apple and cinnamon beautifully, providing a natural and unrefined sweetness.
- Pure Vanilla Extract: For that classic, comforting apple-pie-like flavor, a good quality pure vanilla extract is essential. It enhances all the other flavors, adding depth and warmth. If you’re aiming for a different flavor profile, you could experiment with almond extract or simply omit it.
- Warm Spices: This blend of cinnamon, nutmeg, and allspice creates a truly aromatic and inviting granola. If you’re looking for a shortcut or want to explore different spice combinations, 2-3 teaspoons of apple pie spice or pumpkin pie spice can be conveniently substituted. Feeling adventurous? For a unique savory twist, try swapping in taco seasoning or ranch seasoning, and don’t forget a pinch of flaky sea salt for an amazing flavor explosion!
Step-by-Step Guide to Homemade Granola
Making your own granola is surprisingly simple and incredibly rewarding. Follow these steps to create perfectly crunchy, flavorful clusters right in your own kitchen.
First, begin by preheating your oven to 300°F (150°C). Then, line a large baking tray with unbleached parchment paper. This crucial step prevents sticking and makes for easy cleanup.
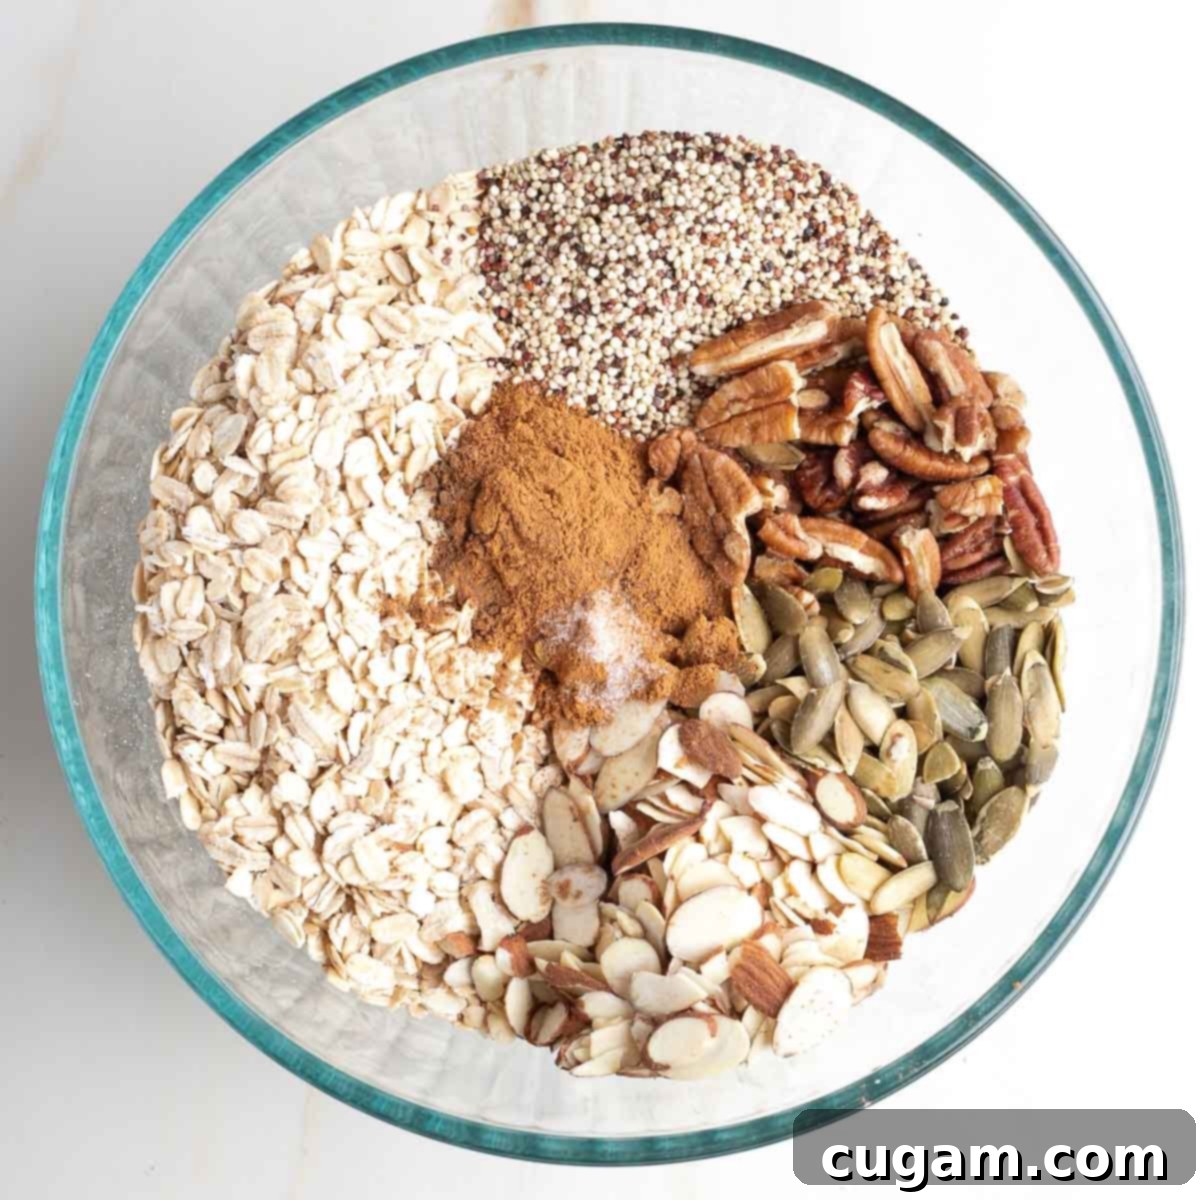
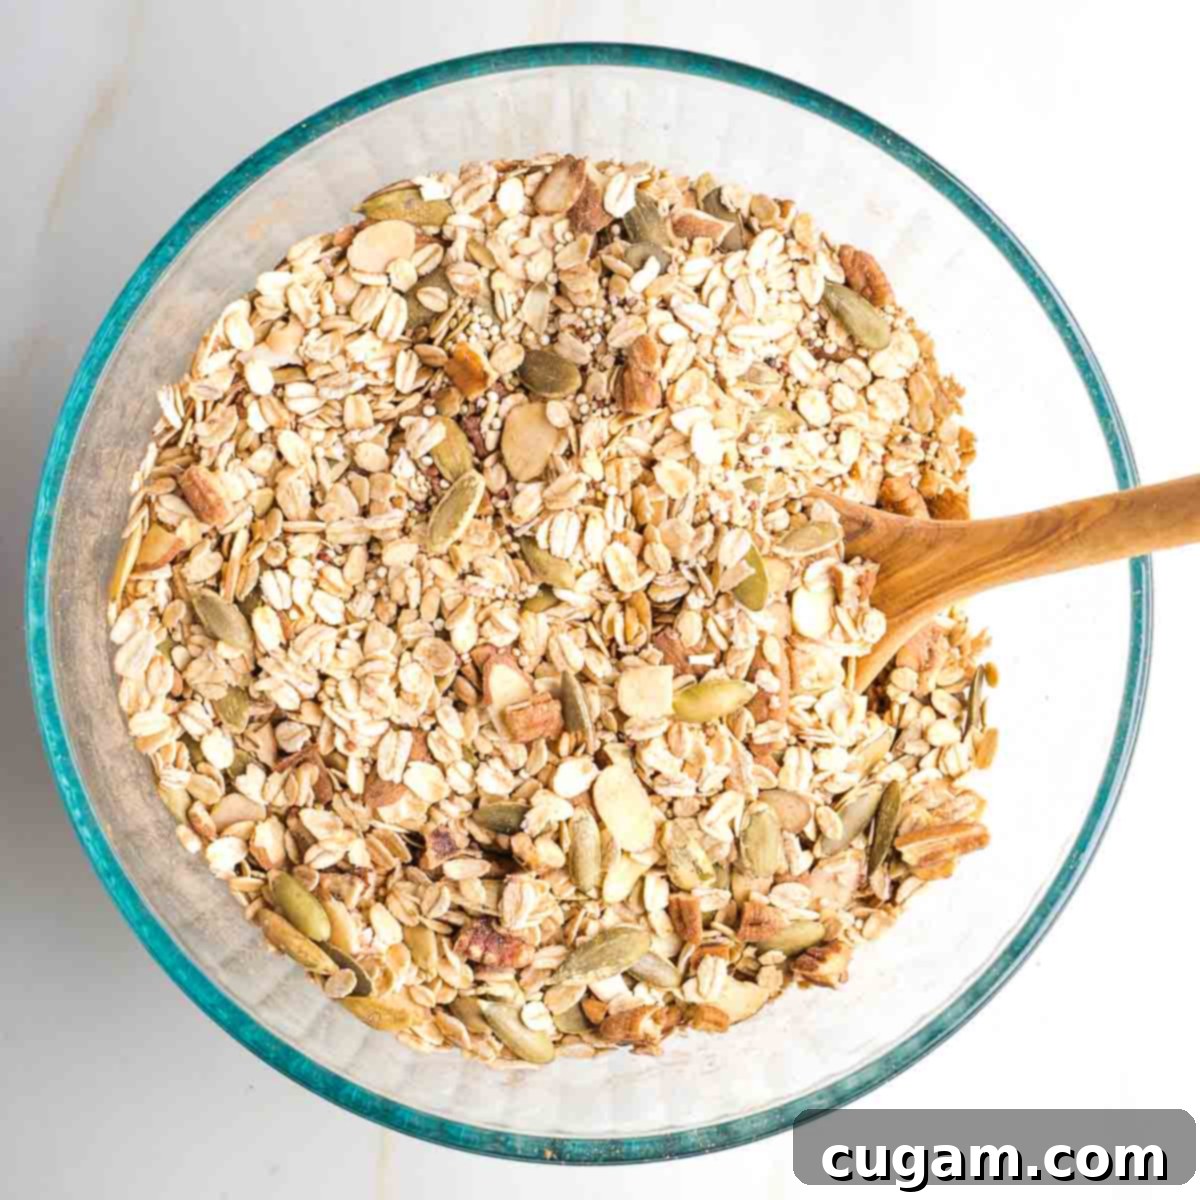
In a spacious mixing bowl, gather all your dry ingredients. If your nuts are whole, remember to gently break or chop them into smaller, more manageable pieces. This ensures even distribution and better crunch in every bite. Combine your old-fashioned oats, uncooked quinoa, your chosen nuts and seeds, cinnamon, allspice, nutmeg, and a pinch of sea salt. Mix thoroughly until all the spices are evenly distributed throughout the mixture. This initial blending is key for a consistent flavor in your final granola.
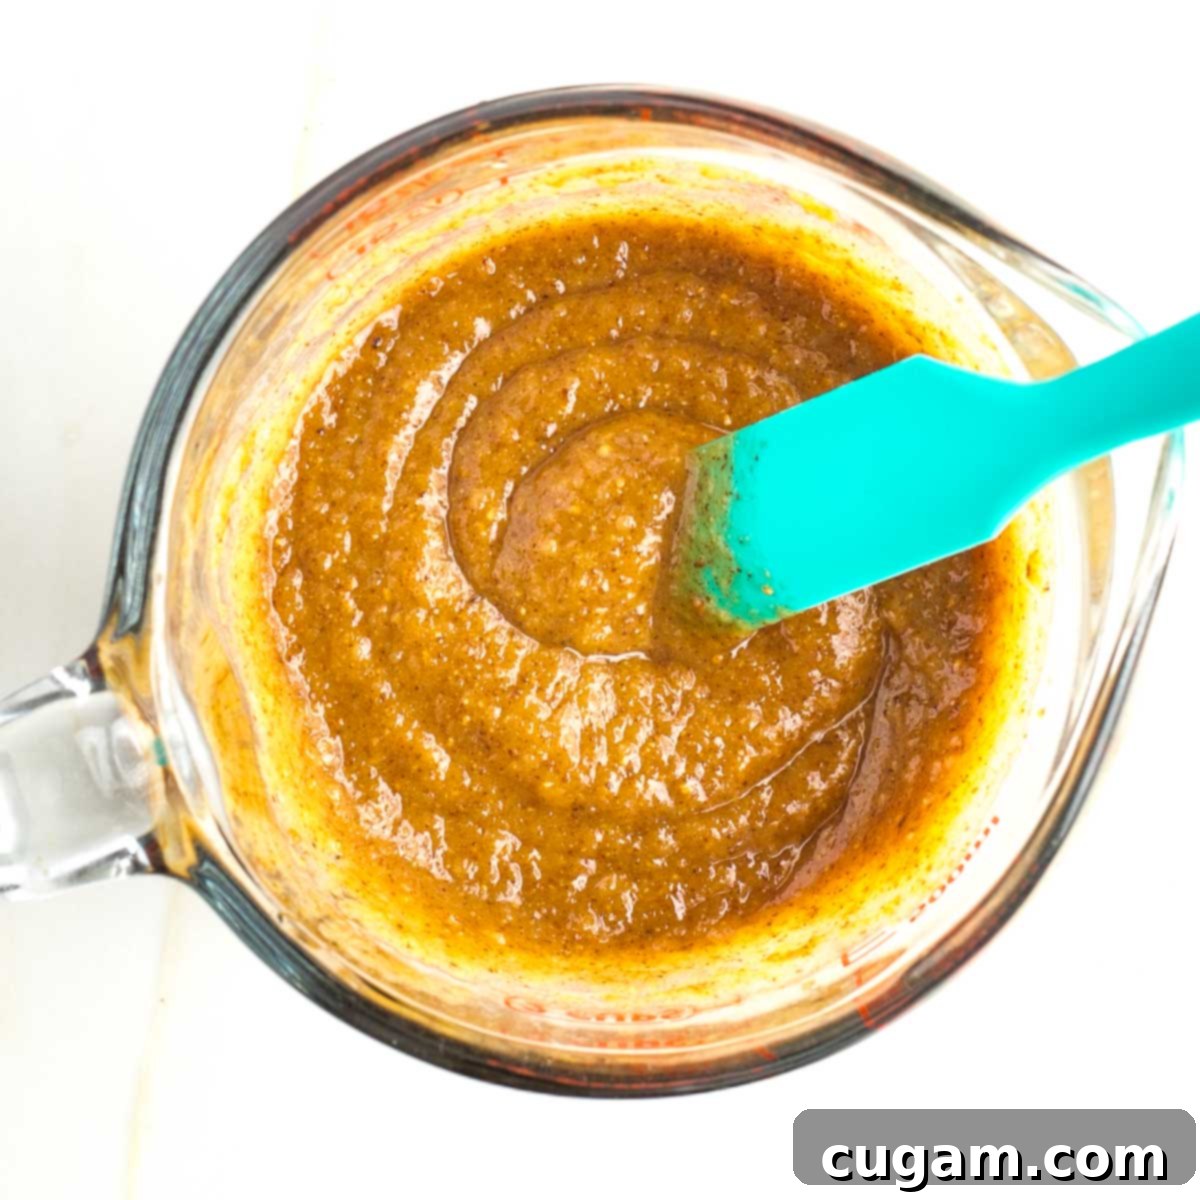
Now, it’s time to prepare the wet ingredients. In a separate, smaller bowl, combine the unsweetened applesauce, creamy almond butter, pure maple syrup, and vanilla extract. Whisk these ingredients together diligently until they are thoroughly combined and form a thick, yet pourable paste. Using a Pyrex measuring cup or a similar vessel can make pouring this mixture much easier and less messy.
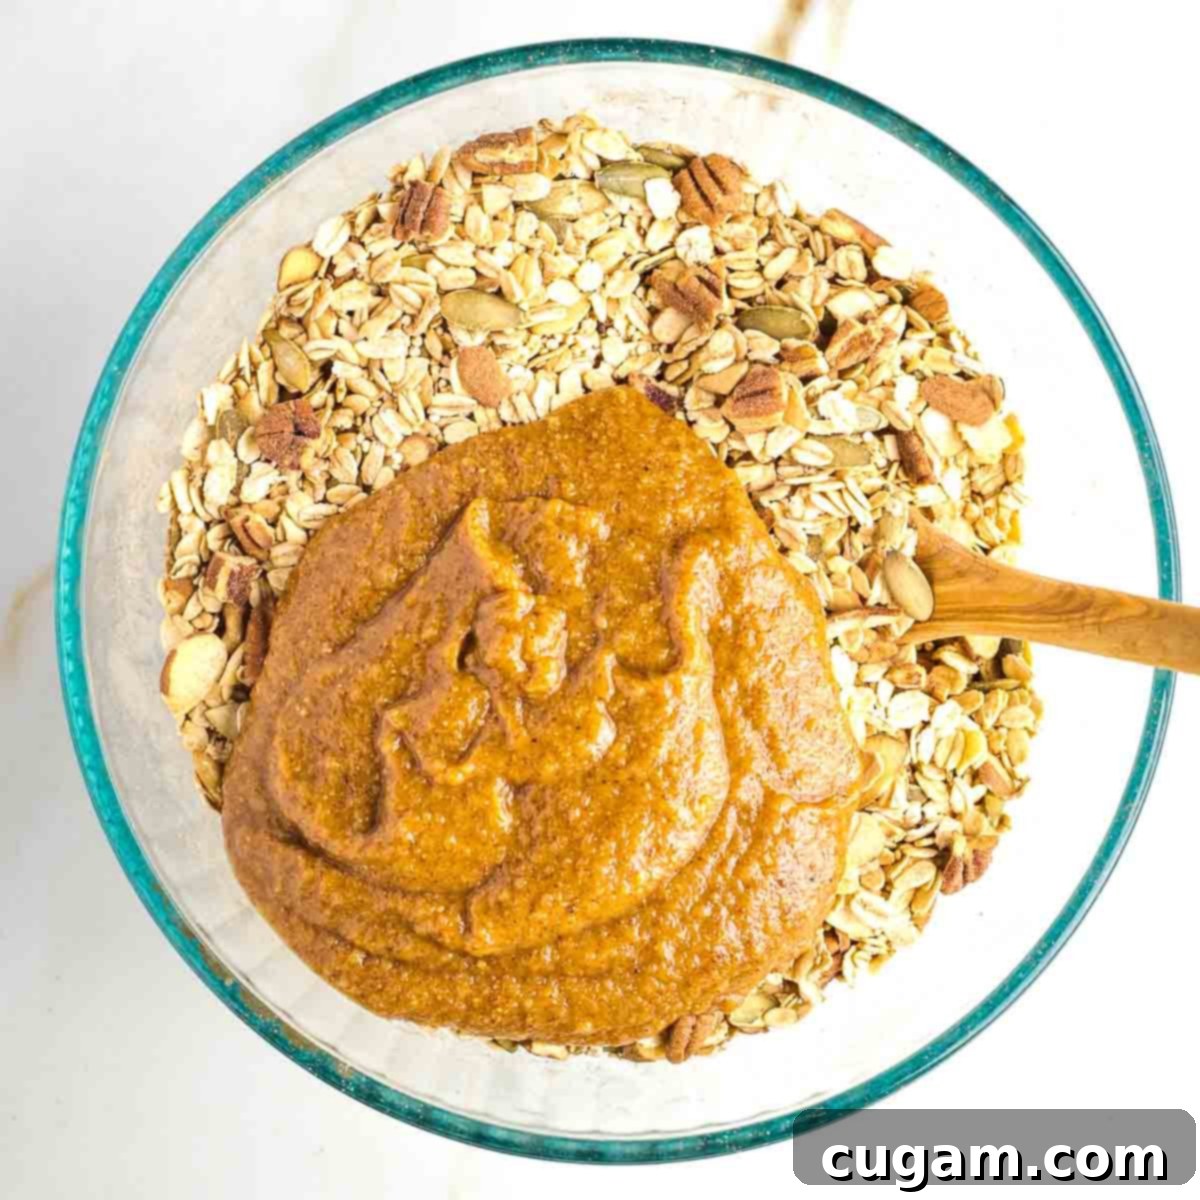
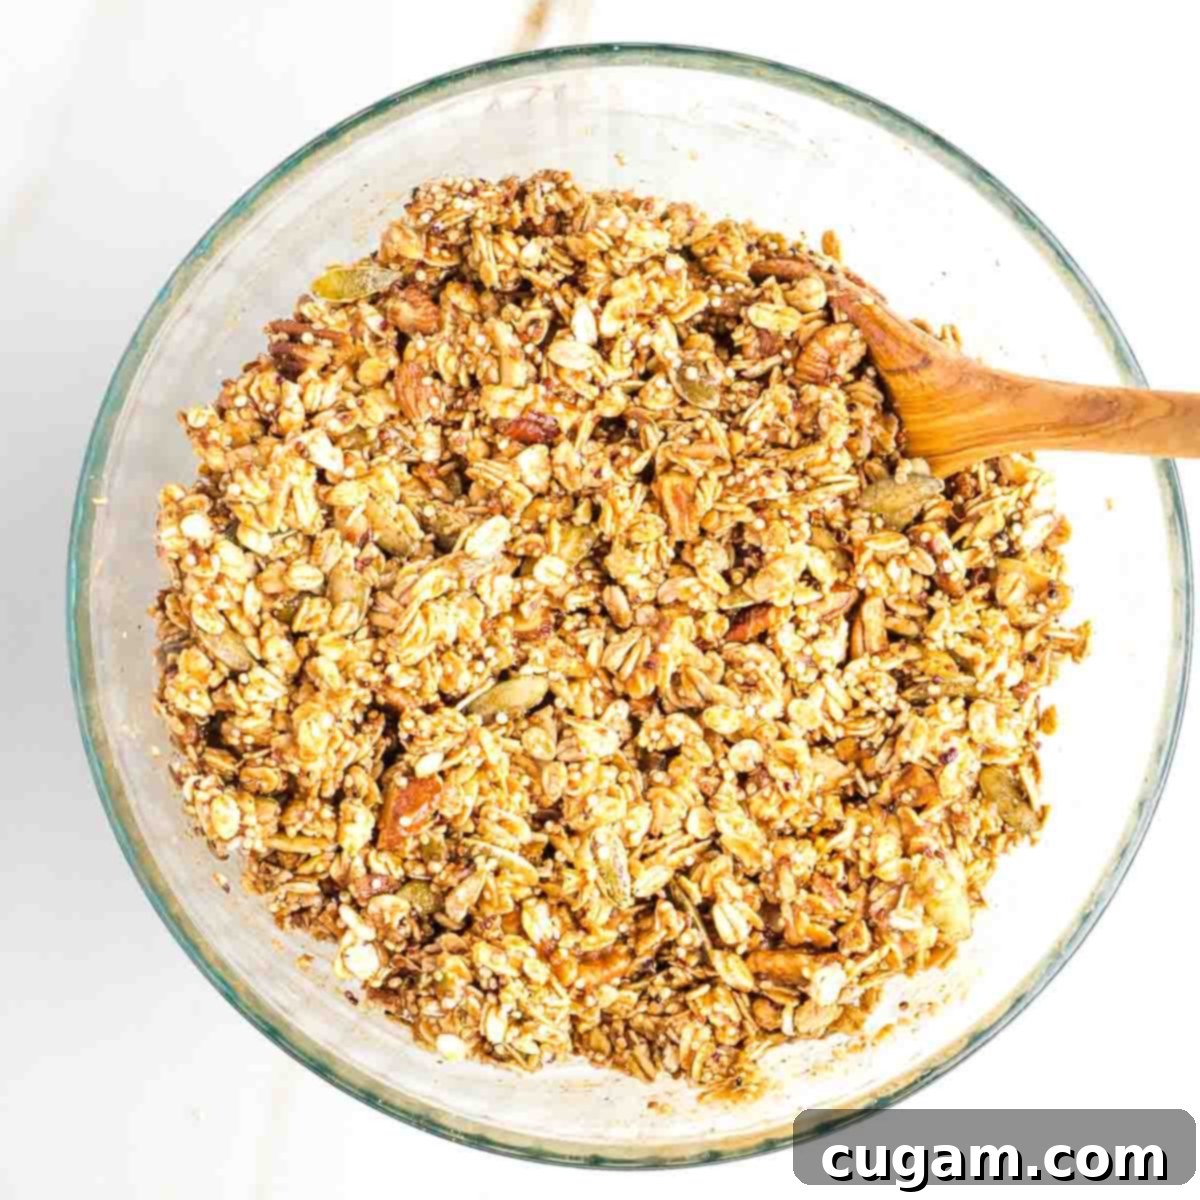
Once your wet ingredients are perfectly blended, pour this paste into the large bowl containing your oat and spice mixture. Now comes the mixing! Use a sturdy spoon or a spatula to thoroughly combine the wet and dry ingredients. It might seem at first as though there isn’t enough of the almond butter paste to coat everything, but be patient and keep mixing. Dig deep, pulling up the dry components from the bottom of the bowl, until every single oat, nut, and seed is uniformly coated and the entire mixture is wonderfully sticky. This uniform coating is essential for those coveted crunchy clusters.
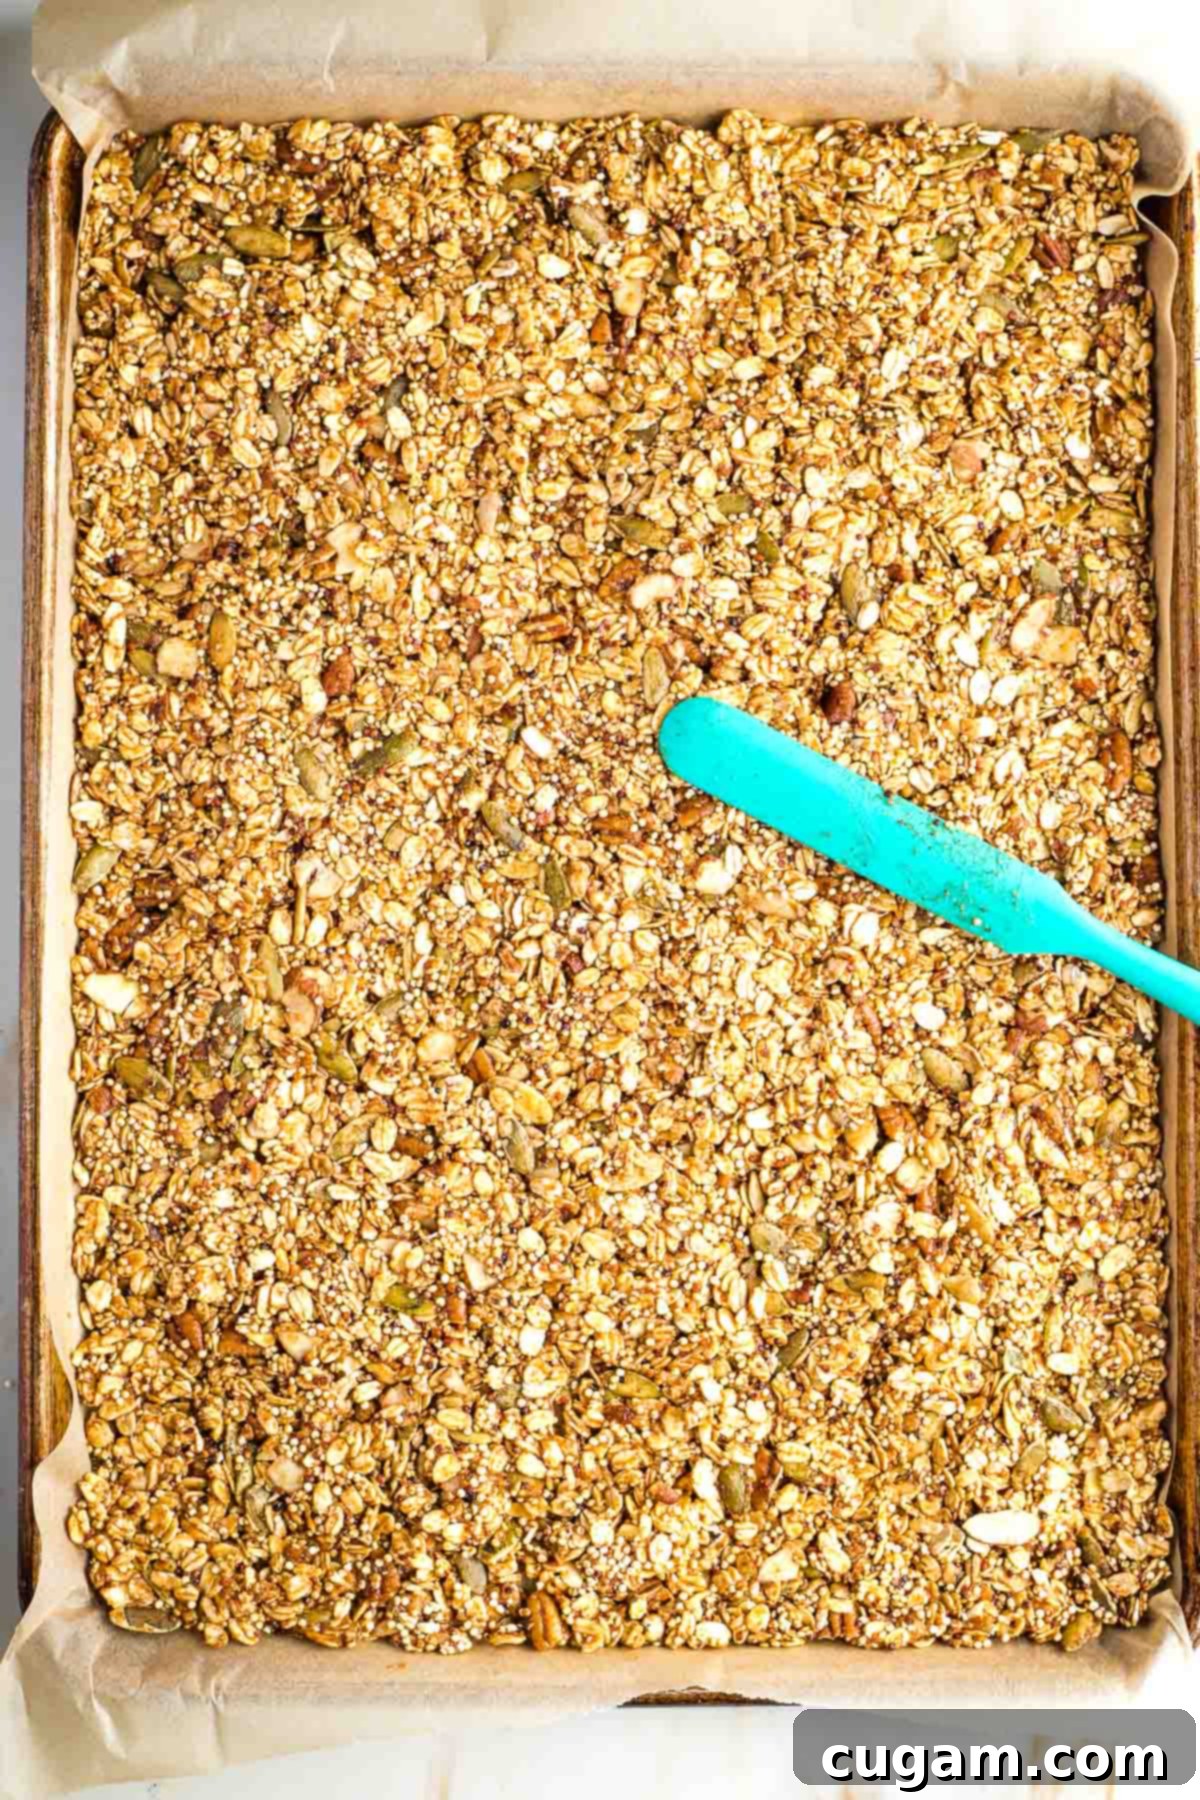
Carefully turn the sticky granola mixture onto your prepared baking pan. The next step is critical for achieving great granola clusters: use a heavy silicone spatula to press the granola batter firmly into the sides and corners of the large baking sheet. Pack it in as tightly as you can. This compression during the baking process is what helps the granola firm up and form those wonderful clusters and clumps. If your baking sheet isn’t large enough to hold the granola in a single, well-packed layer, divide the mixture between two trays to ensure even baking and optimal crunch.
Now, carefully place the packed granola into your preheated oven and bake for approximately 50 minutes. The exact baking time may vary slightly depending on your oven, so keep an eye on it. You’re looking for the granola to be firm and achieve a deep golden-brown color. Once baked, the most important step for achieving maximum crunch is to let it cool completely in the pan. Resist the urge to touch it or break it up while it’s still warm! As it cools to room temperature, it will continue to harden and become perfectly crisp. Once fully cooled, you can break it into your desired pieces – whether you prefer large, satisfying clusters or smaller, individual crumbs. Store your homemade apple cinnamon granola in an airtight container at room temperature for up to two weeks, or stash it in the freezer for up to six months for extended freshness.
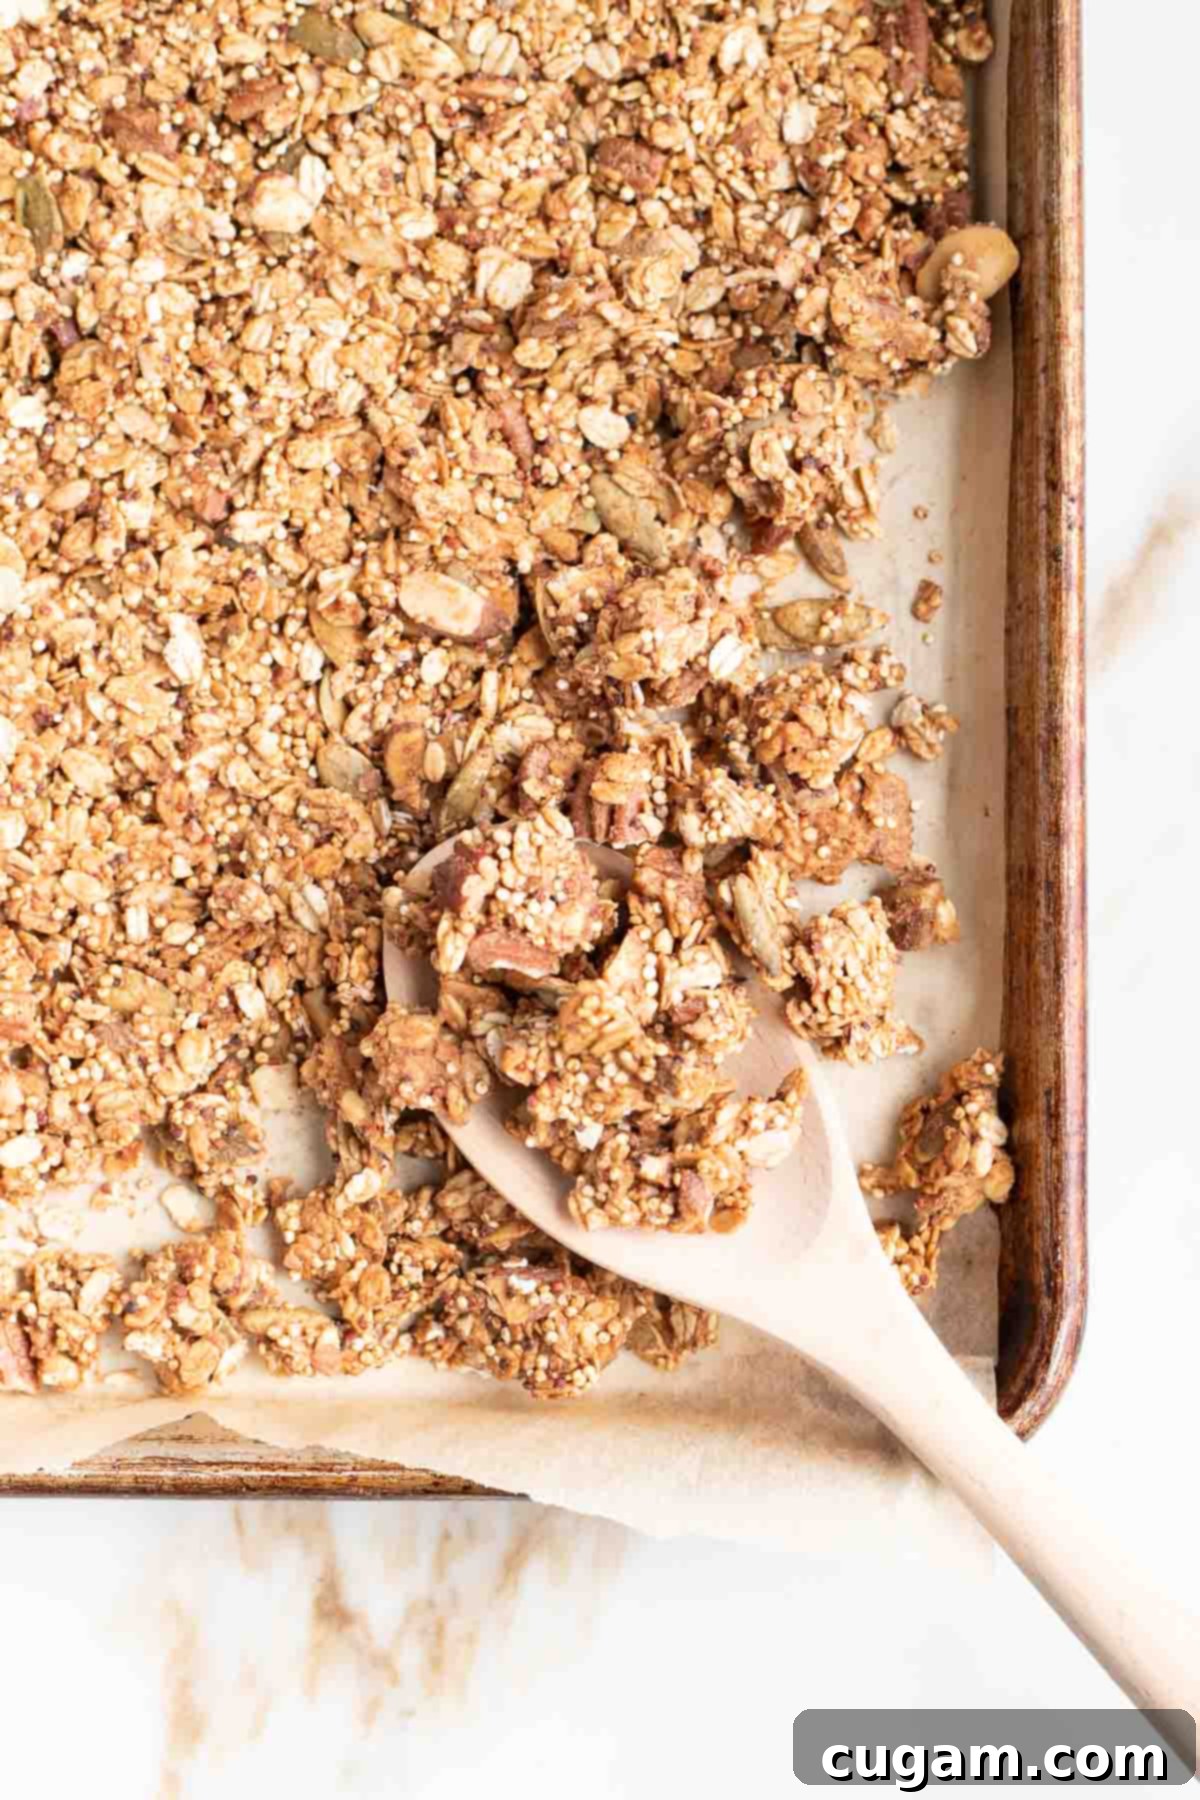
For those who love substantial, crunchy clumps of granola, let it bake for the full 50 minutes without stirring. This allows the mixture to set undisturbed, forming larger clusters as it cools. If you prefer a more finely textured granola, resembling smaller, loose pieces, you can take the tray out after about 30 minutes of baking. Give it a good stir to break up any forming clusters, then return it to the oven for the remaining 20 minutes. This will result in a more crumbly texture. Regardless of your preferred cluster size, ensuring the granola cools entirely in the pan is the secret to its ultimate crunch and keeping quality.
How to Store Granola to Keep it Perfectly Crunchy
- Complete Cooling is Key: The most crucial step for crunchy granola is to ensure it cools completely to room temperature before storing. Packaging warm granola will trap moisture, making it soft and chewy instead of crisp. Patience is a virtue here!
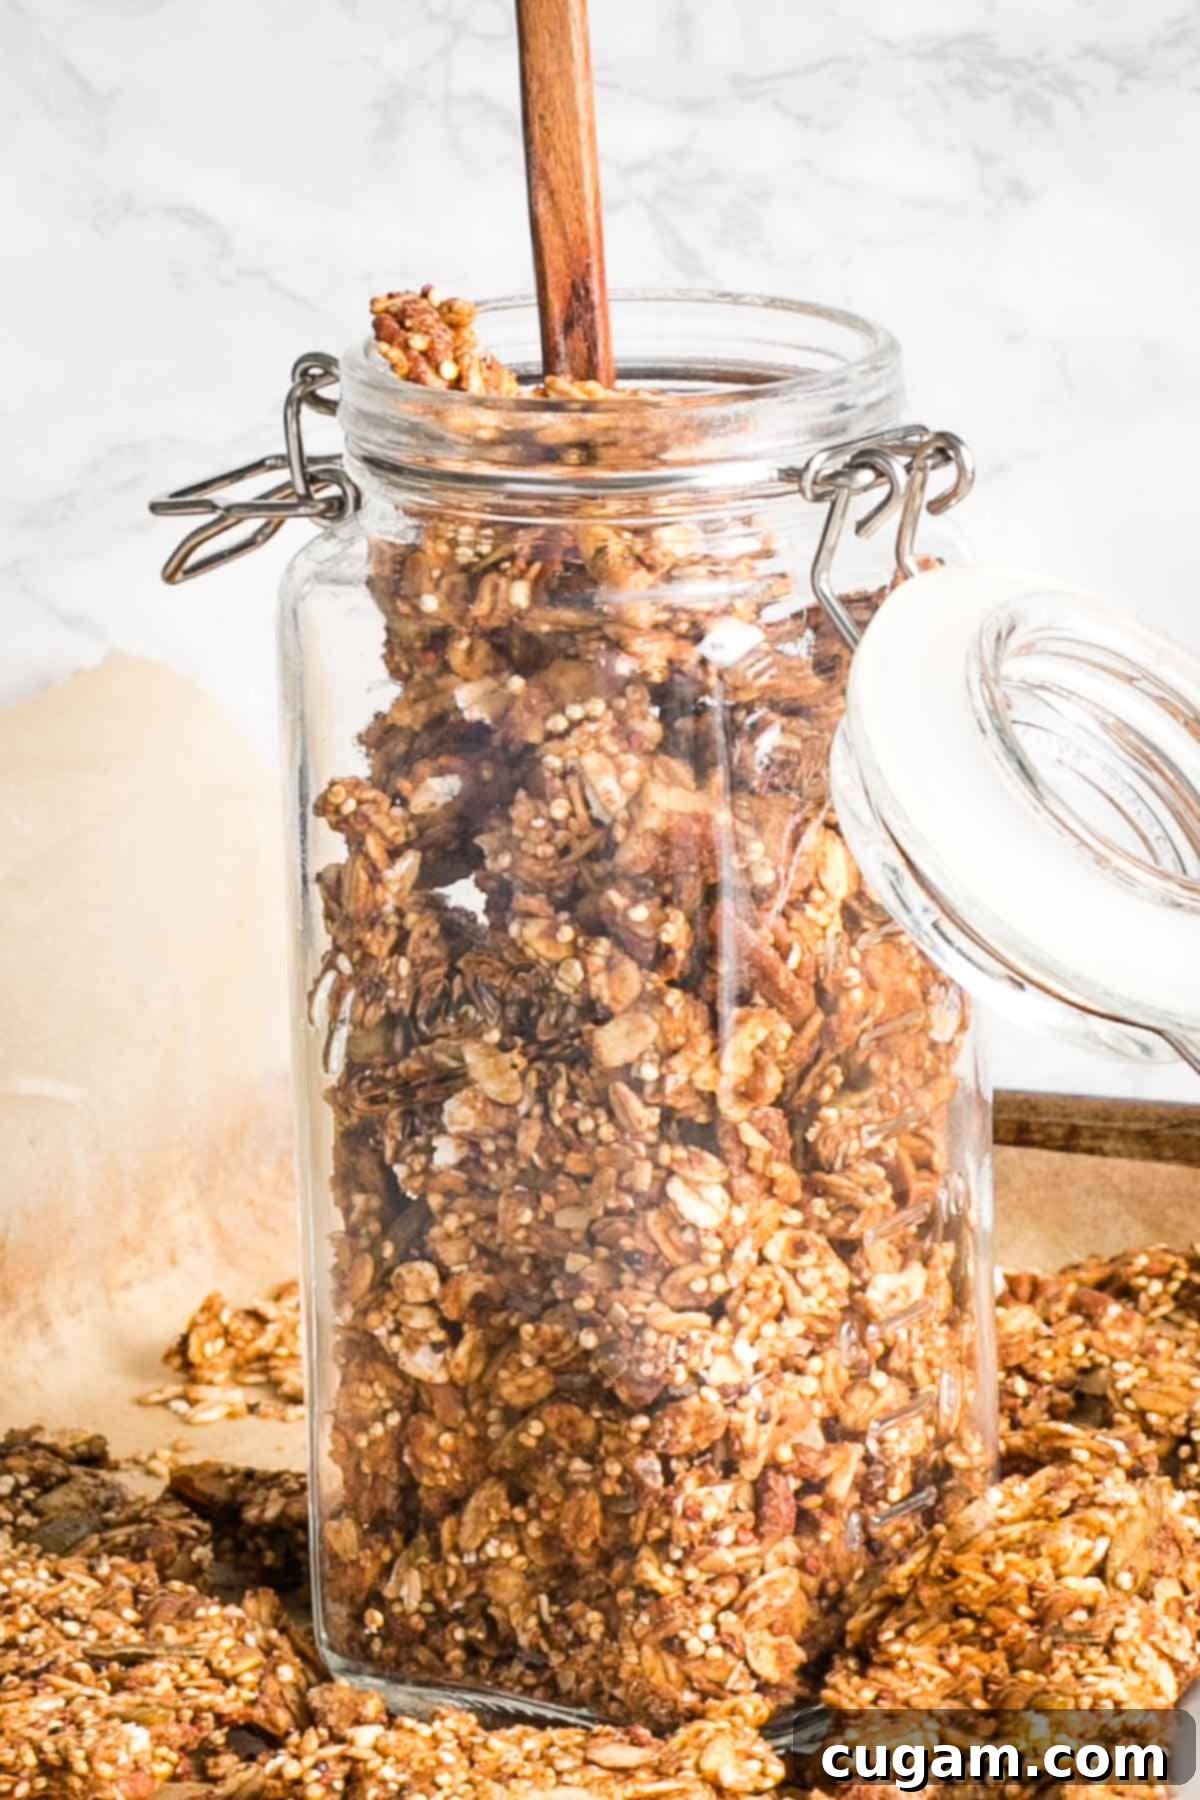
- Airtight at Room Temperature: For storage at room temperature, glass jars with hinged lids or high-quality containers with tight seals are excellent choices. Store them in a cool, dry place, such as your pantry, away from direct sunlight or heat. This method will keep your homemade granola crisp and fresh for up to two weeks.
- Freezing for Long-Term Freshness: Did you know you can freeze granola? It’s a fantastic way to extend its shelf life and maintain that just-baked crispness! Homemade granola will stay wonderfully fresh and crunchy in the freezer for up to six months. Make sure to use freezer-safe bags or containers to prevent freezer burn and seal in the flavor. Many people, including myself, love to enjoy it straight from the freezer for an extra-crisp experience!
Creative Ways to Serve This Plant-Based Granola
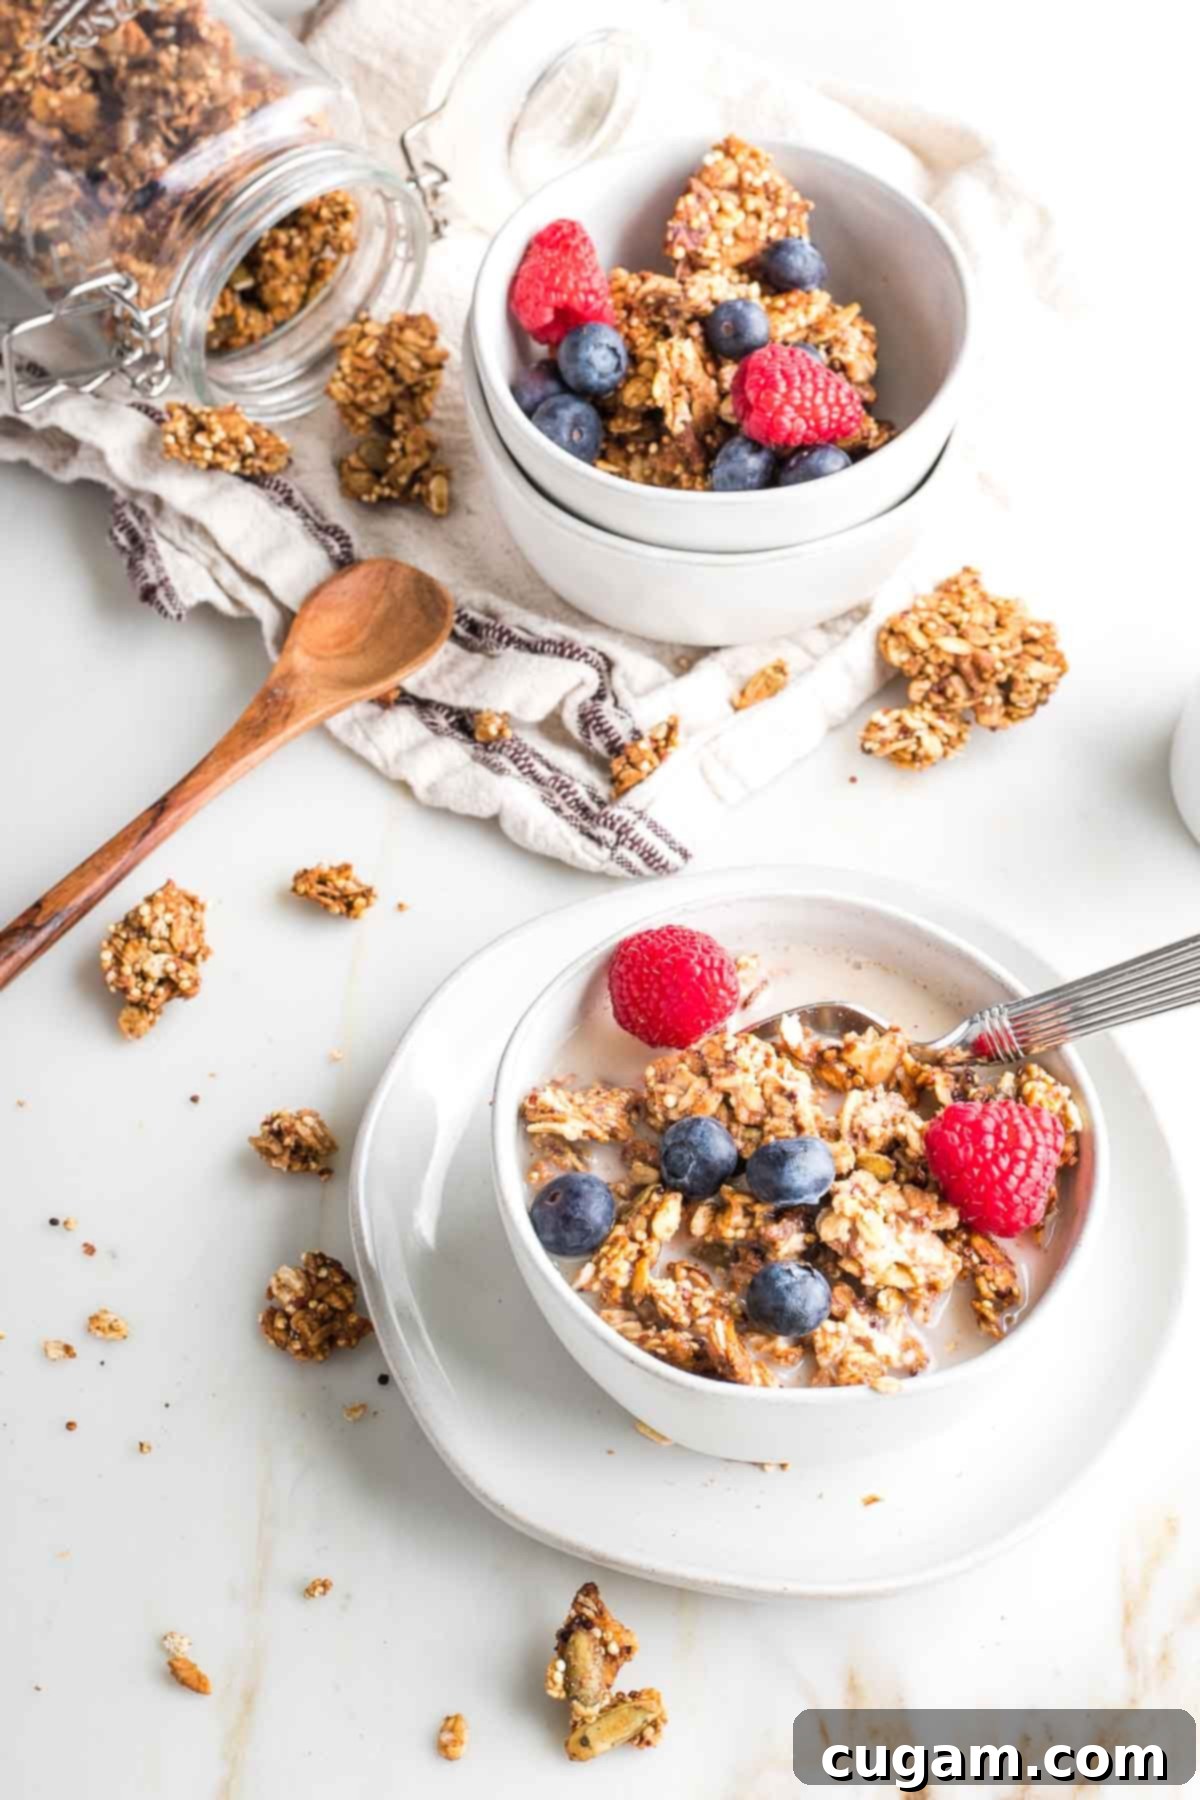
- Indulgent Yogurt Parfaits: Create a magnificent breakfast or dessert by layering your homemade granola with creamy vegan yogurt (I highly recommend Kite Hill almond yogurt for its rich texture), a dollop of vanilla chia pudding or even chocolate chia pudding, and an abundance of fresh fruit. This makes for a nutritious and satisfying grab-and-go breakfast that can be prepped ahead of time.
- Classic Cereal with a Twist: Pour your favorite plant-based milk, such as homemade almond milk, over a generous serving of this granola for a truly delicious and wholesome cereal experience. Top with an assortment of fresh berries for added sweetness and antioxidants – yum!
- Crunchy Salad Croutons: Think outside the breakfast bowl! Gently break down the granola clumps into smaller pieces and use them as a unique, crunchy topping for your favorite savory salads. This unexpected addition provides a delightful texture contrast and an extra layer of flavor. It’s particularly outstanding on my Tuscan Kale Chopped Salad.
- Ice Cream’s Best Friend: For a simple yet luxurious dessert, sprinkle a handful of this crunchy granola over your favorite vegan ice cream. The combination of cool, creamy sweetness and warm, spiced crunch is truly divine.
- Straight from the Freezer: Believe it or not, my absolute favorite way to enjoy this granola is straight out of the freezer. The extreme cold enhances its crispness, making it an incredibly satisfying and refreshing snack on a hot day or anytime you crave that extra crunch.
- Elevated Smoothie Bowls: Use this granola as a delightful topping for your morning smoothie bowls. The varying textures will make each spoonful an exciting experience, adding both flavor and substance.
- Baked Goods Boost: Stir a handful of crushed granola into your muffin, scone, or quick bread batter before baking for an extra layer of flavor and delightful texture. It adds a wonderful chewiness and spice.
Debra’s Pro Tips for Granola Success
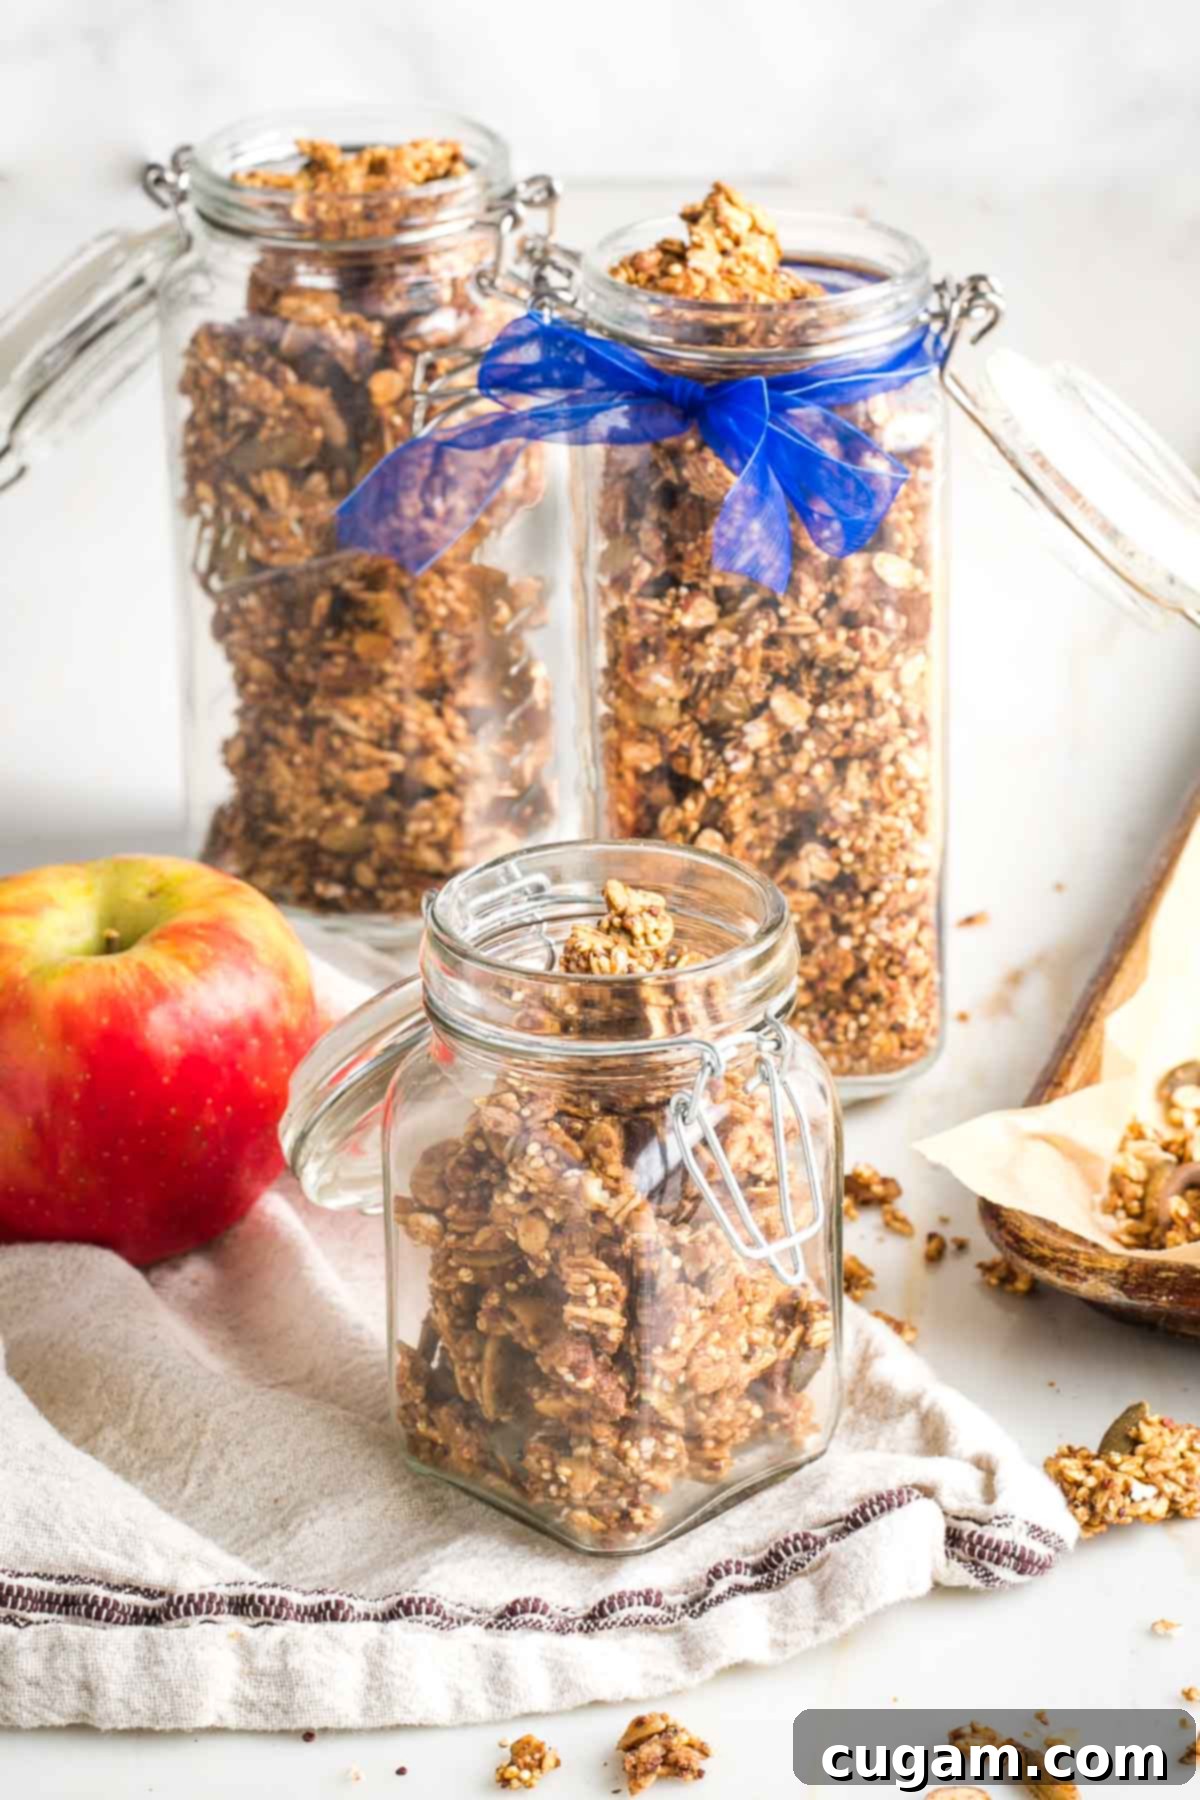
- The Gift of Granola: A beautiful granola jar filled with your homemade creation is not only practical but also makes a fantastic, thoughtful gift! It’s a wonderful way to give a warm hug in a jar and can be customized for any occasion. Tie a festive ribbon around a jar, and you’ve instantly created a fabulous DIY holiday gift or a charming hostess present.
- Boost Your Protein Intake: Starting your day with protein helps to slow down digestion and keeps you feeling satiated for longer, preventing those mid-morning slumps. This vegan granola is an excellent source of plant-based protein, thanks to the power combination of quinoa, nuts, and seeds.
- Cluster Lovers, Listen Up! If you’re like me and adore big, chunky granola clusters, the key is compression. After spreading the mixture onto your baking tray, use your spatula to really pack it in tightly, pushing it into all the corners and edges. The tighter it’s packed, the more substantial your clusters will be after baking and cooling.
- Smart Nut Choices: When purchasing nuts, consider pecan pieces instead of whole pecans. They are often less expensive and, in this recipe, actually work better since you’d be breaking down whole nuts anyway. This small tip can save you money and prep time!
- Adding Dried Fruit or Chocolate: If you plan to incorporate dried fruits (like dried apples, cranberries, or raisins) or chocolate chips into your cinnamon granola, always stir them in by hand *after* the baking process is complete and the granola has cooled. For chocolate chips, wait until the granola is completely cool to avoid a melty, messy situation. This ensures your additions remain distinct and don’t burn or dissolve during baking.
- Customize Your Crunch: As mentioned in the instructions, for larger clusters, avoid stirring during baking. For a finer, more crumbly granola, stir it halfway through the baking time. This simple adjustment gives you full control over your granola’s final texture.
More Delicious Oil-Free Recipes You’ll Love
If you enjoyed this healthy, oil-free granola, you’ll be thrilled to discover more delicious recipes that prioritize flavor and health without compromising on taste. Here are a few more plant-based, oil-free delights to explore:
- Vegan Tahini Chocolate Chip Cookies (gluten-free)
- Meaty Vegan Stuffed Zucchini Boats
- Healthy Baked Falafel Recipe
- Vegan Tahini Brownies
Did you know commenting and rating recipes is one of the best ways to support your favorite food bloggers? If you made this recipe, please consider leaving a five-star rating below and a comment sharing your experience. Also, we’d love to see your creations! Please share your photos on Instagram by tagging me @dkhealthcoach and using the hashtag #debraklein. Your support means the world!
📖 Recipe
Apple Cinnamon Granola
Rate this Recipe
Pin Recipe
Equipment
-
Large Rimmed Baking Sheet
-
Unbleached Parchment Paper
Ingredients
- 3 cups old fashioned rolled oats gluten-free
- ¾ cup quinoa uncooked
- ½ cup raw sliced almonds
- ½ cup raw pecans
- ½ cup raw pumpkin seeds
- 2 teaspoon cinnamon
- ½ teaspoon sea salt
- ½ teaspoon allspice
- ¼ teaspoon nutmeg
- ½ cup unsweetened applesauce
- ½ cup almond butter creamy
- ¼ cup maple syrup
- 2 teaspoon vanilla extract
Instructions
-
Preheat oven to 300 degrees and line large baking sheet with unbleached parchment paper.
-
In a large mixing bowl, combine dry ingredients including old fashioned oats, quinoa, nuts, seeds and spices.
-
In a separate bowl, combine unsweetened applesauce with maple syrup, almond butter and vanilla extract. Continue to stir until everything completely blended.
-
Add the wet ingredients to the bowl with the oat mixture and mix until uniform in texture. It may seem like there isn’t enough of the almond butter paste, but there is. Keep mixing and bringing up the dry ingredients from the bottom of the bowl.
-
Turn granola mixture out onto prepared pan. Use a heavy silicon spatula to spread into entire pan. Compress with spatula, pushing down so granola is tightly packed and shoved into all 4 corners and edges evenly. If your baking sheet isn’t large enough to hold granola in a single layer, then split into 2 trays.
-
Place in preheated oven and bake for 50 minutes. If you like larger, crunchy clumps of granola, then leave it in the oven to dry out for the full 50 minutes. You can break it up after it cools. IF you prefer a granola form that’s more like little pieces, take out the tray after 30 minutes, give it a good stir and put it back for the remaining 20 minutes already somewhat broken up.
-
Granola will be firm and golden when baked all the way through. It will harden a bit more as it cools. Mix to break up the granola clusters if you wish, or wait until it’s completely cool before breaking it up.
-
Granola will stay good in an airtight container at room temperature for 2 weeks, or freeze for up to 3 months. Personally, I love to eat it straight from the freezer when it’s super crisp.
Notes
Nutrition
Note
The nutrition calculations were done using online tools. To obtain the most accurate representation of the nutritional information in any given recipe, you should calculate the nutritional information with the actual ingredients you used. You are ultimately responsible for ensuring that any nutritional information is accurate, complete and useful.
