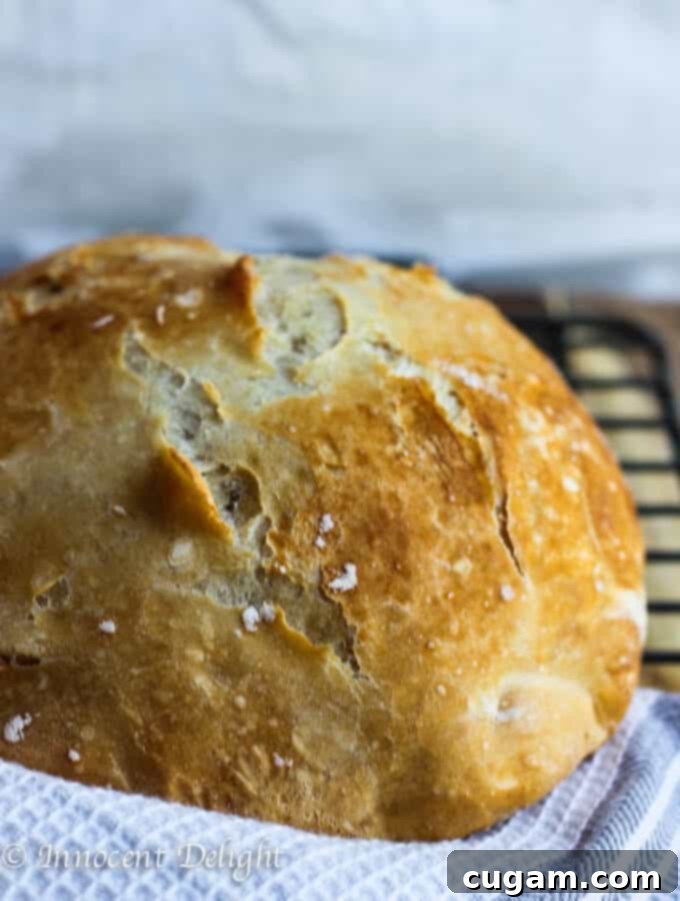
The Ultimate No-Knead Dutch Oven Crusty Bread: Achieve Bakery-Quality at Home
Imagine slicing into a warm, fragrant loaf of bread, its golden-brown crust crackling invitingly as steam rises from its soft, airy interior. This isn’t a dream from your favorite artisanal bakery; it’s the reality of your very own Homemade Dutch Oven Crusty Bread, baked right in your kitchen! This incredible no-knead bread recipe delivers that coveted bakery-fresh taste and texture with an unbelievably simple process. Requiring only about 10 minutes of active prep time, this recipe eliminates the laborious kneading typically associated with artisan bread making, making it perfect for both novice and experienced bakers alike. Get ready to transform your home into a haven of irresistible fresh bread aroma with minimal effort.
The Journey to Perfect Homemade Dutch Oven Crusty Bread in My Kitchen
When I first moved to the United States, I faced a significant culinary challenge: finding good quality, freshly baked bread. My heart yearned for the kind of bread I grew up with in Poland, where every corner bakery, and even regular grocery stores, offered warm, crusty loaves bursting with authentic flavor. Instead, supermarket shelves here presented a disheartening array of bread typically encased in plastic bags, often tasting disappointingly artificial and lacking that beloved texture. I was genuinely disappointed; the absence of proper, freely baked bread was a daily reminder of a staple I deeply missed from my hometown.
In Poland, bread is more than just a side dish; it’s the cornerstone of nearly every meal. We enjoy bread for breakfast, dunk it into hearty soups, build our lunch sandwiches with it, and serve it alongside dinner. It’s an essential part of our culinary identity. I recall my younger cousin, despite her slender build, could easily consume half a loaf in a single sitting – a testament to how integral and delicious fresh bread is to our culture. This cultural foundation made my initial experience with bread in the US supermarkets all the more stark.
Understanding this, you can now grasp the immense disappointment I felt regarding the quality of readily available bread. Summer offered some reprieve, as I discovered wonderful local bread sellers at farmer’s markets. Their artisan loaves provided a glimpse of the quality I craved. However, these markets closed by November, leaving me with a significant shortage of my favorite food item throughout the long winter months. I tried various alternatives, eventually settling on Trader Joe’s sourdough bread, which was a decent option but still didn’t quite capture the essence of what I remembered from my childhood – that fresh, crusty, still-warm bread from a local Polish bakery. Can you imagine the sheer excitement when I finally learned that I could not only bake this exceptional bread myself but that it would taste exactly as I remembered? It was a revelation!
And so, the journey began. This is how the “Homemade Dutch Oven Crusty Bread” recipe was perfected and truly came to life in my home, bringing back cherished memories and incredible flavor.
Mastering Homemade Bread in a Dutch Oven: A No-Fuss Guide
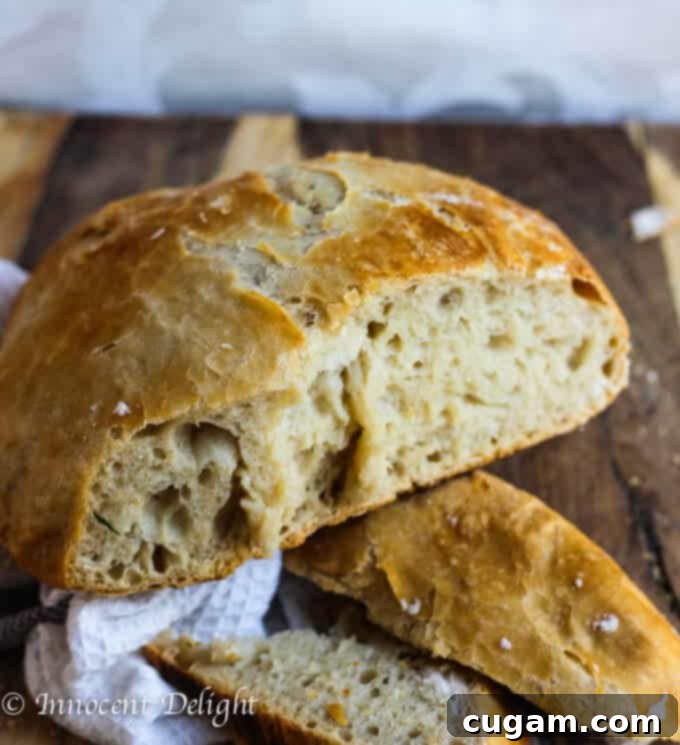
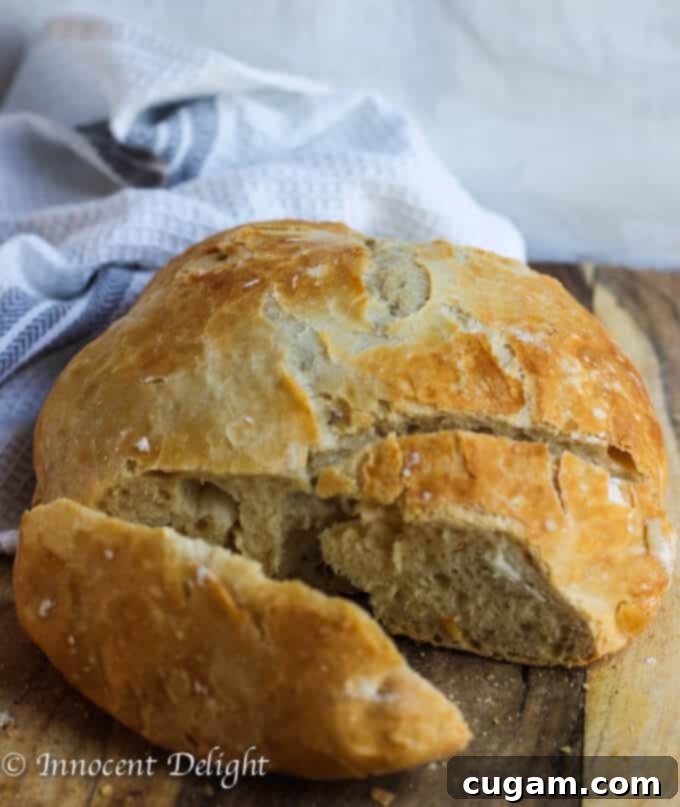
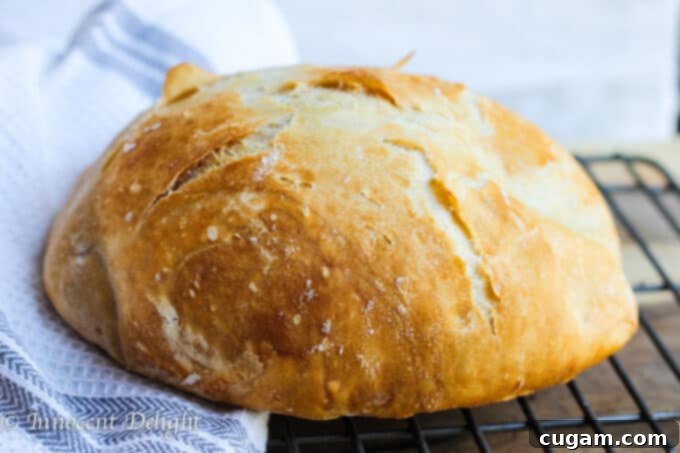
Doesn’t that loaf look absolutely magnificent? I’m still incredibly impressed with the professional-grade quality of bread I’ve been able to achieve using this simple method. I hope you don’t mind the abundance of bread photos; I genuinely had a difficult time narrowing down my selection for this post because each angle showcased its beauty! While the process is straightforward, I must admit it took me a few attempts to consistently produce a loaf that reached this level of perfection. But rest assured, I’ve now mastered it, and I’m eager to share all my insights and foolproof tips with you, so you can bypass the trial-and-error phase entirely and bake a stunning, crusty loaf on your very first try.
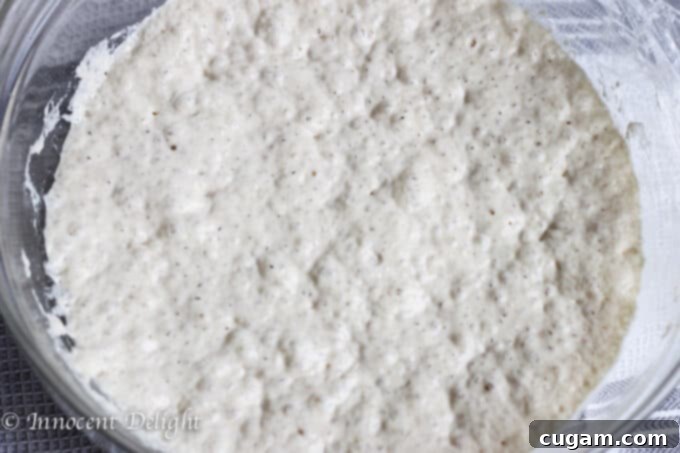
The preparation for this no-knead Dutch oven bread is astonishingly easy. You begin by simply combining three core ingredients: flour, salt, and instant yeast. After a quick stir to integrate them, you’ll add room temperature water. Using a spatula, mix these ingredients together just until they are fully combined – no vigorous kneading required! Once mixed, cover the bowl tightly with plastic wrap and let the dough rest for an extended period, typically 12 to 18 hours, allowing the magic of slow fermentation to develop its complex flavors and beautiful texture. The next day, when you’re ready to bake, you’ll need to preheat your Dutch oven to a high temperature, ensuring that coveted crispy crust.
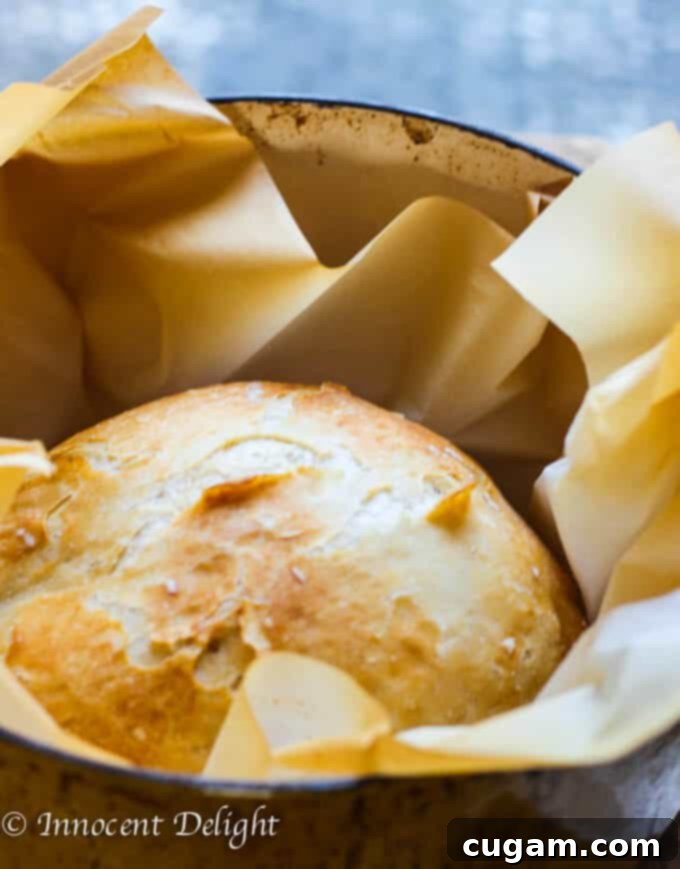
This next step, forming the dough ball, was actually the tricky part for me during my initial attempts, and where I encountered some challenges. I first encountered this no-knead recipe on a blog called Simply So Good, but the instructions for shaping the dough weren’t as detailed as I needed. My early attempts resulted in loaves that were delicious but lacked the desired high, round shape. I also made the mistake of placing the dough directly into the hot Dutch oven without parchment paper, which contributed to it not rising as much as it should have. Despite trying different flours and varying yeast amounts, I consistently ended up with an imperfectly shaped loaf.
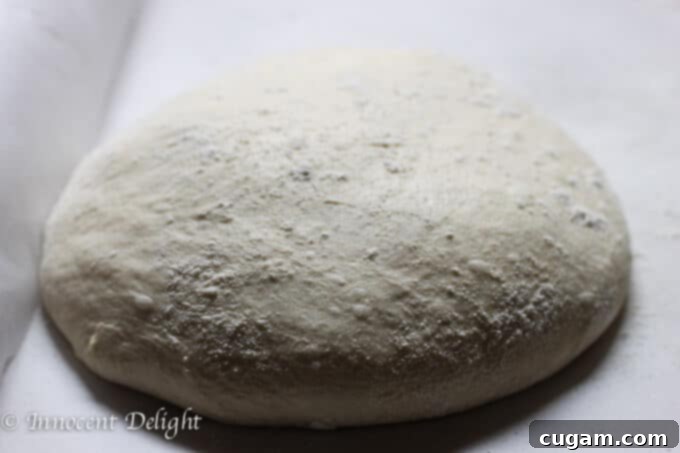
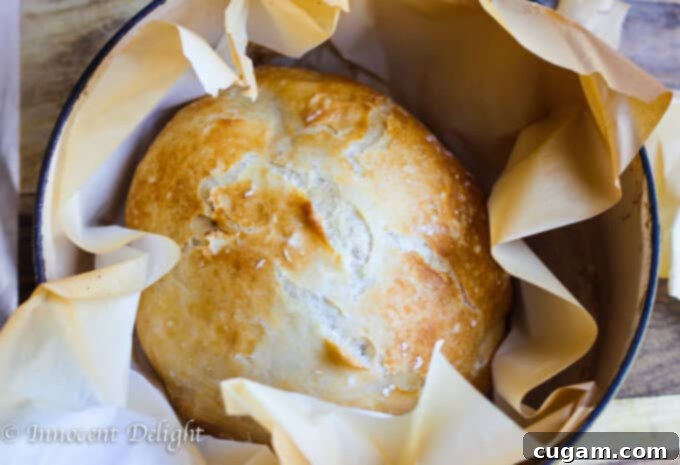
The turning point came when I discovered that the original recipe creator had actually published a video demonstrating the precise technique for shaping the dough. It became clear that I wasn’t using the right method or tools to form a robust, round ball. So, here’s the secret: once you gently pour your risen dough onto a lightly floured surface, use a dough scraper or a sturdy vegetable scooper. Instead of traditional kneading, you’ll simply fold the dough over itself a few times, gently pulling the edges towards the center. Afterward, lightly tuck the dough underneath itself with your hands to create tension and form a neat, taut ball. Watching the video truly helped visualize this process, and I highly recommend it for perfect results. Needless to say, after adopting this technique and utilizing parchment paper to transfer the dough, my bread emerged from the oven beautifully: perfectly round, impressively high, wonderfully crusty on the outside, and incredibly soft and airy on the inside. It was pure perfection, achieving that artisan bakery look and feel!
Nostalgic Bites: Childhood Memories of Crusty Bread
This Homemade Dutch Oven Crusty Bread doesn’t just taste good; it transports me straight back to my childhood. I vividly remember when my mom would send me to the local bakery to pick up a fresh loaf. Even before I reached the bakery door, the irresistible scent of freshly baked bread would envelop the entire neighborhood, a warm, comforting aroma that promised deliciousness. I would typically pick up one large loaf and begin my 15-minute walk back home. However, more often than not, I wouldn’t make it back with a fully intact loaf. The crispy, addictive crust was simply too tempting to resist. I’d find myself nibbling, then tearing, until by the time I arrived home, half of the crust would be gone, leaving the inside untouched. My mom would inevitably get a little frustrated, wondering what to do with a half-naked loaf of bread that had lost its protective outer layer.
I always tried to convince her that it wasn’t my fault; the bread simply smelled so incredibly good that I couldn’t stop myself. My only proposed solution, delivered with a cheeky grin, was that perhaps she shouldn’t send me to the bakery next time if she wanted a whole loaf. 🙂 These cherished memories are inextricably linked to the flavor and texture of truly good, crusty bread, and this Dutch oven recipe perfectly replicates that nostalgic experience, bringing those happy childhood moments into my adult kitchen.
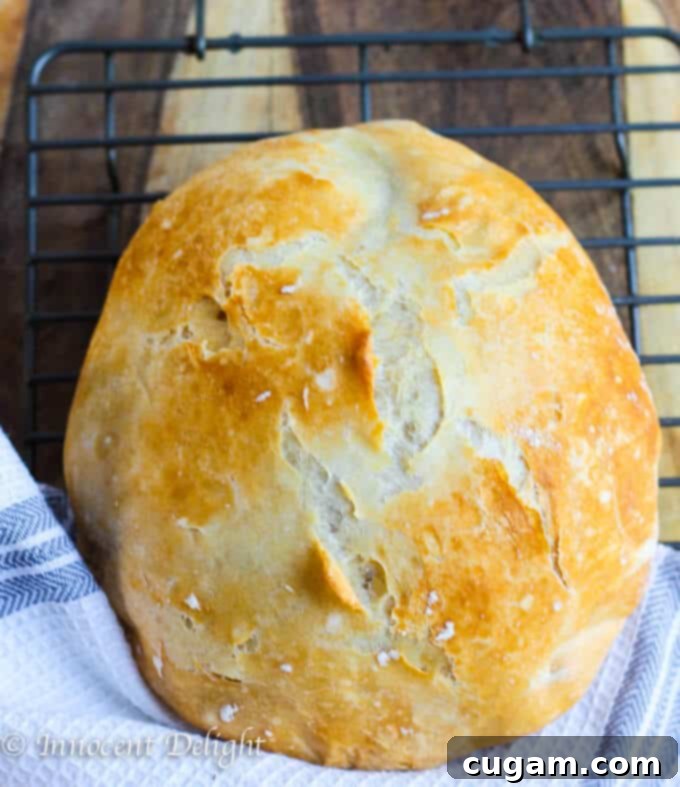
Versatile Pairings: What to Serve with Your Homemade Dutch Oven Crusty Bread
This versatile homemade Dutch oven crusty bread isn’t just a treat on its own; it’s the perfect accompaniment to countless meals throughout the day. Its robust flavor and satisfying texture make it ideal for everything from a hearty breakfast to a comforting dinner. You can use it to scoop up rich sauces, create gourmet sandwiches, or simply enjoy it with a smear of butter. Here are a few delectable suggestions for how to incorporate this fantastic bread into your daily culinary adventures:
For Breakfast:
- Perfect Soft Boiled Egg: Dip slices of warm bread into a runny yolk for a truly classic and comforting breakfast.
- Baked Eggs with Tomatoes and Feta: Use the crusty bread to soak up the savory tomato sauce and rich egg yolks.
- Baked Eggs with Tomatoes and Pesto: The vibrant flavors of pesto and tomato are beautifully complemented by fresh, crusty bread.
For Lunch:
- Hearty Ham and Cheese Soup: This bread is perfect for dipping into a creamy, savory soup.
- Classic Croque Monsieur: Elevate this French grilled cheese sandwich by using thick slices of your homemade bread.
- Smashed Chickpea Avocado Feta Sandwich: Create an amazing open-faced sandwich or a robust traditional one with this sturdy bread.
For Dinner:
- Rich Butternut Squash Beef Stew: The crusty exterior is ideal for soaking up every last drop of a flavorful stew.
- Aromatic Moroccan Spiced Beef Stew: A fantastic pairing for the warm spices and tender beef.
- Mustard Chicken with Clementines: Serve slices alongside this flavorful chicken dish to enjoy with the pan juices.
Whether you’re starting your day, enjoying a midday meal, or rounding off an evening feast, this incredible homemade Dutch oven bread is sure to enhance any dish, making every bite a memorable experience.
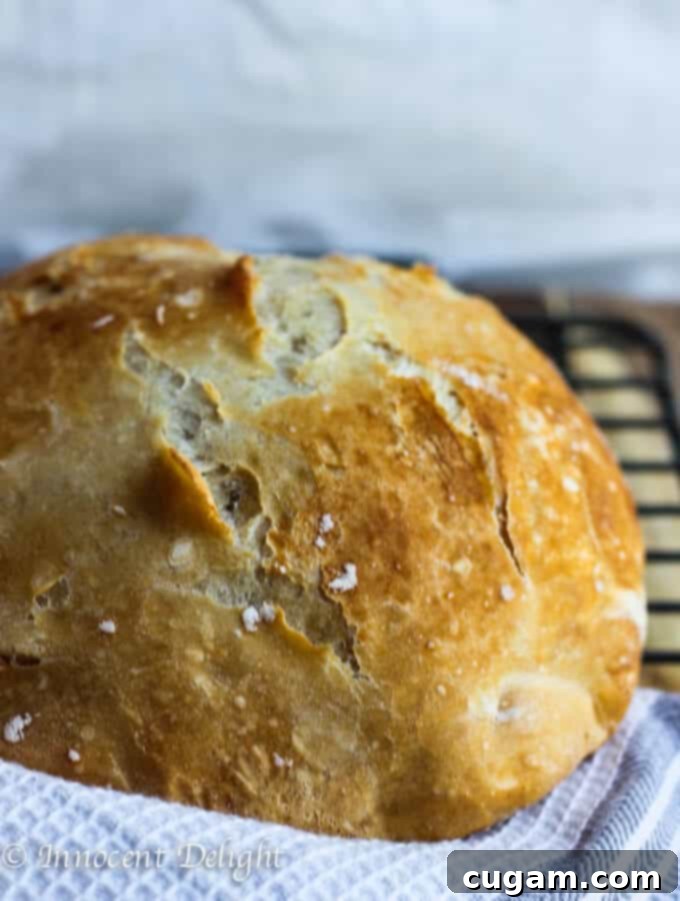
Homemade Dutch Oven Crusty Bread
Print
Pin
Rate
Ingredients
- 3 cups of all purpose flour (I use organic as I prefer to make organic bread)
- 1 1/2 teaspoons of salt
- 1/2 teaspoon of Instant yeast
- 1 1/2 cups of room temperature water
Instructions
-
In a large bowl, mix together flour, salt, and yeast.
-
Add water and, using a spatula, mix together until just combined. The dough will be shaggy and sticky.
-
Cover the bowl tightly with plastic foil and let it rise at room temperature for 12-18 hours. This long fermentation develops rich flavor and an airy crumb.
-
After at least 12 hours (or when the dough is bubbly and has nearly doubled in size), preheat your oven to 450°F (232°C).
-
When the oven has reached this temperature, carefully place your empty, covered Dutch oven into the oven and let it heat for half an hour. This step is crucial for achieving a super crispy crust.
-
In the meantime, gently scrape the risen dough onto a generously floured surface (using extra flour is key here, as the dough will be very sticky).
-
Using a dough scraper or a sturdy spatula, gently turn and fold the dough a few times, bringing the edges towards the center. Then, tuck the dough underneath itself with floured hands to form a round, taut ball. (Refer to the recommended video for visual guidance on this step if needed).
-
Place a piece of parchment paper onto your surface and then carefully transfer your dough ball onto it. Cover with plastic foil or a kitchen towel and let it rest until the Dutch oven is hot. The parchment paper will make transferring the dough much easier.
-
After the Dutch oven has been in the oven for half an hour, carefully remove it. Using the parchment paper, gently lift and place the dough ball into the hot Dutch oven. Cover with the lid and bake for 30 minutes.
-
After the first 30 minutes, remove the lid from the Dutch oven and bake for another 15-20 minutes, or until the crust is a deep golden brown and sounds hollow when tapped.
-
Carefully remove the bread from the Dutch oven (using the parchment paper) and place it on a wire rack to cool completely before slicing. This allows the internal structure to set and the crust to stay crispy.
Nutrition
Ready to explore more delicious recipes and European culinary traditions? Read about the author Edyta here or follow Eating European on social media for daily inspiration and updates: Facebook, Instagram, Pinterest, and Twitter.
