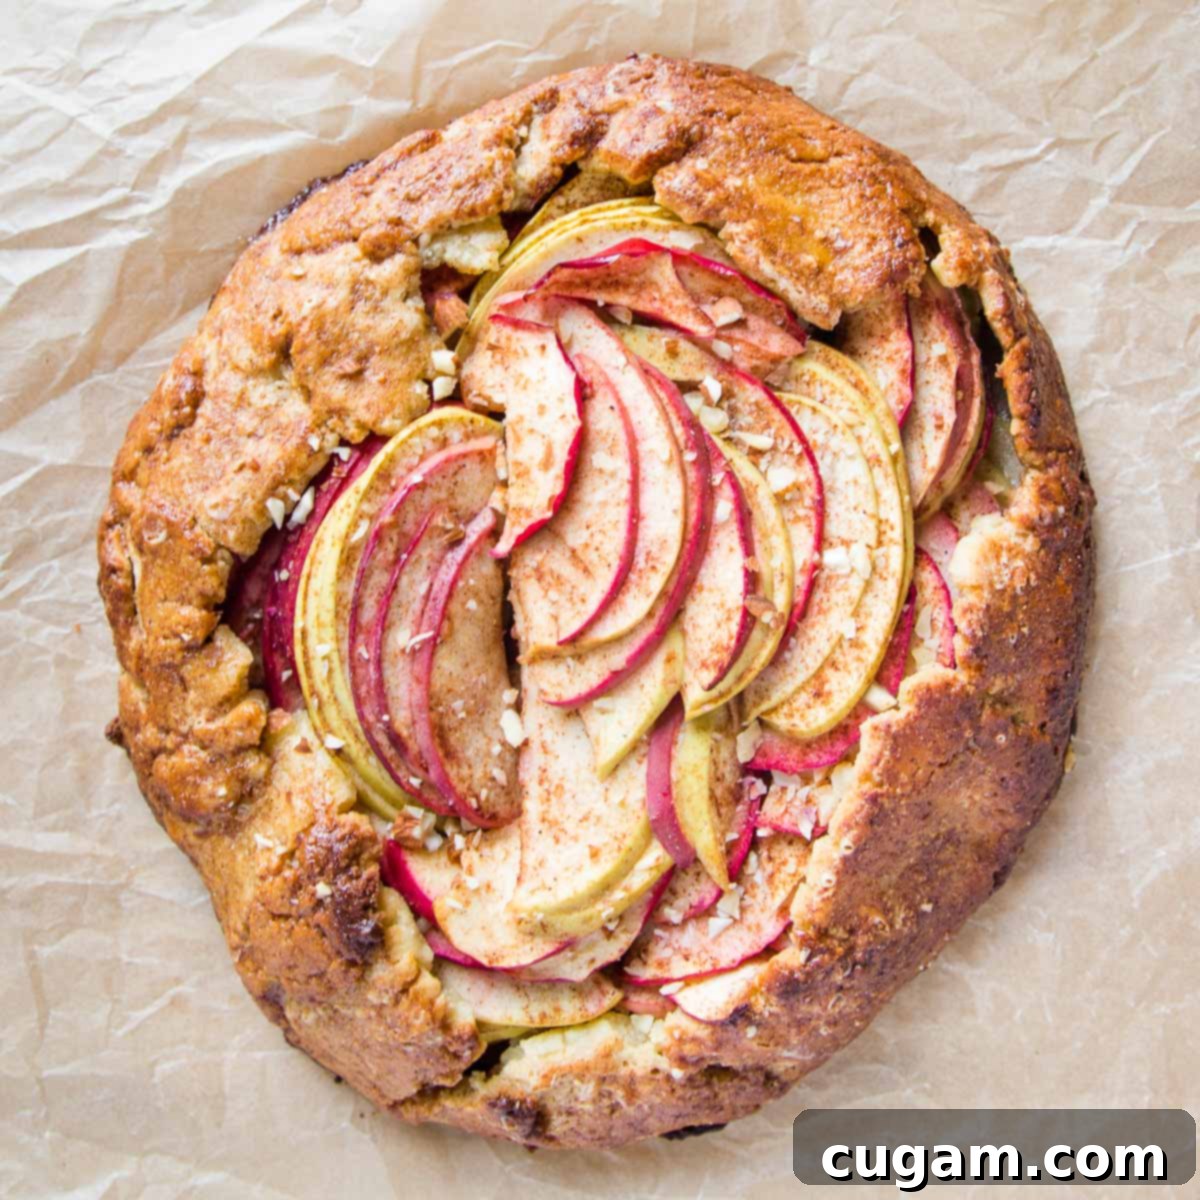
Ultimate Gluten-Free Apple Galette: Easy, Rustic, & Healthy Fall Dessert Recipe
Embrace the quintessential flavors of autumn with this incredibly simple yet elegant Gluten-Free Apple Galette! If you adore the comforting taste of traditional apple pie but often shy away from the intricate process of creating a double crust, this rustic apple galette is designed specifically for you. It delivers all the classic, warmly spiced apple goodness, enveloped in a beautifully free-formed, golden-brown crust, requiring significantly less effort and skill. Imagine succulent, cinnamon-infused apple slices nestled in a tender, perfectly sweetened gluten-free base—a true fall masterpiece that’s both wholesome and utterly delicious, making it the ideal treat for any occasion.
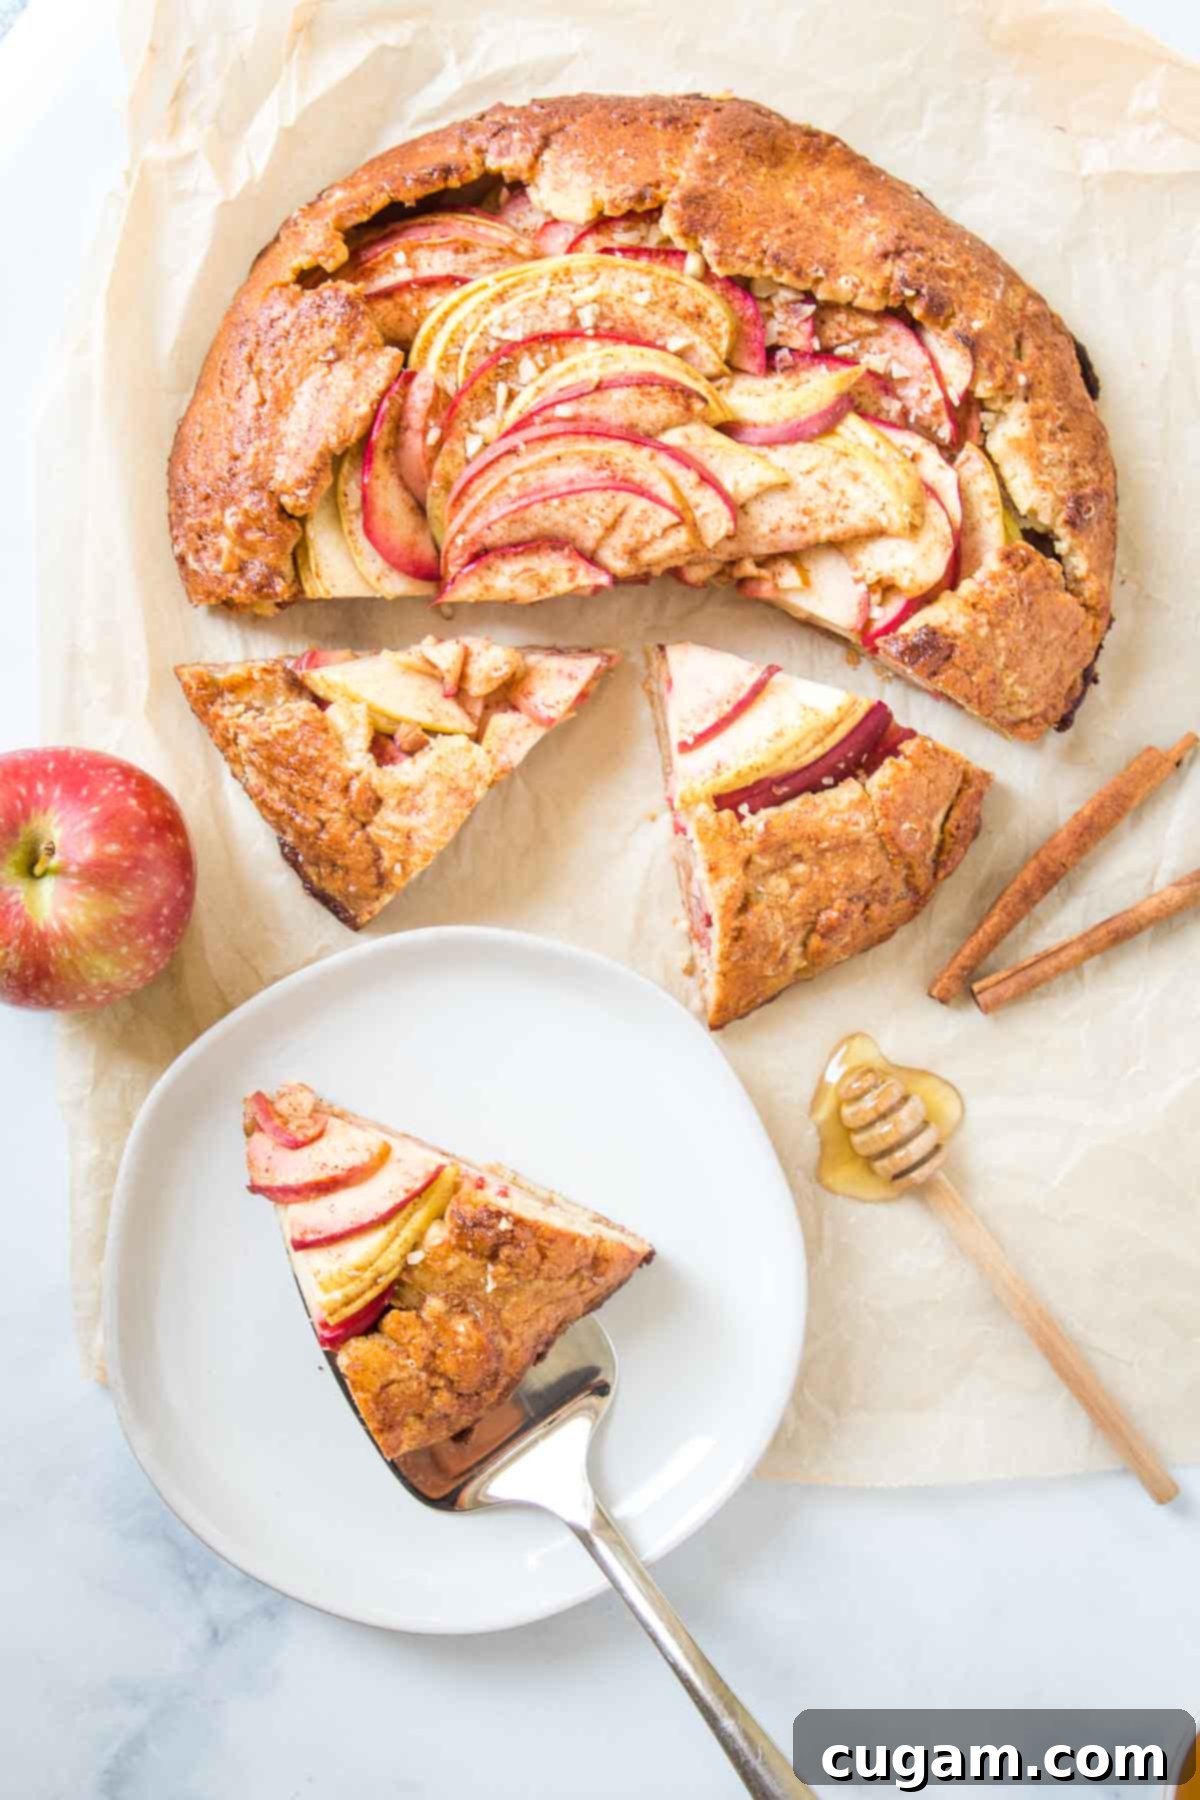
This post has been updated from the original posted September 2, 2021.
[feast_advanced_jump_to]
Prepare to meet autumn’s most charming dessert—the apple galette! This recipe features an abundance of juicy, sweet-tart apples, generously coated in a blend of cozy fall spices like cinnamon and nutmeg, and sweetened with just the right touch of honey. These flavorful apples are then lovingly enclosed in a tender, flaky gluten-free galette crust. Unlike a fussy pie, this galette is free-formed, creating a naturally beautiful, rustic appearance that looks impressive without requiring hours in the kitchen. It’s the perfect way to celebrate the fresh bounty of apple season, offering a delightful and satisfying dessert that’s both elegant and easy to make.
Why You’ll Fall in Love with This Easy Gluten-Free Apple Galette
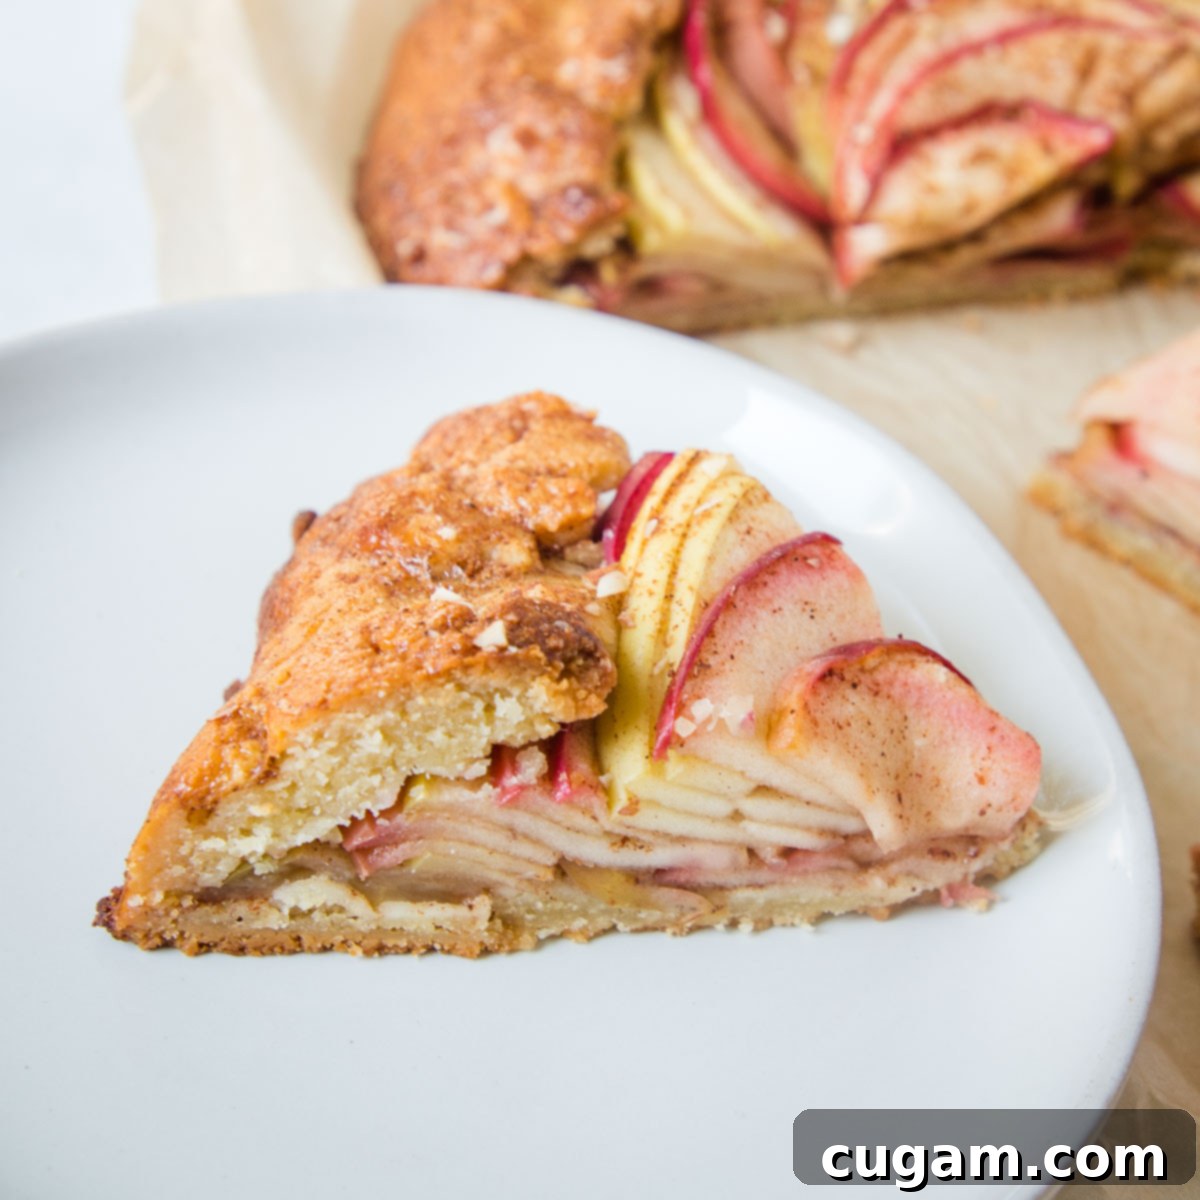
- Effortless Meal Prep: The recipe for this super easy gluten-free galette crust is a game-changer for busy bakers. You can prepare the dough well in advance, storing it in the fridge for up to two days or freezing it for up to three months. This forward-thinking approach means you can whip up a fresh, homemade dessert with minimal last-minute preparation, making entertaining or simply enjoying a weeknight treat incredibly convenient.
- Rustic Charm, Less Work: Forget the stress of elaborate pie crusts! This rustic apple galette skips the intricate crimping or lattice work of a traditional double-crust apple pie. Its free-form, unpretentious appearance is part of its irresistible appeal, offering all the deliciousness of a classic apple pie filling without any of the fuss. It’s truly a beautiful dessert that’s forgiving and fun to make, perfect for both seasoned bakers and beginners.
- Aromas of Autumn: As your galette bakes, the intoxicating scent of warm apple pie spices—cinnamon, allspice, ginger, and nutmeg—will gently waft through your home. This delightful aroma instantly creates a wonderfully cozy, inviting, and comforting atmosphere, truly embodying the essence of fall baking.
- Easily Vegan-Friendly: This versatile recipe can be effortlessly adapted to suit a vegan diet. Simply substitute the egg in the crust with a flax egg (made from ground flaxseed meal and water) and swap the honey for an equal amount of pure maple syrup. These simple changes ensure everyone can enjoy a slice of this delicious, plant-based apple galette.
- Health-Conscious Choice: Crafted with wholesome ingredients, this galette is not only gluten-free but also grain-free and paleo compliant. This makes it an excellent dessert option for individuals with specific dietary restrictions, allergies, or anyone seeking a healthier, naturally sweetened treat without refined sugars or grains.
- Naturally Sweetened Crust: The tender gluten-free pie crust is delicately and perfectly sweetened with just a touch of honey. This natural sweetness beautifully complements the apple filling, ensuring the galette is flavorful without being overly sugary, allowing the fresh taste of the apples to shine through.
- Celebrate Apple Pie Season: There’s no better way to honor the abundance of fresh, crisp apples during their peak season than with this gorgeous and surprisingly easy recipe. It’s ideal for holiday gatherings, a casual weeknight dessert, or simply enjoying with a warm cup of coffee or tea on a crisp fall afternoon.
Essential Ingredients for Your Perfect Gluten-Free Galette Crust
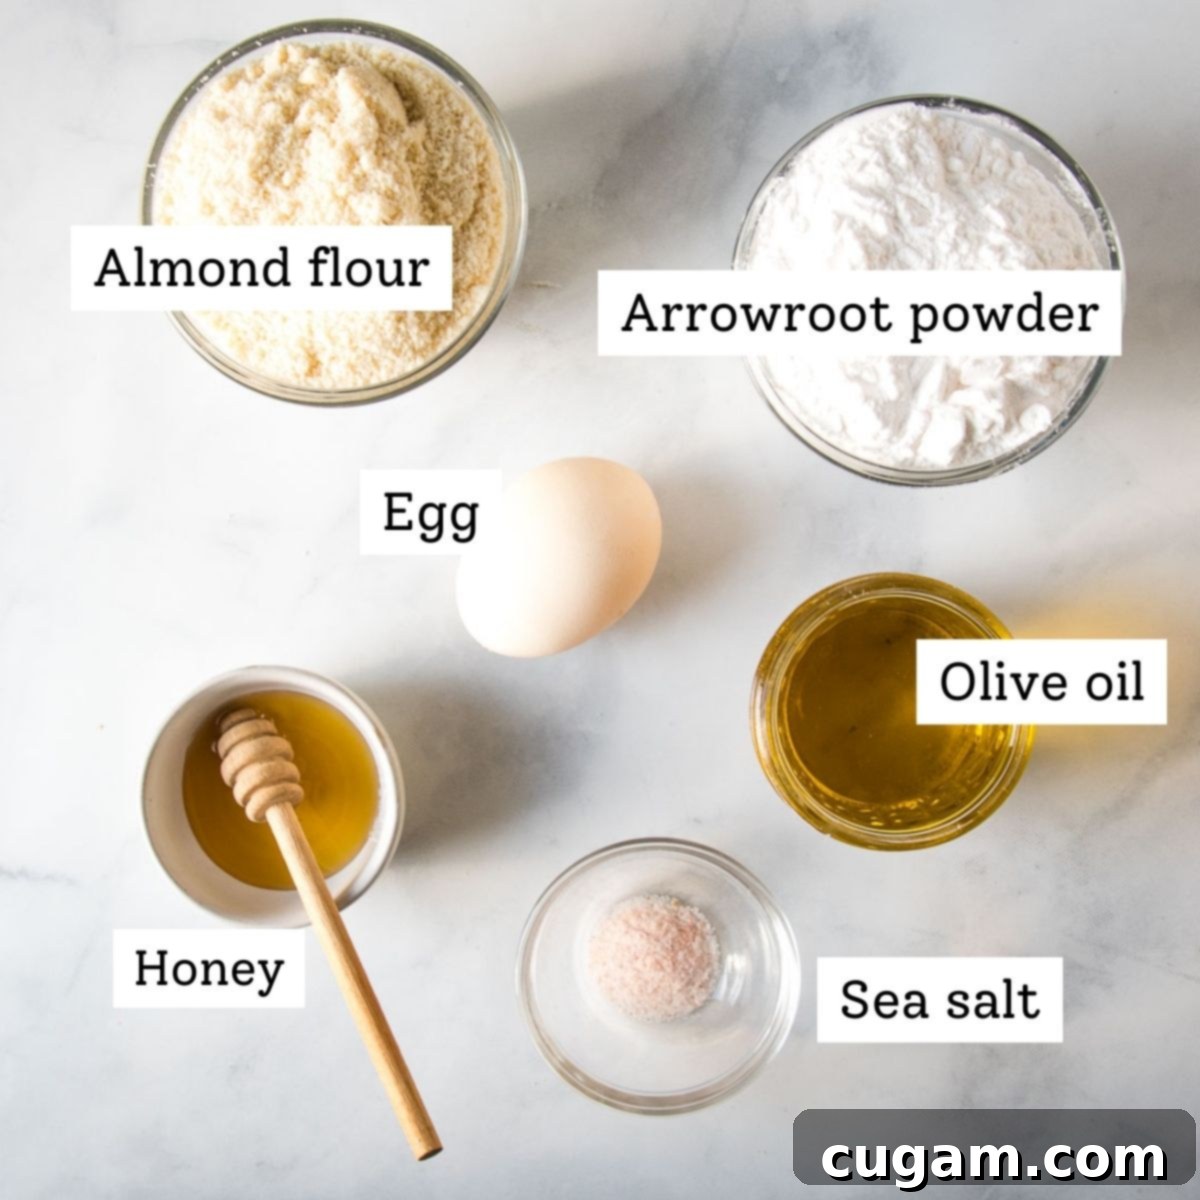
- Almond Flour: For the most delicate and best-textured crust, always opt for finely ground and blanched almond flour. This type of almond flour contributes a tender crumb and a subtle, rich flavor that pairs wonderfully with apples. While a general gluten-free all-purpose flour blend can be used as a substitute, be aware that its moisture absorption properties may differ, requiring minor adjustments to liquid. If you’re not gluten-free, all-purpose wheat flour can also work, though you might need a bit less than the specified almond flour quantity due to its lower moisture content.
- Arrowroot Powder: This incredible ingredient serves as a fantastic and healthier alternative to cornstarch in gluten-free baking. Derived from a tropical plant, arrowroot starch is known for being easier to digest and is packed with beneficial nutrients such as fiber, potassium, iron, and various B vitamins. It’s completely flavorless, naturally gluten-free, and vegan, making it a versatile pantry staple that’s widely available. When buying, ensure the label explicitly states “arrowroot starch” as the sole ingredient to avoid unwanted additives. Should you need a substitute, cassava flour or tapioca starch are suitable alternatives offering similar thickening and binding properties.
- Honey: The natural sweetness of honey beautifully complements the tartness of apples, creating a classic and comforting flavor profile. If you’re adapting this recipe for a vegan diet, pure maple syrup is an excellent and equally delicious substitute, providing a rich, earthy sweetness that works perfectly in the filling.
- Olive Oil: We consciously choose olive oil over highly processed vegetable oils, which can sometimes be inflammatory. Olive oil imparts a subtle, healthy fat component to the crust, contributing to its tenderness and flavor. For alternatives, unrefined coconut oil or avocado oil are fantastic choices. Both are less refined and offer a healthier fat profile compared to highly processed options like many vegan butter brands.
- Egg: The egg plays a vital role in this gluten-free crust, acting as a crucial binder that helps hold the dough together and provides essential structure. If you’re making a vegan galette, you can easily replace the egg with a flax egg. To prepare, simply mix 1 tablespoon of ground flaxseed meal with 3 tablespoons of water and let it sit for about 5 minutes until it forms a gel-like consistency. While a flax egg dough might be slightly softer and a bit more challenging to work with, a little patience will still yield a wonderfully delicious and sturdy vegan crust.
Delicious Ingredients for the Irresistible Apple Galette Filling
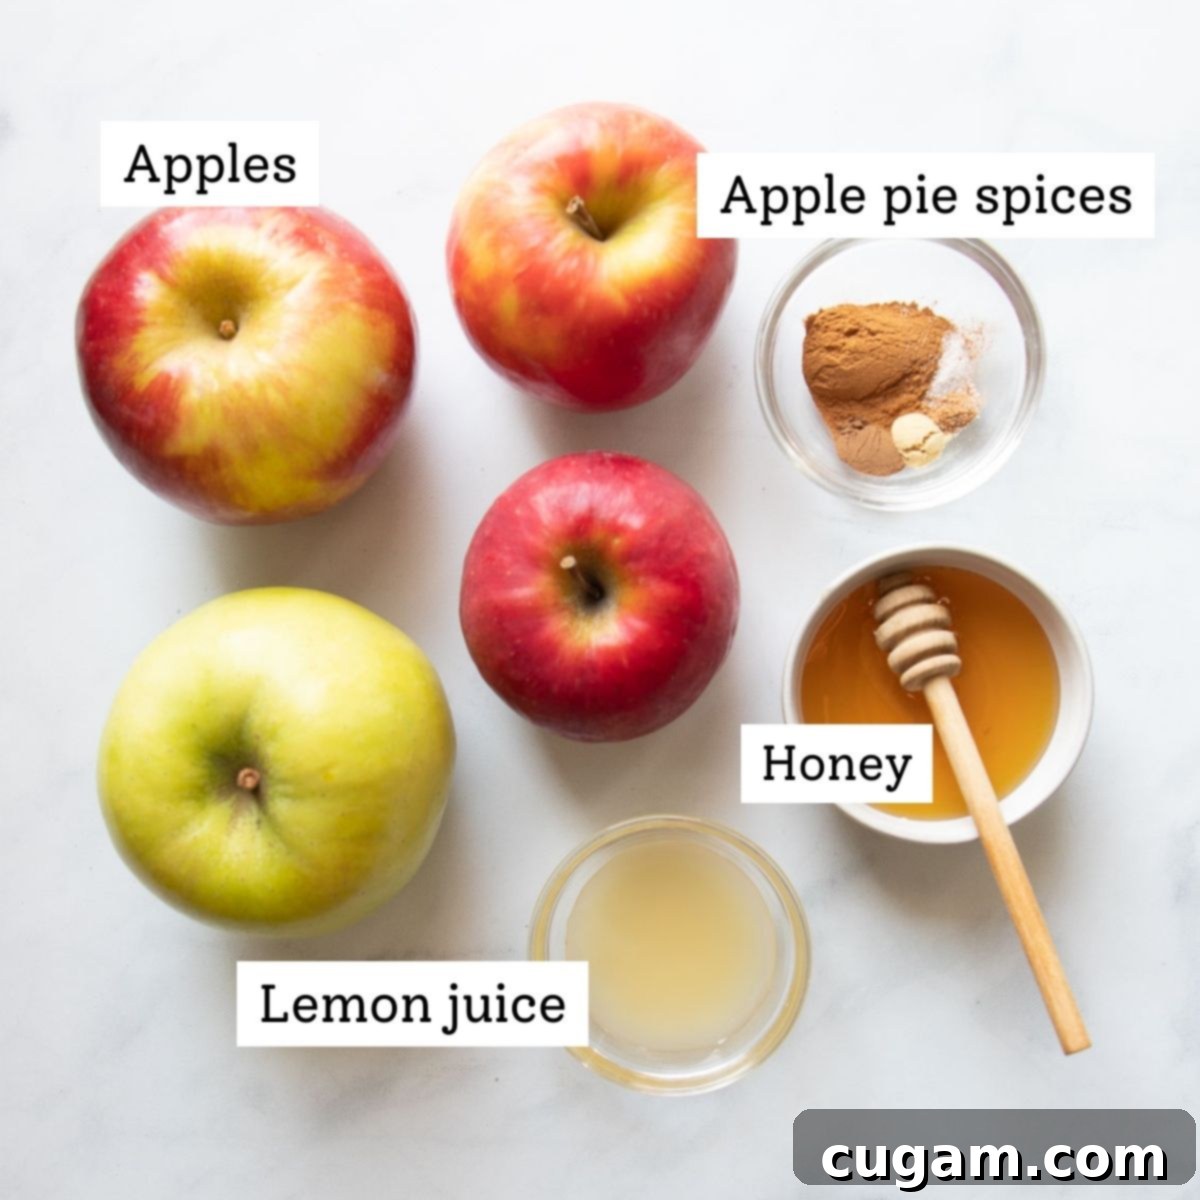
- Apples: The true star of your galette! To achieve a perfectly balanced and flavorful filling, aim for a variety of firm apple types, combining both sweet and tart options. The firmness of the apples is crucial as they need to hold their shape beautifully during baking, ensuring your galette showcases lovely, distinct apple slices rather than a mushy texture. Refer to our detailed guide below for specific recommendations on selecting the best fresh apples for your galette.
- Lemon Juice: A squeeze of fresh lemon juice is more than just an accent; it’s a key ingredient. Not only does it help prevent your freshly sliced apples from oxidizing and browning, but it also brilliantly brightens their natural flavor. This touch of acidity provides a delightful zing that perfectly balances the sweetness of the honey and the warmth of the spices.
- Honey: Similar to its role in the crust, honey serves as the natural sweetener for the filling. It enhances the apples’ inherent sweetness without overwhelming the palate. If you’re aiming for a vegan filling, simply substitute with an equal amount of pure maple syrup, which offers a rich, deep sweetness. Thanks to the natural sugars from the apples and the chosen sweetener, there’s no need to add any brown sugar.
- Apple Pie Spices: This harmonious blend is what truly defines the cozy, autumnal character of your galette. We’ll combine a classic mix of ground cinnamon, allspice, ginger, and nutmeg. A small pinch of sea salt is also included to subtly enhance and balance all the wonderful flavors. These warming spices will infuse your apples with an irresistible depth, making every single bite incredibly comforting and aromatic.
Choosing the Best Apples for a Perfectly Rustic Galette
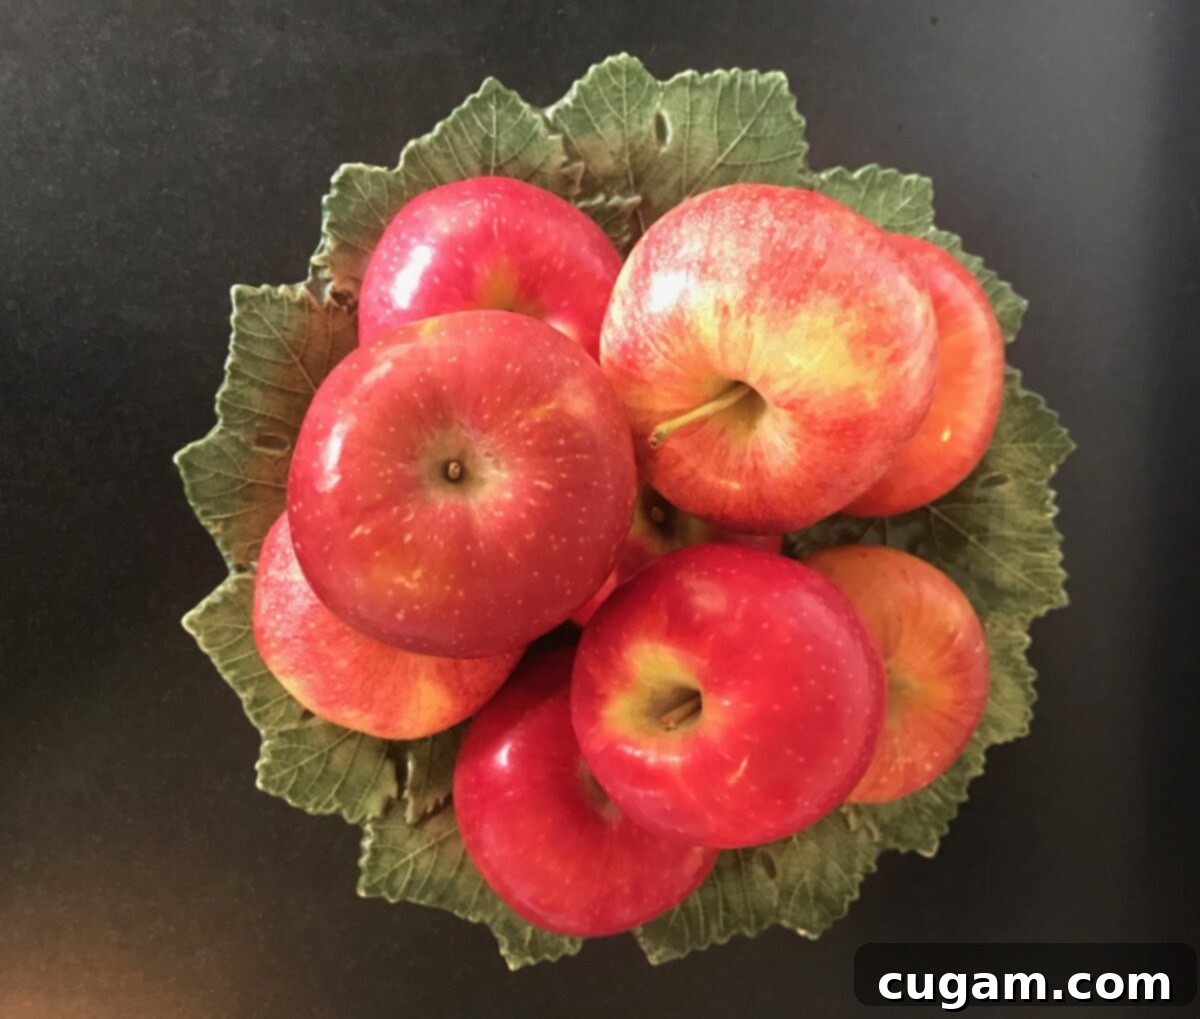
The success of your apple galette heavily relies on selecting the right apples. Here’s a comprehensive guide to help you choose wisely for a truly exceptional dessert:
- Inspect for Firmness and Flaws: Begin by carefully selecting apples that feel firm and solid to the touch. Avoid any with bruises, soft spots, or indentations. A wrinkly skin is a clear indicator that an apple is past its peak freshness and will not provide the desirable crisp texture needed for baking. Firmness is paramount to ensure the apples maintain their integrity and structure during the baking process.
- Embrace Variety for Flavor Depth: For a truly dynamic and engaging flavor profile, the best galettes often benefit from a thoughtful blend of apple varieties. Combining both sweet and tart apples introduces subtle nuances and layers of flavor, creating a more complex, well-rounded, and ultimately satisfying dessert that a single type of apple simply cannot achieve on its own.
- Prioritize Firmness for Visual Appeal and Texture: While a mix of baking apples (which break down easily) and firm apples can work well in a deep-dish pie, a galette looks and tastes its best with apples that remain firm and hold their shape. These varieties are crucial as they prevent the filling from becoming mushy, allowing the beautifully fanned-out slices to be visible and distinct in your rustic presentation.
- Sweet Apple Recommendations: If your palate leans towards a sweeter dessert, excellent choices include Gala, Fuji, Braeburn, and Honeycrisp apples. These varieties offer a naturally high sugar content and a delightful crispness, meaning you’ll need minimal added sweetener in your filling, allowing their natural flavors to shine.
- Tart Apple Favorites: For those who appreciate a vibrant tang to cut through the sweetness, tart apples such as Pink Lady, Jonagold, and the ever-reliable Granny Smith apples are superb choices. Granny Smiths are particularly favored in baking due to their robust tartness and ability to maintain their firm texture even after cooking.
- Nutritional Considerations: It’s an interesting fact that green apples, which are typically more tart than their red counterparts, generally contain fewer calories and carbohydrates than red apples. This might be a beneficial consideration for those who are monitoring their nutritional intake without sacrificing flavor.
- Seek Expert Advice at Local Orchards: If you have the wonderful opportunity to visit an apple orchard, don’t hesitate to engage with the staff. They are often incredibly knowledgeable about their specific varieties and can provide excellent recommendations for apples that would be absolutely perfect for baking an apple galette, potentially introducing you to unique local flavors you wouldn’t find elsewhere.
Crafting Your Tender Gluten-Free Galette Crust Step-by-Step
The foundation of a truly remarkable galette is its crust. This journey begins by preparing the dough, which requires an essential chilling period—a minimum of 4 hours, or ideally, overnight. This crucial step allows the gluten-free dough to firm up, making it significantly easier to handle, roll out, and shape without encountering common issues like sticking or tearing. Our simple crust recipe is designed with wholesome, natural ingredients, promising a delicious and healthy base that perfectly complements your sweet apple filling.
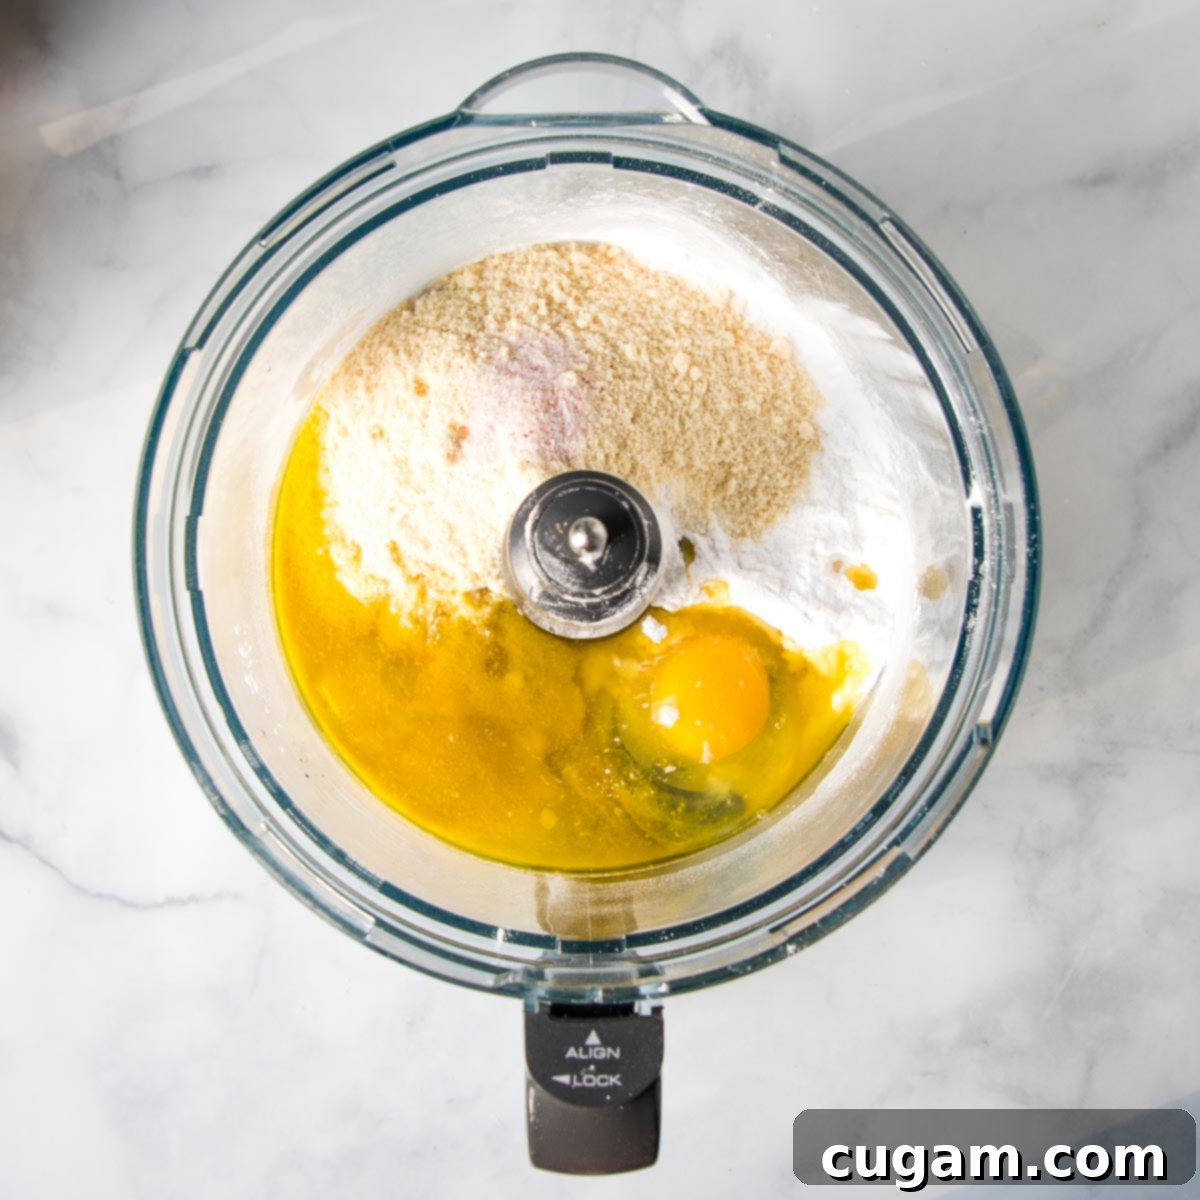
Crust Step 1: Combine Ingredients. Begin by carefully gathering all the necessary ingredients for your gluten-free crust: blanched almond flour, arrowroot powder, a large egg, honey, a pinch of sea salt, and olive oil. Place all these ingredients directly into the bowl of a food processor. Utilizing a food processor for this step is incredibly efficient, ensuring a quick and thorough mixing of all components for a consistent dough.
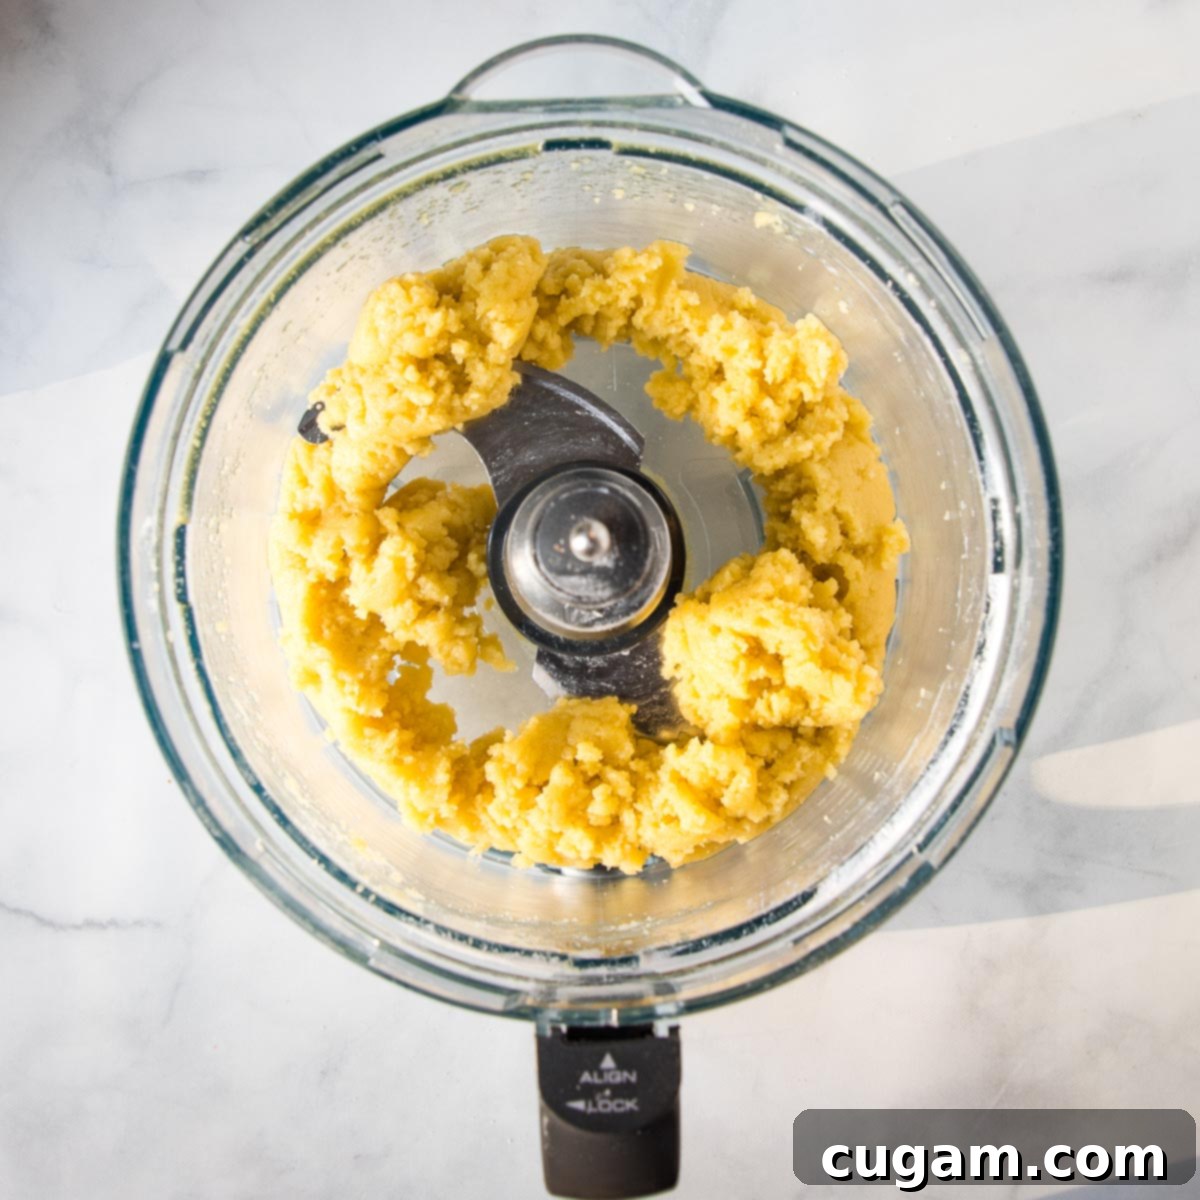
Crust Step 2: Process to Form Dough. Activate your food processor and process the gluten-free crust mixture until all the ingredients are thoroughly combined and it begins to form a crumbly dough. While it might look a bit loose at first, the key is that it should easily stick together when you press a small amount between your fingers. Be mindful not to over-process; stop as soon as the dough coalesces.
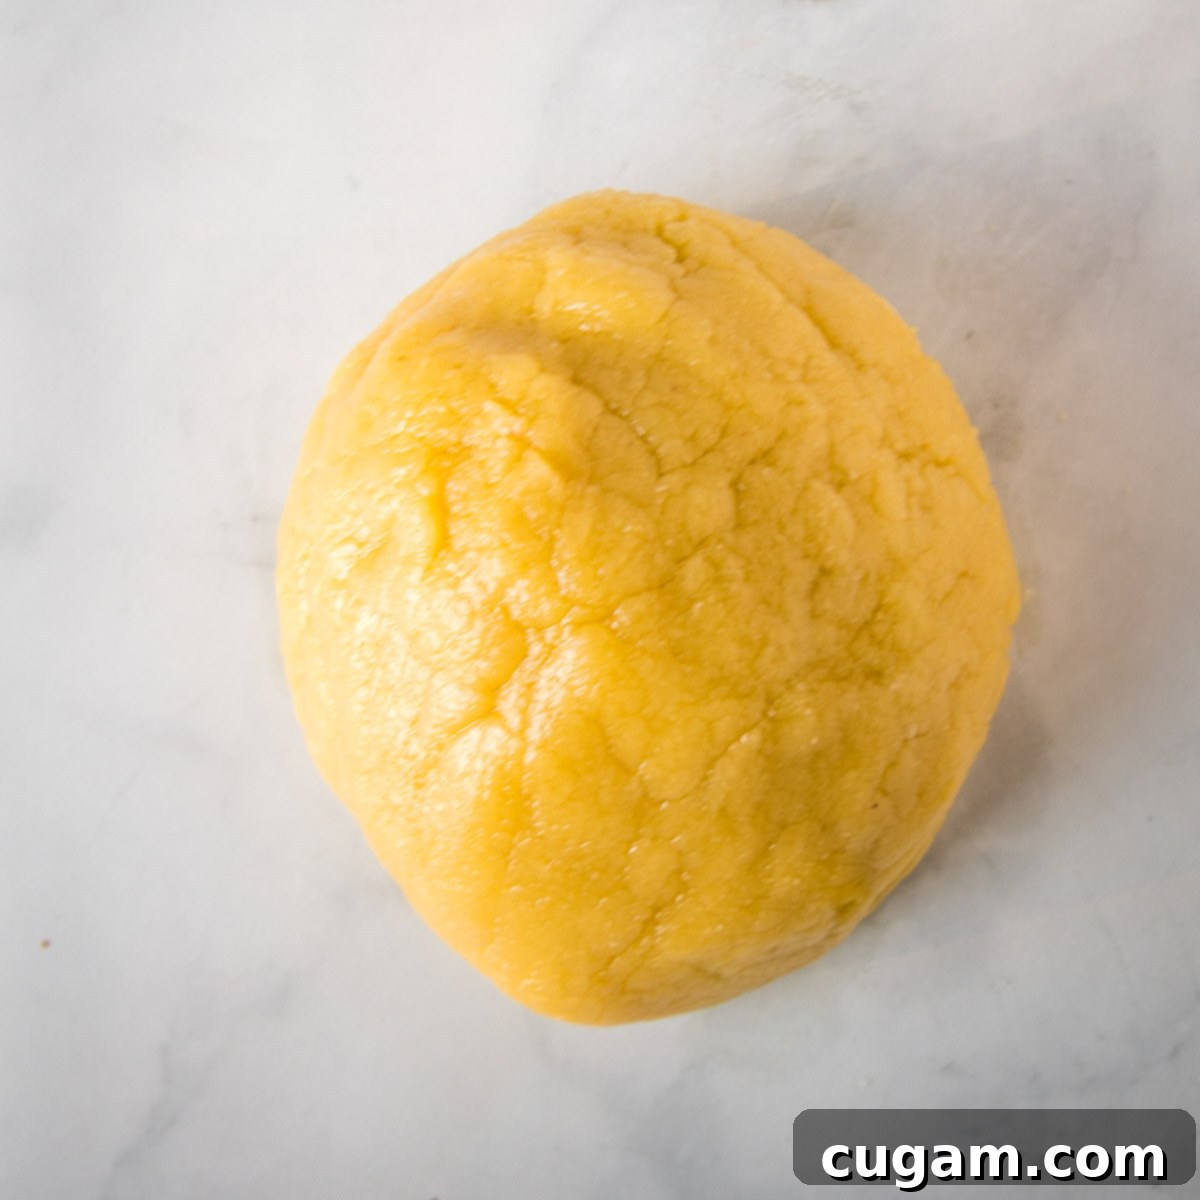
Crust Step 3: Chill the Dough. Once the dough has formed, gently roll it into a smooth, cohesive ball. Wrap this ball tightly in plastic wrap, ensuring that no air can penetrate, which is crucial for preventing the dough from drying out. Transfer the securely wrapped dough to the refrigerator and allow it to chill for a minimum of 4 hours, though letting it rest overnight is even better. This vital chilling period is what makes the gluten-free dough pliable, firm, and easy to roll without the common issues of tearing or excessive stickiness.
The Easiest Way to Core and Perfectly Slice Your Apples
Efficiently prepping your apples is key to a smooth baking process. This simple method ensures uniform, thin slices that will bake beautifully and present elegantly in your galette, giving it that professional touch without the extra effort.
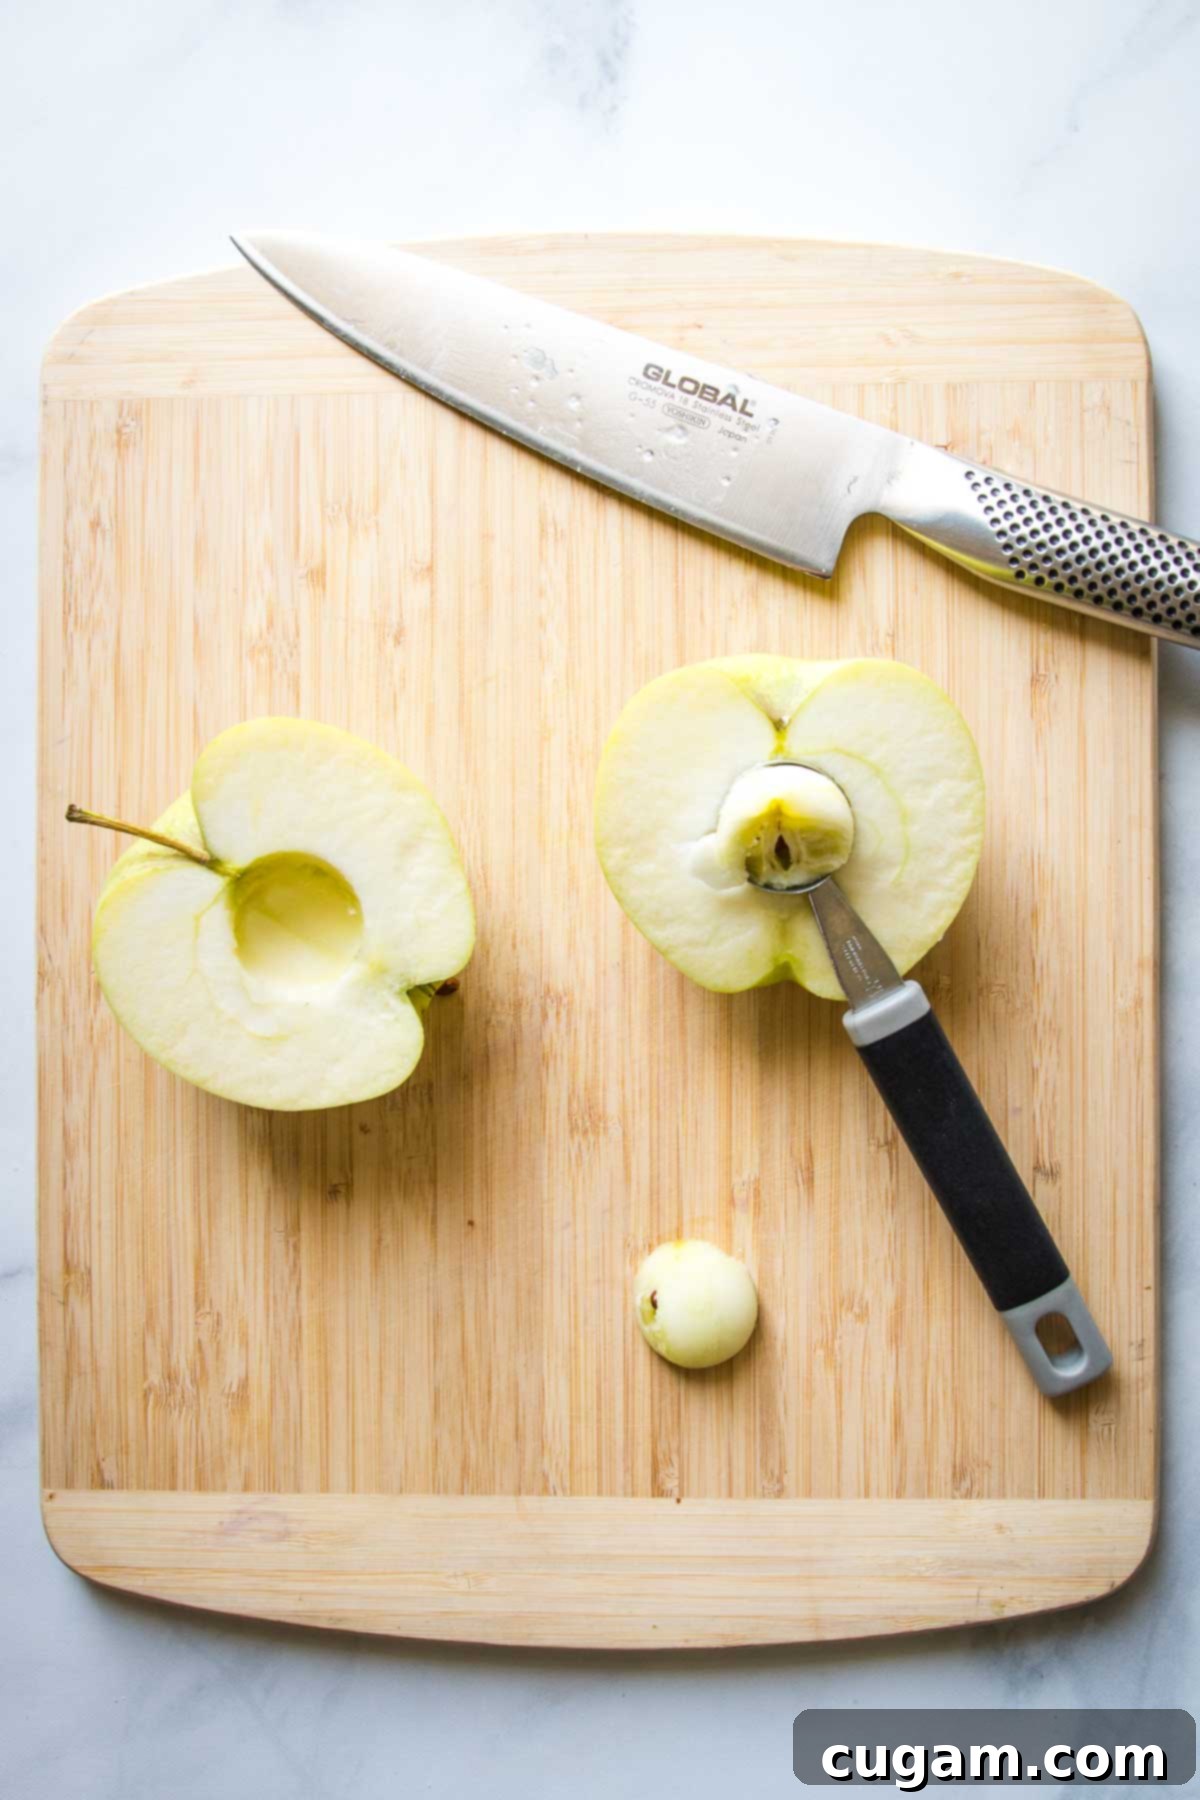
Step 1: Halve and Core. Begin by carefully cutting each apple in half, slicing straight down through the stem. Next, using a small, sturdy spoon or a convenient melon baller, scoop out the inner core and any seeds. This simple technique is incredibly efficient, minimizes waste, and creates a clean base for slicing, far easier than struggling with traditional corers.
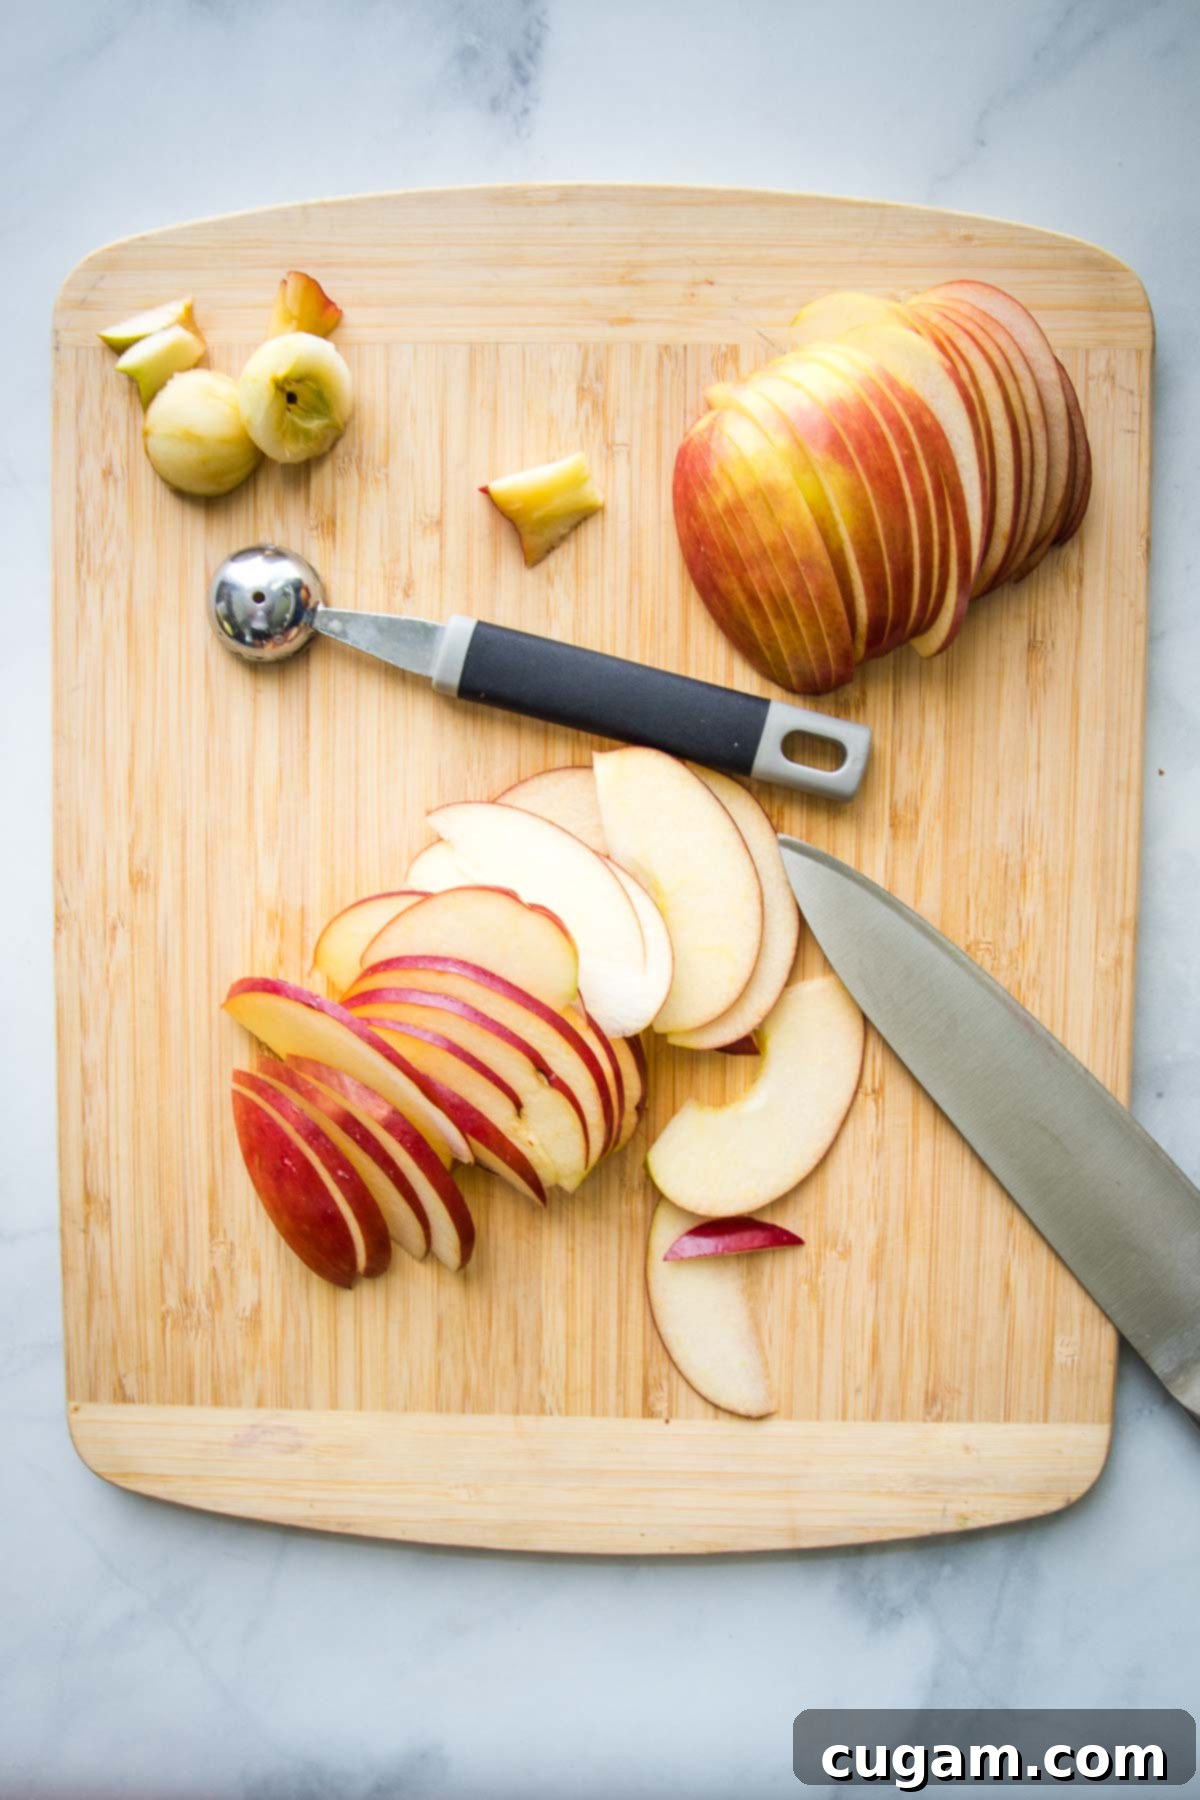
Step 2: Thinly Slice. Once each apple half is cored, place it cut-side down on a sturdy cutting board. Using a very sharp knife, carefully slice the apples into thin, uniform pieces. Aim for a consistent thickness, ideally between ⅛ to ¼ inch, as this ensures even cooking and a beautiful presentation. Continue this process until all your selected apples are cored and perfectly sliced, ready to absorb the delicious spiced mixture.
Prepare Your Aromatic & Delicious Apple Filling
This simple yet incredibly flavorful filling is what truly elevates your apples into a decadent and comforting dessert. The harmonious combination of warm spices, bright lemon, and natural sweetness from the honey will make your galette utterly irresistible and leave everyone craving more.
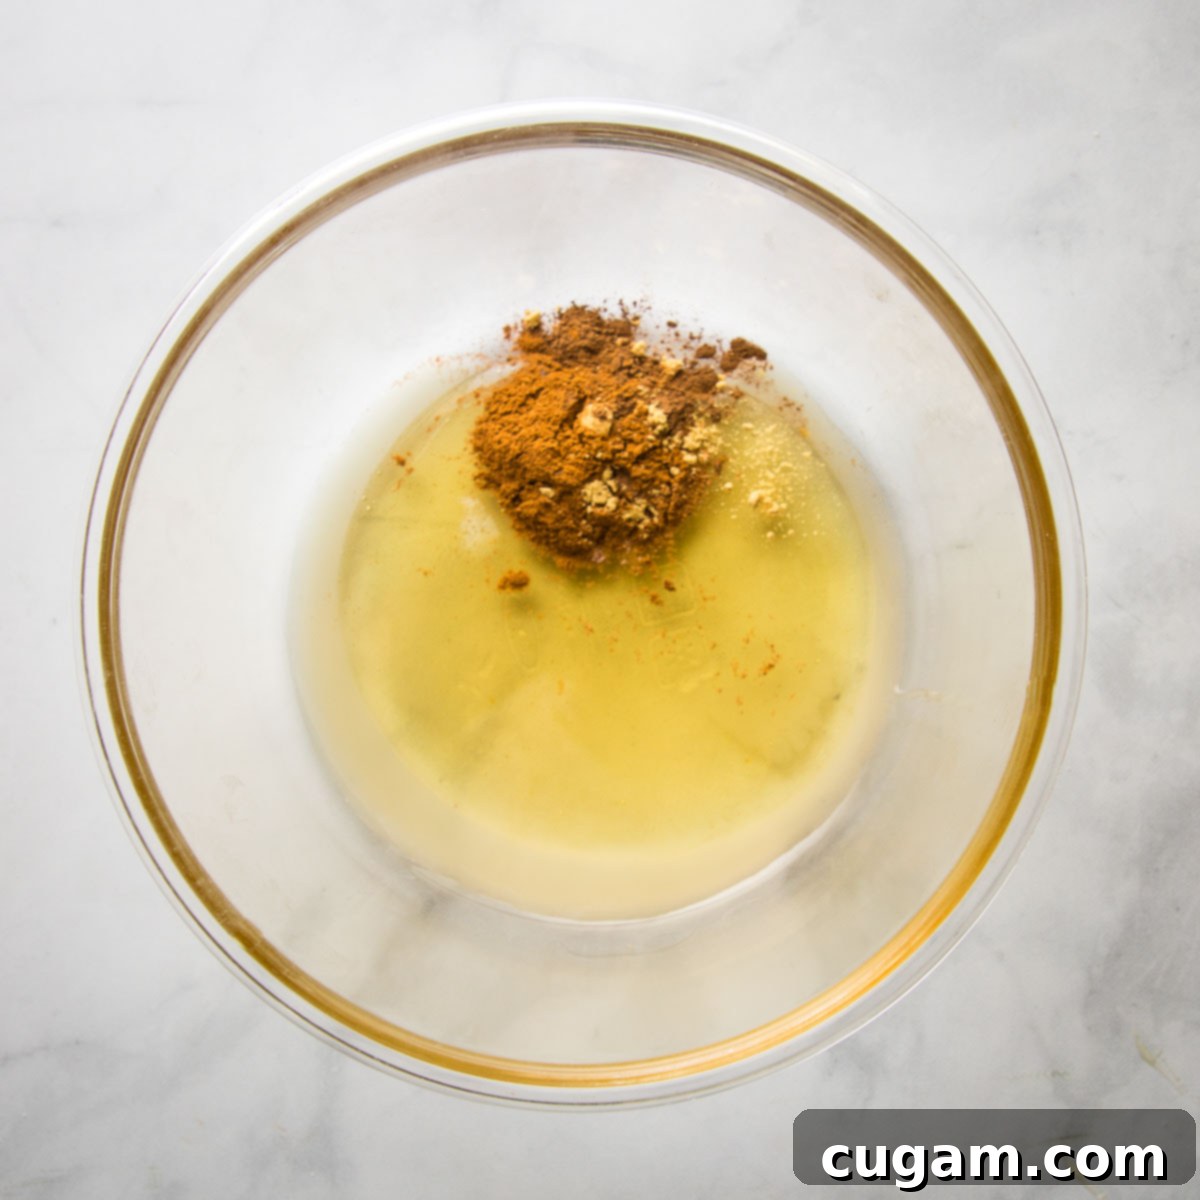
Step 1: Mix Wet & Dry Spices. In a generously sized mixing bowl, combine all your aromatic spices: ground cinnamon, allspice, ginger, and nutmeg. Add the fresh lemon juice and honey. Use a fork or a handy mini whisk to thoroughly mix these ingredients until they form a fragrant, well-blended paste. This ensures that the powerful flavors are evenly distributed and ready to cling to the apple slices.
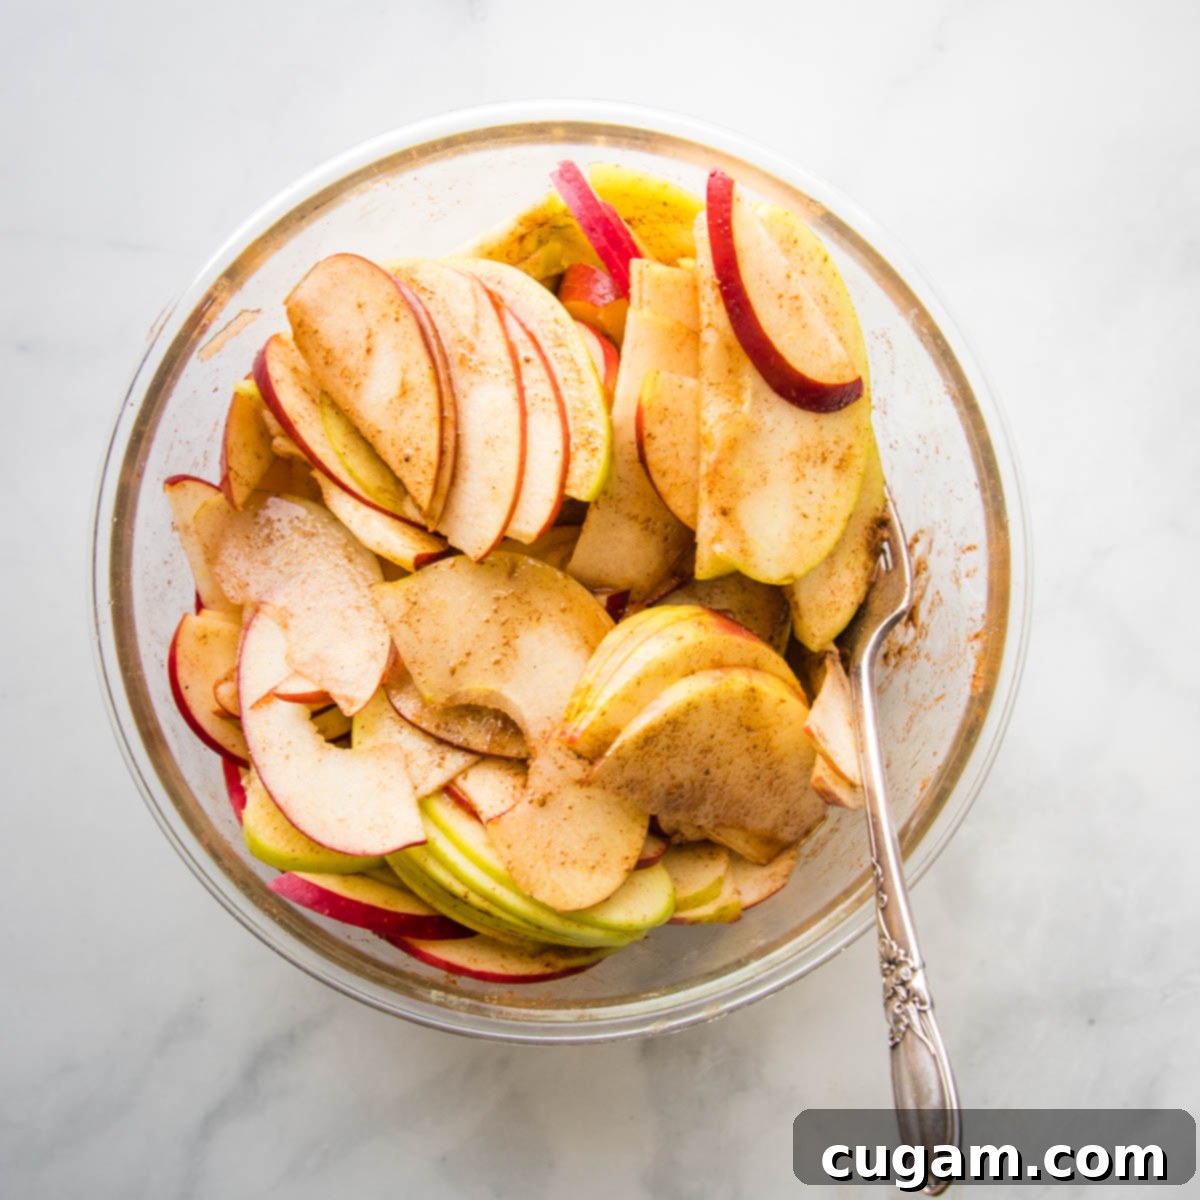
Step 2: Coat Apple Slices. Add all your thinly sliced apples into the large bowl containing the spice mixture. Using a spoon or your clean hands, gently toss the apples until each and every slice is thoroughly and evenly coated with the aromatic spices. You want every bite of your galette to be bursting with flavor. Allowing the apples to sit for a few minutes at this stage can also help them release some of their natural juices, further tenderizing them for baking.
Effortlessly Roll Out Your Gluten-Free Galette Dough
Working with gluten-free dough can sometimes be a bit different than traditional wheat-based dough, but with the right technique, you’ll achieve a perfect, easy-to-handle crust every single time. Parchment paper will be your secret weapon here, ensuring a seamless process from rolling to baking.
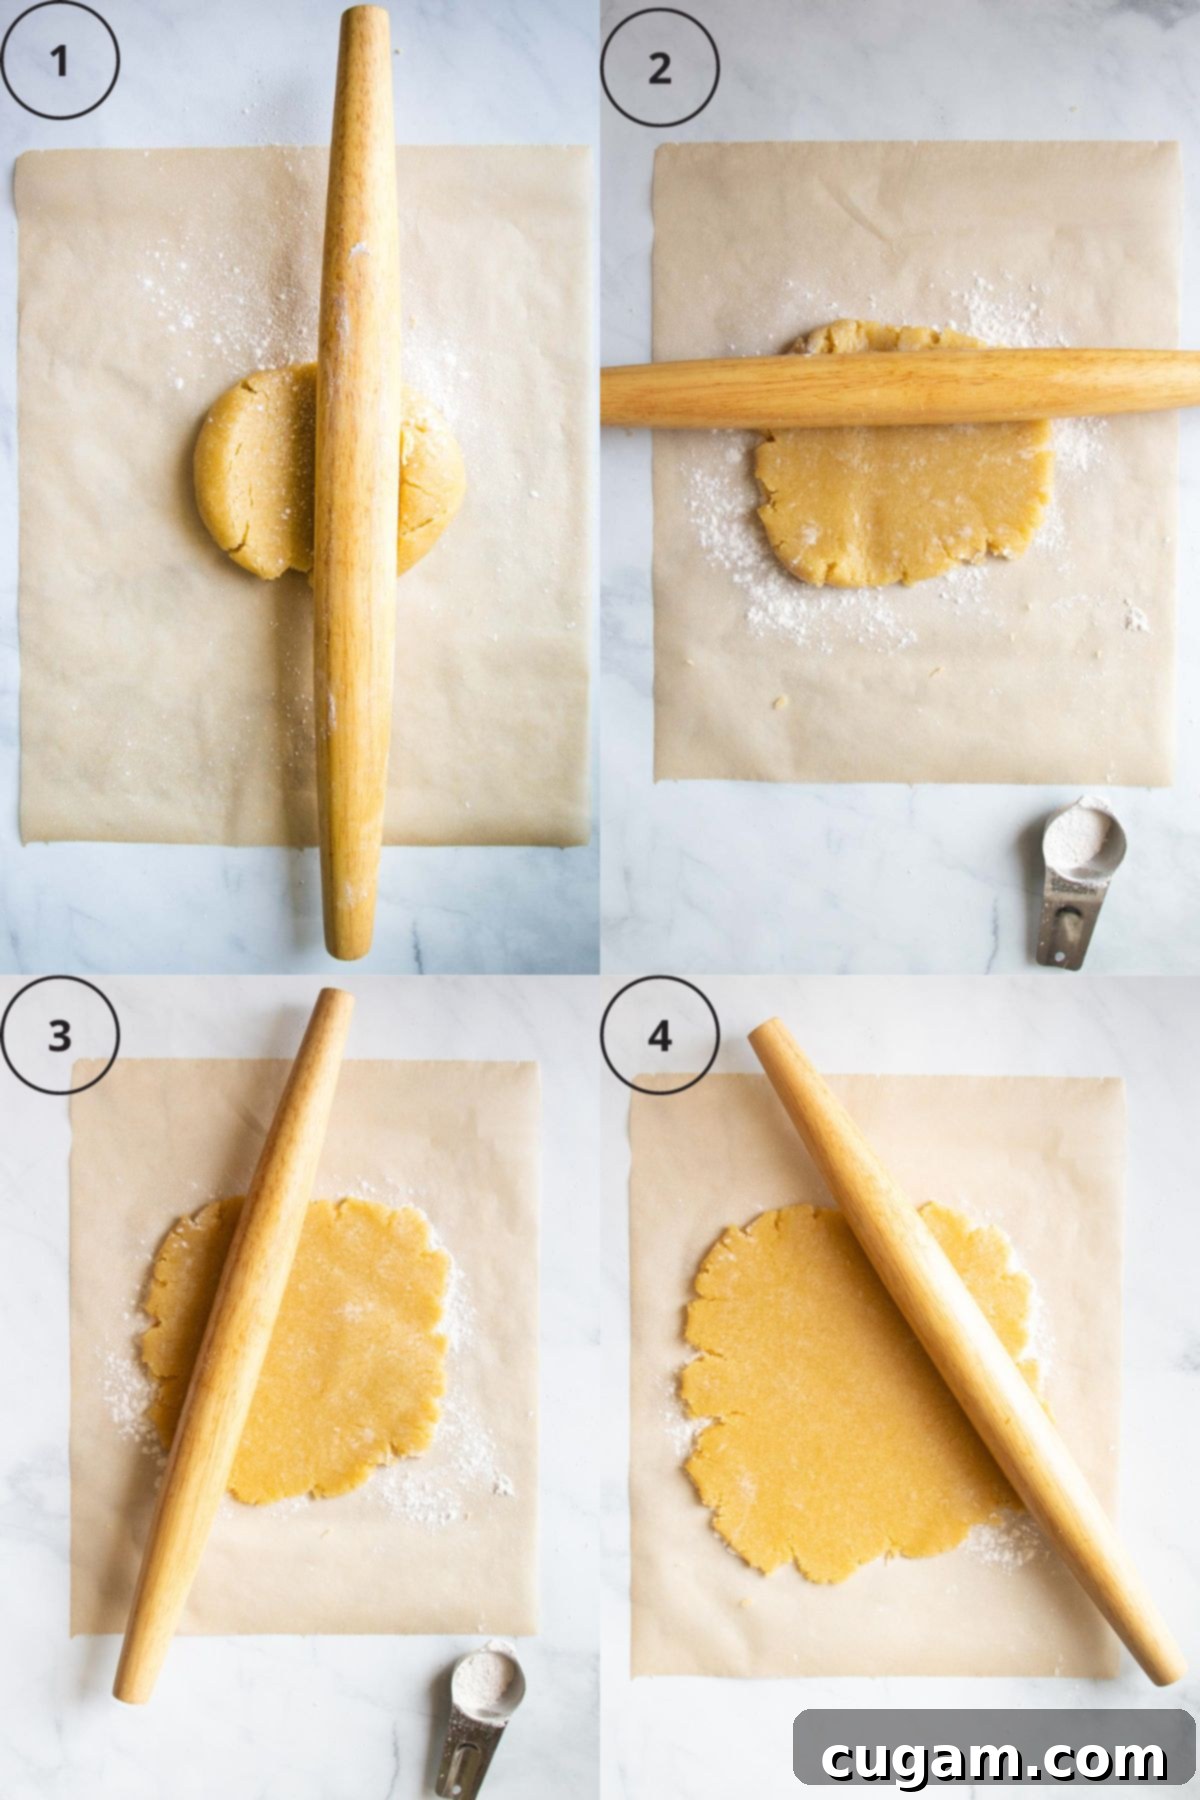
- Prepare Your Surface: Retrieve your well-chilled pie dough from the refrigerator. Place it directly in the center of a large piece of unbleached parchment paper. This paper is indispensable as it not only prevents the dough from sticking to your work surface but also allows for effortless transfer to your baking sheet.
- Prevent Sticking: Lightly dust both the surface of the dough and your rolling pin with a small amount of arrowroot powder. This acts as a non-stick agent, crucial for gluten-free doughs, ensuring the dough doesn’t adhere to the rolling pin as you work, which helps prevent tearing and frustration.
- Roll Evenly: Begin rolling the dough from the center outwards, gently but firmly. Continuously rotate the parchment paper as you roll in various directions (north, south, east, west, and diagonals). Your goal is to create a roughly circular disc of uniform thickness, approximately ¼ inch. Consistent thickness is vital for ensuring your galette bakes evenly and achieves that perfect crisp-tender crust.
- Chill (Again!) for Stability: Once you’ve achieved the desired size and thickness, carefully slide the parchment paper with the rolled-out dough onto a rimmed baking sheet or a pie plate. Transfer it back to the refrigerator for a brief 10-15 minute chill. This quick re-chilling step helps the dough firm up slightly before you add the filling, making it more stable and significantly easier to fold without cracking.
Assembling and Baking Your Gorgeous Apple Galette to Perfection
With your crust chilled and your filling prepared, it’s time for the most exciting part – bringing all the components together to create your beautifully rustic apple galette. Follow these steps for a dessert that’s as delightful to look at as it is to eat!
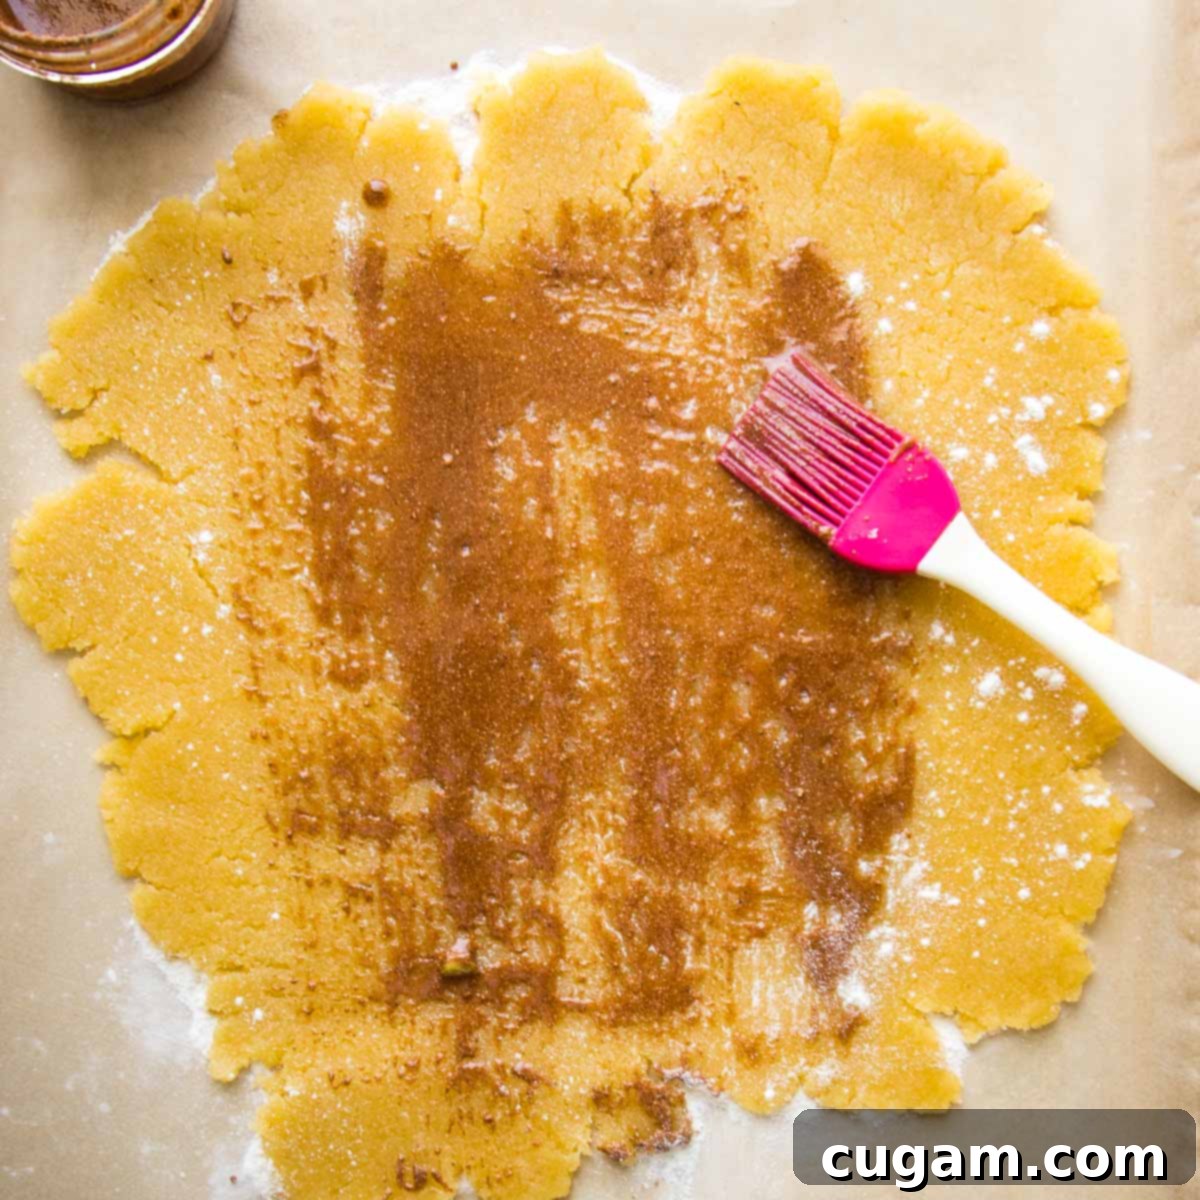
Step 1: Prep the Crust. Remove your chilled, rolled-out dough (still on its parchment paper) from the refrigerator. Lightly sprinkle the center of the dough with a little extra arrowroot powder—this is a vital step that helps absorb any excess moisture from the apples, preventing a soggy bottom crust and ensuring it stays beautifully crisp. Then, take a pastry brush and lightly brush on a bit of the residual apple spice mixture from the mixing bowl over the center. This adds an extra layer of flavor and helps the crust achieve a beautiful, even browning.
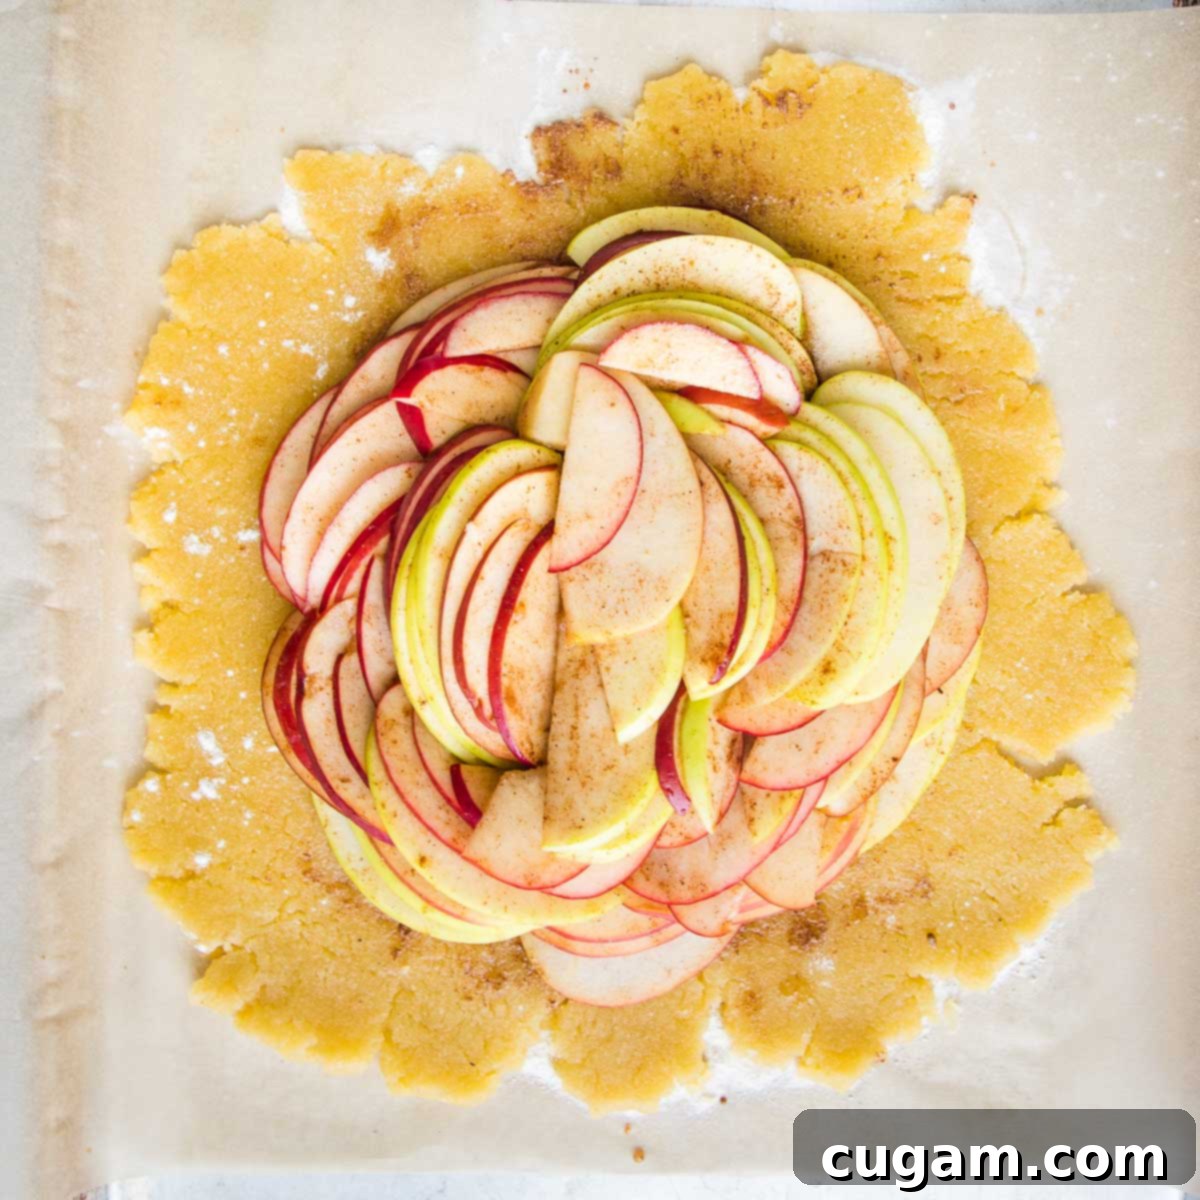
Step 2: Arrange the Apples. With the crust prepped, it’s time to add your spiced apple mixture. Carefully fan out the apple slices onto the center of the galette crust. Start from the outer edge of where the filling will sit and work your way inward, creating an attractive, slightly overlapping circular pattern. It’s essential to leave a generous 1-inch rim of dough exposed around the entire outside edge of the apples—this border is crucial for the rustic fold.
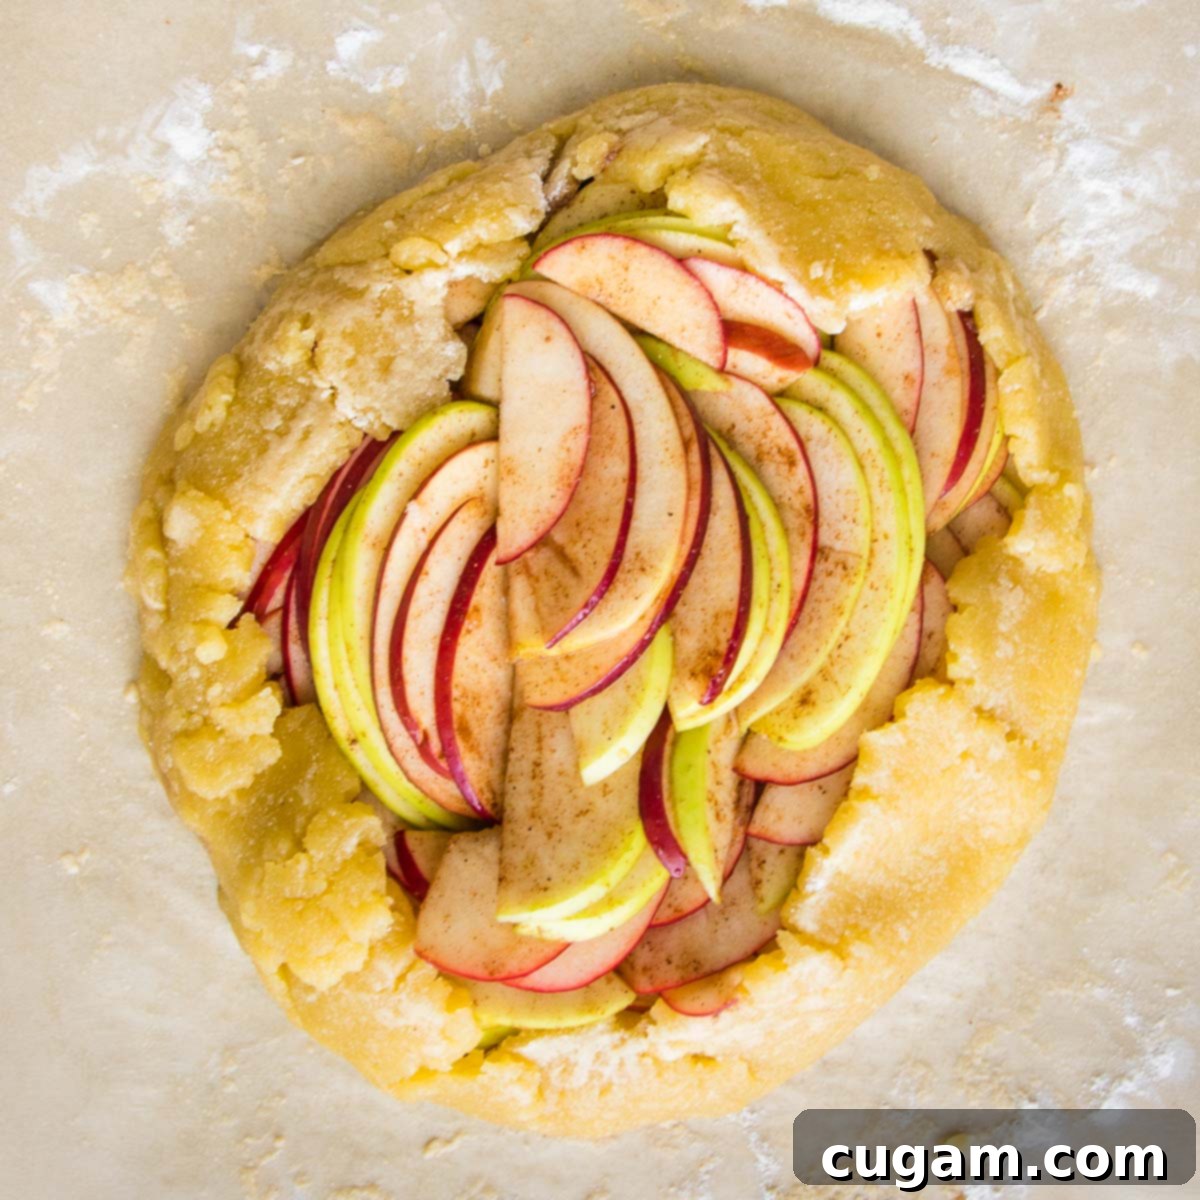
Step 3: Create the Rustic Fold. Now for the signature free-form look of a galette! Gently lift and fold the exposed edges of the dough up and over the apples, working your way around the entire circle. As you fold, softly overlap the dough and lightly pinch it onto itself to create a secure, rustic border. The beauty of a galette lies in its imperfections, so don’t worry about making it look perfectly neat. The center of the galette should remain open, beautifully showcasing the vibrant apple slices within.
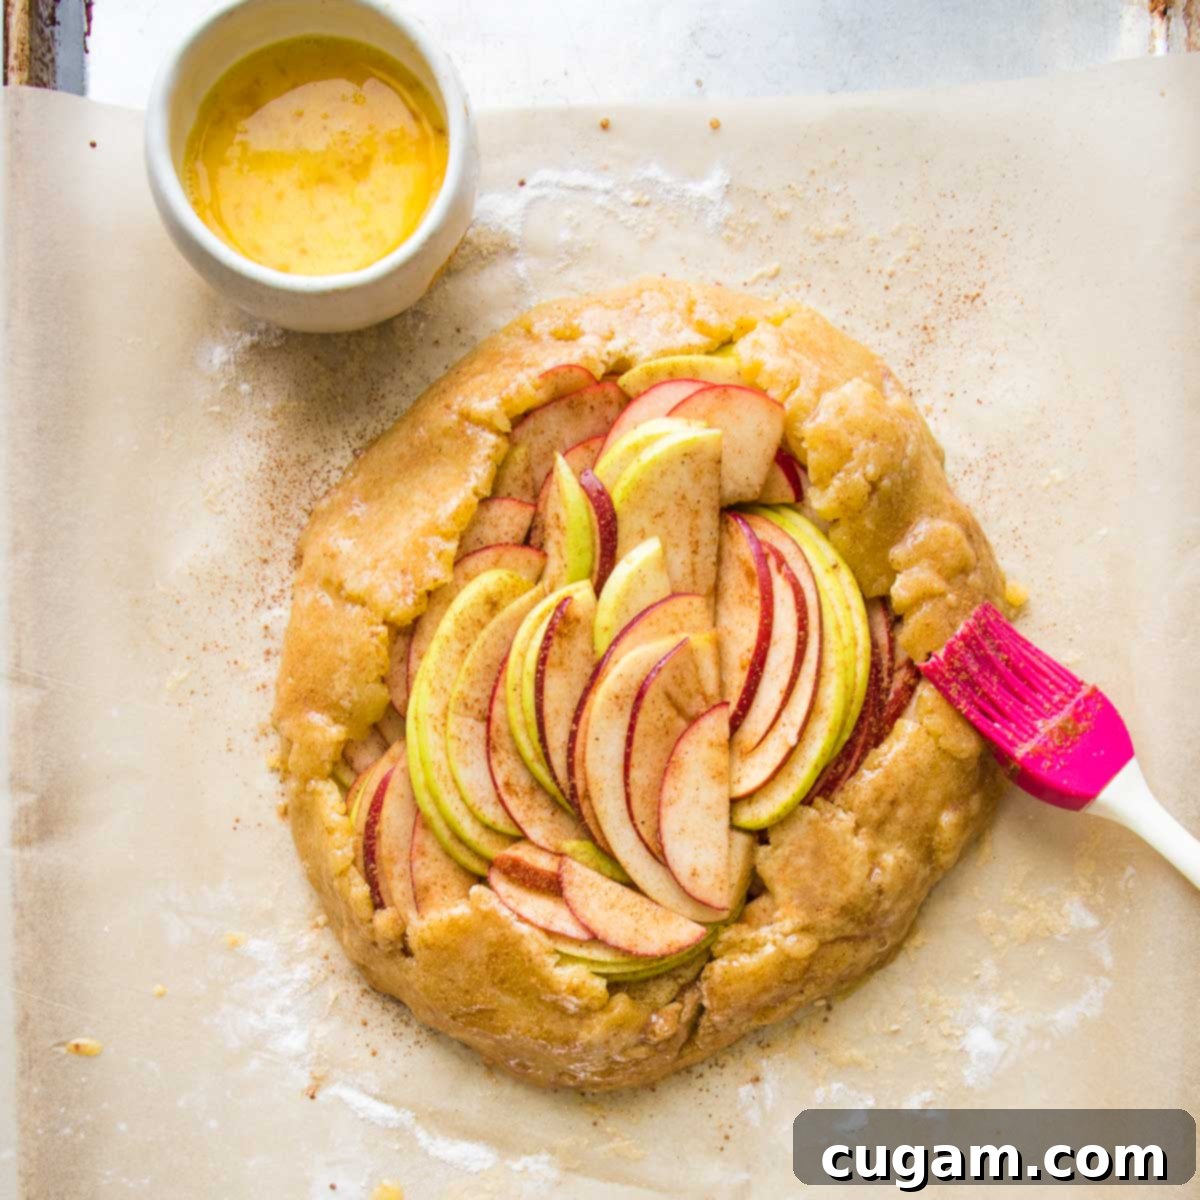
Step 4: Egg Wash for Golden Perfection. In a small bowl, whisk one large egg until it is well combined and slightly frothy. Using a pastry brush, lightly glaze the exposed top edge of the dough. This egg wash is the secret to achieving that coveted, rich golden-brown color and a beautiful, enticing sheen on your crust.
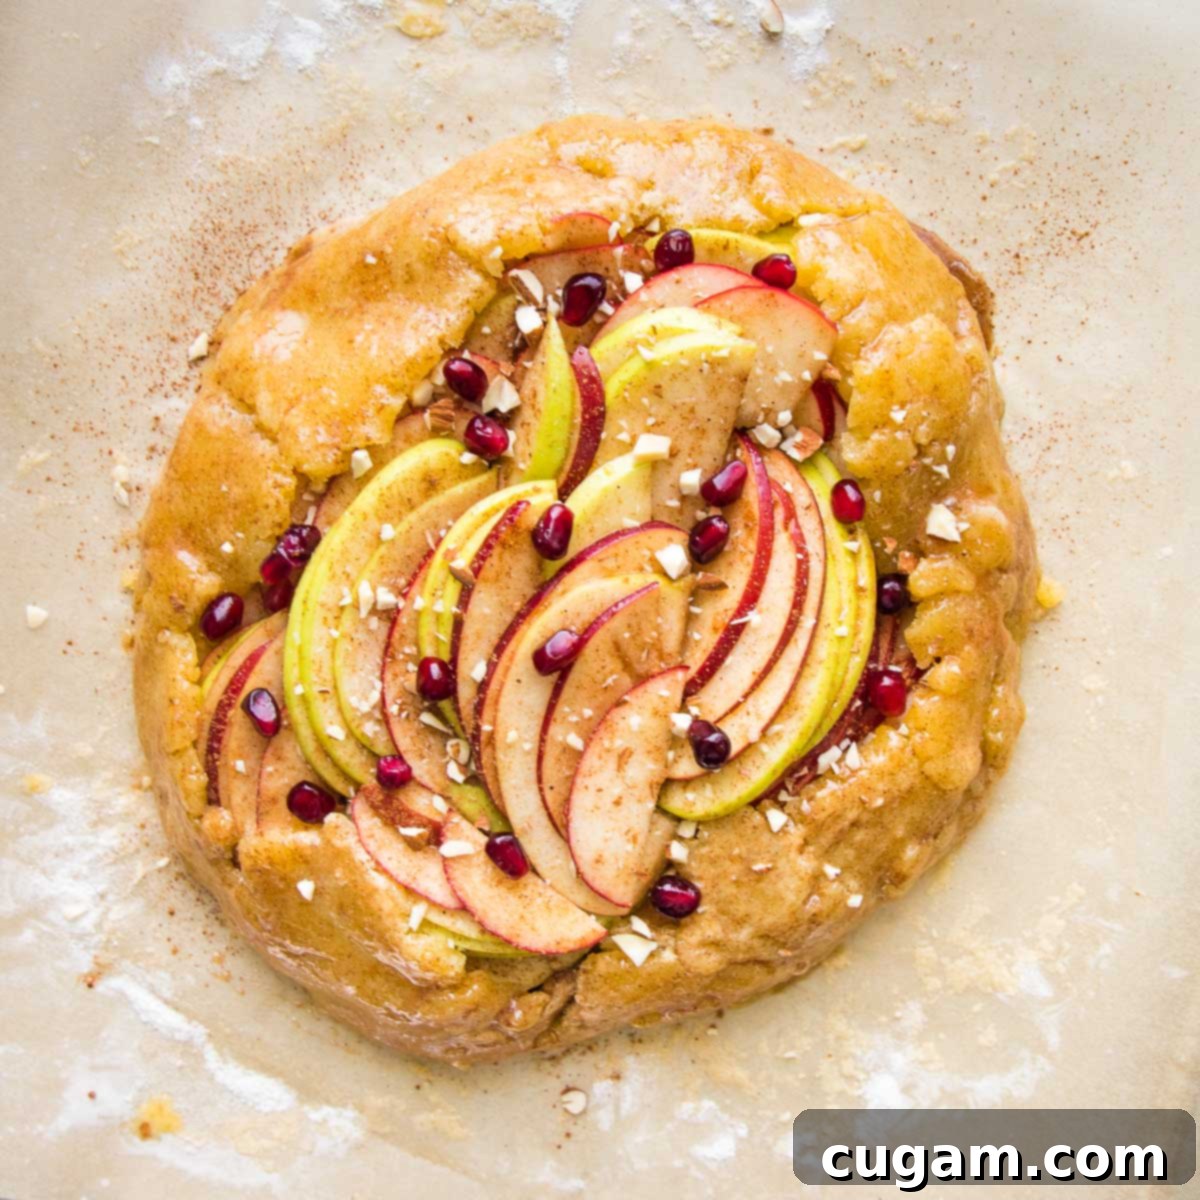
Step 5: Add Optional Toppings. For an extra layer of delightful texture, visual appeal, and enhanced flavor, consider sprinkling your galette with finely chopped nuts (such as almonds, pecans, or walnuts) and/or a few vibrant pomegranate seeds before baking. A light dusting of coarse turbinado sugar or an additional sprinkle of cinnamon can also create a wonderfully crunchy crust and boost the aromatic experience.
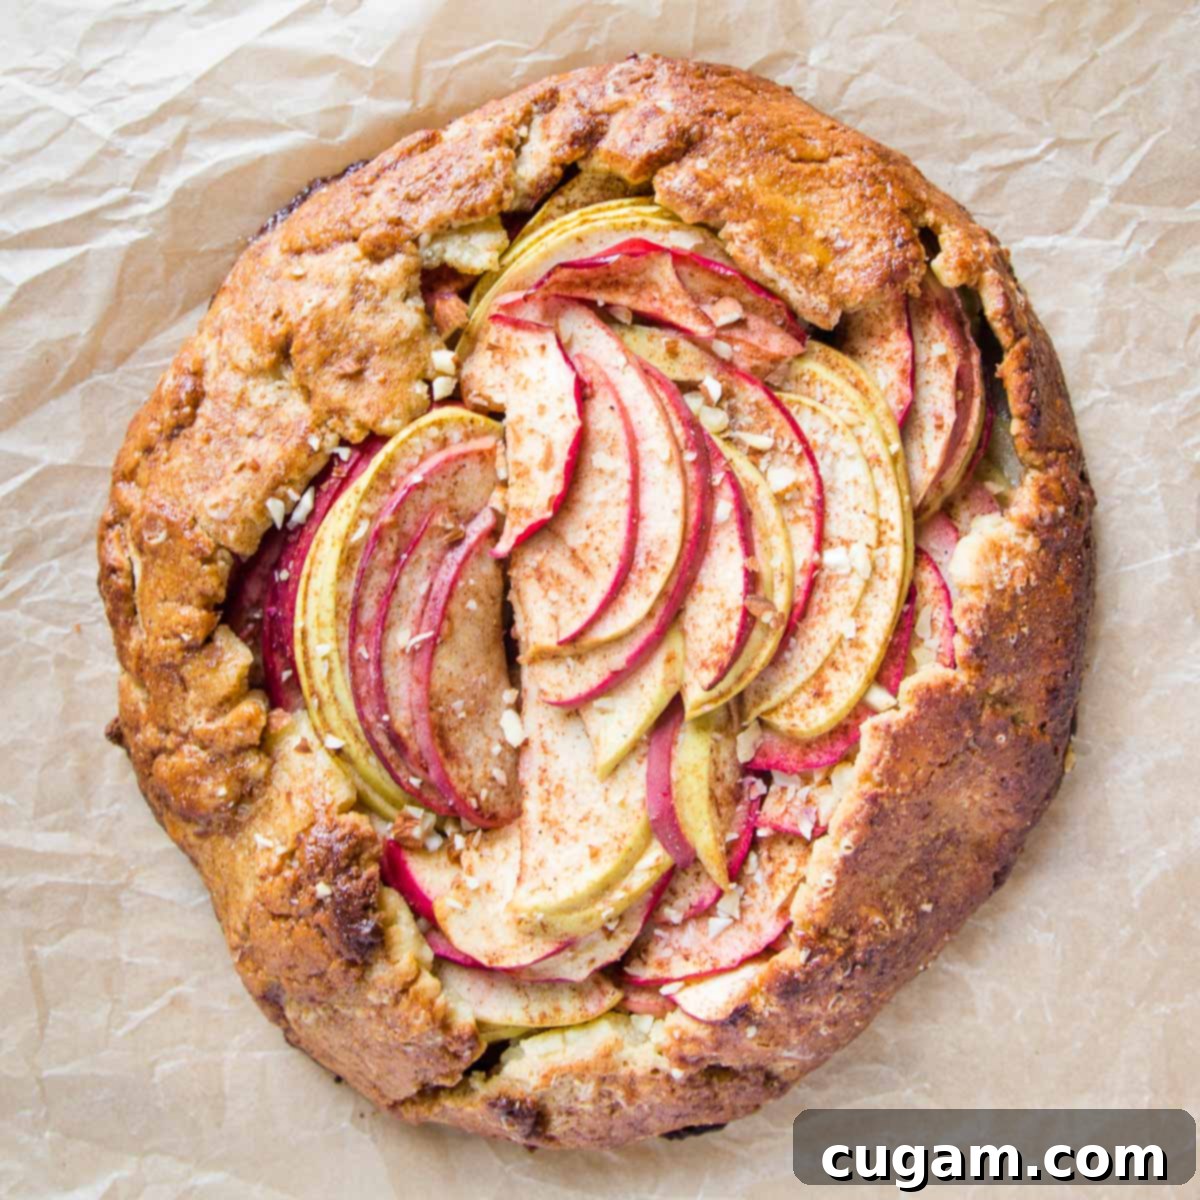
Step 6: Bake to Perfection. Carefully transfer the baking sheet with your beautifully assembled galette into the preheated 350°F (175°C) oven. Bake for approximately 30-35 minutes. Your galette is perfectly baked when the apples are tender (easily tested with the tip of a fork) and the crust has achieved a magnificent golden-brown color. Keep a close eye on it during the final minutes to prevent over-browning, ensuring a perfect finish.
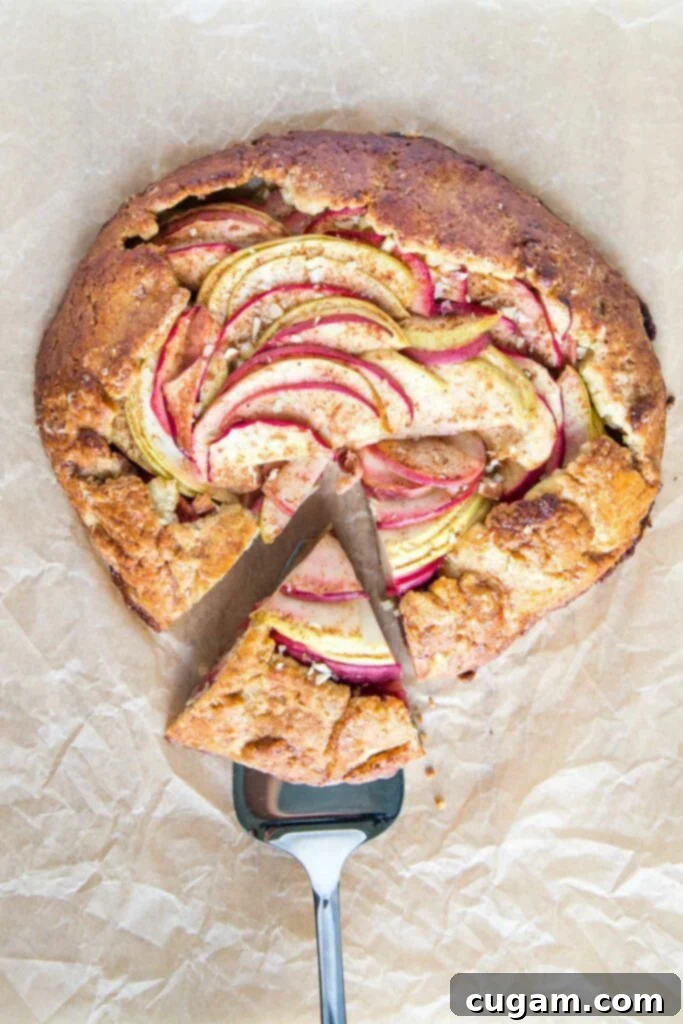
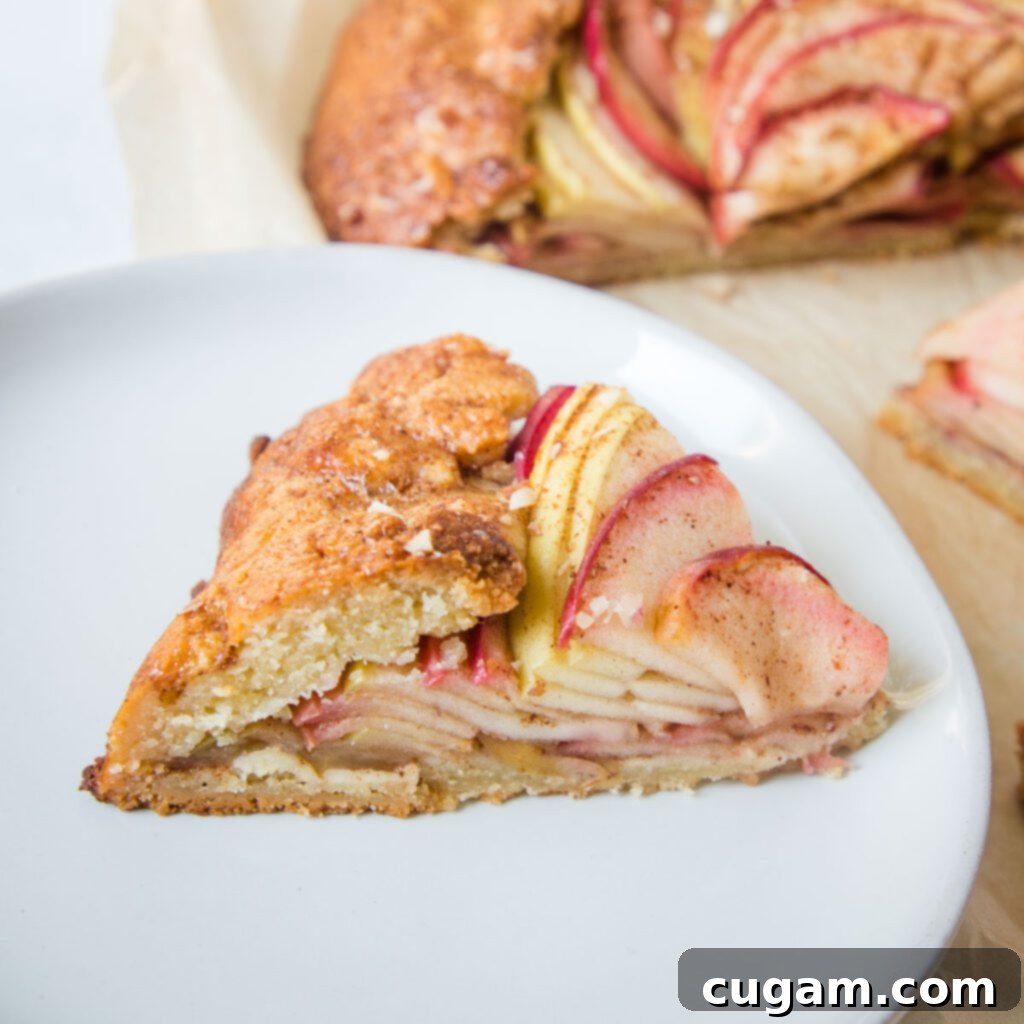
Once baked to golden perfection, carefully remove the galette from the oven. Gently slide the parchment paper onto a wire rack and allow it to cool for at least 15-20 minutes before attempting to slice it. This crucial cooling time allows the warm apple filling to set properly, ensuring that you get clean, beautiful slices. Serve your delicious gluten-free apple galette warm or at a pleasant room temperature. It’s utterly fantastic on its own, but its flavors are truly elevated with a generous scoop of vanilla bean ice cream, a dollop of freshly whipped cream, or a luxurious drizzle of warm caramel sauce for an extra special, indulgent treat.
More Delightful & Healthy Fall Recipes to Explore
As the vibrant colors of autumn unfold and the air turns refreshingly crisp, extend the cozy, comforting vibe into your kitchen with these additional nourishing and delicious recipes. They are perfect for enjoying the seasonal bounty and adding more wholesome goodness to your fall menu, well beyond your scrumptious galette!
- Healthy Dairy-free Baked Apples
- Mashed Acorn Squash Recipe
- Butternut and Beetroot Salad
- No Sugar Applesauce Recipe
Did you know commenting and rating recipes is one of the best ways to support your favorite food bloggers? If you made this delicious recipe, please consider leaving a five-star rating below and sharing your thoughts in a comment. Also, we’d love to see your beautiful creations! Please share your photos on Instagram by tagging me @dkhealthcoach and using the hashtag #debraklein. Your support helps us continue to create and share more healthy and delightful recipes!
📖 Recipe

Gluten-free Apple Galette
Rate this Recipe
Pin Recipe
Equipment
-
Food Processor
-
French Rolling Pin
-
OXO Good Grips Melon Baller
-
Mini whisks
-
Pastry Brush
-
Glass Mixing Bowls with Lids
Ingredients
Dough
- 1 cup blanched almond flour
- 1 cup arrowroot powder
- ½ cup olive oil
- 1 tablespoon honey
- 1 large egg
- ½ teaspoon sea salt
Apple Filling
- 4 large apples
- 2 teaspoon lemon juice
- 2 tablespoon honey
- 1 teaspoon cinnamon
- ¼ teaspoon allspice
- ⅛ tsp ground ginger
- ⅛ teaspoon nutmeg
Egg wash
- 1 large egg
Optional
- 2 tablespoon finely chopped almonds
- 2 tablespoon pomegranate seeds
Instructions
-
Make dough: Place almond flour, arrowroot, olive oil, honey, egg and salt into bowl of food processor and process until a crumbly dough forms. Roll into a ball. Wrap tightly with plastic wrap and refrigerate for a minimum of 4 hours, or overnight.
-
Preheat oven to 350.
-
Make apple filling: Mix lemon juice, honey, cinnamon, allspice, ginger and nutmeg in a large bowl with a fork or a whisk. Slice apples in half down through the stem. Use a melon baller or spoon to scoop out the core, then place cut side down to make thin slices. Toss apples into the cinnamon mixture until evenly coated.
-
Roll out dough: Take dough out of fridge and place on a piece of unbleached parchment paper. Sprinkle with a bit of arrowroot powder to prevent rolling pin from sticking. Roll in different directions to create a disc of an even ¼” thickness.
-
Fill and fold: Spoon apple mixture onto prepared pie dough. Arrange in a circular pattern, leaving a 1″ border. Fold edges of crust onto itself and the fruit. The middle will be open to the apple slices.
-
Optional: Sprinkle with chopped nuts and/or pomegranate seeds.
-
Egg wash:
