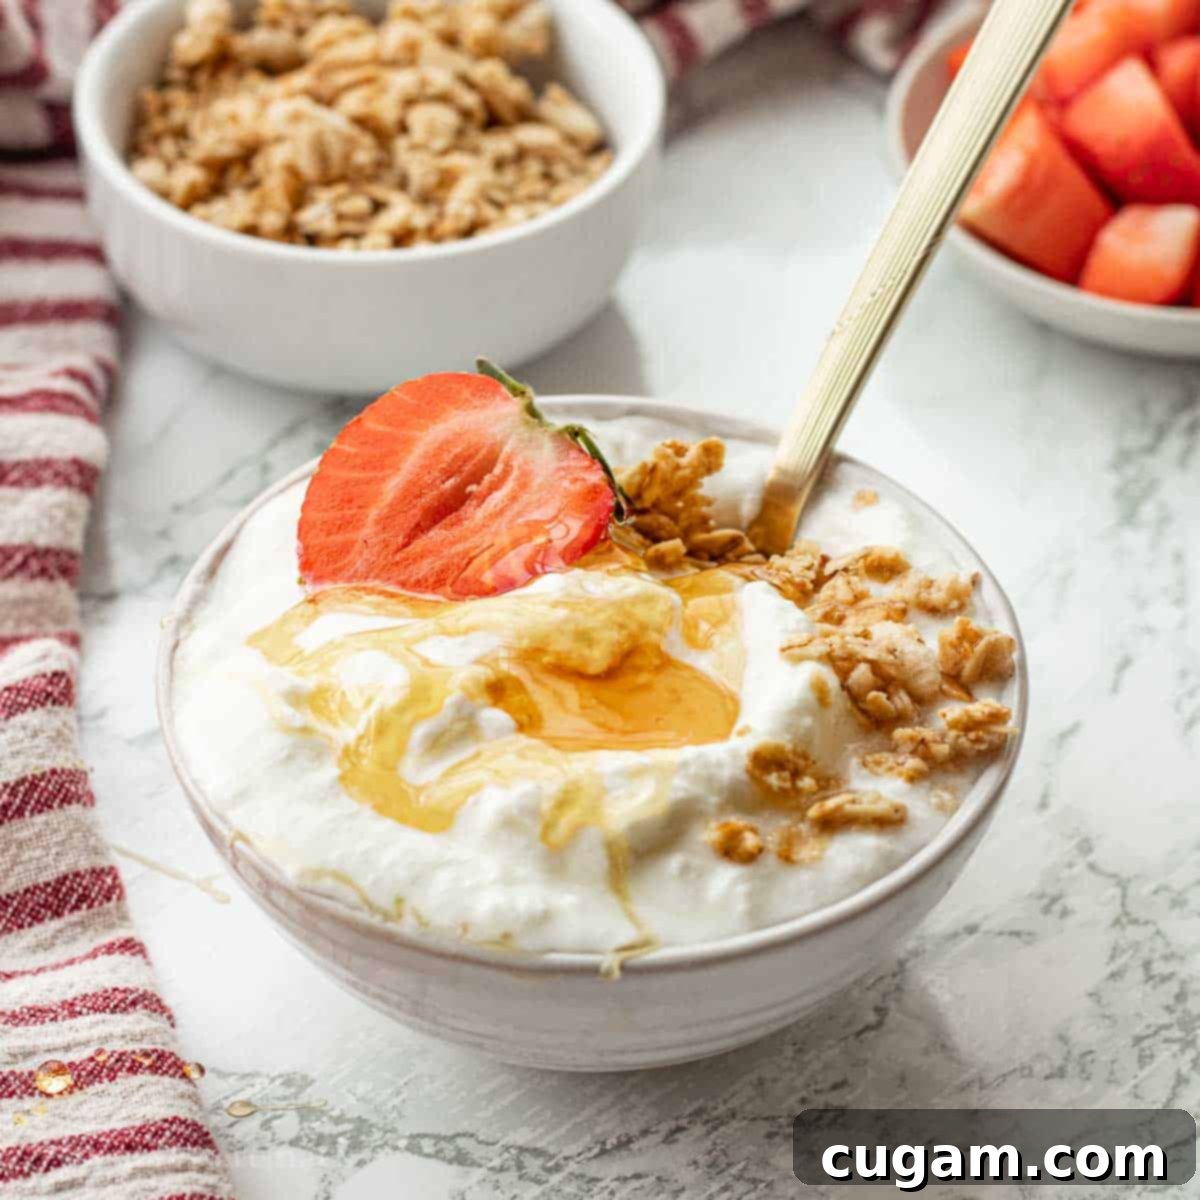
Homemade Instant Pot Greek Yogurt: Easy, Creamy & Cost-Effective
Discover the simple secret to making incredibly creamy and delicious Instant Pot Greek Yogurt right in your own kitchen! With just two basic ingredients – fresh milk and a spoonful of active yogurt as a starter – you can create a wholesome, homemade Greek yogurt that surpasses store-bought varieties in both taste and texture. While it does require a bit of patience for the incubation and straining process, the steps themselves are incredibly straightforward, making this a rewarding culinary endeavor.
Crafting Greek yogurt in your Instant Pot is not only a delightful experience but also a highly cost-effective one. The savings truly add up over time, allowing you to enjoy this versatile dairy product regularly without breaking the bank. Beyond simply enjoying it with a spoon, our homemade Greek yogurt becomes a fantastic base for countless recipes, from indulgent Brownie Batter Overnight Oats to moist and flavorful Honey Butter Cornbread. We typically prepare a generous gallon batch, which yields approximately 3 liters of strained Greek yogurt, perfect for a two-week supply of healthy breakfasts, snacks, and cooking. For those new to yogurt making or with less storage space, a half-gallon batch is also perfectly feasible and just as easy to manage.
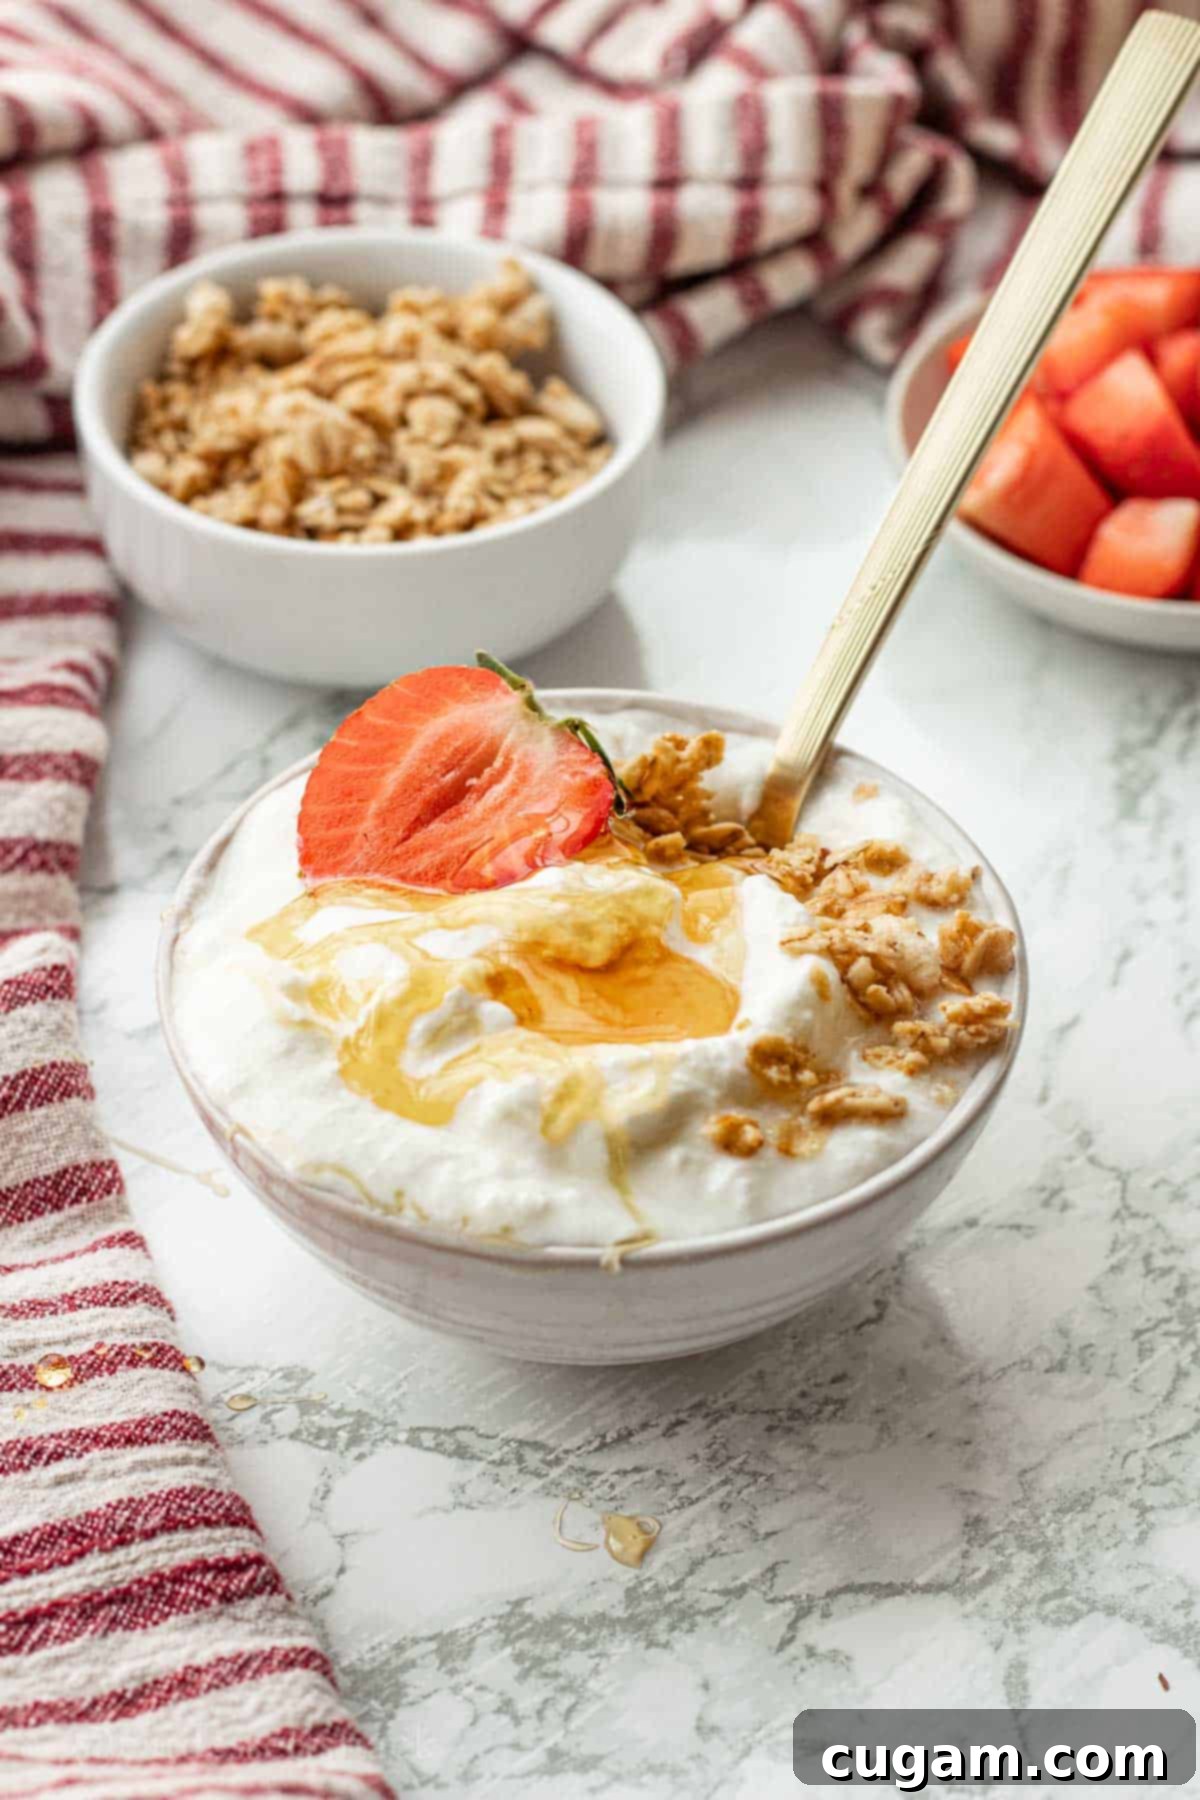
True Greek yogurt distinguishes itself from regular yogurt by its superior creaminess and denser consistency, achieved through the essential step of straining off excess whey. While traditional Greek yogurt often features sheep’s milk, making it a unique delicacy, cow’s milk is a readily available and equally excellent alternative. In regions like New Mexico (USA), where sheep’s milk can be hard to find, using cow’s milk and meticulously straining the whey ensures a wonderfully authentic Greek yogurt experience.
One of the fantastic benefits of making your own yogurt is the valuable byproduct: whey! This nutrient-rich liquid is far too good to waste and can be creatively incorporated into a variety of dishes. We love using the leftover whey to enhance recipes such as savory cheesy garlic biscuits, or as a flavorful substitute for milk in our easy sourdough discard cornbread. It also works beautifully in soups, replacing chicken broth or water to add depth and protein, and can even be used in bread making. This commitment to utilizing every part of the process not only boosts flavor and nutrition but also contributes to significant savings. After years of perfecting this homemade yogurt method, we’ve saved hundreds of dollars, making it a truly worthwhile kitchen skill.
What to Expect from Your Homemade Greek Yogurt
- Taste: Prepare for a delightful surprise! Homemade Instant Pot Greek yogurt typically offers a more mild and less overtly sour flavor profile compared to many store-bought options. Its texture is undeniably creamy and luxurious, making it incredibly enjoyable on its own or as an ingredient.
- Ease: The process is surprisingly simple, primarily requiring adherence to a specific sequence of steps. You’ll first heat the milk to the correct temperature, then carefully cool it down, and finally, incubate it with active yogurt cultures. Each step is crucial but easily manageable for home cooks.
- Time: While the active preparation time is relatively short, the overall process does span several hours due to heating, cooling, and incubation. Expect about 1 hour for heating the milk, followed by approximately 15 minutes for cooling it rapidly (an ice bath is your best friend here!), an 8-hour incubation period, and finally, 1-2 hours for straining the whey to achieve that signature Greek yogurt thickness. To make the timing convenient, we highly recommend starting your yogurt batch either in the early morning or in the evening, allowing it to incubate overnight without interruption.
🛒 Key Ingredients for Perfect Instant Pot Greek Yogurt
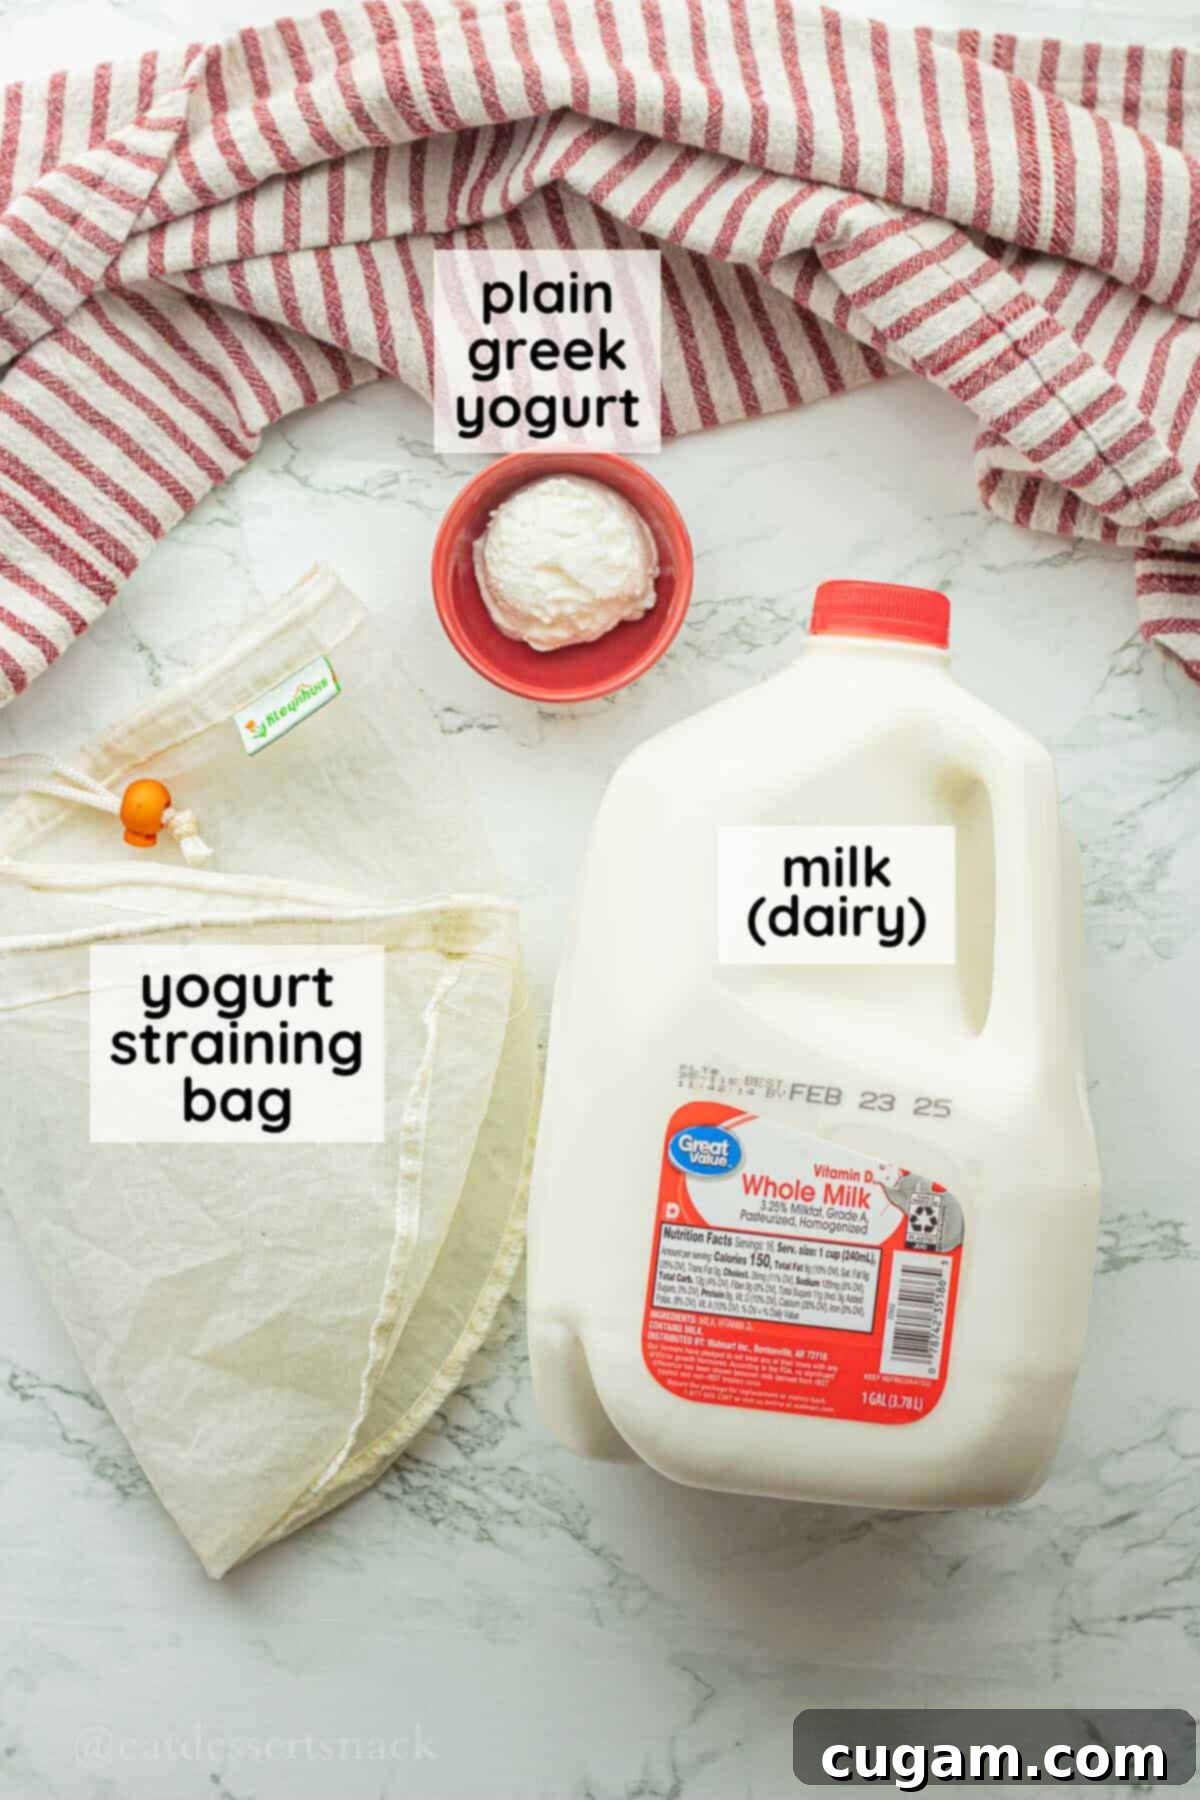
- Milk – The foundation of your yogurt! For the creamiest, thickest, and most satisfying Greek yogurt, we enthusiastically recommend using whole milk. Its higher fat content contributes significantly to the final texture and rich flavor. While skim, 1%, or 2% milk can technically be used, they will result in a thinner yogurt with a higher yield of whey. It’s important to note that this recipe is specifically formulated for dairy milk. Plant-based milks have different fat and protein structures and often require additional thickeners and stabilizers to achieve a yogurt-like consistency, making them unsuitable for this particular method.
- Yogurt Starter – This is the magical ingredient that kickstarts the fermentation process. Essentially, any yogurt with live active cultures will work, but for the best results and purest flavor, we always opt for unsweetened plain Greek yogurt. Avoid any yogurts with added thickeners, flavorings, or sugars, as these can interfere with the culturing process and alter the final taste. A good starter ensures consistent results and a healthy batch of homemade yogurt.
- Yogurt Straining Bag- To achieve that signature thick, creamy Greek yogurt texture, straining the whey is essential. While traditional methods like layered cheesecloth or coffee filters in a colander work, a dedicated yogurt straining bag is a game-changer. It’s designed specifically for this purpose, making the straining process much less messy and more efficient. Unlike delicate cheesecloth, these bags are durable, easily washable, and reusable, making them a sustainable and convenient choice. Trust us, once you try a proper yogurt bag, you won’t go back!
For precise measurements and ingredient quantities, please refer to the detailed recipe card provided below.
✏️ Simple Substitutions & Creative Variations
One of the beauties of making your own yogurt is the flexibility it offers. Here are a few ways to adapt this recipe to your preferences:
- Choose Your Preferred Yogurt Style: While this recipe focuses on Greek-style yogurt, you can easily adjust the straining time to achieve a less thick, more traditional yogurt consistency. The choice of starter yogurt also influences the outcome. We always recommend using unsweetened plain yogurt with at least 3-4 active bacteria cultures and no extra additives or thickeners. Popular brands in the USA that work wonderfully as starters include Fage (known for 5 active cultures), Chobani (6 active cultures), The Greek Gods (7 active cultures), or Siggi’s (6 active cultures). Always check the label for “live and active cultures.”
- Vanilla Instant Pot Yogurt: For a touch of sweetness and aroma, add a few teaspoons of high-quality vanilla extract to your cooled milk before incubating. This simple addition transforms your plain yogurt into a fragrant vanilla delight, perfect for breakfast bowls or light desserts. You can also experiment with other flavorings like almond extract or citrus zests.
- Sweetened Yogurt: While we prefer plain unsweetened yogurt for maximum versatility, you can stir in a tablespoon or two of honey, maple syrup, or your preferred sweetener after the yogurt has fully strained and cooled. This allows you to control the sweetness level precisely.
🧑🍳 Step-by-Step Instructions for Instant Pot Greek Yogurt
Before you begin, ensure your Instant Pot model has a dedicated yogurt function. While the core process is similar across models, button names and specific prompts might vary. Always consult your user manual to confirm you’re correctly using both the heat/boil function and the incubating function.
PRO TIP: Yogurt making involves periods of heating, cooling, and an extended incubation time. To streamline your day and avoid late-night tasks, we highly recommend starting your yogurt before 11 AM for a morning finish, or initiating the process in the evening around 7 PM so it can incubate overnight. This strategic timing ensures you’re not tending to your yogurt in the middle of the night.
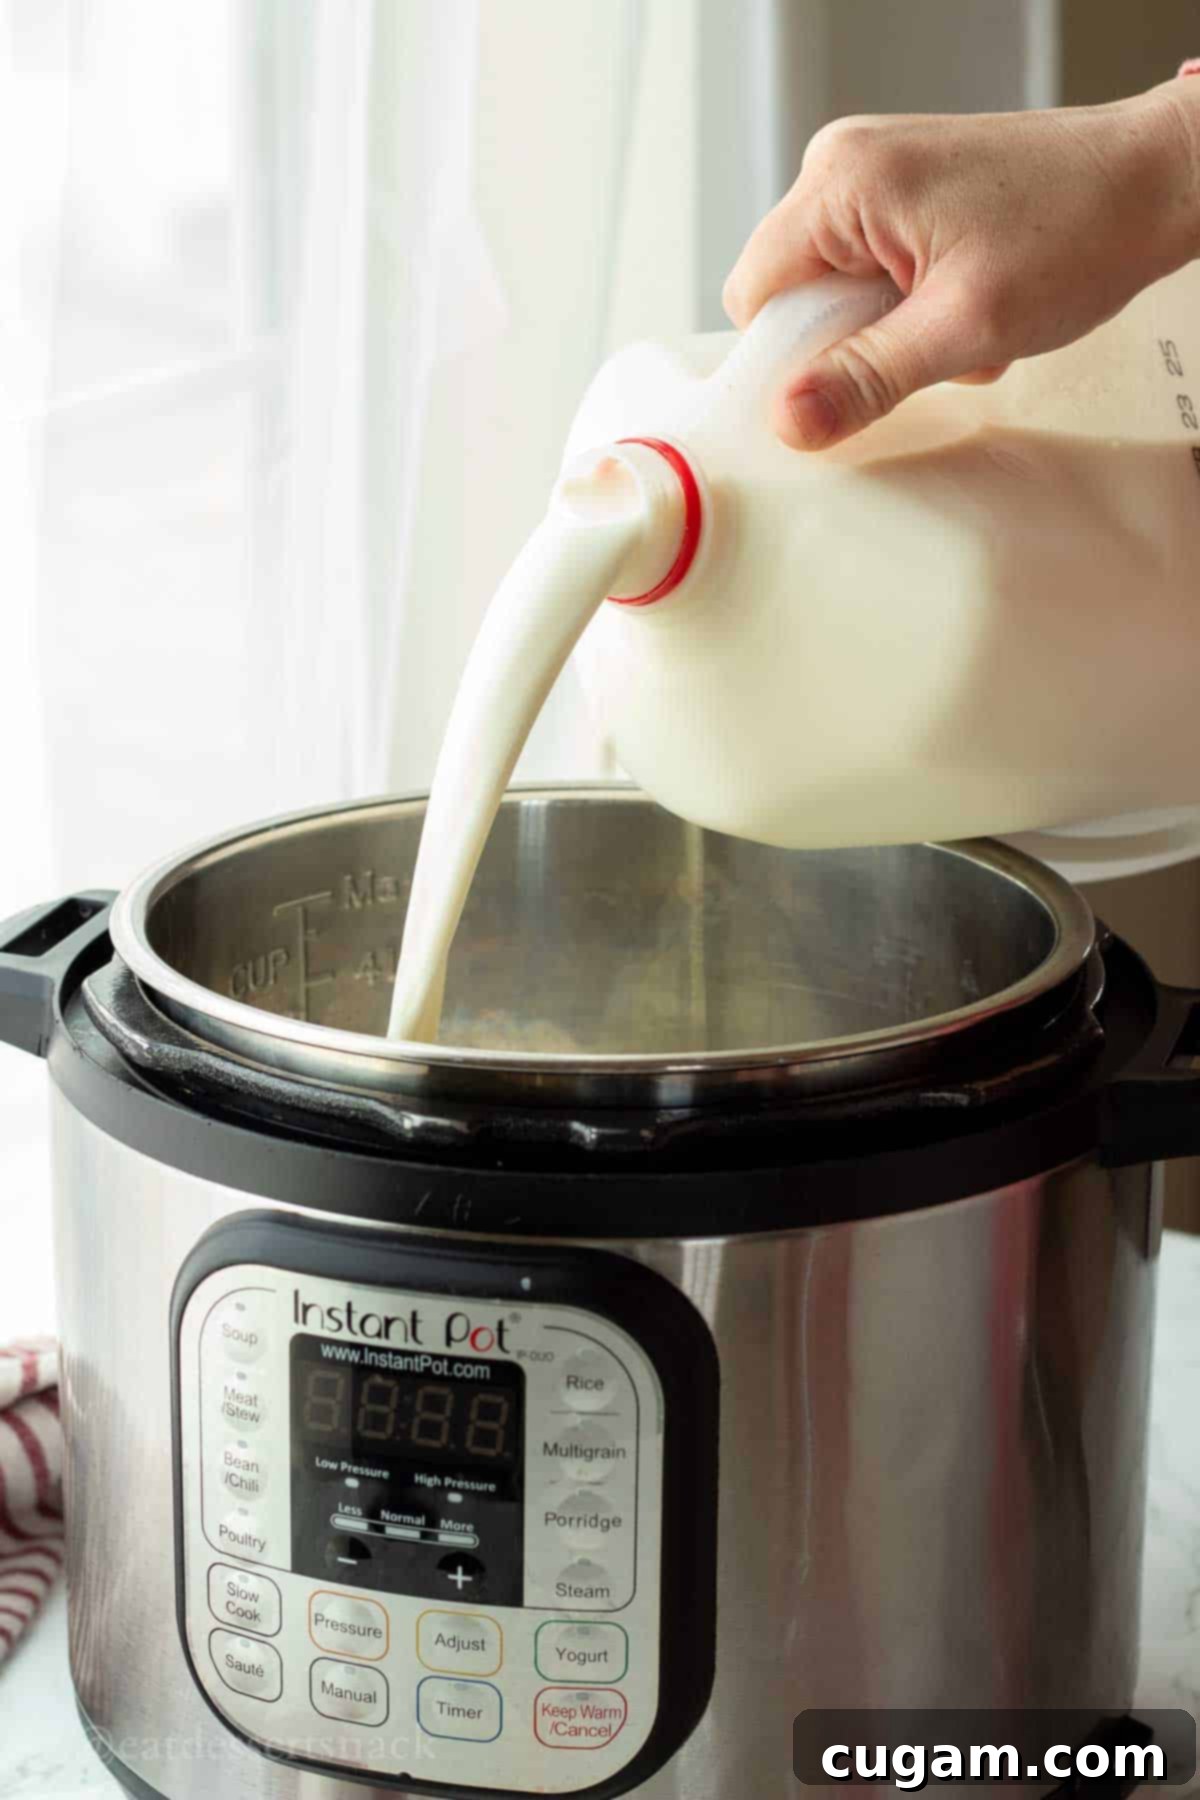
- Step 1. Prepare Your Milk. Begin by pouring your chosen milk directly into the inner pot of your Instant Pot. You have the flexibility to make a batch size that suits your needs; we often prepare a generous 1 full gallon, but a half-gallon batch is equally suitable for smaller households or less frequent consumption.
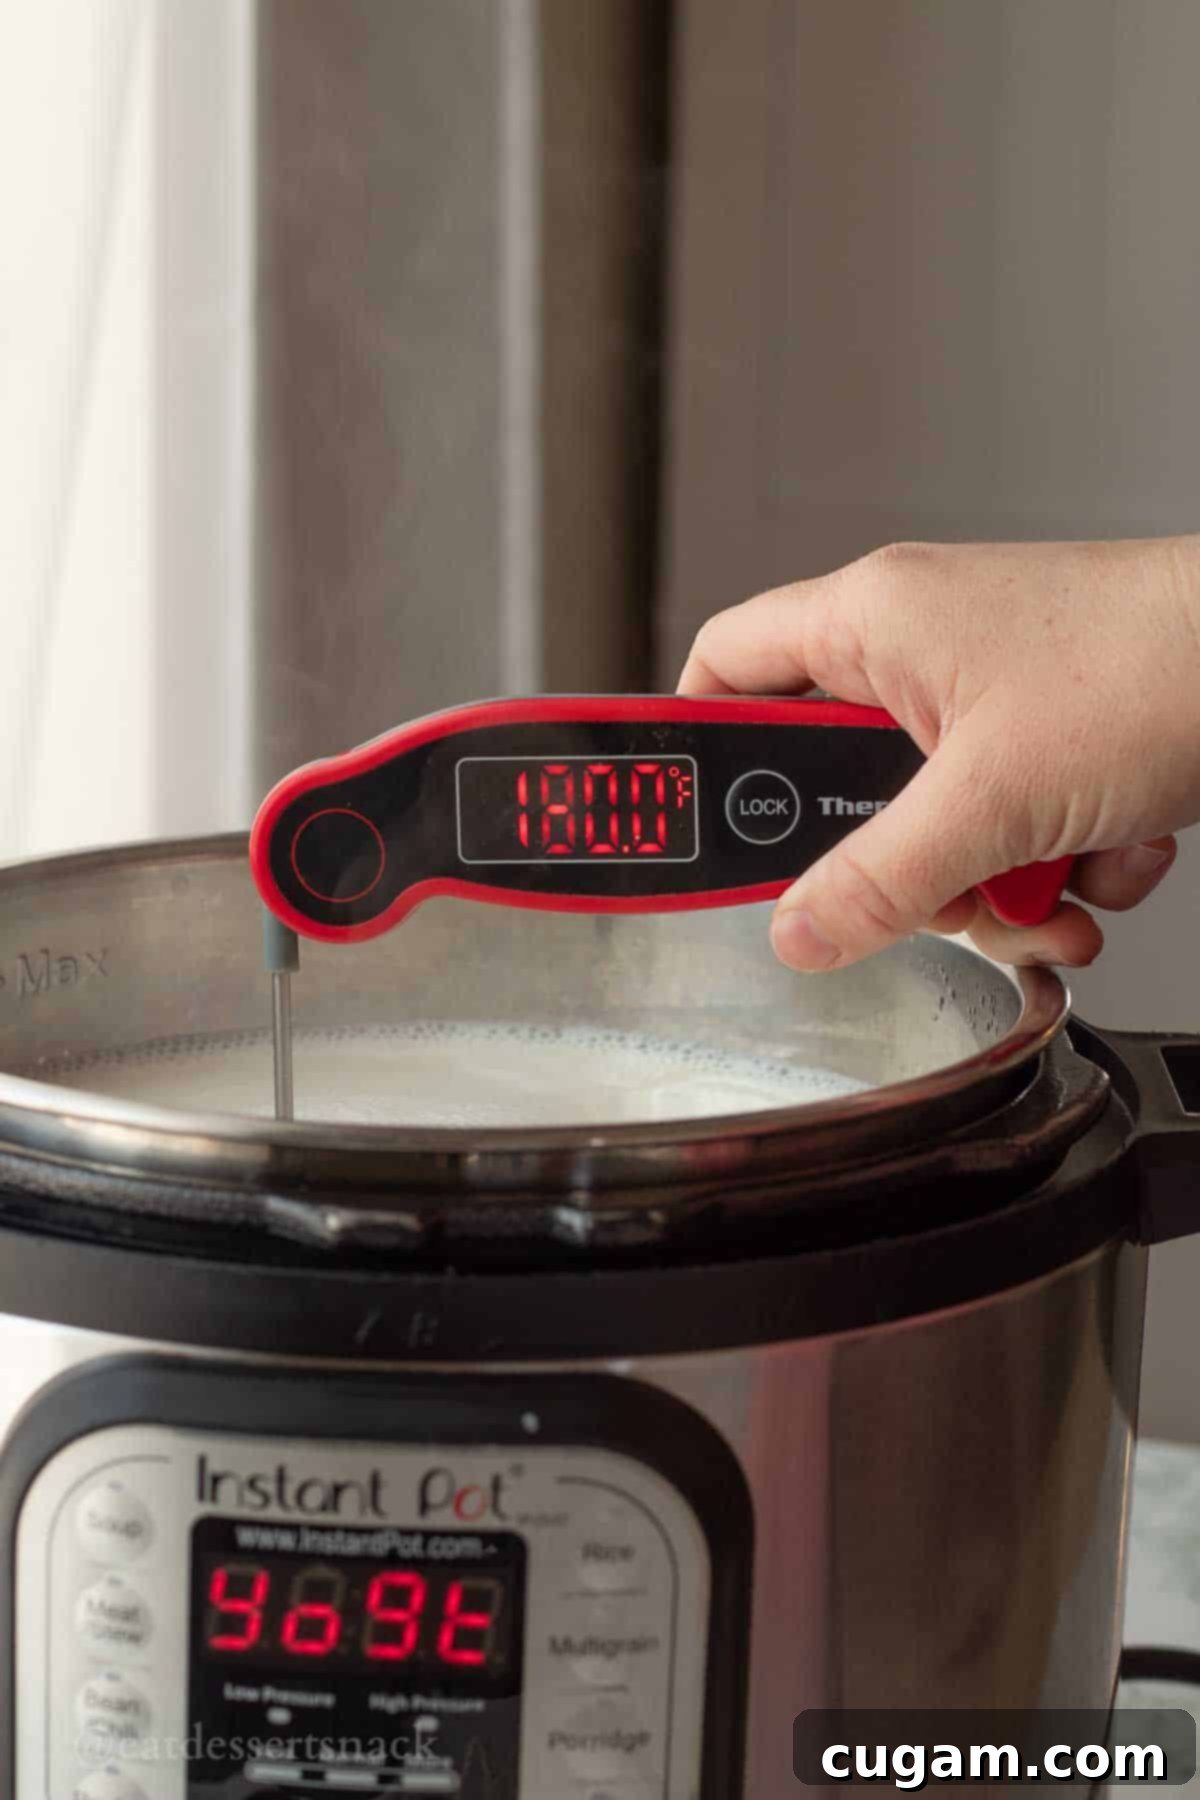
- Step 2. Heat the Milk. Secure the lid on your Instant Pot. Select the yogurt function and use it to heat the milk. The goal is to bring the milk temperature to at LEAST 180°F (approximately 82°C). This heating phase typically takes about 1 hour. It’s crucial for the milk to reach this specific temperature, not necessarily to boil vigorously. Heating to 180°F denatures the proteins in the milk, preparing them to form a stable curd during fermentation. Skipping or rushing this step can lead to a runny, unset yogurt. Refer to your Instant Pot’s user manual for specific button functions if you’re unsure how to activate the heating cycle for yogurt.
IMPORTANT NOTE: Occasionally, due to variations in heat sensors or uneven heating, your Instant Pot might not reach the full 180°F during its initial heat cycle. If this happens, you may need to run the heat function for an extra cycle or two (these subsequent cycles are usually much shorter, lasting only a few minutes). Always verify the temperature with an instant-read thermometerto ensure the milk reaches 180°F before proceeding to the next step.
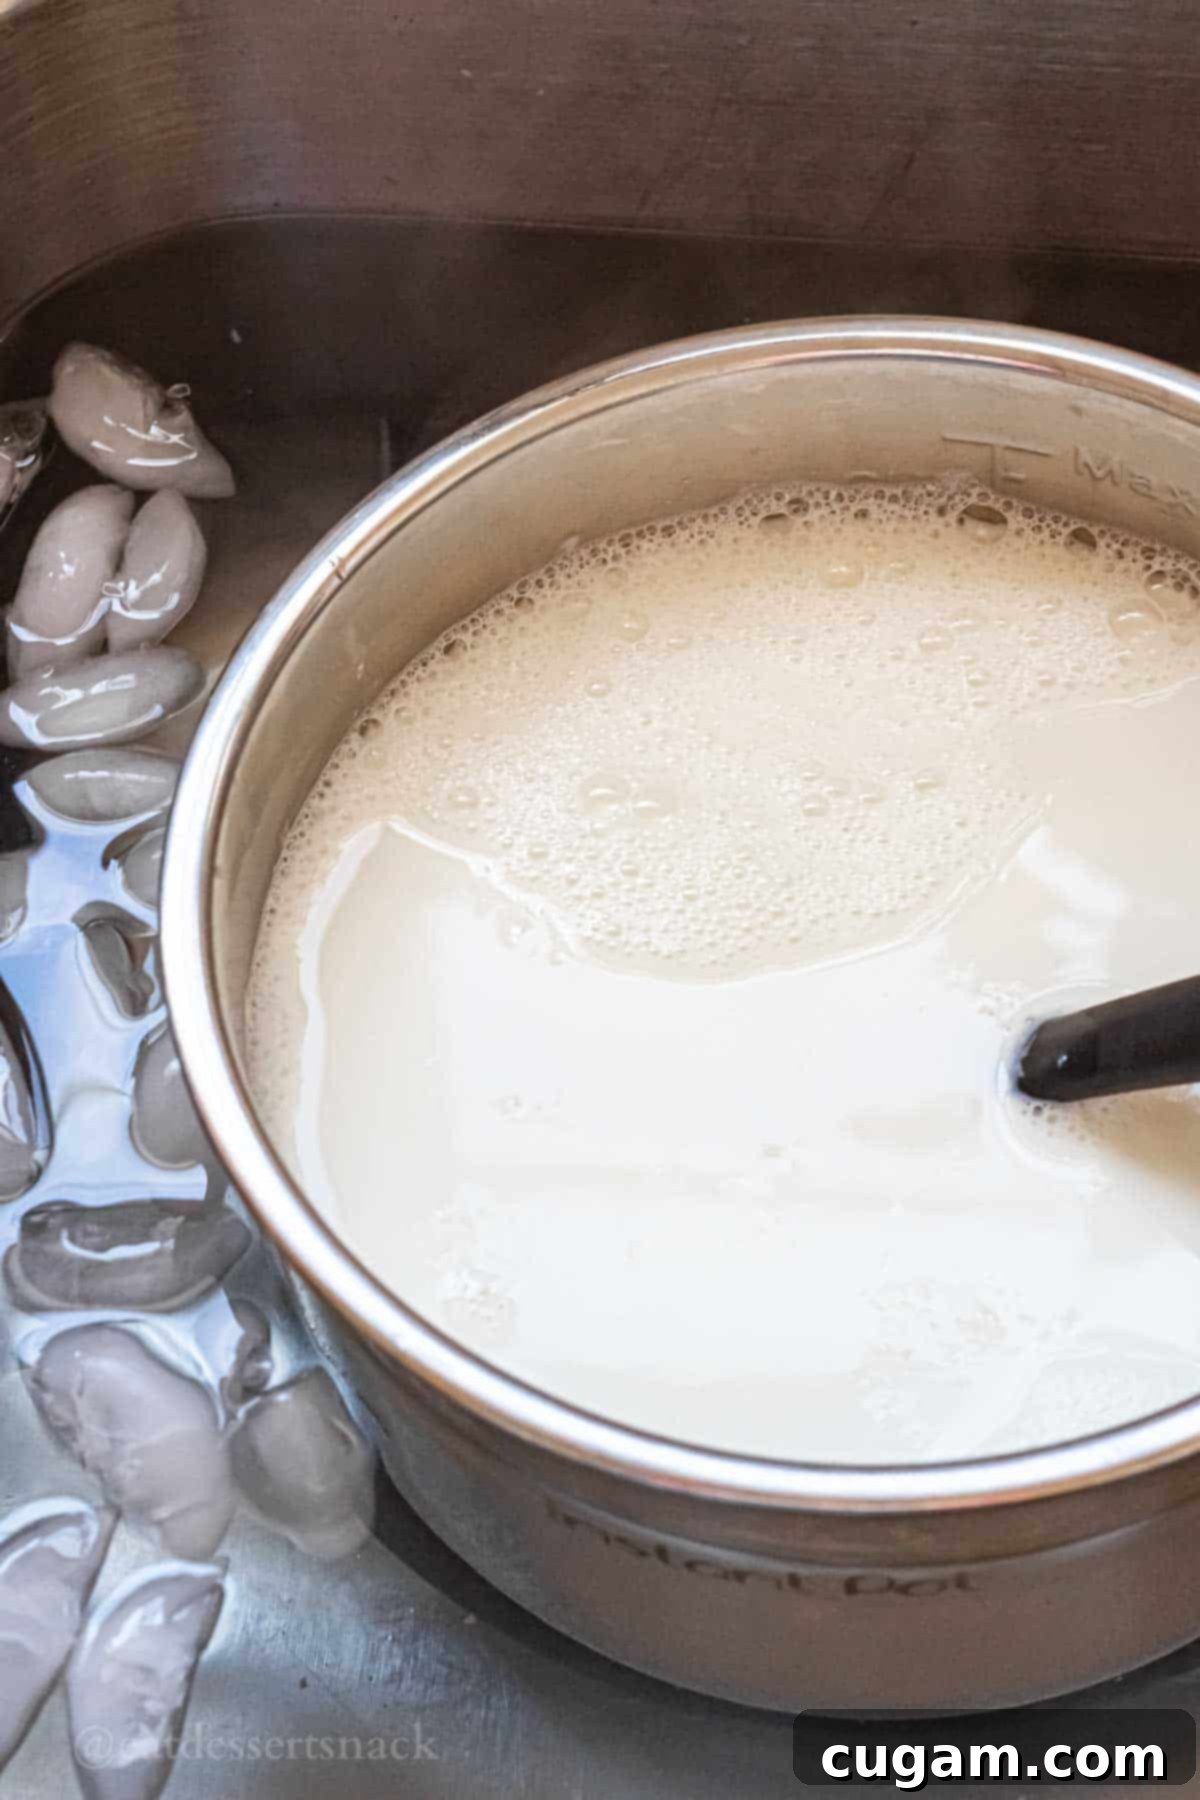
- Step 3. Cool the Milk. After heating, the milk must cool significantly before adding your yogurt starter. If the milk is too hot, it will kill the beneficial live cultures, preventing your yogurt from setting. You have two primary methods for cooling:
- Natural Cooling: Carefully remove the Instant Pot liner and let the milk cool to room temperature. This method is passive but can take an hour or more.
- Ice Bath (Recommended): For a faster cool-down (about 10-15 minutes), place the Instant Pot liner into a sink filled with ice water. Stir the milk gently with a clean spoon or whisk to help dissipate the heat evenly.
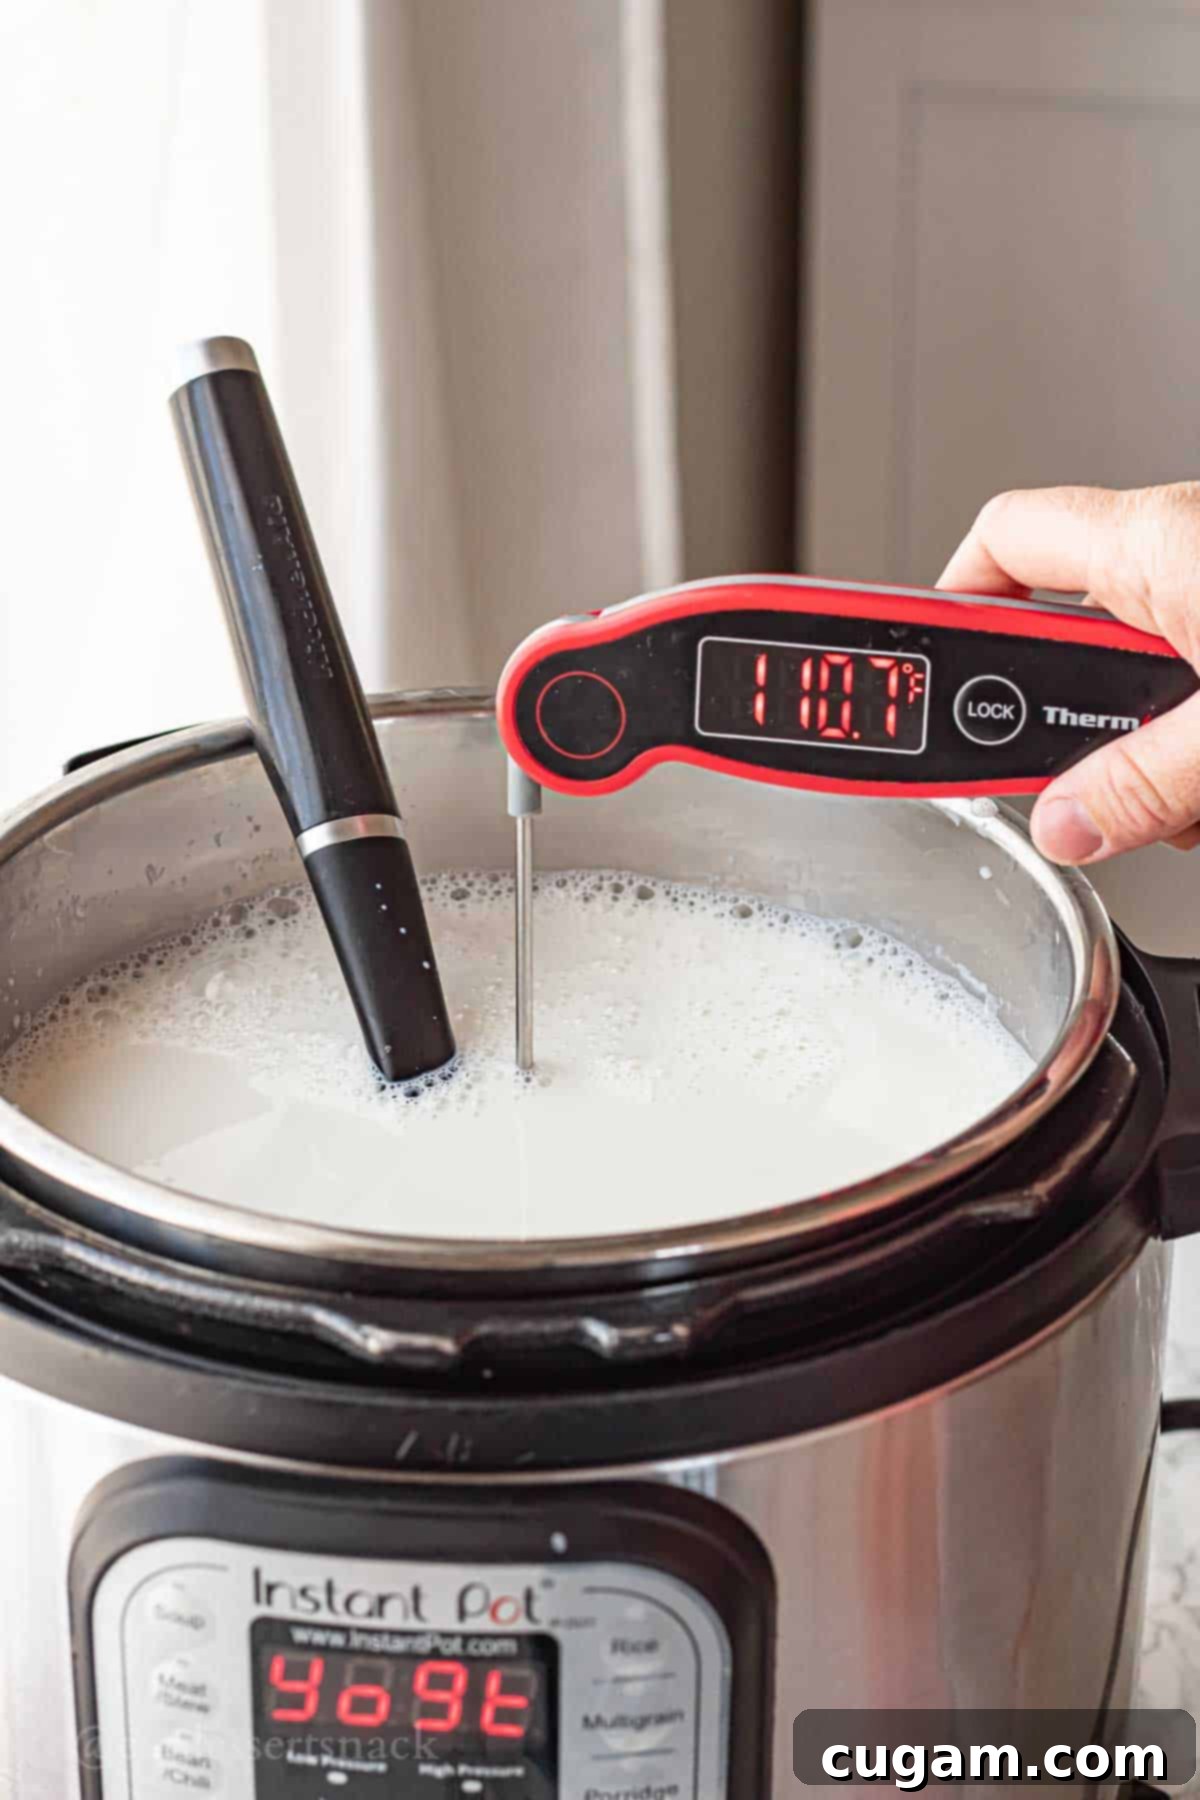
- Step 4. Confirm Optimal Temperature. Before adding the starter, it’s absolutely vital that the milk cools to a temperature between 110-115°F (approximately 43-46°C). This range is similar to the ideal temperature for proofing yeast, providing the perfect environment for the active yogurt cultures to thrive without being destroyed. Always use an instant-read thermometer to confirm the temperature; guessing can compromise your entire batch.
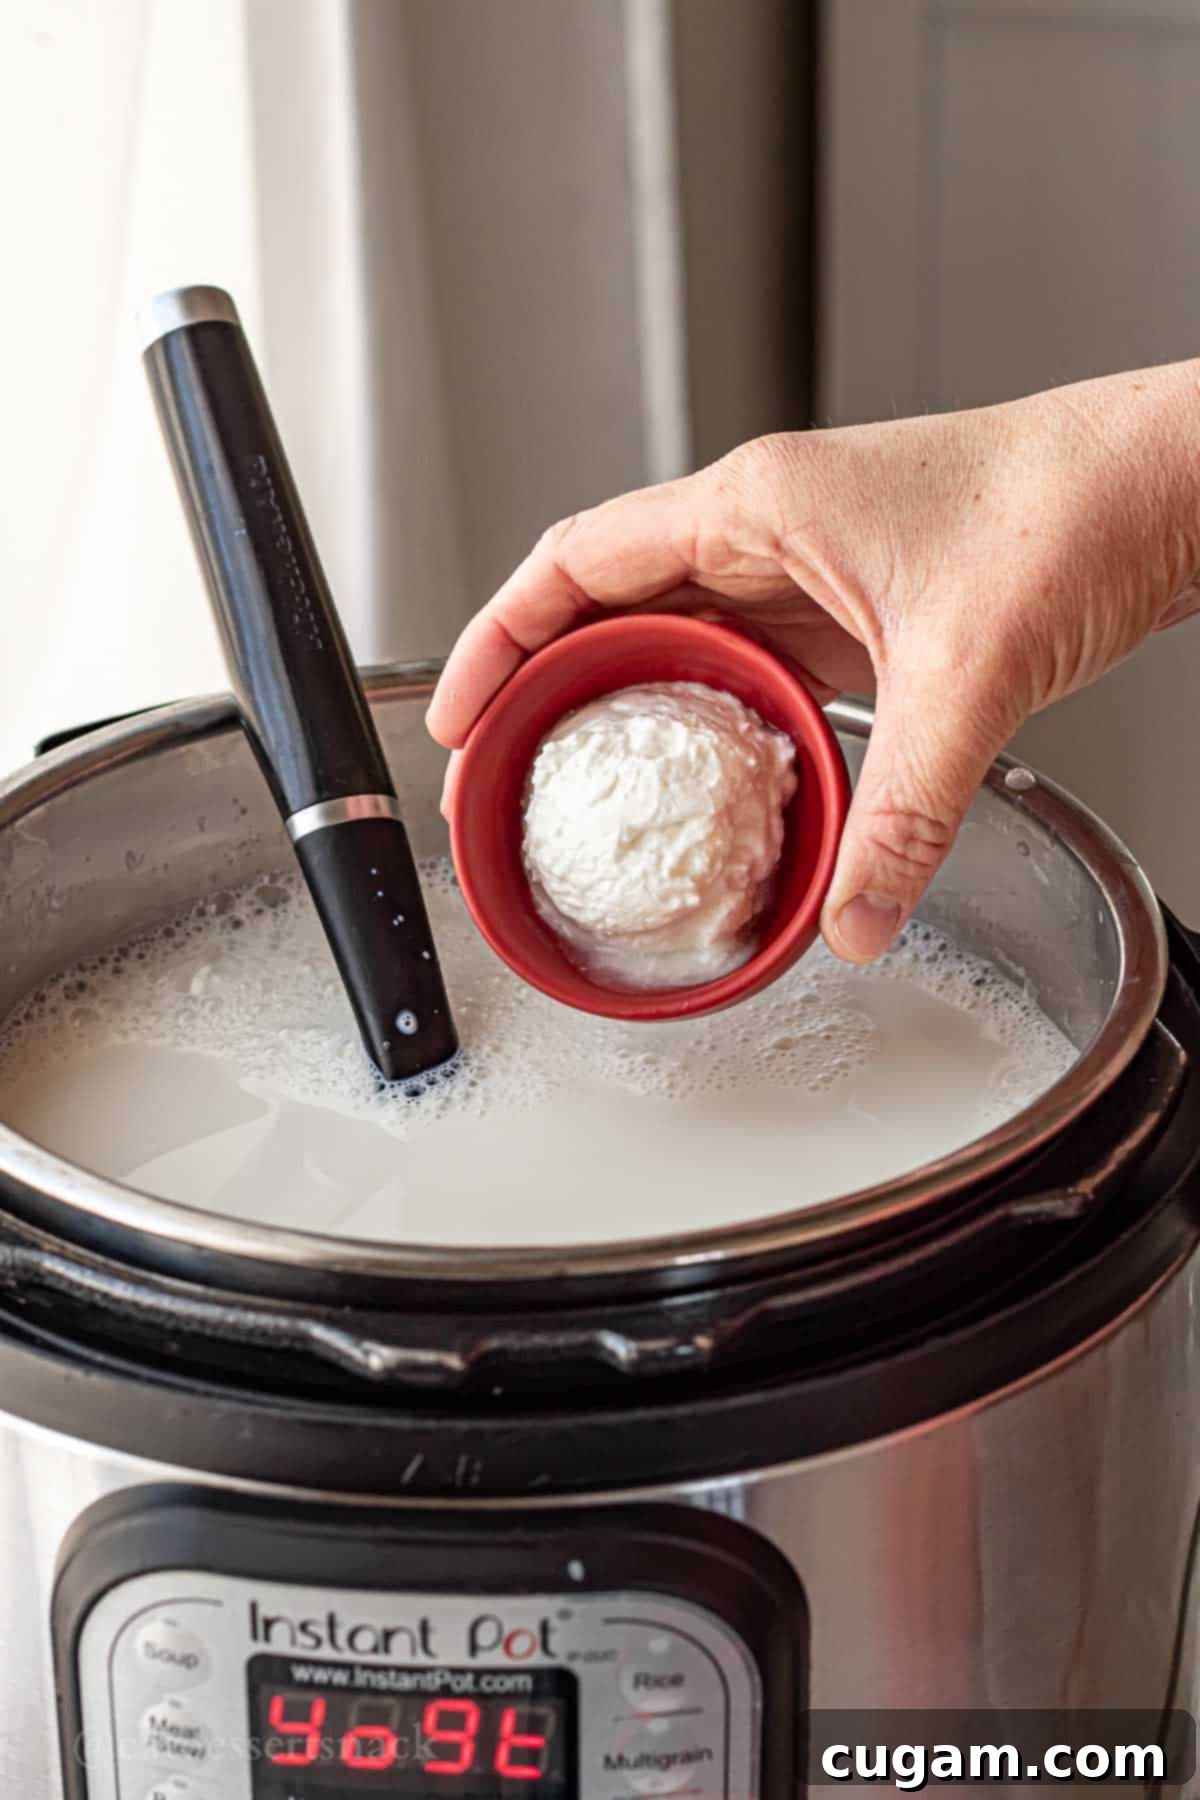
- Step 5. Introduce the Starter. Once your milk has reached the ideal 110°F, it’s time to add the active culture. Gently stir in at least 2 tablespoons of your chosen plain, unsweetened yogurt. Whisk it thoroughly until it is completely mixed and dissolved into the milk. This ensures the cultures are evenly distributed, leading to a consistent and successful fermentation.
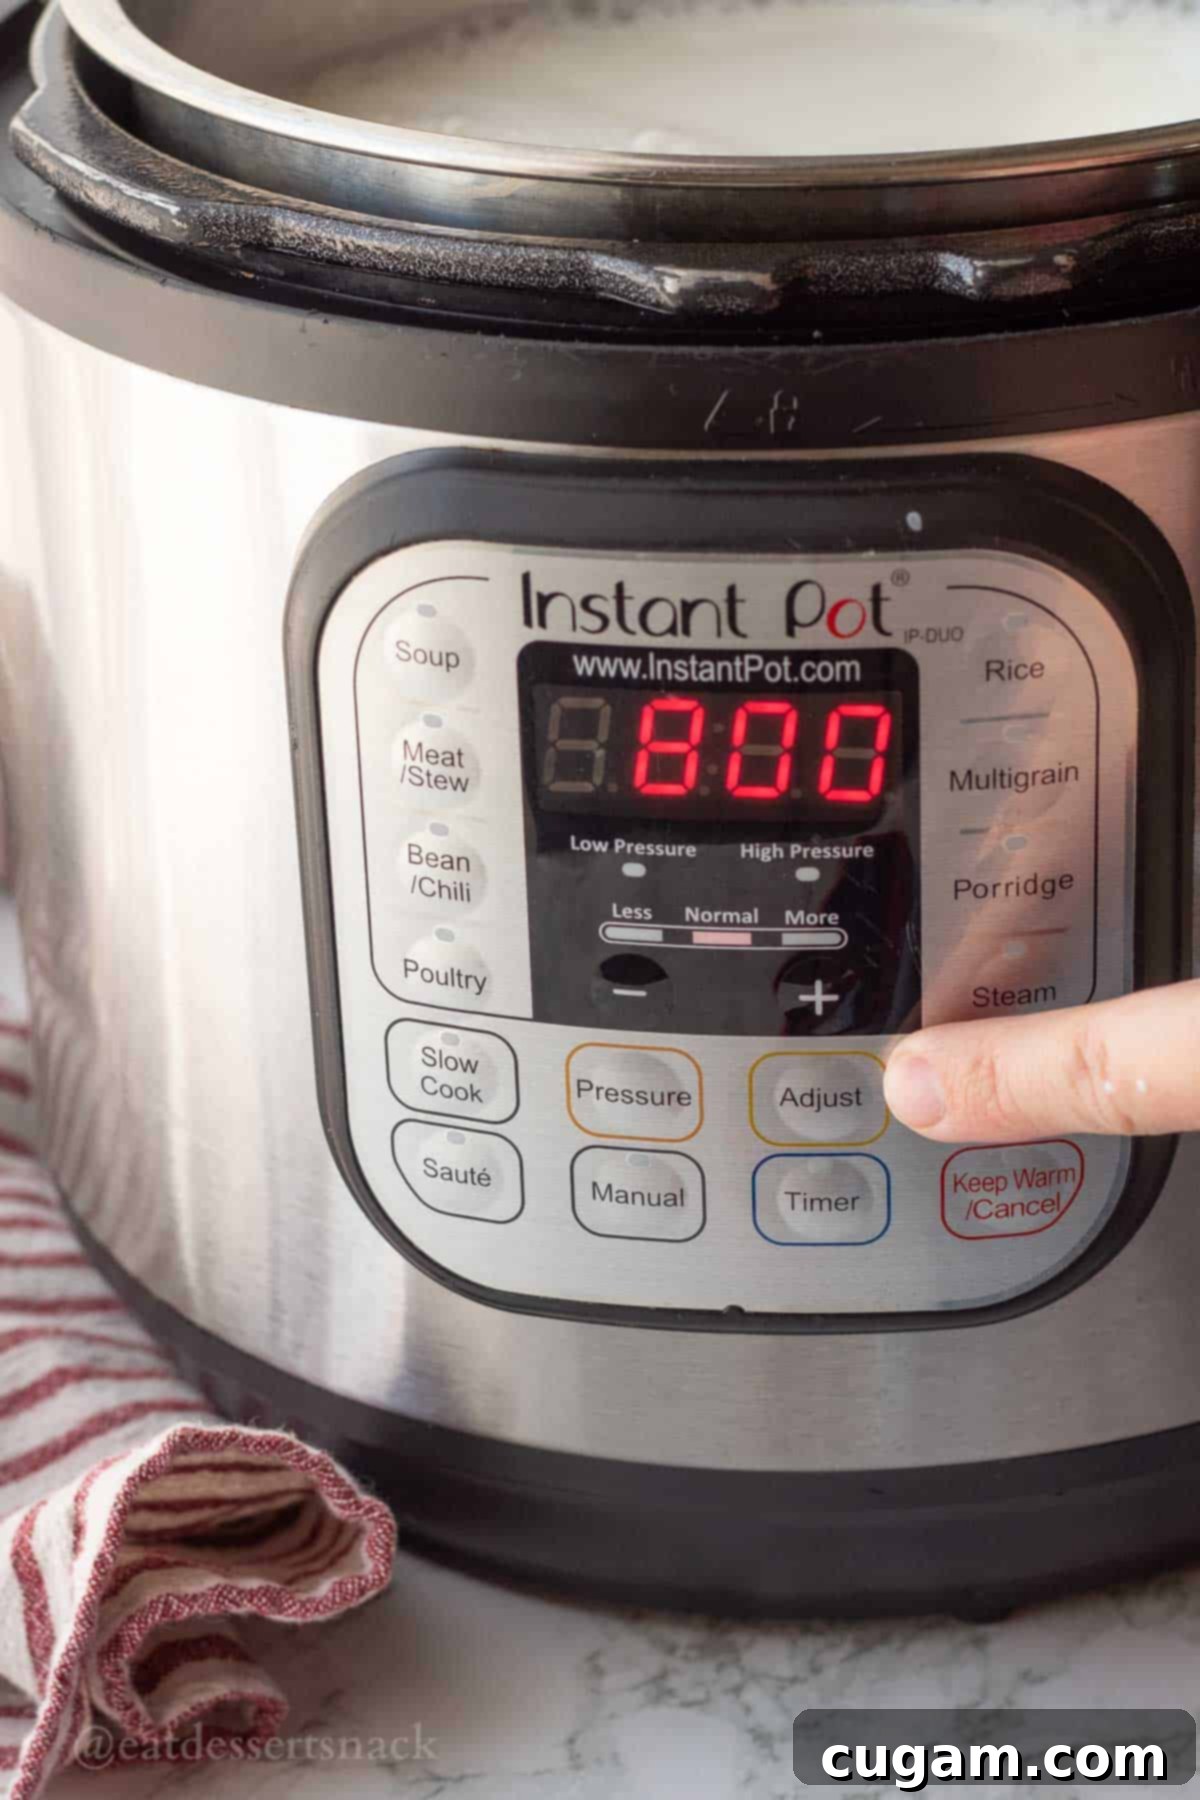
- Step 6. Incubate the Yogurt. Place the lid back on your Instant Pot. Using the yogurt function, set the incubation time for at least 8 hours, maintaining a consistent temperature of 110°F. The Instant Pot’s yogurt function is specifically designed to hold this ideal temperature, allowing the bacteria to convert lactose into lactic acid, which thickens the milk and creates the characteristic tangy flavor of yogurt. You can opt to incubate for a longer duration – up to 10-12 hours – which will result in a more tart flavor and a slightly thicker consistency.
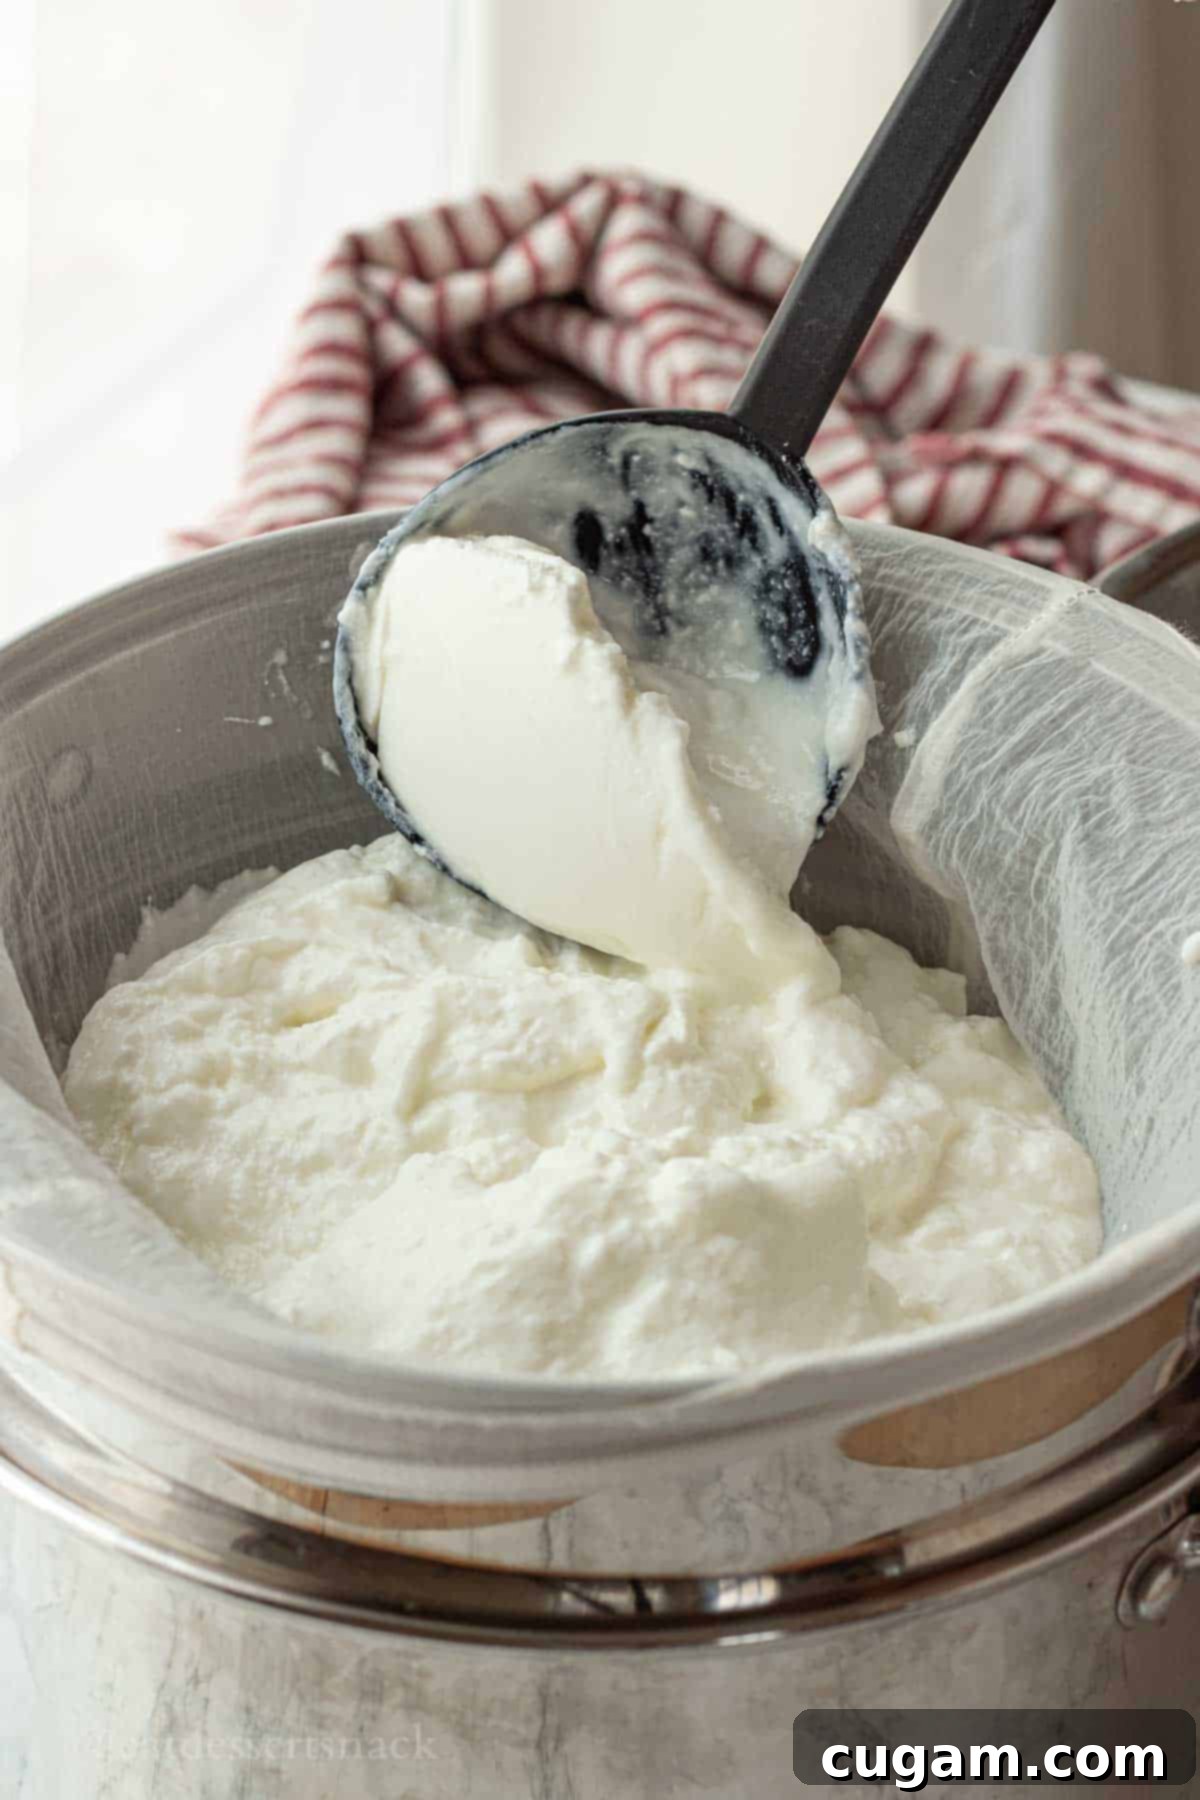
- Step 7. Strain the Whey for Greek Yogurt. Once the incubation cycle is complete, your yogurt is ready for straining. Immediately transfer the freshly made yogurt to a clean yogurt straining bag. Position the bag over a large bowl or pot capable of holding at least 1 gallon of liquid; this will collect the whey. Using a ladle, carefully scoop the yogurt into the straining bag. Allow the whey to drain for approximately 2 hours. In our experience, this yields about 500 mL (roughly 4 cups) of liquid whey. Remember, this whey is a valuable byproduct! You can refrigerate it and use it later in various recipes. Check our Frequently Asked Questions section for some creative ideas on how to utilize your leftover whey.
- Step 8. Refrigerate and Enjoy. After the desired amount of whey has drained (you can adjust the straining time to achieve your preferred thickness – longer straining equals thicker yogurt), carefully transfer the thick Greek yogurt to an airtight storage container. Refrigerate it for at least a few hours. The yogurt will continue to thicken slightly as it chills. Once thoroughly chilled, your homemade Instant Pot Greek yogurt is ready to be enjoyed! Serve it plain, with a drizzle of honey or maple syrup, fresh fruit, or use it as a healthy substitute for sour cream in your favorite recipes.
📌 Top Tips & Hacks for Homemade Greek Yogurt Success
- Strategic Timing is Key: As mentioned in the instructions, plan your yogurt making process carefully. Starting in the morning or evening ensures you’re not dealing with cooling or straining steps at inconvenient hours. Remember, it’s a process that requires patience for heating, cooling, and the 8-hour incubation.
- Prioritize Fresh Milk: Always purchase milk with the latest possible expiration date. The fresher the milk, the longer your homemade yogurt will last in the refrigerator, giving you more time to enjoy your delicious creation.
- Save for Future Batches: Don’t buy new starter yogurt every time! Freeze a few portions (2-3 tablespoons each) of your freshly made yogurt or even some of the strained whey in an ice cube tray. These frozen portions make excellent starters for your next batch, saving you money and ensuring a continuous supply.
- Ensure Adequate Storage: Before you start, make sure you have a suitable airtight container on hand. A container with a capacity of 3-4 liters (or roughly 1 gallon) is ideal for storing a full batch of strained Greek yogurt.
- Precision with Temperature: Temperature control is perhaps the most critical factor for successful yogurt making. Always use an instant-read thermometer to accurately measure the milk’s temperature. Relying solely on the Instant Pot’s sensors can sometimes lead to inconsistencies. Ensure it reaches 180°F for heating and cools down to 110-115°F before adding your starter.

❓Frequently Asked Questions About Instant Pot Greek Yogurt
Absolutely, YES! The financial benefits alone are compelling. In many areas, a 32 oz (1 liter) container of store-bought Greek yogurt can cost anywhere from $3 to $7. In contrast, a gallon of milk, which yields significantly more yogurt, typically costs only $3 to $4. After straining the whey, you’ll get triple the amount of delicious, thick homemade Greek yogurt from a single gallon of milk compared to the store-bought equivalent. More importantly, your homemade version is completely free from added thickeners, preservatives, dyes, and artificial flavorings. Over the years, this simple practice has saved us literally hundreds of dollars, making it an incredibly worthwhile investment of time.
Yes, you certainly can! Whey, especially the fresh whey strained from a previous batch of homemade yogurt, contains all the same live and active bacteria cultures essential for starting a new batch. There’s no reason it wouldn’t work effectively. To ensure you always have a starter on hand, consider freezing small portions (2-3 tablespoons) of whey or yogurt in a muffin tin or ice cube tray. These frozen cubes can be easily thawed and used to initiate your next batch, creating a self-sustaining yogurt-making cycle!
Indeed! Any store-bought yogurt can serve as a starter, provided it explicitly states that it contains live active cultures. This is the crucial component needed for fermentation. For the best results, it’s highly recommended to choose a plain, unsweetened, and unflavored Greek yogurt. Avoid varieties with added thickeners, sugars, or artificial flavorings, as these can interfere with the bacterial activity and potentially dilute the effectiveness of your starter culture, leading to inconsistent results.
For the most luxurious, creamy, and thick yogurt, whole milk is unequivocally the best choice due to its higher fat content. The fat contributes significantly to the rich texture and mouthfeel. We have successfully made yogurt using 2% and 1% milk, but these typically result in a slightly thinner consistency and a larger volume of whey needing to be drained. We generally do not recommend using skim milk, as the resulting yogurt often lacks the desirable creaminess and rich flavor. While some prefer to use ultra-pasteurized filtered milk (which can be quite expensive), we find that regular, good quality whole milk at a lower cost produces excellent results without compromise.
The leftover whey from making Greek yogurt is a nutritional powerhouse and incredibly versatile – definitely do not discard it! There are numerous ways to incorporate it into your cooking. You can use it as a direct substitute for water or even chicken broth in soups, adding extra protein and a subtle tang. It works wonderfully in baked goods, replacing milk in recipes like Irish Cheddar Soda Bread or Banana Blackberry Oatmeal Muffins, enhancing their texture and flavor. Whey can also be a fantastic addition to smoothies, boosting their nutritional content, or even used for fermenting vegetables.
🥣 Delicious Recipes That Utilize Homemade Greek Yogurt
While our absolute favorite way to savor homemade Greek yogurt is simply drizzled with a touch of honey or maple syrup, topped with fresh or frozen fruit, and a sprinkle of crunchy granola, its versatility extends far beyond breakfast. We intentionally make our yogurt plain and unsweetened to maximize its utility across a range of culinary applications. It’s fantastic in dinner recipes, as a creamy component in snack creations like Frozen Blueberries with Yogurt, or even in savory dips. Remember, in almost any recipe that calls for sour cream, you can confidently swap in Greek yogurt for a healthier, protein-packed alternative. Here are a few of our beloved recipes that showcase the incredible utility of homemade Greek yogurt:
- Chicken Mushroom Stroganoff with Greek Yogurt
- Carrot Cake Overnight Oats
- Banana Blackberry Oatmeal Muffins
- Brownie Batter Overnight Oats
Did you try this fantastic recipe? If you loved making your own Instant Pot Greek Yogurt, please consider leaving a ⭐️ star rating and sharing your experience in the comment section below the recipe card. Your feedback is incredibly valuable to us and immensely helpful to other readers who are embarking on their homemade yogurt journey!
📲 FOLLOW Sara on Social! 👋 For more delicious recipes and kitchen adventures, connect with us on Facebook, Instagram, or Pinterest to see the very latest from our kitchen!
📝 Printable Recipe: Easy Instant Pot Greek Yogurt

Instant Pot Greek Yogurt
Pin Recipe
Equipment
-
1 Yogurt Strainer Pouch
-
1 Instant Pot at least 6 Quart
Ingredients
- 1 gallon whole milk (or ½ gallon for a smaller batch)
- 2 Tablespoons Plain unsweetened Greek yogurt (with live active cultures, as your starter)
Instructions
-
Pour the desired amount of milk (1 gallon or ½ gallon) into the inner pot of your Instant Pot.
-
Place the lid on the Instant Pot and use its yogurt function to heat the milk to at LEAST 180°F (82°C). This step is crucial for denaturing milk proteins and typically takes about 1 hour. Consult your Instant Pot’s user manual for specific button instructions, as models vary. The milk needs to reach 180°F to set properly; otherwise, the yogurt can turn out runny.
-
Carefully remove the Instant Pot liner and allow the milk to cool. You can let it cool naturally to room temperature over an hour, or for a faster process, place the liner in an ice bath in the sink. The goal is to cool the milk to approximately 110-115°F (43-46°C). It’s vital not to add the starter when the milk is too hot, as this will kill the active yogurt cultures. Use an instant-read thermometer to ensure accuracy.
-
Once the milk has cooled to 110°F, add at least 2 Tablespoons of plain, unsweetened Greek yogurt to act as your culture starter. Whisk it thoroughly into the milk until well combined.
-
Return the inner pot to the Instant Pot and place the lid back on. Use the yogurt function to set the incubation period for at least 8 hours at 110°F (43°C). For a tangier flavor and slightly thicker yogurt, you can extend the incubation time.
-
After incubation, immediately transfer the yogurt to a yogurt straining bag placed over a large bowl or pot (to collect the whey). Use a ladle to scoop the yogurt. Allow the whey to drain for about 2 hours, which typically yields around 500mL (4 cups) of liquid. You can refrigerate the whey for use in other recipes; see our FAQ section for ideas!
-
Once the yogurt has reached your desired thickness (longer draining equals thicker yogurt), transfer it to an airtight storage container and refrigerate. The yogurt will continue to firm up as it chills.
Serve your delicious homemade Greek yogurt with a drizzle of honey or maple syrup, fresh fruit, granola, or use it as a healthy substitute for sour cream in your favorite recipes!
Notes
CRITICAL TIP: Be mindful that the Instant Pot’s heat sensors can sometimes be inconsistent, meaning the milk might not always reach the full 180°F during its initial heating cycle. If this occurs, simply run the heat function for an additional short cycle or two. Always use an instant-read thermometerto confirm the milk reaches 180°F before cooling, and then cools to 110-115°F before stirring in the yogurt starter and beginning incubation. Precision in temperature is key to perfect yogurt!
For serving, customize your homemade Greek yogurt with a variety of toppings! Try a generous drizzle of honey or maple syrup, a dollop of your favorite fruit jam, a sprinkle of orange zest (a personal favorite for a bright flavor), granola, or any fresh or frozen fruit.
Beyond breakfast, this versatile yogurt is excellent in smoothies, savory dips, or as a healthier alternative to sour cream in countless recipes. Enjoy your wholesome, homemade creation!
Nutrition

Hi, I’m Sara!
A Registered Nurse by day and a passionate food blogger by weekend, I am your go-to person for perfect dip tasting and snack questing. I cherish short, refreshing walks on the beach and indulging in long, restful naps. Join me as I share my love for delicious food, one delightful bite at a time.
