Easy & Delicious Vegan Flatbread with Roasted Delicata Squash (No Yeast & Gluten-Free Options!)
Are you searching for a healthy, vibrant, and incredibly easy meal that brings a burst of flavor to your table without the fuss? Look no further! This fantastic Vegan Flatbread Recipe is your answer. Unlike traditional pizza, our flatbread uses no yeast, which means you can skip the lengthy waiting times and go from craving to devouring a crispy, delicious masterpiece in mere minutes. It’s perfectly suited as a light, healthy appetizer for entertaining guests or transforms into a satisfying, customizable dinner for the entire family. Prepare to impress with minimal effort, making every meal feel like a special occasion.
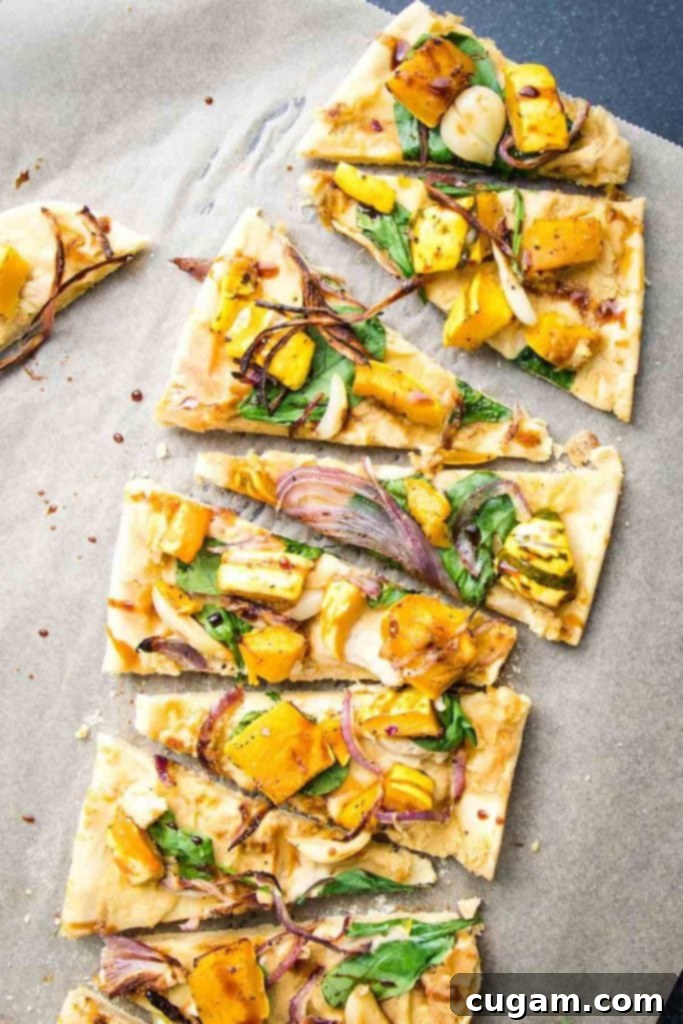
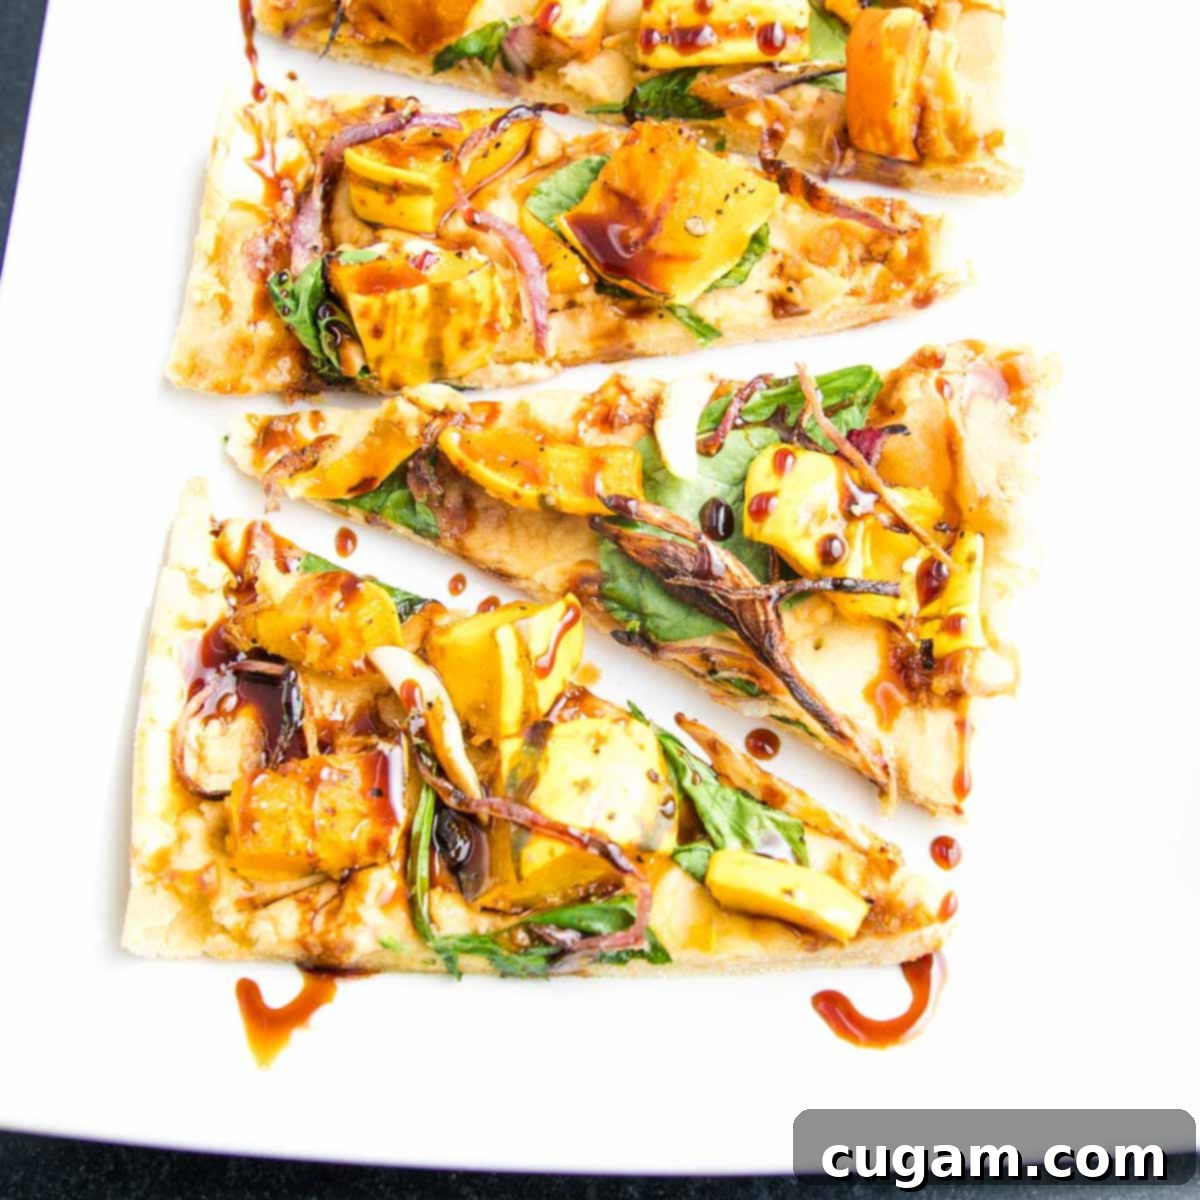
Imagine a family pizza night that’s not only more interesting but also healthier and super fun to make. This recipe isn’t just about making flatbread; it’s about creating a restaurant-style experience right in your kitchen. Our flatbread offers a wonderfully crispy crust, packed with flavor, and designed for easy customization. The highlight of this dish is its mouth-watering topping: a harmonious blend of creamy hummus, fresh, crisp greens, and an irresistible medley of sweet roasted delicata squash, caramelized onions, and tender garlic, optionally drizzled with a touch of date syrup for a hint of gourmet sweetness. This recipe is also wonderfully accommodating for various dietary needs, including vegan lifestyles and those requiring gluten-free options, ensuring everyone can enjoy a slice of this deliciousness.
The true magic of this homemade flatbread pizza lies in its crust: a simple, minimal-ingredient wonder that requires just 4 components and takes a mere 5 minutes to prepare. The absence of yeast means no tedious proofing, making it significantly faster than traditional pizza dough. This versatile crust works beautifully with any all-purpose flour, whether you prefer classic white, hearty whole wheat, or a gluten-free blend. Our tests with Bob’s Red Mill 1-to-1 gluten-free flour and Cup4Cup GF yielded wonderfully light and crispy results, while Jovial Einkorn Flour and Mighty Mill whole wheat flour also created delicious, slightly denser crusts. So, go ahead and choose your flour, slather on some savory hummus, scatter your favorite fresh greens, and load up those tasty roasted toppings. With a quick bake, you’ll have a delightful meal ready in a flash!
Crafting Your Speedy Vegan Flatbread Dough (No Yeast Required!)
Making delicious homemade flatbread dough has never been quicker or easier, especially when your flavorful toppings are already roasting in the oven. This no-yeast recipe is a true time-saver, designed to help you create a light, perfectly crispy crust in just minutes. The key is in its straightforward ingredients and simple technique, making it accessible even for novice bakers. Get ready to experience the pure joy of fresh, homemade flatbread without any of the lengthy waits associated with traditional yeast-leavened doughs.
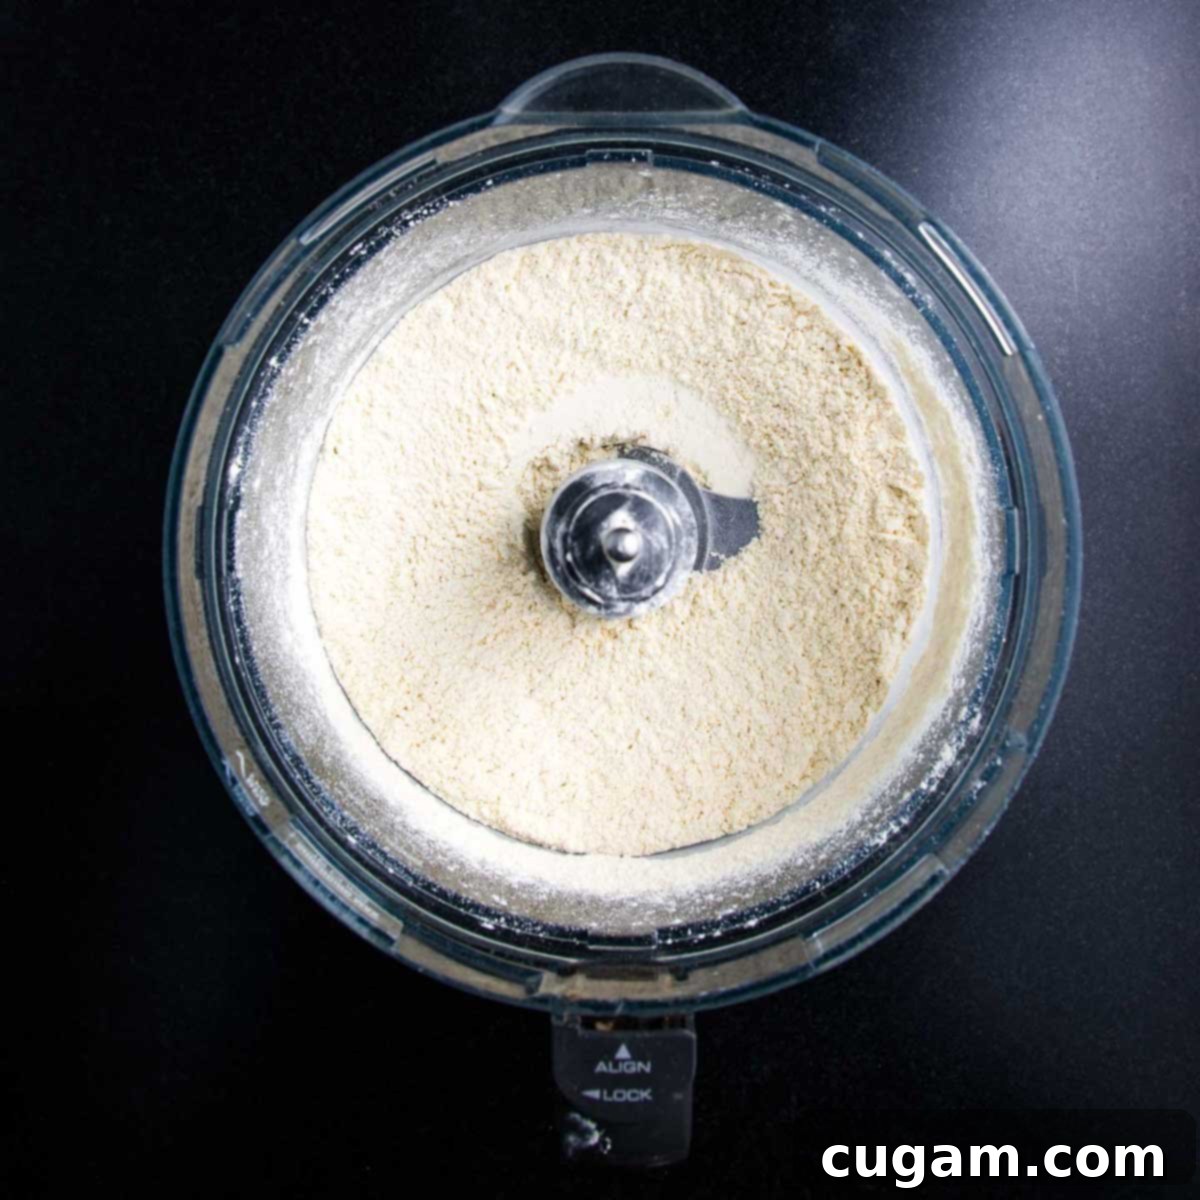
STEP 1: COMBINE DRY INGREDIENTS: The first step to an amazing flatbread crust is to perfectly combine your dry ingredients. In the bowl of your food processor, add your chosen all-purpose flour and fine-grain sea salt. The beauty of this recipe is its flexibility with flour types. We’ve rigorously tested it with various options, including Bob’s Red Mill 1-to-1 gluten-free flour and Cup4Cup GF, both of which consistently produce an exceptionally light and crispy texture. For those who prefer a more robust flavor, Jovial Einkorn Flour or Mighty Mill whole wheat flour also work wonderfully, yielding a slightly denser but equally satisfying crust. Simply pulse these dry ingredients together for a few seconds until they are thoroughly mixed and uniform. This foundational step ensures an even distribution of salt throughout the dough, enhancing its overall flavor.
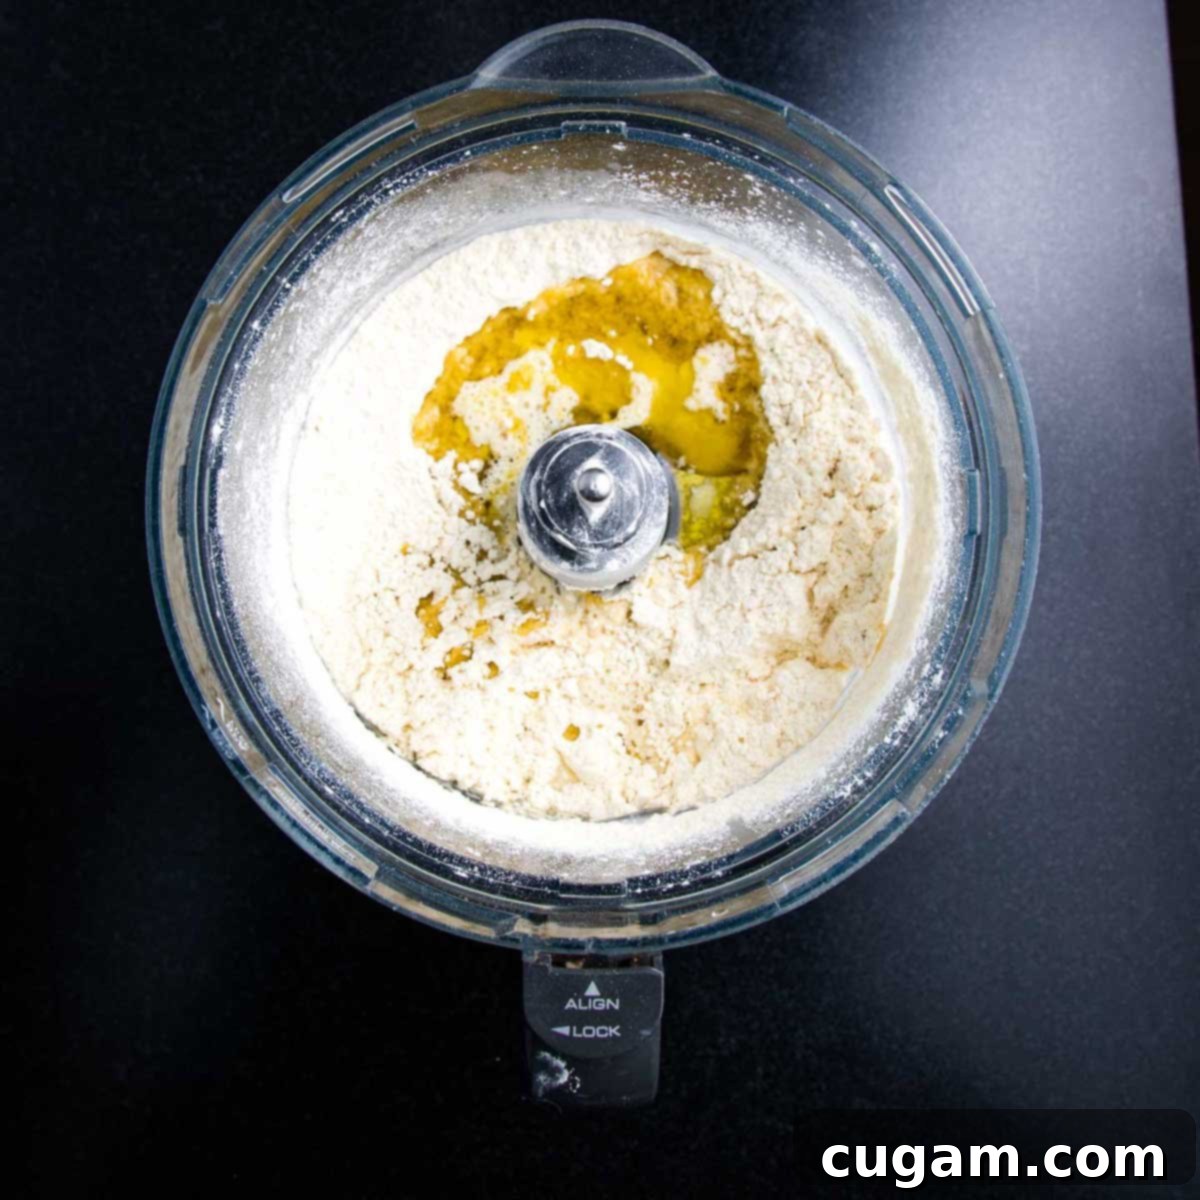
STEP 2: ADD WATER AND OIL: Once your dry ingredients are perfectly combined, it’s time to introduce the liquid components that will bring your dough to life. Add warm water and high-quality olive oil to the flour mixture in the food processor. The warmth of the water helps the dough come together smoothly and ensures a pliable consistency, while the olive oil contributes essential moisture, richness, and aids in achieving that coveted crispy texture after baking. Process the mixture, scraping down the sides of the bowl once or twice to ensure all ingredients are fully incorporated. While a powerful food processor streamlines this step, effortlessly creating a uniform dough, you can certainly achieve excellent results by mixing and kneading the dough by hand. Just ensure all the flour is fully hydrated and evenly distributed.
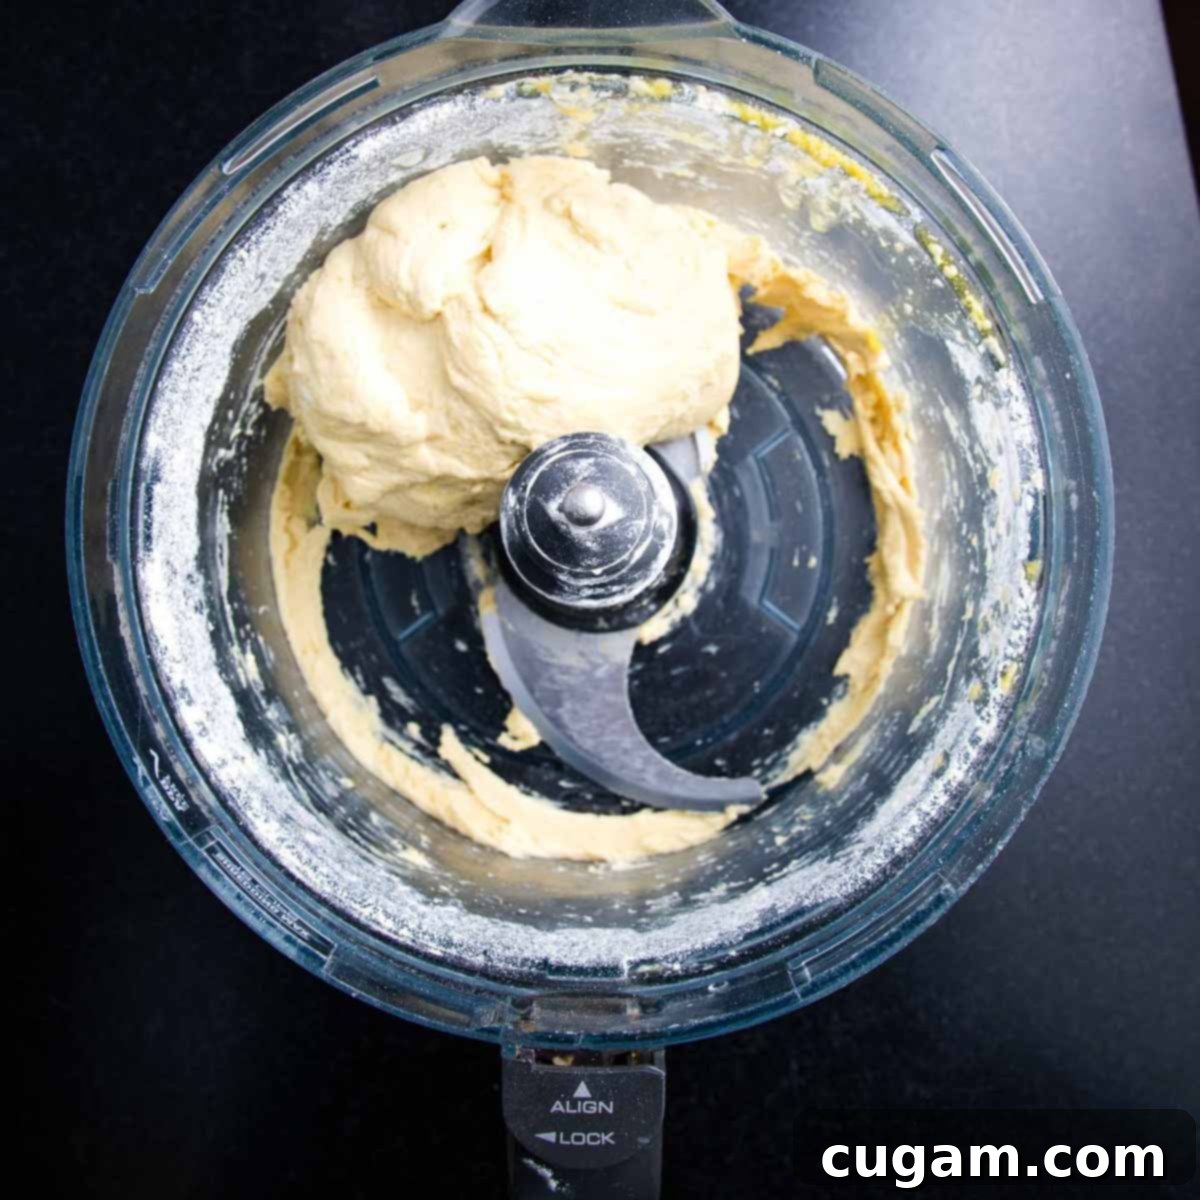
STEP 3: PROCESS UNTIL DOUGH FORMS: Continue processing the mixture until a distinct dough ball forms within the food processor and begins to effortlessly pull away from the sides of the bowl. This is your visual cue that the dough has achieved the perfect consistency. Typically, this process takes approximately 1 to 2 minutes, depending on your food processor and the type of flour used. The dough should appear soft and cohesive, yet firm enough to hold its shape. If it feels too sticky, you can add a tiny bit more flour, a teaspoon at a time, until the desired consistency is reached. This ideal texture ensures your dough will be easy to handle and roll out, leading to a perfectly crispy flatbread.
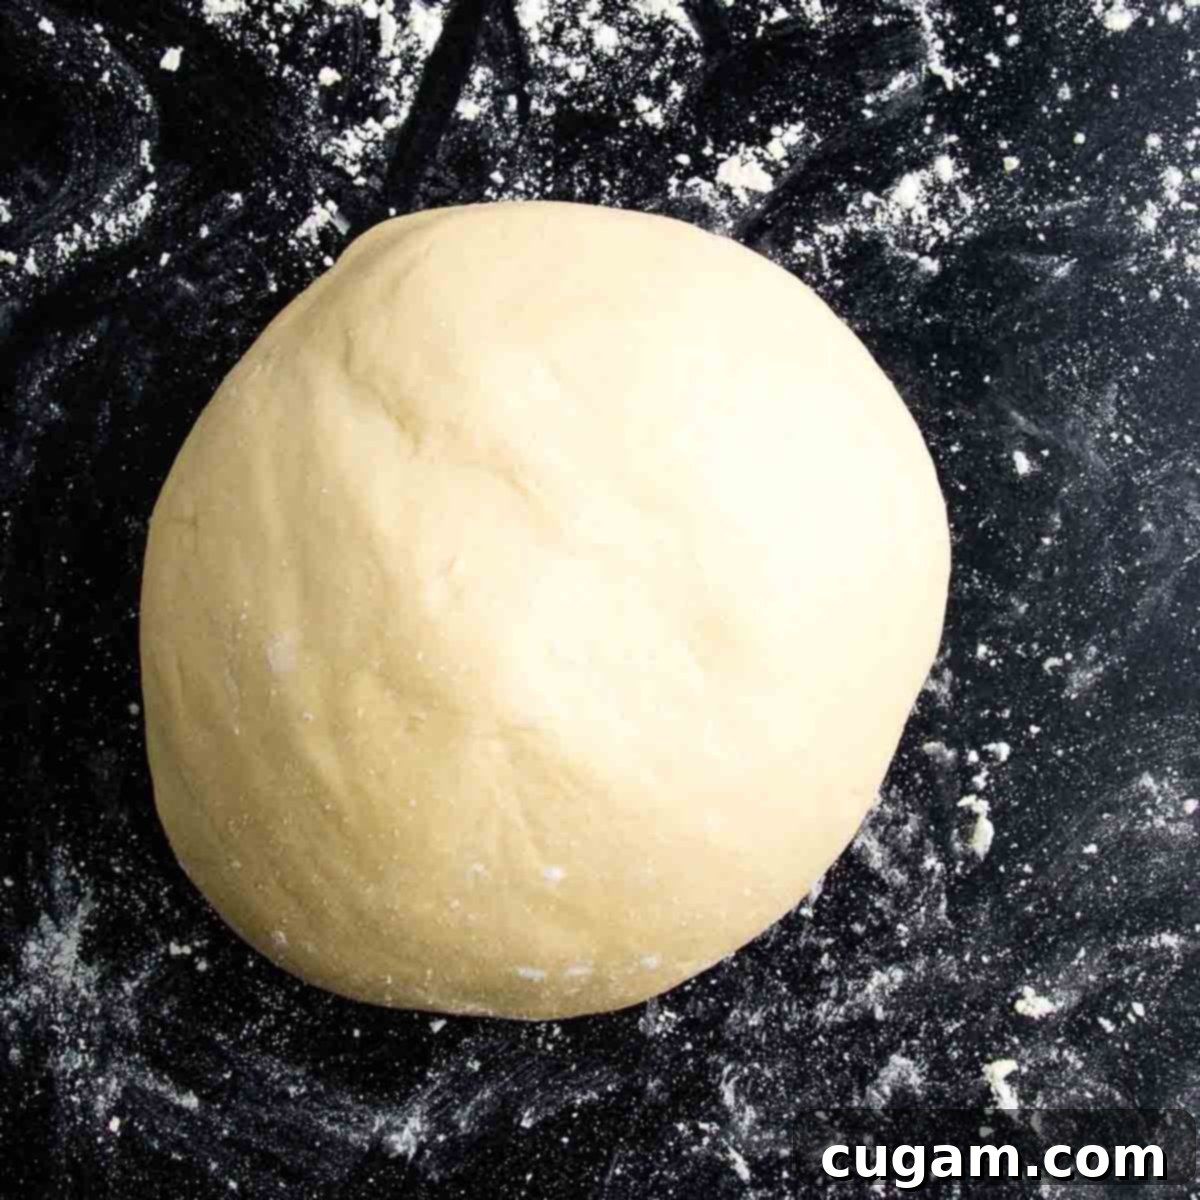
STEP 4: KNEAD BRIEFLY BY HAND: Once your dough has come together in the food processor, transfer it onto a lightly floured surface. A brief hand-knead is all that’s required at this stage – just about 1 minute of gentle kneading will transform it into a perfectly smooth and pliable ball. This short kneading process helps to further develop the gluten (or binding agents in gluten-free flours) without making the dough tough, ensuring it remains easy to roll and bakes into a delightful crispy crust. You’ll appreciate how quickly and effortlessly this dough comes together, making homemade flatbread a truly achievable weeknight meal.
From Dough to Delight: Rolling, Par-Baking, and Topping Your Flatbread Masterpiece
With your perfectly prepared dough ball ready, the most exciting part of the process truly begins! Transforming this simple dough into a thin, crispy flatbread base is surprisingly straightforward. We’ll walk you through each step, from expertly rolling the dough to the crucial par-baking phase that ensures an ideal crunch, and finally, loading it up with our delectable roasted delicata squash, caramelized onions, tender garlic, and fresh, vibrant greens. Get ready to awaken your senses and create a truly unforgettable homemade flatbread experience!
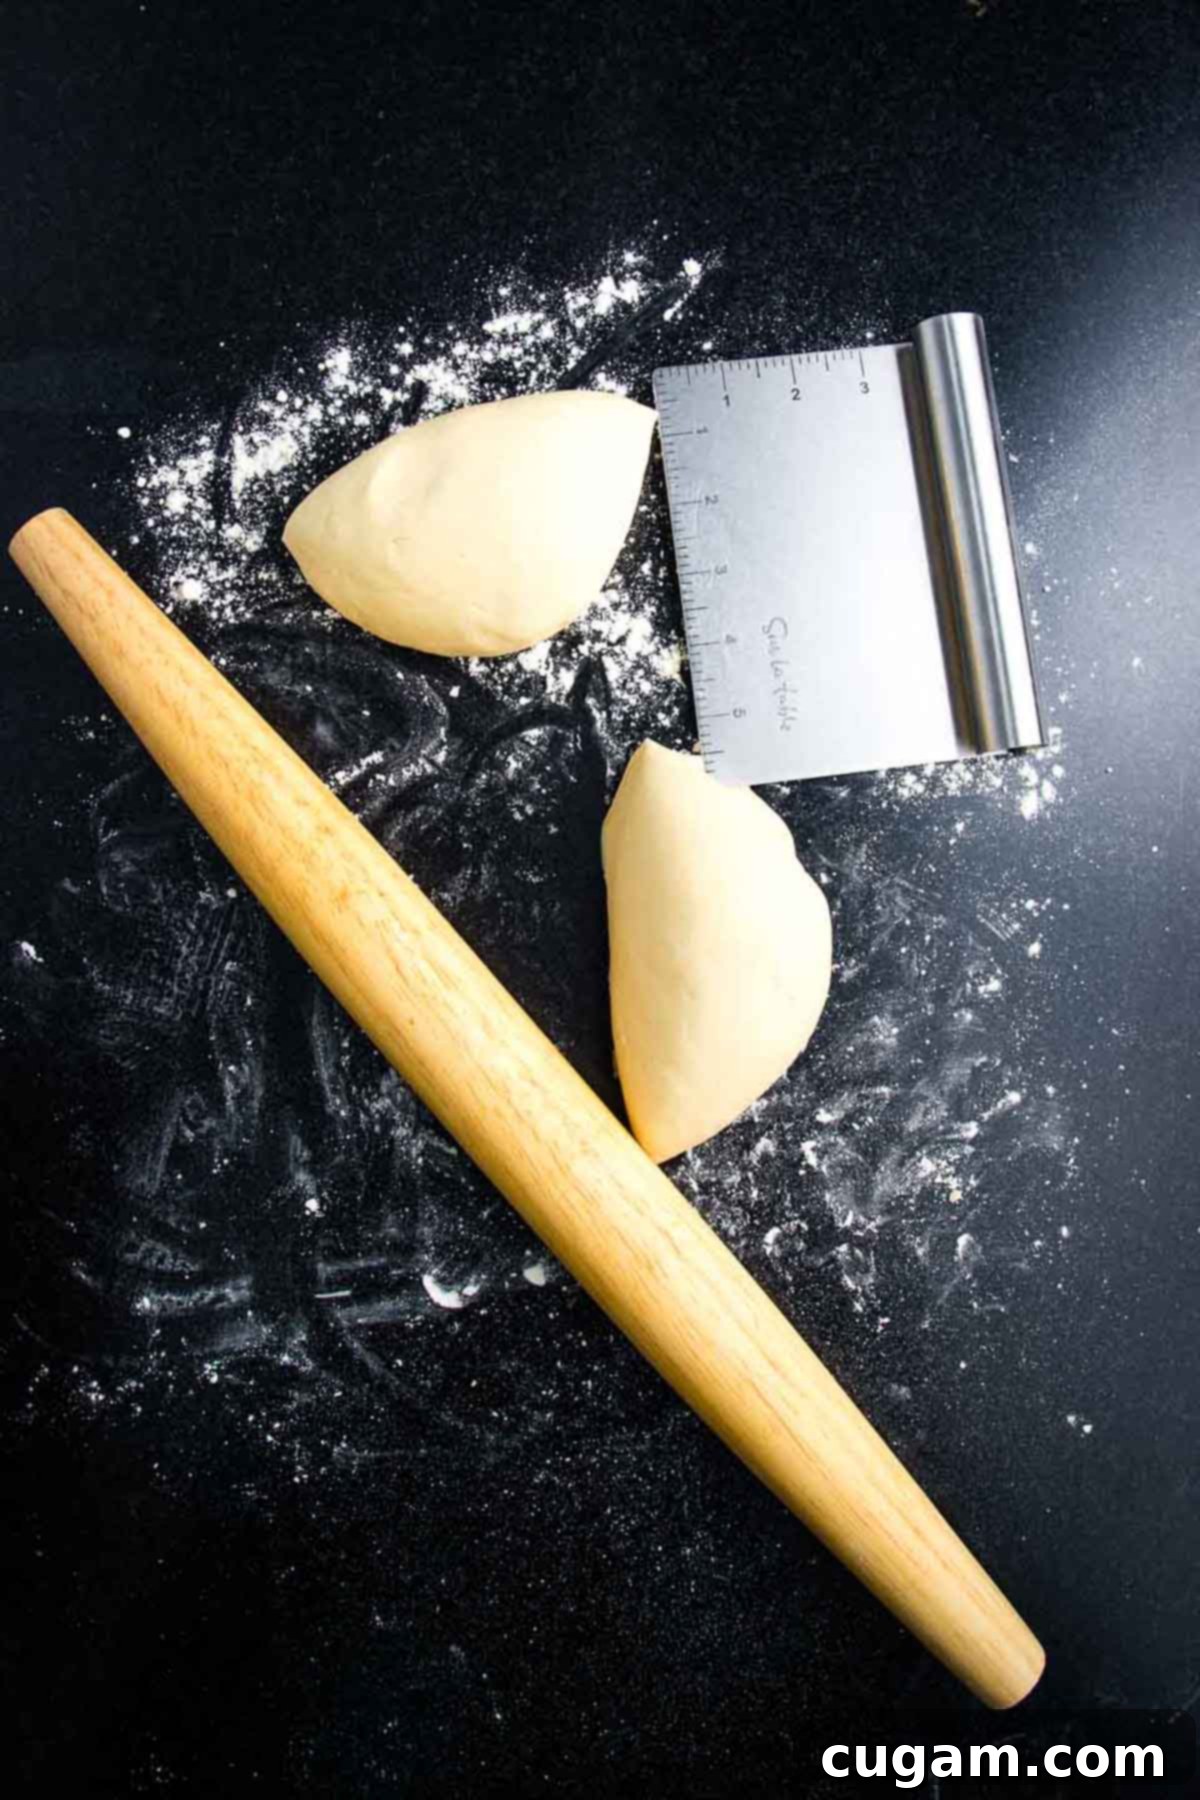
STEP 5: DIVIDE THE DOUGH: Take your smooth, kneaded dough ball and divide it into two equal portions. This recipe is designed to yield two beautifully sized flatbreads, making it perfect for sharing, serving as an appetizer at a gathering, or enjoying over a couple of meals. The flexibility to use one portion immediately and store the other for future culinary adventures is a fantastic advantage. You can either refrigerate the dough for a few days to keep it fresh or freeze it for up to three months, ensuring you always have a head start on a quick and delicious meal. (Detailed freezing and make-ahead tips are provided further down for your convenience!).
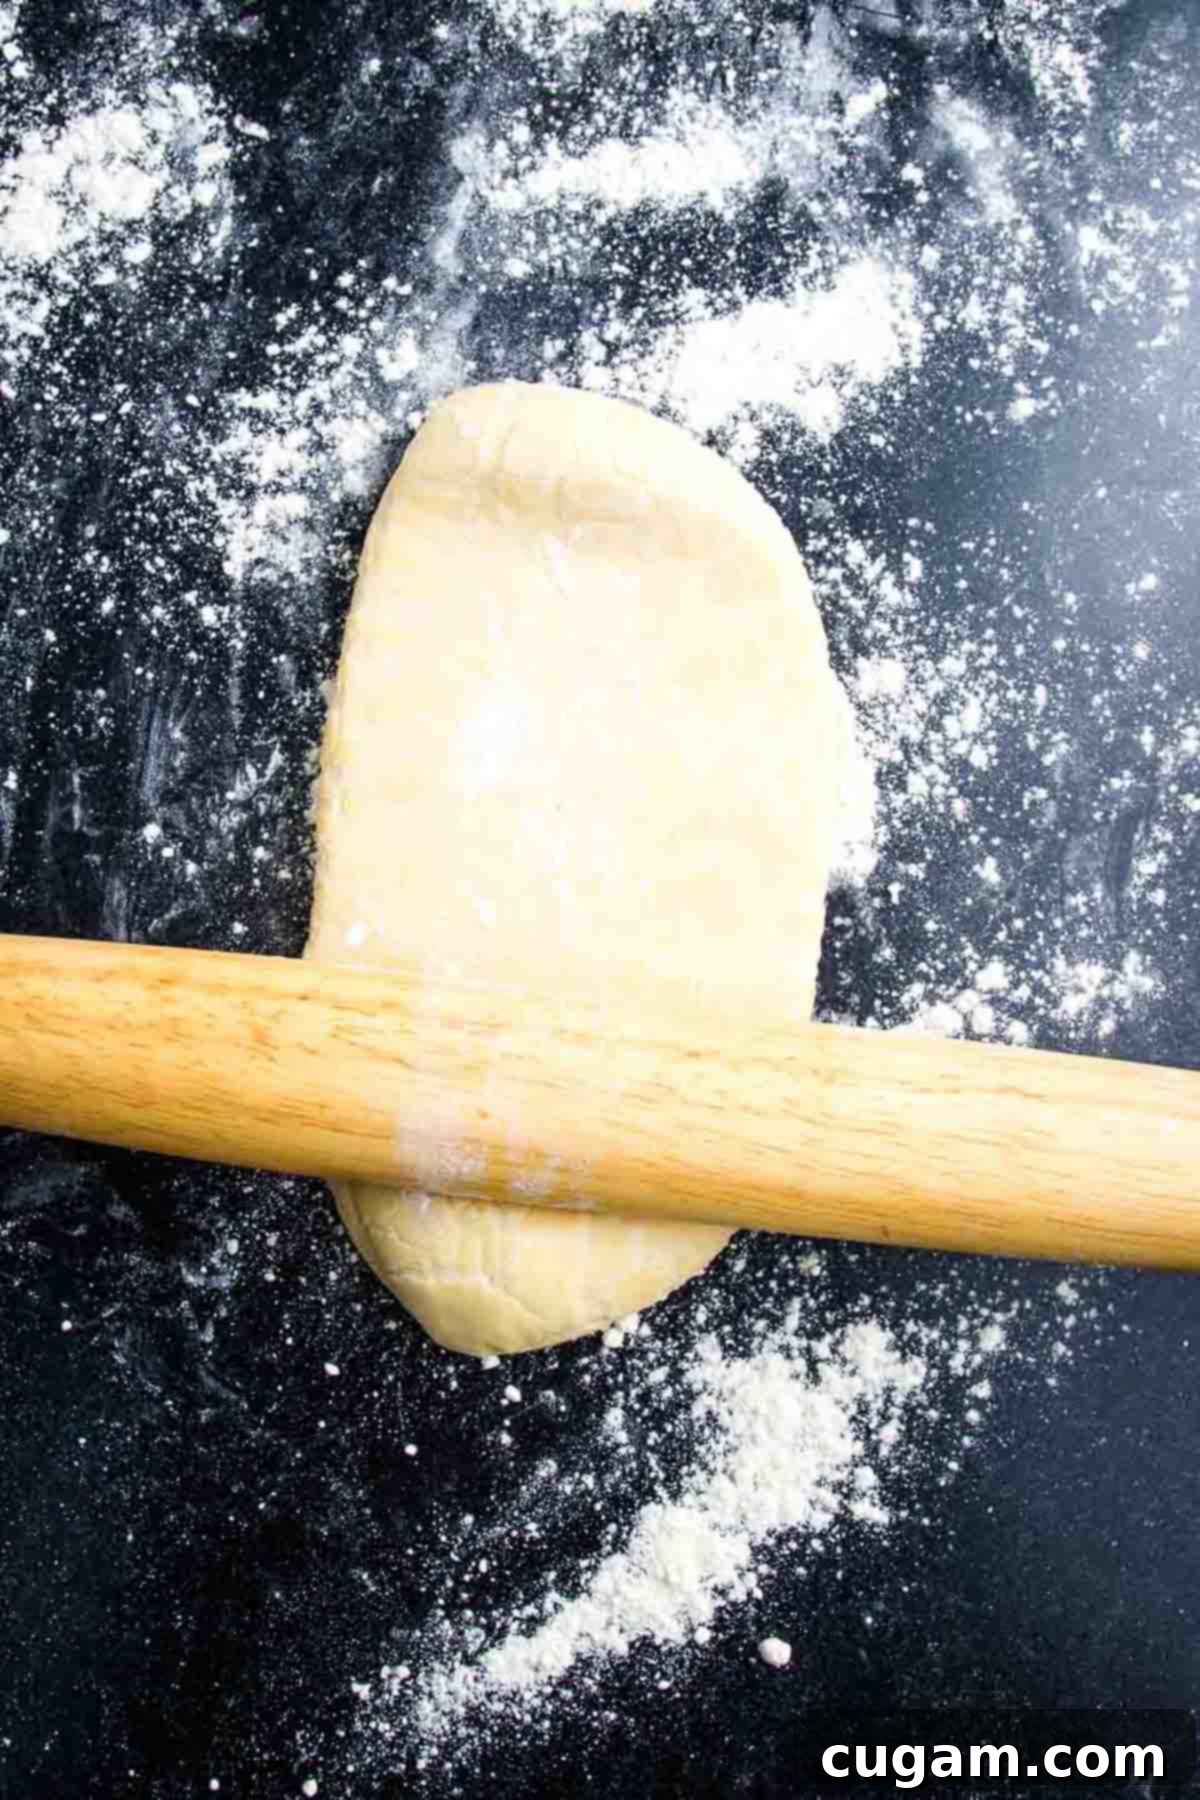
STEP 6: ROLL IT OUT THIN: On a lightly floured surface, take one of your dough portions and, using a rolling pin (a French rolling pin works particularly well for even pressure), roll it out evenly. The absolute key to achieving a truly crispy, well-cooked flatbread is to roll the dough as thinly as possible, aiming for approximately ¼-inch thickness. Thicker dough may result in a chewy interior and burnt edges. You can opt for a traditional long oval, a perfectly round shape, or embrace a more rustic, free-form design – the shape is entirely up to your preference. Just ensure the thickness is consistent throughout to guarantee even baking and that delightful crunch in every bite. Keep your surface and rolling pin lightly floured to prevent any sticking.
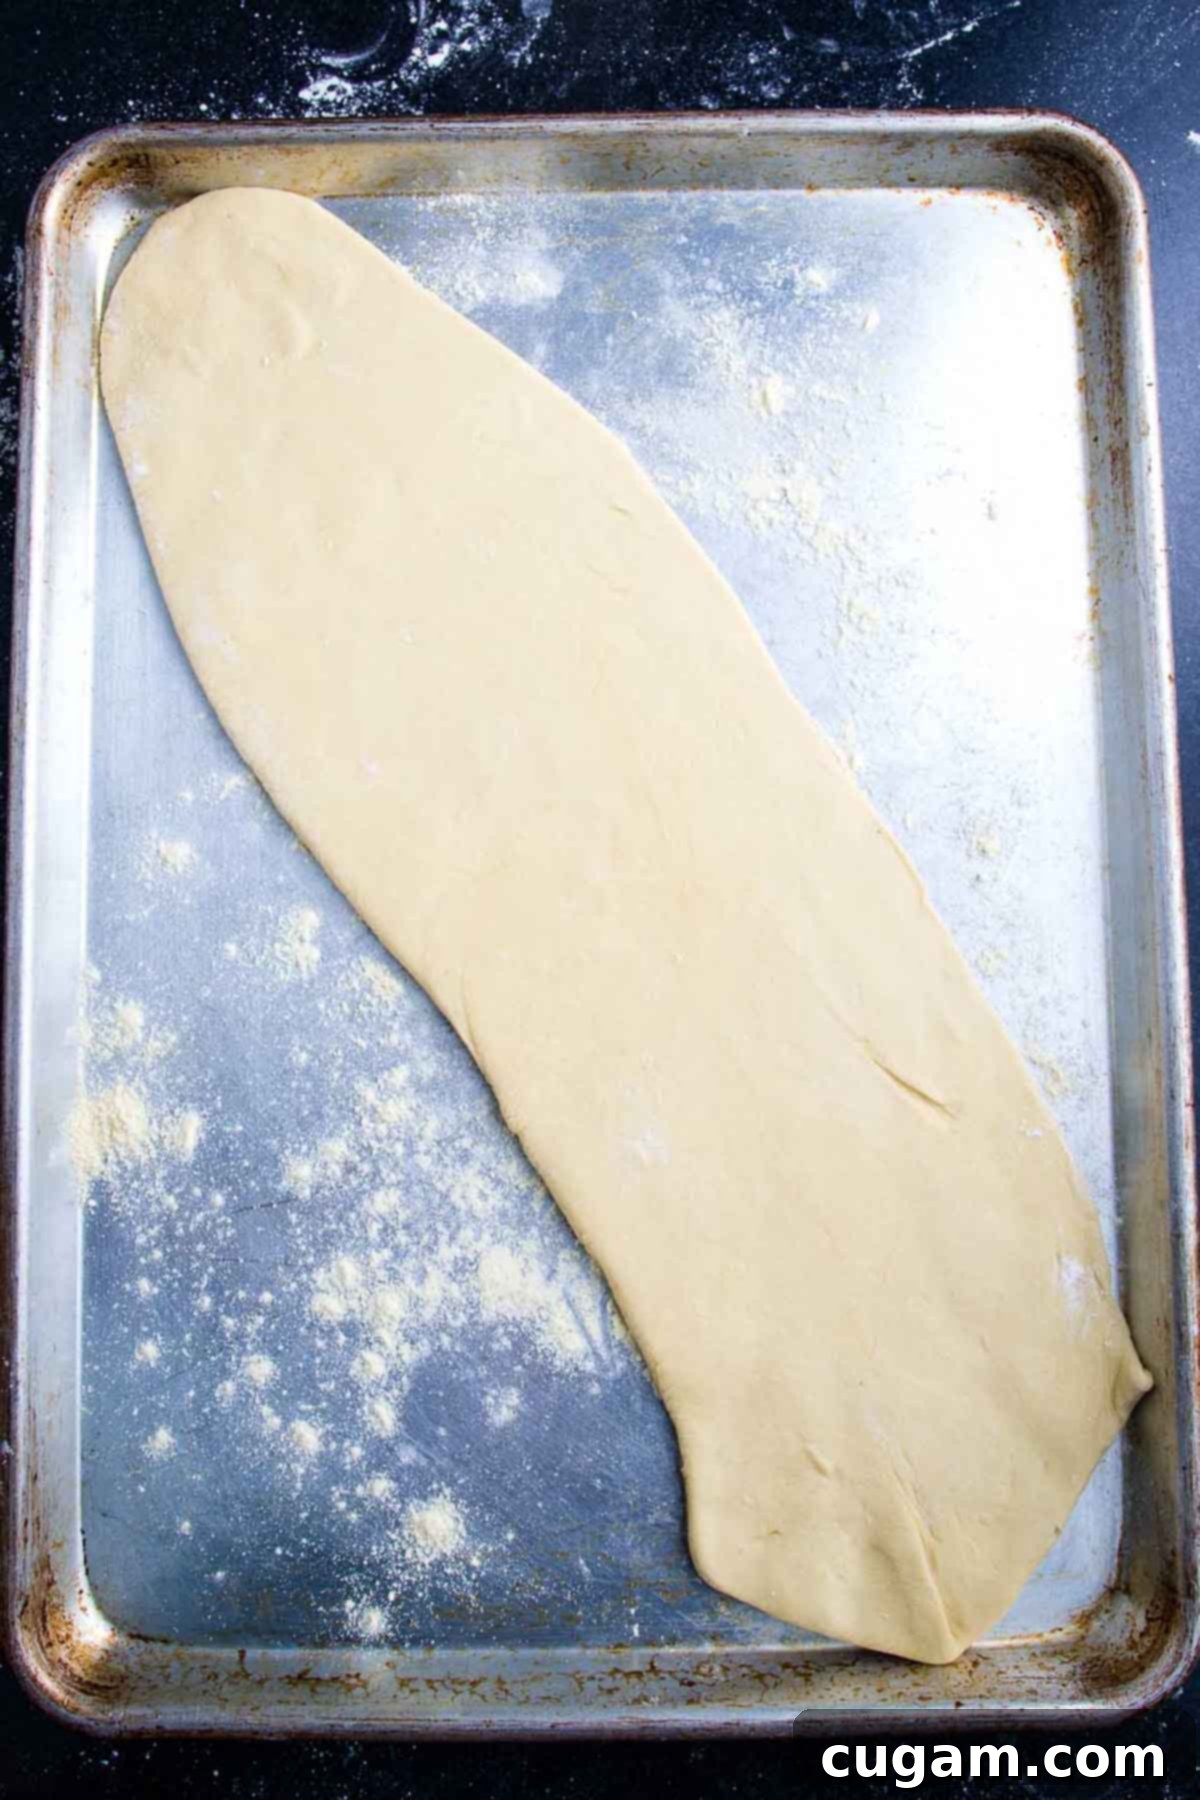
STEP 7: PREPARE YOUR BAKING SURFACE: To ensure a non-stick cooking experience and to contribute to an extra crispy bottom crust, generously dust a heavy rimmed baking sheet or pizza stone with cornmeal (or a light sprinkle of flour). The cornmeal not only acts as a natural non-stick barrier but also adds a subtle, pleasant texture to the base of your flatbread. Carefully transfer your thinly rolled dough onto the prepared baking surface, making sure it lays flat and smooth. Using parchment paper on your baking sheet can also be a helpful alternative for easy transfer and cleanup, though the cornmeal adds an authentic touch.
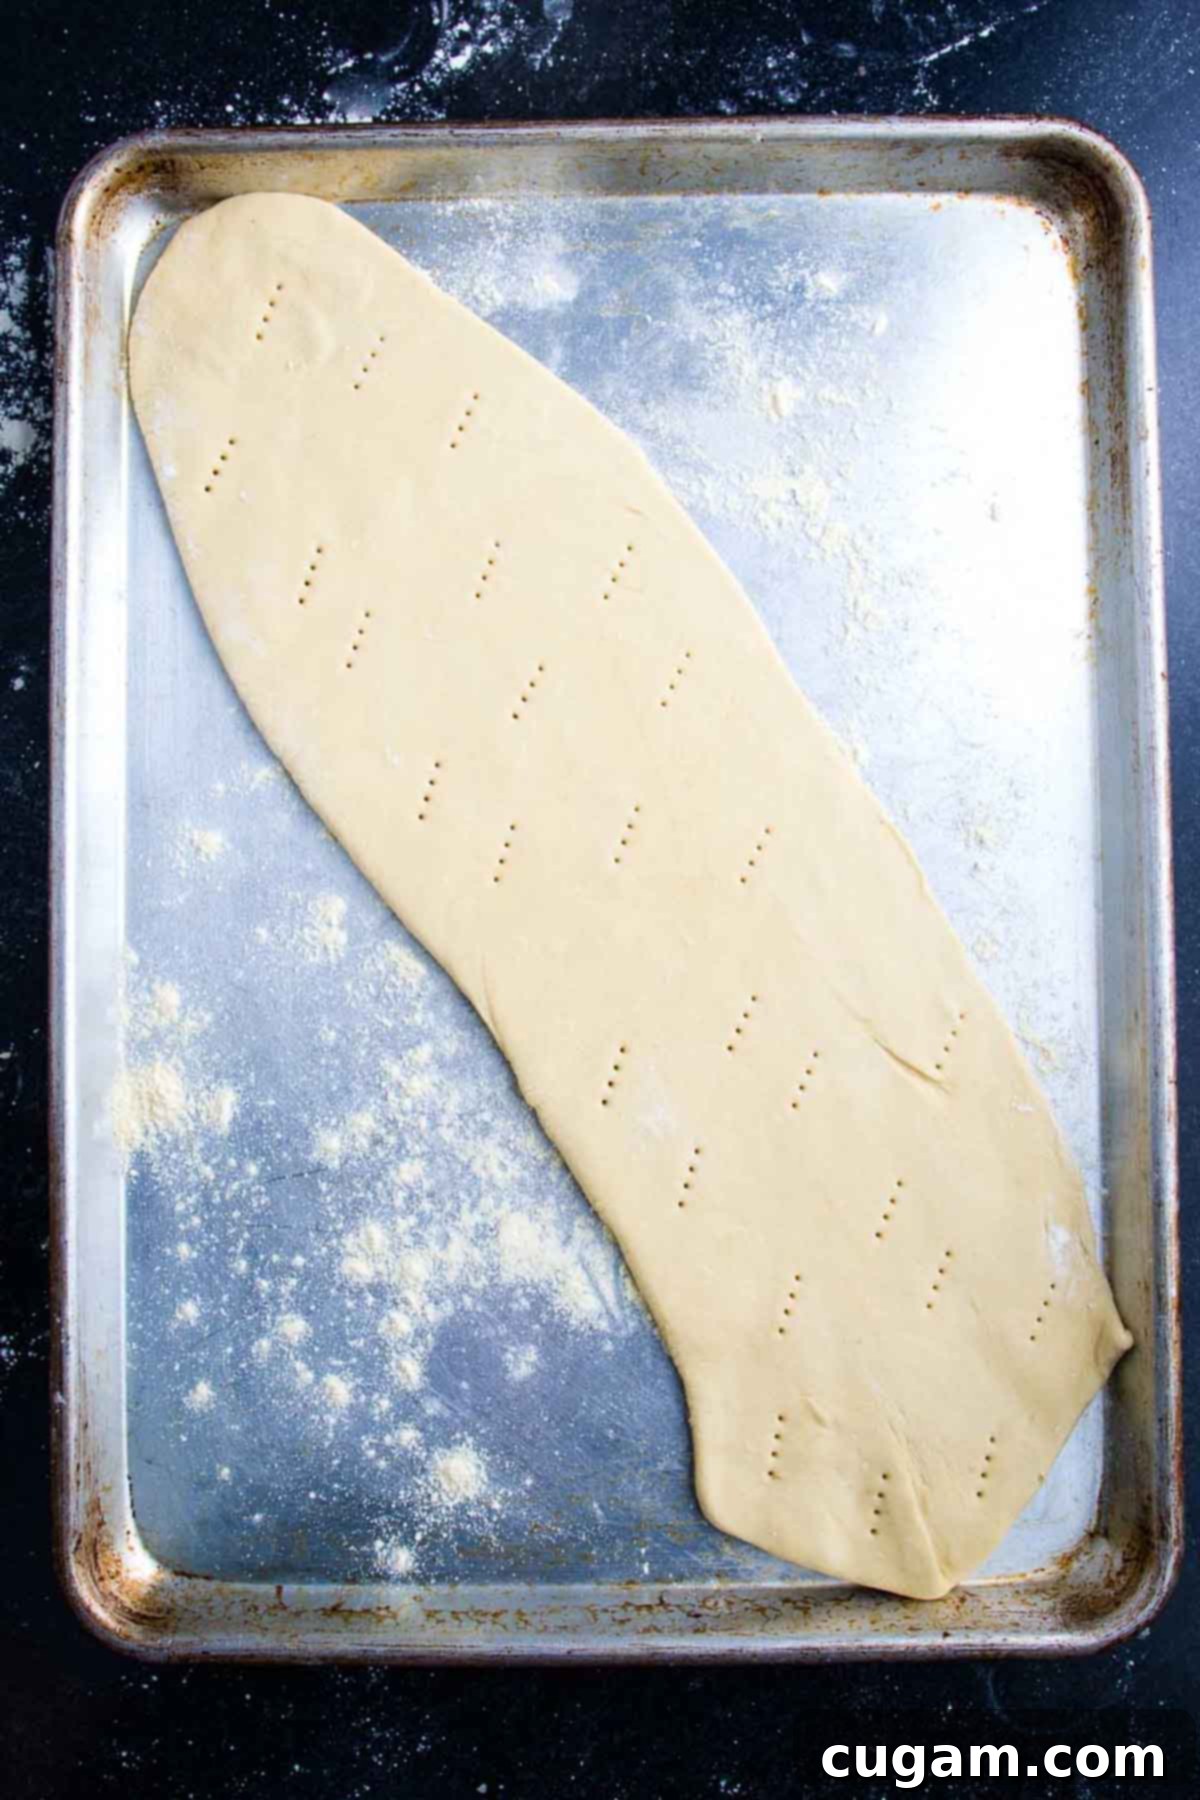
STEP 8: PRICK THE DOUGH: Before it goes into the oven, grab a fork and gently but thoroughly prick the entire surface of your rolled-out dough multiple times. This seemingly small step is incredibly important! These tiny air holes allow steam to escape from underneath the dough during baking. Without them, large, undesirable air bubbles can form, causing your crust to puff up unevenly and potentially leaving some areas undercooked or less crispy. By pricking the dough, you ensure an even, beautifully flat, and consistently crispy crust throughout your delicious flatbread.
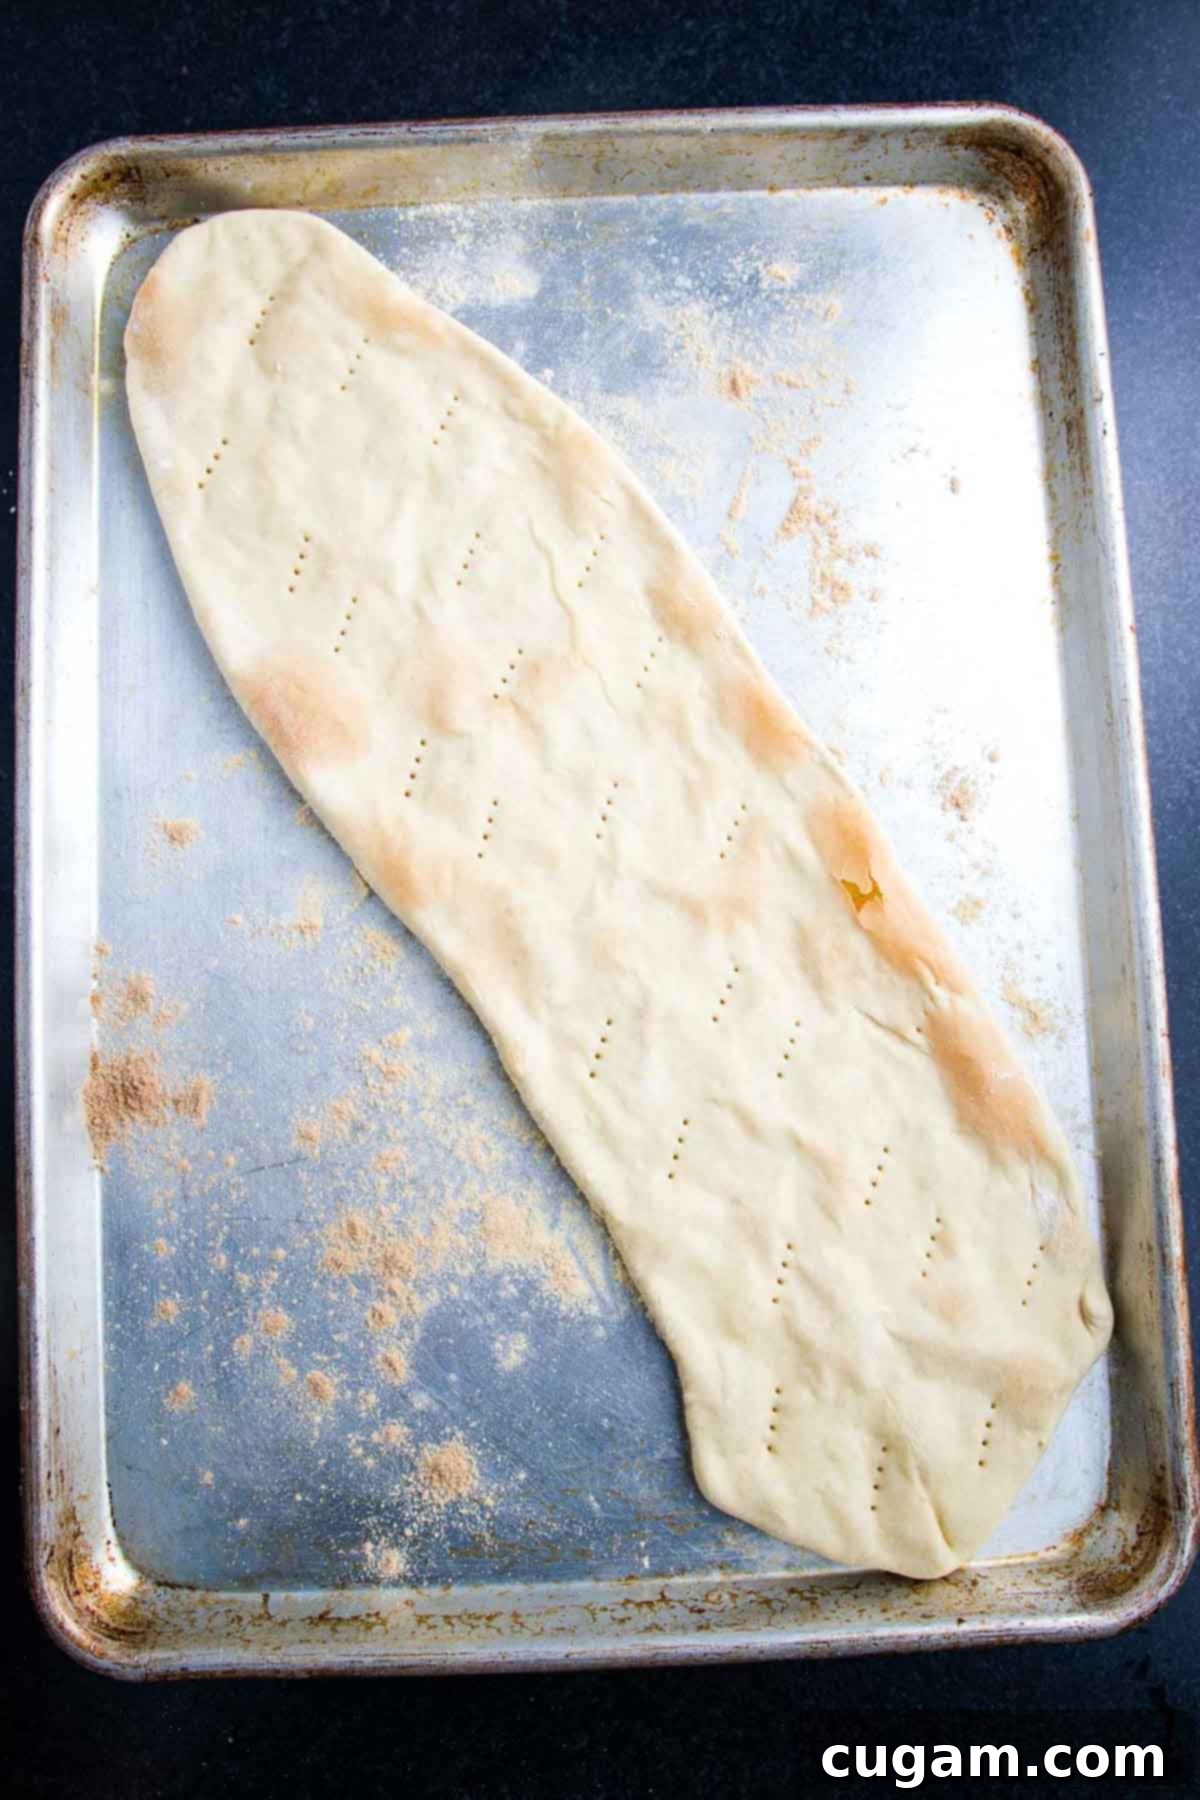
STEP 9: PAR-BAKE FOR PERFECTION: Place your pricked flatbread crust into the super-hot preheated oven for approximately 5-7 minutes. This critical step is known as “par-baking” or pre-baking, and it’s essential for achieving that sought-after crispy foundation. Par-baking helps to set the structure of the dough and prevents it from becoming soggy once you add the moist hummus and other delicious toppings. Even in this short baking time, you’ll notice the crust beginning to turn a light golden color and firming up beautifully, ready to receive its flavorful layers. This initial bake is key to a flatbread that holds its integrity and delivers a satisfying crunch.
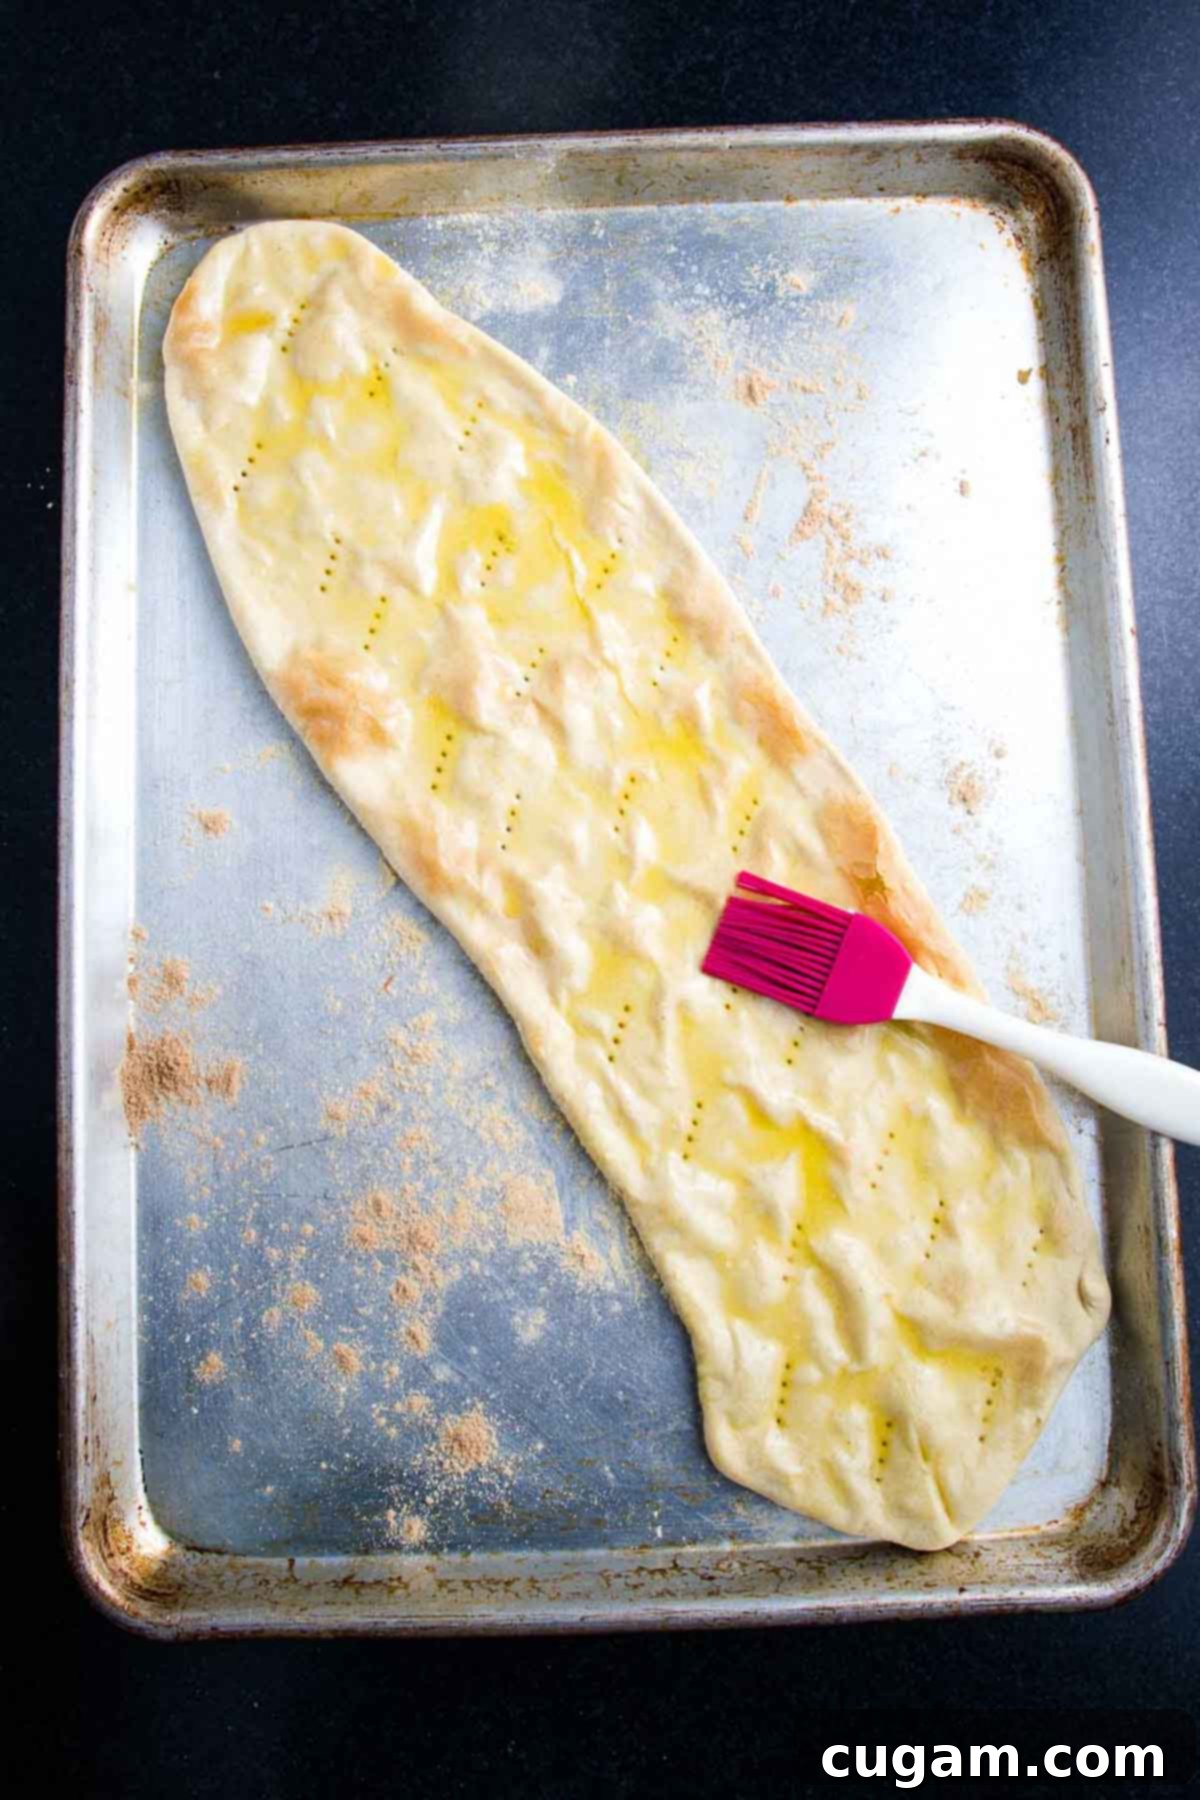
STEP 10: BRUSH WITH OLIVE OIL: Once the crust has completed its par-baking phase, carefully remove it from the oven. Now, lightly brush the entire surface of the warm crust with a thin layer of good quality olive oil, using a silicone pastry brush. This step is a brilliant yet simple trick to protect your crust: the oil creates a subtle, flavorful barrier that seals the surface, effectively preventing it from becoming soggy once you add your moist toppings like hummus and fresh vegetables. This ensures your flatbread maintains that delightful crispiness you’ve worked so hard to achieve, even after it’s loaded with deliciousness.
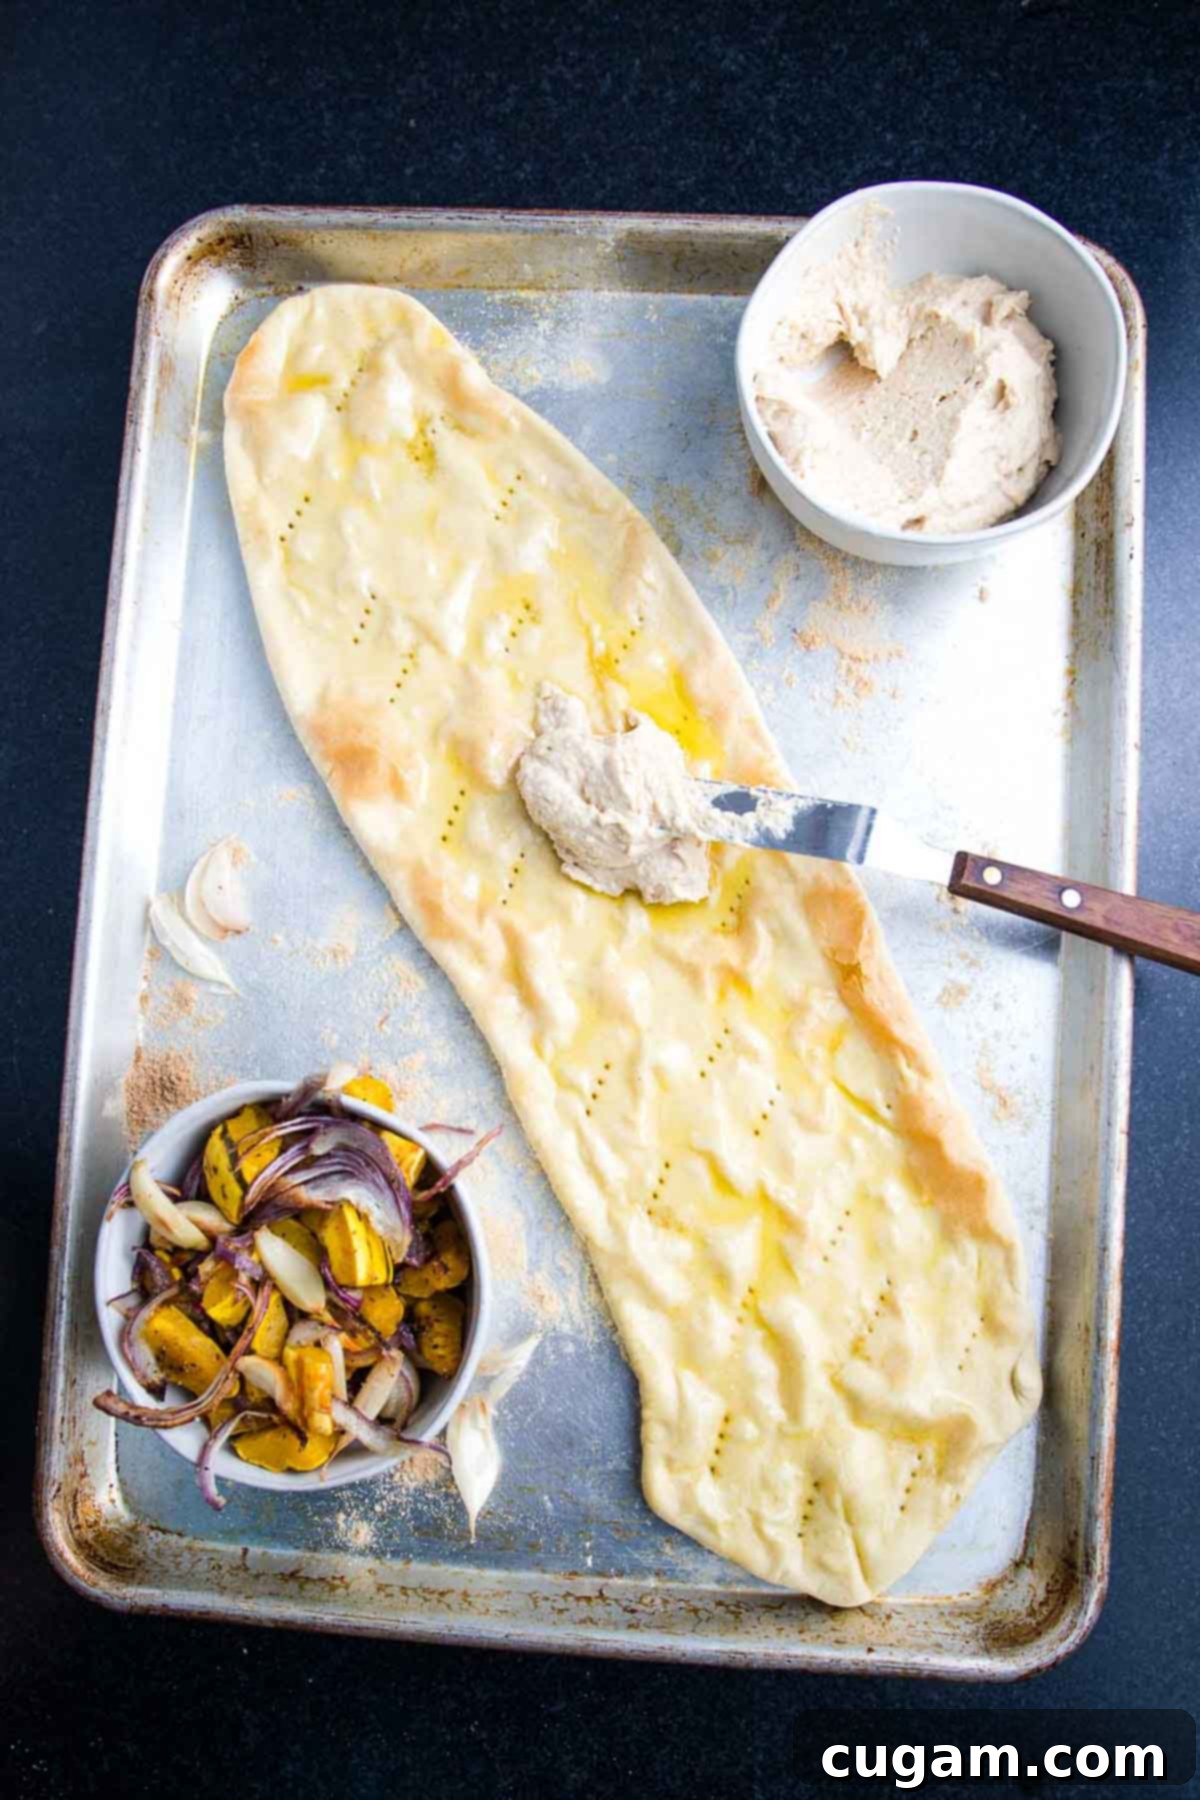
STEP 11: SPREAD ON THE HUMMUS: Now for the delicious, creamy base layer! Using a spoon or a small spatula, spread a generous and even layer of your favorite hummus over the olive oil-brushed crust. This creamy, savory spread provides a delightful and nutritious foundation for your toppings. Feel free to opt for your favorite store-bought hummus for ultimate convenience, or, for an extra personal touch, prepare a batch of homemade hummus. Just be mindful not to apply too thick a layer, as flatbreads are designed to be thin and can be overwhelmed by excessive moisture, which might compromise their crispiness.
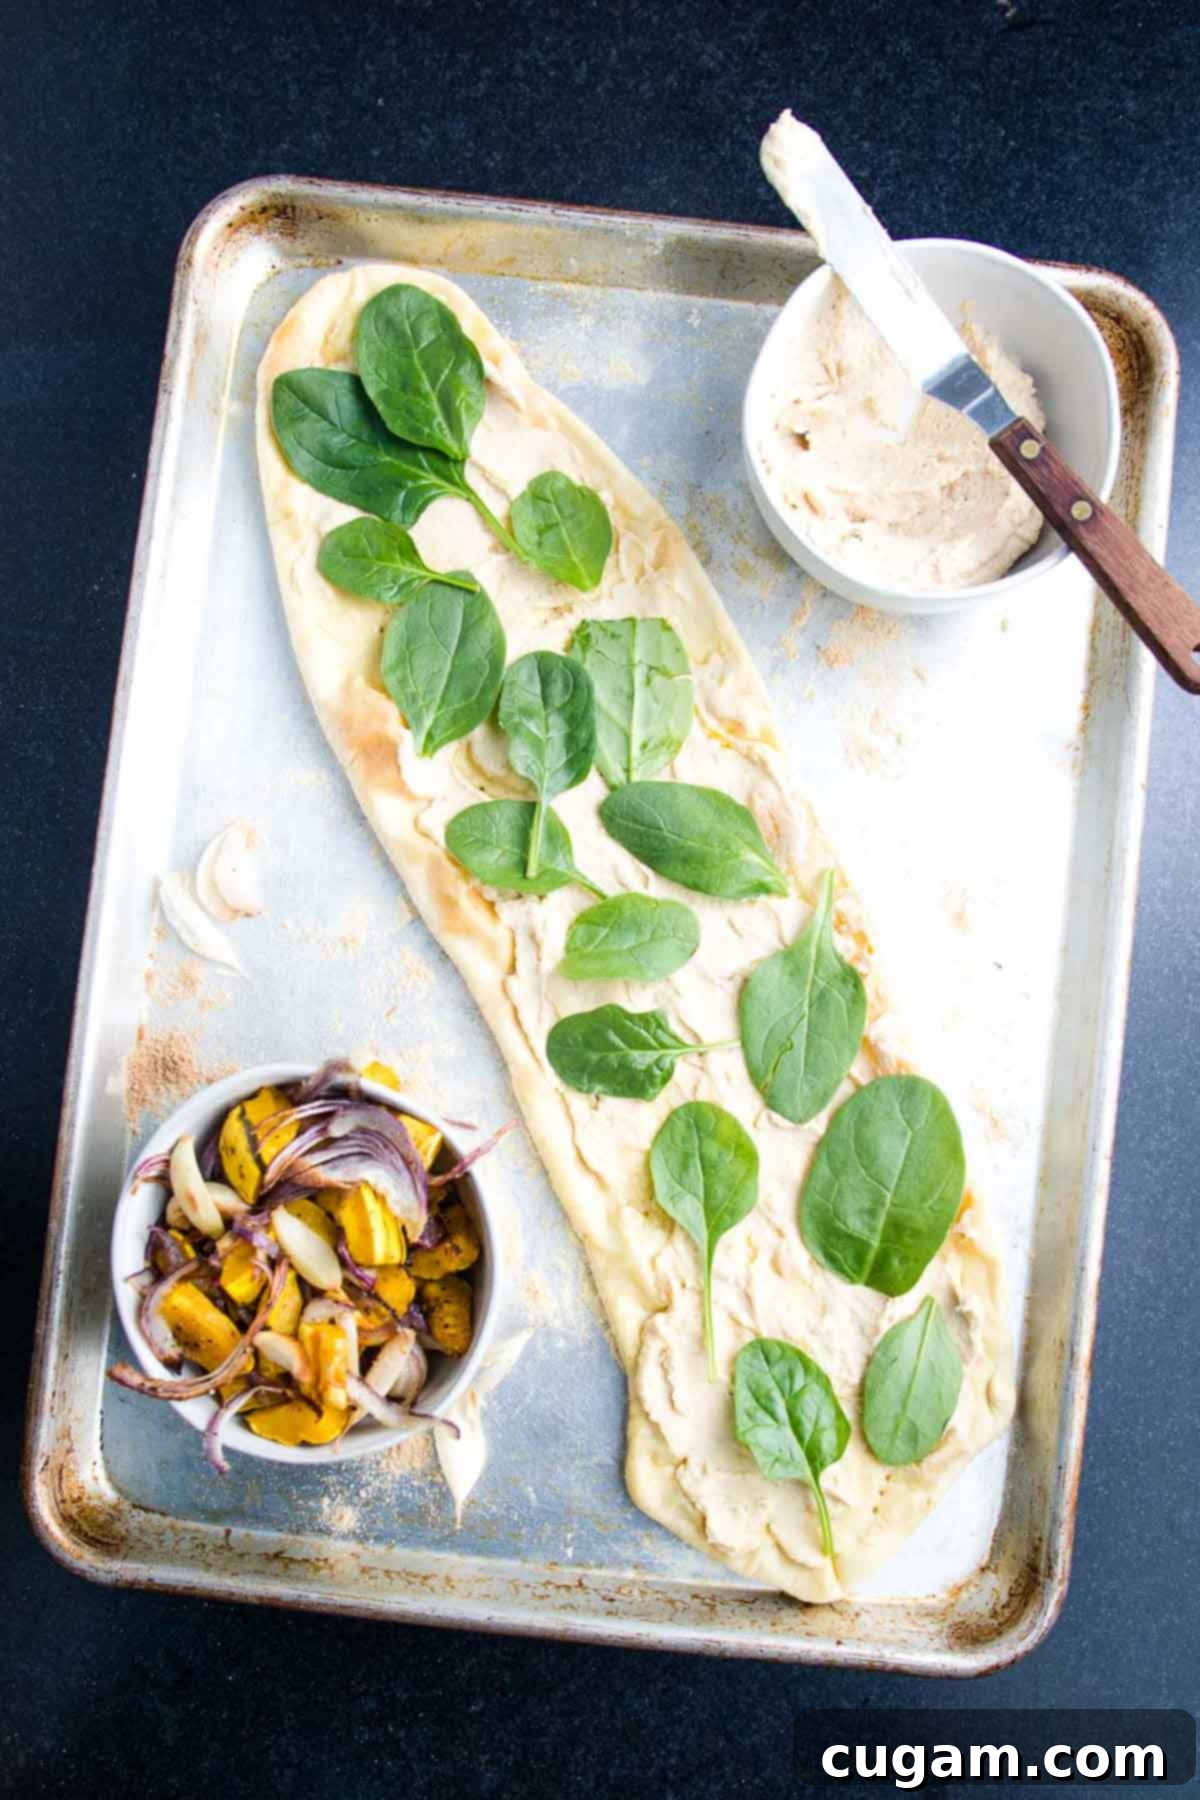
STEP 12: ADD FRESH GREENS: Next, sprinkle a generous handful of fresh, vibrant greens over the creamy hummus layer. Baby spinach is an excellent choice here; it will wilt beautifully in the oven, creating a soft, nutrient-rich layer that complements the other flavors. Alternatively, peppery arugula can add a delightful kick, or you could use massaged kale for a heartier texture and earthy note. Feel free to choose your favorite green or mix a few varieties for added visual appeal and flavor complexity. This step not only boosts the nutritional value but also adds a refreshing contrast to the rich, roasted vegetables that will follow.
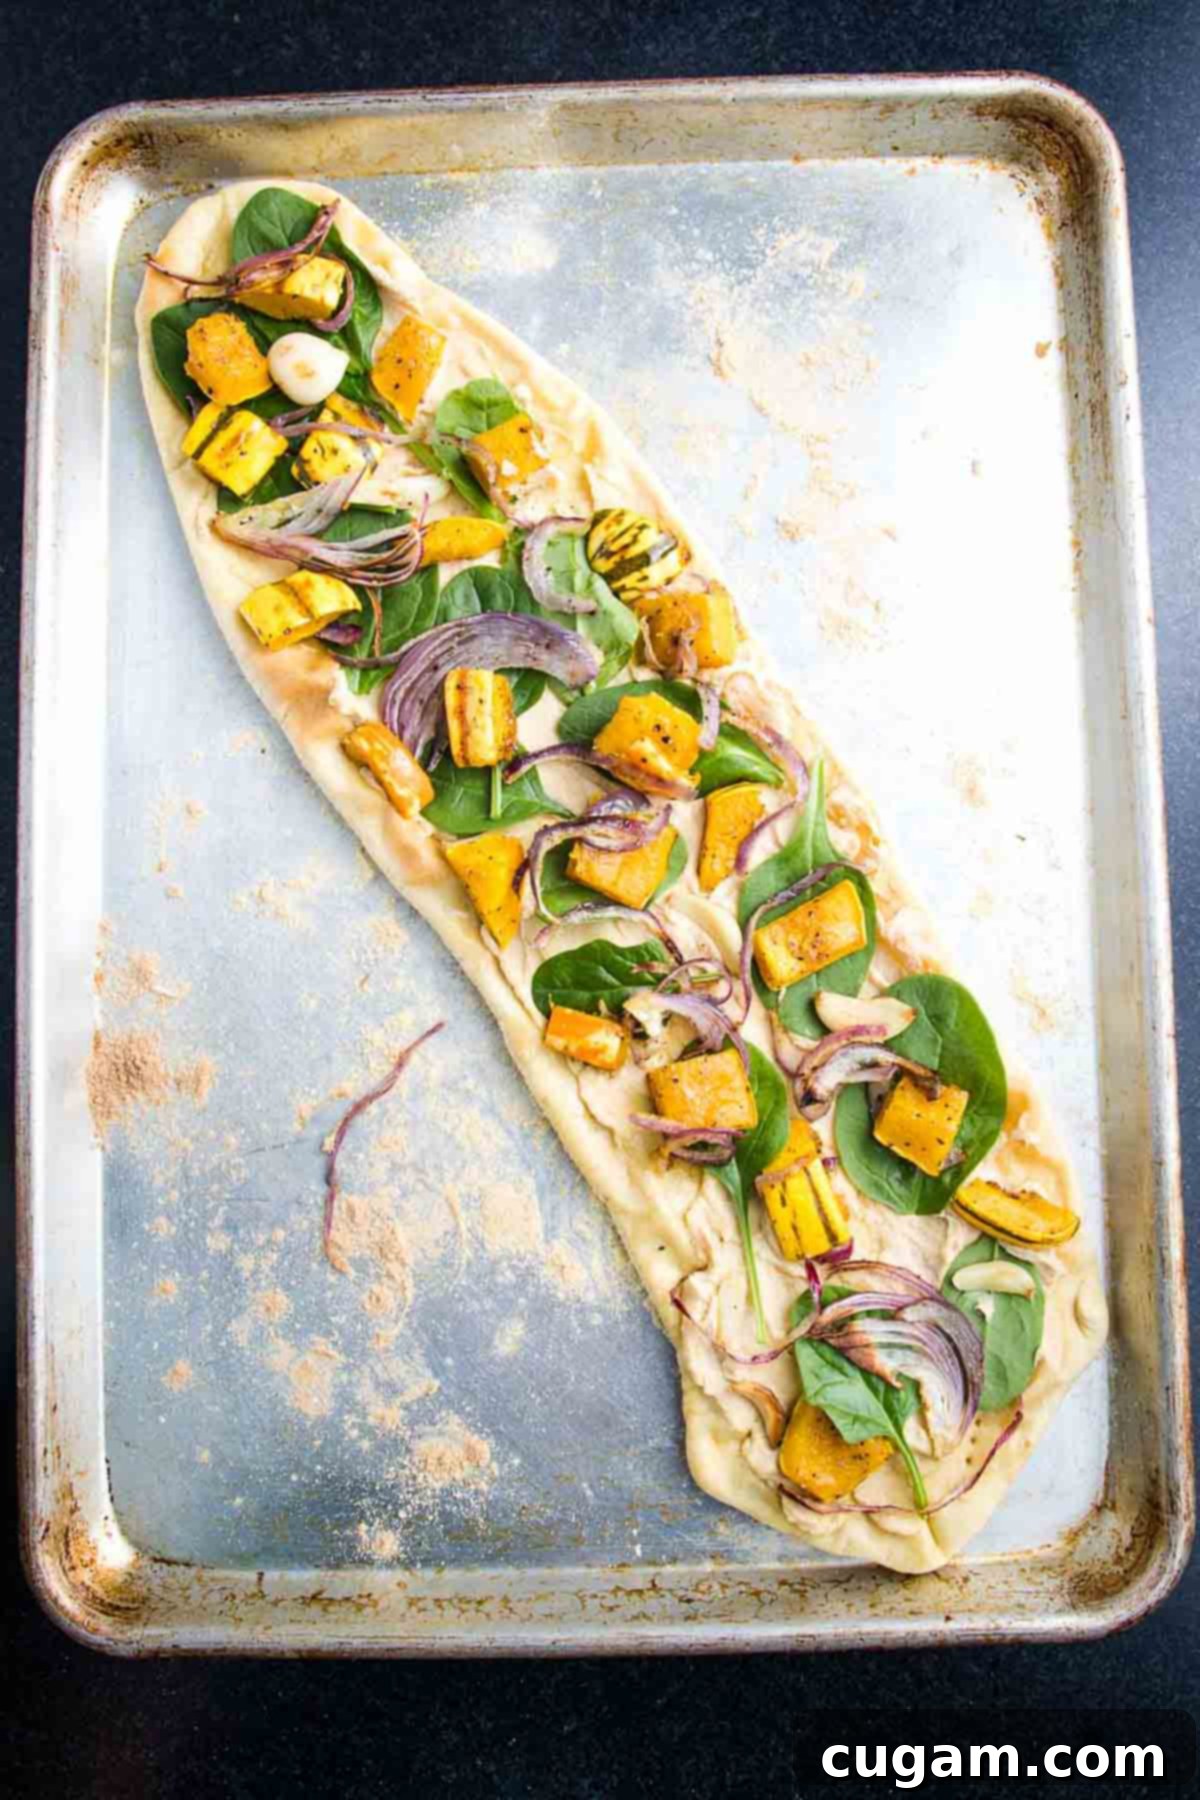
STEP 13: LAYER ON ROASTED VEGGIES: Now it’s time for the crowning glory – your perfectly roasted delicata squash cubes, sweet caramelized onions, and the tender, aromatic garlic pulp (which you’ve squeezed from its skins after cooling!). Evenly distribute this flavorful mixture over the layer of fresh greens. These pre-roasted ingredients bring a profound depth of savory, sweet, and garlicky flavors that truly elevate the flatbread. Once topped, return your loaded flatbread to the hot oven. Bake for an additional 5-8 minutes, or until the crust reaches its ultimate crispy perfection, the toppings are thoroughly warmed through, and the greens are slightly wilted and tender. Keep a watchful eye to prevent any burning, especially around the edges.
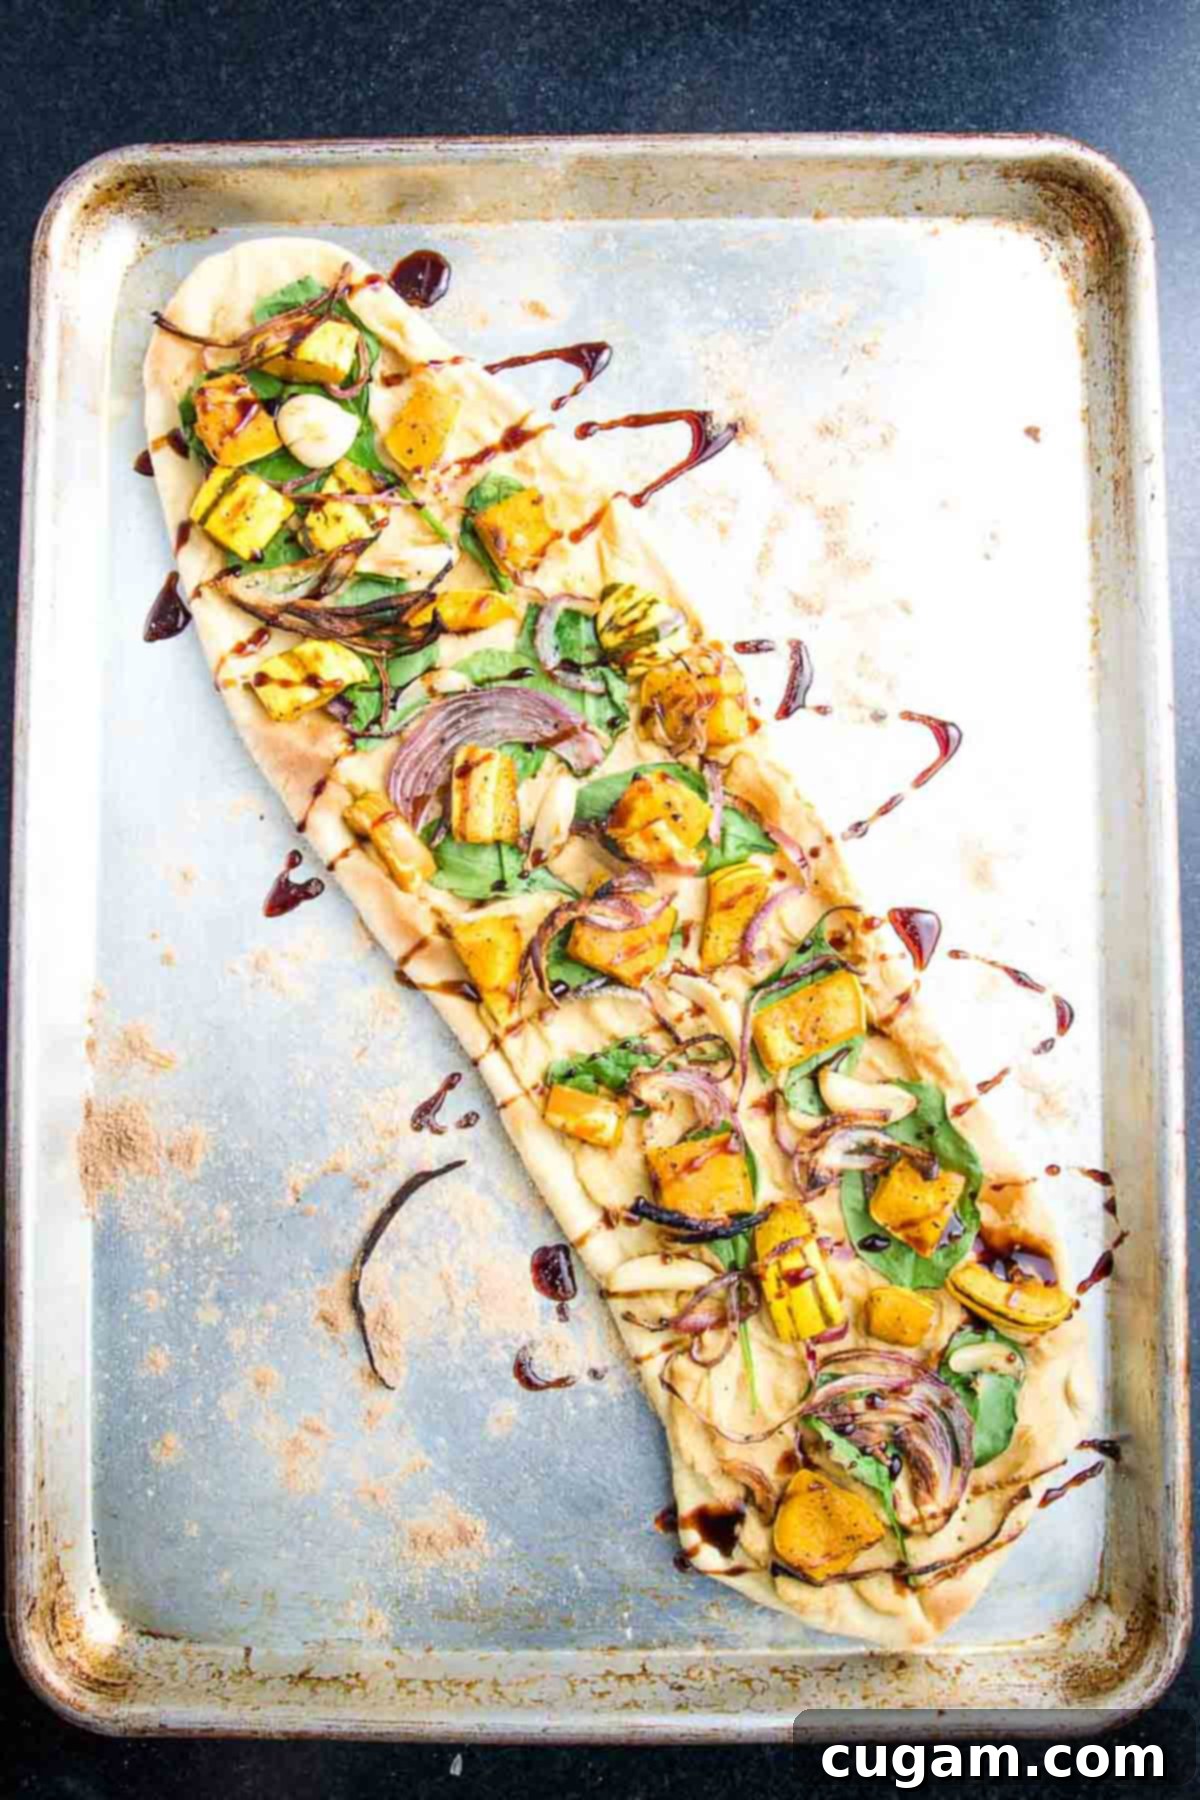
STEP 14: OPTIONAL DATE SYRUP DRIZZLE: For an exquisite touch that balances the savory richness of the roasted vegetables with a subtle sweetness, consider drizzling a little date syrup over your freshly baked flatbread. While this step is entirely optional, it adds a layer of gourmet sophistication and a truly delightful sweet-and-savory complexity that many find irresistible. This natural sweetener is a fantastic addition to any clean eating pantry and is highly recommended if you appreciate a subtle hint of sweetness complementing your savory dishes. It’s a small detail that makes a big impact on the overall flavor profile.
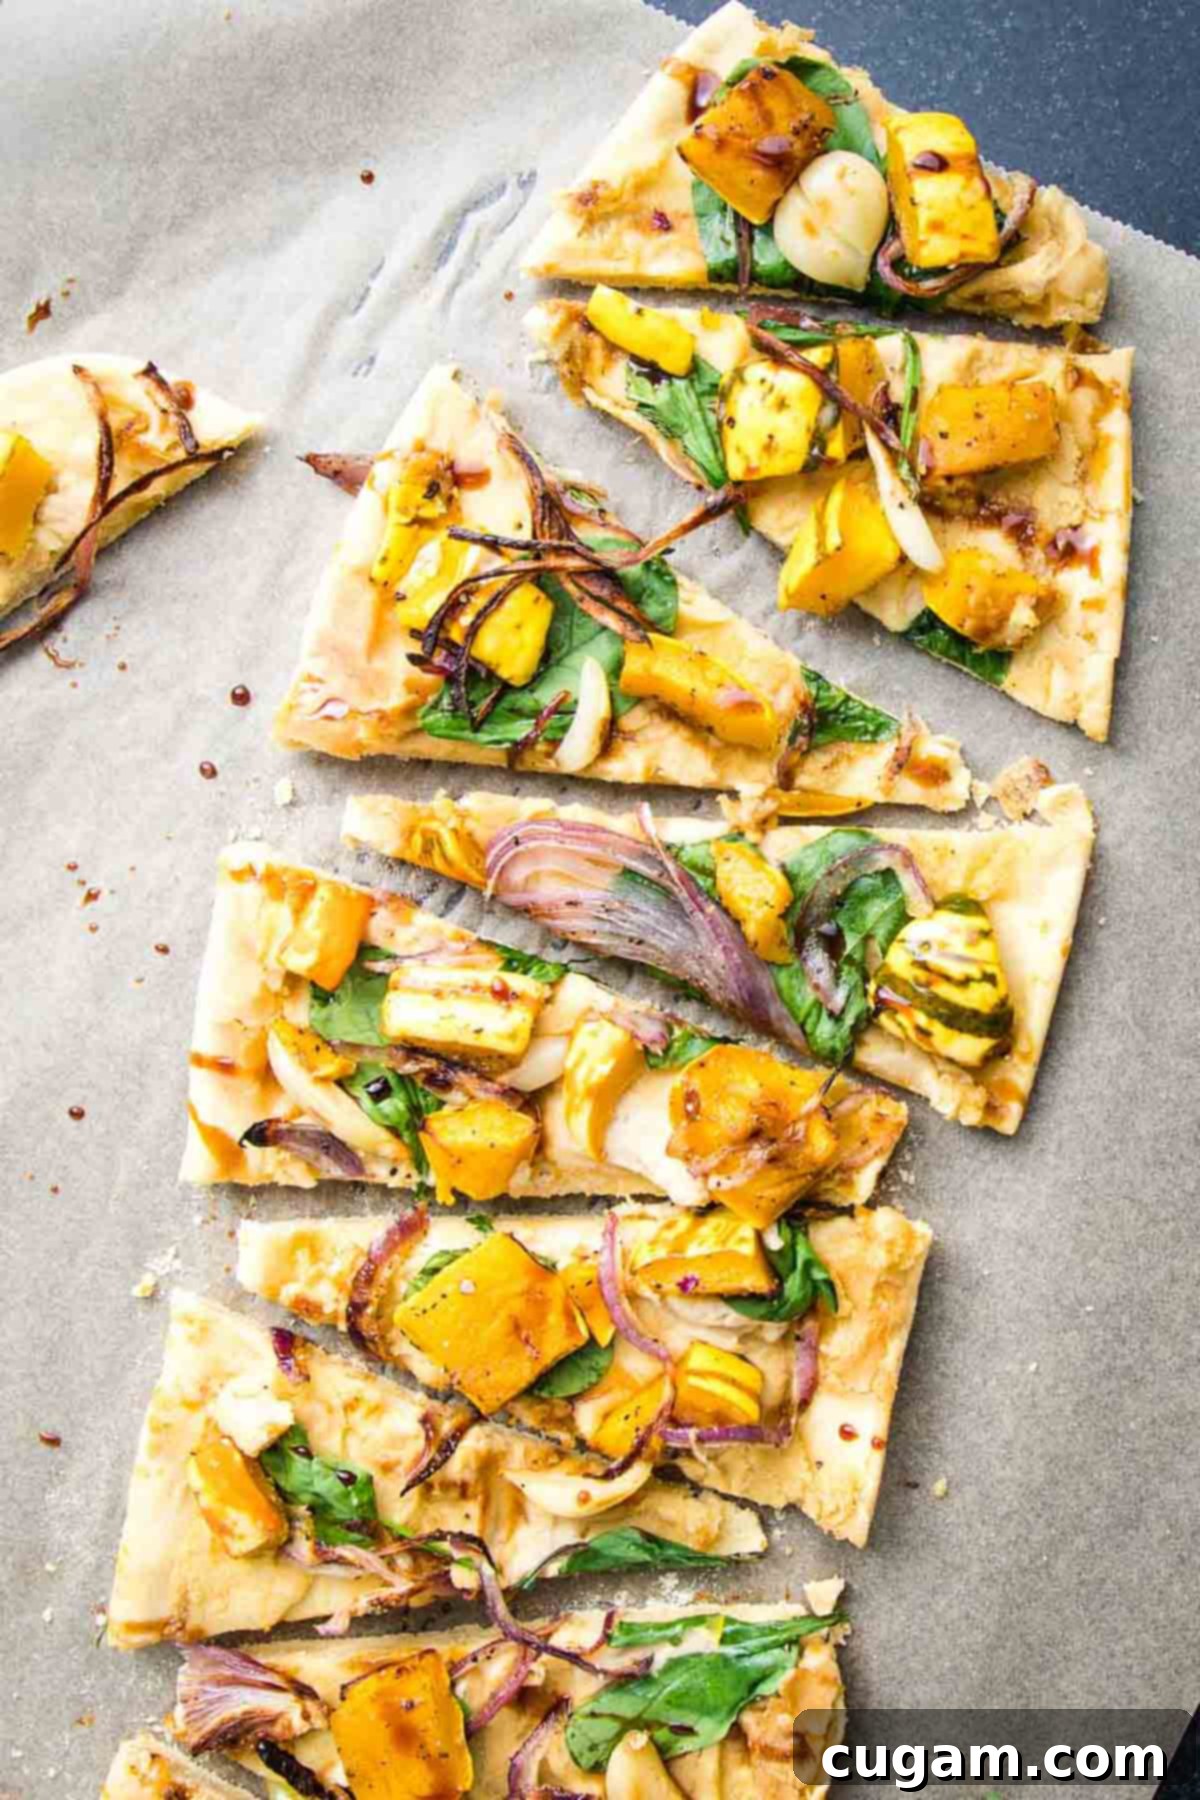
Finally, remove your magnificent flatbread from the oven and allow it to cool for just a minute or two on the baking sheet. This brief resting period helps the crust to set and become even crisper. Then, using a sharp chef’s knife or, for ultimate ease and precision, a dedicated pizza cutter, slice it into your desired portions. Triangles are classic and ideal for an appetizer spread, while larger rectangles or squares work perfectly if you’re serving it as a main course. Serve immediately and savor every crispy, flavorful, and wholesome bite!
The Irresistible Toppings: Roasted Delicata Squash, Onions & Garlic
Delicata Squash: A No-Peel Wonder for Easy Roasting!
Roasted squash is truly an amazing vegan flatbread topping. It brings a natural sweetness, a comforting earthiness, and a wonderfully tender texture that perfectly complements the creamy hummus and the crispy flatbread crust. When this delightful squash is paired with the savory notes of caramelized onions and the subtle pungency of roasted garlic, it creates a flavor profile so divine that you’ll likely find yourself sneaking spoonfuls straight from the pan before they even make it to the flatbread! Trust us, you’ll probably want to prepare a double portion of the squash mixture in this recipe, ensuring you have plenty to top your thin-crust pizzas and perhaps even some extra to enjoy as a healthy, flavorful snack or side dish.
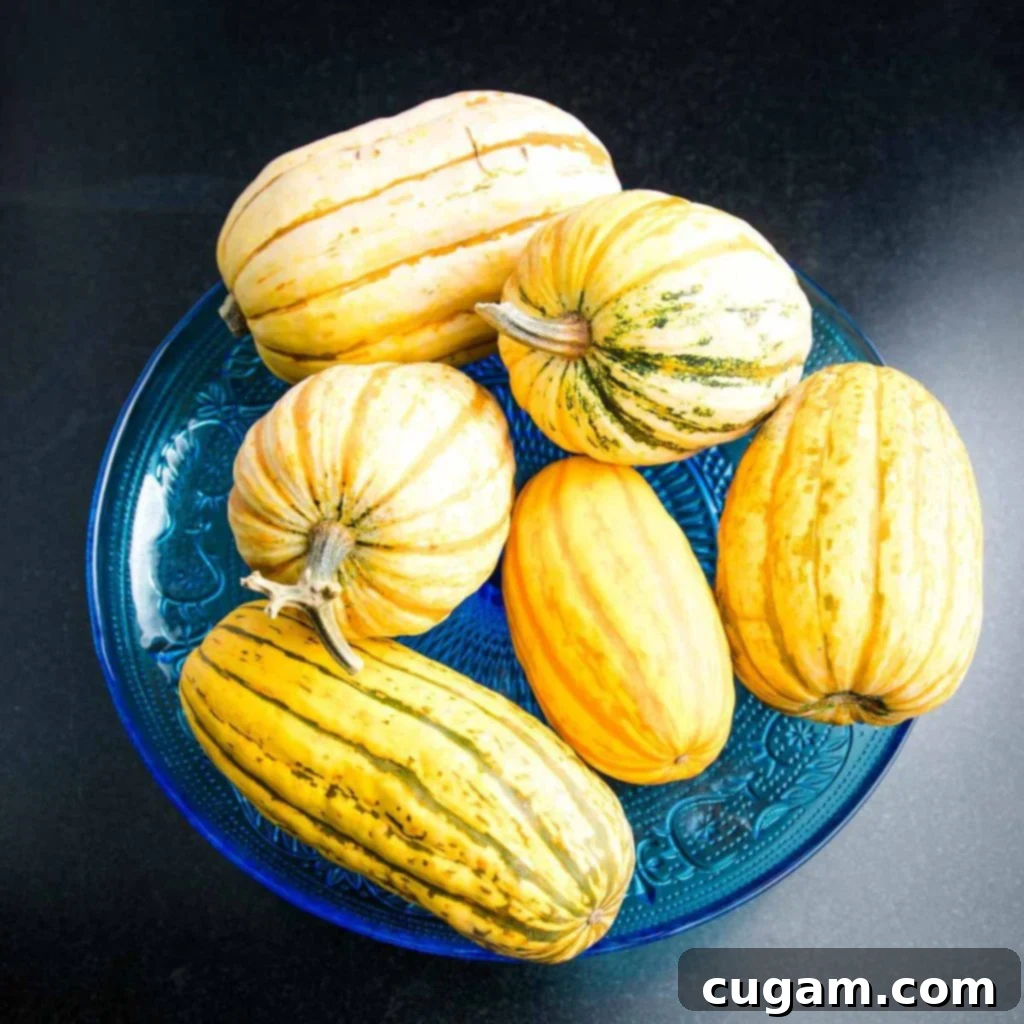
Delicata squash is undeniably a culinary treasure. It’s not only visually appealing with its distinctive striped skin but also incredibly delicious and remarkably easy to work with in the kitchen. What sets delicata apart from many other winter squash varieties is its thin, delicate skin. This skin becomes perfectly tender and even more flavorful once roasted, which means you don’t need to go through the tedious process of peeling it! This feature alone makes delicata an incredibly convenient and easy choice for this flatbread recipe, saving you valuable prep time and effort. Its naturally mild, sweet, and nutty flavor makes it an ideal ingredient, adding a comforting depth that perfectly harmonizes with the other toppings.
Preparing Delicata Squash for Roasting: A Step-by-Step Guide
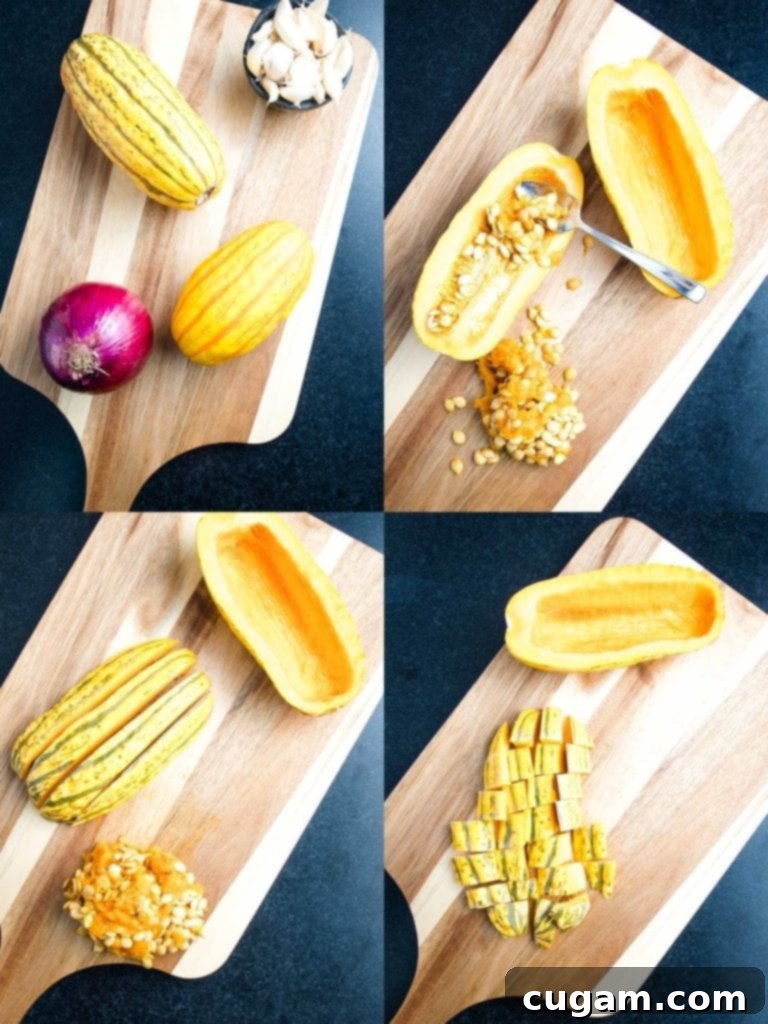
While there’s no need to peel the delicata squash for this recipe (a major time-saver!), it is absolutely crucial to wash it thoroughly. Since the skin will be consumed, ensure you dislodge any caked-on dirt or debris. If necessary, a short soak in warm water followed by a good scrub with a vegetable brush will do the trick. A clean squash is key to enjoying its full, unadulterated flavor.
First, carefully cut the squash lengthwise down the middle, from stem to end. Once you have two halves, use a sturdy spoon (a grapefruit spoon works wonders for this) to scoop out all the seeds and stringy, fibrous bits from the center cavity. Discard these. Then, lay the squash halves cut-side down on your cutting board and slice them into uniform 1-inch thick strips lengthwise. Finally, cut across these strips to form small, bite-sized 1-inch cubes. These uniform pieces ensure even roasting and make for perfectly sized toppings on your flatbread.
Roasting Your Flavorful Trio: Delicata Squash, Onions and Garlic
This simple yet incredibly flavorful combination of roasted delicata squash, sweet onions, and aromatic garlic forms the heart of our flatbread toppings. Not only is it easy to prepare, but it also cooks efficiently while you’re busy making the flatbread crust, ensuring a synchronized and stress-free cooking process. The roasting brings out the natural sweetness in the squash and onions, and transforms the garlic into a mellow, buttery delight.
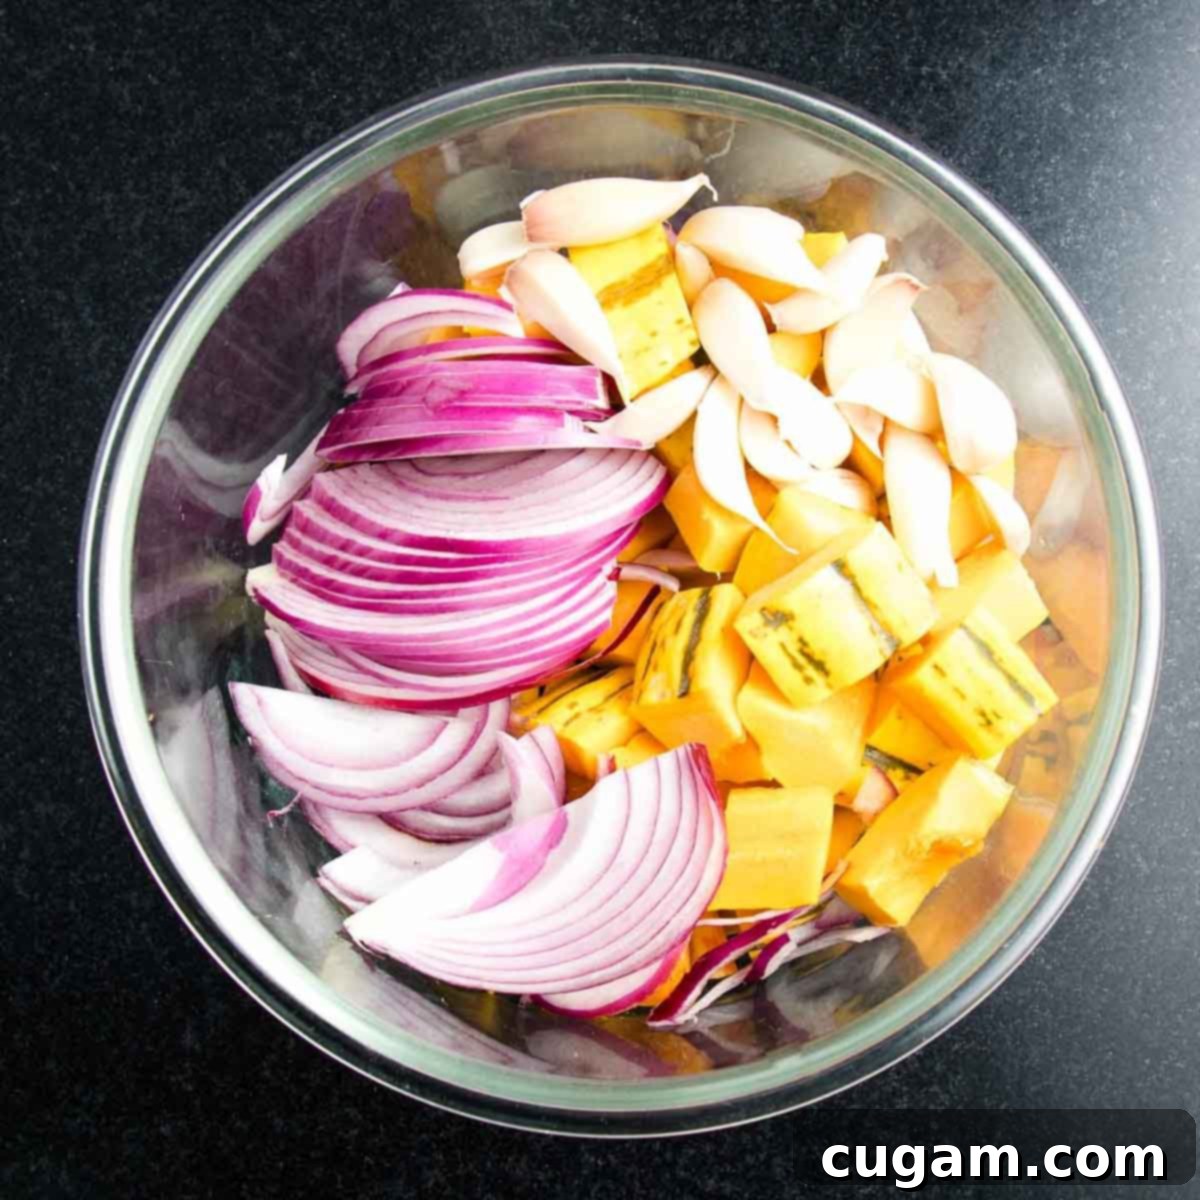
PREP AND COMBINE THE VEGGIES: Once you’ve cubed your delicata squash and thinly sliced your onions, place them into a large mixing bowl. Crucially, add the whole garlic cloves with their papery skins still on. This is a brilliant chef’s trick: leaving the skins intact during roasting acts as a protective shield, preventing the delicate garlic from burning and instead allowing it to steam gently. This process transforms the cloves into a tender, buttery, and incredibly mellow pulp that can be easily squeezed out once cooled. This method ensures your garlic is sweet and aromatic, not harsh or bitter, adding an unparalleled depth of flavor to your flatbread.
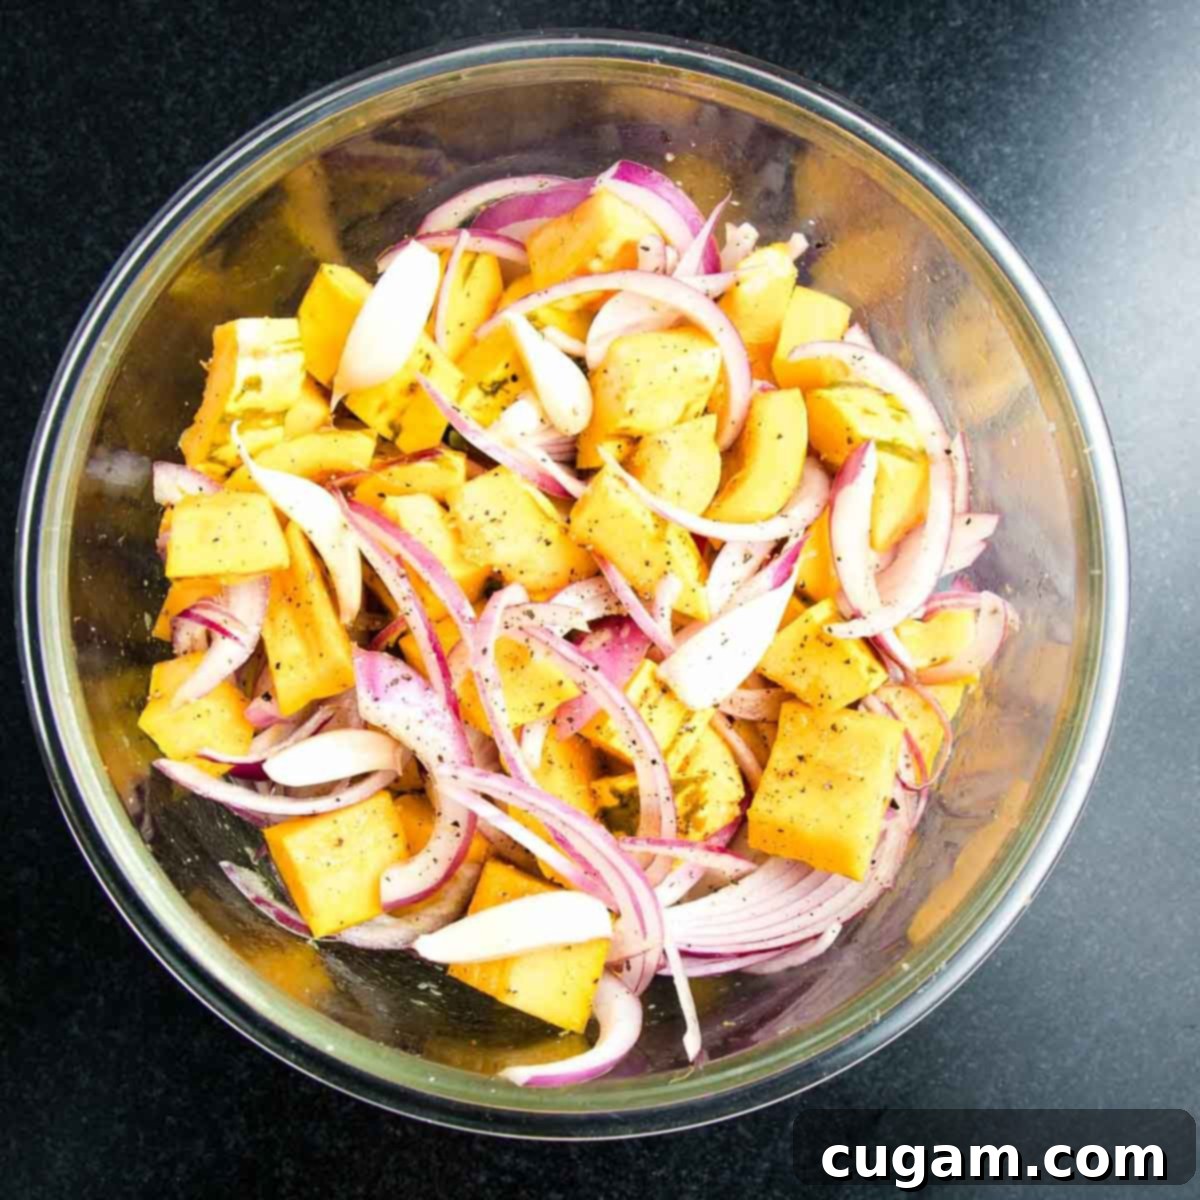
SEASON AND TOSS: Drizzle the combined vegetables generously with high-quality olive oil. This not only facilitates the roasting process, promoting beautiful caramelization, but also infuses the vegetables with its rich, fruity notes. Season with a good pinch of sea salt and freshly ground black pepper to taste. Now, toss everything together thoroughly, using your hands or a large spoon, ensuring that every single piece of squash, onion slice, and garlic clove is evenly coated with the oil and seasonings. This uniform coating is vital for achieving consistent roasting, optimal flavor development, and a beautiful golden-brown finish on all your vegetables.
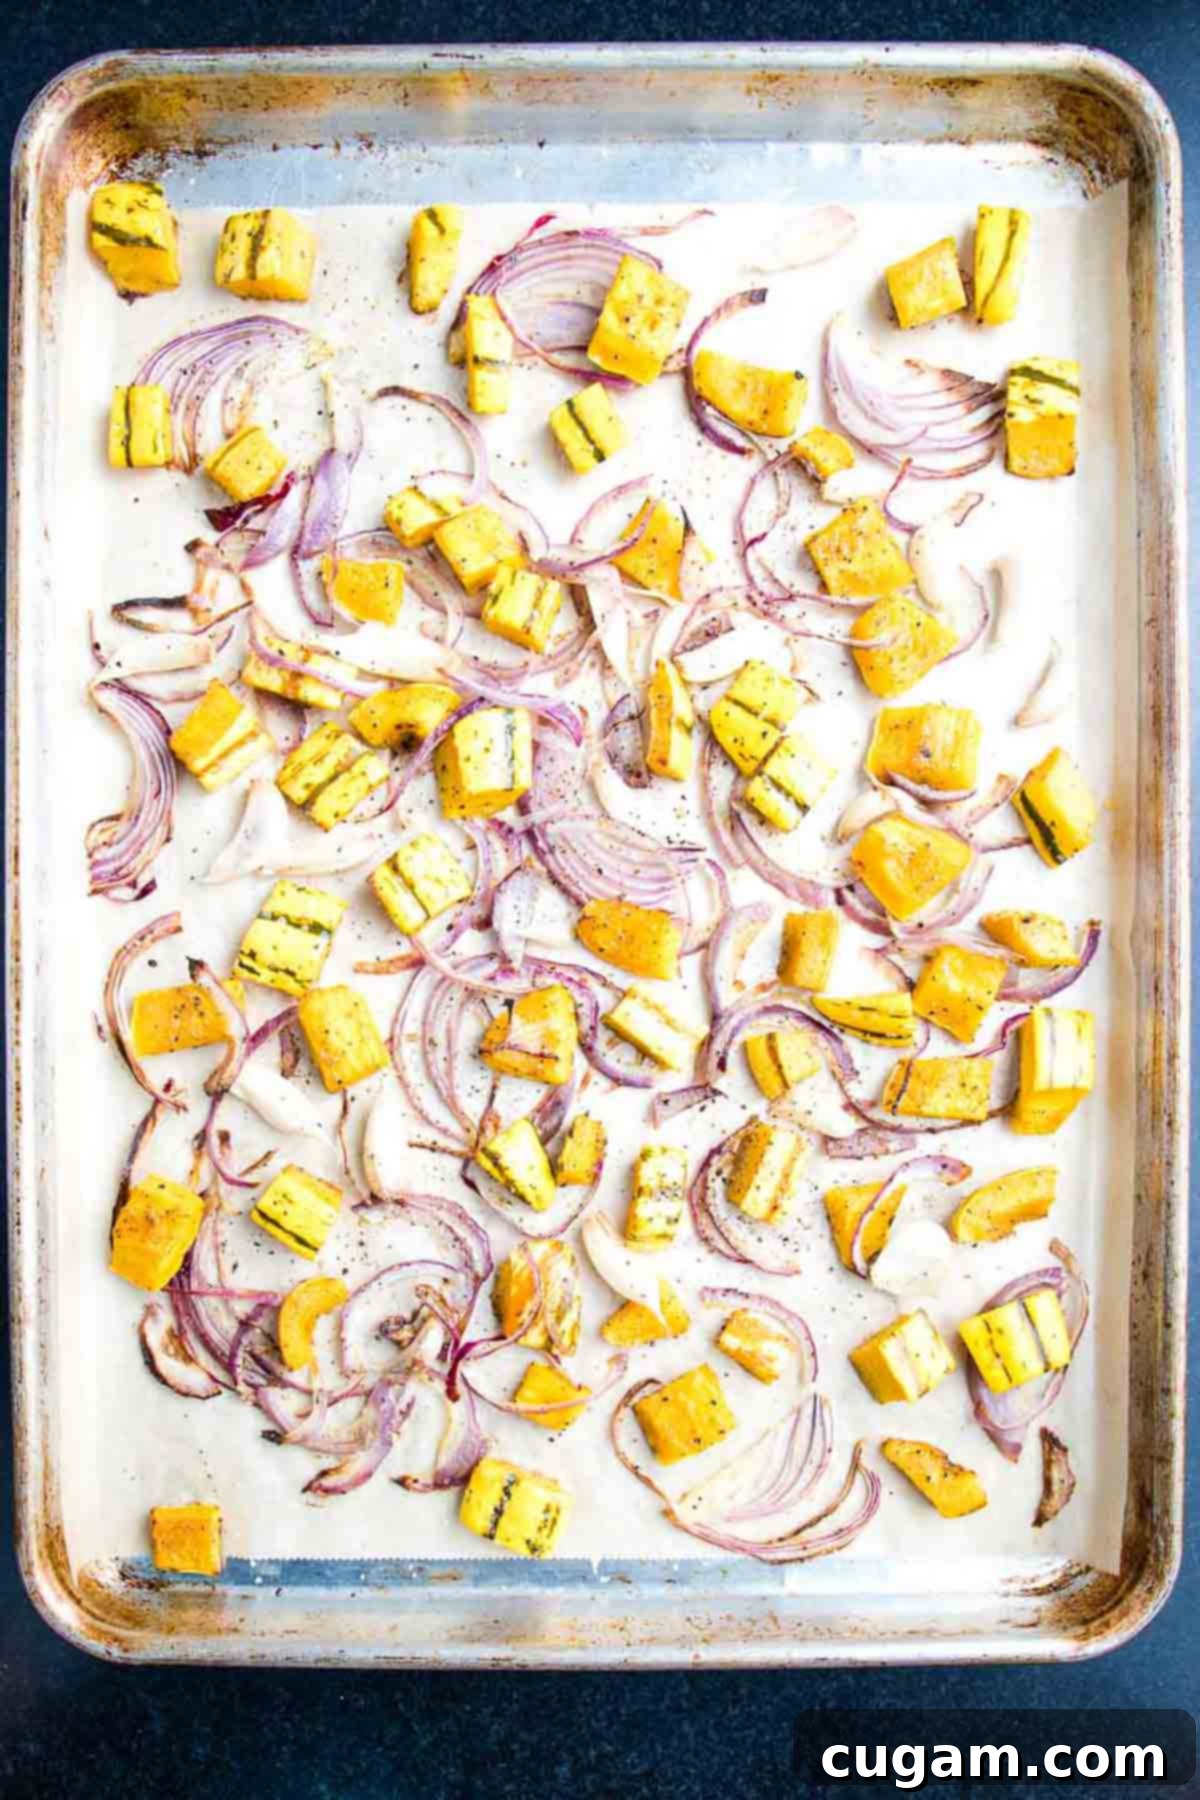
ROAST TO PERFECTION: Spread the seasoned vegetable mixture in a single, even layer onto a rimmed baking sheet that’s been lined with parchment paper. This prevents sticking and makes for an effortless cleanup. Roast these delicious vegetables in a preheated oven at 400 degrees Fahrenheit (200°C) for approximately 15-20 minutes. You’re looking for the squash to be fork-tender and slightly caramelized at the edges, and the onions to be soft and translucent with a hint of sweetness. Crucially, while these flavorful veggies are roasting, you can efficiently move on to preparing your flatbread dough. Once the vegetables are done roasting, remove them from the oven, and then increase your oven temperature to 500 degrees Fahrenheit (260°C) to get it intensely hot, ready for baking your crispy flatbread crust.
Debra’s Pro Tips for Flatbread Success
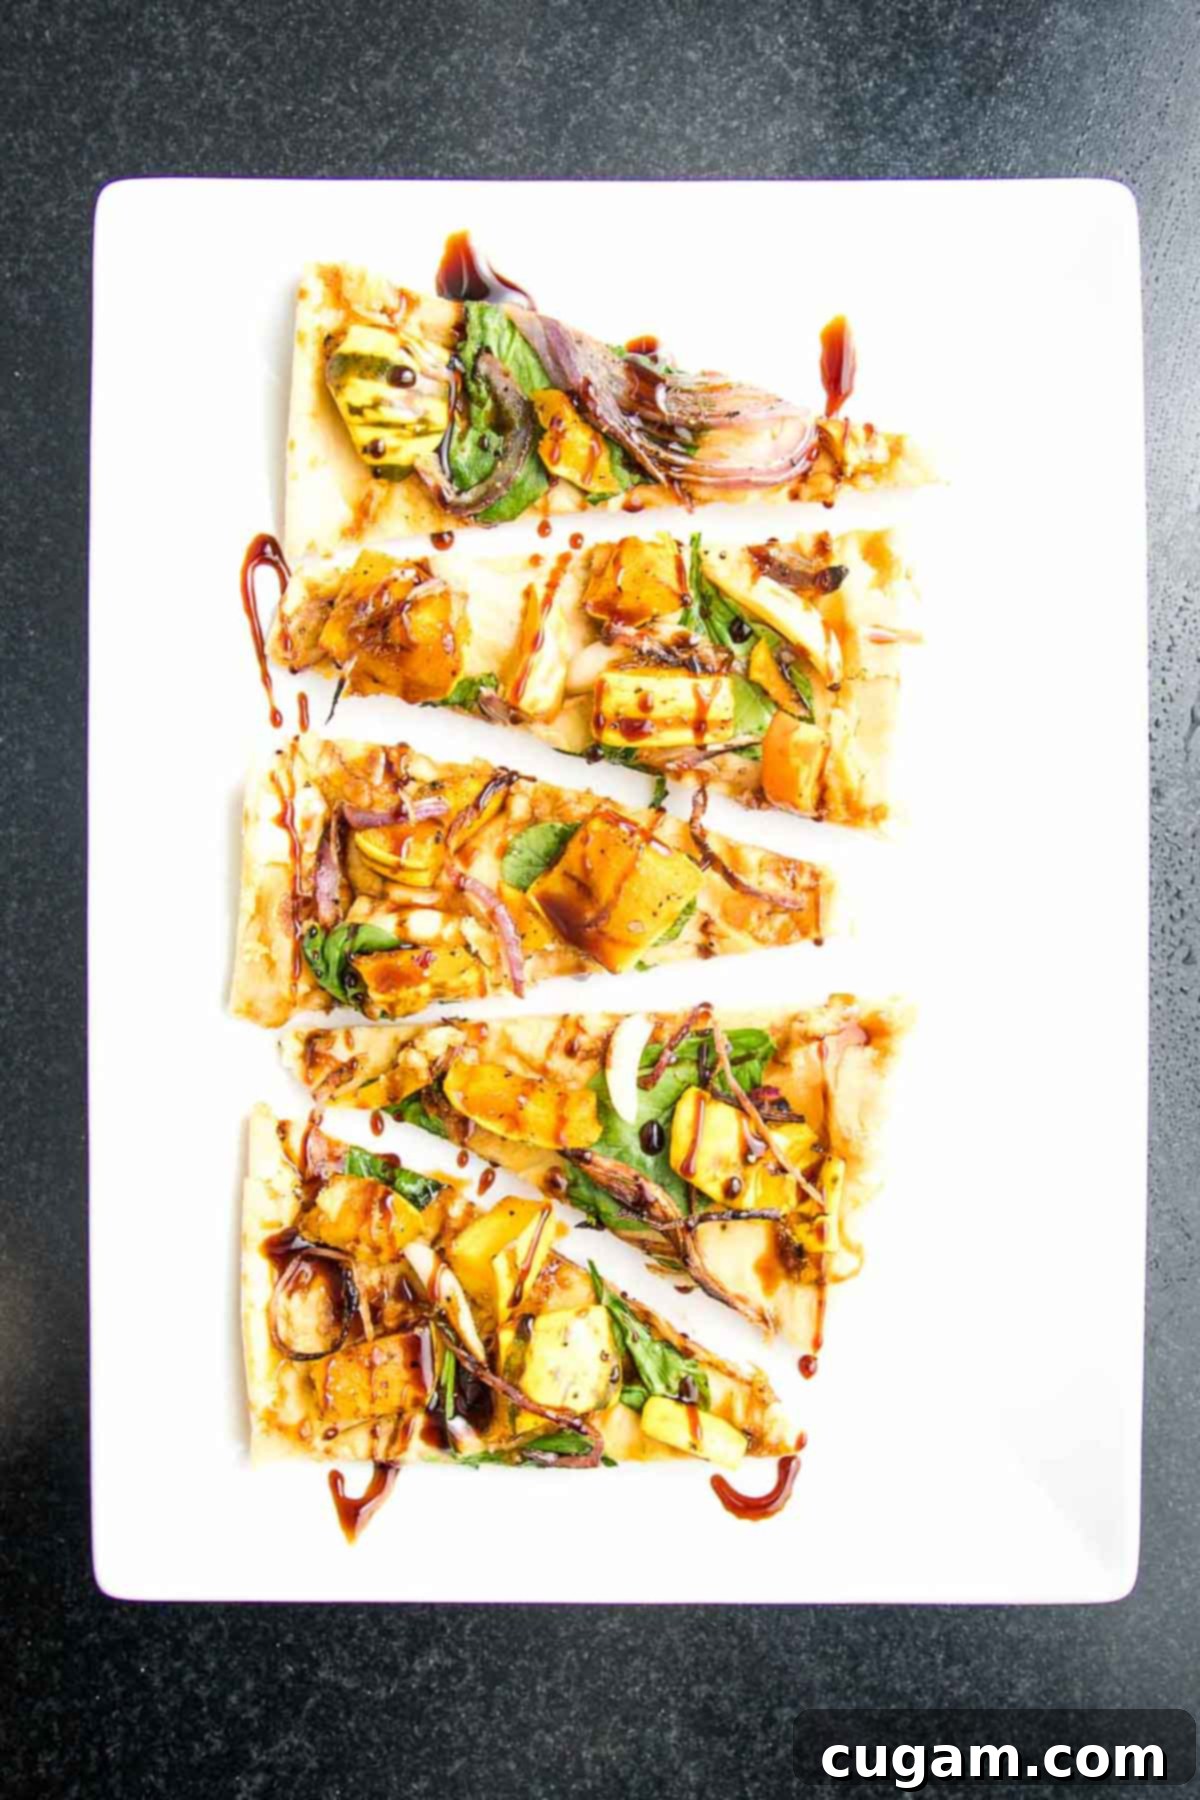
- Efficient Prep Strategy: The key to a quick flatbread is smart timing. Start by prepping your toppings and getting them into the oven to roast while you prepare the flatbread dough. This parallel cooking approach means everything is ready around the same time, significantly streamlining your cooking process and getting dinner on the table much faster.
- Creative Topping Flexibility: Don’t feel limited to only the specified roasted vegetables! This flatbread recipe is wonderfully versatile. Feel free to use any leftover roasted veggies, potatoes, or even different types of squash (like pre-cut butternut or acorn squash, peeled if needed) that you might have on hand. Repurposing leftovers not only makes this recipe even easier but also helps reduce food waste and encourages exciting new flavor combinations.
- Mastering Roasted Garlic: The technique of roasting whole garlic cloves with their papery skins intact is a game-changer. The skins act as a natural protective layer, preventing the garlic from burning and instead allowing the cloves to steam gently. This process transforms them into incredibly tender, sweet, and mellow little pockets of flavor. Once the roasted vegetables are cool enough to handle, simply squeeze the soft, caramelized garlic pulp directly out of its skin. Mash it lightly and spread it onto your hummus layer before the final bake for an intense yet smooth burst of aromatic garlic flavor.
- Prepare Toppings Ahead of Time: For ultimate convenience, especially on busy days, you can roast your squash, onions, and garlic up to 3 days in advance. Store the cooled roasted vegetables in an airtight container in the refrigerator. When you’re ready to assemble your flatbread, simply add these pre-roasted toppings to your par-baked crust and pop it into the oven for the final 5-8 minutes of baking, just until everything is heated through and the crust is perfectly crisp. This foresight dramatically cuts down on active cooking time for an incredibly quick weeknight meal!
- Avoid Overloading the Crust: Remember, flatbread is celebrated for its thin, delicate, and crispy crust, which is different from a thick-crust pizza. Be mindful of the quantity of toppings you add. A thinner, balanced layer of hummus and roasted vegetables will ensure the crust remains deliciously crispy and doesn’t become soggy or weighed down. Overloading can compromise the texture and lead to an unevenly cooked result.
- Embrace High Heat: Baking your flatbread at a high temperature (500°F or 260°C) is absolutely crucial for achieving that desirable light and ultra-crispy crust. The intense heat ensures the dough cooks rapidly and evenly, preventing it from drying out while simultaneously promoting a beautiful golden-brown finish and a satisfying crunch with every bite.
Vegan Flatbread Pizza for Dinner: A Wholesome & Quick Main Course
While this recipe excels as an outstanding and easy vegan appetizer, its versatility truly shines when transformed into a hearty and wholesome main dish. It offers the perfect solution for a quick and healthy dinner option, delivering all the satisfying flavors of a delicious pizza without the typical fuss of yeast-leavened dough or heavy, dense crusts. This makes it an ideal choice for busy weeknights when you crave something homemade, flavorful, and substantial.
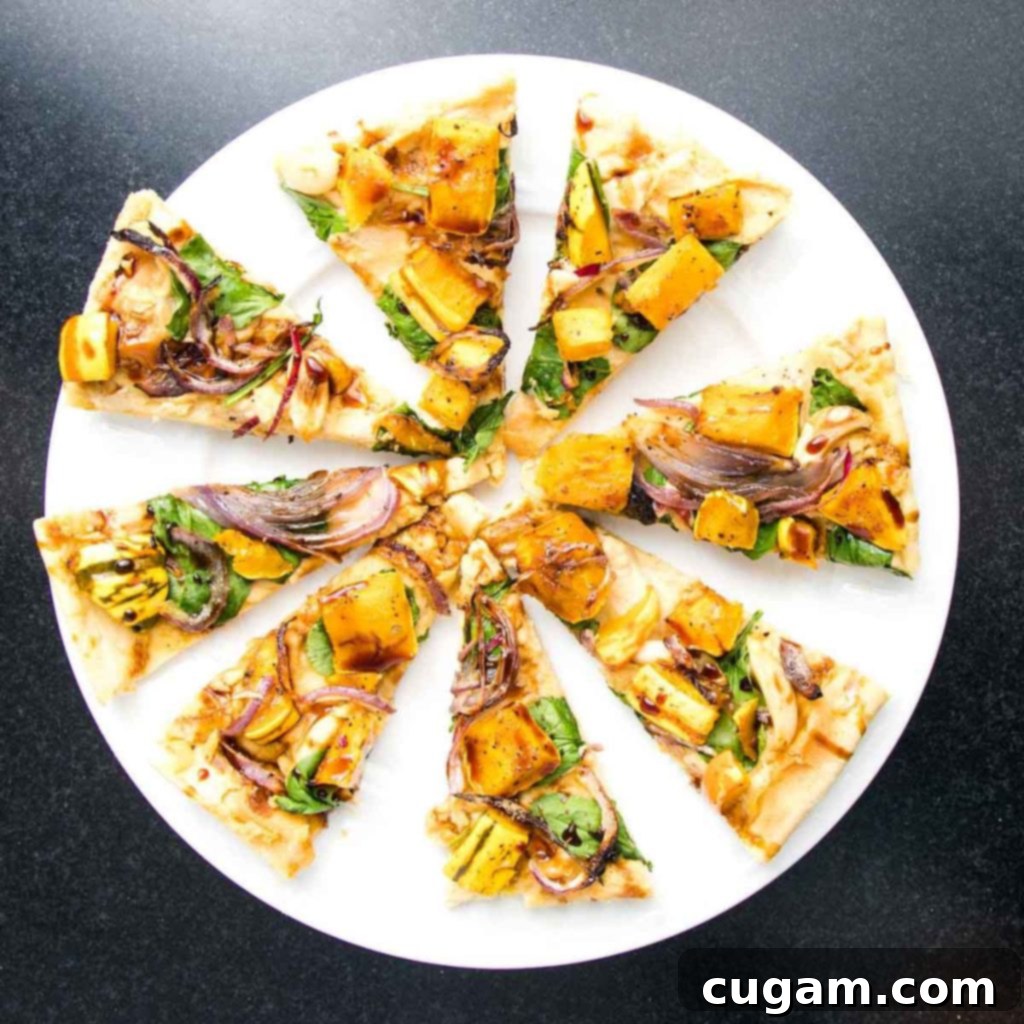
To effortlessly convert this recipe into a satisfying dinner-sized delight, simply roll out each portion of dough into a larger circle or rectangle, making sure to maintain that crucial thinness for ultimate crispiness. Then, let your culinary imagination run wild! Beyond our suggested roasted squash, onions, garlic, and hummus, you can explore an array of other delicious vegan toppings. Consider adding sautéed mushrooms, thinly sliced bell peppers, sun-dried tomatoes, briny black olives, or even a sprinkle of your favorite vegan cheese shreds or nutritional yeast for a “cheesy” touch. Follow the same par-baking and final baking directions, and voilà – you’ve just created an incredibly easy, fully customizable, and utterly delicious gluten-free (if using GF flour) pizza for dinner, ready to be enjoyed in virtually no time at all!
Make Ahead Flatbread Crust: Your Future Self Will Thank You!
Embracing the “make ahead” strategy for your vegan flatbread crust is an absolute game-changer for meal prep enthusiasts and anyone facing busy weeknights. This incredibly simple dough comes together in less than 5 minutes, making it an ideal candidate for preparing in advance. Having ready-to-bake crusts on hand means you’re always just minutes away from assembling a fresh, homemade flatbread pizza, significantly reducing stress and cooking time when hunger strikes!
- Refrigerating Dough: If you plan to use your flatbread dough within a few days, simply wrap the freshly kneaded dough ball tightly in plastic wrap or place it inside an airtight container. It will keep beautifully and maintain its quality in the refrigerator for up to 3-4 days. When you’re ready to transform it into a crispy flatbread, just let it sit at room temperature for approximately 30 minutes. This allows the dough to relax, making it much easier to roll out evenly without resistance.
- Freezing Raw Dough: For longer-term storage, up to 3 months, freezing the raw dough is an excellent option. After you’ve divided the dough ball into two equal halves (as per the recipe), roll each half into a smooth ball. For best results, place each individual dough ball on a small piece of parchment paper and flash freeze them on a baking sheet until they are solid. This prevents them from sticking together. Once frozen, transfer the individual dough balls into a freezer-safe zip-top bag, making sure to press out as much air as possible before sealing. Label clearly with the date. To use, simply transfer a frozen dough ball to the refrigerator the night before, or let it thaw at room temperature for approximately 2 hours until pliable, then proceed with rolling it out as directed in the recipe.
- Freezing Par-Baked Crusts: Another incredibly convenient option for meal prepping is to par-bake your flatbread crusts ahead of time. Follow the recipe instructions through step 10 (par-baking the crust until lightly crisped). Allow the par-baked crusts to cool completely. For short-term storage, you can store them directly on their baking pans, tightly covered with plastic wrap, in the fridge for 4-5 days. For longer storage, wrap each cooled par-baked crust individually in plastic wrap and then aluminum foil, and freeze for up to 3 months. When you’re ready for a quick and delicious meal, simply pull a frozen crust directly from the freezer, add your desired toppings, and place it into the preheated oven. You may need to add an extra 2-3 minutes to the final baking time, depending on the crust’s thickness and how thoroughly it was frozen, to ensure it heats through and becomes perfectly crispy. This method is truly a lifesaver for spontaneous flatbread nights!
Perfect Pairings: What to Serve with Your Delicious Vegan Flatbread
Our crispy, flavorful vegan flatbread is wonderfully versatile, making it an excellent centerpiece for a light meal or a delightful accompaniment to a variety of other dishes. Here are some fantastic serving suggestions to help you complete your meal and create a balanced, enjoyable dining experience:
- Vegan Caesar Salad: A crisp, creamy, and flavorful vegan Caesar salad offers a refreshing and classic contrast to the rich flavors of the flatbread.
- Cole Slaw: A vibrant, crunchy coleslaw, especially one with a zesty or ginger-miso dressing, provides a wonderful textural and flavor balance, cutting through the richness of the toppings.
- Minestrone Soup: For a heartier and more comforting meal, a warm bowl of savory minestrone soup pairs beautifully with the light and crispy flatbread, creating a satisfying combination.
- Tahini Brownies: Indulge your sweet tooth after your savory flatbread with rich, decadent tahini brownies for a truly satisfying dessert.
- Chocolate Chunk Skillet Cookie: A warm, gooey chocolate chunk skillet cookie is the ultimate comforting treat to follow your delicious savory flatbread, ending your meal on a high note.
📖 Recipe: Easy Vegan Flatbread with Roasted Squash

Vegan Flatbread Recipe
Debra Klein
Rate this Recipe
Pin Recipe
Equipment
-
French Rolling Pin
-
Parchment Baking Paper
-
Baking Sheet with Silicone Mat
-
Food Processor
Ingredients
- 2-3 delicata squash* total 3 lbs.
- 1 small red onion halved and thinly sliced
- 1 head garlic separated into cloves, with the paper skin still on
- 2 Tablespoons olive oil
- ½ teaspoon sea salt
- ¼ teaspoon freshly ground black pepper
- ½ cup hummus*
- 1 cup baby spinach*
