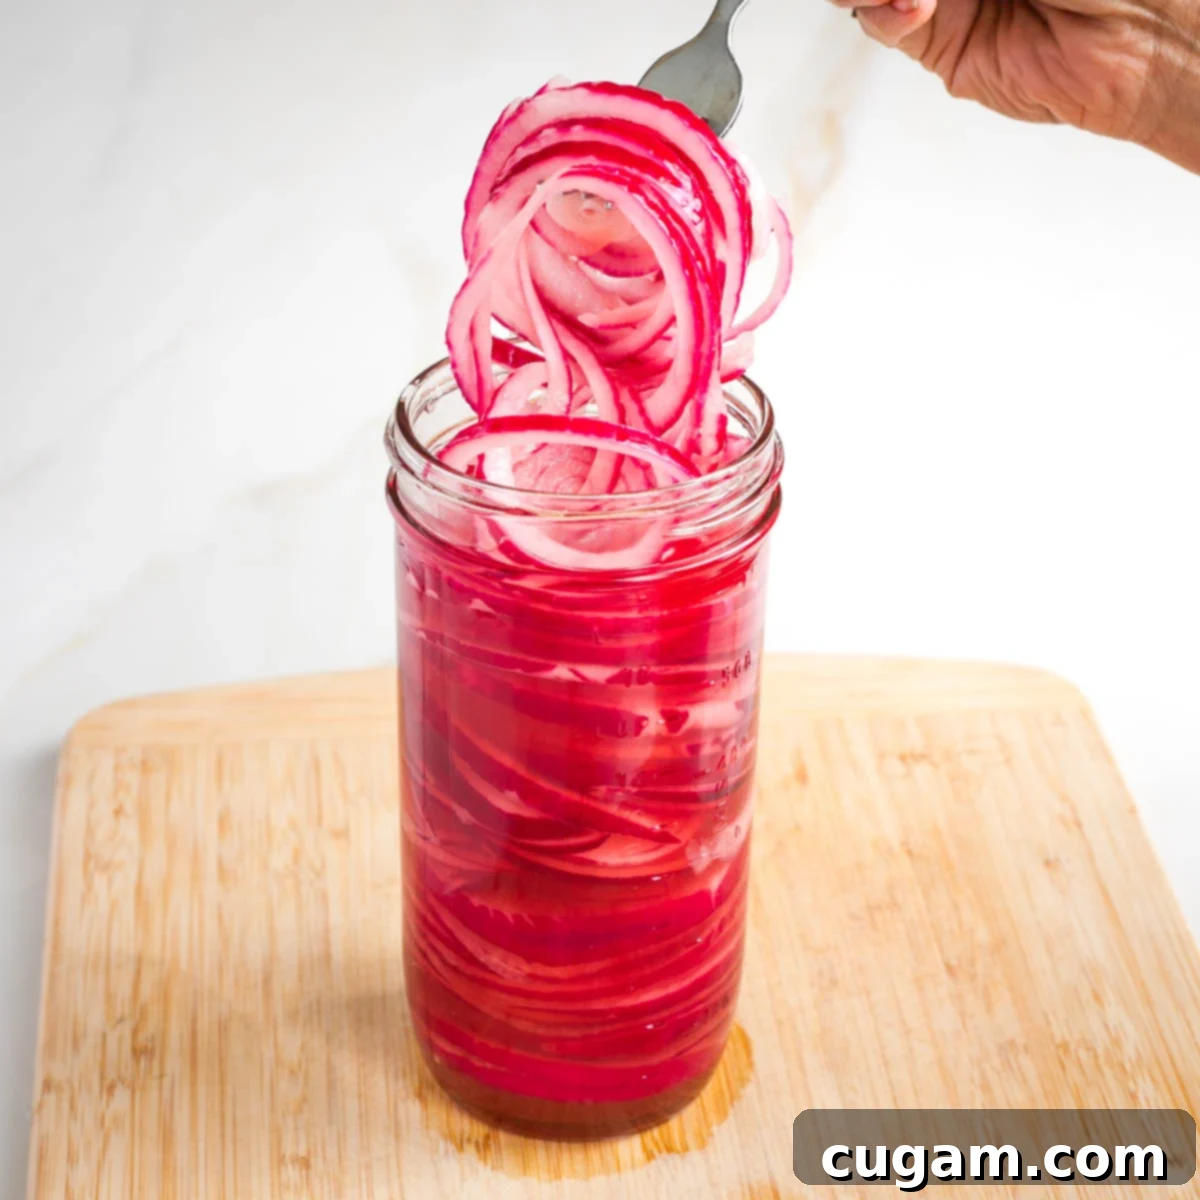
Quick & Easy Pickled Red Onions: Your 5-Minute No-Boil Recipe for Flavorful Condiments
Prepare to elevate your culinary game with these Quick and Easy Pickled Red Onions! This simple yet incredibly impactful condiment will transform all your favorite recipes, adding an irresistible burst of flavor, a delightful crunch, vibrant color, and an overall yumminess that is truly hard to beat. What makes this recipe a standout? It’s a no-boil method, requiring just 4 staple ingredients, and taking a mere 5 minutes to get into the jar. Best of all, there’s no cooking involved and no refined sugar, making it a perfectly wholesome and effortless addition to your kitchen. Get ready to experience pickling perfection!
Why Pickled Red Onions Are Your New Favorite Condiment
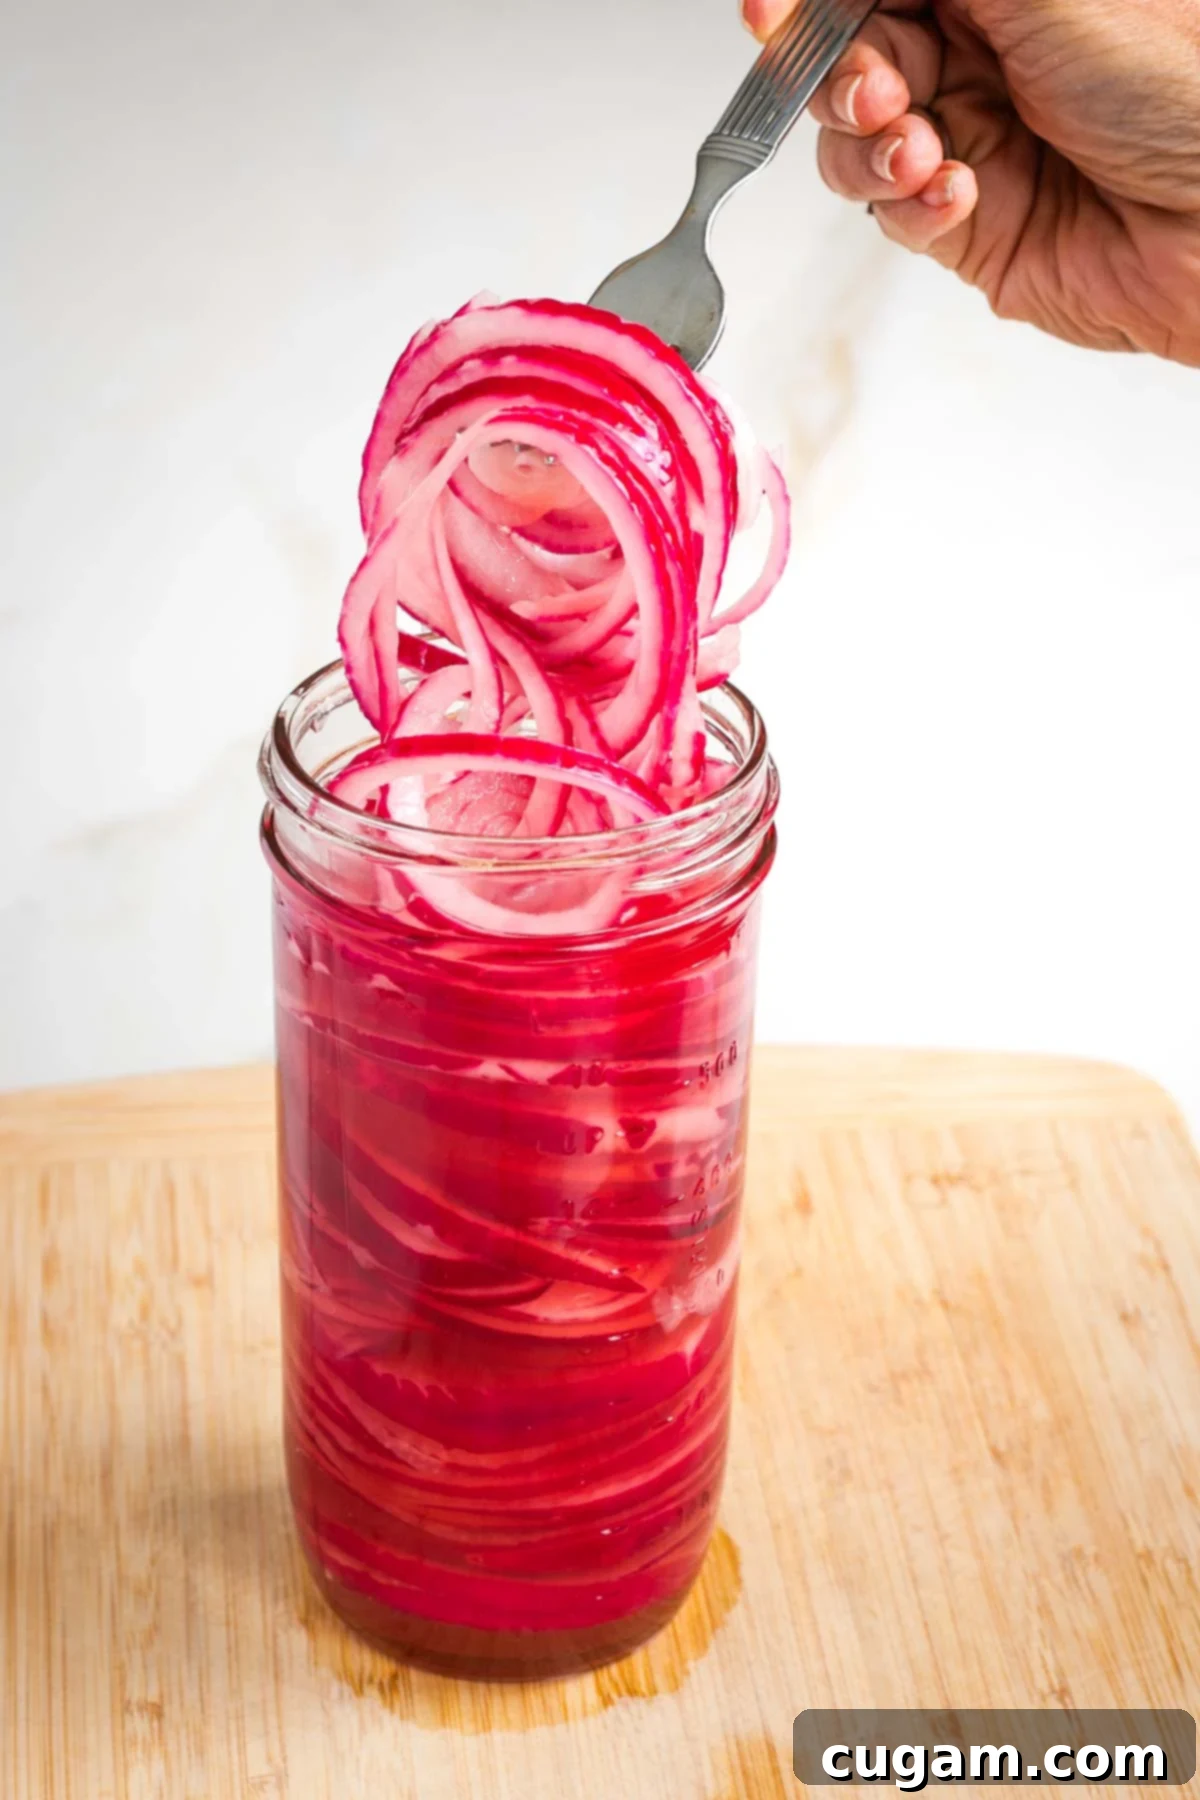
Pickled red onions have firmly established themselves as my absolute favorite condiment, and for good reason—they genuinely go well with everything! These vibrant, tangy onions are incredibly quick and easy to make, delivering a powerhouse of flavor and a stunning pop of color to any dish. Unlike many other pickled onion recipes, this version brilliantly skips the refined sugar, eliminating the need for any boiling to dissolve sweetener. This ingenious step not only saves you time and effort but also ensures a crisper, more refreshing end product. I’m committed to making your cooking experience as easy and enjoyable as possible, and this recipe is a testament to that philosophy.
Imagine dedicating just 5 minutes to preparing a batch of these glorious pickled red onions. Once made, they will happily reside in your fridge for up to two weeks, ready to enhance any meal. However, trust me when I say they likely won’t last that long! You’ll find yourself reaching for them constantly, eager to add their unique tang and crunch to everything you eat. They’re so addictive, you might just want to make a double batch!
The Mystery of the “Red” Onion: A Purple Predicament
Now, let me pose a serious question that has puzzled many a home cook: why are they called “red onions” when, to the naked eye, they are undeniably purple? I’ve encountered countless theories and explanations over the years, but none have truly convinced me. Perhaps it’s a historical misnomer, or maybe it simply sounded better than “purple onions” at some point. I will, however, concede that once pickled, these gorgeous purple gems transform into a stunning, vibrant reddish-pink hue, truly living up to at least part of their name. If you happen to possess any insider information or a definitive answer to this culinary conundrum, please don’t hesitate to enlighten me in the comments section below!
Endless Possibilities: What to Do with Pickled Red Onions
Keeping a jar of these zesty, crunchy pickled red onions in the fridge at all times is one of my top kitchen hacks. They effortlessly elevate any dish, offering a burst of color, a tangy kick, and an invigorating texture that truly makes your taste buds sing. Prepare for an explosion of yum!
- Mexican-Inspired Dishes: These onions are a match made in heaven for all your favorite Mexican recipes. Think crispy vegan lentil tacos, hearty burritos, loaded tostadas, gooey nachos, savory enchiladas, and refreshing dairy-free street corn salad. They cut through richness and add a much-needed zing.
- Mediterranean Delights: Pickled red onions are essential for rounding out the flavors of our most cherished Mediterranean dishes. They are spectacular with baked falafel, flavorful vegan shawarma, and are arguably the most essential component of any mezze platter. Pair them with creamy low-carb hummus, smoky baba ganoush, and cooling dairy-free tzatziki for an unforgettable spread.
- Gourmet Veggie Burgers: Transform your vegan veggie burgers into a culinary masterpiece with these quick pickled onions. They provide the perfect counterpoint to the savory richness of white bean veggie burgers, robust black bean burgers, wholesome quinoa burgers, or delightfully sweet sweet potato veggie burgers.
- Sandwiches and Wraps Reimagined: Don’t underestimate the power of pickled onions to elevate your everyday sandwiches and wraps. They add a bright, acidic lift to everything from a classic vegan tuna salad sandwich to a savory mock chicken salad wrap. They’re a game-changer!
- Salads and Grain Bowls: Add a handful to any green salad, pasta salad, or grain bowl for an instant upgrade in flavor and texture. Their bright tang cuts through earthy grains and leafy greens beautifully.
- Eggs and Breakfast: A surprising but delicious pairing! Top scrambled eggs, avocado toast, or even a breakfast burrito with a sprinkle of pickled red onions for an unexpected zing to start your day.
- Grilled Meats and Plant-Based Protein: Whether you’re enjoying grilled chicken, fish, or a plant-based steak, a side of pickled red onions adds a refreshing, palate-cleansing element that enhances every bite.
Simple Ingredients, Big Flavor: What You’ll Need
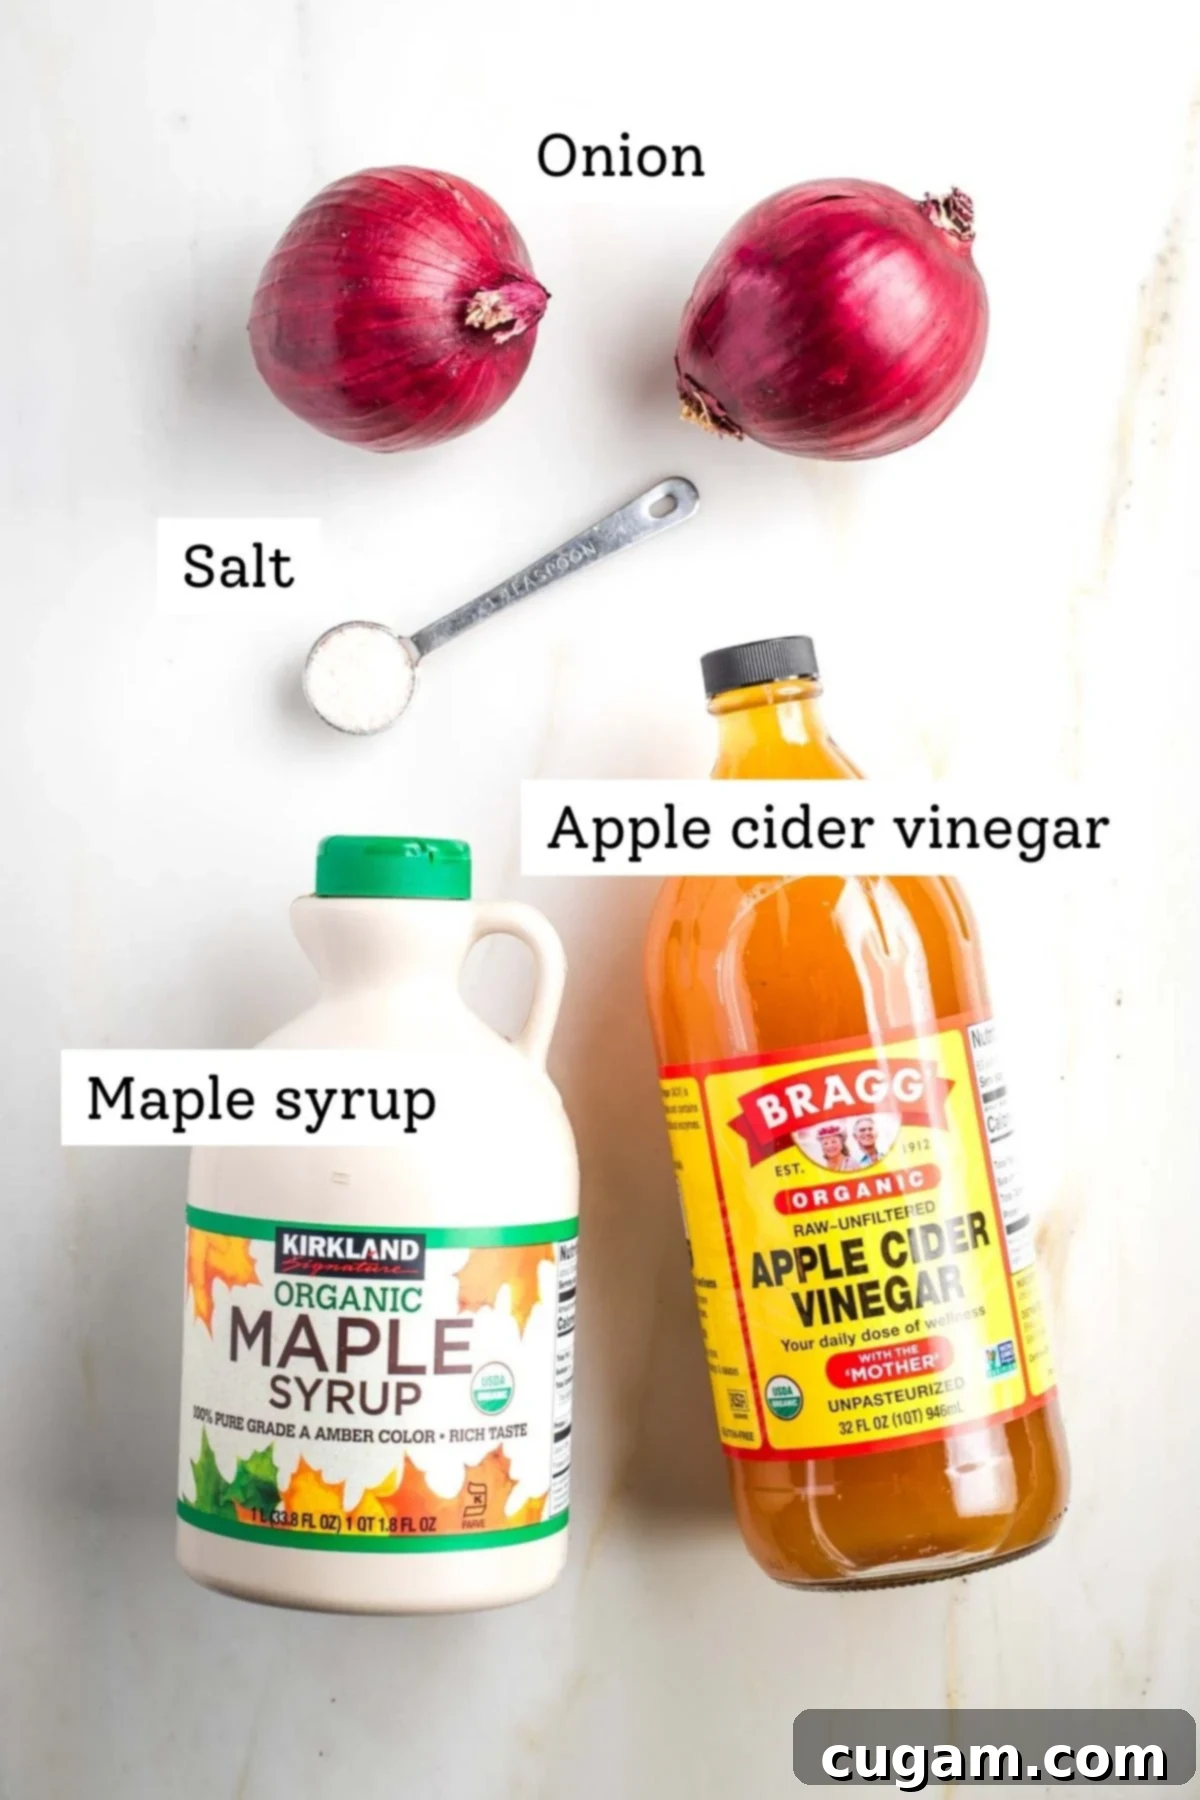
This recipe truly shines due to its simplicity, relying on just four core ingredients to create maximum flavor. Here’s a breakdown and some useful substitution tips:
- Onion: While I specifically love using purple (red) onions for their gorgeous color transformation and mild sweetness, you have options! You could also successfully pickle white onions for a sharper flavor, spring onions or scallions for a more delicate bite, or even shallots for a refined touch. The key is consistent, thin slicing for quick pickling.
- Vinegar: Apple cider vinegar is my go-to for its slightly fruity and mellow tang, which complements the onions beautifully. However, you can achieve fantastic results with white vinegar for a sharper, more classic pickle flavor, or even a combination of the two. For a slightly different profile, rice vinegar (for a milder, subtly sweet pickle) or red wine vinegar (for a bolder, fruitier note) can also be used.
- Maple Syrup: I prefer my pickled onions to be tangy rather than overly sweet, so just a touch of maple syrup does the trick without overpowering the onion’s natural flavor. Maple syrup dissolves easily in hot water, making it perfect for our no-boil method. If you don’t have maple syrup, you can substitute with honey or granulated sugar, but be aware that you’ll need to boil the liquid (water and vinegar) to fully dissolve these sweeteners before pouring over the onions.
- Salt: For the best results, use kosher salt or coarse sea salt. These salts are free of anti-caking agents and iodine, which can sometimes lead to a cloudy brine or an off-flavor. Fine table salt can also work, but you might need to adjust the amount slightly as it’s denser than coarse salts.
- Water: This recipe calls for hot water. Many traditional pickling recipes will have you boil the water and vinegar together to help dissolve the salt and sweetener. With maple syrup, I find that simply using hot tap water or water heated in a kettle, combined with a good stir, is sufficient to dissolve everything perfectly, especially with maple syrup. If you opt for granulated sugar or honey, boiling the liquid is generally recommended to ensure complete dissolution.
Optional Flavor Enhancements:
- Garlic: Add a couple of thinly sliced garlic cloves to the jar for a subtle garlicky undertone.
- Peppercorns: A few black peppercorns will add a gentle spice and complexity.
- Herbs: A sprig of fresh dill or a bay leaf can infuse the pickles with aromatic notes.
- Spices: For an extra kick, a pinch of red pepper flakes, mustard seeds, or even a star anise can be added to the jar.
Step-by-Step Guide: How to Make Your Pickled Red Onions
Making these quick pickled red onions is incredibly straightforward, requiring minimal effort for maximum reward. Follow these simple steps to create your delicious condiment:
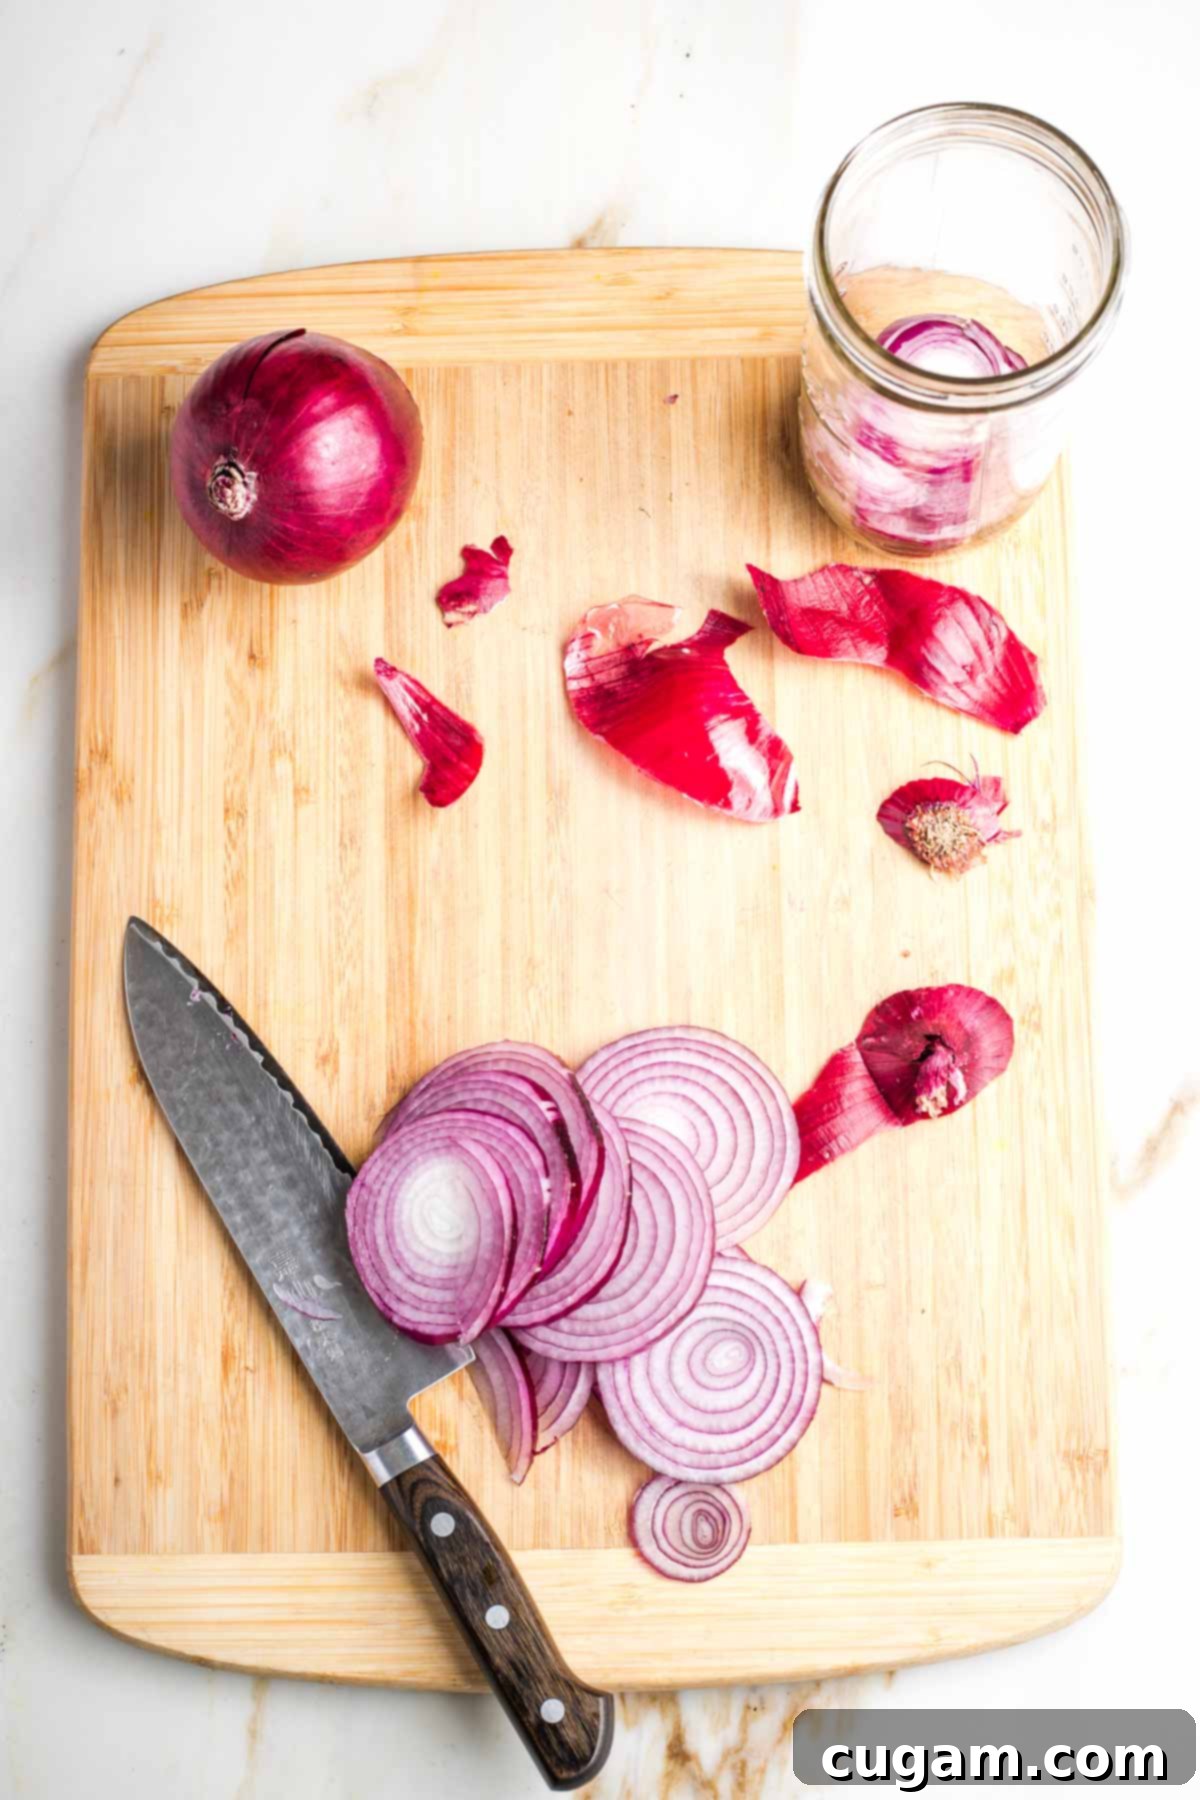
Step 1: Prepare Your Onions. Begin by trimming off both ends of your red onions. Remove the papery outer skin, then thinly slice the onions. For the quickest pickling and best texture, aim for consistent, thin slices – a mandoline slicer can be very helpful here, but a sharp knife works just as well. You can slice them into full rings or half-moons.
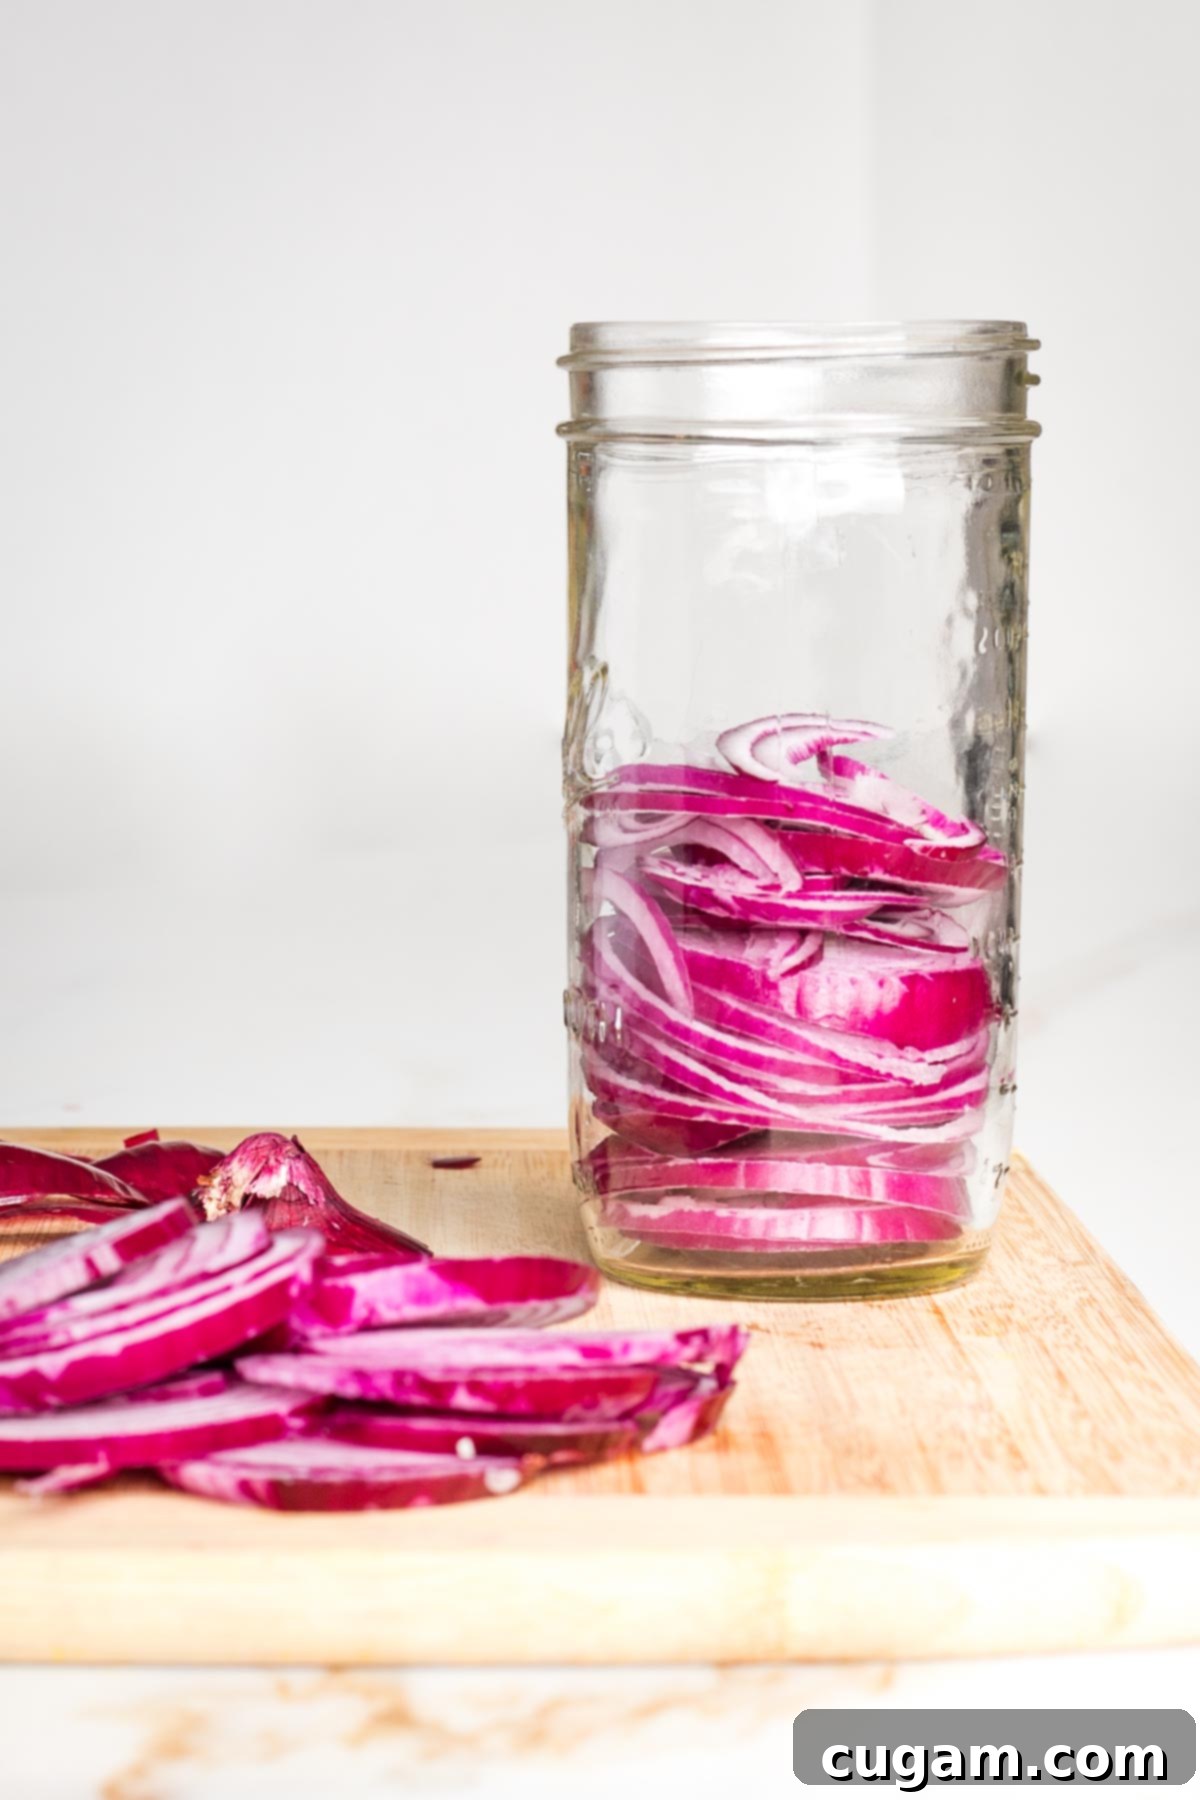
Step 2: Pack the Jar. Carefully place the thinly sliced onion pieces into a clean, heat-proof jar. Pack them in tightly, as they will soften and compress slightly once the pickling liquid is added. Filling the jar well ensures you get the most pickled onions from your efforts.
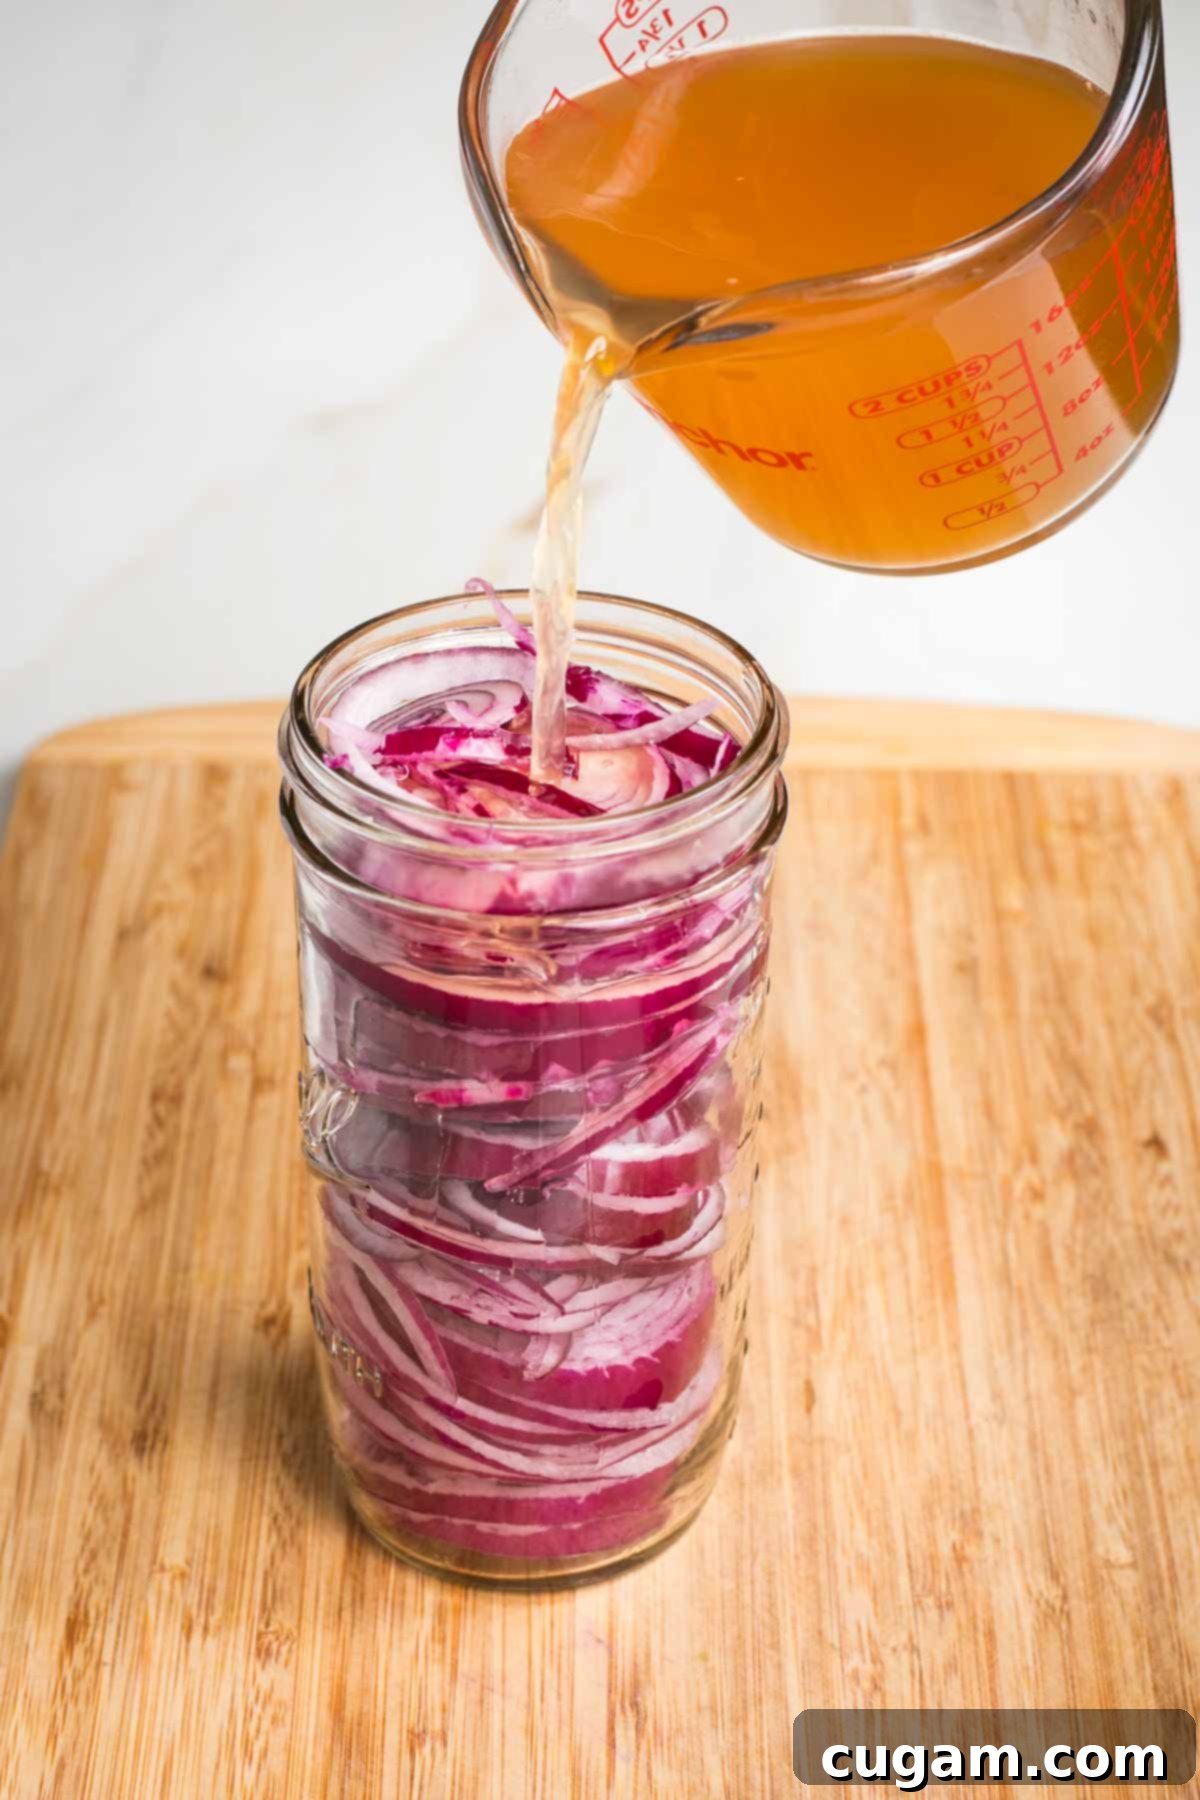
Step 3: Prepare the Brine. In a separate bowl or measuring cup, combine the apple cider vinegar, maple syrup, salt, and hot water. Whisk these ingredients together vigorously until the salt and maple syrup are completely dissolved. The hot water helps expedite this process without requiring actual boiling.
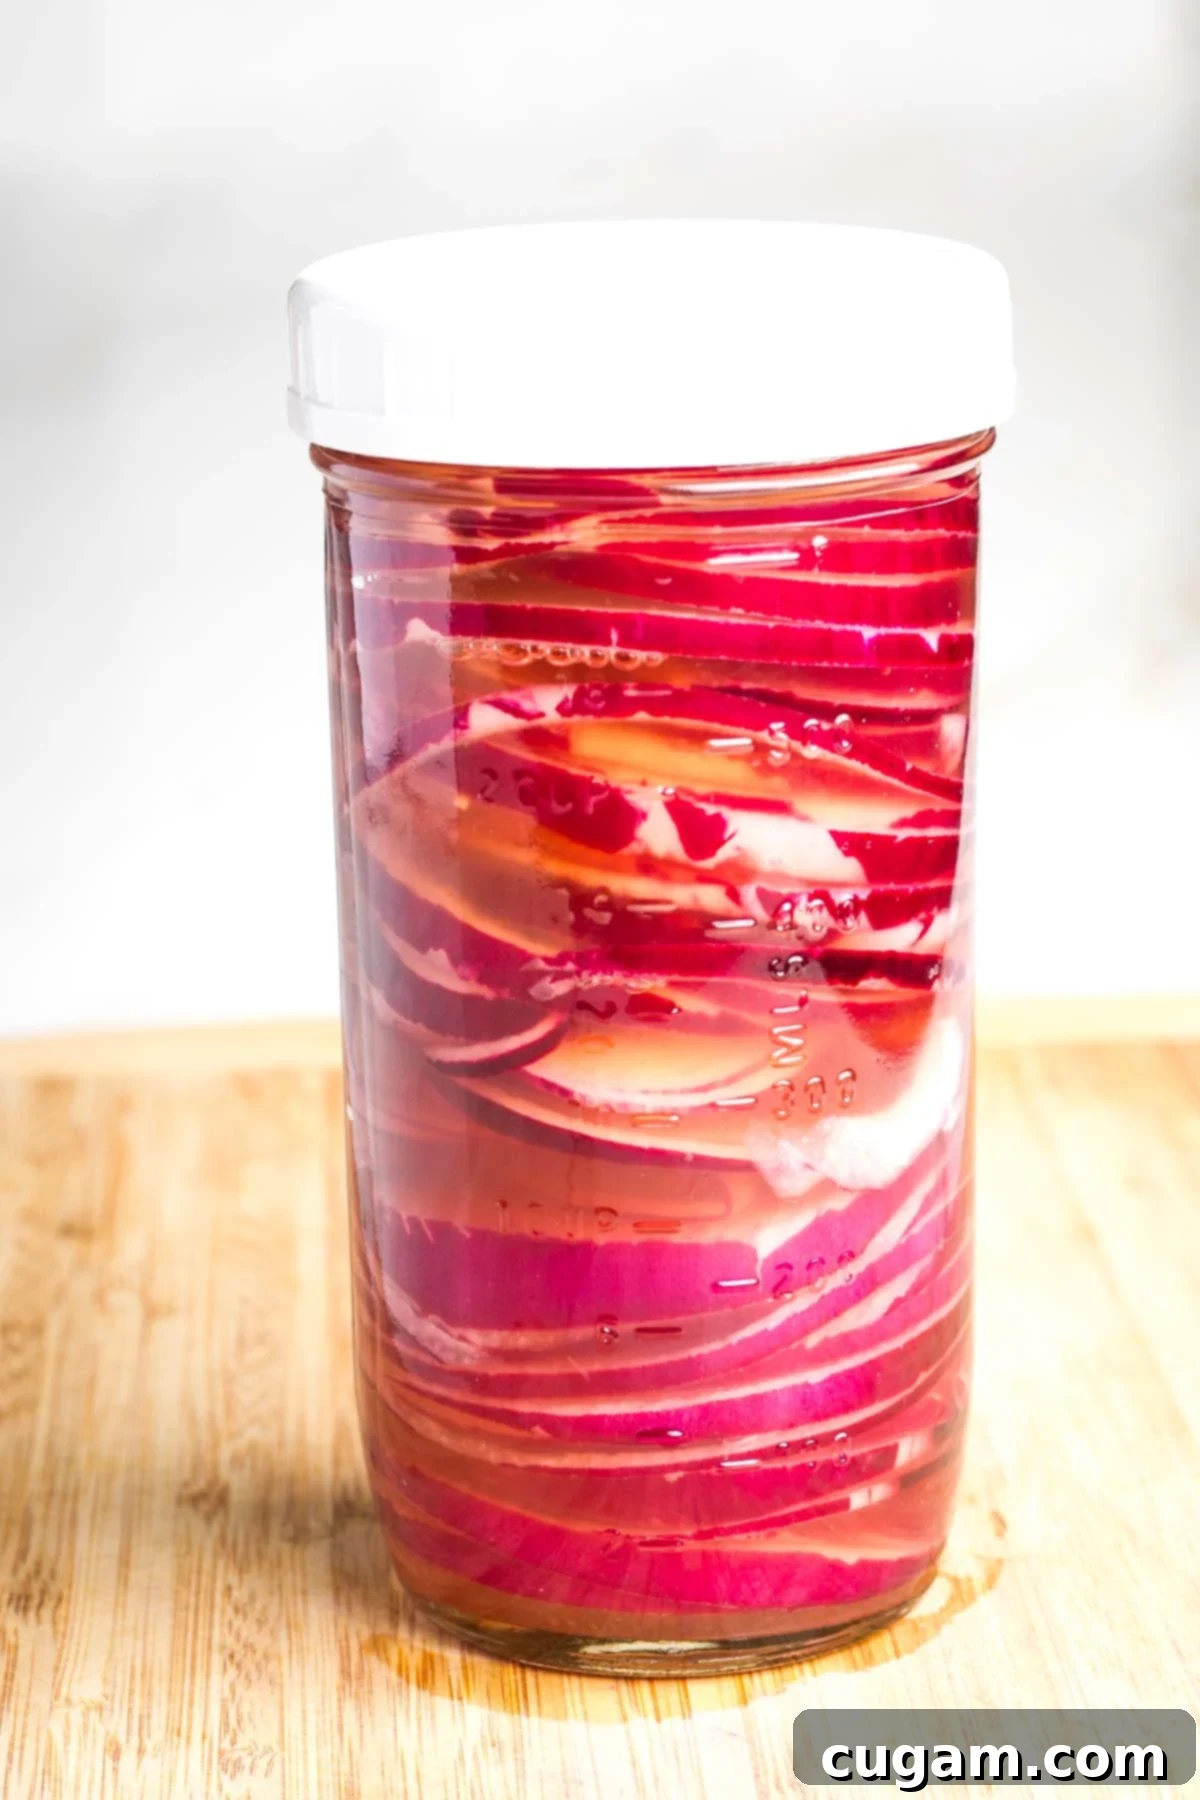
Step 4: Combine and Seal. Pour the prepared pickling liquid over the sliced onions in the jar. Make sure the liquid completely covers all the onion slices. You may need to gently press down on the onions with a spoon or a small weight to ensure they are fully submerged. This is crucial for even pickling and preventing spoilage. Close the jar tightly with an airtight lid. Let the jar sit at room temperature for at least 30 minutes to begin the pickling process. After this initial time, your quick pickled red onions are ready to use!
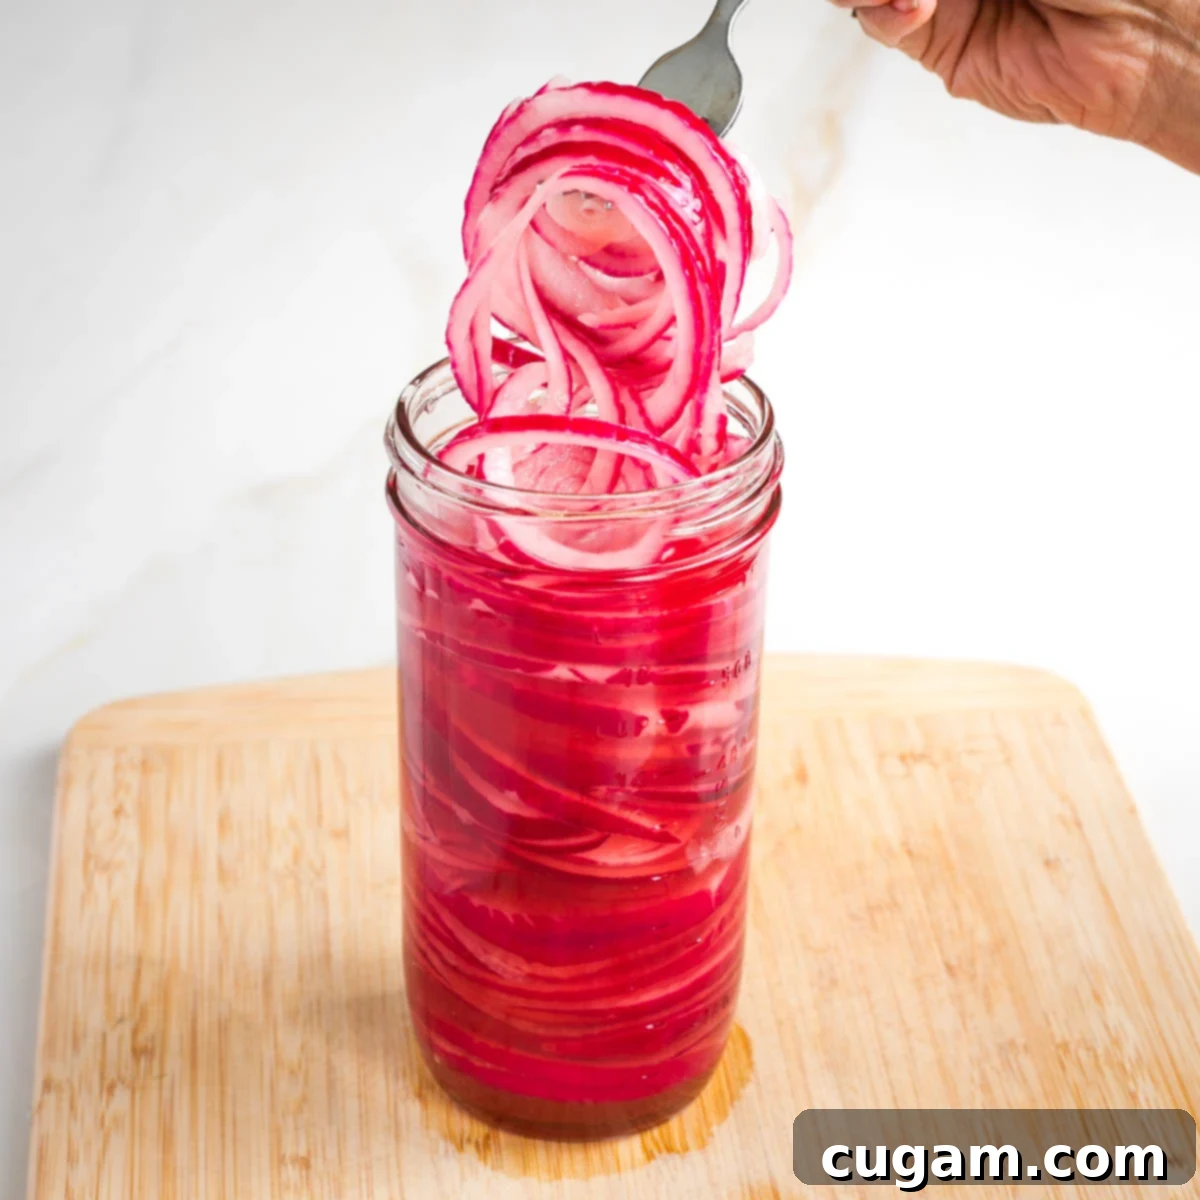
Debra’s Pro Tips for Perfect Pickled Red Onions
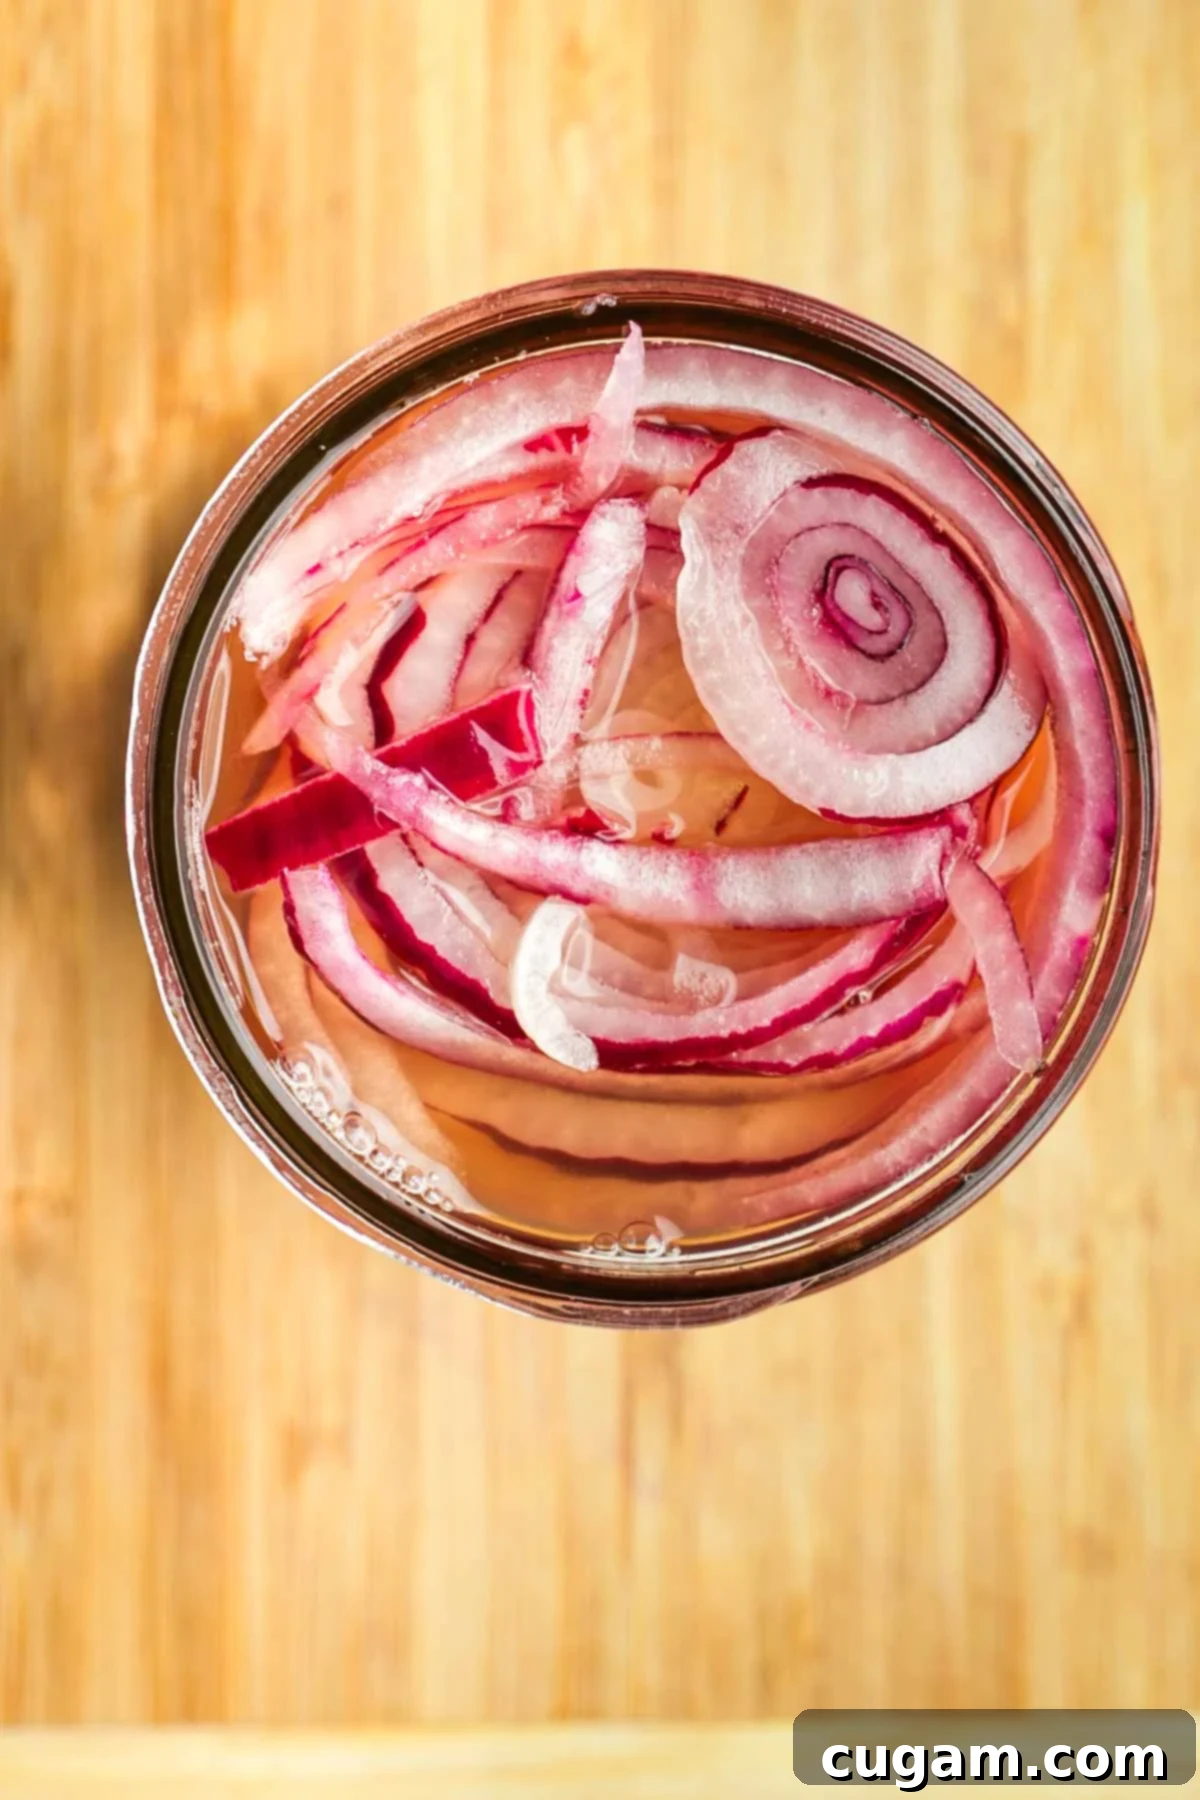
- Ensure Full Submersion: This is perhaps the most critical tip! Always make absolutely certain that all onion slices are completely submerged in the pickling liquid before you seal the jar. Any exposed onion can lead to uneven pickling or even spoilage.
- Watch the Color Transformation: It’s fascinating to observe! Your purple red onions will beautifully transition to a brighter, vibrant reddish-pink hue as they begin to pickle. This visual cue lets you know they’re actively absorbing all that delicious tangy flavor.
- Vary the Thickness: While thin slices are ideal for quick pickling, don’t shy away from experimenting with a variety of thicknesses. Sometimes, you might prefer a slightly thicker pickled onion slice for more crunch and a bolder bite in certain dishes.
- Optimal Storage: For the best quality and safety, store your homemade pickled red onions in an airtight container or jar in the refrigerator. They will maintain their excellent flavor and crisp texture for up to 2 weeks. Always use clean utensils when removing them to avoid contamination.
- Jar Sterilization: While this recipe is a quick pickle and not for long-term canning, it’s still good practice to use clean, sterilized jars to minimize any risk of spoilage and ensure the freshest taste.
- Customizable Flavor: Don’t be afraid to experiment with the brine! Adjust the maple syrup for more or less sweetness, or try different types of vinegar to fine-tune the tanginess to your personal preference.
- Patience (A Little): While they’re ready in 30 minutes, the flavor will deepen and become more complex after a few hours or overnight in the fridge. The longer they sit, the more pronounced the pickled flavor.
Did you know commenting and rating recipes is one of the best ways to support your favorite food bloggers? If you made this recipe, please consider a five-star rating below and leave a comment. Also, please share your photos on Instagram by tagging me @dkhealthcoach and using the hashtag #debraklein
📖 Recipe
Quick and Easy Pickled Red Onions
Rate this Recipe
Pin Recipe
Equipment
-
16oz Wide Mouth Mason Jars
Ingredients
- 2 red onion
- ¾ cup apple cider vinegar
- ¼ cup hot water
- 2 tablespoon maple syrup
- ½ teaspoon coarse sea salt
Instructions
-
Trim ends off onion and take off outer peel. Thinly slice and place in a clean jar.
-
Whisk together hot water, vinegar, maple syrup and salt.
-
Pour vinegar mixture over the onions. Push onions down to be sure all slices are covered in liquid. Cover to make an airtight seal.
-
Pickled red onions will be ready to enjoy in 30 minutes. They will develop a stronger flavor over time.
-
Store in the refrigerator for up to 2 weeks.
Notes
Onions: Use red onions, large shallots, yellow onions, or spring green onions.
Nutrition
Note
The nutrition calculations were done using online tools. To obtain the most accurate representation of the nutritional information in any given recipe, you should calculate the nutritional information with the actual ingredients you used. You are ultimately responsible for ensuring that any nutritional information is accurate, complete and useful.
