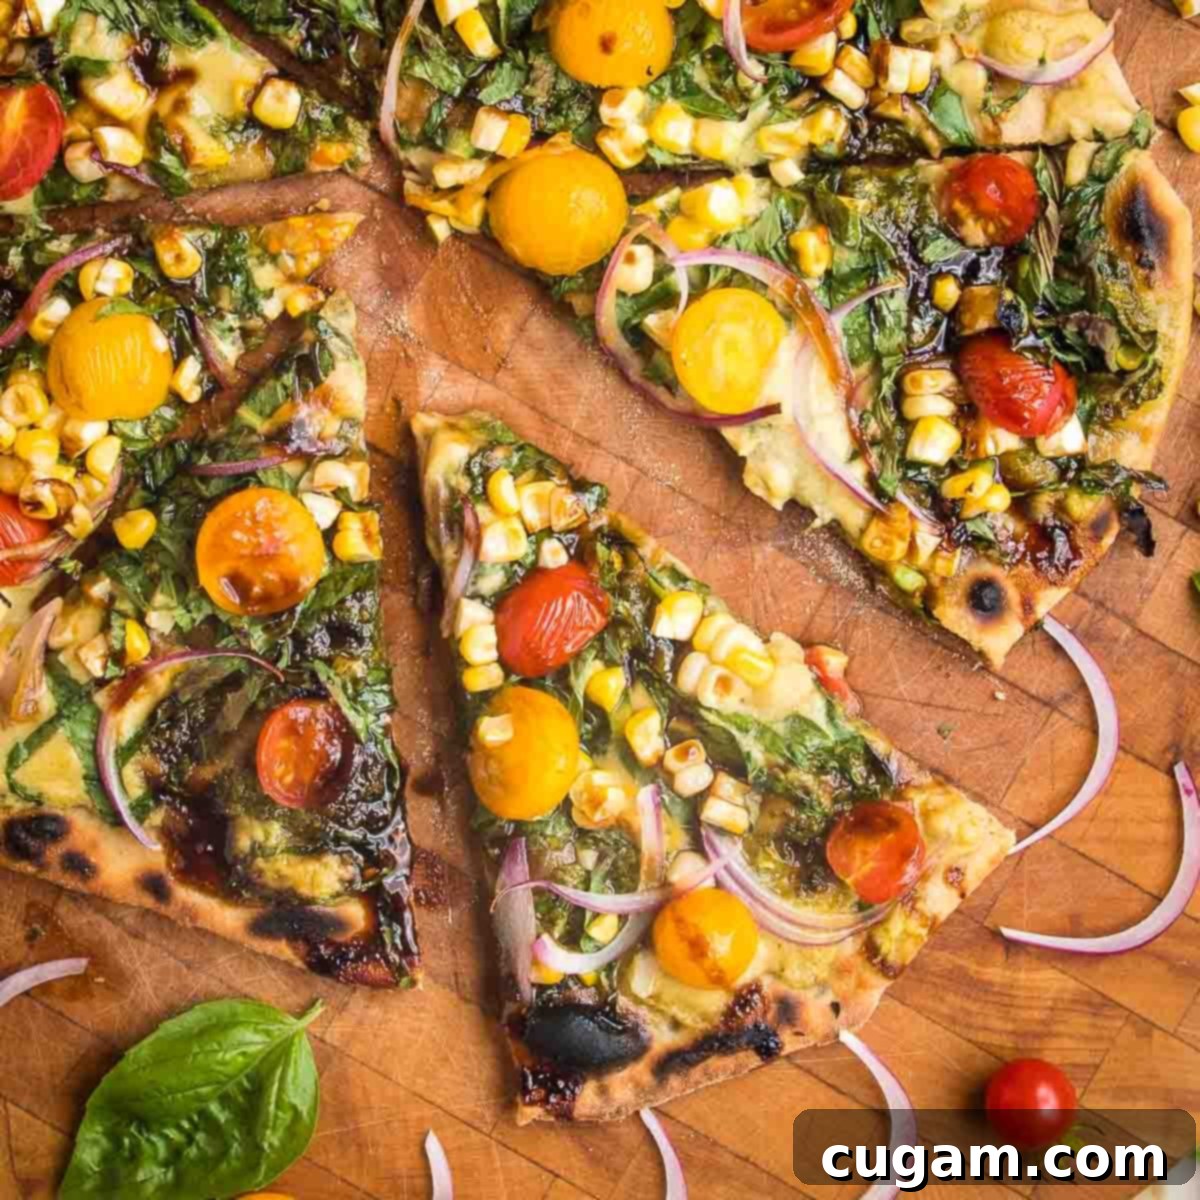
Quick & Easy No Yeast Flatbread Pizza: Your Guide to a Crispy Homemade Crust
Say goodbye to long waiting times for pizza night! This incredible no yeast flatbread recipe transforms your kitchen into a quick-service pizzeria, offering a delightful and delicious meal in a fraction of the time. Simply add your favorite toppings to this perfectly crispy flatbread crust and savor every bite. Crafting homemade pizza dough is far simpler than you might imagine, and this versatile crispy flatbread makes an excellent appetizer or a satisfying plant-based dinner.
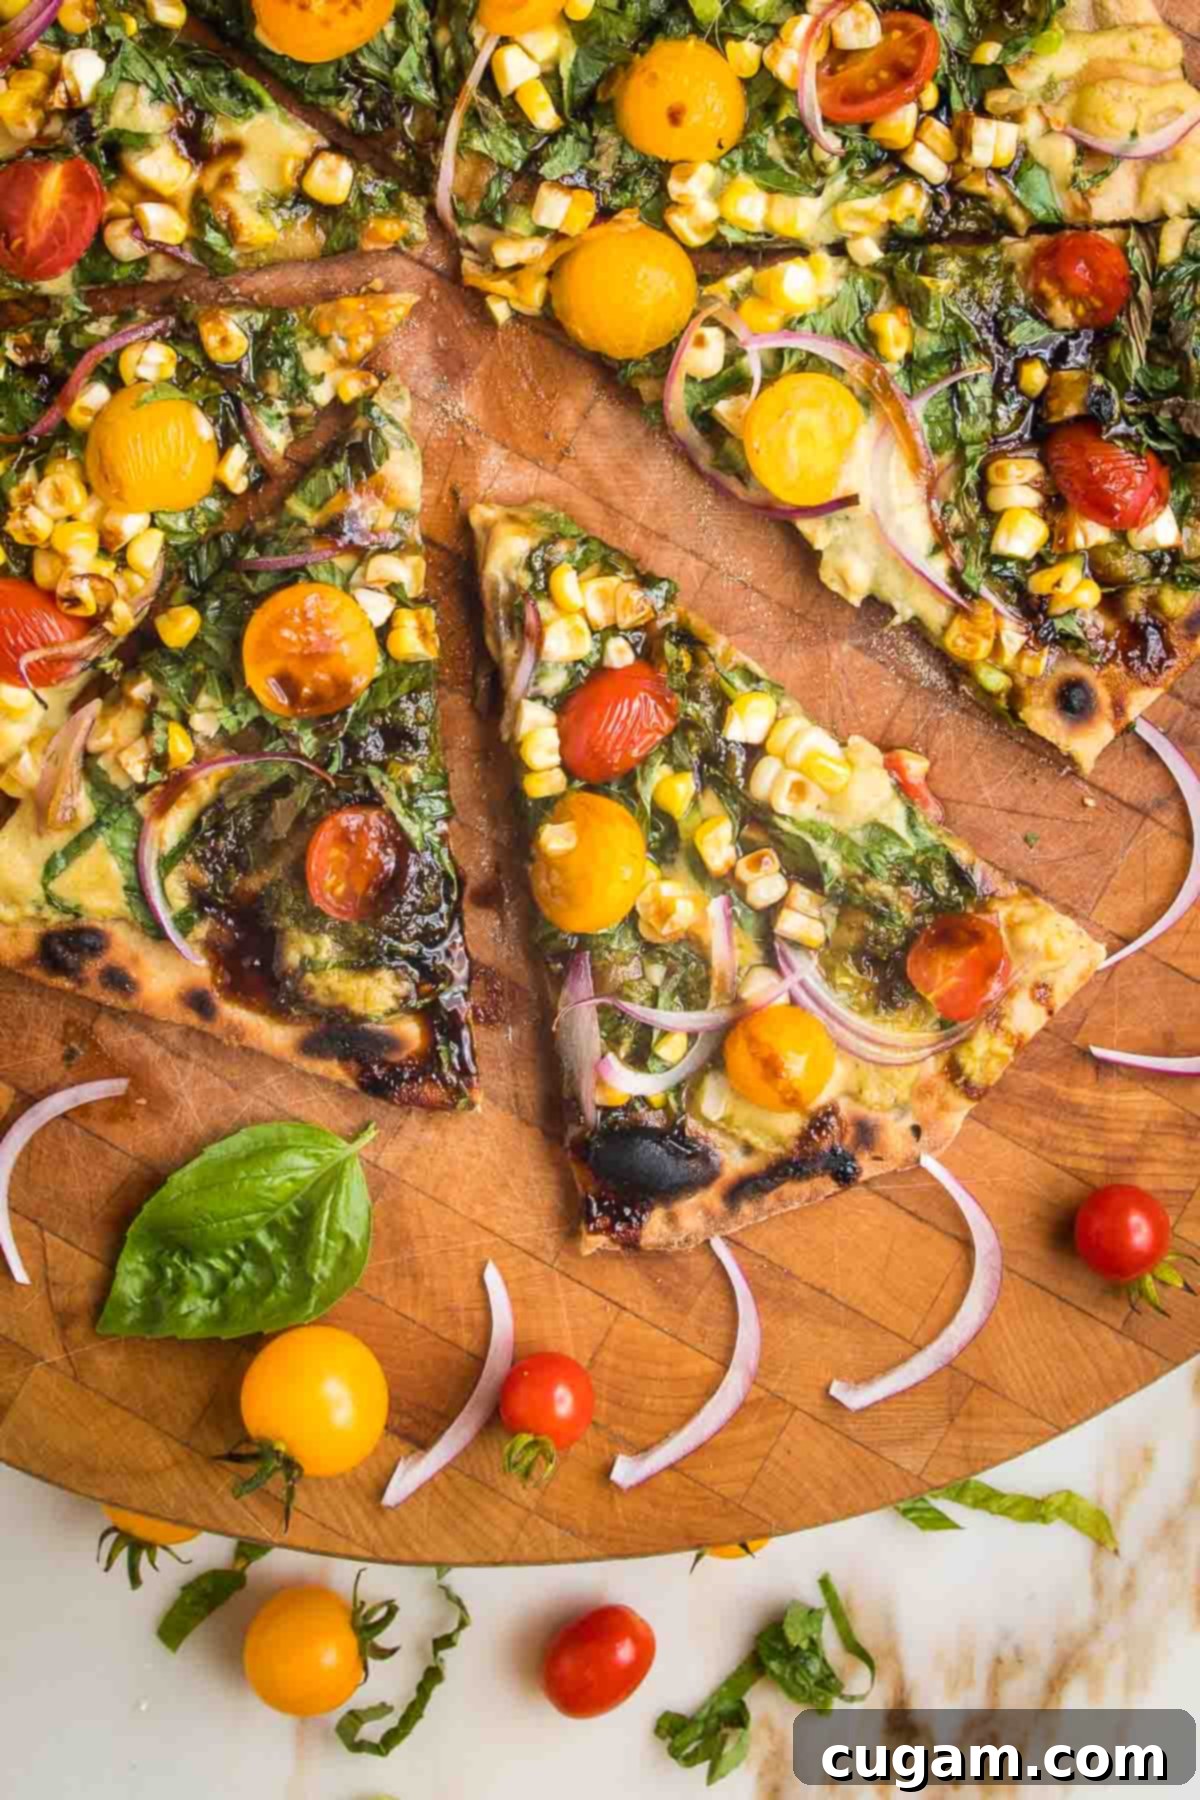
For those who adore a thin and crispy crust – a preference I wholeheartedly share – the quest for the ultimate pizza ends here with this easy flatbread pizza recipe. Traditional pizza dough, while delicious in its own right, often results in a thicker, chewier base. But with this recipe, you achieve a wonderfully crispy foundation, perfect for a generous smear of pesto or creamy hummus, topped with a fresh, vibrant salad. It’s truly an ideal option for anyone looking for a lighter, quicker take on pizza night!
The beauty of a no yeast flatbread recipe lies in its efficiency. There’s absolutely no rise time required, meaning your custom-made pizza can be ready in minutes, not hours! This is fantastic news for all pizza enthusiasts, especially those of us (like me!) who are a little less patient when delicious food is involved. This method allows you to enjoy the fresh taste of homemade pizza without the commitment of waiting for yeast to activate and dough to proof.
Beyond its speed, this no-yeast dough offers unparalleled versatility. It’s a blank canvas for countless culinary creations, from classic Italian-inspired pizzas to adventurous international flavor combinations. Whether you’re a seasoned chef or a beginner in the kitchen, this recipe promises a simple, rewarding cooking experience that delivers exceptional results every time. Get ready to transform your weeknights with this stress-free and utterly delicious flatbread solution.
Essential Ingredients and Smart Substitutions
Crafting the perfect no yeast flatbread crust requires just a few basic ingredients, most of which you likely already have in your pantry. These components come together to form a supple, easy-to-work-with dough that bakes into a delightfully crispy base. Here’s a closer look at what you’ll need and some flexible substitutions to suit your dietary needs or what’s on hand:
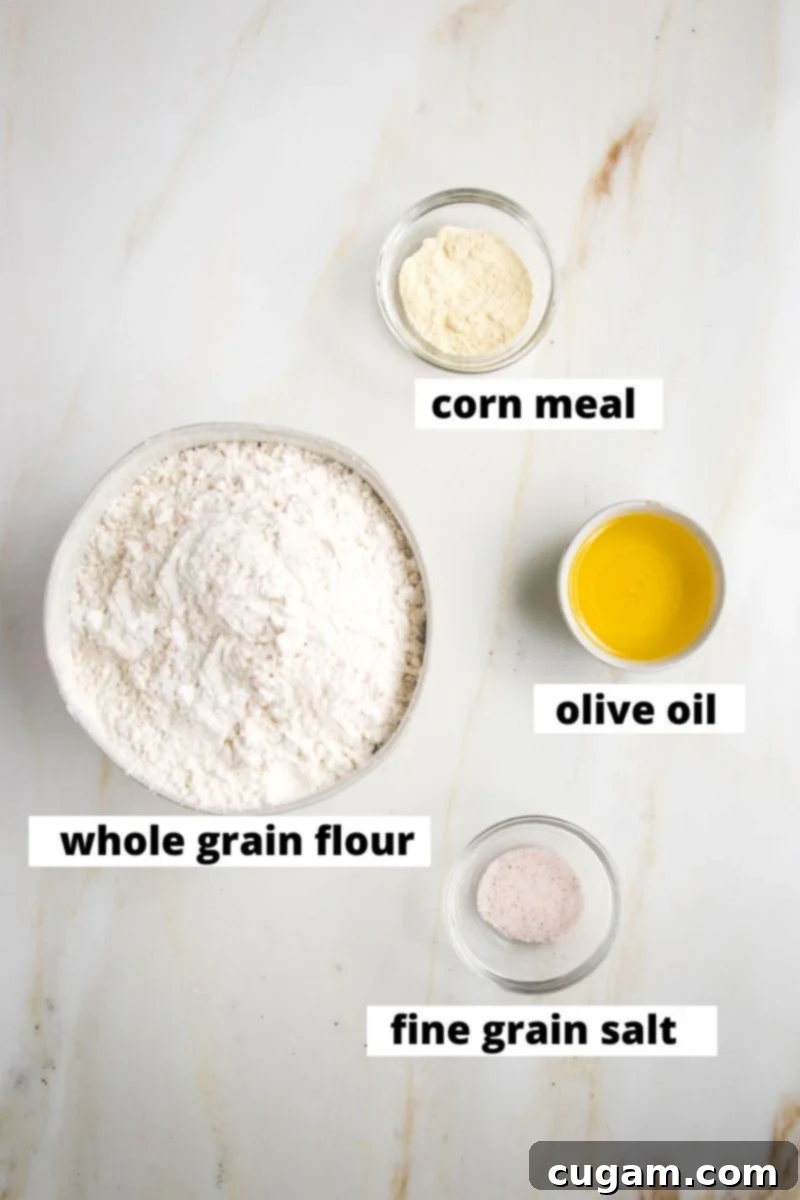
- WHOLE GRAIN FLOUR: I opted for whole wheat flour in the photos, which lends a lovely nutty flavor and added fiber. However, this recipe is incredibly adaptable! You can achieve excellent results using gluten-free all-purpose flour blends, spelt flour, or even conventional all-purpose flour. The key is to adjust liquid slightly if your chosen flour absorbs differently.
- OLIVE OIL: You’ll need 3 tablespoons of extra virgin olive oil for the dough itself, which contributes to its pliability and flavor. For an extra crispy finish, I highly recommend brushing an additional tablespoon onto the rolled-out and partially baked dough before the final bake. If you prefer, avocado oil makes a great substitute, offering a similar healthy fat profile and mild flavor.
- FINE GRAIN SALT: The fine granules of salt dissolve much more effectively and evenly distribute flavor throughout the dough. While fine-ground sea salt is perfectly acceptable, avoid using coarse grind salts like kosher salt unless you process them first, as they won’t dissolve as well and can result in pockets of intense saltiness.
- CORN MEAL: A light dusting of coarse-grind cornmeal on your baking pan or pizza stone helps prevent sticking and adds a delightful, subtle crunch to the bottom of your flatbread. If you don’t have cornmeal, unbleached parchment paper is an excellent alternative that achieves the same non-stick effect.
- Warm Water: While not explicitly bolded in the original list, warm water is crucial for bringing the dough together, especially with whole grain flours, helping them hydrate properly and create a cohesive mixture. Ensure it’s warm, not hot, to avoid over-activating any potential leavening agents if you were to use self-rising flour, though for no-yeast it’s more about aiding dough formation.
Endless Flatbread Pizza Ideas & Creative Toppings
The beauty of this no yeast flatbread recipe is that its sturdy, crispy crust provides the perfect foundation for an endless array of toppings. Since it doesn’t rise like traditional pizza dough, you get a consistently thin and robust base that can hold up to all your favorite ingredients. Let your creativity soar with these inspiring flatbread pizza ideas, perfect for any meal or occasion:
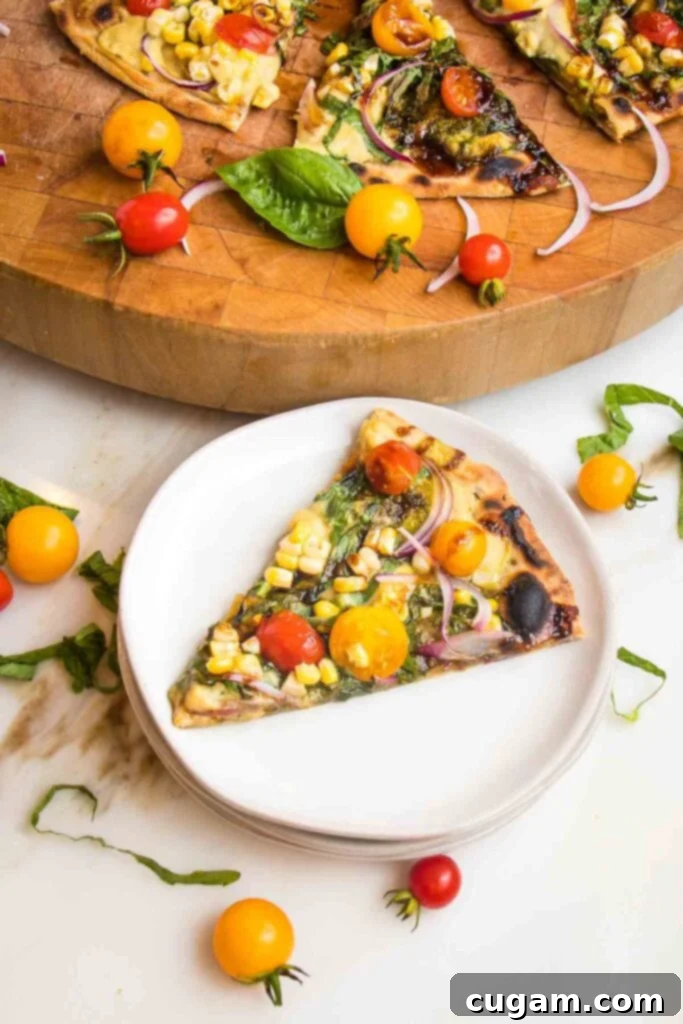
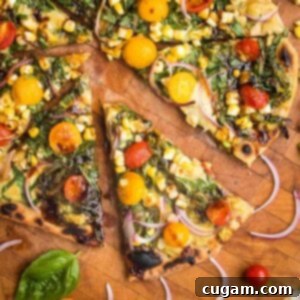
- Summer Flatbread: Embrace the fresh flavors of the season! Begin by spreading a vibrant vegan basil pesto onto your crispy flatbread crust. Layer with juicy fresh tomatoes, sweet corn kernels, and thinly sliced red onions. Finish with a delicate drizzle of sweet chili sauce or a rich balsamic glaze. A quick 2-minute broil will warm the toppings and bring out their best flavors.
- Regular Flatbread Pizza: For a comforting classic, spread your cooked flatbread with your favorite pizza sauce and a sprinkle of Italian seasoning and fresh herbs. Add dollops of creamy vegan ricotta. Return it to a 450-degree oven for 5-10 minutes, just until the ricotta is heated through and slightly golden. This creates a wonderfully familiar yet uniquely crispy pizza experience.
- Roasted Squash + Hummus Flatbread: Elevate your flatbread with rich, savory flavors. You can find the full recipe with detailed instructions for preparing roasted delicata squash, garlic, and onions in this delightful vegan flatbread pizza recipe. The combination of sweet squash and savory hummus is truly exceptional.
- Individual Pizzas: Perfect for a fun and interactive meal! Divide the dough into 4 equal pieces, then roll each out to your desired thickness. Let everyone customize their own flatbreads with their favorite pizza toppings, making it an engaging activity for families and friends.
- Mediterranean Flatbread: Transport your taste buds to the Mediterranean. Thin out some hummus with a splash of fresh lemon juice and spread it generously onto your cooked flatbread crust. Top with briny olives, fresh diced tomatoes, crisp cucumbers, and vibrant roasted red peppers. This option is incredibly refreshing and bursting with flavor.
- Breakfast Flatbread: For a delicious brunch option, spread a thin layer of avocado or vegan cream cheese, then top with scrambled tofu, chopped spinach, and a sprinkle of vegan cheese. Bake until warmed through for a unique and satisfying breakfast.
- Dessert Flatbread: Don’t forget dessert! After baking the plain crust, spread a thin layer of vegan chocolate hazelnut spread, sliced bananas, and a sprinkle of vegan mini marshmallows. A quick minute under the broiler or a warm oven will melt the marshmallows slightly.
- Let me know in the comments what YOUR perfect flatbread pizza looks like! The possibilities are truly endless with this versatile crust.
How to Make the Perfect Crispy No Yeast Flatbread Pizza Dough Crust
Creating this easy no-yeast flatbread dough is surprisingly simple and requires minimal effort. You have several options for mixing, depending on the kitchen tools you have available. Whether you use a food processor for ultimate convenience, a stand mixer with a dough hook for hands-off kneading, or simply a large bowl and whisk (plus a little elbow grease!), this recipe is forgiving and fun.
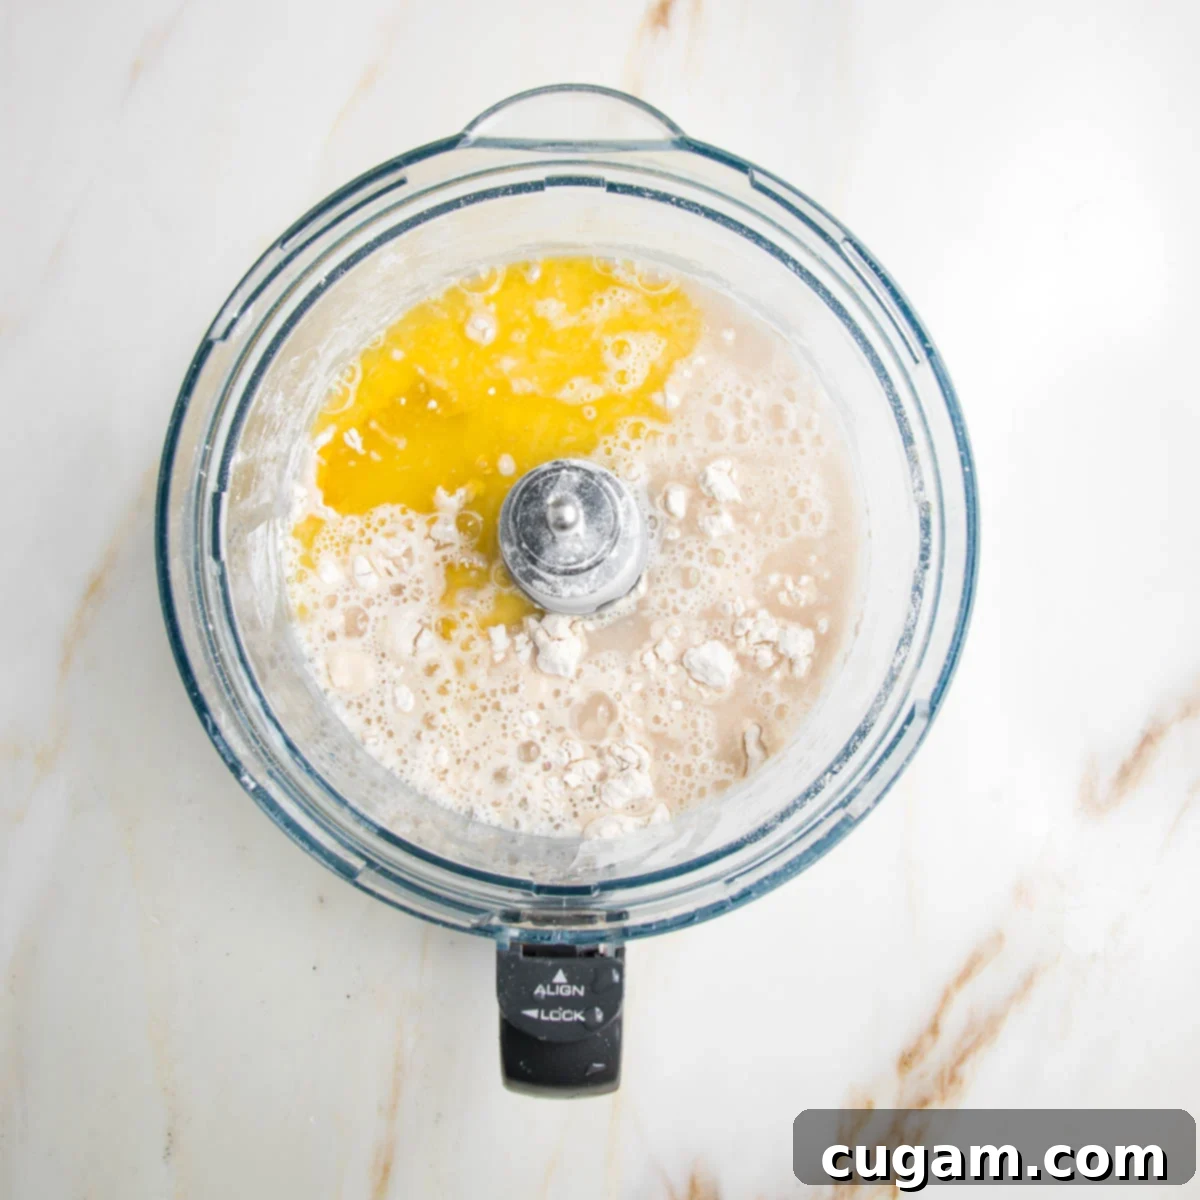
To begin, combine your chosen flour and salt. If you need a gluten-free option, King Arthur Measure for Measure Gluten-Free Flour is a reliable choice, or simply use any whole grain flour that you prefer. Pulse them together briefly to ensure the salt is evenly distributed. Then, gradually add the wet ingredients – warm water and olive oil – to the dry mixture. This slow addition helps the ingredients combine properly.
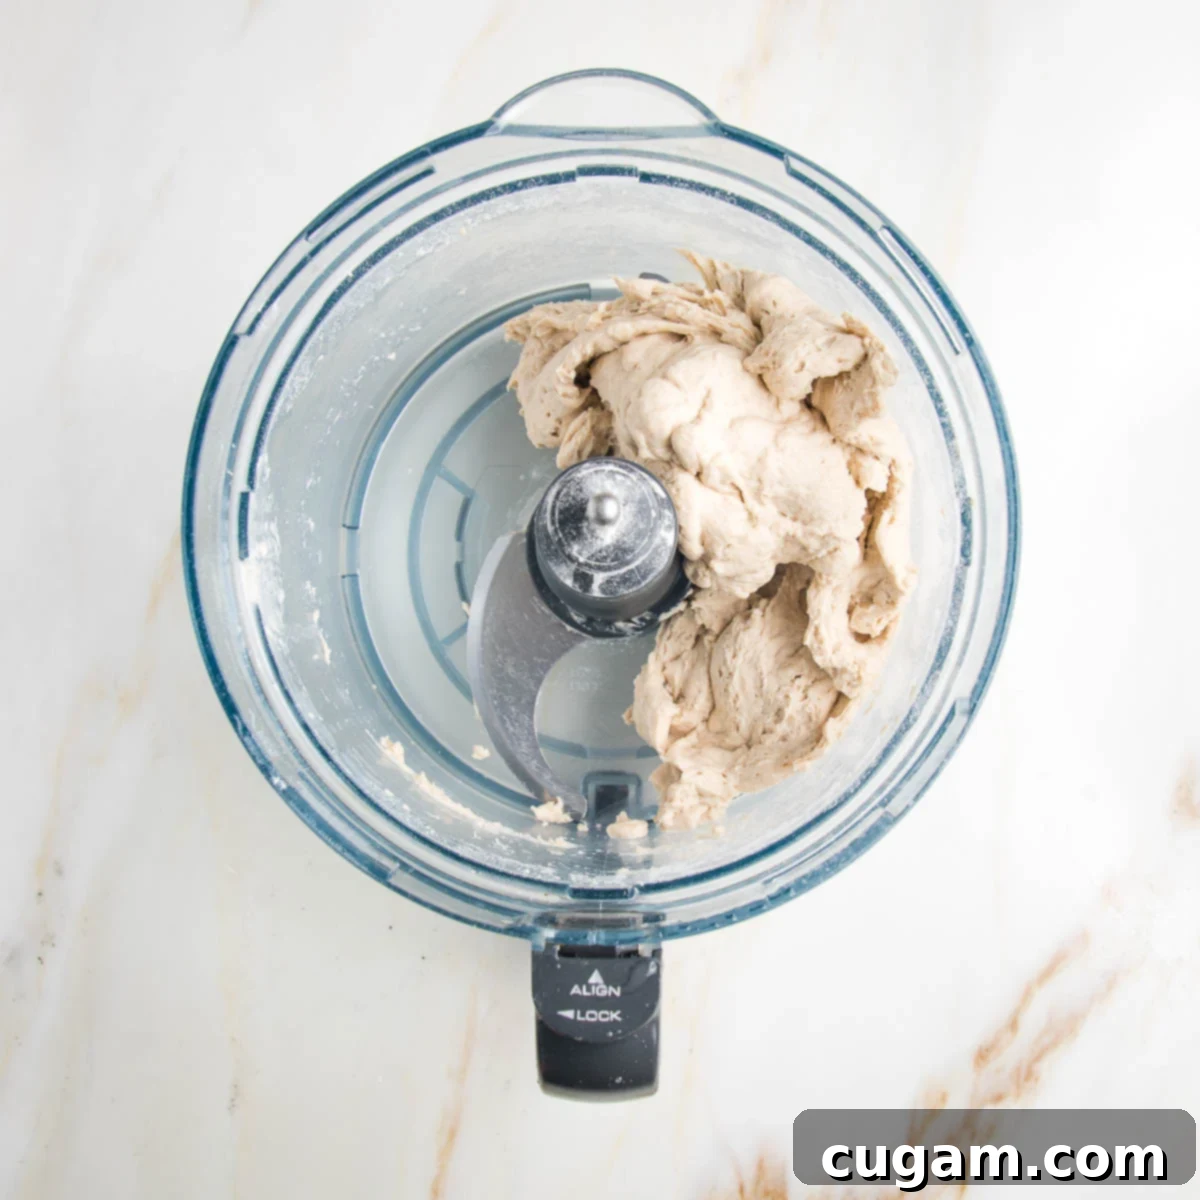
Continue to process the ingredients until the pizza dough forms a ball and easily pulls away from the sides of the bowl. This indicates proper hydration and mixing. If the dough still seems too sticky, add a tiny bit more flour, a teaspoon at a time, until it reaches the desired consistency. Conversely, if it’s too dry, add a touch more water.
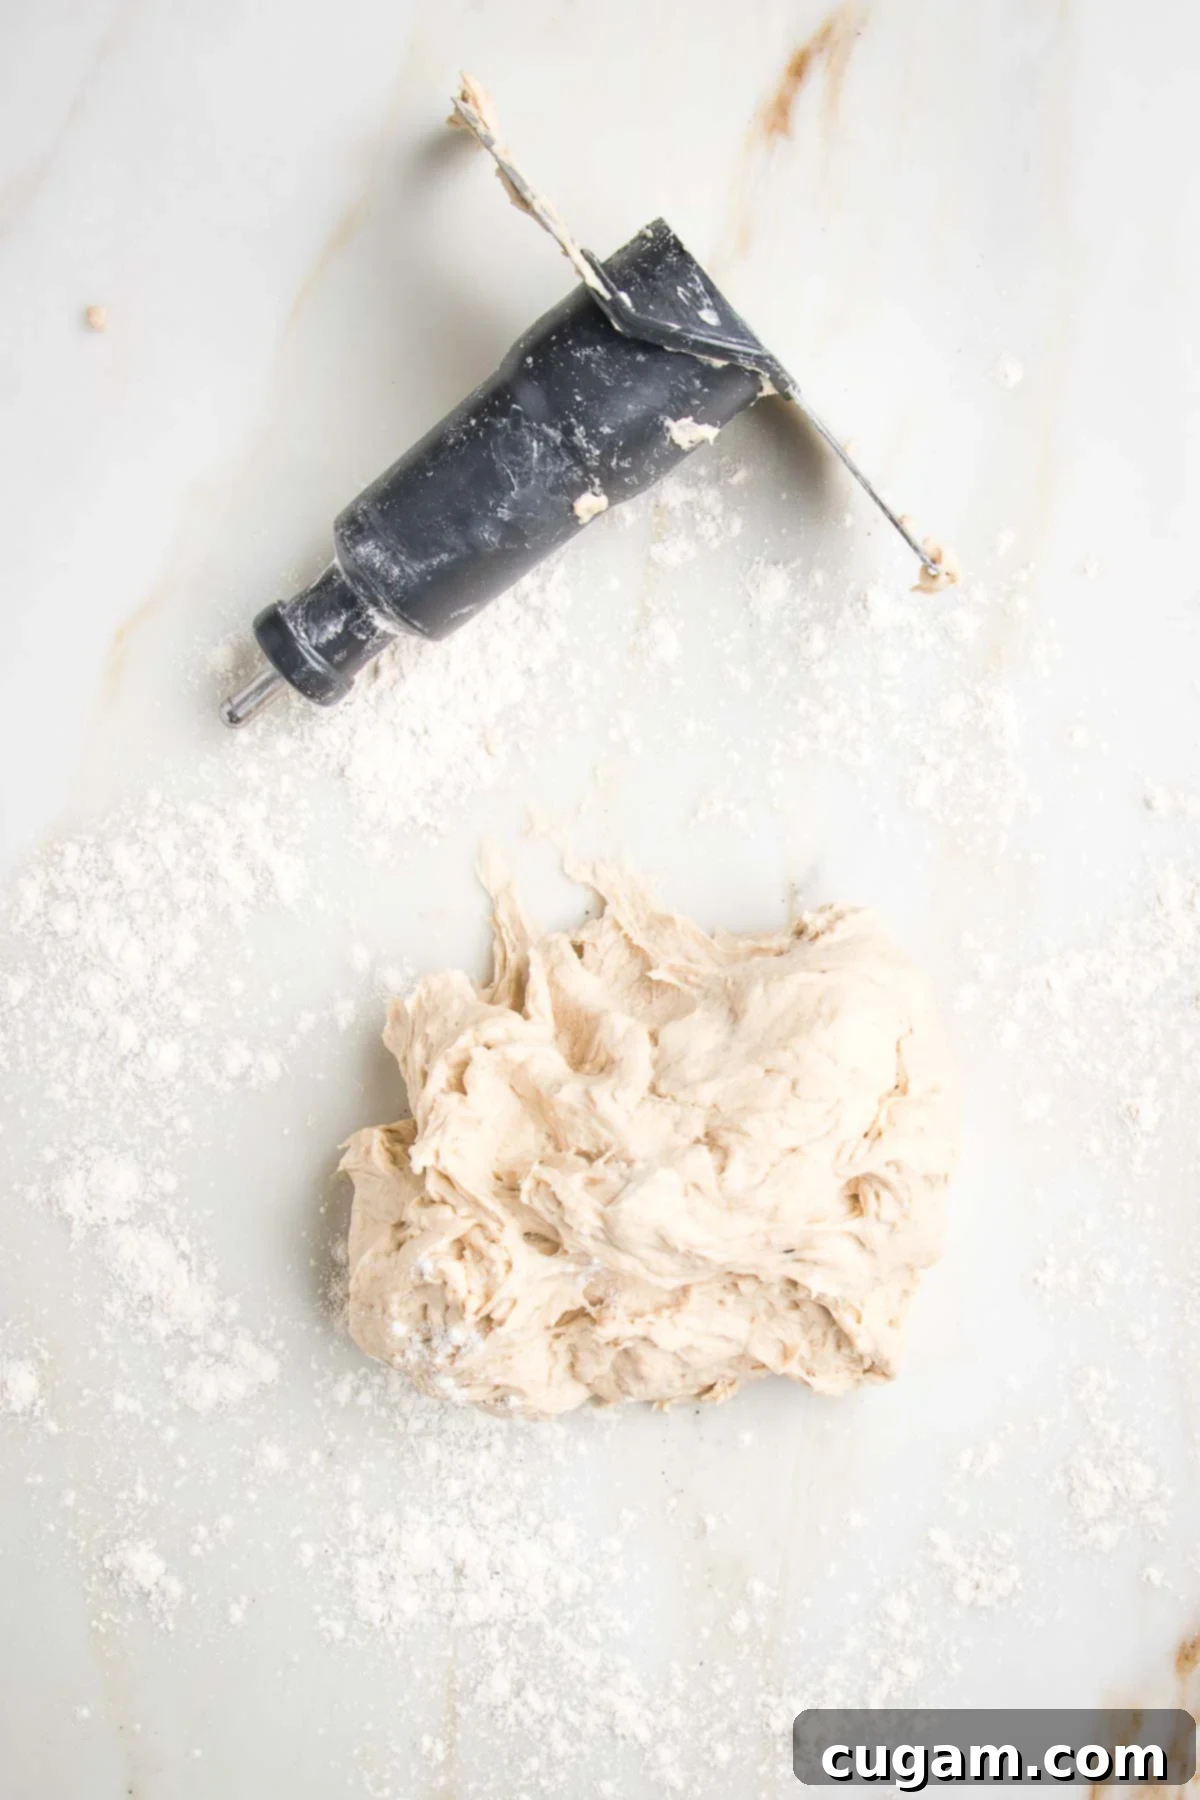
Once mixed, turn the dough out onto a lightly floured surface. This step is crucial to prevent sticking, making the next stage much easier. A clean countertop or a large pastry board works perfectly.
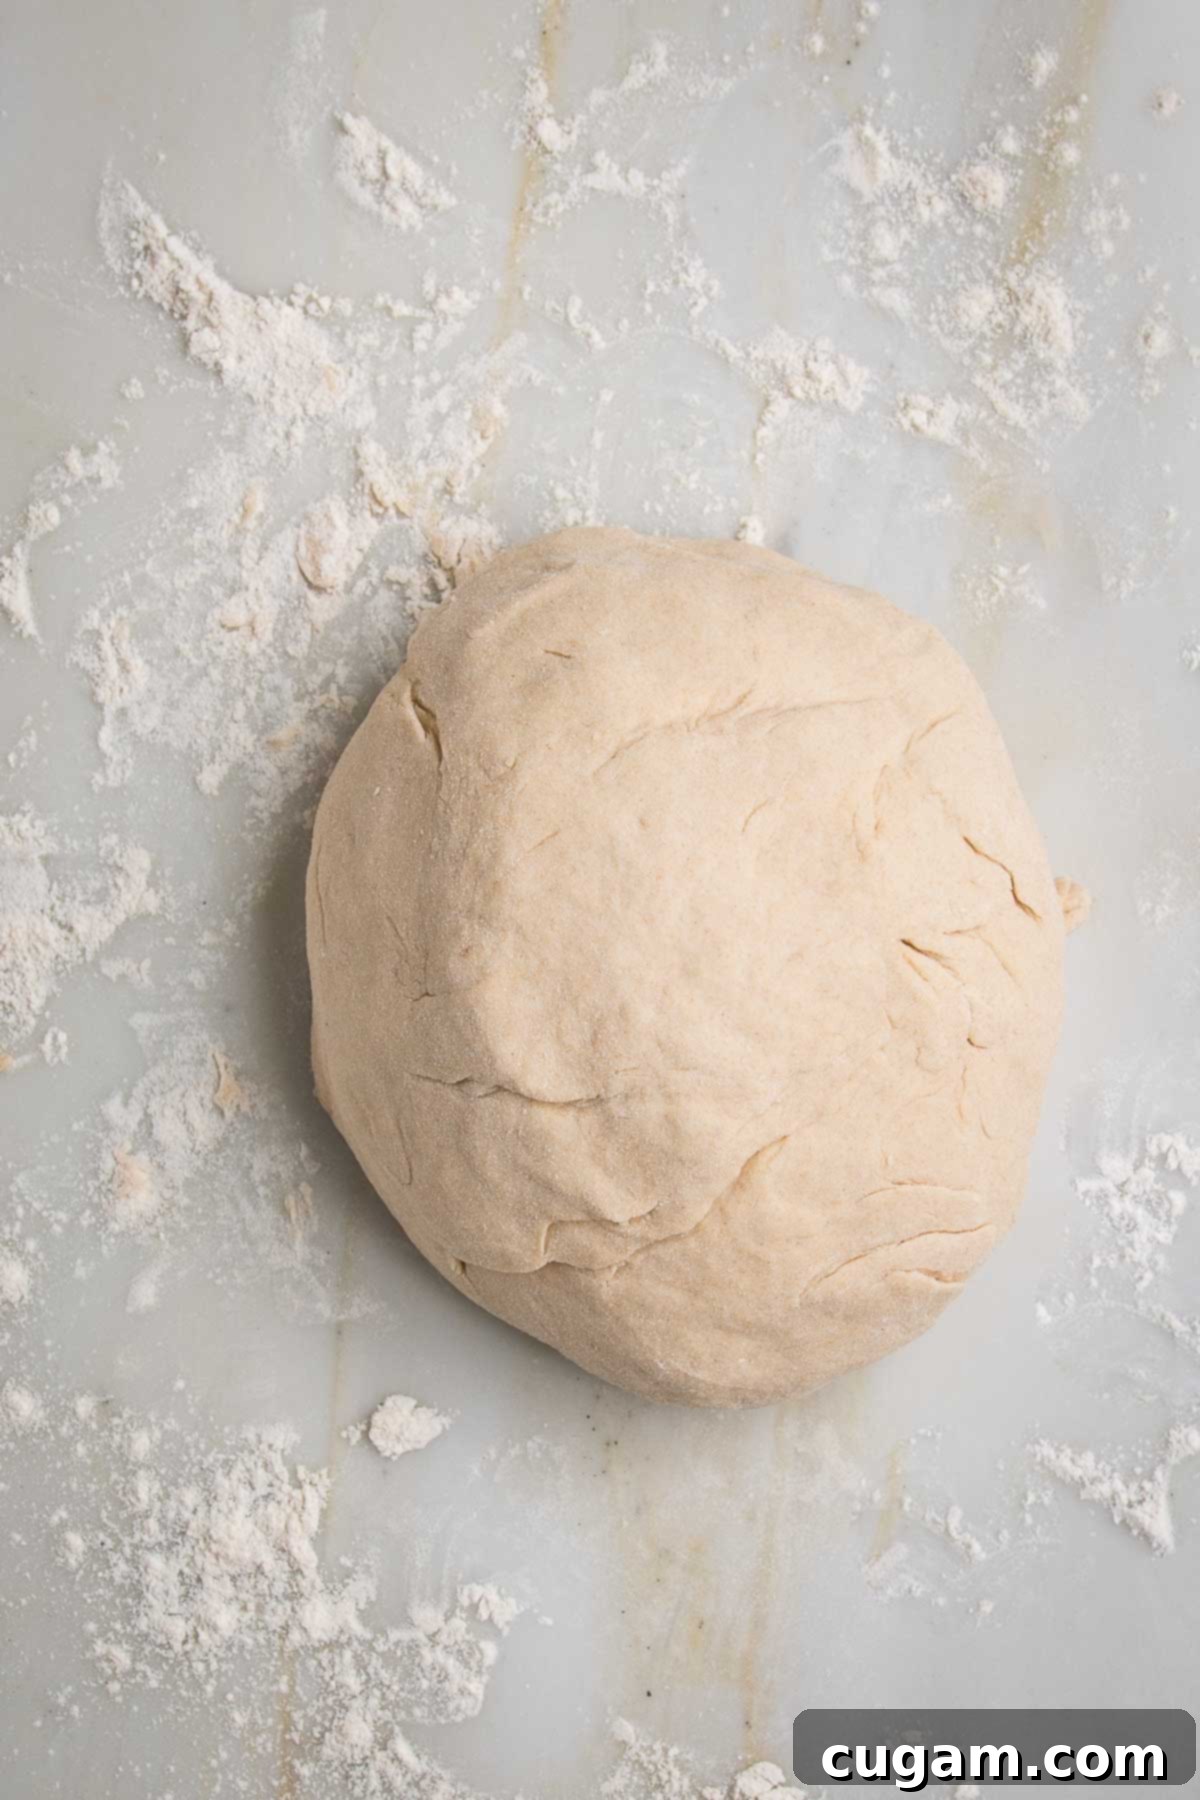
Gently knead the dough by hand for a minute or two until it forms a smooth, cohesive ball. This brief kneading helps to develop the gluten just enough for a good texture without making it tough. At this point, the dough can be made in advance: simply wrap it tightly in plastic wrap and store it in the refrigerator for up to 2 days, or freeze it for up to a month for even quicker future pizza nights!
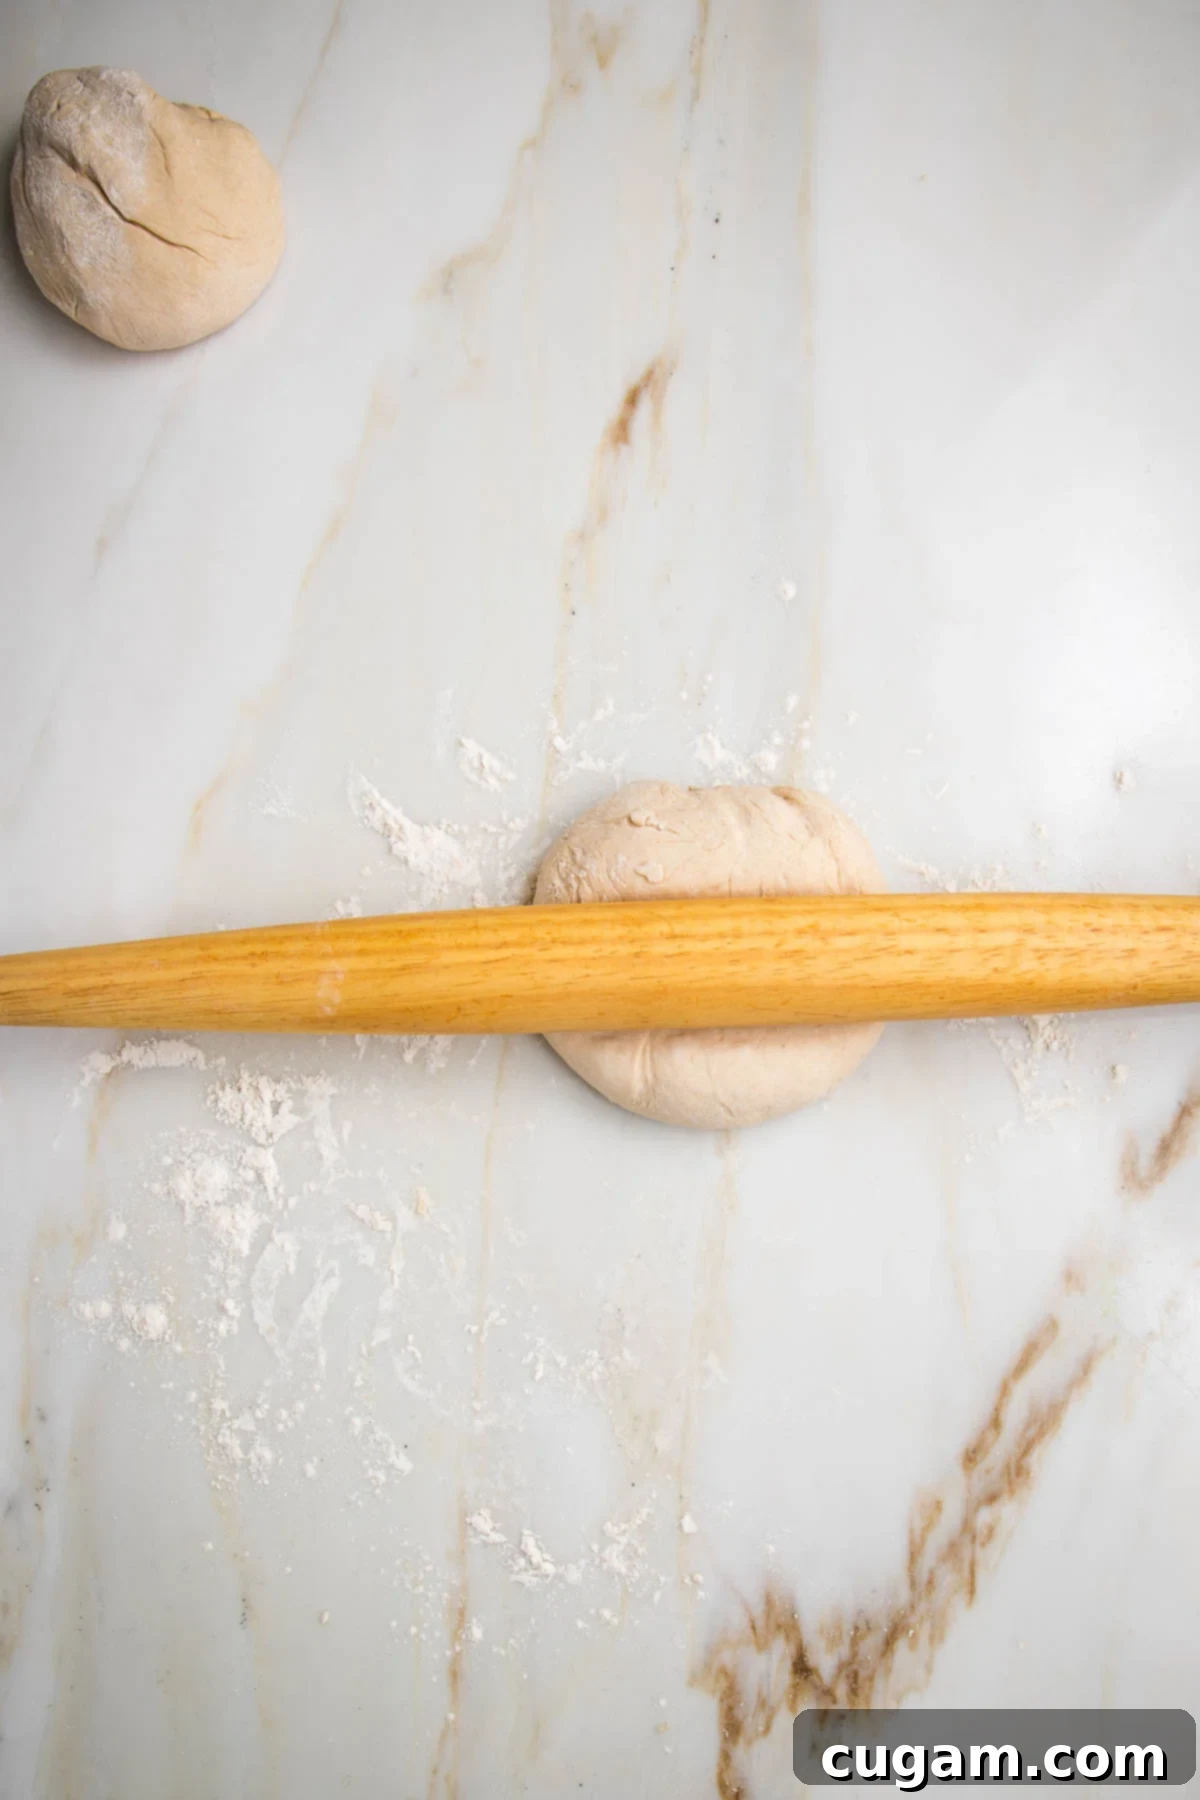
Divide the dough in half for two larger flatbreads, or into quarters if you prefer making smaller, individual pizzas. Ensure your work surface and rolling pin are dusted with flour to prevent sticking. Use the rolling pin to roll out each portion of dough to approximately ⅛-inch thickness. You can make any shape you like – round, oval, rectangular, or square. The key is to keep it thin; if the dough is rolled too thick, it may burn on the top before cooking through in the center, resulting in a less-than-crispy base.
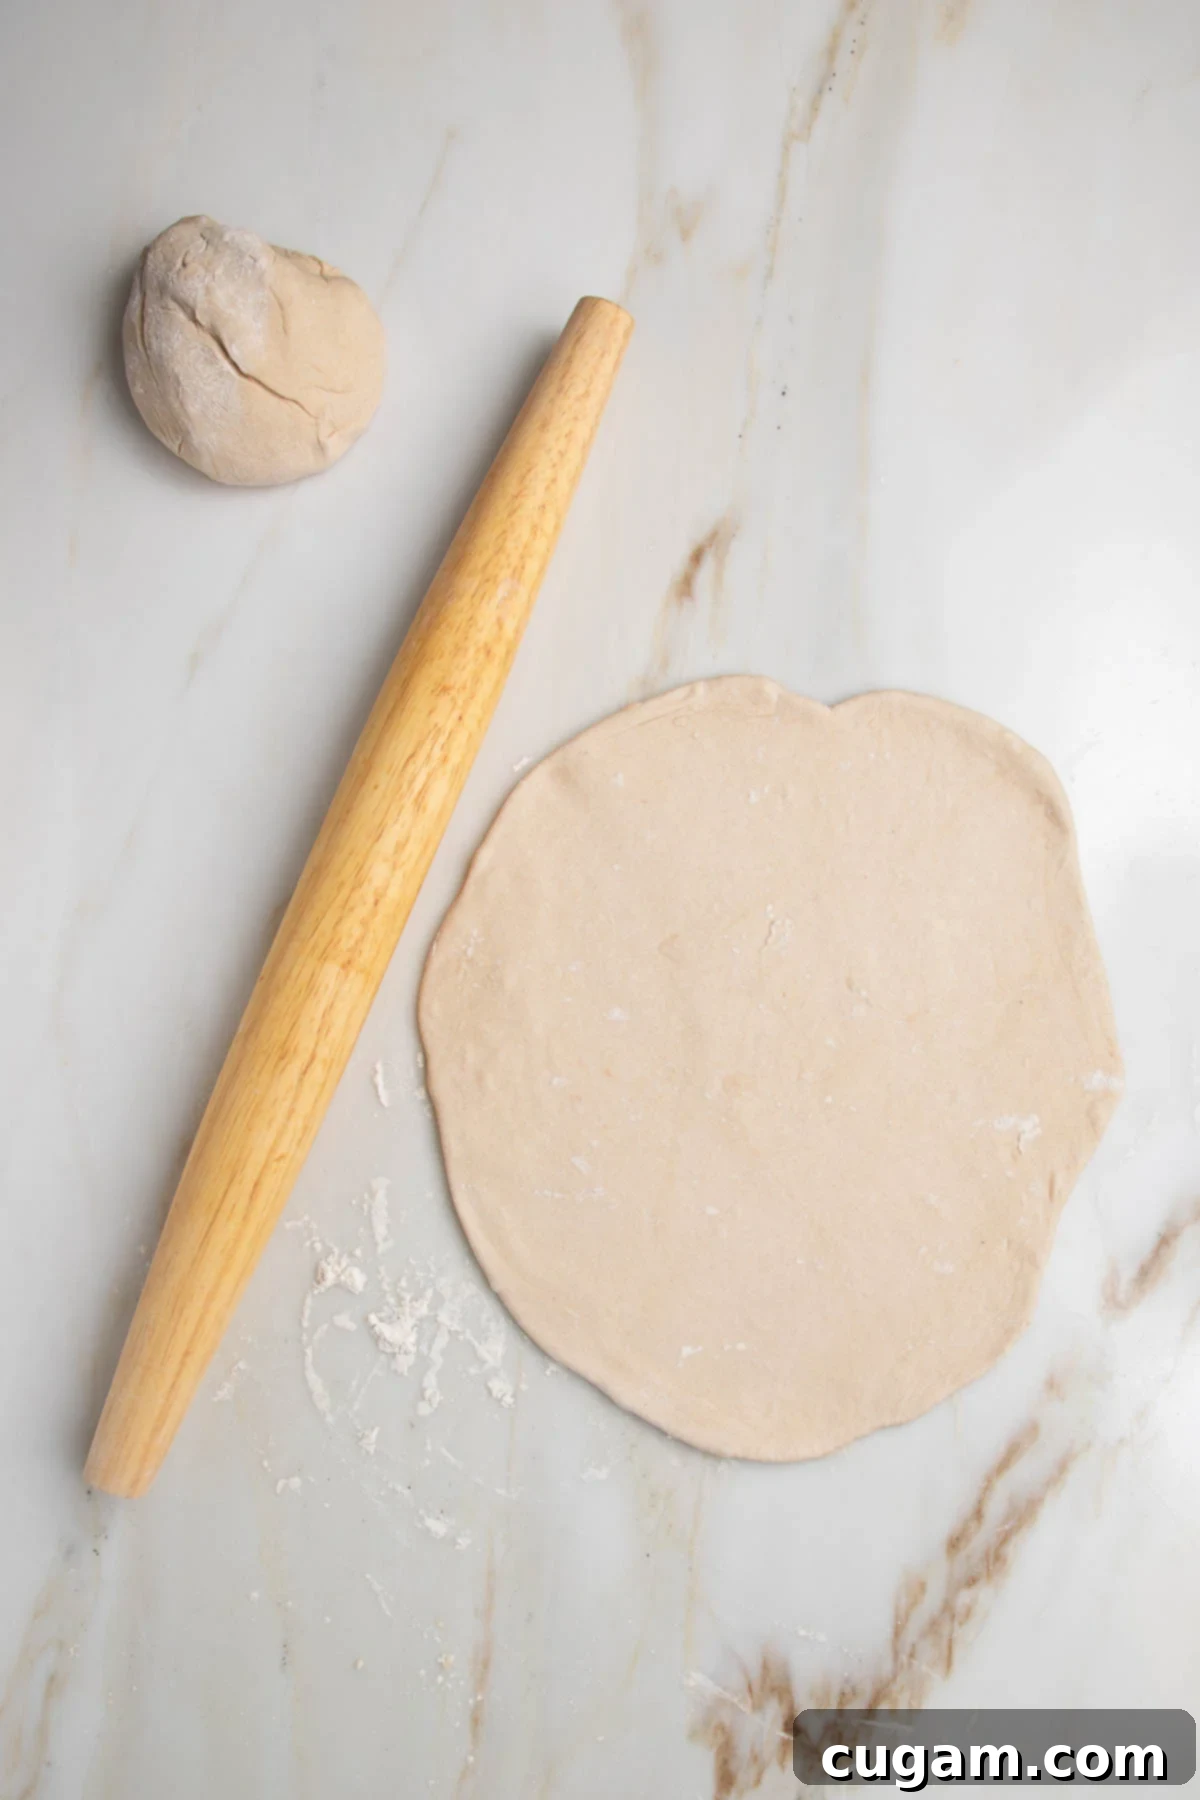
Consider your baking vessel when shaping the dough. If you’re using a pizza stone, stick to a shape that fits its surface. If you’re baking on a standard baking sheet, ensure the dough is rolled to a size that comfortably fits the pan without crowding.
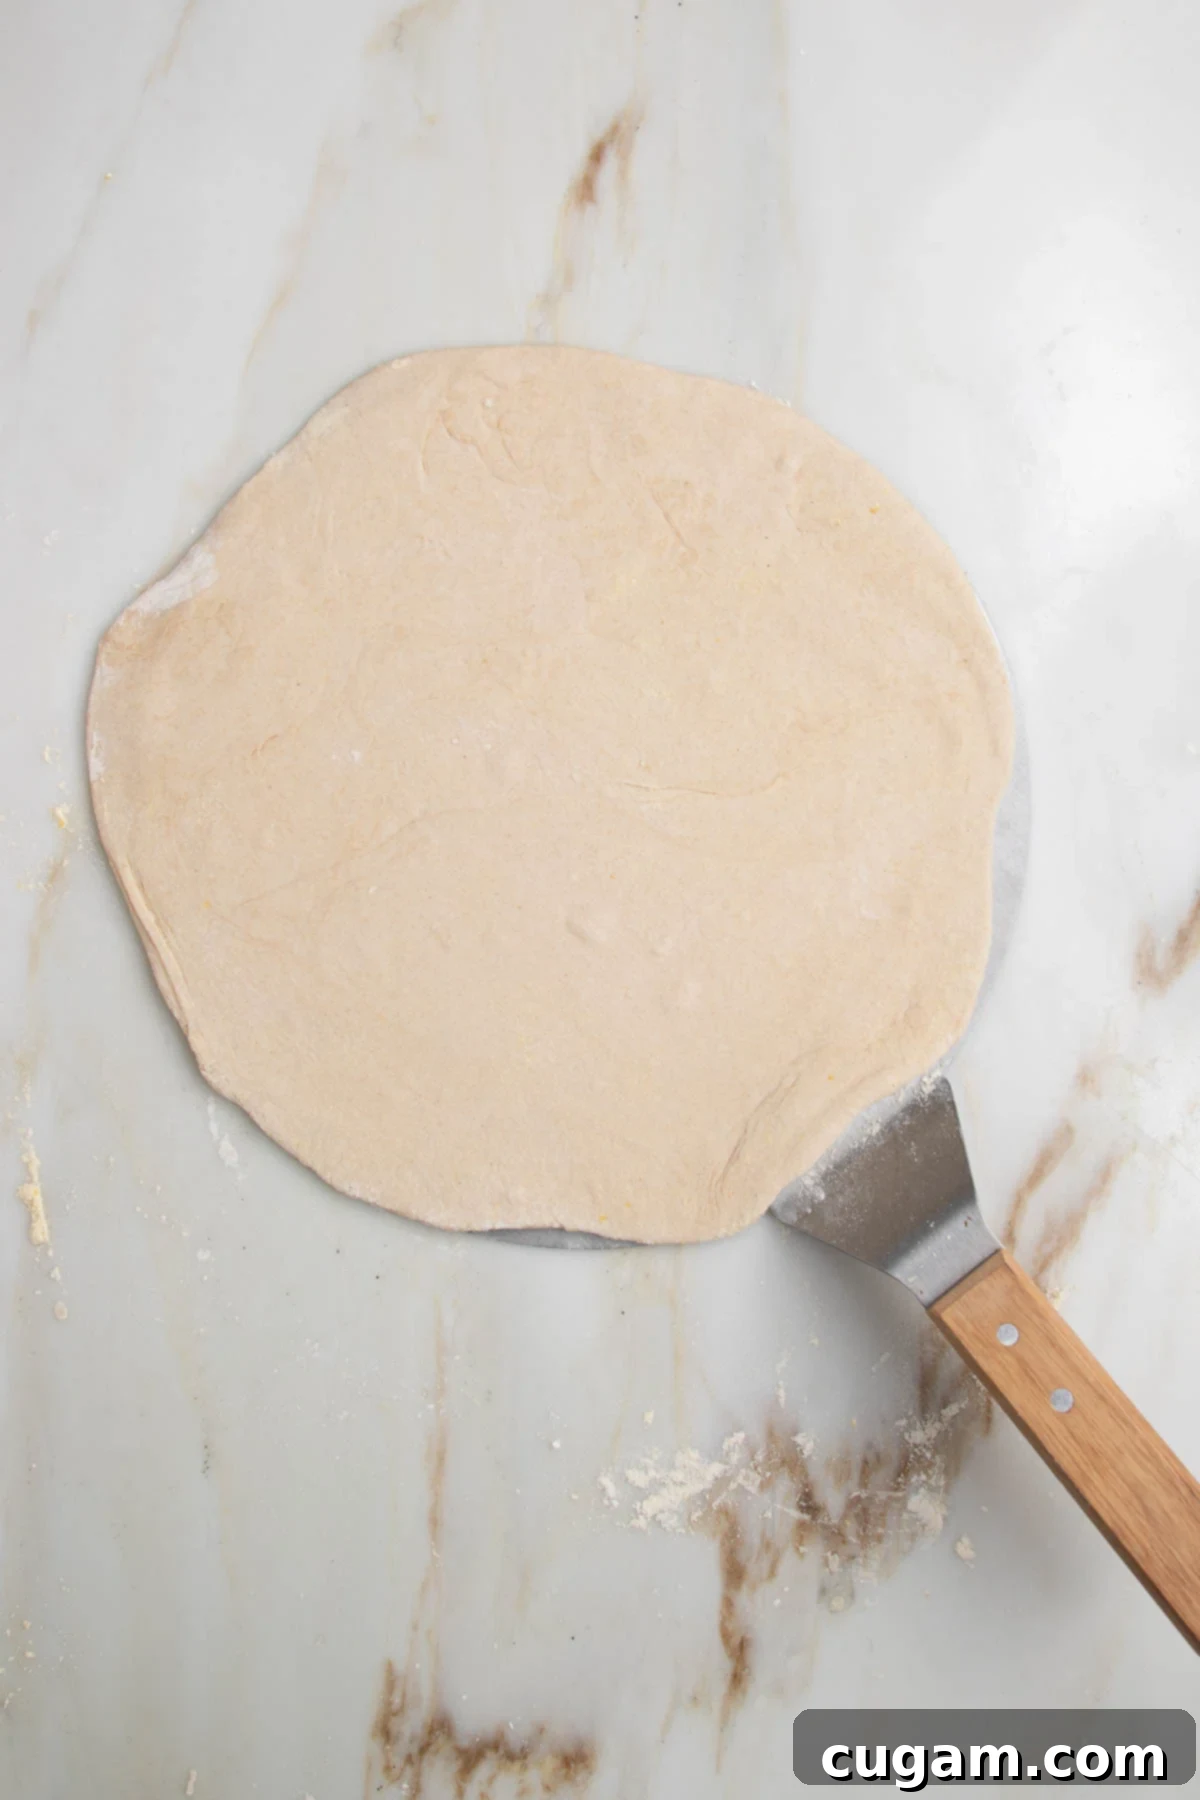
A pizza peel dusted with cornmeal or flour is an ideal tool for smoothly transferring the delicate dough to your hot baking surface. If you don’t have a peel, simply roll the dough out directly onto a piece of parchment paper, which can then be easily slid onto the preheated pan.
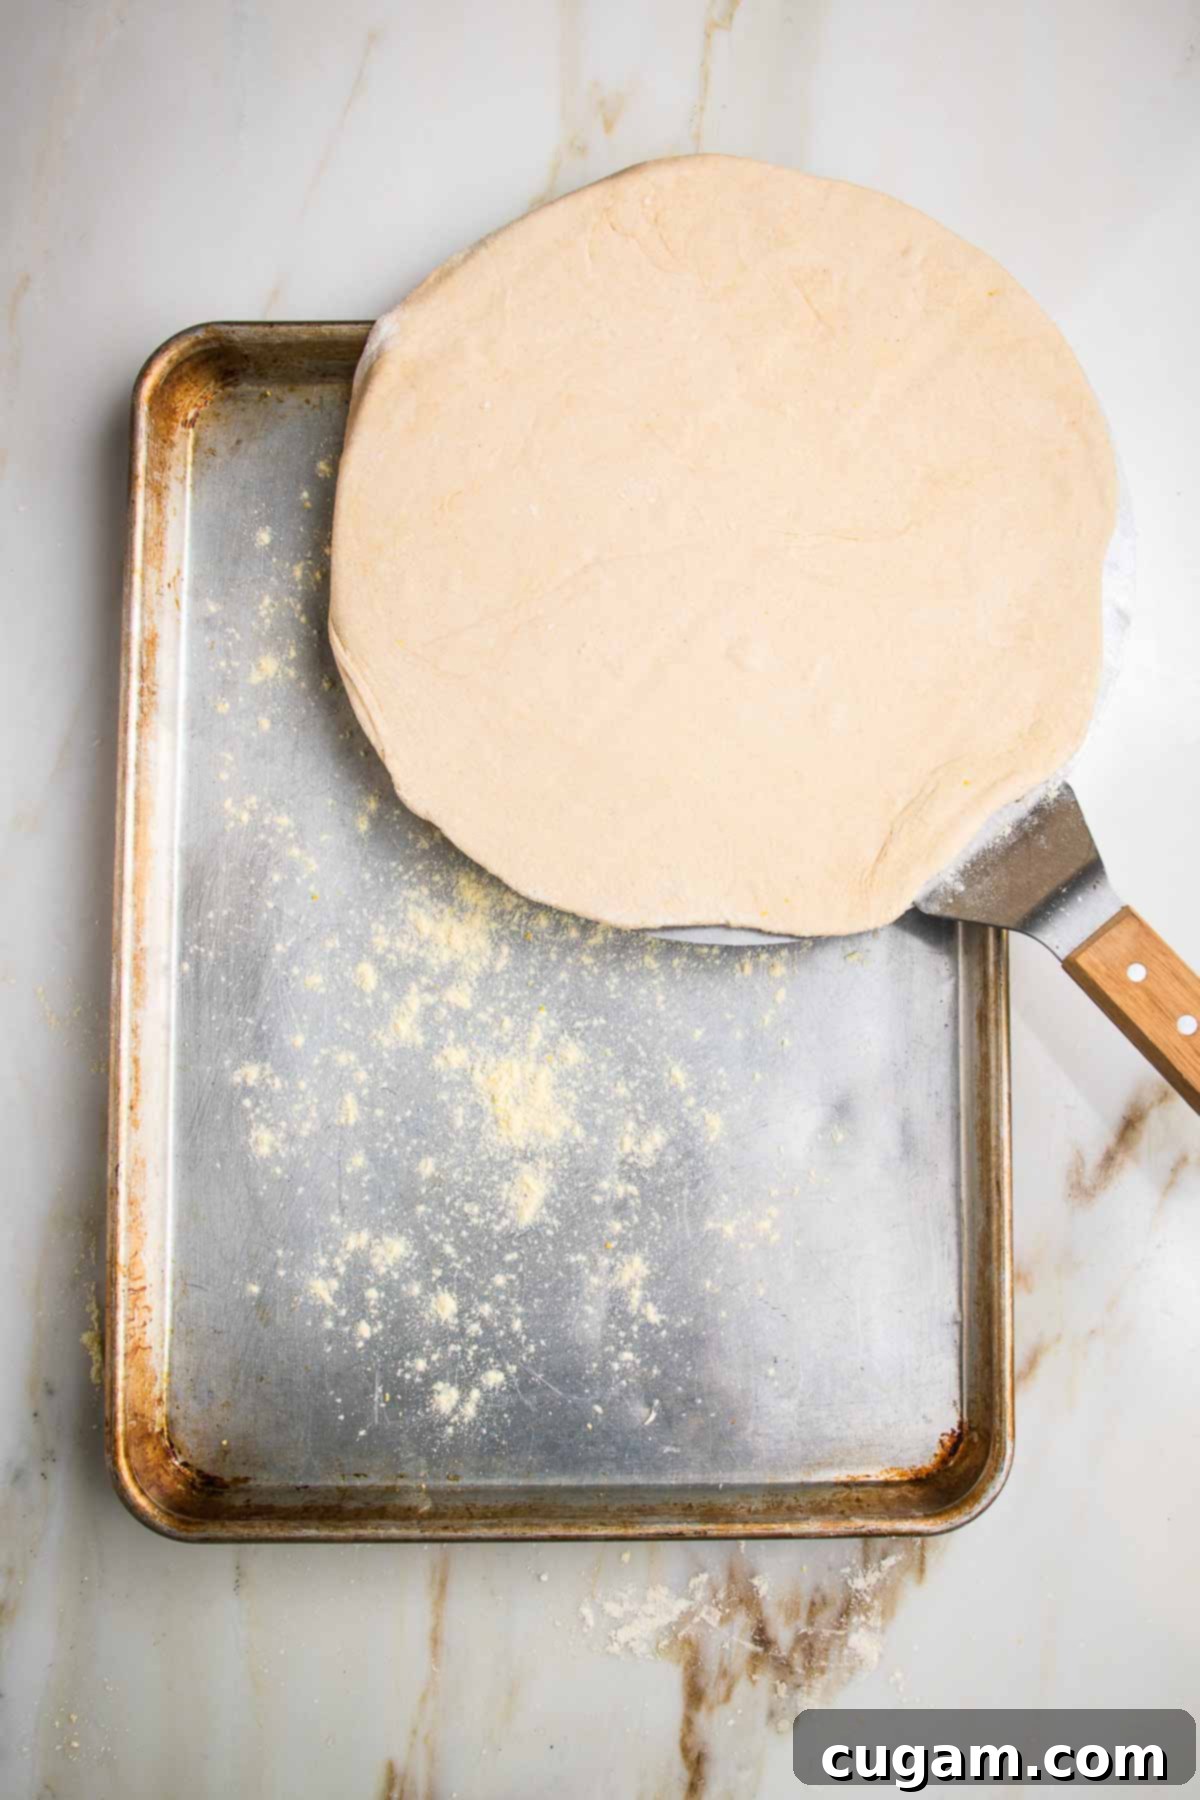
Prior to placing the dough, sprinkle your baking sheet or pizza stone evenly with coarse cornmeal. This step not only prevents sticking but also adds a fantastic, subtle crunch to the bottom of your flatbread, enhancing its overall texture. Carefully transfer the rolled-out dough onto the prepared baking sheet, ensuring it lays flat.
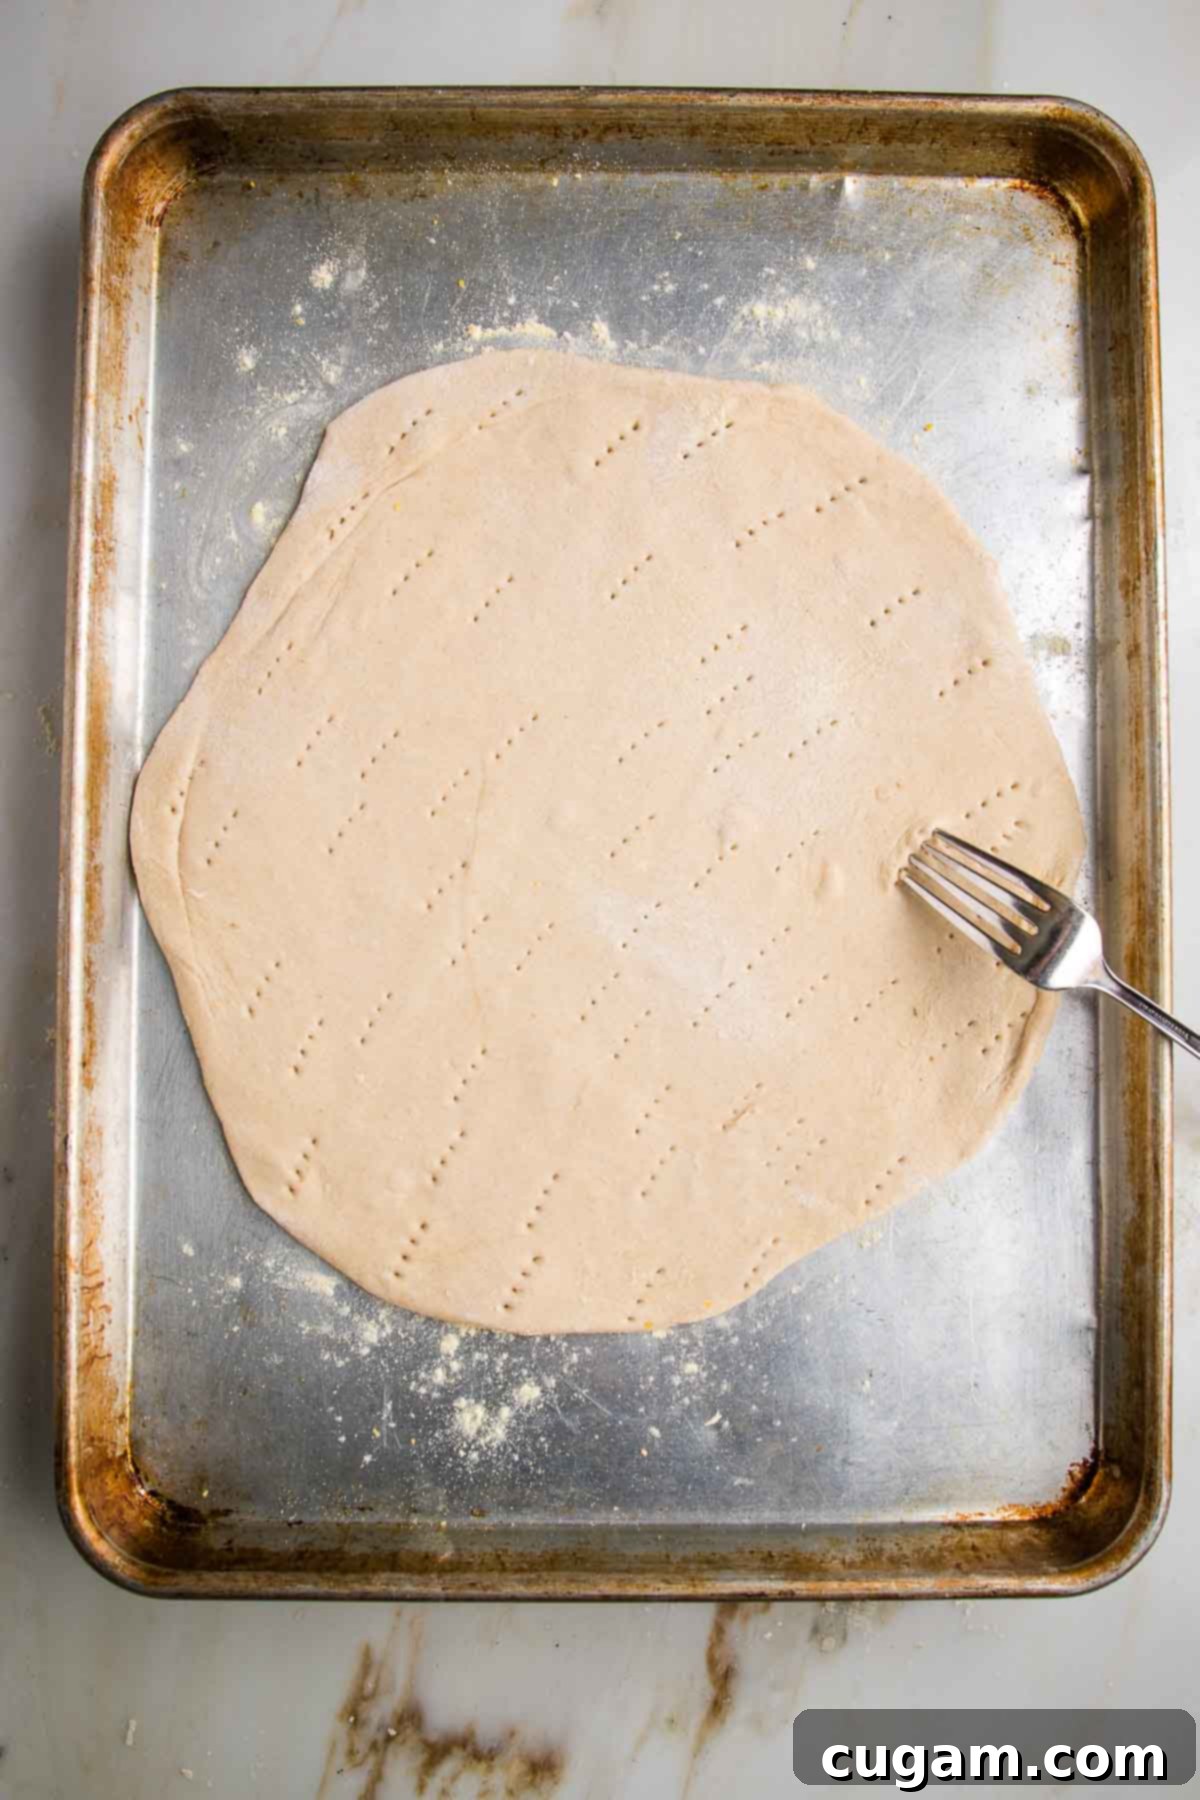
Using a fork, gently prick the dough all over. This simple action is key to preventing large air bubbles from forming and puffing up during baking, which would result in an uneven, less desirable crust. Pricking the dough ensures it remains flat and consistently crispy as it cooks.
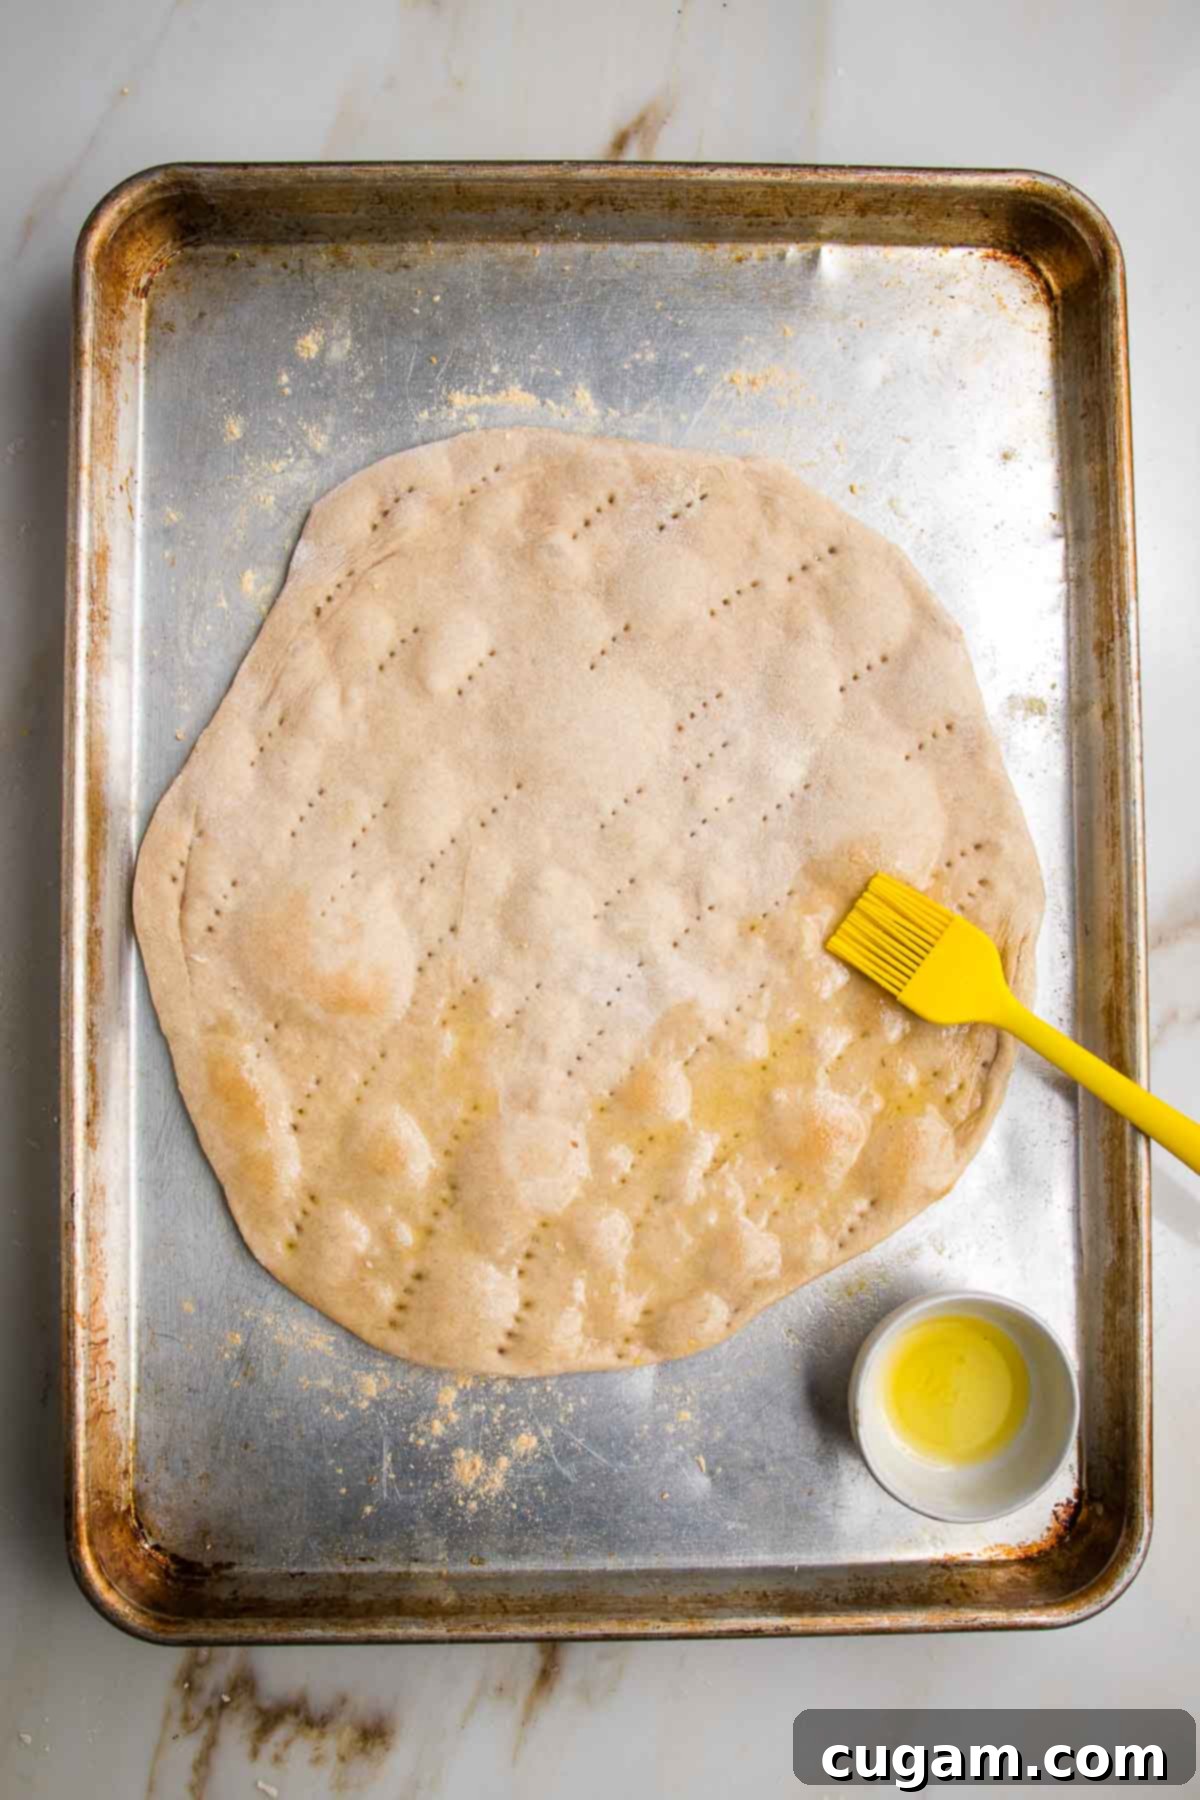
Bake the dough in a preheated 450°F (232°C) oven for an initial 7 minutes. After this first bake, carefully remove it, brush the surface lightly with olive oil (this boosts crispiness and flavor), and return it to the oven for an additional 7 minutes, or until it turns a beautiful golden brown and is wonderfully crisp. Keep an eye on it to prevent over-browning.
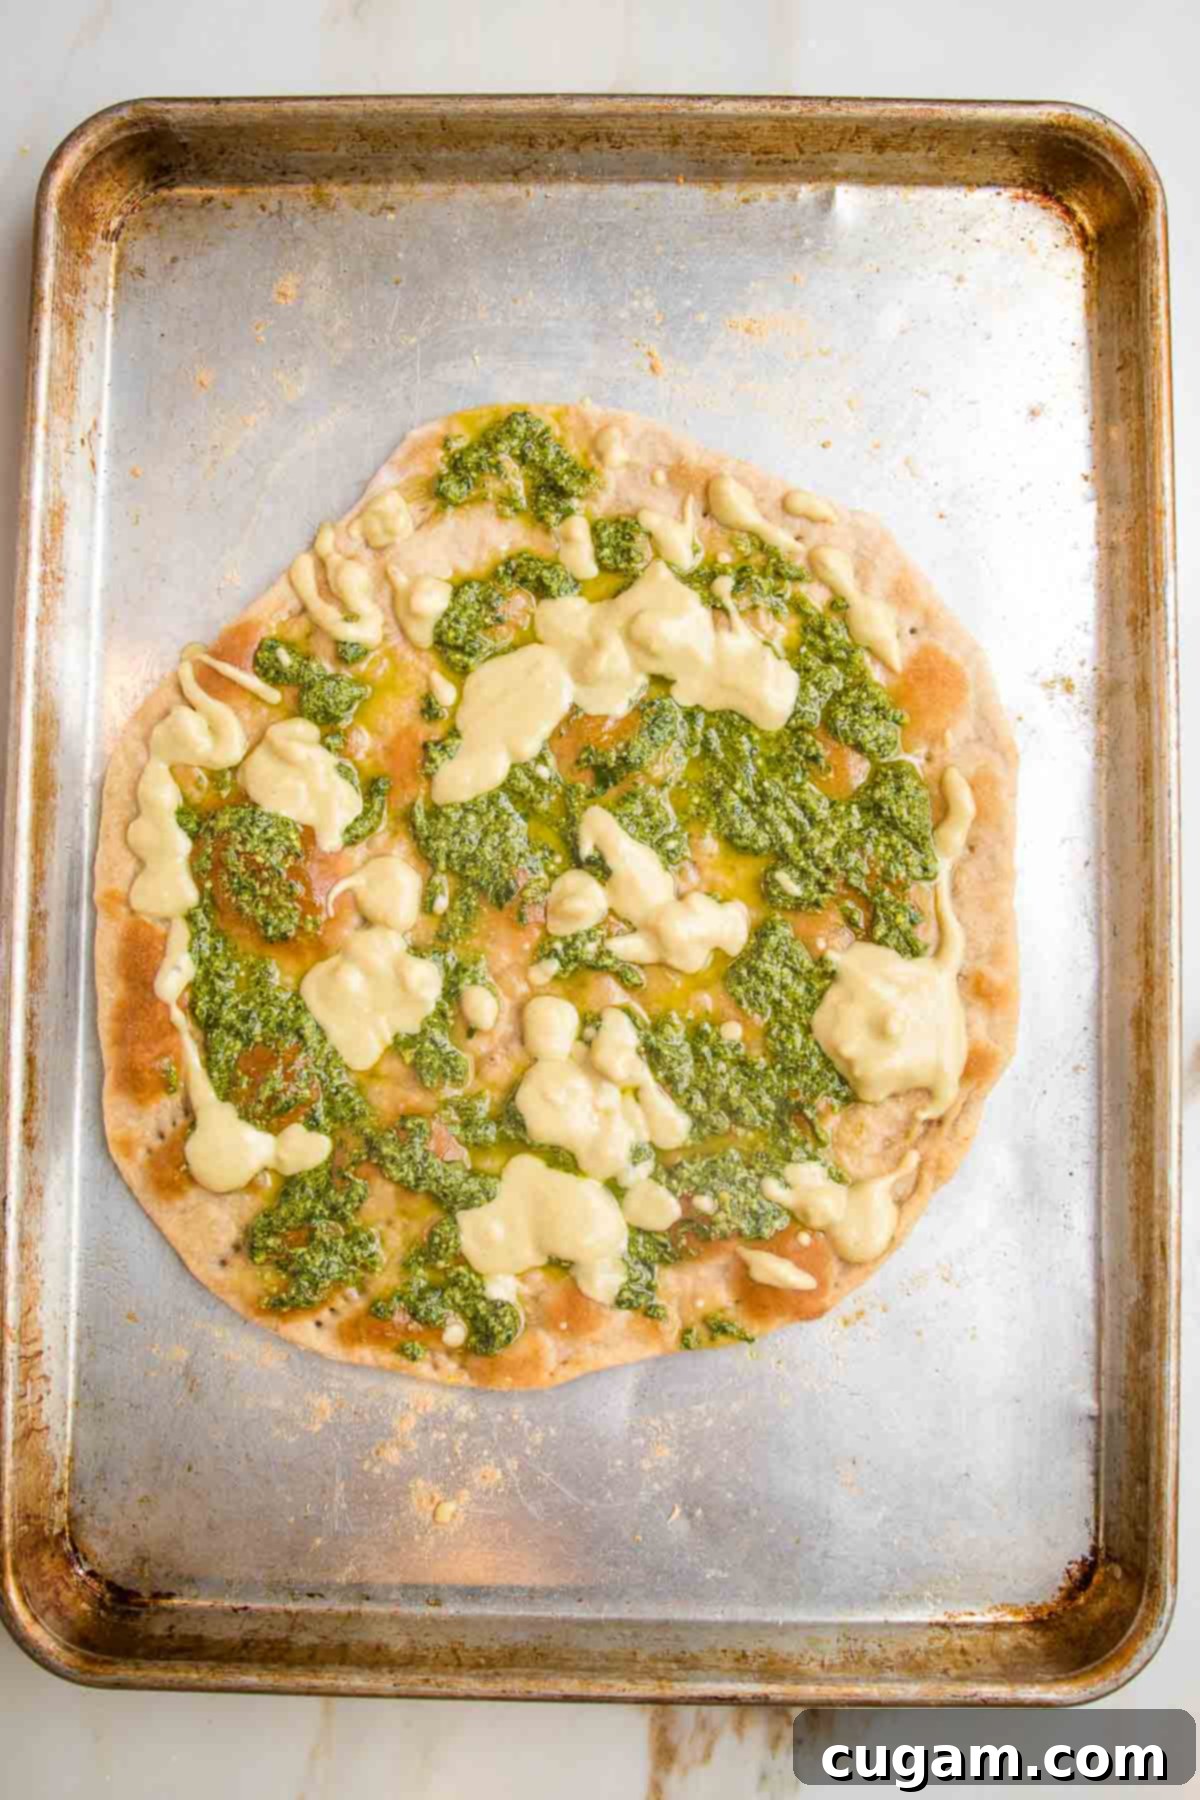
Now, your homemade flatbread pizza crust is perfectly baked and ready for customization! I find it best to start with a base layer of tomato sauce, vibrant pesto, or creamy hummus. This not only adds flavor but also provides a “glue” for the rest of your delicious toppings, ensuring they stay put with every slice.
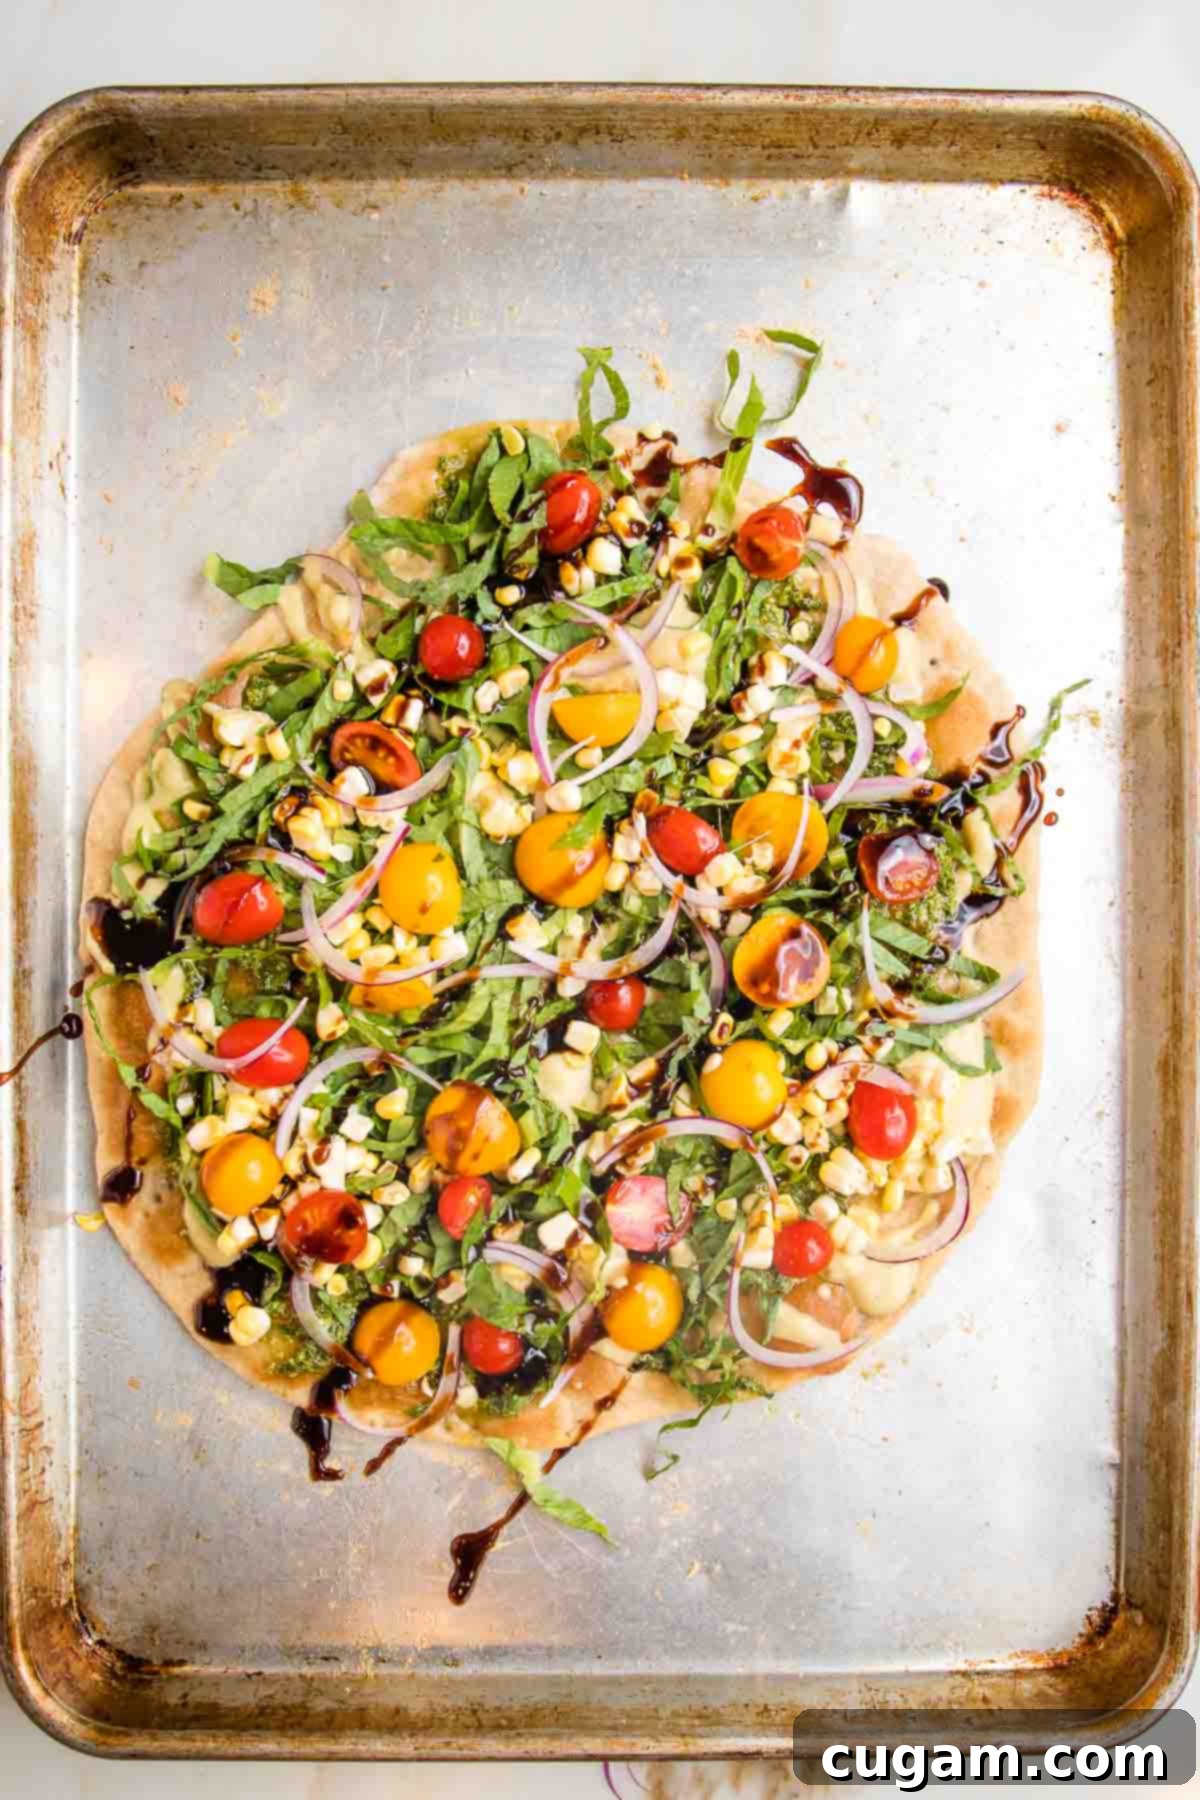
Pile on your favorite ingredients, from fresh vegetables and herbs to plant-based cheeses and proteins. If your chosen toppings require heating or melting, simply place the loaded flatbread back in the oven for about 5 minutes, or until everything is heated through and bubbling. A final drizzle of balsamic glaze or a sprinkle of fresh herbs can add an exquisite finishing touch.
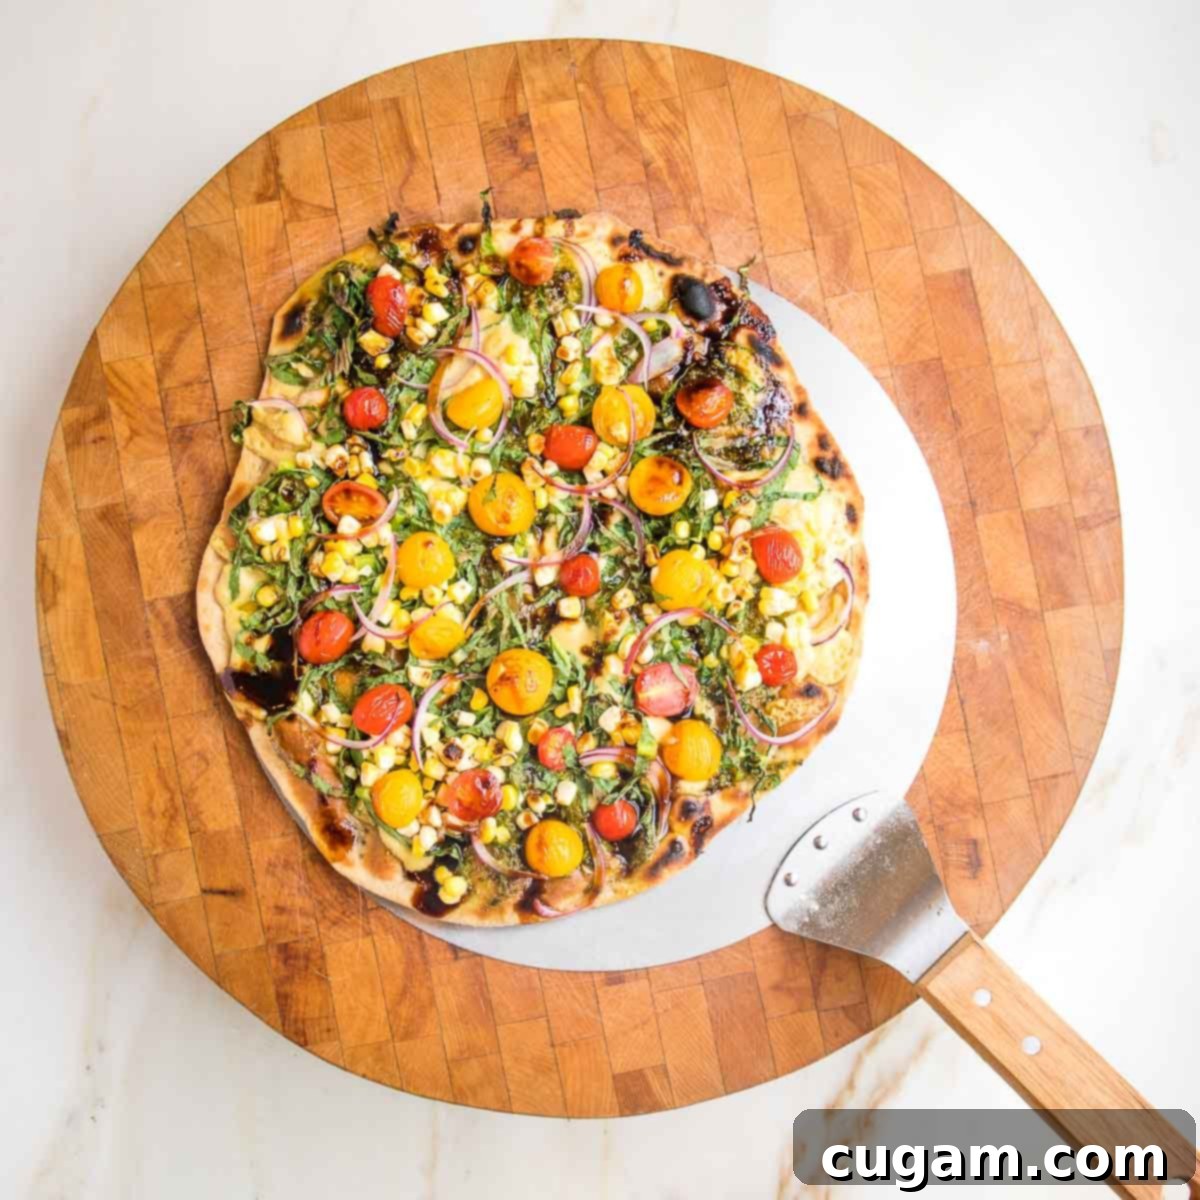
Once your flatbread pizza is cooked to perfection with all its toppings, use a pizza peel to carefully transfer it to a sturdy wooden cutting board. This allows for easier slicing and serving, and also helps to absorb any excess moisture from the bottom of the crust, maintaining its crispiness.
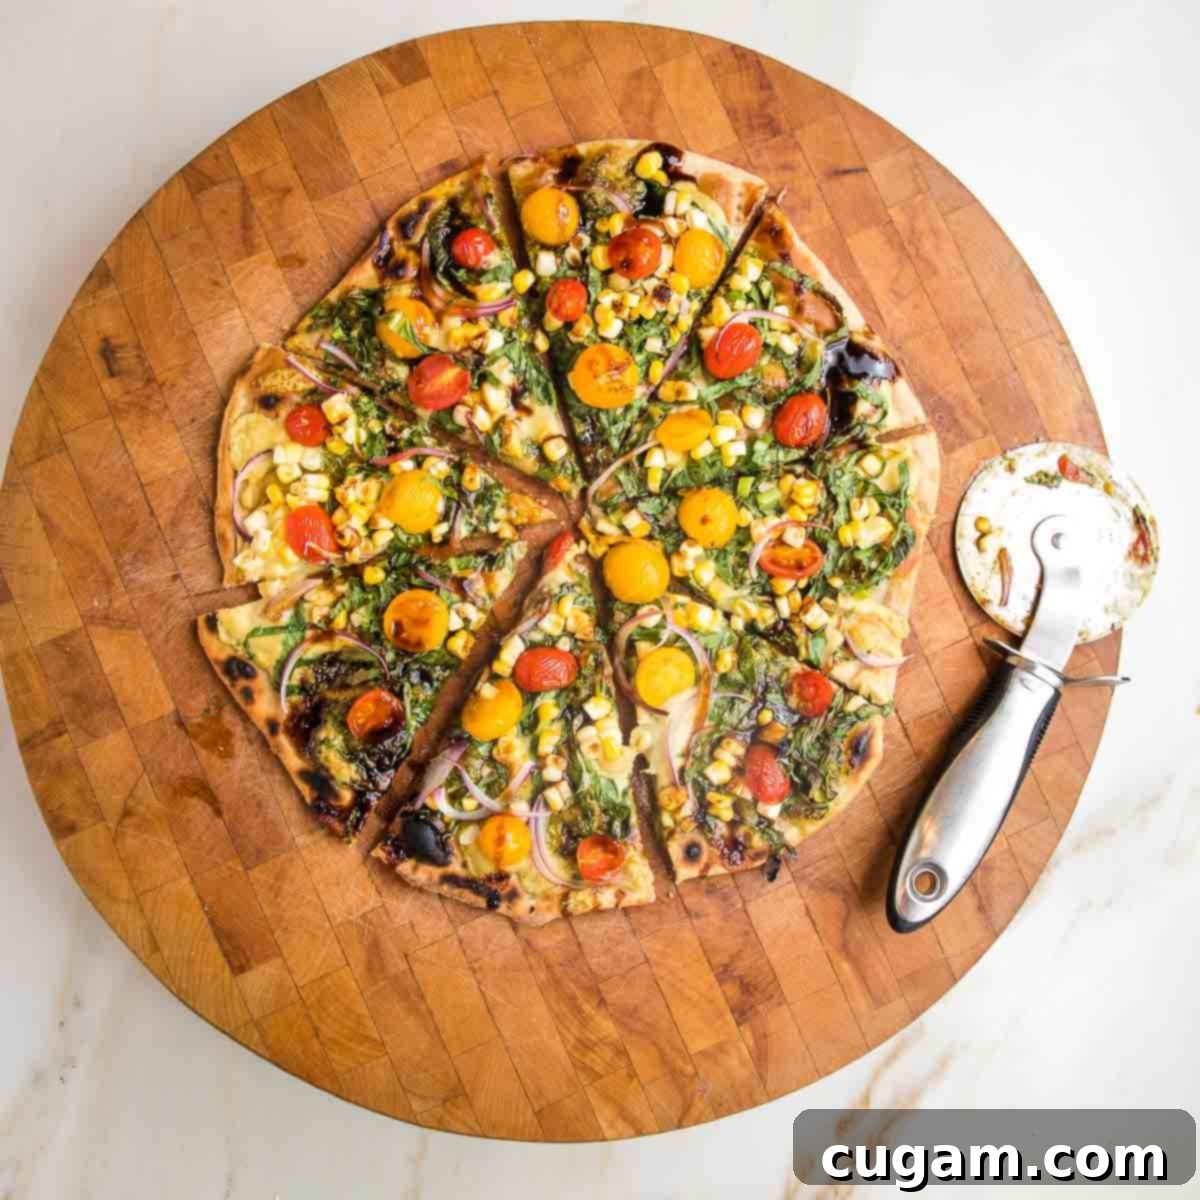
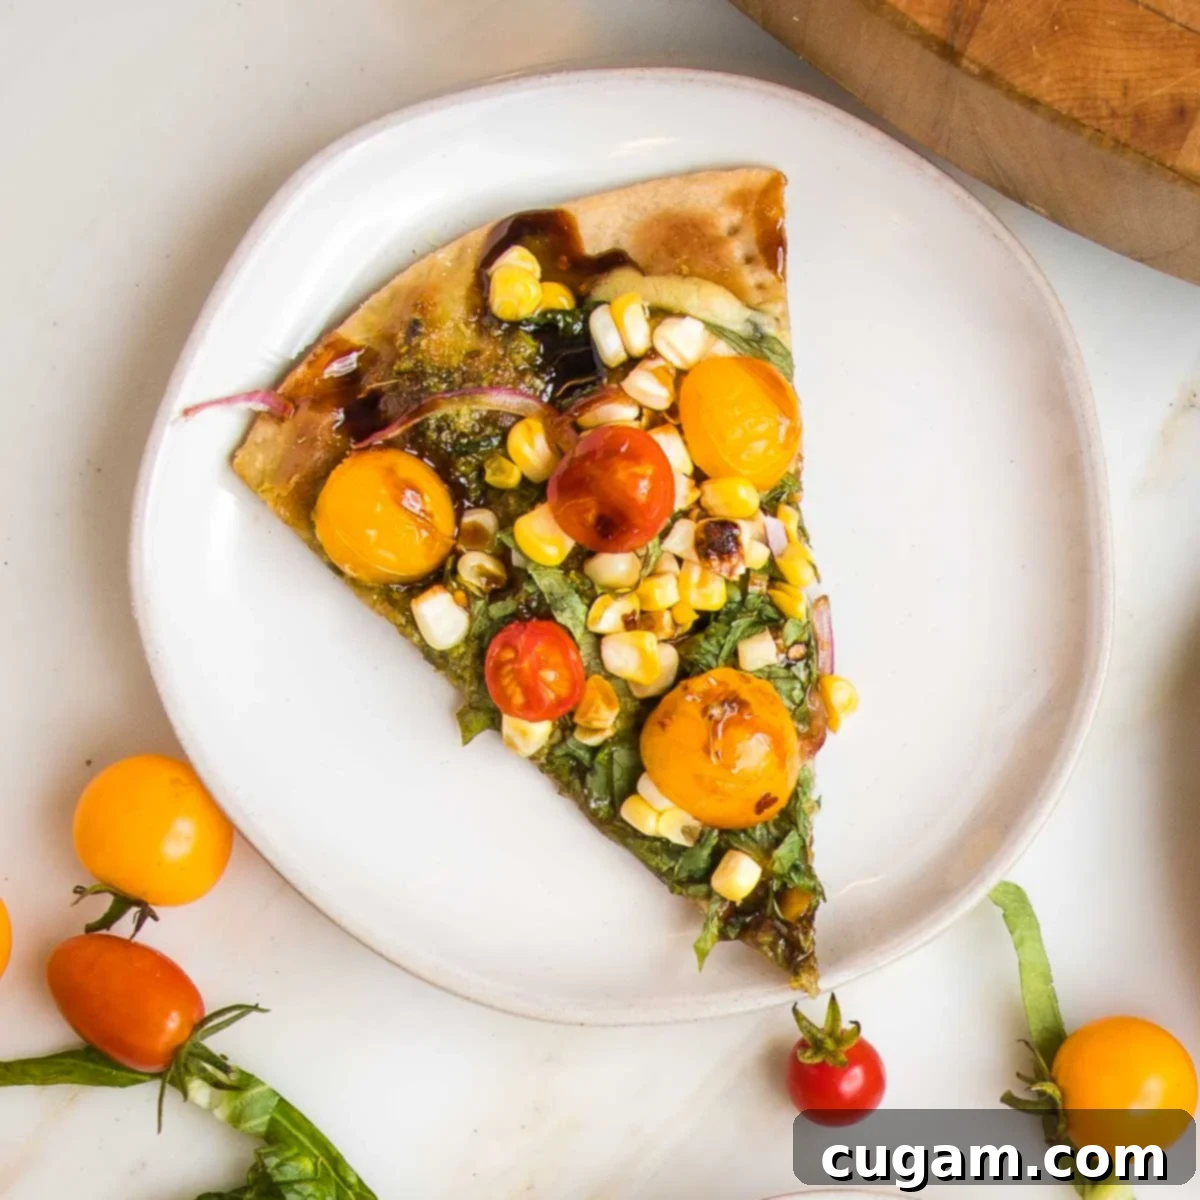
With a pizza cutter or a sharp knife, slice your beautiful flatbread into individual portions. Serve it warm immediately to enjoy the ultimate combination of crispy crust and fresh, flavorful toppings. This quick and easy meal is perfect for a weeknight dinner or casual entertaining.
Meal Prep and Storage Tips for Flatbread Pizza
This no yeast flatbread recipe is not only quick to make but also incredibly convenient for meal prepping, allowing you to enjoy delicious homemade pizza with even less effort later on. Proper storage ensures your flatbread maintains its quality and taste.
- SERVE: Serve your flatbread pizza with your favorite toppings as a delightful appetizer or a satisfying main course. It pairs wonderfully with a fresh side salad for a complete and balanced meal.
- PREP AHEAD: One of the best features of this dough is its make-ahead potential. Prepare the dough, roll it into balls, and wrap it tightly in plastic wrap to prevent it from drying out. Uncooked dough can be stored in the fridge for up to 3 days, making it perfect for impromptu pizza nights. For longer storage, freeze the dough for up to 1 month.
- STORE COOKED FLATBREAD: If you have leftover cooked flatbread crusts (without toppings), wrap them well in foil or plastic wrap and store in an airtight container in the fridge for up to 5 days. For longer storage, cooked flatbreads can be frozen for up to 3 months. To re-crisp cooked flatbread, simply place it in a preheated 450°F (232°C) oven for about 5 minutes.
- STORE LEFTOVER PIZZA: Leftover flatbread pizza with toppings can be stored in an airtight container in the fridge for up to 5 days. Reheat individual slices in a preheated 425°F (220°C) oven until heated through and the crust regains some of its crispiness, typically about 5-7 minutes.
- FREEZE DOUGH & COOKED CRUSTS: Uncooked dough can be frozen for 1 month; defrost in the fridge overnight and bring to room temperature before rolling out. Cooked, plain flatbread can be frozen for 3 months; defrost and re-crisp as described above.
Debra’s Pro Tips for No Yeast Flatbread Success:
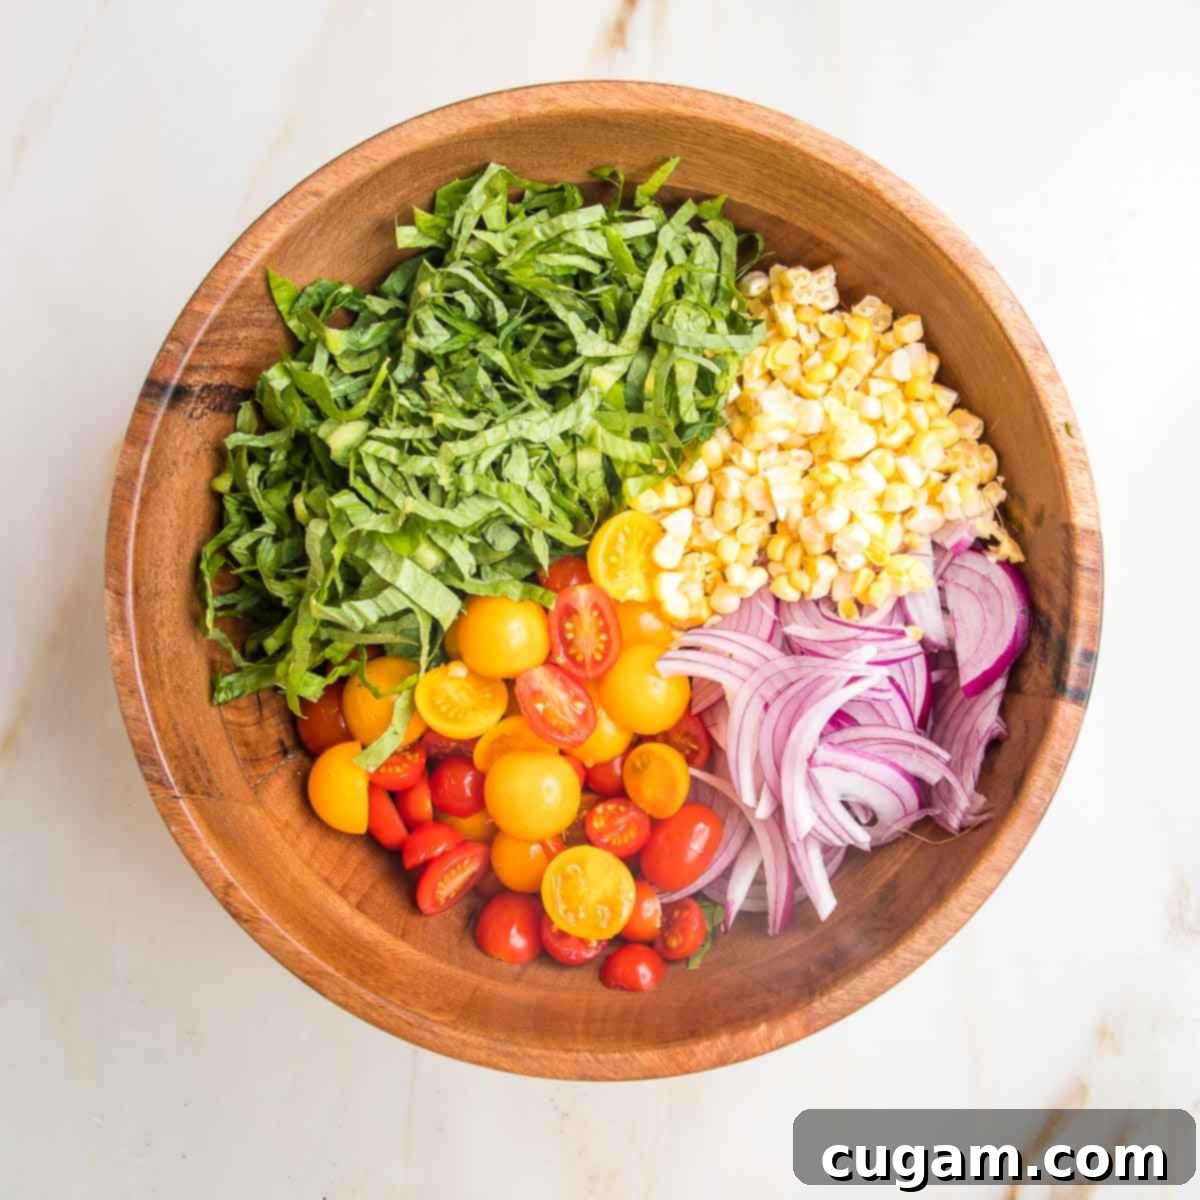
- While your no yeast flatbread pizza crust is baking in the oven, take advantage of the time by gathering and preparing all your chosen toppings. This ensures a seamless transition from crust to finished pizza, maximizing your quick pizza night experience.
- For an incredibly healthy and satisfying dinner, try topping a crispy vegan flatbread crust with a vibrant Tuscan kale chopped salad. The crispness of the crust combined with the fresh, crunchy salad creates a surprisingly delicious and legitimate meal.
- To maximize baking space and ease of serving, roll your no-yeast pizza dough into a long, thin rectangle. This shape fits perfectly onto a standard half sheet pan. Once baked, serve it directly on a large wooden cutting board, making it easy to slice and share.
- Always remember to prick the dough thoroughly with a fork before its initial bake. This crucial step vents steam, preventing the formation of large air bubbles and ensuring your crust remains uniformly flat and wonderfully crispy throughout.
- Making the dough ahead of time is a game-changer for super quick and easy pizza nights. With prepared dough in the fridge or freezer, a homemade flatbread pizza can be on your table faster than ordering takeout, offering unparalleled convenience.
- Don’t be afraid to experiment with different flours! While whole wheat is great, try blends of all-purpose with a touch of semolina for extra crispness, or gluten-free blends for dietary needs. Each will offer a slightly different texture and flavor profile.
More 30-Minute or Less Recipes to Love
If you’re a fan of quick, delicious, and healthy meals like this easy no yeast flatbread, then you’ll love these other recipes that can be whipped up in 30 minutes or less. Perfect for busy weeknights or when you need a fast and satisfying meal.
- Cold Sesame Noodles with Tahini
- Zucchini Corn Fritters
- Vegan Taco Soup with Baked Tortilla Strips
- Tuscan Kale Chopped Salad
Did you know commenting and rating recipes is one of the best ways to support your favorite food bloggers? If you made this recipe, please consider a five-star rating below and leave a comment. Also, please share your photos on Instagram by tagging me @dkhealthcoach and using the hashtag #debraklein
📖 Recipe
No Yeast Flatbread Recipe
Rate this Recipe
Pin Recipe
Equipment
-
Pizza Wheel and Cutter
-
Extra Large Pizza Paddle
-
Pizza Stone for Oven and Grill
-
Stainless Steel Heavy Duty Baking Sheet
Ingredients
- 3 ¼ cups whole wheat flour
- 1 teaspoon fine grain salt
- 1 cup warm water
- ¼ cup olive oil divided
- 1 Tablespoon cornmeal for dusting pan
Instructions
-
Preheat your oven to 450°F (232°C) if using convection bake, or 475°F (246°C) for a regular oven. This high temperature is crucial for a quick and crispy crust.
-
In a food processor, pulse the whole wheat flour and fine-grain salt together a few times until well combined. This ensures even flavor distribution.
-
With the food processor running, gradually add the warm water and olive oil to the flour mixture. Continue processing until the dough forms a ball and easily pulls away from the sides of the bowl, indicating proper hydration.
-
Turn the dough out onto a lightly floured surface. Knead by hand for just a minute or two until a smooth, cohesive ball of dough has formed. Avoid over-kneading, as this can make the crust tough.
-
Cut the dough ball into two equal pieces for two larger flatbreads, or into quarters for individual pizzas. Roll each piece into a ball. Ensure your work surface and rolling pin are dusted with flour to prevent sticking. Use the rolling pin to roll one dough ball into a thin circle, oval, or square – whatever shape you prefer. Aim for an even ⅛-inch thickness all around. Rolling the dough too thick can cause it to burn on top before the center cooks through.
-
Lightly dust your rimmed baking sheet or pizza stone with coarse cornmeal. This helps prevent sticking and adds a nice texture to the bottom of the crust.
-
Place the rolled-out dough onto the prepared pan and prick it all over with a fork. Bake in the preheated oven for 7 minutes. Then, remove it, brush the top with olive oil, and return to the oven for an additional 7 minutes, or until it’s golden brown and delightfully crisp.
-
While your flatbread crust is baking, use this time efficiently to gather and prepare all your favorite topping ingredients. This ensures your pizza assembly is quick and smooth. Refer to the “Flatbread Ideas” section above for inspiration.
-
Once the crust is baked, add your desired toppings. Not all toppings need to be cooked, but if yours do (e.g., melting cheese or warming vegetables), return the flatbread to the oven for about 5 minutes, or until everything is heated through and bubbling to your liking.
-
Use a pizza cutter or a sharp knife to cut your delicious no yeast flatbread pizza into portions. Serve it warm immediately and enjoy the homemade goodness!
-
Store any leftover flatbread in an airtight container in the fridge for up to 5 days. To reheat, place it in a 425°F (220°C) preheated oven for 5 minutes, or until heated through and the crust is crisp again.
Notes
VERSATILE FLATBREAD TOPPING IDEAS: The beauty of this crispy flatbread is its adaptability to almost any topping combination you can imagine!
– Fresh Salad Topping: One of my absolute favorite ways to enjoy flatbread is topped with a fresh, vibrant salad. First, spread on some savory pesto or creamy hummus. Then, pile high with fresh julienned greens, thinly sliced red onions, aromatic fresh basil, and sweet diced tomatoes. A light vinaigrette can be drizzled on top for extra flavor.
– Classic Pizza Style: For a more traditional take, load your flatbread with rich tomato sauce, decadent vegan ricotta (or your favorite plant-based cheese), colorful sliced red peppers, and a generous sprinkle of Italian spices. Bake until the cheese is melted and bubbly.
– Mediterranean Feast: Use a hummus base, then add Kalamata olives, sun-dried tomatoes, artichoke hearts, and fresh parsley for a burst of Mediterranean flavors.
– Sweet Dessert Flatbread: Don’t limit flatbread to savory! Spread a layer of vegan chocolate hazelnut spread, sliced berries, and a sprinkle of chopped nuts for a delightful dessert.
Nutrition
Note
The nutrition calculations were done using online tools. To obtain the most accurate representation of the nutritional information in any given recipe, you should calculate the nutritional information with the actual ingredients you used. You are ultimately responsible for ensuring that any nutritional information is accurate, complete and useful.
