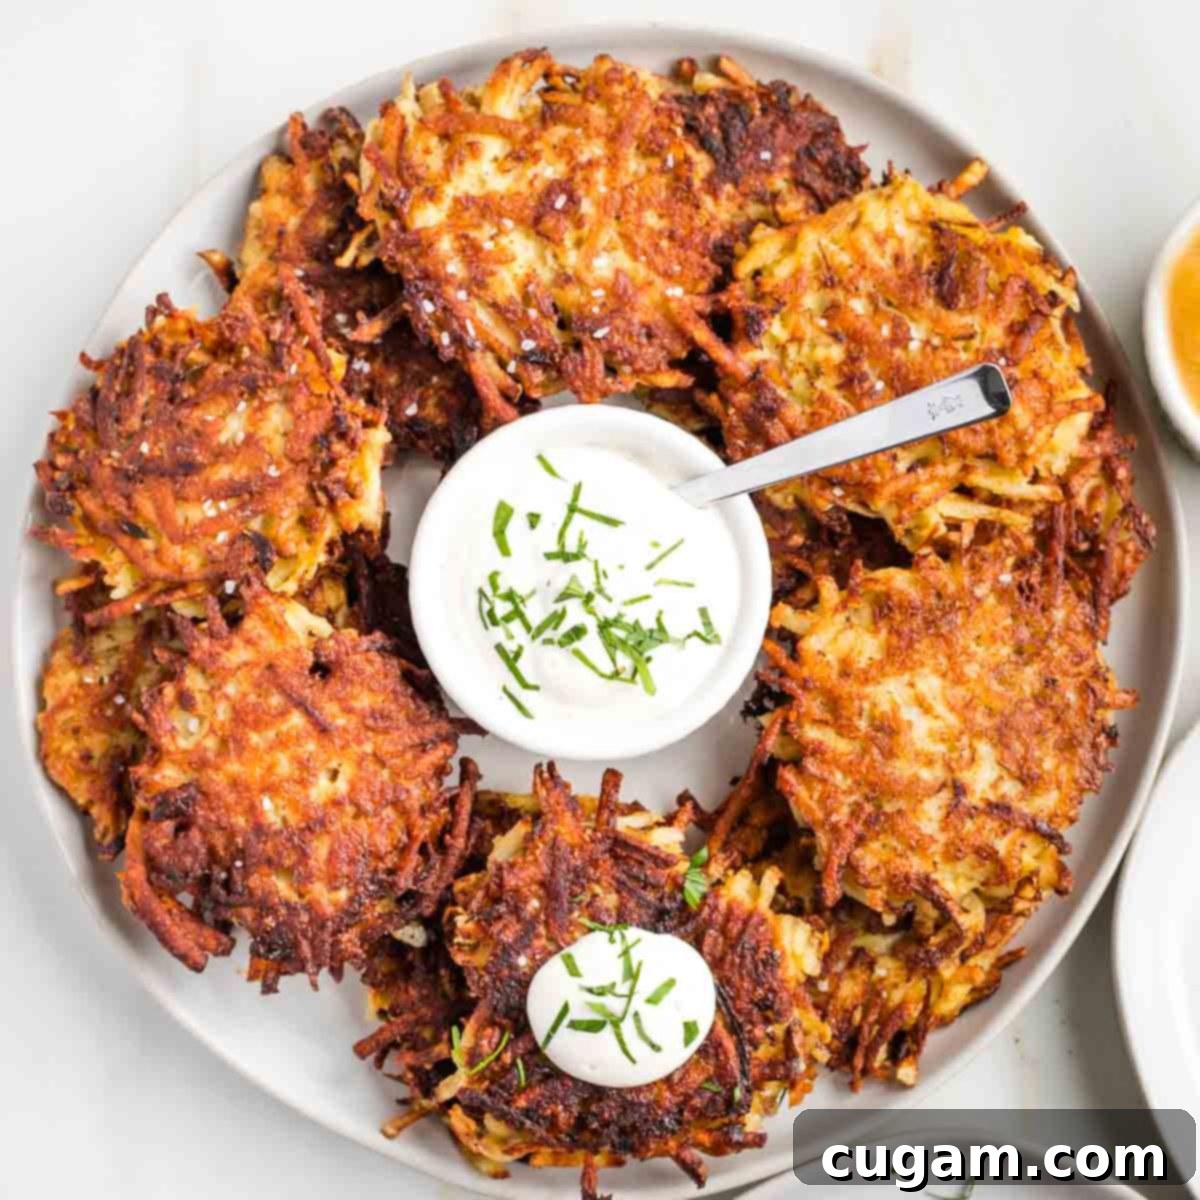
Grandma’s Crispy Potato Latkes: The Best Traditional Hanukkah Recipe
There’s nothing quite like a perfectly made potato latke – crisp on the outside, tender and flavorful on the inside, and absolutely comforting. While many latke recipes exist, my Grandma’s Potato Latkes Recipe truly stands above the rest. It’s not just a recipe; it’s a legacy of love, flavor, and tradition, and it’s easily adaptable, even if you need gluten-free latkes. This cherished Traditional Potato Latkes Recipe is my special Hanukkah gift to you, hoping you’ll enjoy them for generations to come, just as my family has.
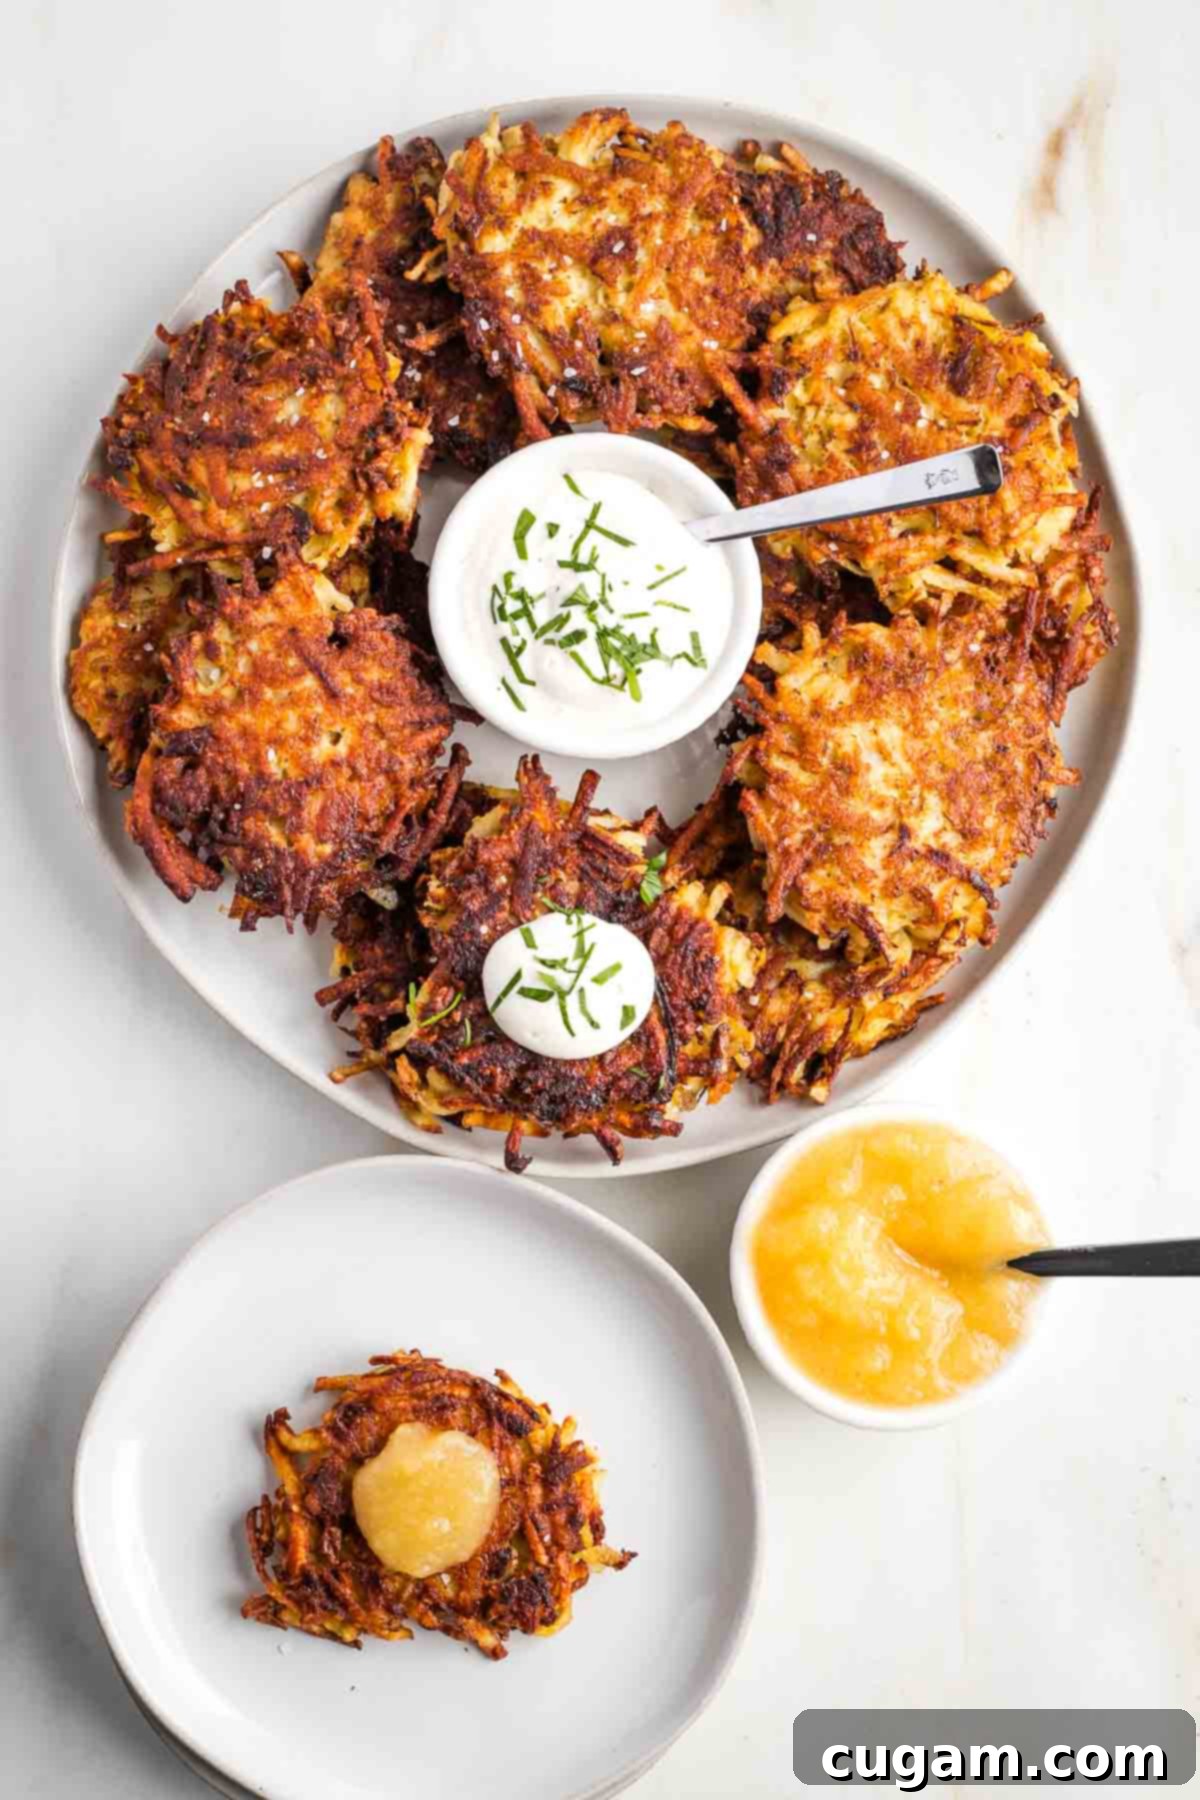
For me, latkes are more than just food; they are truly a love language. Each bite speaks to my soul, offering a profound sense of nourishment and connection. My grandmother, Blanche, was a culinary magician, making some form of potato with dinner almost every single night. But her latkes? They were legendary. These crispy potato pancakes were, without a doubt, one of my favorite Hanukkah foods. The best part? I didn’t have to wait for the Jewish holidays to roll around; Grandma Blanche made potato latkes all year long! Now, every time I make a batch, I’m enveloped in the warm, nostalgic feeling of her love and culinary artistry.
While I generally don’t gravitate towards fried foods, the distinctive aroma of sizzling latkes instantly transports me to the heart of the holiday season and the joyous celebration of Hanukkah in my home. If you’re seeking a lighter, healthier twist on this classic, I highly recommend exploring my Baked Brussels Sprouts Latke Recipe. They might not be exactly like Grandma’s traditional latkes, but they are absolutely Debra-approved and offer a wonderfully delicious and wholesome alternative.
Why Do Jewish People Eat Latkes on Hanukkah? Understanding the Tradition
The tradition of eating latkes on Hanukkah is deeply rooted in Jewish history and commemorates the miraculous events of the holiday. Hanukkah, also known as the Festival of Lights, celebrates the rededication of the Second Temple in Jerusalem. According to tradition, when the Maccabees recaptured the Temple, they found only a small jar of olive oil, enough to light the menorah for just one day. Miraculously, this small amount of oil burned for eight days and nights, allowing enough time to produce more ritually pure oil.
To commemorate this miracle of oil, Jewish tradition encourages the consumption of foods that are cooked in oil during Hanukkah. This culinary custom serves as a delicious and tangible way to remember and celebrate the divine intervention. Beyond the symbolic meaning, these oil-fried delights have become an integral part of the Hanukkah experience, bringing families together to share in the joy and flavors of the season.
Typical Hanukkah food spreads prominently feature items like livivot (the crispy fried potato latkes we’re celebrating here), sufganiyot (sweet, jelly-filled donuts that are also fried in oil), and chocolate gelt (foil-wrapped chocolate coins, often given to children). While these are staples, every family adds their own special dishes and preferences to the menu, making each Hanukkah celebration unique and personal.
My Grandma’s approach to making latkes was truly a testament to her intuitive cooking style. Her recipe called for simple, wholesome ingredients: potatoes, onion, eggs, and matzo meal. The key was in the preparation – the potatoes and onions needed to be finely shredded, and the eggs whisked until light and fluffy. What set her method apart was the fluidity of her measurements. She taught me that the exact quantities were always a bit negotiable, depending on the inherent moisture content of the potatoes and onions, and even the size of the eggs. It was about feeling the mixture, understanding its ideal consistency, rather than rigidly adhering to cups and spoons.
One striking aspect of her technique was the complete absence of cheesecloth or a clean kitchen towel being used to wring out liquid from the shredded potatoes. Many modern recipes emphasize this step as crucial for crispy latkes, but Grandma Blanche moved with incredible speed and efficiency. Her potato mixture was mixed and in the hot frying pan long before any significant amount of liquid could accumulate. Her latkes were consistently crisp, golden, and utterly delicious. I’ve come to trust Grandma’s Potato Latkes Recipe implicitly, perhaps more than any other. Besides, the idea of squeezing out all that liquid from shredded potatoes honestly sounds like an unnecessary amount of extra work that her method gracefully avoids, while still delivering superior crispiness.
Choosing the Best Potatoes for Unforgettable Latkes
The secret to truly crispy latkes with tender, fluffy interiors lies largely in your choice of potatoes. High-starch potato varieties are your best bet because their starch content helps create that desirable crunchy texture when fried. Here’s a breakdown of the best potatoes to use:
- Russet: This was my grandmother’s preferred potato, and for good reason. Russets are large potatoes known for their white flesh, dark brown skins, and few eyes. Their high starch content makes them ideal for frying, whether you’re making latkes or perfectly golden french fries. They deliver consistent crispiness.
- Idaho: While often synonymous with Russets, Idaho potatoes are specifically those grown in Idaho, where unique rich soil and ideal climate conditions contribute to their superior quality. Idaho potatoes are typically varieties of Russet, famed for being low in moisture and high in starch – a perfect combination for achieving the crispiest latkes imaginable.
- Yukon Gold: These versatile potatoes are known for their golden flesh, buttery flavor, and waxy texture. While they have a slightly lower starch content than Russets, they still make excellent latkes with a rich, almost nutty taste. They are often used for hash browns, which are a close cousin to latkes, suggesting their suitability for frying. They provide a delightful alternative if you’re looking for a richer flavor profile.
- Sweet Potatoes: If you’re looking for a unique flavor twist, sweet potatoes can be a fantastic addition. However, they don’t release as much water or starch as white potatoes. To ensure your latkes hold together and achieve a good crisp, it’s best to mix sweet potatoes with a higher-starch white potato variety, which will provide the necessary excess liquid (to be absorbed by matzo meal) and potato starch for binding.
Grandma’s Potato Latke Ingredients: The Secret to Authentic Flavor
Here’s the unfiltered truth about this remarkable recipe: my grandmother rarely measured ingredients with precise tools. Instead, she used her hands and her innate cooking wisdom. She taught me that potatoes vary in size and moisture, some onions yield more liquid when shredded, and eggs aren’t uniform. Therefore, becoming attuned to the “ideal consistency” of the latke mixture is paramount, allowing you to intuitively adjust with a bit more matzo meal if needed. While Grandma’s recipe shares similarities with many other traditional potato latke recipes, its true magic lies in the execution – the speed, the feel, and the minimal fuss. For truly authentic, real-deal latkes, aim to make as few substitutions as possible.
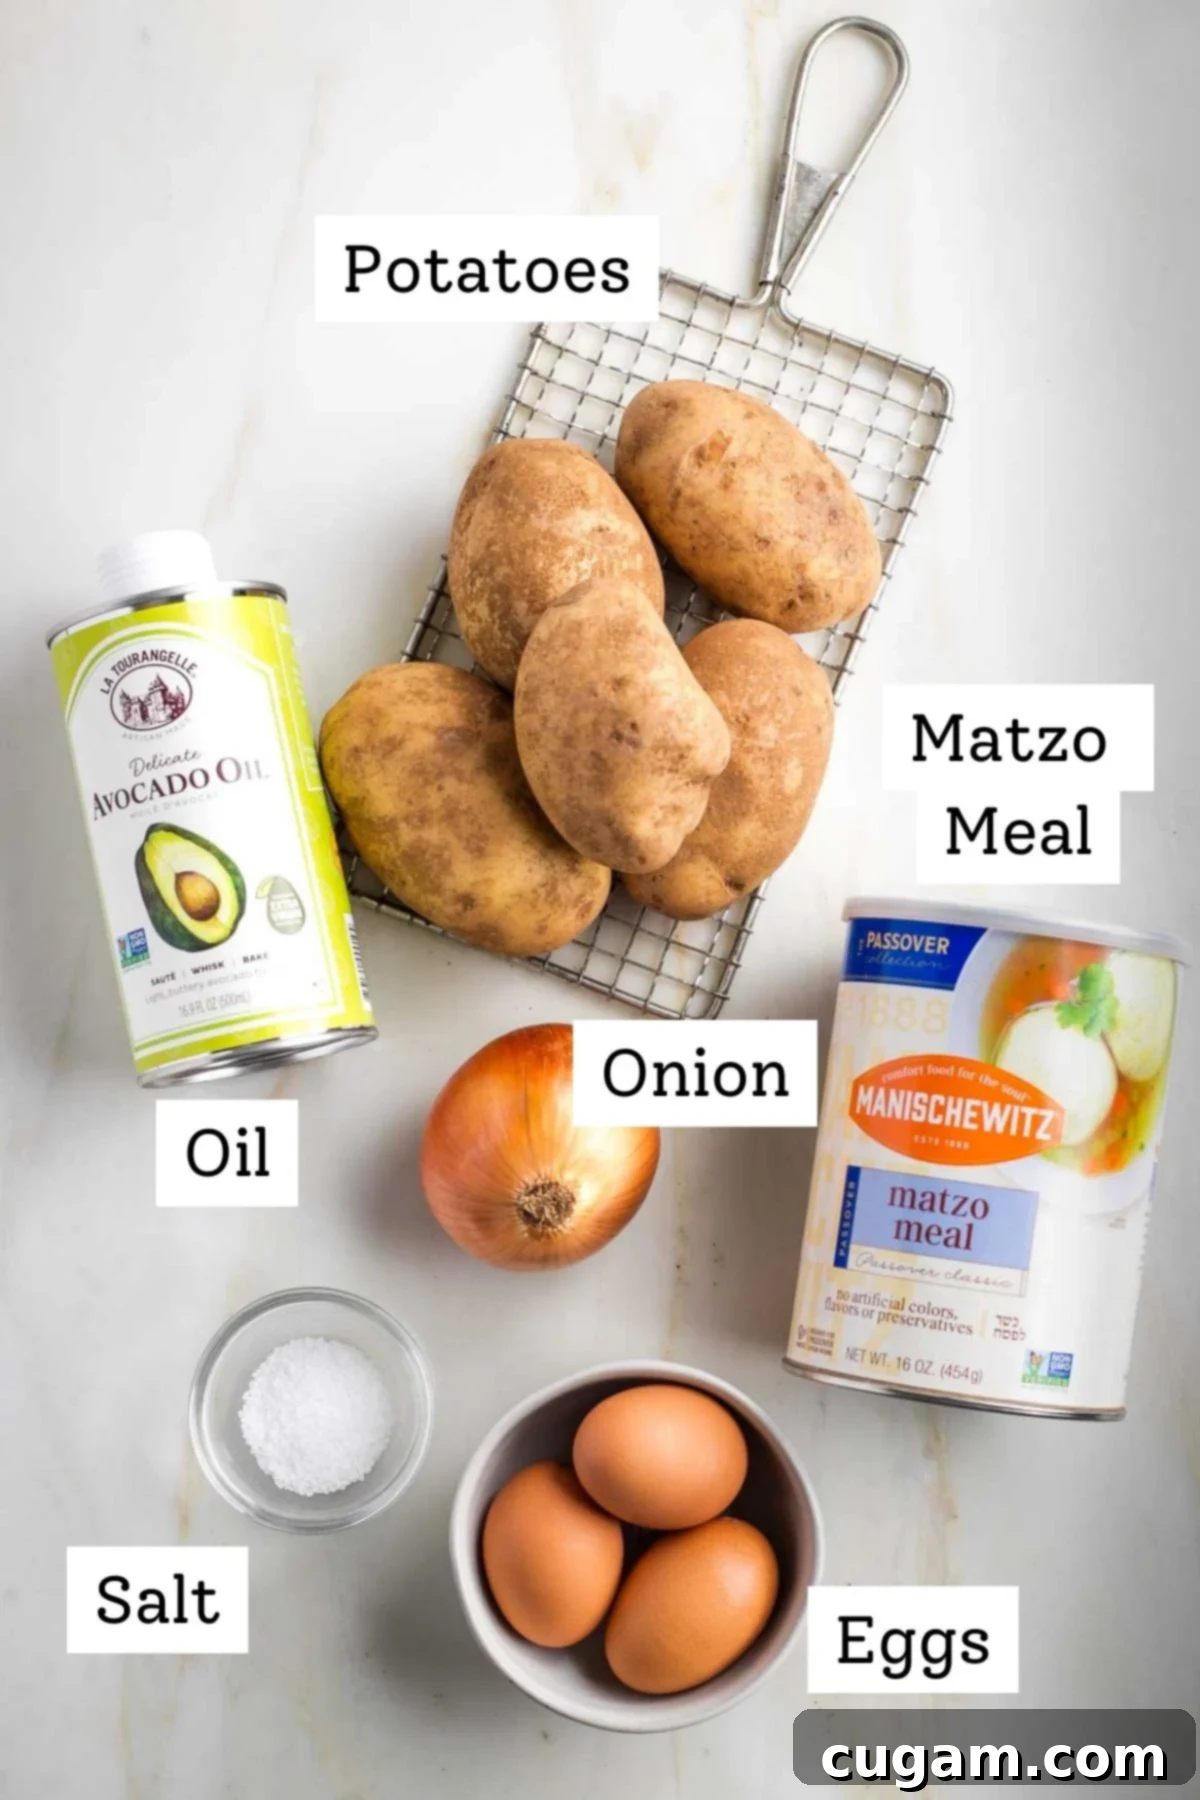
- Potatoes: Grandma Blanche was a purist; she exclusively used russet or Idaho potatoes. Their high starch content is crucial for the crispy texture and tender interior. While I sometimes use Yukon gold for a slightly different flavor profile, remember they are generally starchier and can require minor adjustments to the matzo meal.
- Onions: The choice of onion is simple – white or yellow onions work best. Shredded onions are a non-negotiable component that provides a significant flavor advantage over other latke recipes. The onions not only infuse the latkes with a foundational savory depth but also contribute essential liquid. Especially if you’re not using chicken schmaltz for frying, utilizing both the shredded onions and the flavorful liquid they produce is key to the best-tasting latkes.
- Eggs: Eggs are vital for binding the latke mixture and contributing to their distinct flavor and texture, much like my grandmother’s. For those who require a vegan potato latke option, a combination of arrowroot, ground flaxseed, and almond milk can successfully replace the eggs. Consult the recipe card for precise ratios and preparation.
- Matzo Meal: This humble ingredient is critical for achieving lacy, wonderfully crispy latkes. Its fine texture helps absorb excess moisture without making the latkes heavy. (Confession: anyone else have half a container leftover from Passover in their pantry, just waiting for Hanukkah?)
- Fat for Frying: The choice of oil is important for both flavor and health. My preference leans towards avocado oil due to its high smoke point and neutral flavor, making it a superior choice over heavily processed vegetable oils like canola. A blend of olive oil and avocado oil is also an excellent option, adding a subtle richness.
- Potato Shredder: I consider this an essential “ingredient” for the best latkes. While a food processor is incredibly convenient for large batches, especially when making ten pounds or more, my grandmother’s method using an old-fashioned hand shredder instilled in me the belief that there’s a certain magic in the texture it creates. The slightly coarser, more irregular shreds contribute to the characteristic lacy edges and delightful crispiness that define an authentic latke.
How to Make Grandma’s Crispy Latkes: Step-by-Step Guide
Preparation is key when making latkes, as speed is your ally to prevent potatoes from oxidizing and becoming watery. First, prepare your stations: grab one baking sheet and line it with a couple of layers of paper towels (or a brown paper bag) to absorb excess oil. On a second baking tray, place a wire rack – this is where your perfectly crispy latkes will rest after their initial drain, allowing air to circulate and maintain their crunch. Set both aside.
For shredding your ingredients, you’ll need either a food processor with a shredding disc or a box grater. While I personally cherish and often use my grandmother’s old-fashioned shredder (unless I’m tackling a truly massive batch of ten pounds of potatoes or more), a similar wire shredder can be found on Amazon. The hand shredding technique yields a unique texture that many believe is superior to a food processor’s grate.
Before you begin assembling the batter, heat a large, heavy skillet over medium-high heat. Pour in about ¼ inch of your chosen frying oil (like avocado oil) and let it come to temperature. We’re aiming for a shallow fry, not a deep fry, so you’ll add more oil as needed throughout the cooking process.
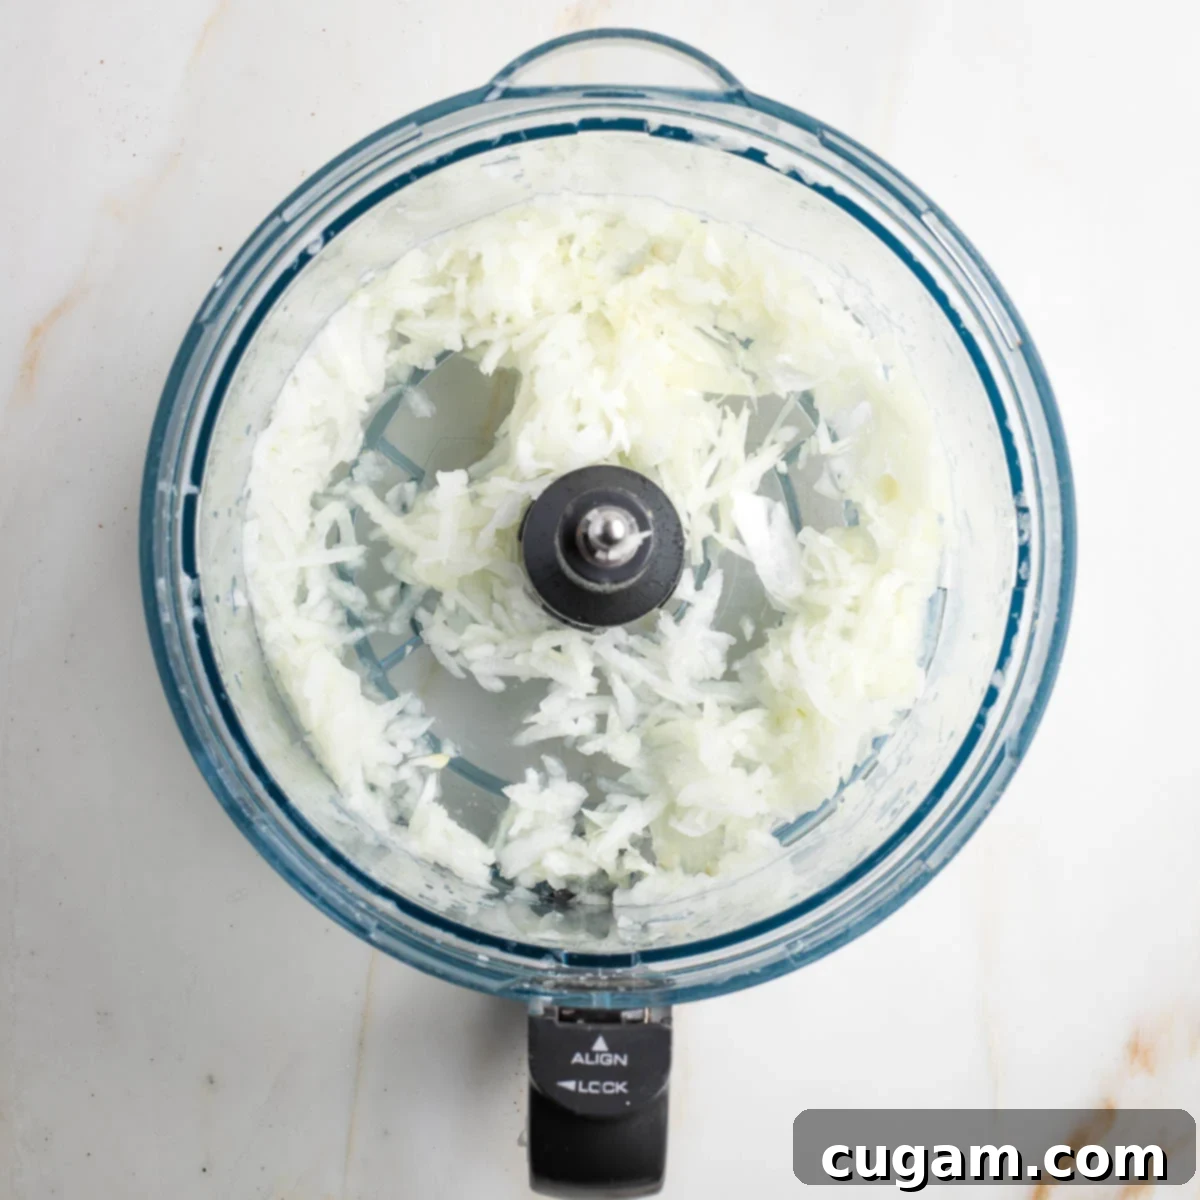
Step 1: Shred the Onion. Begin by shredding your onion. For larger quantities, the shredding disc of a food processor is incredibly efficient. However, for smaller batches or if you prefer a more traditional method, hand shredding yields excellent results. Don’t worry about washing the food processor bowl immediately; you’ll be using it for the potatoes next.
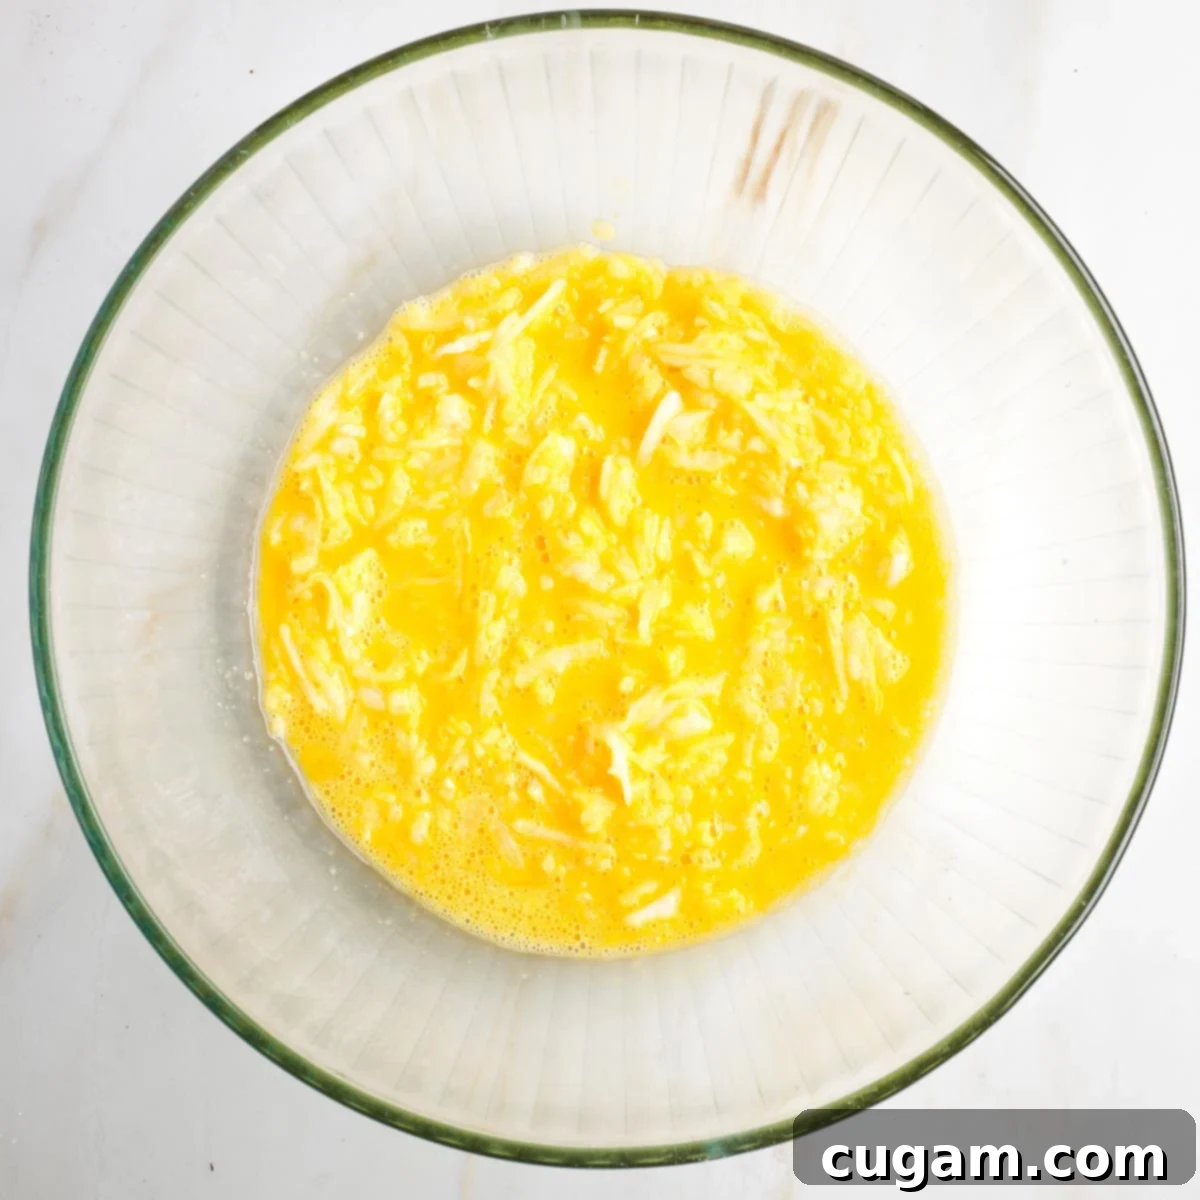
Step 2: Combine Eggs and Onion. In a large mixing bowl, whisk the eggs vigorously until they become light and frothy. Then, add the shredded onion along with any flavorful juices that have accumulated. Mix these together thoroughly; the onion juices contribute significantly to the latkes’ depth of flavor.
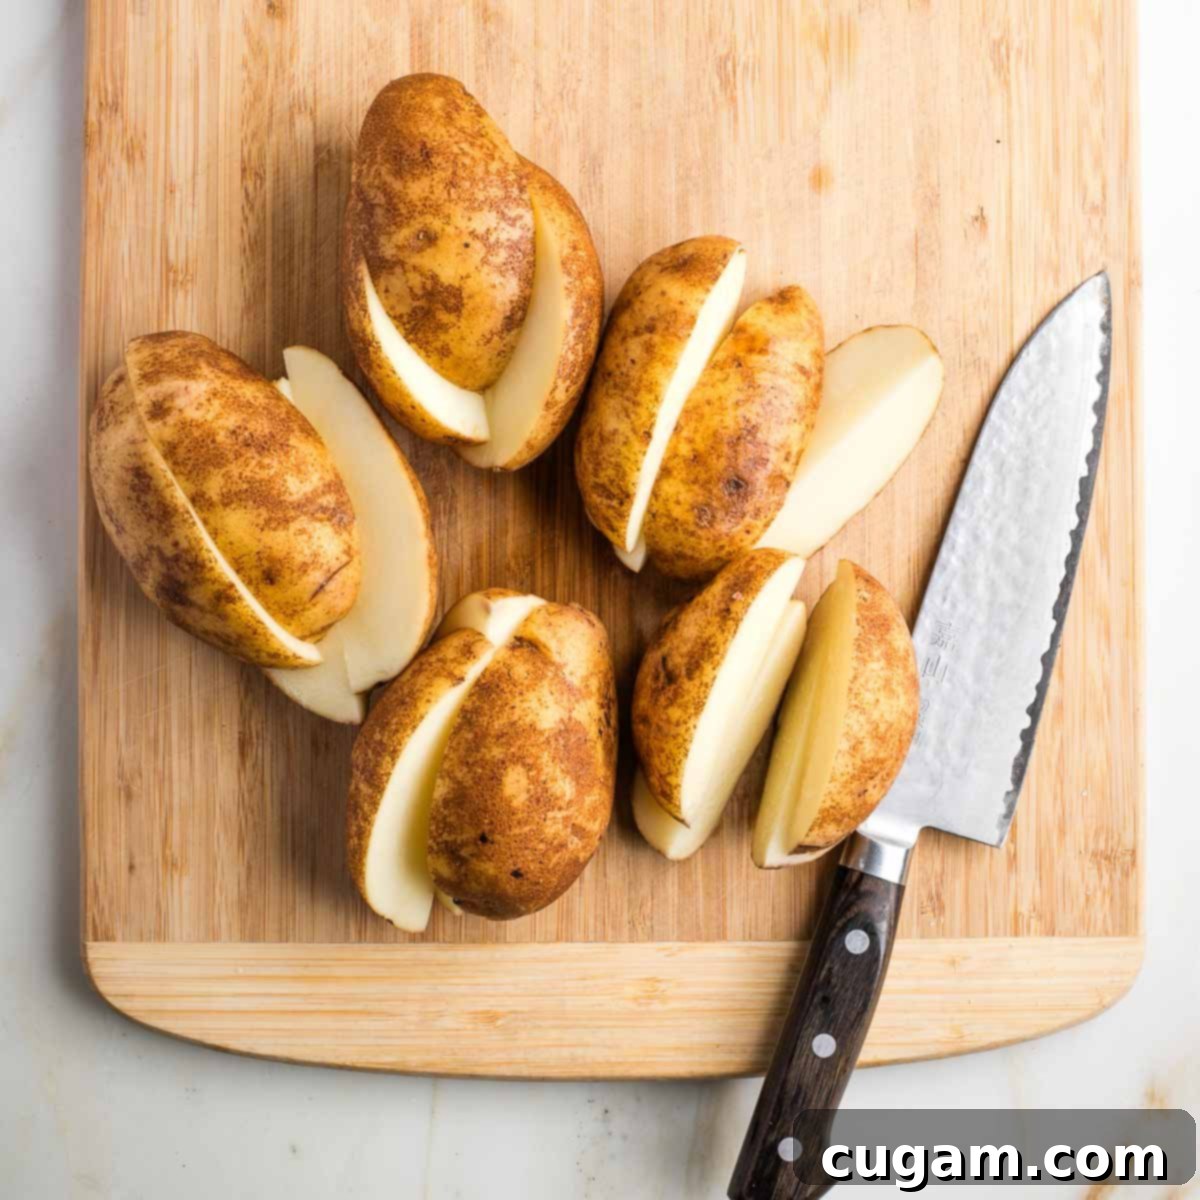
Step 3: Prepare the Potatoes. Scrub your potatoes thoroughly. Peeling is not necessary for traditional latkes, as the skin adds to the rustic texture and nutritional value, but be sure to cut out any blemishes, bruises, or “eyes.” Cut each potato lengthwise and then into quarters to prepare them for shredding.
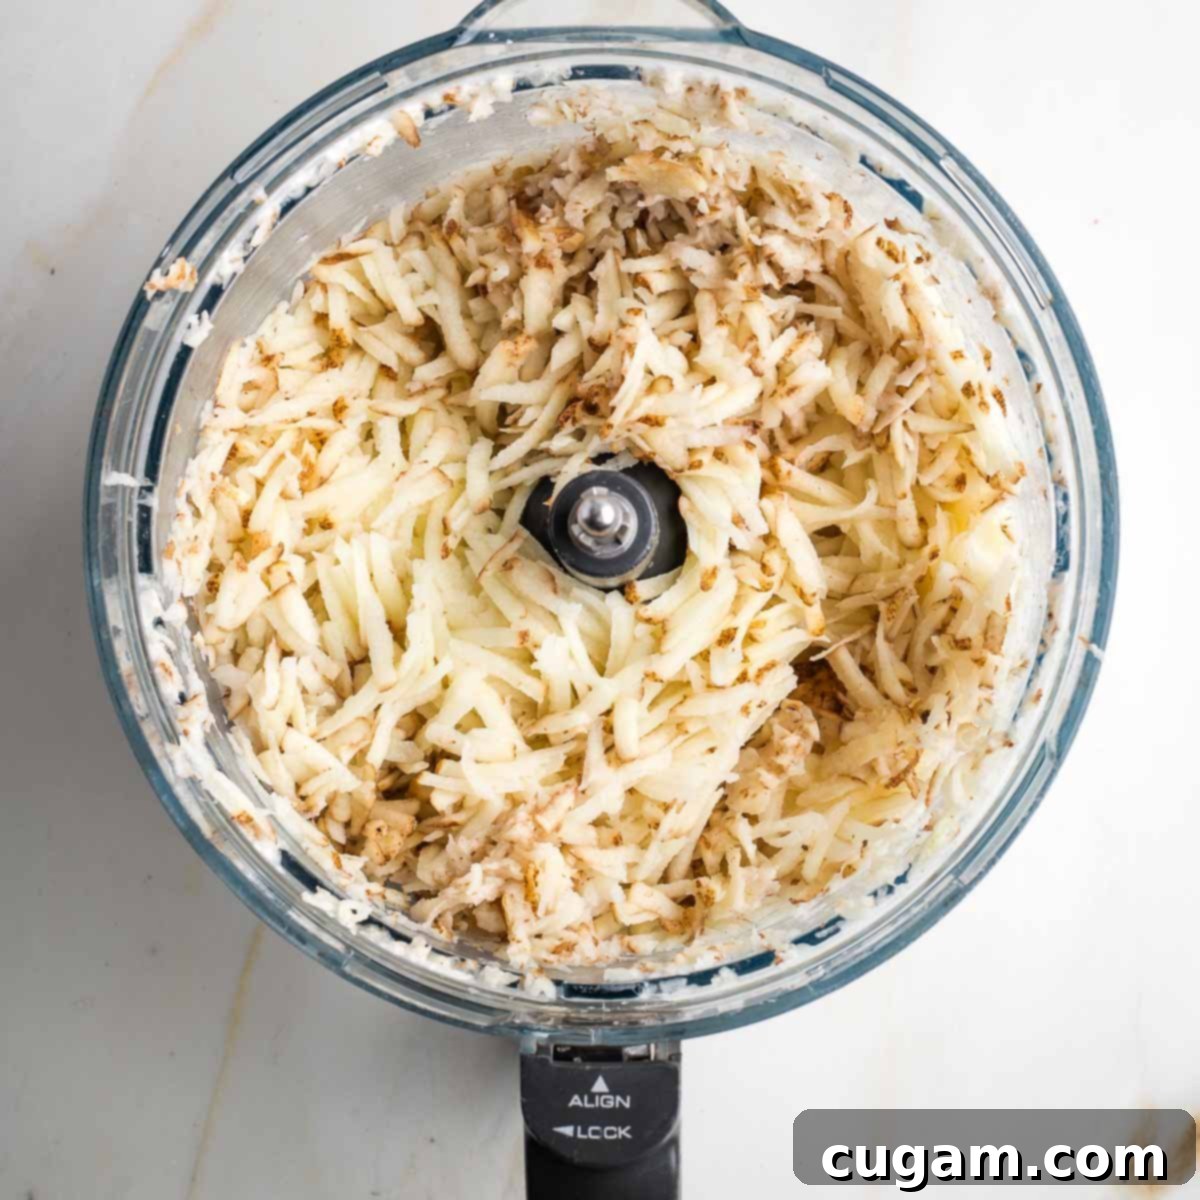
Step 4: Shred the Potatoes. Now, grate the potatoes using your chosen method – whether it’s the food processor for speed or a hand grater for that authentic texture. This step needs to be done quickly to minimize potato oxidation and moisture buildup. Remember, you can absolutely achieve great results by hand, just like Grandma did!
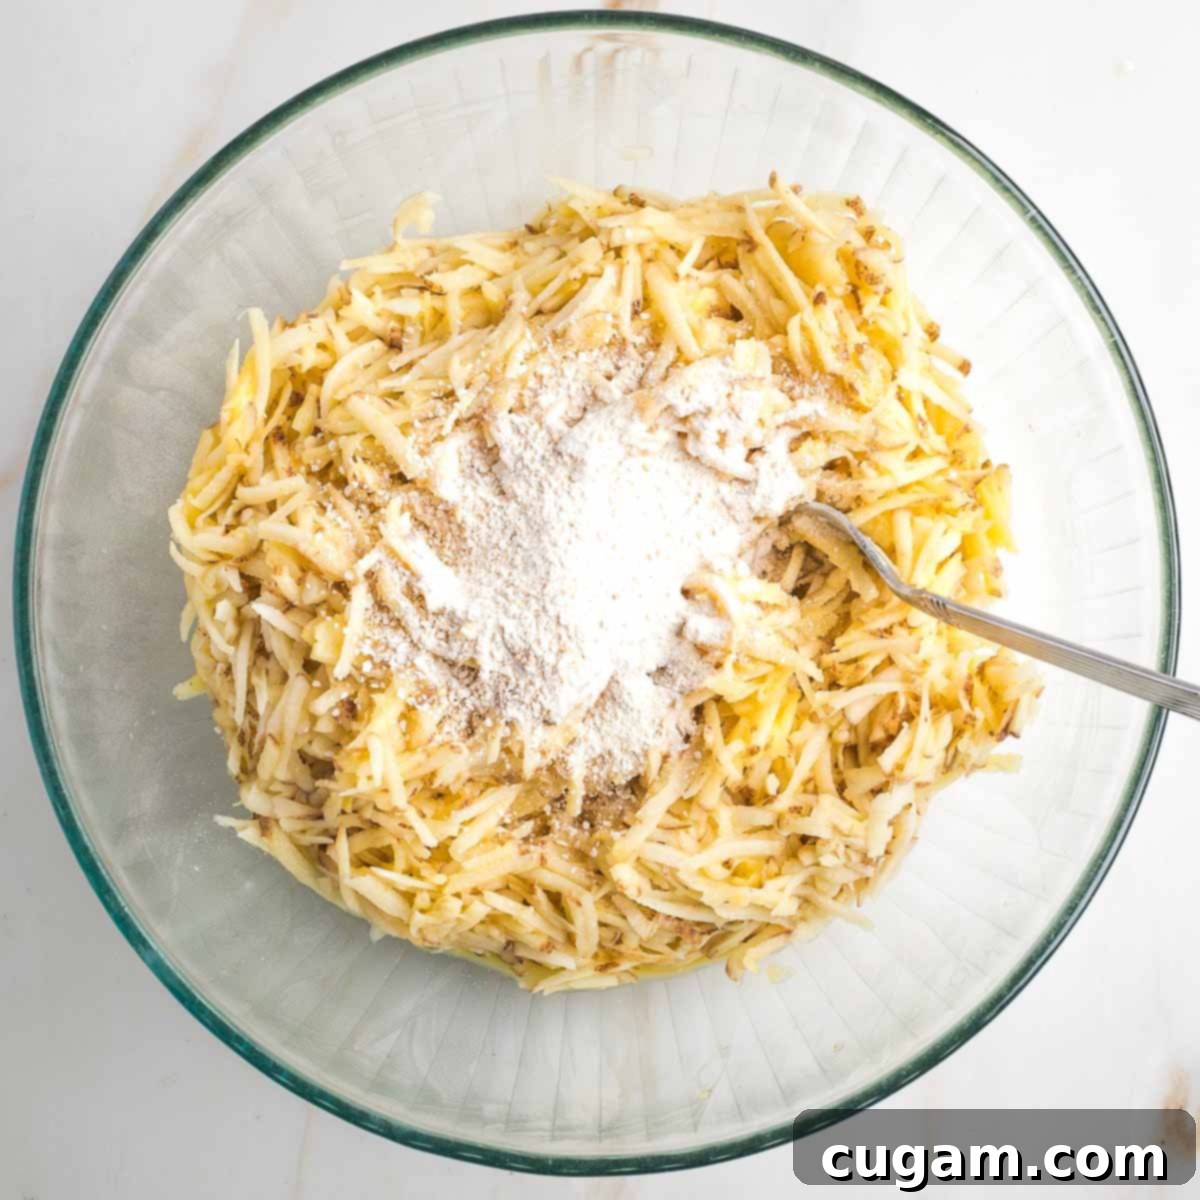
Step 5: Mix the Batter. Immediately add the shredded potatoes to the large bowl containing the egg and onion mixture. Mix everything together very well to ensure the ingredients are evenly distributed. Then, sprinkle the matzo meal over the mixture and mix again until just combined. Work swiftly to prevent the potatoes from releasing too much liquid.
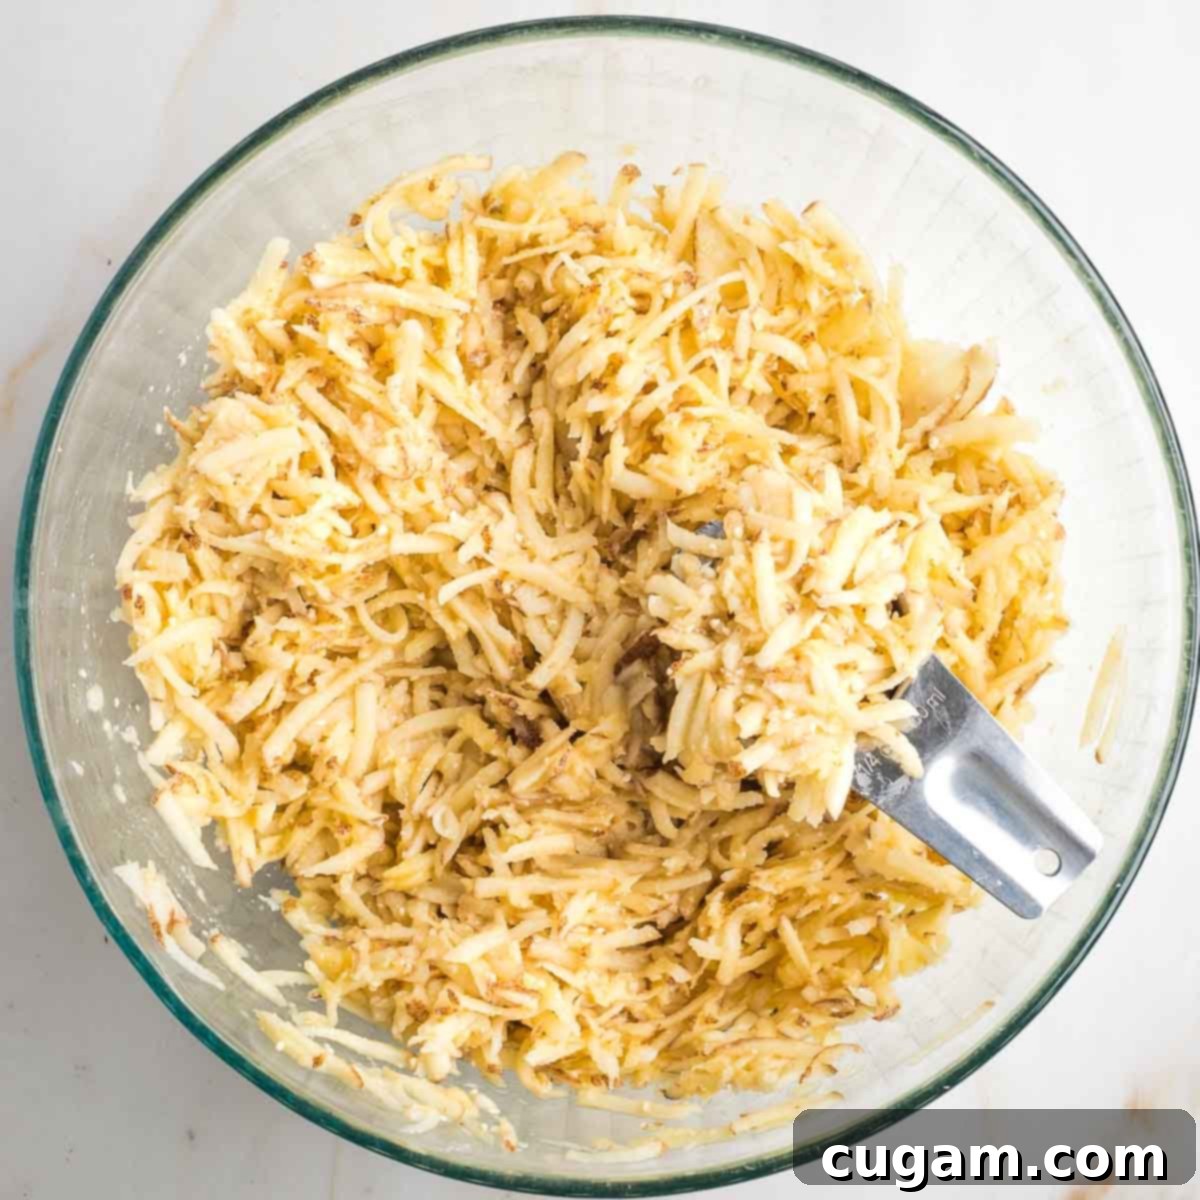
Step 6: Form and Fry the Latkes. Once your pan and oil are hot, use a ¼ cup measuring cup to scoop portions of the latke mixture directly into the hot pan. Immediately use the back of a spatula to flatten each latke into a round, even shape. This is crucial for even cooking and optimal crispiness. As time passes, if you notice the mixture becoming too wet, quickly mix in an additional tablespoon of matzo meal to reabsorb the moisture. Working quickly from shredding to frying is key to Grandma’s method.
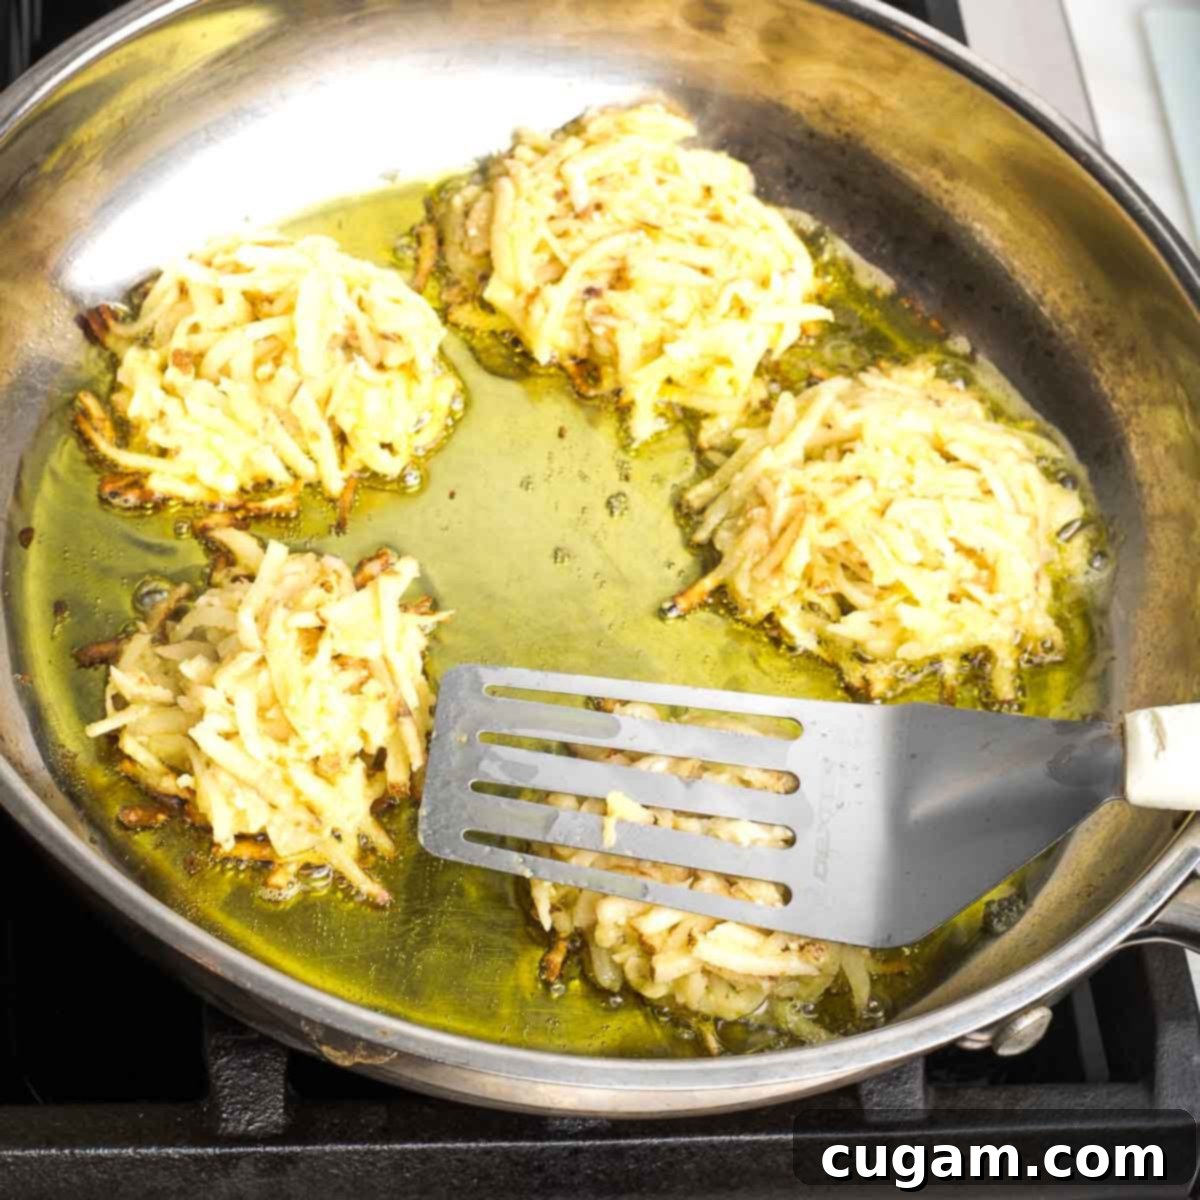
Step 7: Achieve Golden Perfection. Allow the latkes to fry undisturbed until their undersides turn a beautiful golden brown and become crispy. This usually takes a few minutes, but resist the urge to flip them too soon. Once golden, carefully flip each latke to cook the other side, aiming for a similar crisp, golden hue.
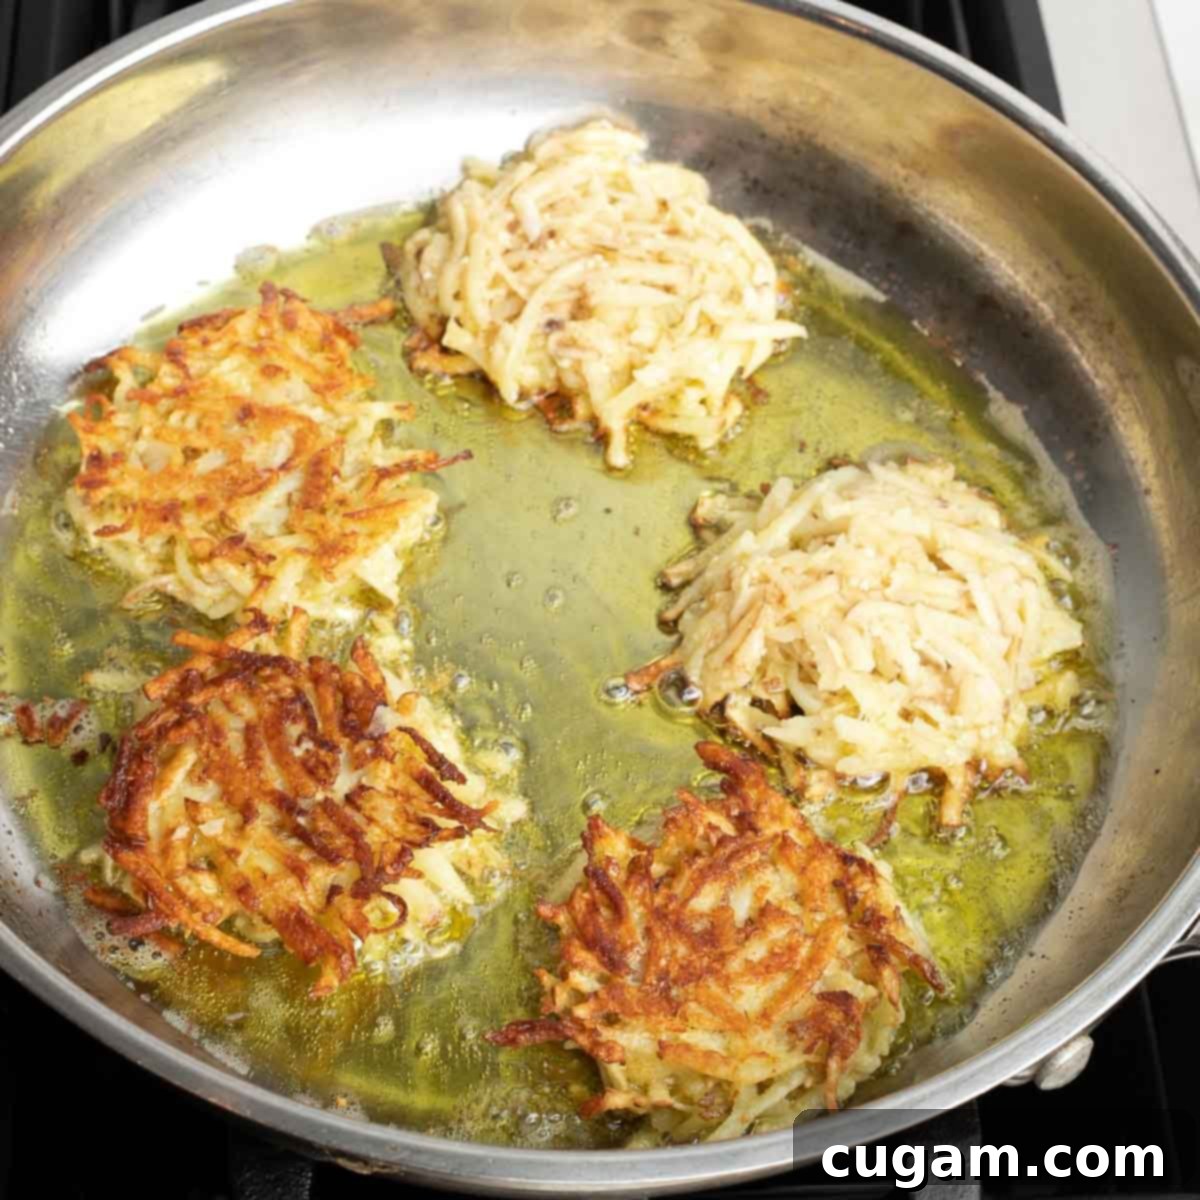
Step 8: Drain and Continue Frying. Once both sides are golden and crispy, transfer the finished latkes to the prepared baking tray lined with paper towels. The paper towels will absorb the initial excess oil. Replenish the oil in the skillet as needed to maintain the ¼ inch depth, ensuring each new batch fries properly. Continue this process until all of your delicious latke batter is transformed into crispy potato pancakes.
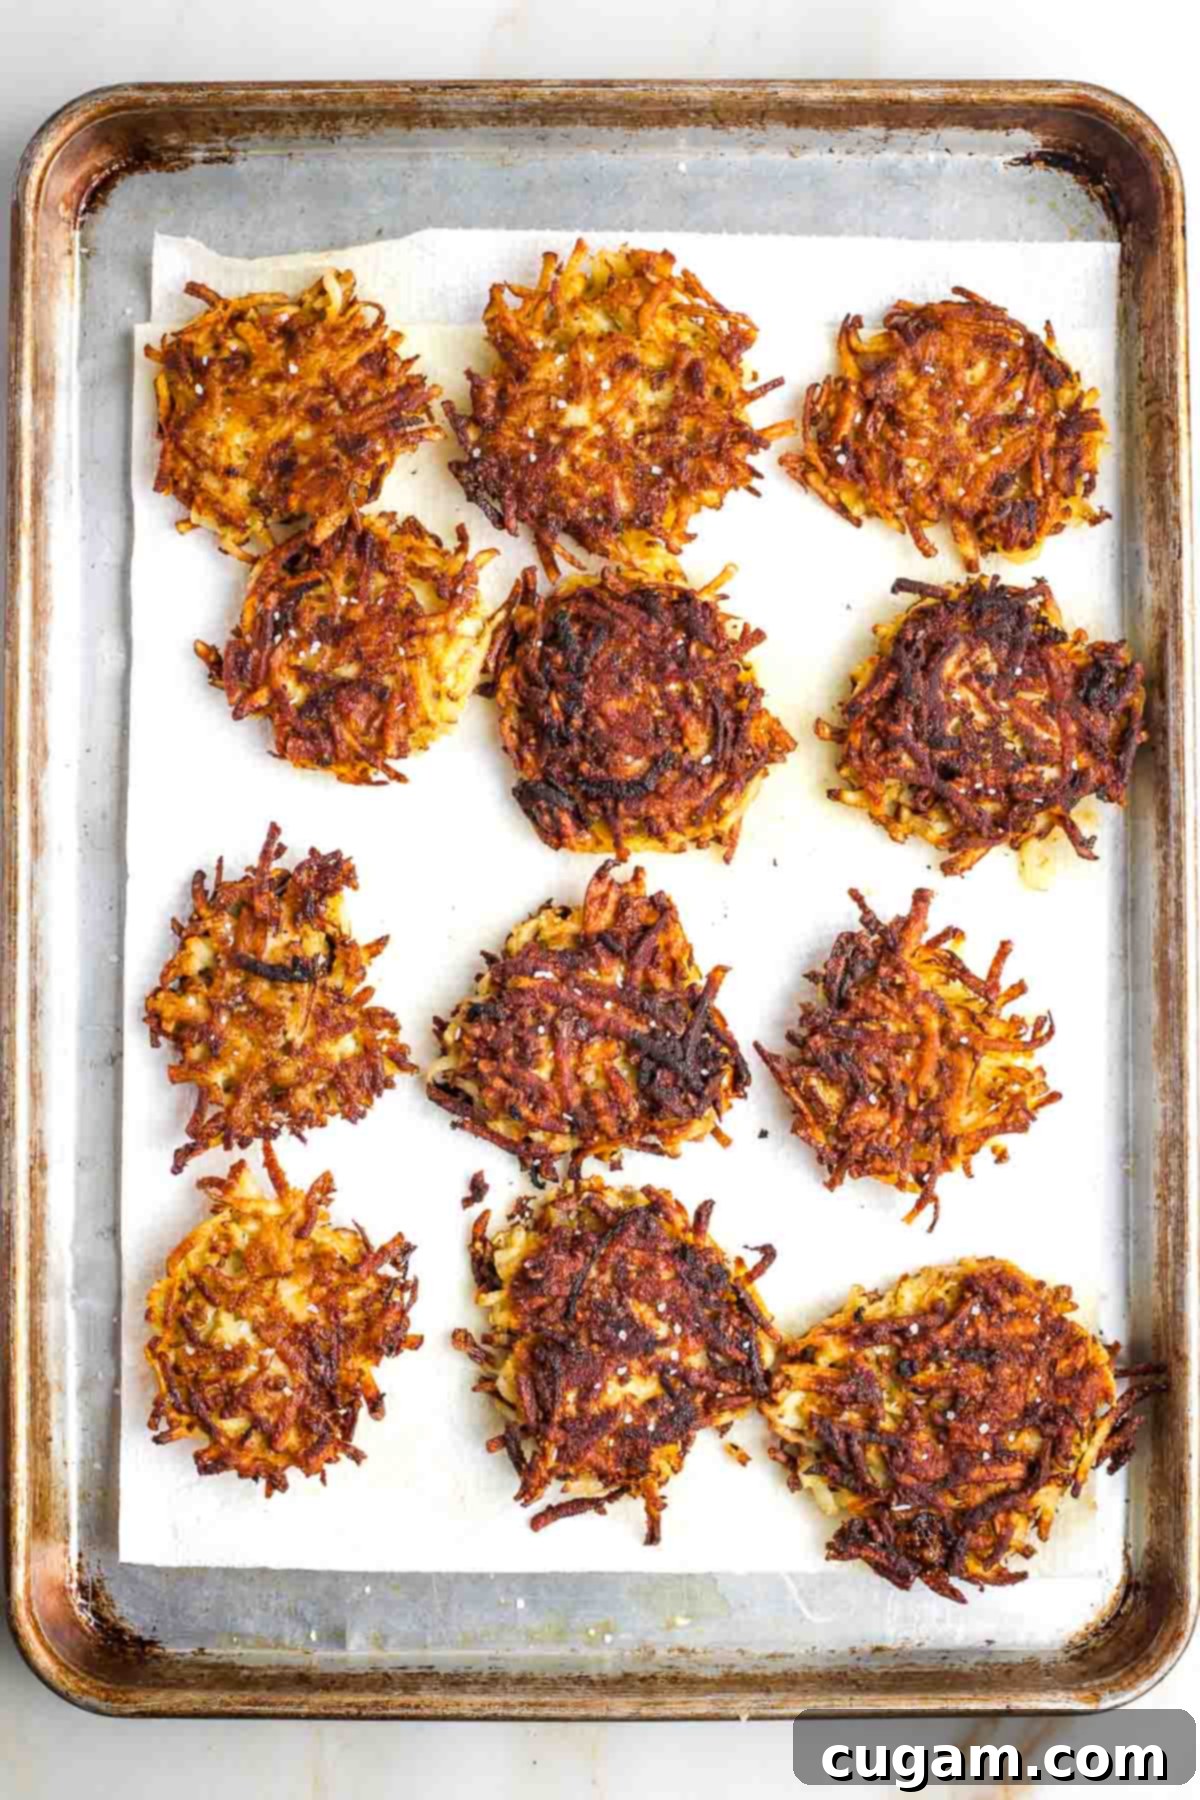
Step 9: Salt and Transfer to Rack. After a couple of minutes on the paper towels, during which the initial excess oil drains, sprinkle the still-warm latkes with kosher salt. This is the optimal time for seasoning, as it adheres better and enhances the flavor. Then, transfer them to the baking pan with the wire rack. This allows for air circulation, preventing them from becoming soggy and ensuring they remain perfectly crisp.
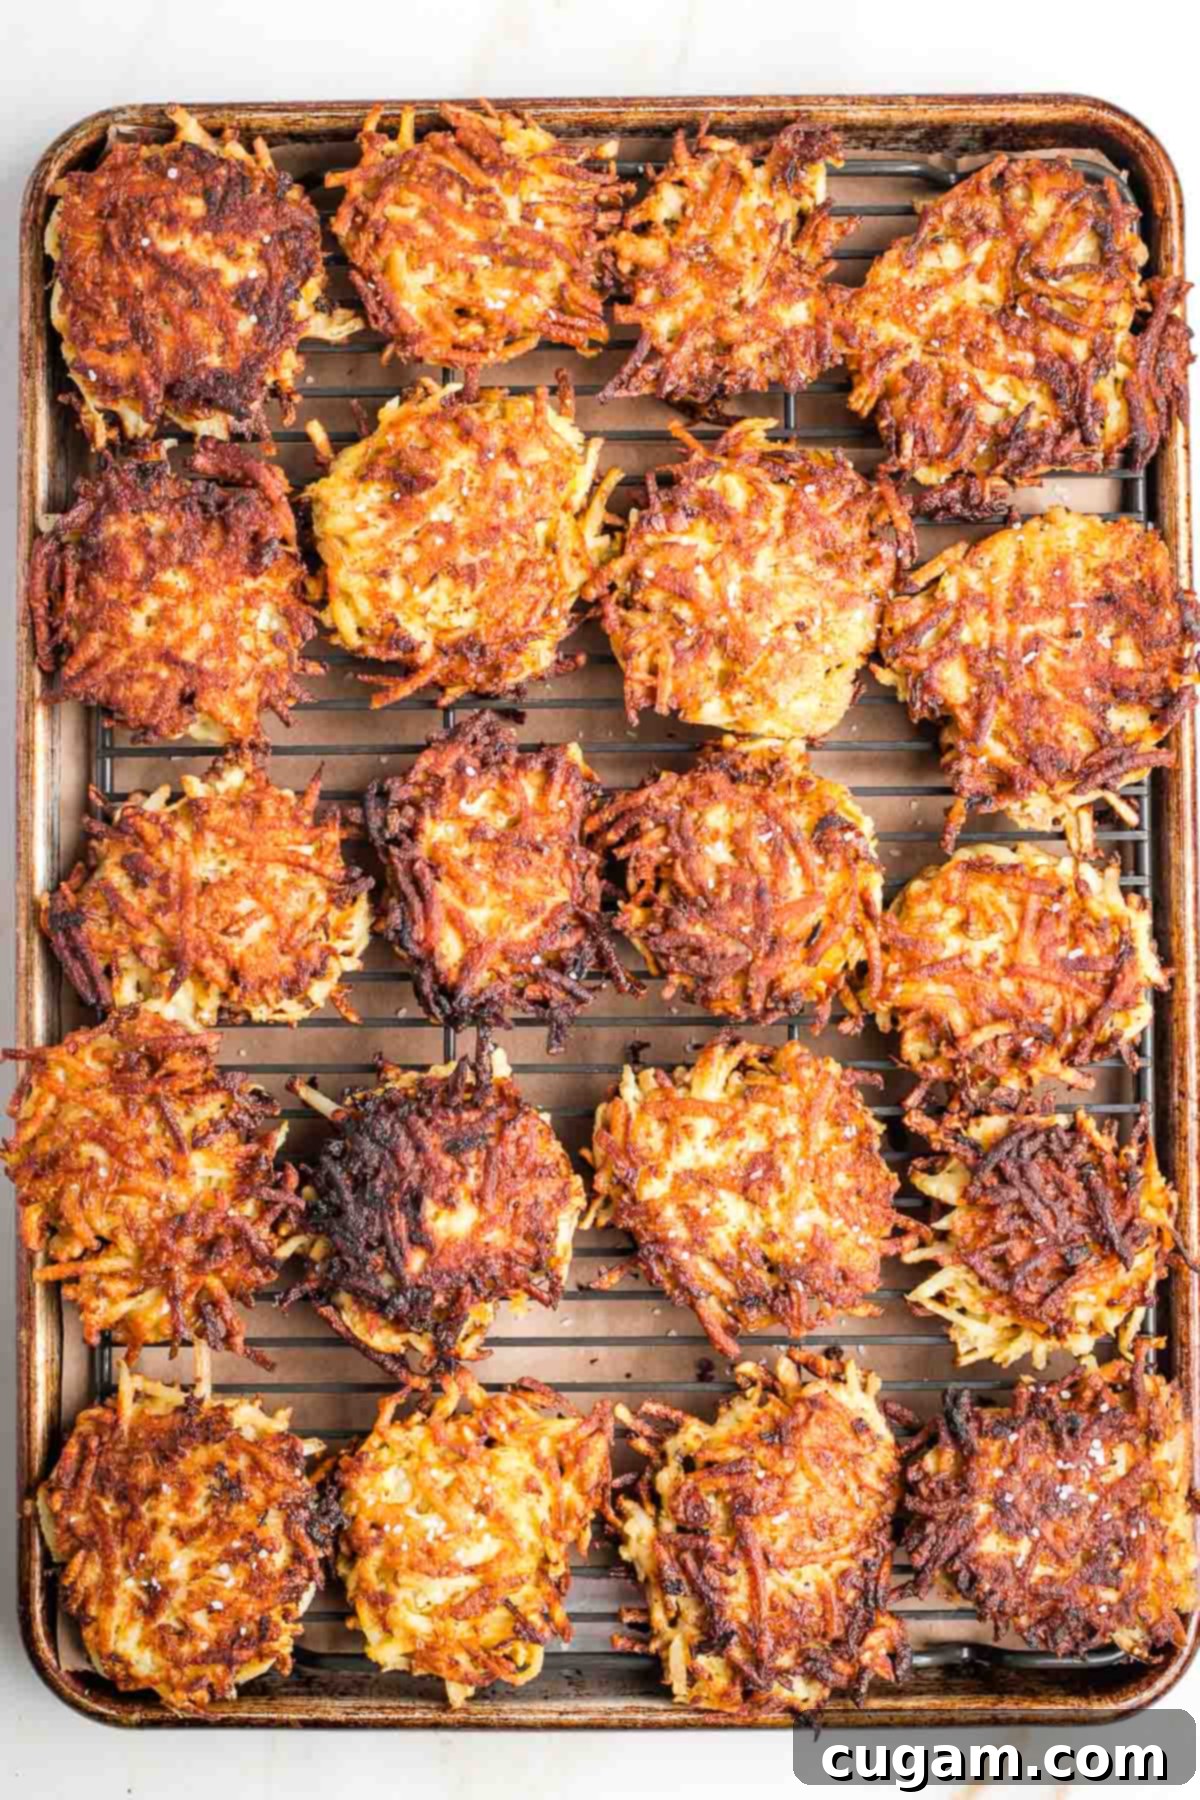
Step 10: Keep Warm and Serve. If you’re not serving your crispy latkes immediately, place the baking sheet with the wire rack into a preheated 200°F (95°C) oven. This low temperature will keep them wonderfully warm and crisp without overcooking, ensuring they are ready to be enjoyed when your guests are.
Expert Tips for Making the Crispiest Latkes Every Time
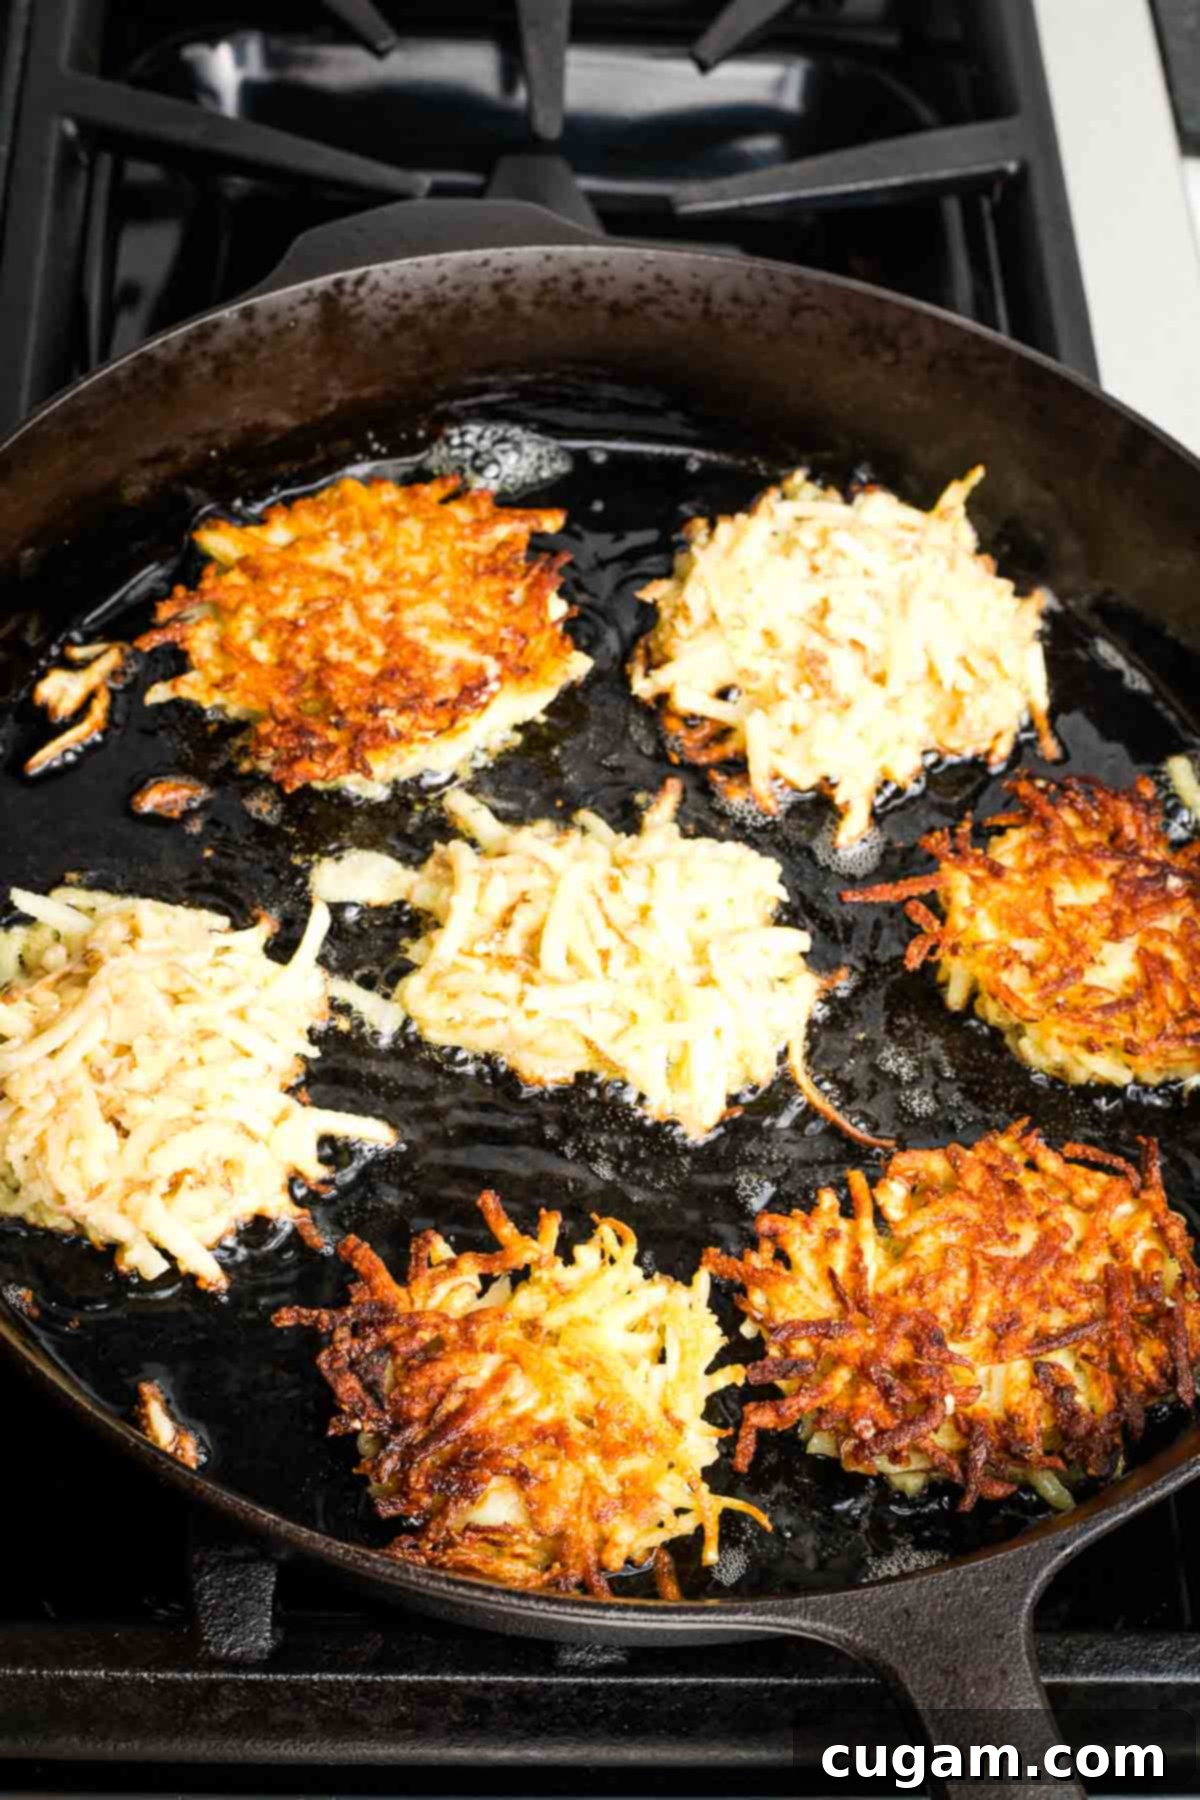
- Choose the Right Skillet: Opt for a heavy skillet with high edges. A cast iron skillet is ideal for its even heat distribution and ability to retain heat, which is essential for consistent frying. If you don’t have cast iron, use your heaviest stainless steel pan. Avoid nonstick pans, as they often don’t achieve the same level of crispiness. For larger batches, a large electric skillet can also be a game-changer.
- Ensure Optimal Oil Temperature: This is critical! Make absolutely certain your skillet and oil are HOT before you introduce the latke batter. If the oil isn’t hot enough, the latkes will absorb too much oil and turn out greasy and soggy. You can test the oil by dropping a tiny shred of potato; if it sizzles vigorously, it’s ready.
- Work Efficiently with Multiple Pans: To expedite the process and prevent the potato mixture from becoming too watery or oxidizing, consider using two skillets simultaneously. This strategy helps you fry through the batter more quickly, ensuring each latke is made from fresh, vibrant potato mixture.
- Flatten for Even Cooking: Once you scoop the latke batter into the hot oil, use the back of your spatula to flatten each latke into a relatively thin, round shape. Thick latkes tend to burn on the outside before they are fully cooked and tender on the inside, resulting in a less desirable texture.
- Avoid Soggy Latkes: While draining on paper towels is a good initial step, don’t leave them there for too long. Excessive time on oily paper towels can lead to sogginess. After a couple of minutes, transfer the drained latkes to a wire rack. This elevates them, allowing air to circulate all around, which is crucial for maintaining their crispiness.
Irresistible Latke Toppings for Every Palate
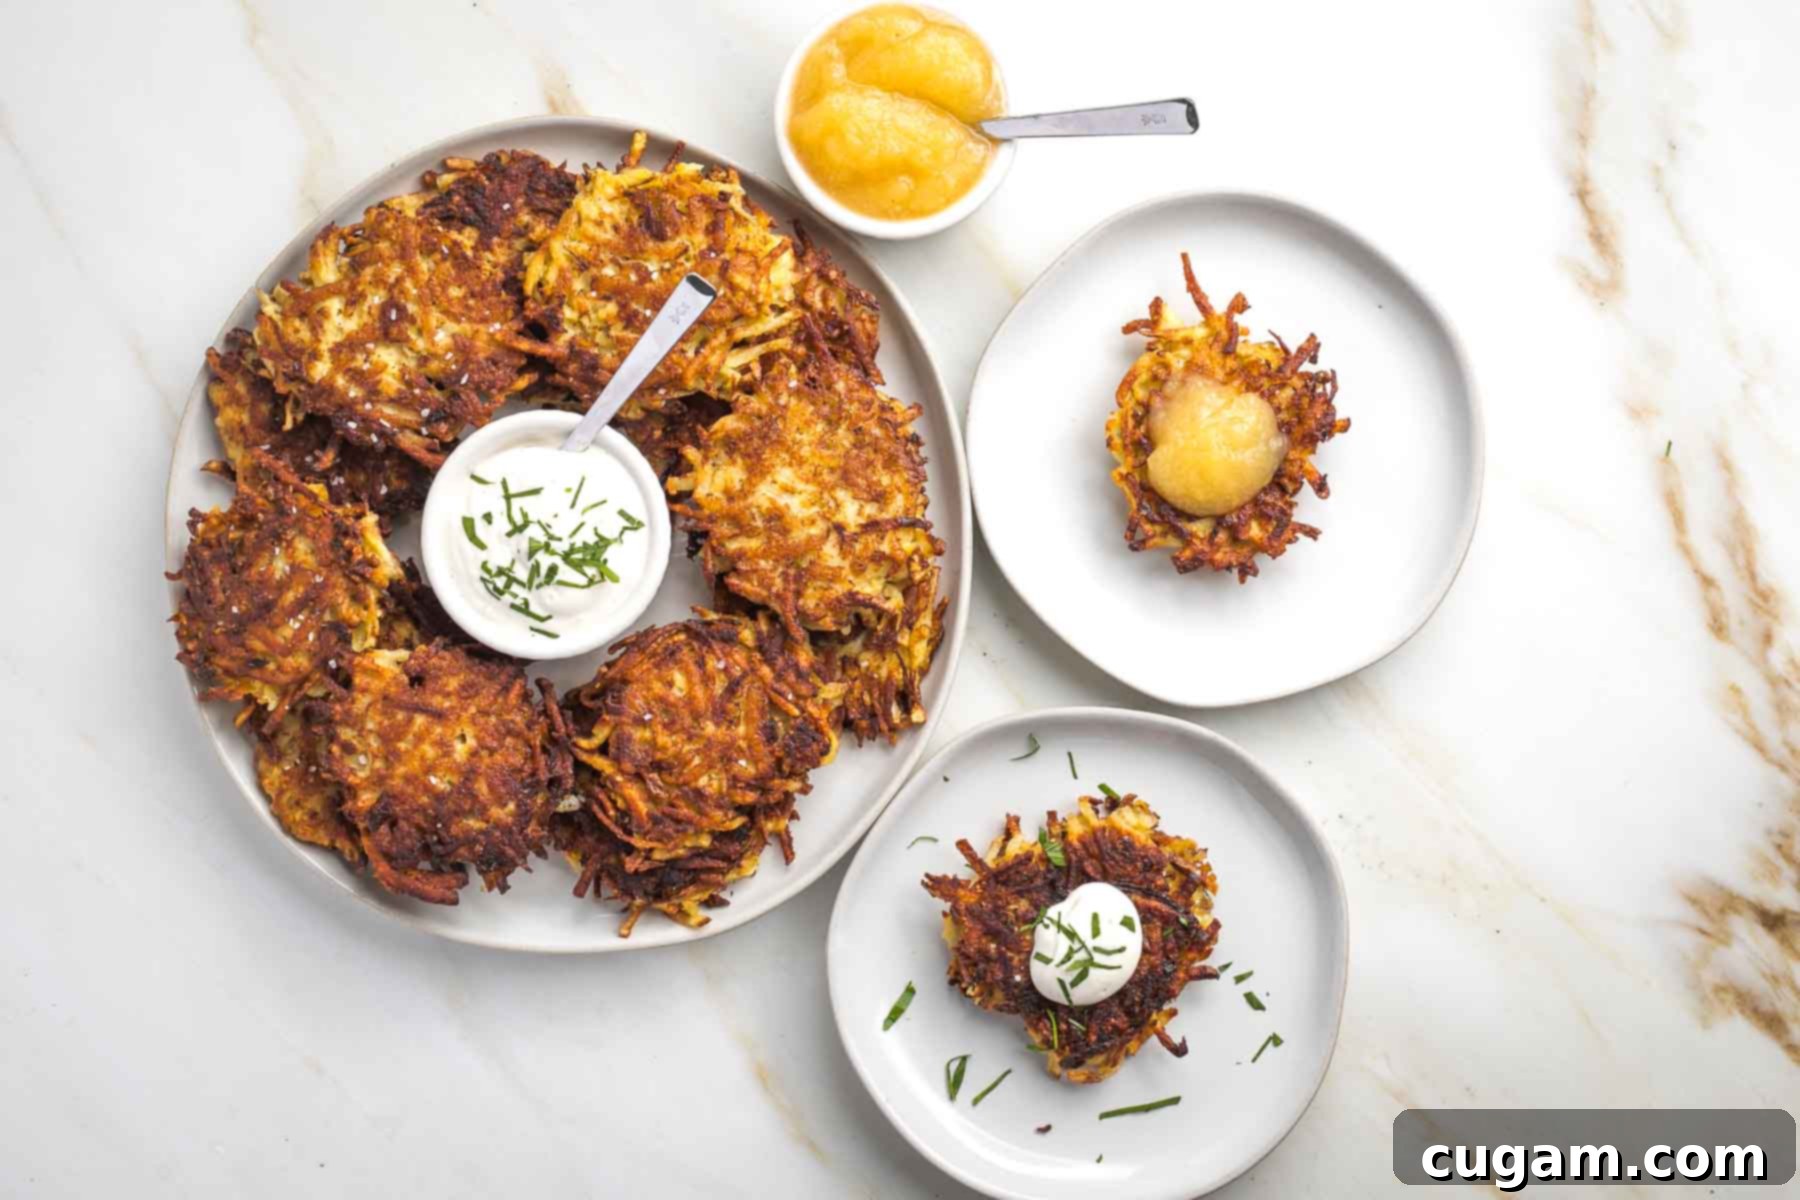
While Grandma’s latkes are fantastic on their own, the right topping can elevate them to another level. Here are some classic and creative options:
- Sour Cream: A quintessential latke topping, the cool tang of sour cream perfectly complements the warm, savory potato. For those needing a non-dairy option, it’s surprisingly easy to make homemade dairy-free sour cream – perfect for creating a pareve topping suitable for any meal.
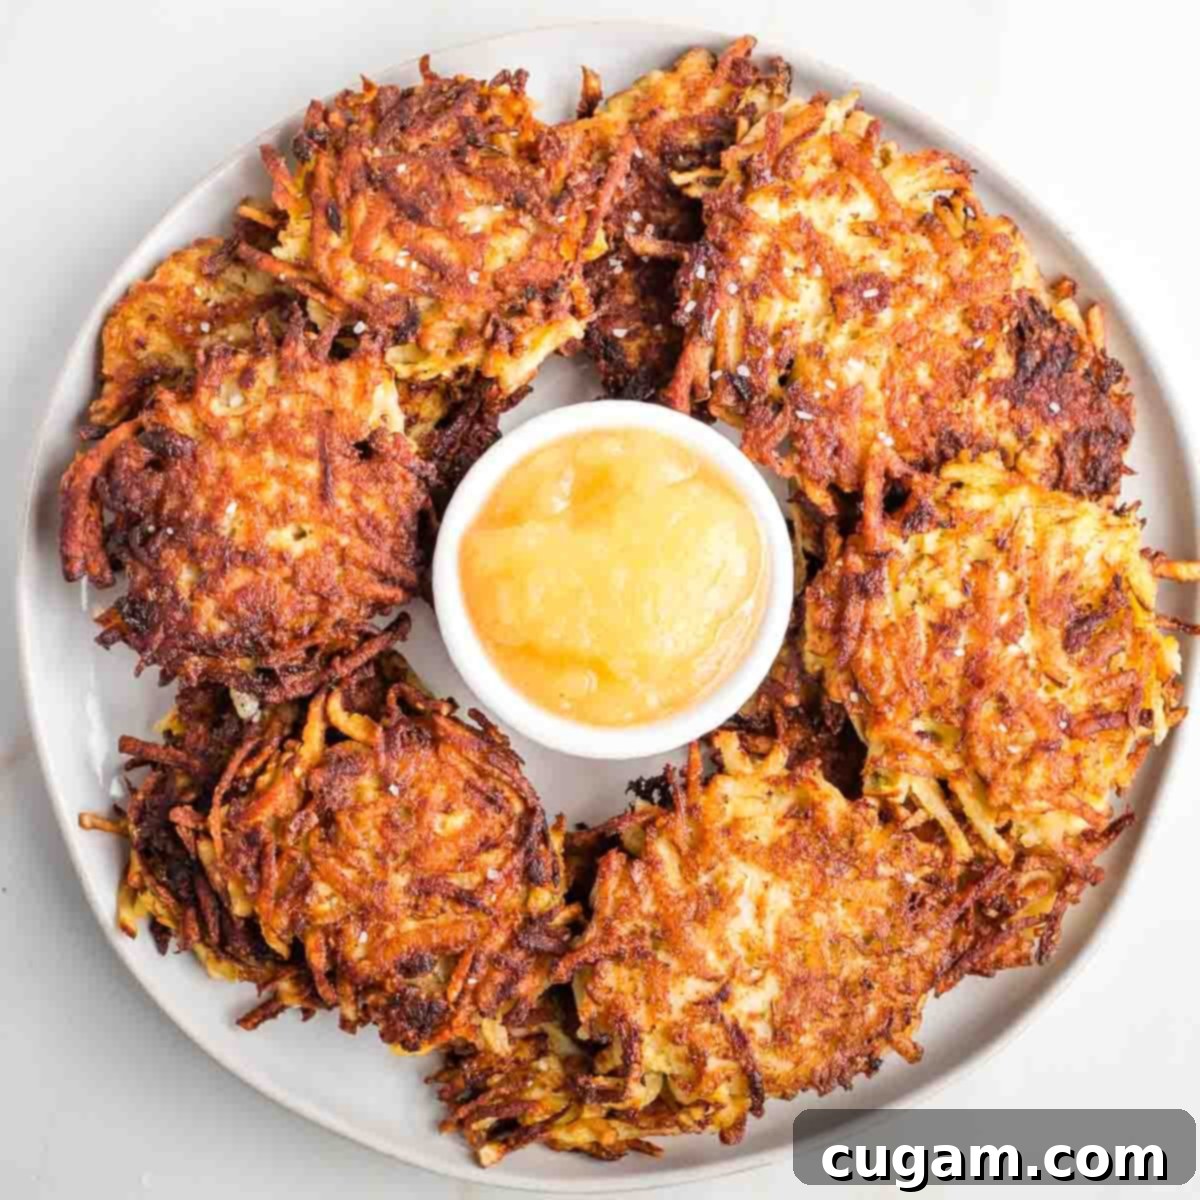
- Applesauce: Another traditional favorite, the sweet and tart notes of applesauce provide a delightful contrast to the rich fried latkes. For the freshest taste and to control sugar content, try my no-sugar-added applesauce recipe; it’s a game-changer for homemade deliciousness every single time.
- Ketchup: While perhaps not a traditional pairing for all, ketchup remains a surprisingly popular choice, especially among younger palates. It’s certainly not my first pick, but I can appreciate its broad appeal!
- Guacamole: For a fresh, creamy, and slightly spicy twist, guacamole is an unexpected but incredibly delicious topping. I can absolutely get behind this option, every single time – its richness and vibrant flavor are a fantastic match.
- Smoked Salmon or Lox: For an elevated, brunch-worthy experience, top your latkes with a dollop of sour cream or cream cheese, a sprinkle of fresh dill, and a slice of smoked salmon or lox.
- Chives or Scallions: A simple sprinkle of freshly chopped chives or scallions adds a fresh, oniony bite and a beautiful pop of color, enhancing the latkes’ natural flavors.
Debra’s Pro Tips for Latke Success
- Preparation is Paramount: To truly master Grandma’s quick method, advance preparation is non-negotiable. Have your potatoes scrubbed and dried, eggs whisked, onion added, matzo meal measured, paper-toweled pan and wire-rack-equipped pan ready, skillet heated, and salt handy *before* you even begin shredding the potatoes. This minimizes the time the shredded potatoes sit, preventing oxidation and excess liquid buildup.
- Maximize Frying Efficiency: As mentioned, speed is crucial. Use your heaviest, largest skillet to maximize the number of latkes you can fry at once. Even better, if your kitchen setup allows, consider setting up two frying pans simultaneously. This significantly reduces the time it takes to cook through the entire batch of latke batter, ensuring that each latke is made before the potato mixture becomes too watery or starts to brown prematurely from air exposure.
- Strategic Salting: Wait until the latkes are fully cooked and freshly out of the pan to sprinkle them with salt. Seasoning the batter directly can cause the potatoes to release more water during resting, potentially leading to a less crispy result. By salting them hot off the press, they absorb the flavor beautifully, and you’ll find they taste saltier and more satisfying with less actual sodium compared to incorporating salt into the raw batter.
Storing, Freezing, and Reheating Your Delicious Latkes
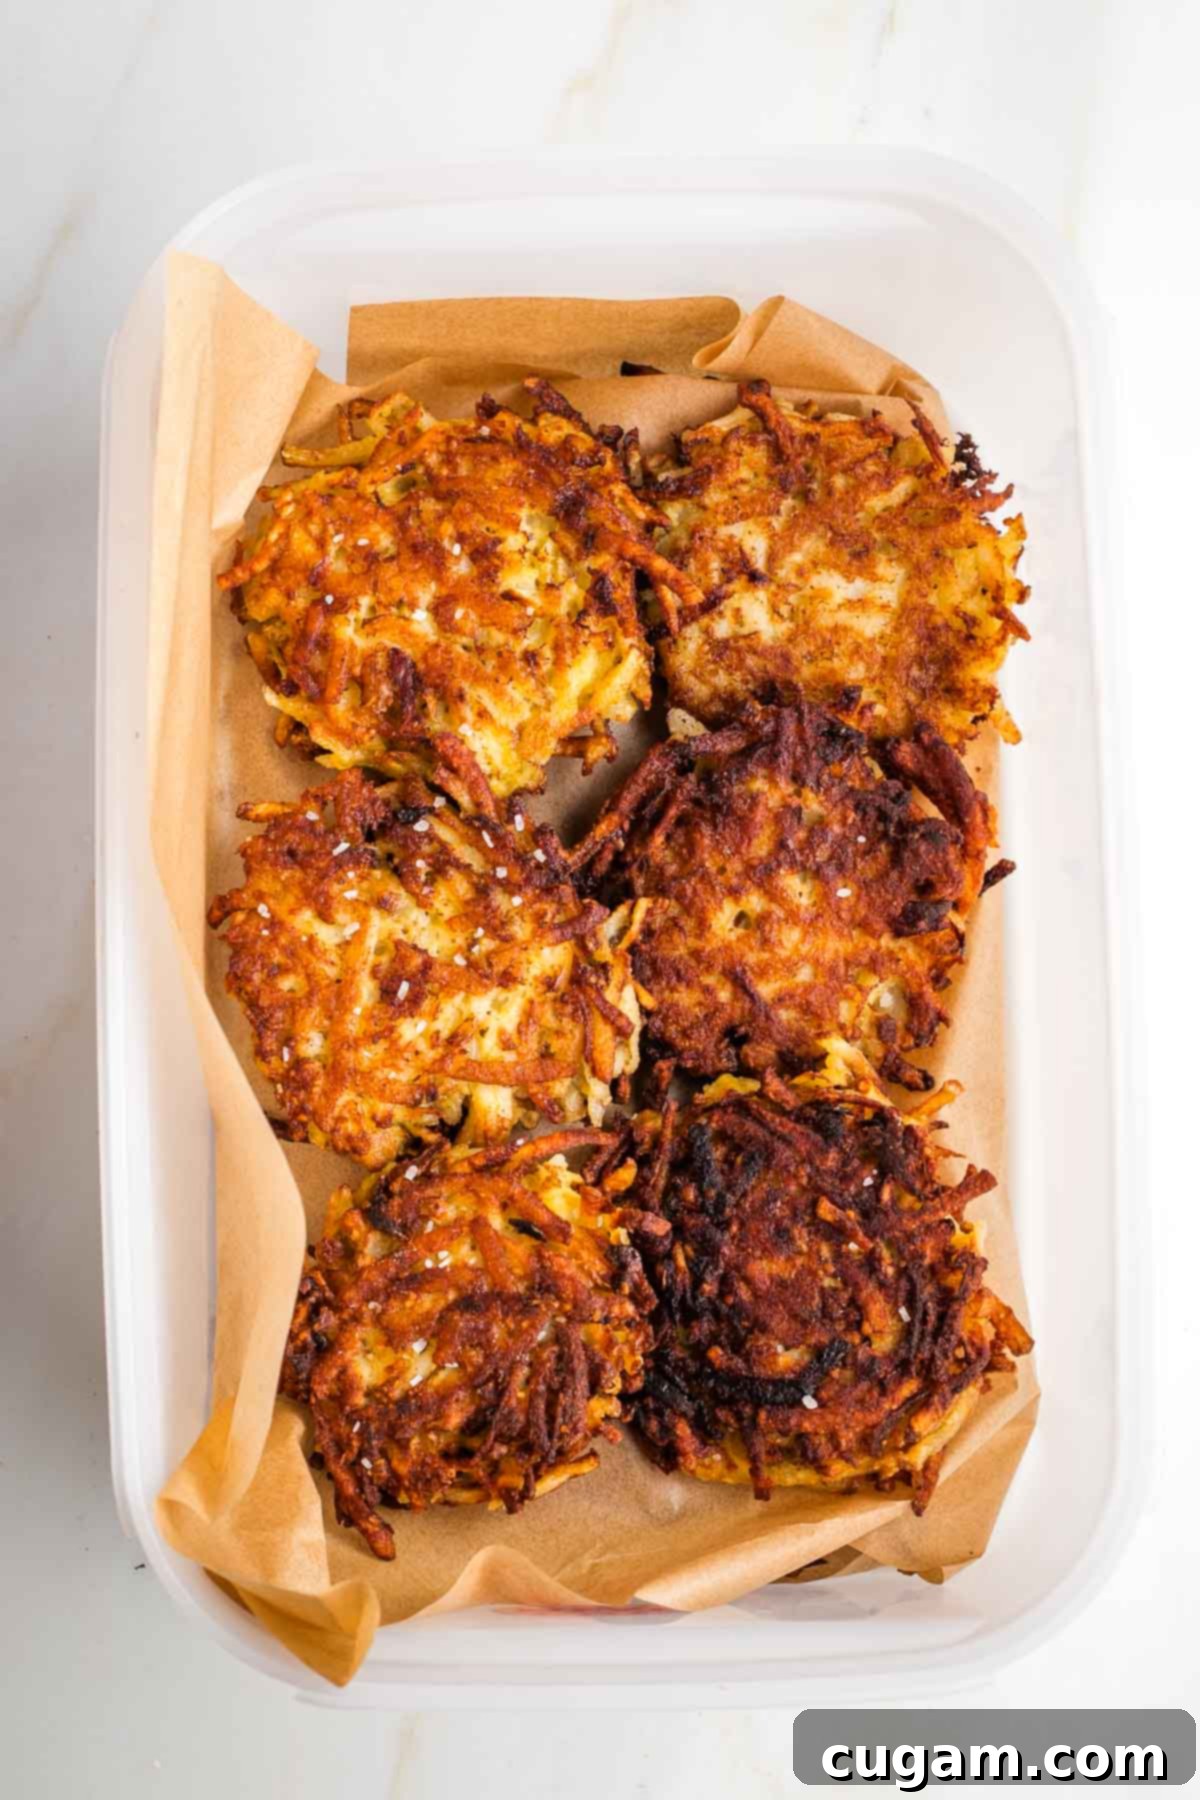
- Storing in the Refrigerator: To store leftover latkes, first ensure they cool completely on a wire rack. This is vital to prevent condensation, which can make them soggy. Once cooled, transfer the latkes into an airtight container, arranging them in a single layer if possible. For multiple layers, use unbleached parchment paper between each layer to prevent sticking and maintain texture. Stored properly, latkes will remain fresh and delicious in the fridge for up to a week.
- Freezing for Future Enjoyment: Latkes freeze exceptionally well, making them perfect for meal prepping or having on hand for impromptu cravings. Arrange cooled latkes in a single layer on a baking sheet and flash freeze them until solid (about 1-2 hours). Then, transfer them to freezer-safe bags or containers, separating layers with parchment paper. They will maintain their quality in the freezer for up to 6 months.
- Reheating for Optimal Crispiness: To bring your latkes back to life with their original crisp texture, avoid the microwave! For best results, arrange frozen or refrigerated latkes in a single layer on a sheet pan fitted with a wire rack. Reheat them in a preheated 350°F (175°C) oven for about 15 minutes, or until heated through and crispy. Alternatively, you can reheat them in a heavy skillet with a lid over medium-low heat for 2-3 minutes per side, ensuring they’re thoroughly warmed and re-crisped.
Did you know commenting and rating recipes is one of the best ways to support your favorite food bloggers? If you made this recipe, please consider a five-star rating below and leave a comment sharing your experience. Also, we’d love to see your creations! Please share your photos on Instagram by tagging me @dkhealthcoach and using the hashtag #debraklein. Your support means the world!
📖 Recipe

Grandma’s Potato Latkes
Debra Klein
Rate this Recipe
Pin Recipe
10 minutes
15 minutes
25 minutes
Side Dish
Jewish Holiday
10
275
kcal
Equipment
-
12″ Cast Iron Skillet
-
Potato Grater
-
½ cup silicone trays
Ingredients
-
2 ½
lbs.
russet potatoes
shredded (about 5 large potatoes) -
1
large
yellow onion
shredded -
3
large
eggs
whisked -
¼
cup
matzo meal
plus as much as ¼ cup more, as needed to soak up moisture -
¾
cup
avocado oil -
1
teaspoon
kosher salt
Instructions
-
Prepare two large baking sheets: one with a couple layers of paper towels or a brown bag, and the other with a wire rack.
-
Heat a large skillet over medium heat with about ¼ inch of oil.
-
Whisk the eggs vigorously in a large bowl until frothy.
-
Peel the onion, cut into quarters, and shred using a food processor fitted with the shredding disc (or a hand grater). Transfer the shredded onion and its juices to the bowl with the whisked eggs and mix well.
-
Wash potatoes thoroughly (no need to peel, just remove any eyes or bruises). Cut into quarters lengthwise and shred quickly. Immediately mix the shredded potatoes into the egg/onion mixture, then add the matzo meal and mix again until just combined.
-
Using a ¼ cup measuring cup, scoop the latke mixture into the hot oil. Press down with a spatula to flatten each latke into a round shape. Fill the pan without overcrowding. Wait for the underneath edges to crisp up and turn golden brown, then carefully flip to the other side.
-
Once the second side is golden brown and crispy, transfer the latke to the tray lined with paper towels to drain excess oil. Add another ¼ cup of potato mixture to the empty spot in the pan, and continue frying until all the latkes are cooked, adding more oil as needed.
-
After a couple of minutes on the paper towels, transfer the hot latkes to the baking tray fitted with the wire rack. Sprinkle immediately with kosher salt.
-
Serve warm. To keep latkes warm while you finish frying, place the baking tray with the wire rack in a 200°F (95°C) oven.
-
Store cooled latkes in an airtight container in the fridge for up to a week, separated by parchment paper in single layers. For longer storage, freeze latkes in freezer-safe containers for up to 6 months, also separated by parchment.
Notes
Flour Alternatives: For those with dietary restrictions, you can easily make these latkes gluten-free. Substitute matzo meal with gluten-free all-purpose flour, cornmeal, oat flour, or chickpea flour to suit your specific needs without compromising on crispiness.
Egg Substitutions: To make these potato latkes vegan, replace the three large eggs with a mixture of 1 tablespoon arrowroot powder and 1.5 tablespoons ground flaxseed. Whisk these well with ½ cup of water and let the mixture sit for 5 minutes to thicken before incorporating it into the batter.
Creative Variations: Feel free to experiment with flavor by replacing half of the potatoes with other root vegetables like sweet potatoes, parsnips, or even zucchini (which might require a bit more matzo meal due to its high water content). Or, if you’re seeking an even healthier latke option, be sure to try my delicious baked Brussels sprouts latkes – they’re absolutely DEE-lish!
Nutritional Information: The provided nutritional information is an estimate based on 2 latkes per serving, with the entire recipe yielding approximately 20 latkes. Please note that these are approximate values.
Nutrition
Calories:
275
kcal
Carbohydrates:
25
g
Protein:
5
g
Fat:
18
g
Saturated Fat:
2
g
Polyunsaturated Fat:
3
g
Monounsaturated Fat:
12
g
Trans Fat:
0.01
g
Cholesterol:
56
mg
Sodium:
260
mg
Potassium:
519
mg
Fiber:
2
g
Sugar:
1
g
Vitamin A:
82
IU
Vitamin C:
8
mg
Calcium:
27
mg
Iron:
1
mg
Note
The nutrition calculations were done using online tools. To obtain the most accurate representation of the nutritional information in any given recipe, you should calculate the nutritional information with the actual ingredients you used. You are ultimately responsible for ensuring that any nutritional information is accurate, complete and useful.
Did you make this recipe?
Please leave a review below, then snap a picture and tag me @dkhealthcoach or use hashtag #dkhealtcoach on Instagram so I can see it!!
