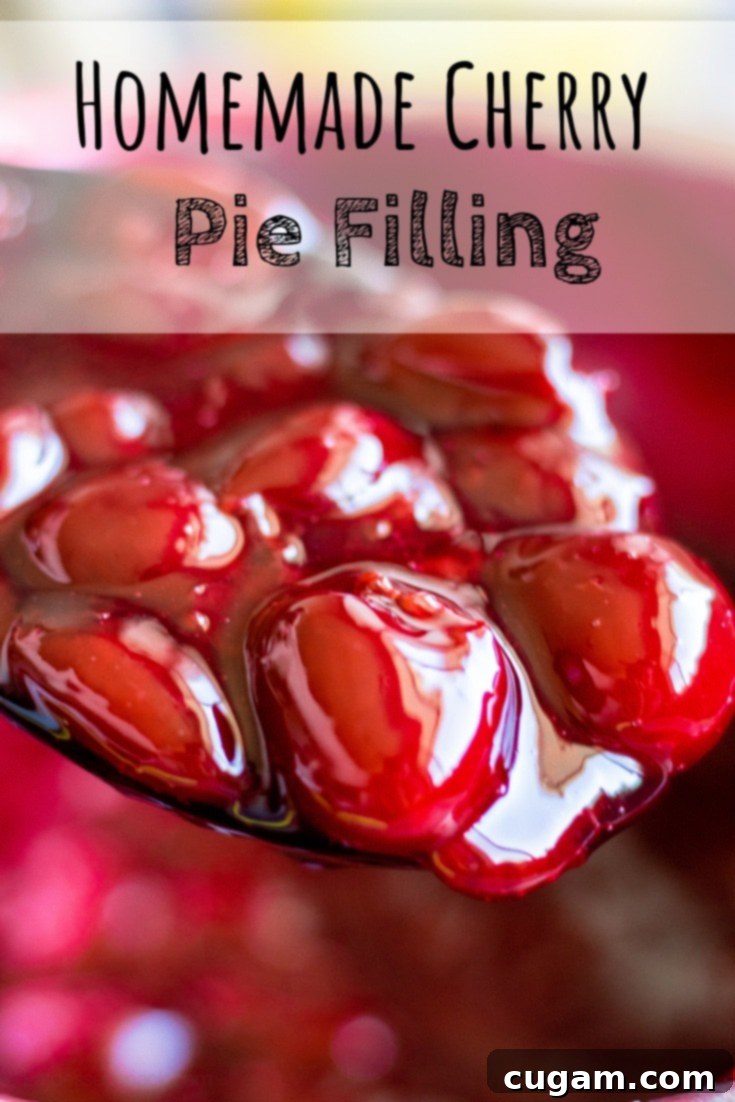
The Ultimate Gluten-Free Homemade Cherry Pie Filling Recipe: Fresh, Frozen, or Canned & Freezer-Friendly!
Welcome to your new favorite recipe for a luscious, vibrant, and utterly delicious homemade cherry pie filling! Whether you’re a seasoned baker or just starting out, this guide will walk you through creating a versatile, gluten-free cherry filling that’s perfect for pies, tarts, cheesecakes, pancakes, or simply spooned over ice cream. The best part? It’s incredibly easy to make using fresh, frozen, or even canned cherries, and it freezes beautifully for future dessert emergencies!
Imagine the rich, sweet-tart flavor of cherries, enhanced with a hint of lemon and vanilla, all coming together in a perfectly thick and glossy sauce. This isn’t just for pie – though it makes an incredible one, especially when paired with our flaky Cream Cheese Pie Crust. It’s also heavenly on top of Cherry Cheesecake Cookies, swirled into No Churn Cherry Cheesecake Ice Cream, or baked into delightful Cherry Cheesecake Brownies. Get ready to elevate your dessert game!
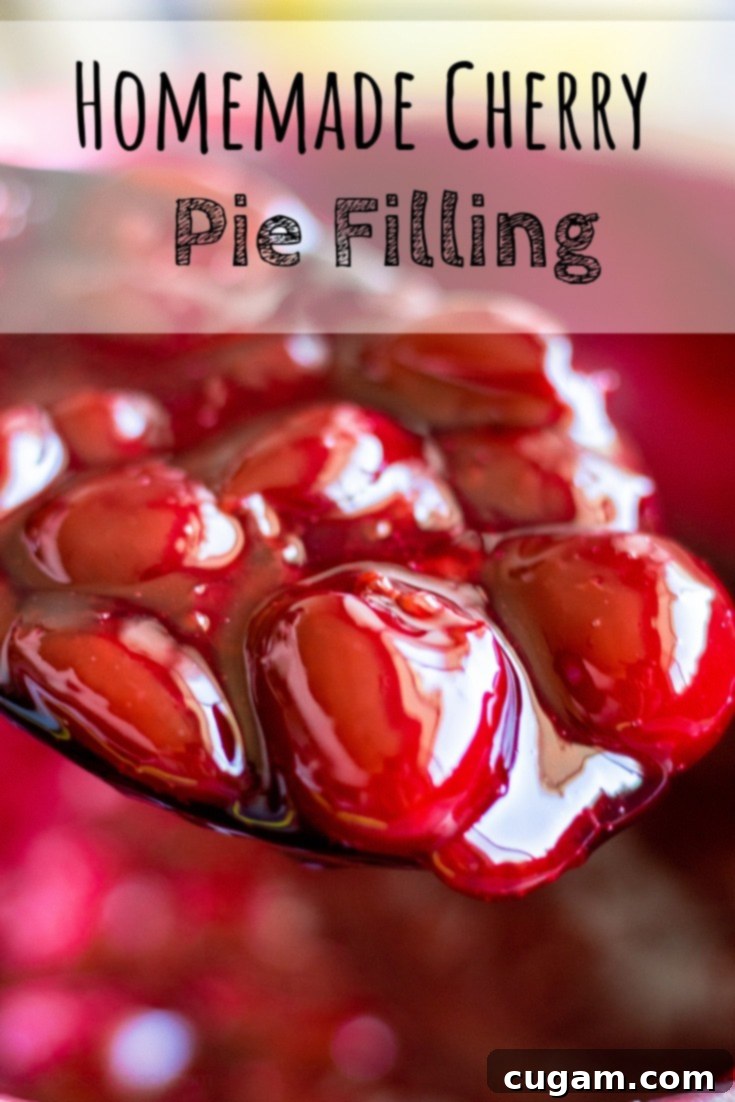
Why Make Your Own Cherry Pie Filling?
While store-bought cherry pie filling can be convenient, nothing compares to the fresh, vibrant taste of homemade. Here’s why you should give it a try:
- Unmatched Flavor: You control the sweetness and tartness, allowing the natural cherry flavor to shine without artificial additives.
- Quality Ingredients: By making it yourself, you know exactly what goes into your food. No high-fructose corn syrup or strange preservatives.
- Customization: Adjust the lemon, vanilla, or even add a hint of almond extract to suit your preference.
- Dietary Needs: This recipe is naturally gluten-free, using cornstarch as a thickener, making it suitable for those with gluten sensitivities.
- Cost-Effective: Especially when cherries are in season or bought frozen in bulk, making your own filling can be more economical.
- Versatility: Not just for pies! Use it in countless other desserts and breakfast dishes.
Choosing Your Cherries: Fresh, Frozen, or Canned?
This recipe is incredibly flexible and works wonderfully with all types of cherries. Here’s a breakdown to help you choose the best option for your needs:
Fresh Cherries
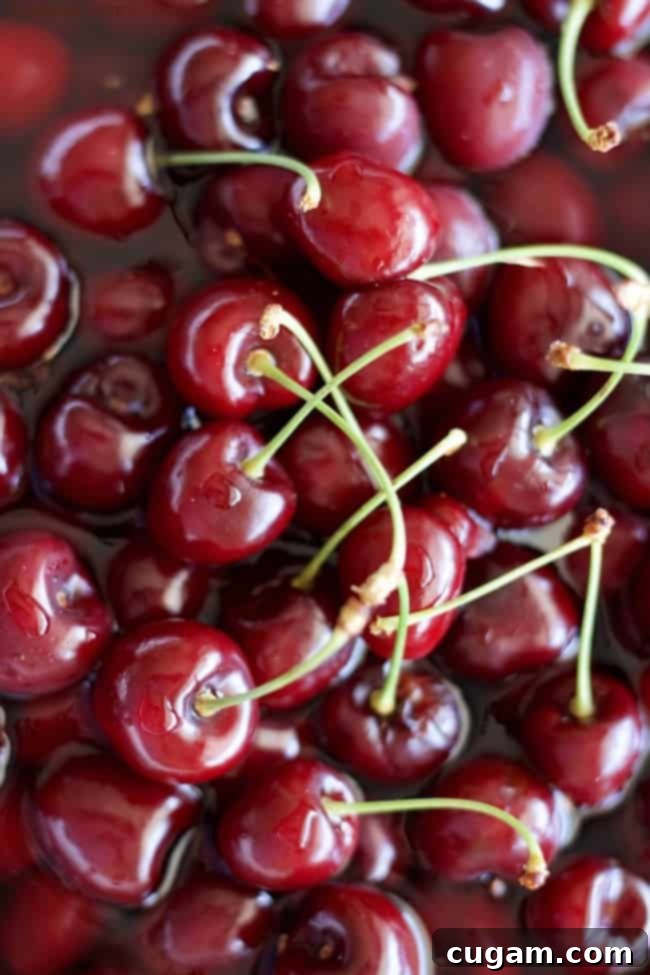
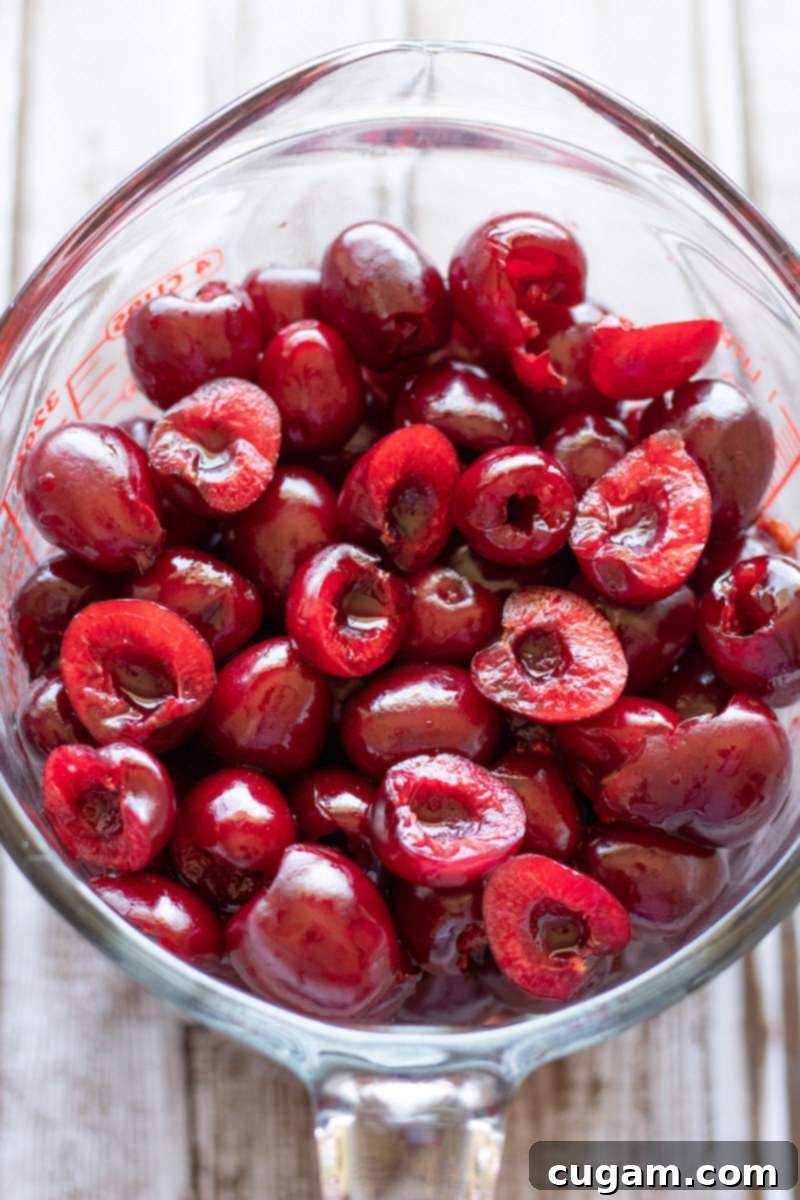
When cherries are in season, fresh is undoubtedly the way to go for the most intense and bright flavor. For this recipe, dark sweet cherries are highly recommended for their balanced sweetness, though tart cherries can also be used if you prefer a more pronounced sour note (you might want to adjust the sugar slightly upwards if using tart cherries). The main task with fresh cherries is pitting them. A cherry pitter makes this job quick and easy, but you can also use a chopstick or a pastry tip to push the pits out. Keep in mind that pitting can add a bit of prep time, but the fresh taste is well worth the effort.
Frozen Cherries
Frozen cherries are a fantastic year-round option. They are usually pitted, saving you a lot of time and effort. When using frozen cherries, it’s best to partially thaw them before cooking. This helps to release some of their juices, which will contribute to the filling’s liquid content. You can thaw them in the refrigerator overnight or on the counter for a few hours. No need to completely thaw; just enough so they are not a solid block of ice.
Canned or Bottled Cherries
For ultimate convenience, canned or bottled cherries (often packed in water or light syrup) can be used. If using canned/bottled cherries, there are a couple of important adjustments to make. First, drain the cherries, but *reserve ½ cup of the juice* to use in place of the water specified in the recipe. Second, canned cherries tend to be sweeter and sometimes have added salt, so you’ll want to reduce the amount of sugar and entirely omit the salt from the recipe. Specific adjustments are noted in the recipe card below.
Essential Ingredients for Perfect Cherry Pie Filling
Here’s what you’ll need to create this delightful cherry filling, with notes on why each ingredient matters:
- Cherries – As discussed, dark sweet cherries (fresh or frozen work best) are ideal for a balanced flavor profile. Ensure they are pitted.
- Cornstarch – This is our gluten-free thickener, creating that perfect glossy, spoonable consistency. It’s flavorless and blends seamlessly.
- Lemon Juice & Zest – Fresh lemon juice brightens the cherry flavor and balances the sweetness. The zest adds an aromatic lift, making the filling more complex and vibrant.
- Salt – Just a tiny pinch enhances all the other flavors, preventing the filling from tasting flat. (Omit if using canned cherries with added salt).
- Sugar – Granulated white sugar provides the necessary sweetness. You can adjust the amount based on the sweetness of your cherries and your personal preference.
- Water – Used to achieve the ideal consistency. If using canned cherries, substitute with reserved cherry juice for an even more intense cherry flavor.
- Vanilla Extract – A classic pairing with cherries, vanilla adds warmth and depth, complementing the fruit beautifully without overpowering it.
- Almond Extract (Optional) – Many find that a touch of almond extract elevates cherry desserts, enhancing their natural flavors. It’s a wonderful addition if you enjoy its subtle, nutty aroma.
What To Expect From This Recipe
This homemade cherry pie filling recipe is designed for ease, exceptional taste, and efficiency. Here’s what you can look forward to:
Ease: This is a remarkably straightforward recipe, perfect for home cooks of all skill levels, including beginners. The entire process takes place on the stovetop and requires minimal fuss. If you’re pitting fresh cherries, that will be the most time-consuming part, but the cooking itself is quick and simple.
Taste: Prepare for a burst of authentic cherry flavor! Made with dark sweet cherries, balanced with just the right amount of sugar and a bright zing from fresh lemon juice, this filling is on the perfectly tart-sweet side. The beautiful, rich cherry flavor is the true hero, enhanced subtly by vanilla extract without being overwhelmed by other spices. It’s a taste that screams homemade comfort.
Time: One of the biggest advantages of this stovetop method is how quickly it comes together. The cooking process is just a few minutes, making it a fast and efficient way to create a fantastic filling. Even with pitting fresh cherries, you’ll have this delicious filling ready in under an hour.
Common Questions & Troubleshooting
Can homemade cherry pie filling be frozen?
- Absolutely! This filling freezes exceptionally well. Once cooled completely, transfer it to freezer-safe bags or airtight containers. It can be stored in the freezer for up to 3-4 months. When you’re ready to use it, thaw it overnight in the refrigerator or on the counter for a few hours. Give it a good stir before using, especially if you’re baking it into a pie, to ensure an even consistency. I do not recommend thawing in the microwave as it can cause uneven heating and alter the texture.
Can you use honey or other sweeteners instead of sugar in pie filling?
- While granulated sugar is my preference for its consistent results and classic flavor profile, you can certainly experiment with honey, maple syrup, or other sweeteners. If using honey or maple syrup, start with a slightly reduced amount and taste as you go, as they are often sweeter than granulated sugar. Keep in mind that liquid sweeteners can affect the filling’s consistency, potentially making it a little thinner. If you find your filling is too runny, add an extra ½ teaspoon of cornstarch mixed with a tablespoon of cold water, stir it in, and cook for another minute until it reaches your desired thickness. And yes, a touch of vanilla (or even almond) extract perfectly complements these flavors!
My pie filling is too runny/too thick, what can I do?
- Too Runny: If your filling isn’t thickening enough, you likely need a bit more cornstarch. In a small bowl, whisk 1-2 teaspoons of cornstarch with an equal amount of cold water to create a slurry. Slowly stir this into your simmering cherry filling and cook for another minute or two, stirring constantly, until it reaches your desired thickness. Always add cornstarch slurry incrementally to avoid over-thickening.
- Too Thick: If your filling becomes too thick as it cools, you can easily thin it out. Return it to the stovetop over low heat and gradually stir in a tablespoon or two of water (or reserved cherry juice if using canned cherries) until it reaches your preferred consistency.
How long does homemade cherry pie filling last?
- When stored in an airtight container, homemade cherry pie filling will last about 5-7 days in the refrigerator. As mentioned, it freezes well for up to 3-4 months. Always ensure it’s completely cooled before refrigerating or freezing to prevent condensation and maintain quality.
📝 Printable Recipe

Homemade Cherry Pie Filling
Pin Recipe
Ingredients
- 4 cups pitted cherries – fresh frozen, or canned
- 3 Tablespoons cornstarch
- 2 Tablespoons lemon juice – fresh (use only 1 teaspoon if using canned cherries)
- ⅛ teaspoon salt (leave out if using canned cherries)
- ½ cup sugar (use ¼ cup if using canned cherries)
- ½ cup water
- 1 teaspoon vanilla
- 1 teaspoon lemon zest
- ¼ teaspoon almond extract (optional)
Instructions
-
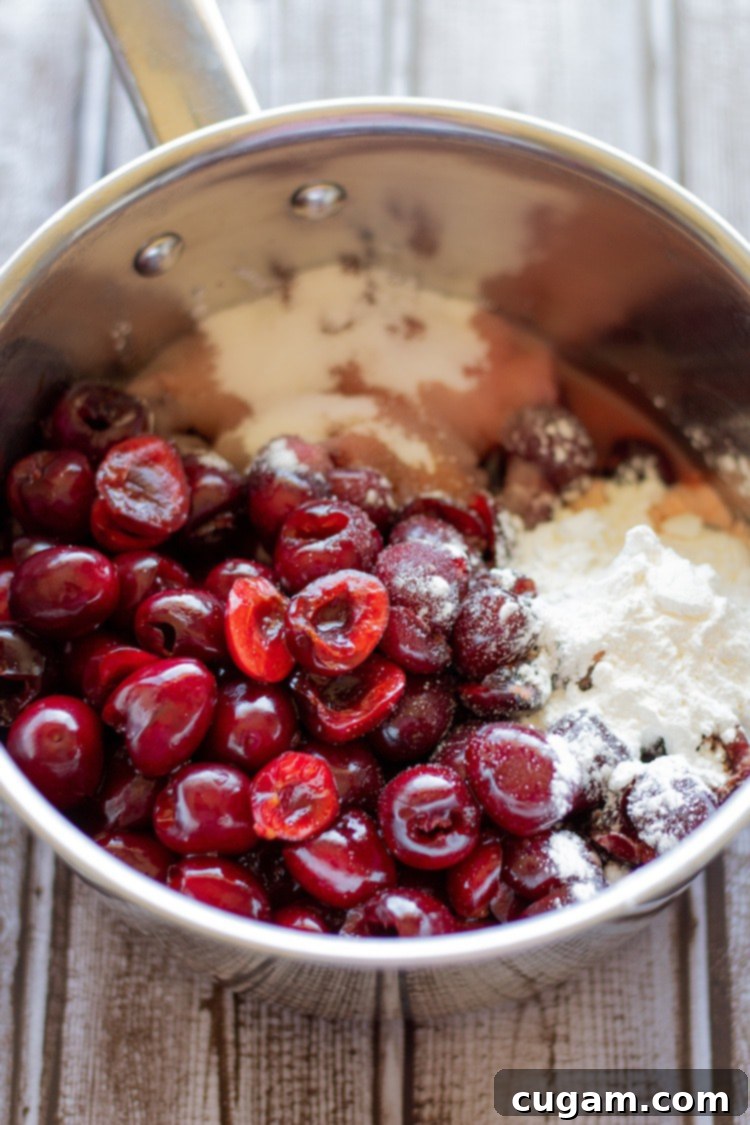
In a medium saucepan, combine the pitted cherries, cornstarch, fresh lemon juice, salt, sugar, and water. Stir everything together gently until the cornstarch is dissolved and the ingredients are well mixed. Place the saucepan over medium heat and cook, stirring frequently, until the mixture begins to bubble. Continue to stir as it thickens to prevent sticking and burning.
-
Once bubbling, reduce the heat to low and let it simmer for about 10 minutes. Continue stirring often to ensure even cooking and thickening. The mixture should become glossy and reach a consistency that lightly coats the back of a spoon. Remove the saucepan from the heat and stir in the vanilla extract, fresh lemon zest, and the optional almond extract. Allow the filling to cool for 10-15 minutes before using it as a dessert topping. For pie baking, it’s best to cool it completely to room temperature before adding it to your pie crust. This allows it to set properly and prevents a soggy bottom crust.
Notes
To freeze the homemade cherry pie filling, allow it to cool completely. Transfer it to an airtight, freezer-safe container or heavy-duty freezer bag. Label with the date and freeze for up to 3-4 months. When ready to use, thaw overnight in the refrigerator or at room temperature for a few hours. Stir thoroughly before incorporating into your recipe to ensure a smooth, lump-free consistency.
Nutrition
Delicious Ways to Use Your Homemade Cherry Pie Filling
The versatility of this homemade cherry pie filling extends far beyond the traditional pie. Here are some fantastic ideas to get you started:
- Classic Cherry Pie or Tart: The most obvious and beloved use! Spoon it into a homemade pie crust for a show-stopping dessert.
- Cheesecake Topping: Elevate any cheesecake (baked or no-bake) with a generous layer of this vibrant cherry filling.
- Ice Cream Sundaes: Warm it up slightly and drizzle over vanilla ice cream for an instant gourmet sundae.
- Breakfast Bliss: Spoon it over pancakes, waffles, French toast, oatmeal, or yogurt parfaits for a burst of fruity flavor to start your day.
- Brownies & Bars: Swirl it into brownie batter before baking, or use it as a layer in dessert bars for a delightful cherry twist.
- Crepes & Blintzes: A perfect filling for sweet crepes or cheese blintzes.
- Muffins & Scones: Fold it into muffin batter or add a dollop to scones before baking for moist, fruity treats.
- Cobblers & Crisps: Use it as the base for a comforting cherry cobbler or crisp, topped with a buttery crumble or biscuit topping.
- Yogurt & Granola: Layer with Greek yogurt and crunchy granola for a healthy yet indulgent snack.
Embrace the Homemade Difference!
Making your own cherry pie filling is a rewarding experience that yields a superior product to anything you can buy in a can. With fresh, simple ingredients, you create a vibrant, flavorful filling that’s perfectly tailored to your taste. Plus, its gluten-free nature and freezer-friendly capabilities make it an excellent staple for any home baker.
So, gather your cherries and get ready to create a truly unforgettable dessert component. Whether it’s for a holiday pie or a simple weeknight treat, this homemade cherry pie filling is sure to impress. Don’t forget to share your creations! Tag @eatdessertsnack or use #eatdessertsnack when you post on social media!
