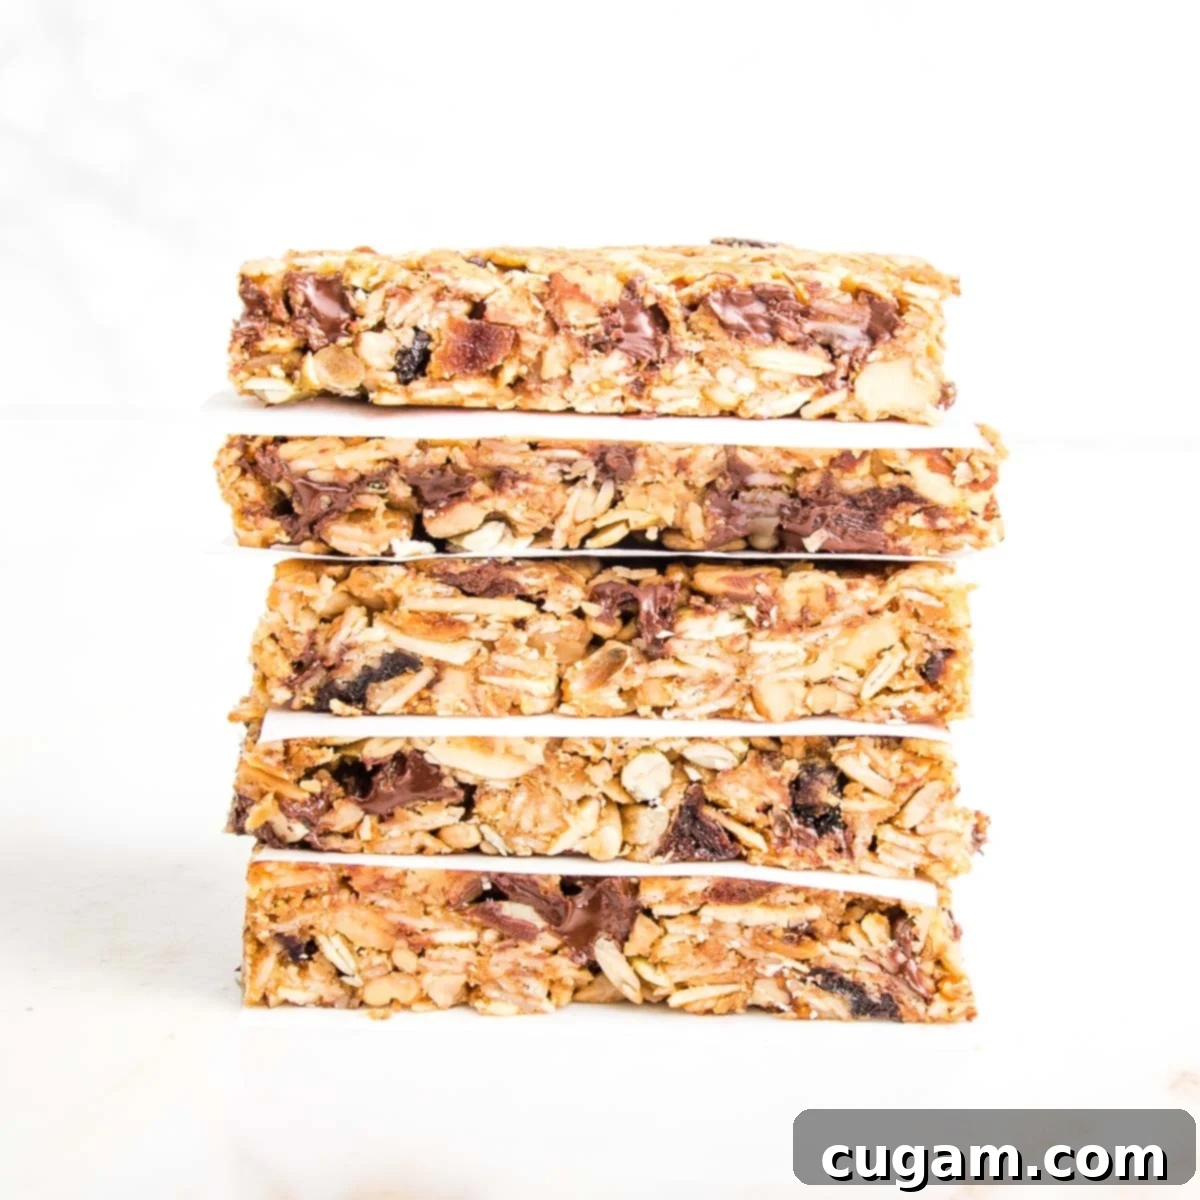
The Ultimate Guide to Homemade Crunchy Baked Granola Bars: Healthy & Easy Recipe
Craving a healthy, satisfying snack that’s easy to make and tastes incredible? Look no further than these **Homemade Crunchy Baked Granola Bars**. Far superior to anything you’ll find in a package, these bars are a wholesome blend of oats, nuts, and seeds, designed to fuel your day and conquer those pesky midday hunger pangs. This comprehensive guide will show you how to craft perfect, crisp granola bars that are not only delicious but also budget-friendly and fully customizable to your dietary needs and taste preferences. Get ready to transform your snacking habits and ditch those overly processed, sugar-laden store-bought options for good!
This post was updated from the original posted on September 14, 2015, bringing you even more tips and insights for perfect granola bars!
[feast_advanced_jump_to]
Seriously, you absolutely NEED these **Crunchy Baked Granola Bars** in your life. We all know the challenge of balancing a busy schedule with the desire to eat healthy and save money. It often feels like a losing battle, with quick-and-easy drive-thru options always tempting us. But what if I told you that the struggle is entirely optional? This recipe offers a simple, delicious, and genuinely healthy alternative that has been thoroughly kid-tested and mother-approved.
Forget the notion that oats and honey granola bars only come pre-packaged. With this straightforward recipe, you can easily create your own batch of nutritious, satisfying bars right in your kitchen. They are an absolute game-changer for meal prep, are freezer-friendly, and provide the perfect healthy solution for those hectic, hungry mornings, quick post-workout fuel, lunchbox additions, or after-school snacks. Having a reliable “grab and go” option doesn’t mean compromising on health or taste, and these homemade granola bars prove it!
Why You’ll Adore These Crunchy Granola Bars
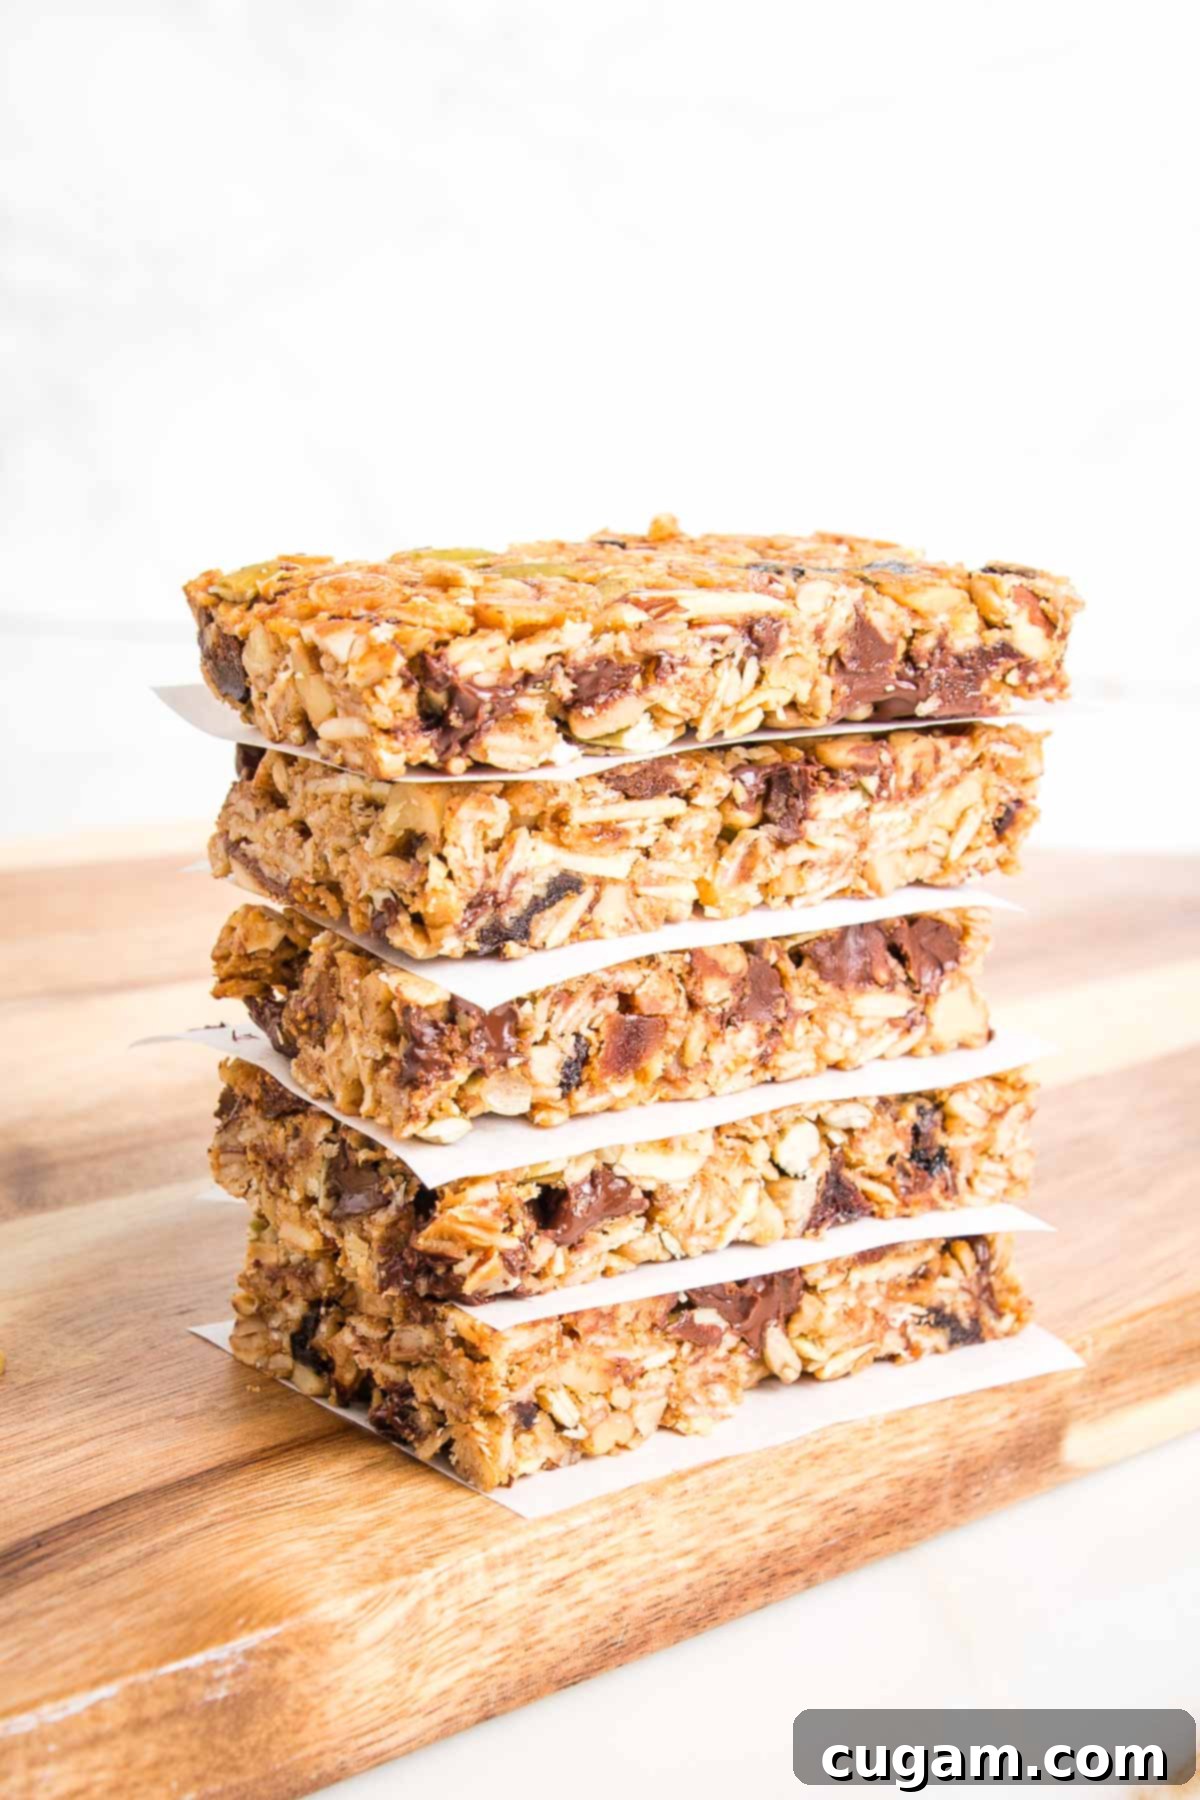
- Family Favorite: These bars are genuinely kid-tested and enthusiastically mother-approved. They’re a healthy snack that even the pickiest eaters will ask for, making your life a little easier and a lot tastier.
- Perfect for Meal Prep: Whip up a big batch on the weekend, and you’ll have healthy breakfasts and snacks ready for the entire week. They’re also freezer-friendly, ensuring you always have a wholesome option on hand.
- Irresistibly Crunchy and Satisfying: Unlike many soft or chewy granola bars, this recipe delivers a wonderfully crisp, satisfying crunch that truly hits the spot. It’s the perfect texture to make you feel full and delighted.
- No-Crumble Grab-and-Go: Designed to hold together beautifully, these granola bars are ideal for on-the-go consumption. Toss one in your bag, lunchbox, or grab one before heading out the door – no mess, just healthy fuel.
- Effortlessly Easy & Customizable: With simple steps and readily available ingredients, this recipe is a breeze to follow. Plus, it’s incredibly versatile, allowing you to easily swap ingredients to suit your preferences or what you have in your pantry.
- Seriously Delicious: Say goodbye to the bland, “cardboard” taste of many store-bought bars. These homemade creations burst with natural flavors, making them a truly delightful treat that you’ll look forward to.
- Optimal Crunchy Texture: We’ve nailed the perfect balance for a crisp, firm, and wonderfully tasty texture. If you’re a fan of a softer, chewier bar, be sure to check out this no-bake recipe for an equally delicious alternative.
- Economical Choice: Making your own granola bars is significantly more affordable than constantly buying them from the store. You save money while also enjoying a superior, fresher product.
Ingredients and Flavorful Substitutions
Crafting the perfect granola bar starts with high-quality, wholesome ingredients. Here’s a breakdown of what you’ll need and how you can get creative with substitutions to make these bars truly your own.
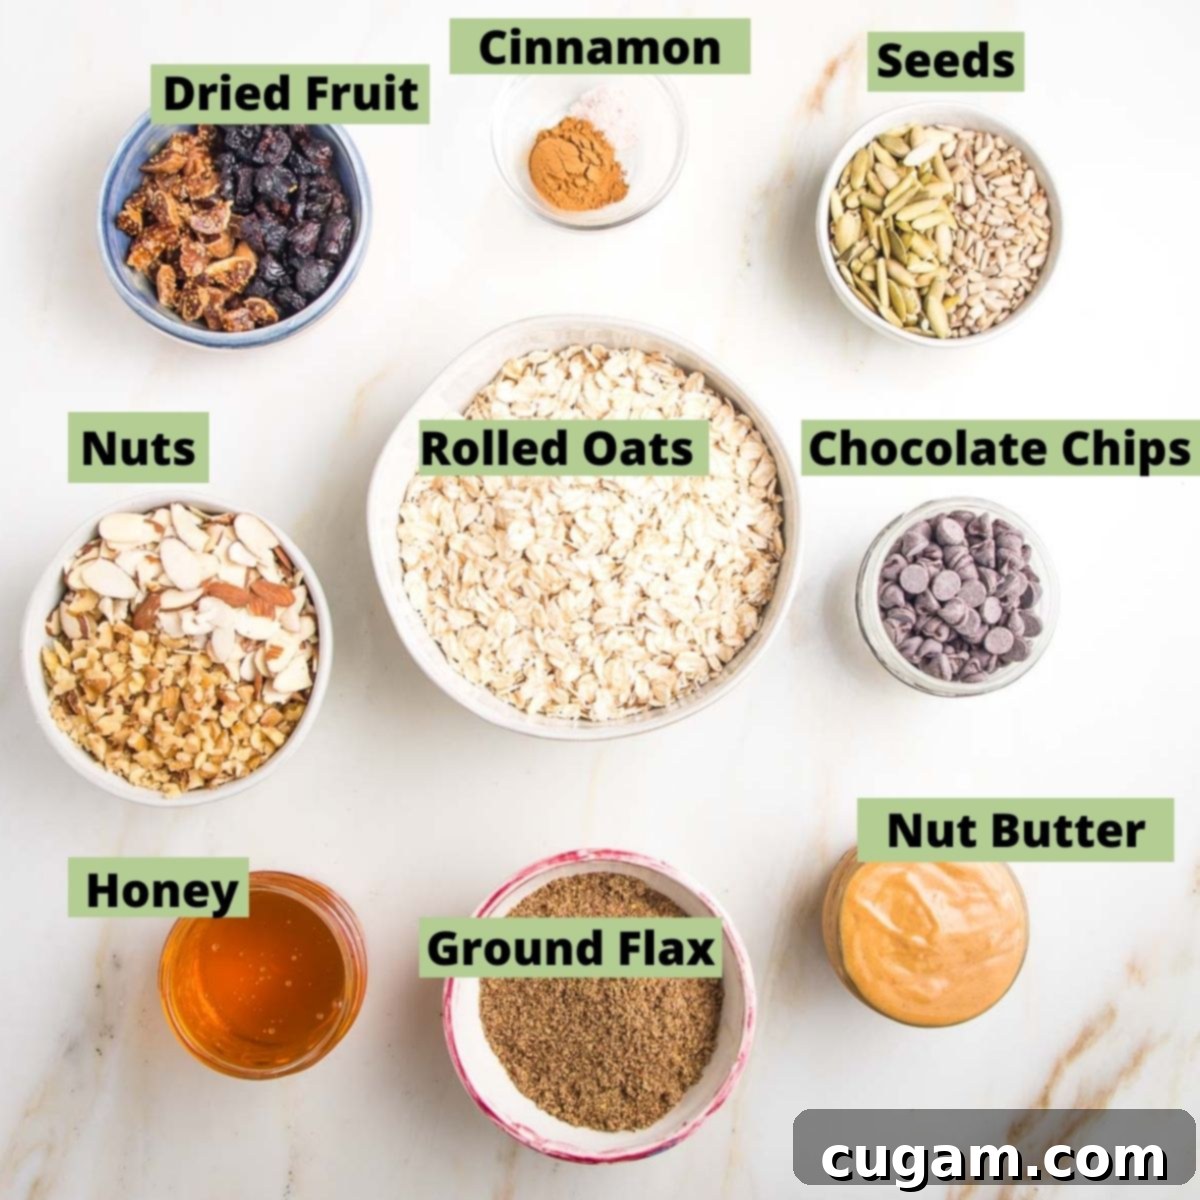
- Rolled Oats: The foundation of our delicious granola bars. Rolled oats are a fantastic whole grain, rich in soluble fiber which aids in blood sugar control and keeps you feeling full and satisfied longer. For an extra nutritional boost and easier digestion, I highly recommend using sprouted oats. Brands like Thrive Market Organic Oats or One Degree Organic Sprouted Oats are excellent choices. Always ensure your oats are non-GMO and glyphosate-free. If you’re looking for a grain-free energy bar, this recipe can be adapted, but for traditional granola, rolled oats are key.
- Seeds: A powerhouse of nutrition, seeds contribute essential fiber, vitamins, minerals, and healthy fats. I often use pumpkin seeds and sunflower seeds for their distinct flavor and crunch. Feel free to incorporate your favorites or whatever you have on hand – chia seeds, hemp seeds, or sesame seeds would all make fantastic additions, boosting omega-3 content and texture.
- Nuts: Nuts provide a wonderful source of plant-based protein, healthy fats, and fiber, eliminating the need for any added oils in this recipe. I typically opt for walnuts due to their beneficial omega-3 fatty acids. However, pecans, almonds, pistachios, or hazelnuts are all excellent alternatives. If you have nut allergies, simply increase the amount of seeds, using a variety of larger and smaller seeds to replicate the texture.
- Honey: Beyond its natural sweetness, honey offers a unique texture that helps bind the bars, along with beneficial antioxidants, and natural antibacterial and antifungal properties. For a truly vegan granola bar, you can easily substitute the honey with date syrup or maple syrup, though the texture might be slightly less firm.
- Ground Flax Seeds: These tiny seeds are a nutritional powerhouse, contributing fiber and omega-3s. Crucially, ground flax also acts as a natural binding agent, helping to hold these healthy snack bars together and preventing crumbling.
- Nut Butter: A key ingredient for both flavor and binding. Ensure your chosen nut butter (peanut butter, almond butter, cashew butter) is creamy and drippy for best results. If you have nut allergies, sunbutter is an excellent, safe alternative that works beautifully.
- Dark Chocolate Chips: For a touch of indulgence and antioxidant benefits, dark chocolate chips are a must! I prefer those from Thrive Market, but you can also finely chop a high-quality dark chocolate bar for a gourmet touch.
- Other Flavor Boosters: Don’t forget a pinch of salt to enhance all the flavors and a dash of cinnamon for warmth. You can also experiment with vanilla extract, a tiny bit of nutmeg, or even some orange zest for added complexity.
How to Make These Crunchy Granola Bars: Step-by-Step
Creating these delightful homemade granola bars is a straightforward process. Follow these steps for perfect, crunchy results every time!
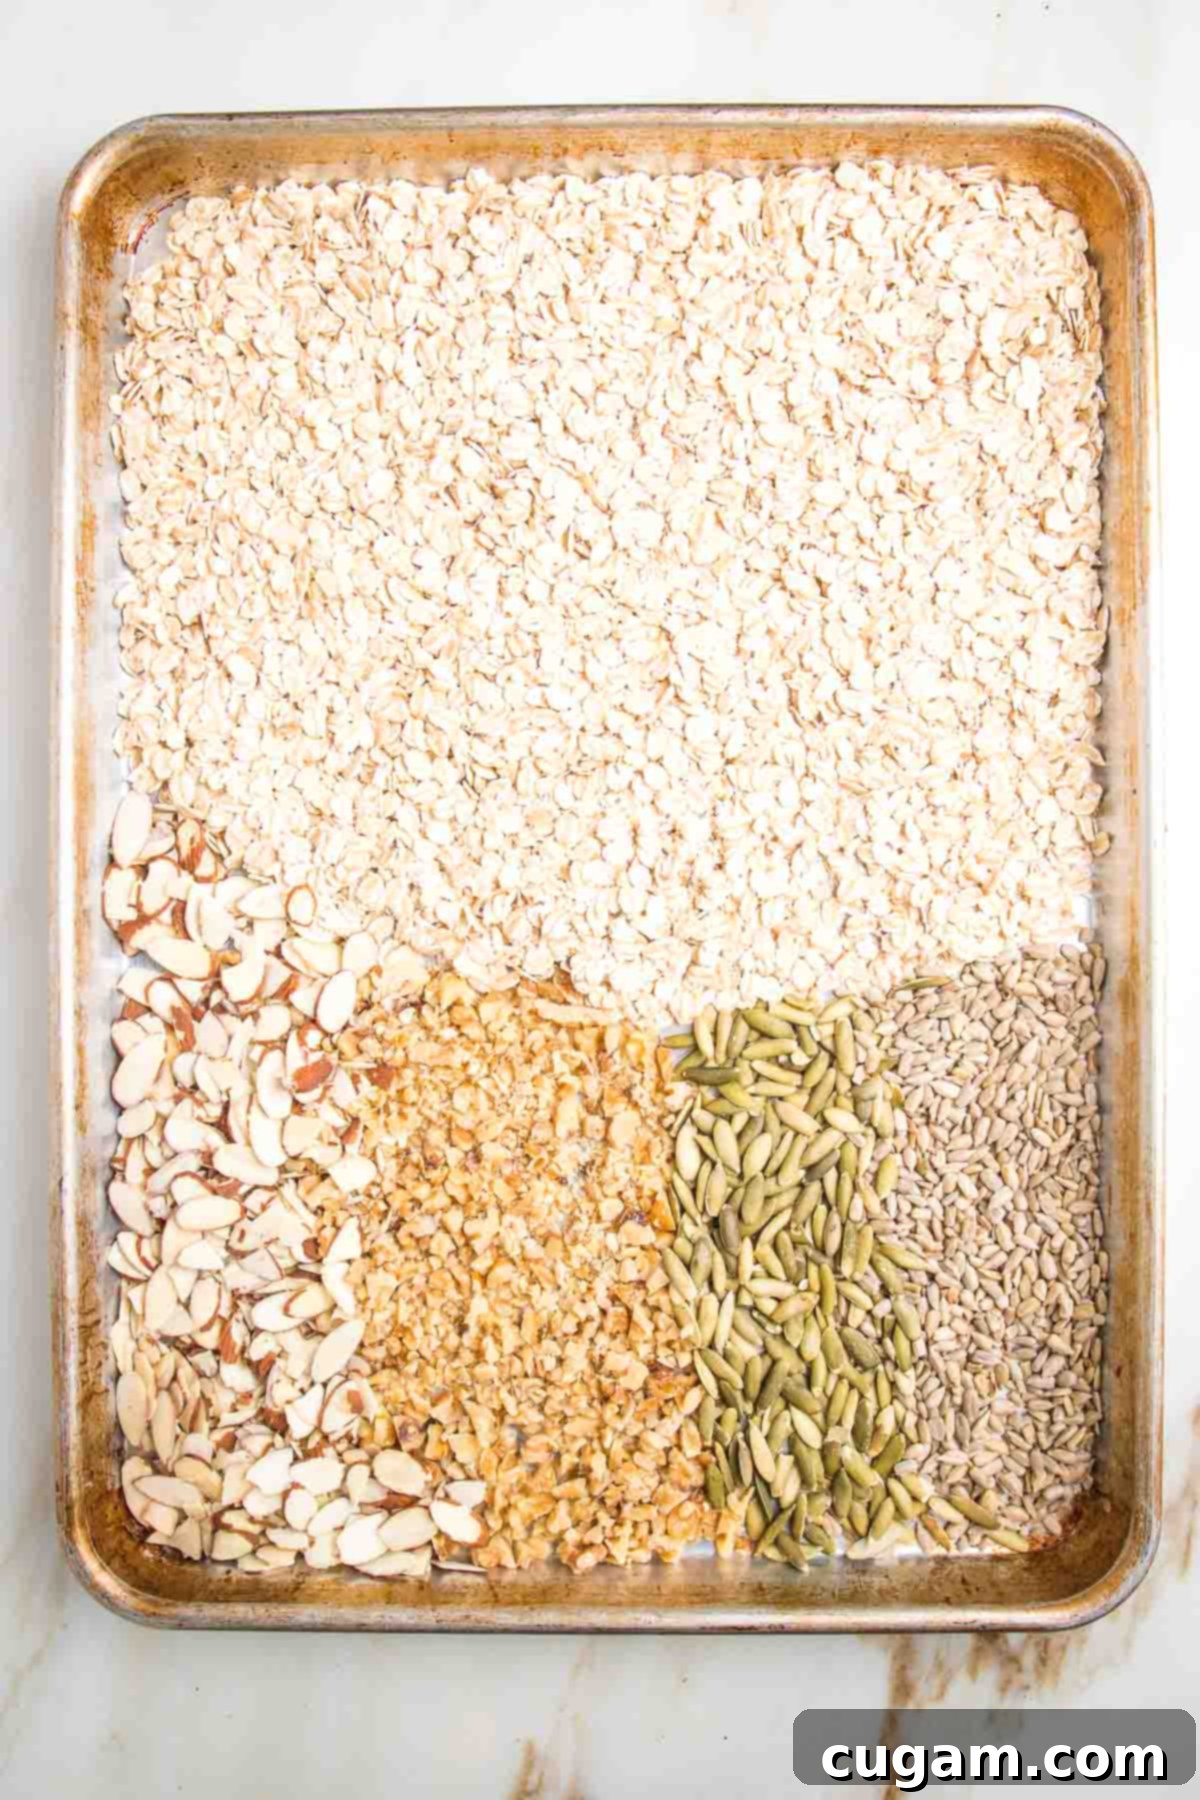
Step 1: Prepare for Toasting. Spread your rolled oats, nuts, and seeds in a single, even layer on a large, rimmed baking tray. This ensures everything toasts uniformly for maximum flavor and crunch. Preheat your oven to 350°F (175°C).
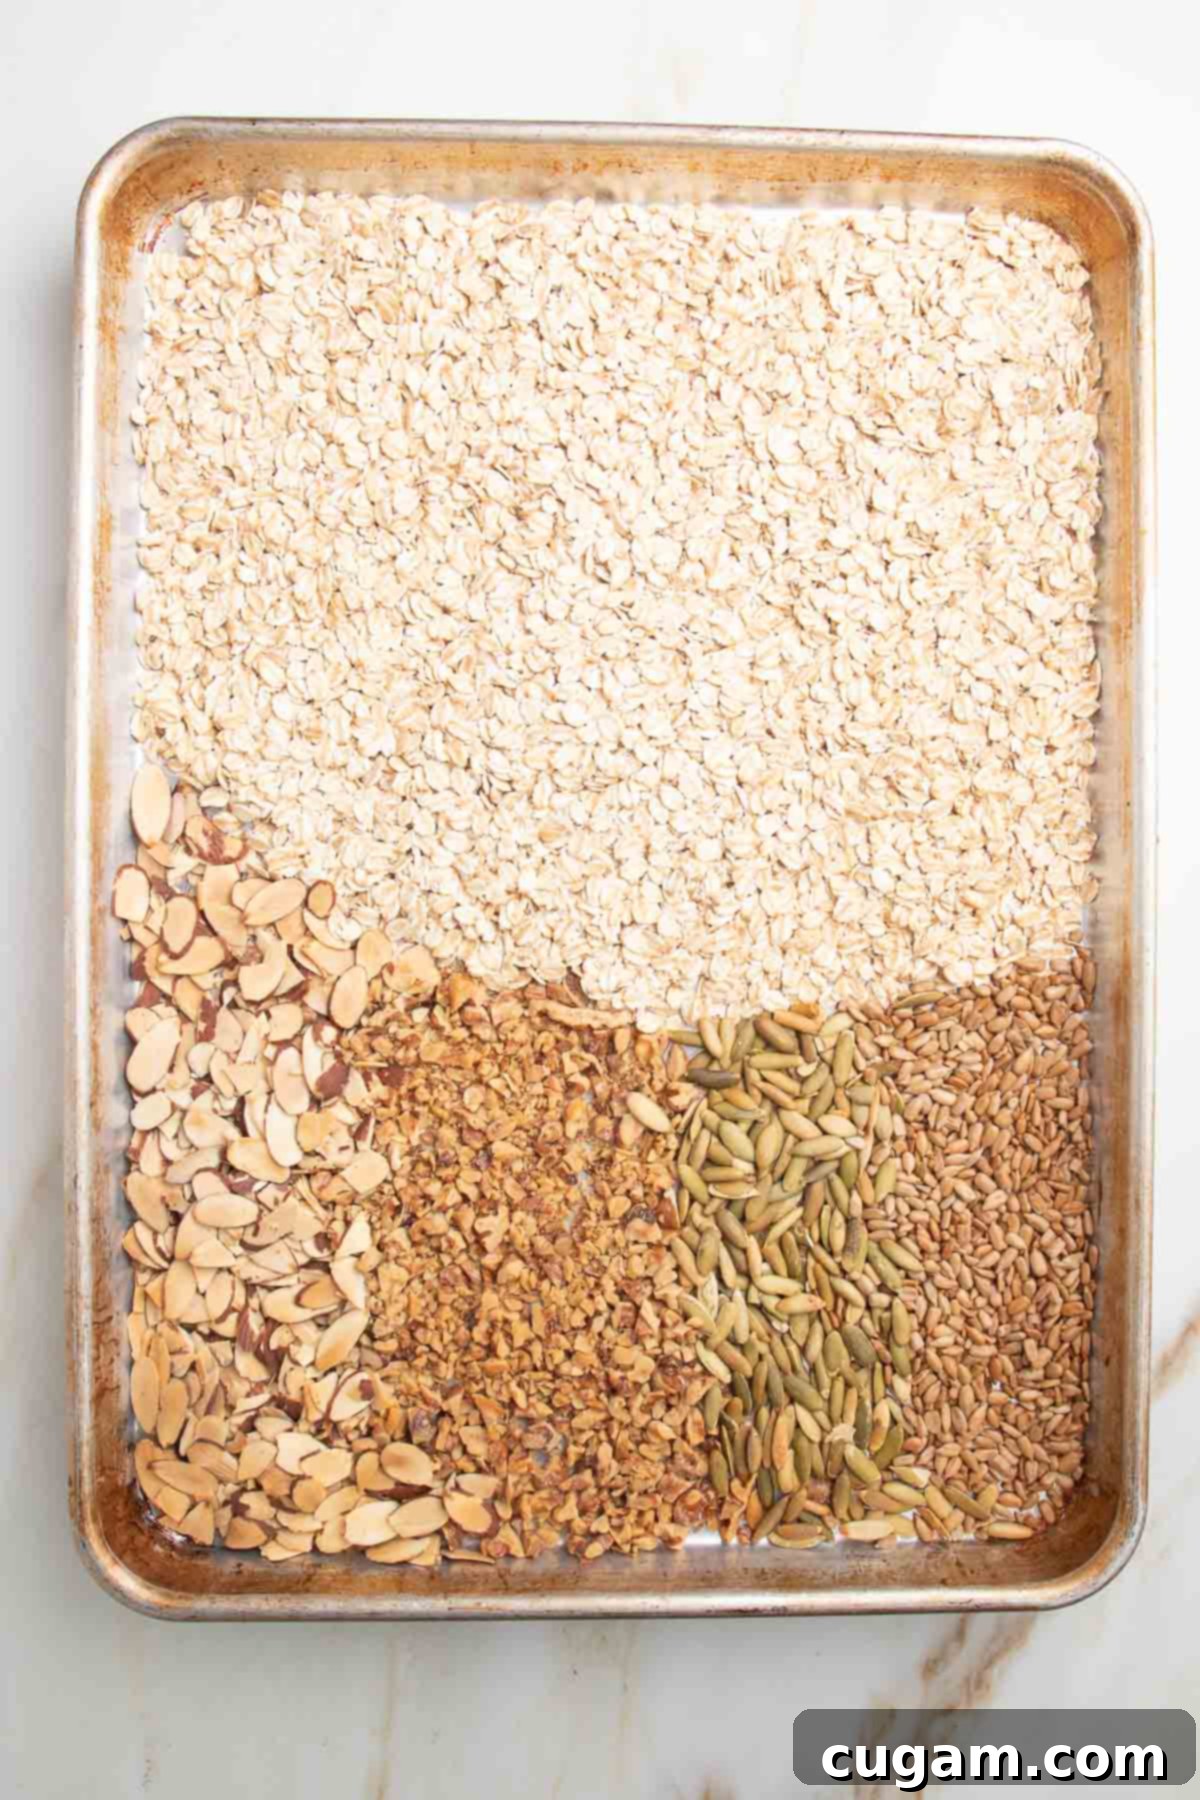
Step 2: Toast to Perfection. Bake the mixture in your preheated 350°F oven for approximately 10 minutes. Keep a close eye on it to prevent burning; you’re looking for a light golden color and a fragrant aroma, indicating they are perfectly toasted.
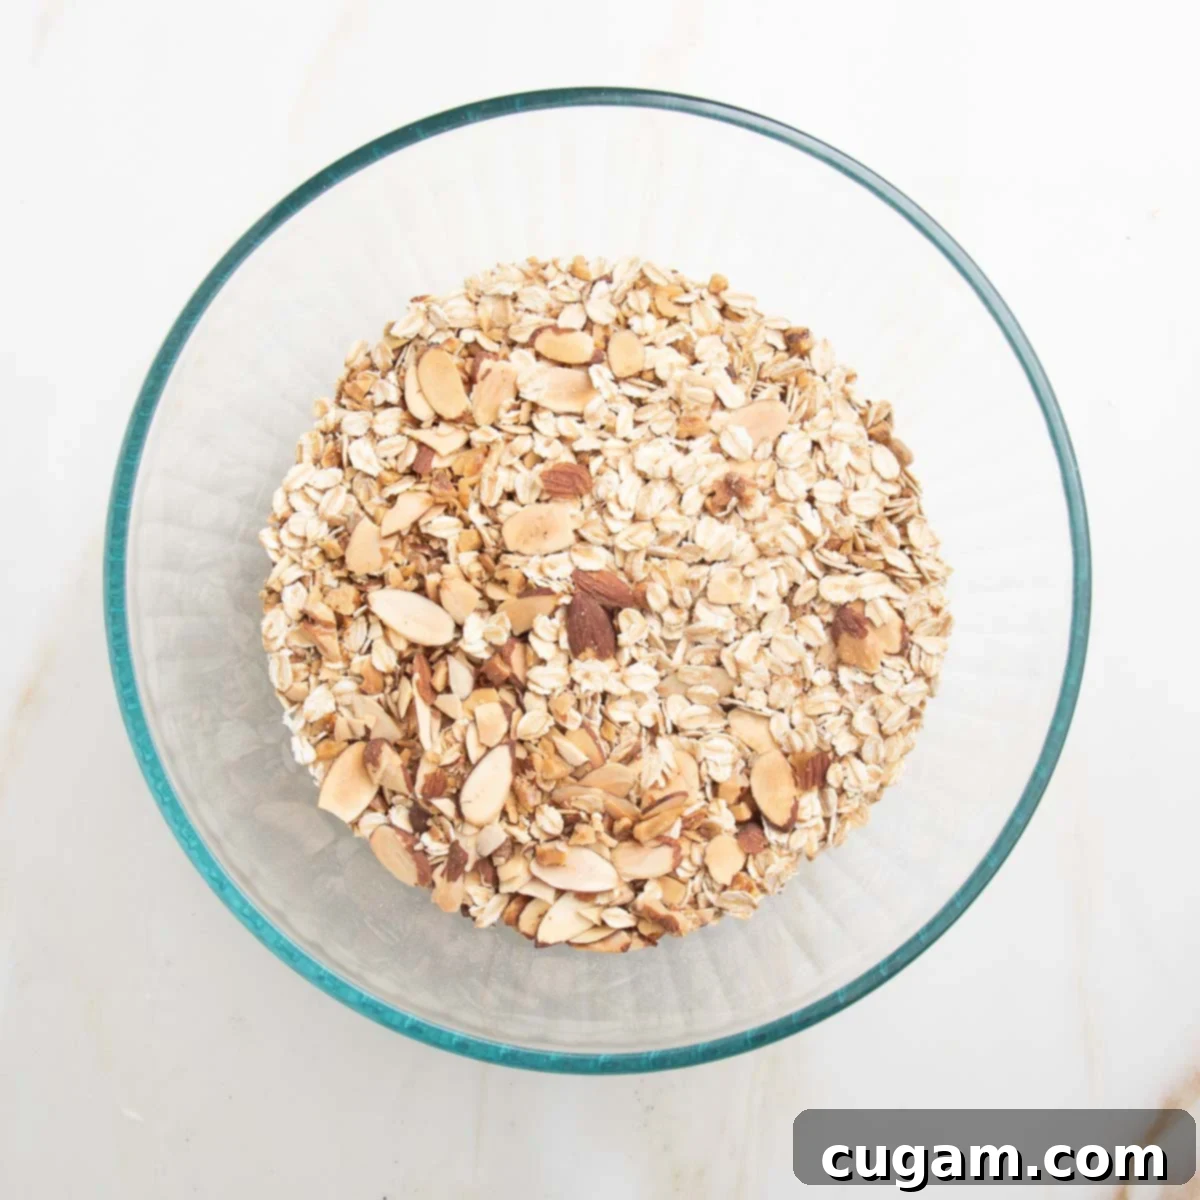
Step 3: Cool and Combine Dry Ingredients. Once toasted, remove the oats and nuts from the oven and let them cool completely. This is crucial if you’re adding chocolate chips! Once cool, transfer the toasted mixture into a large mixing bowl.
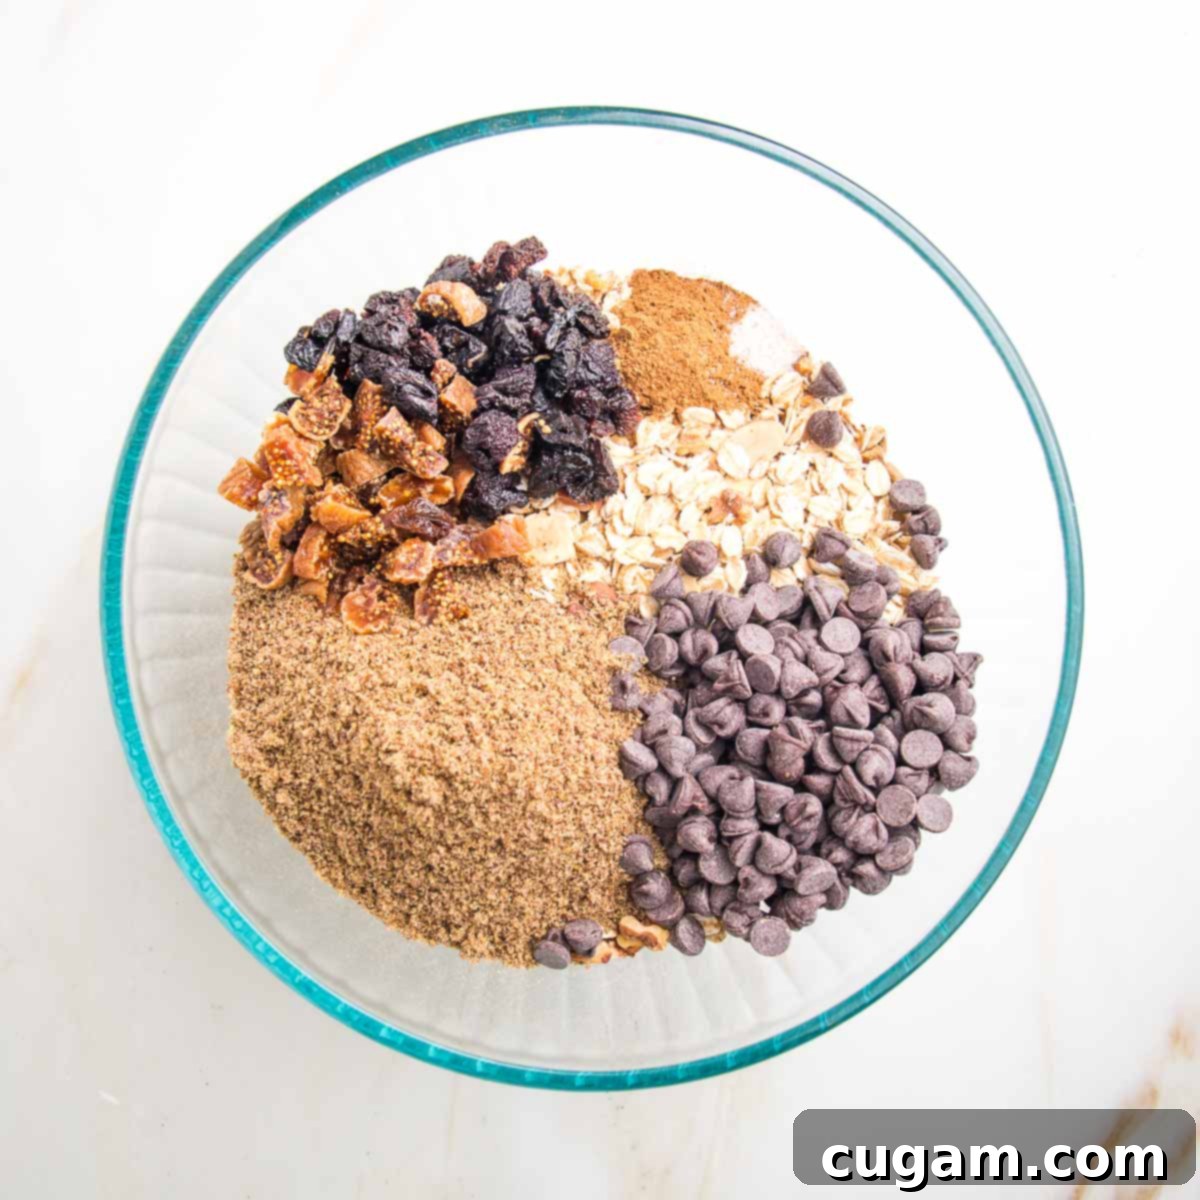
Step 4: Add Flavorful Mix-ins. To the bowl with the cooled oats and nuts, add your dried fruit (chopped if large), ground flax seeds, a teaspoon of ground cinnamon, and a pinch of salt. Now is also the time to add your dark chocolate chips – ensuring the oats are cool will prevent them from melting.
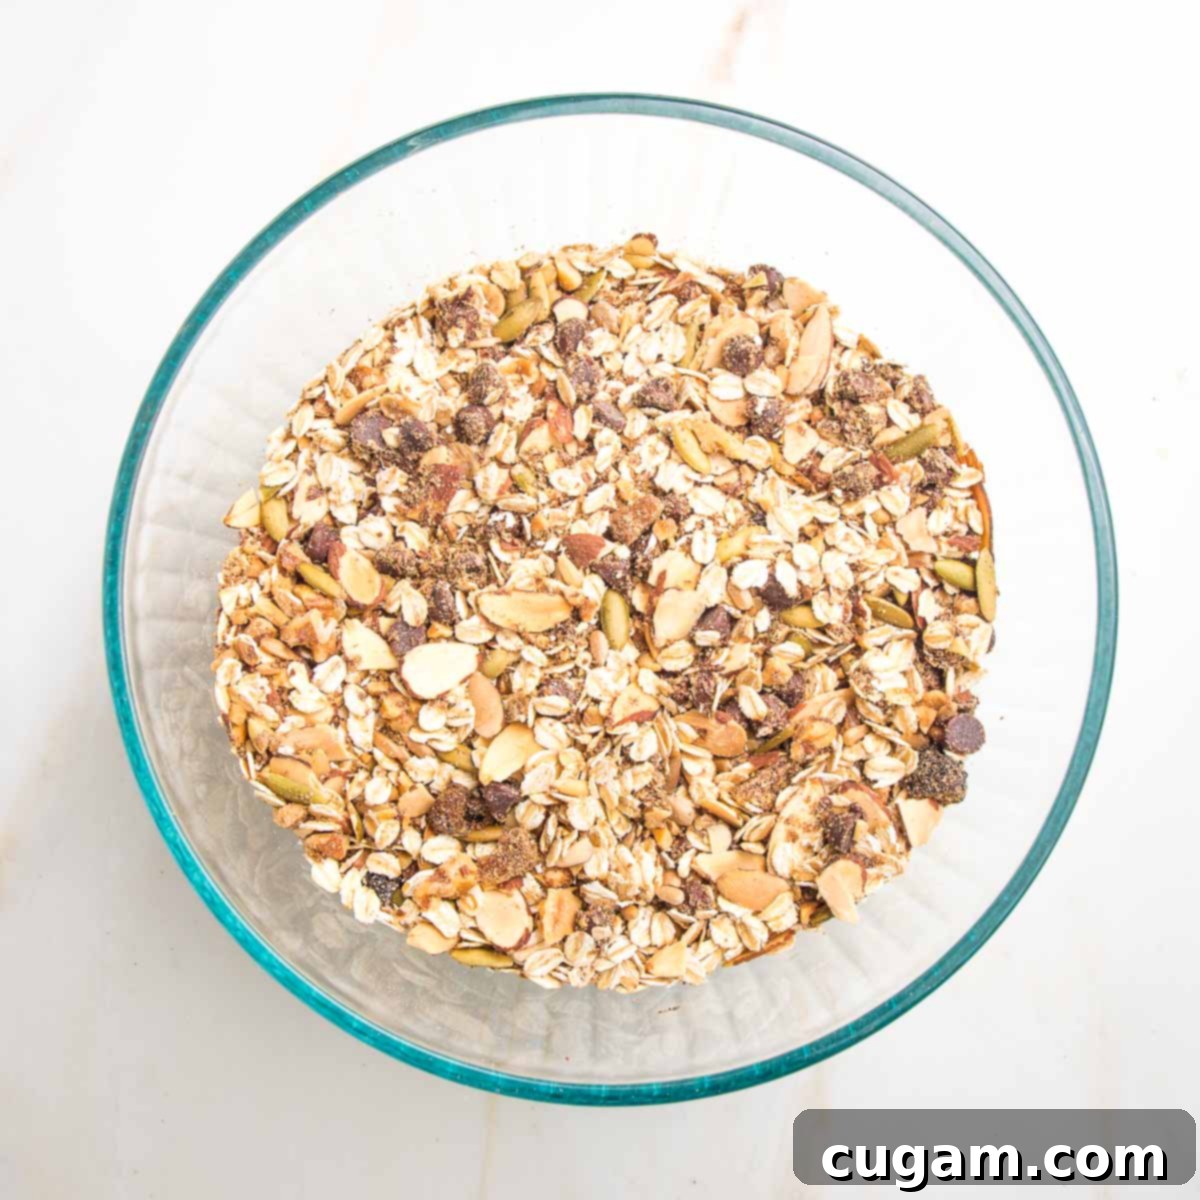
Step 5: Thoroughly Mix Dry Ingredients. Give all the dry ingredients a good mix until everything is evenly combined. This ensures every bite of your granola bar is packed with flavor and texture. Remember the cooling tip for those chocolate chips!
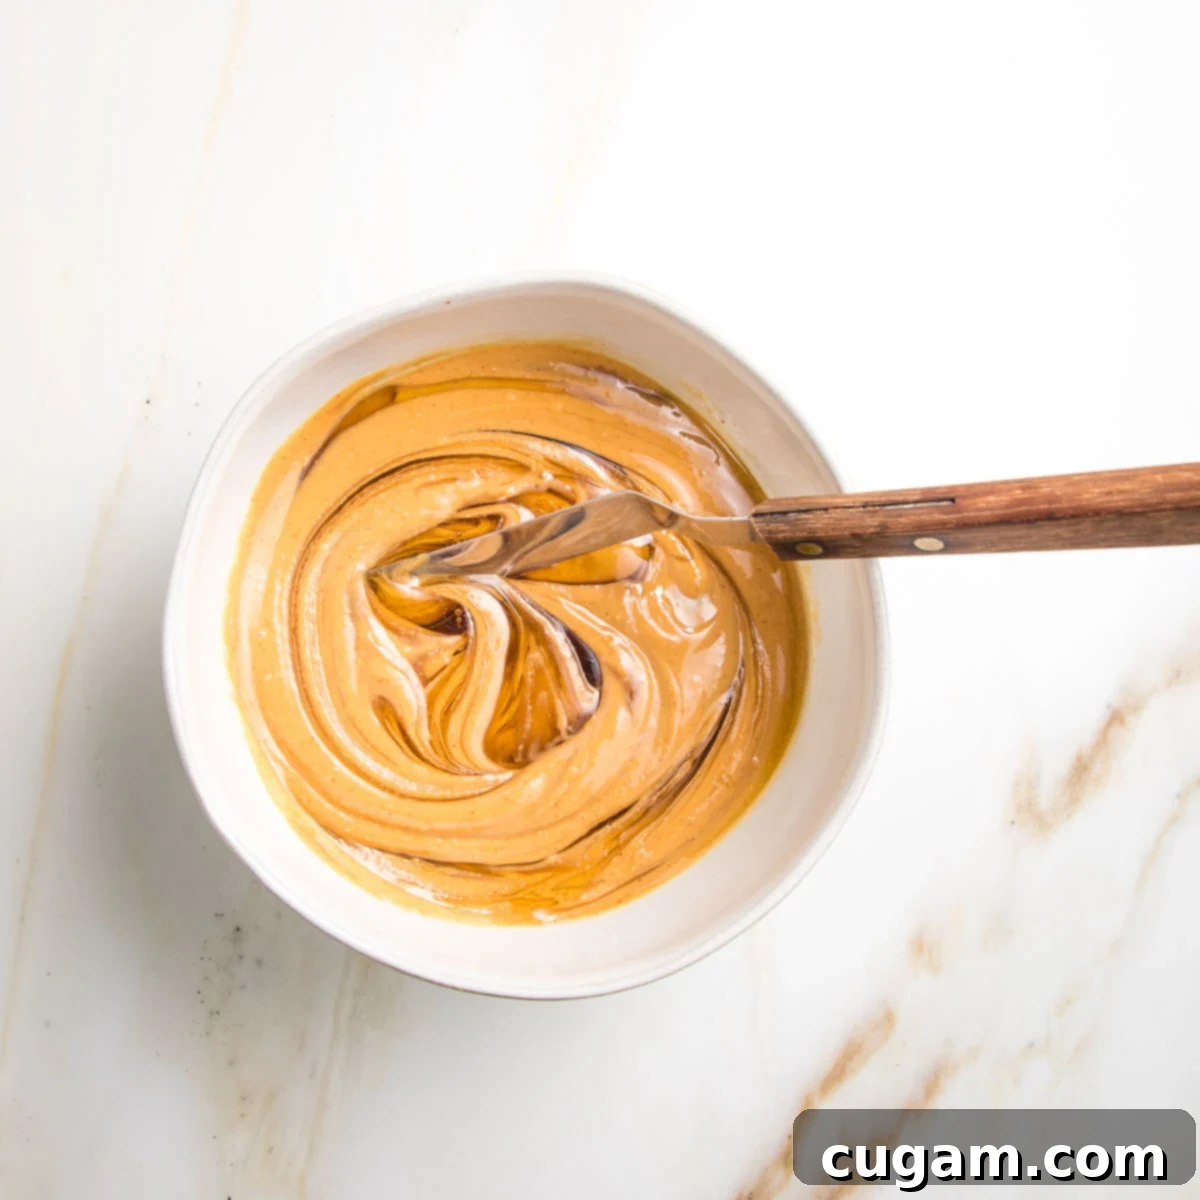
Step 6: Prepare the Wet Binder. In a separate small bowl, combine your drippy nut butter and honey (or maple syrup for a vegan option). Stir them together thoroughly until they form a smooth, uniform mixture. This will be the sticky magic that holds your bars together.
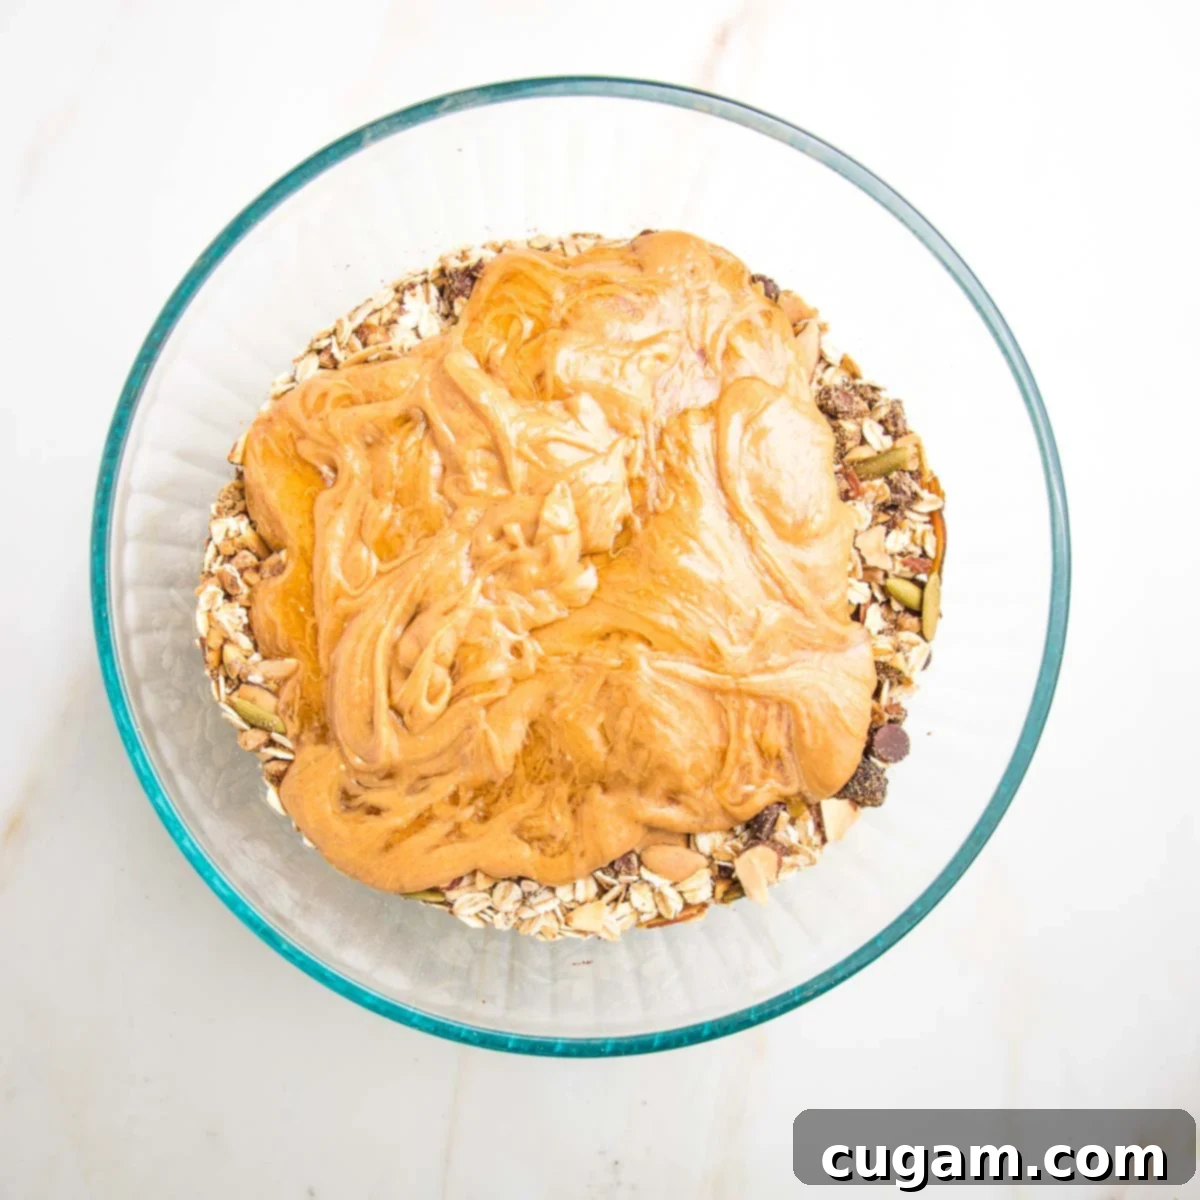
Step 7: Combine Wet and Dry. Pour the prepared nut butter and honey mixture over your dry ingredients in the large bowl. Get ready for some sticky fun!
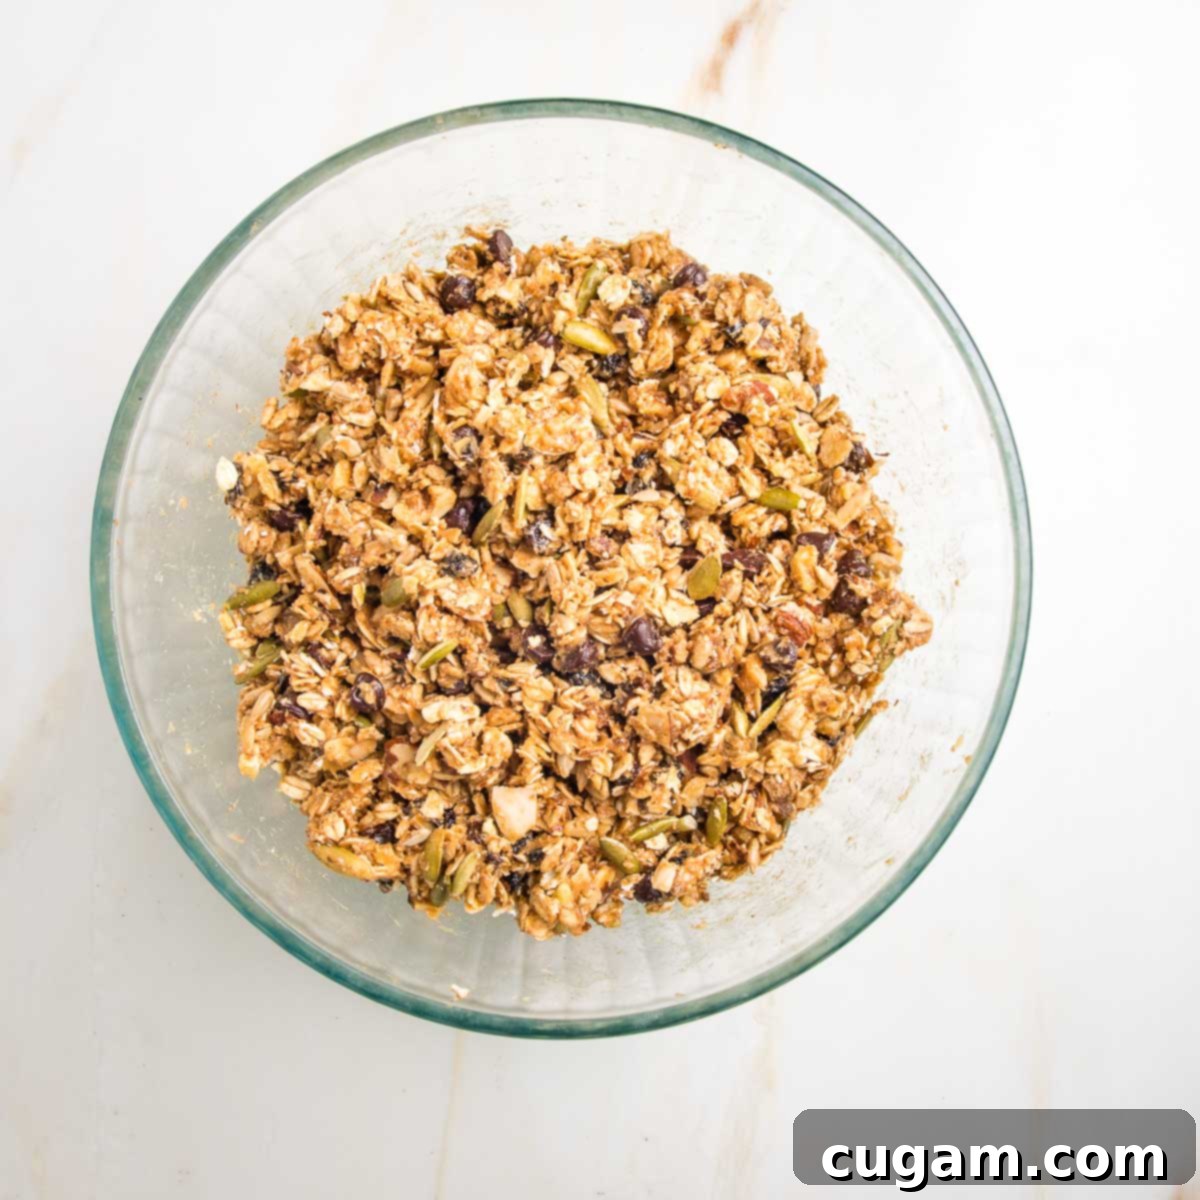
Step 8: Mix Until Fully Coated. Mix everything together exceptionally well. It might feel like there isn’t enough sticky binder to cover all the dry ingredients, but be patient and persistent! Use a sturdy wooden spoon or metal spatula, as the batter will be very thick and sticky. Keep mixing, and you’ll find it’s the perfect amount to evenly coat everything.
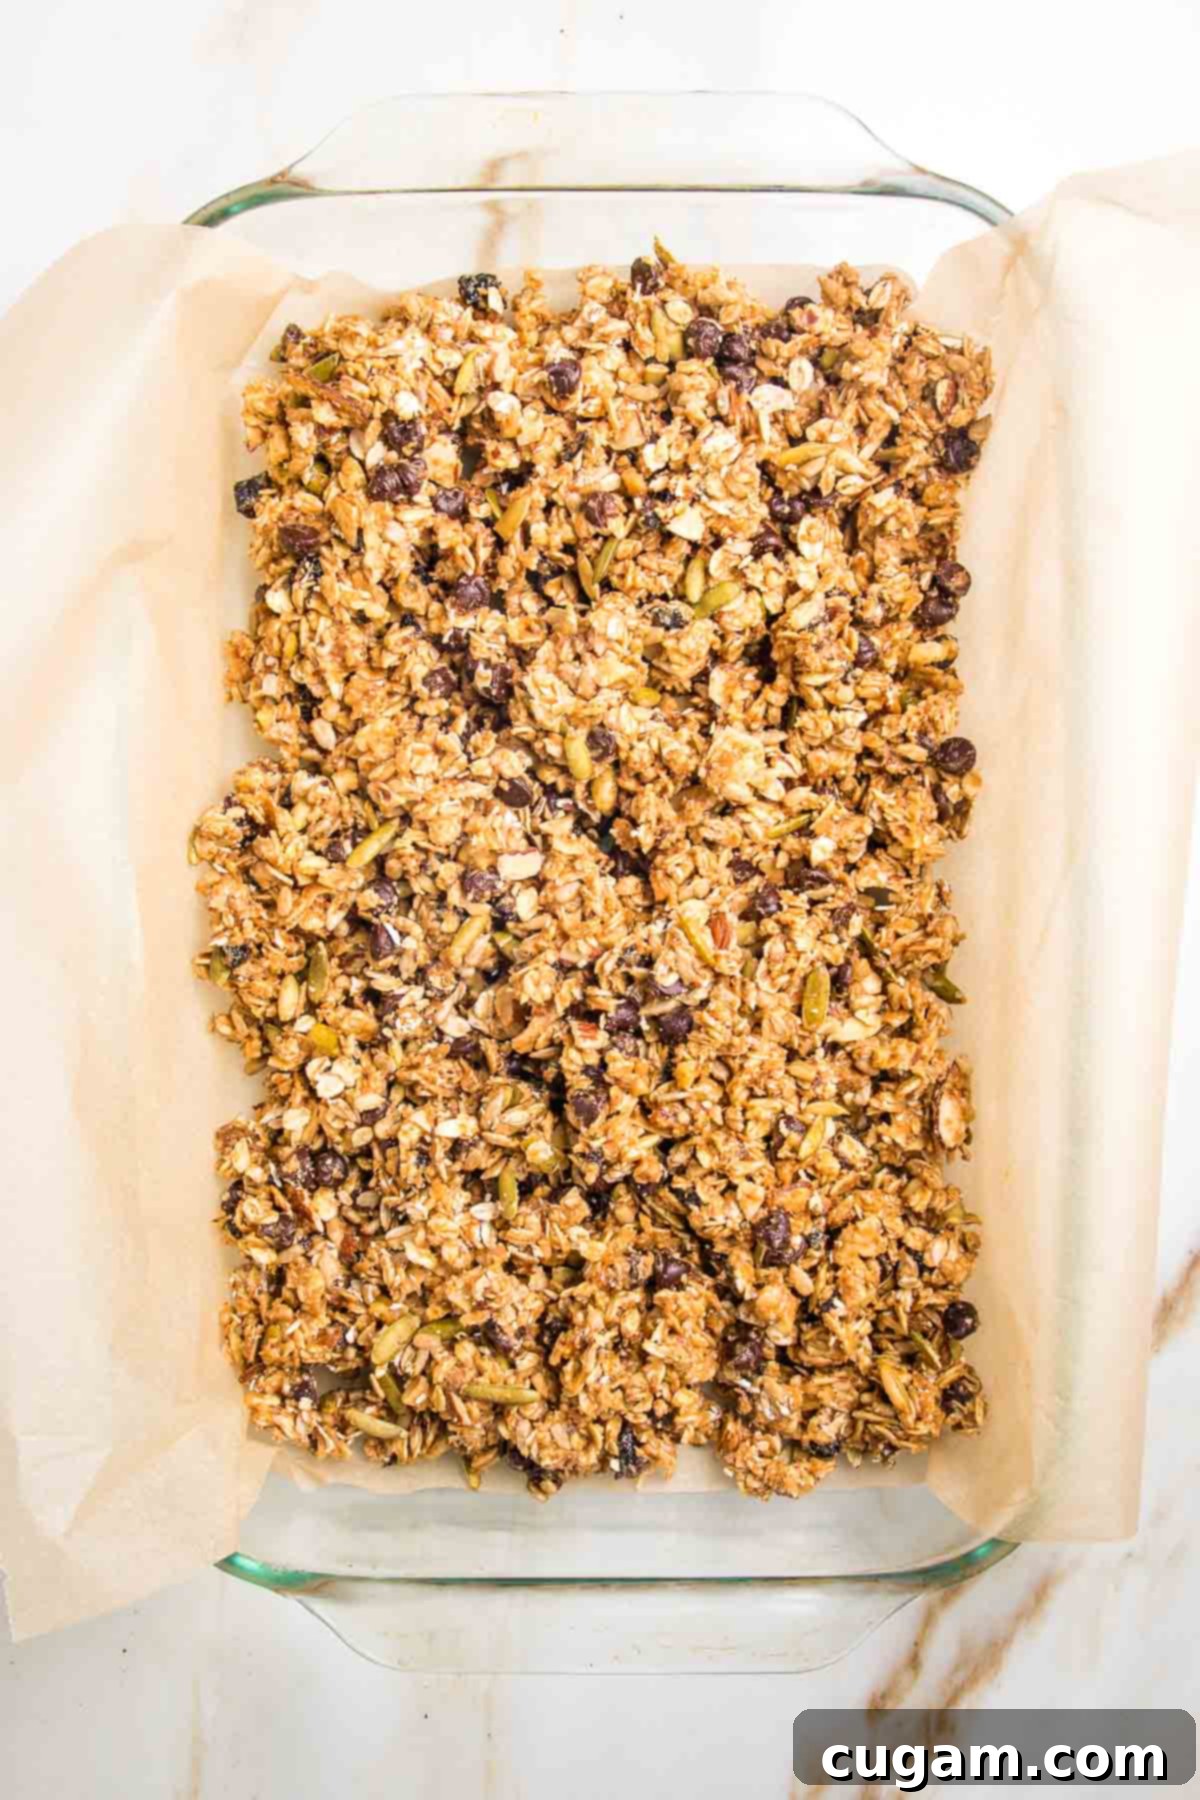
Step 9: Press into Pan. Line a 9×13 inch baking pan with parchment paper, leaving an overhang on the sides for easy removal. Spread the thick granola bar batter evenly into the prepared pan, ensuring it reaches all the edges.
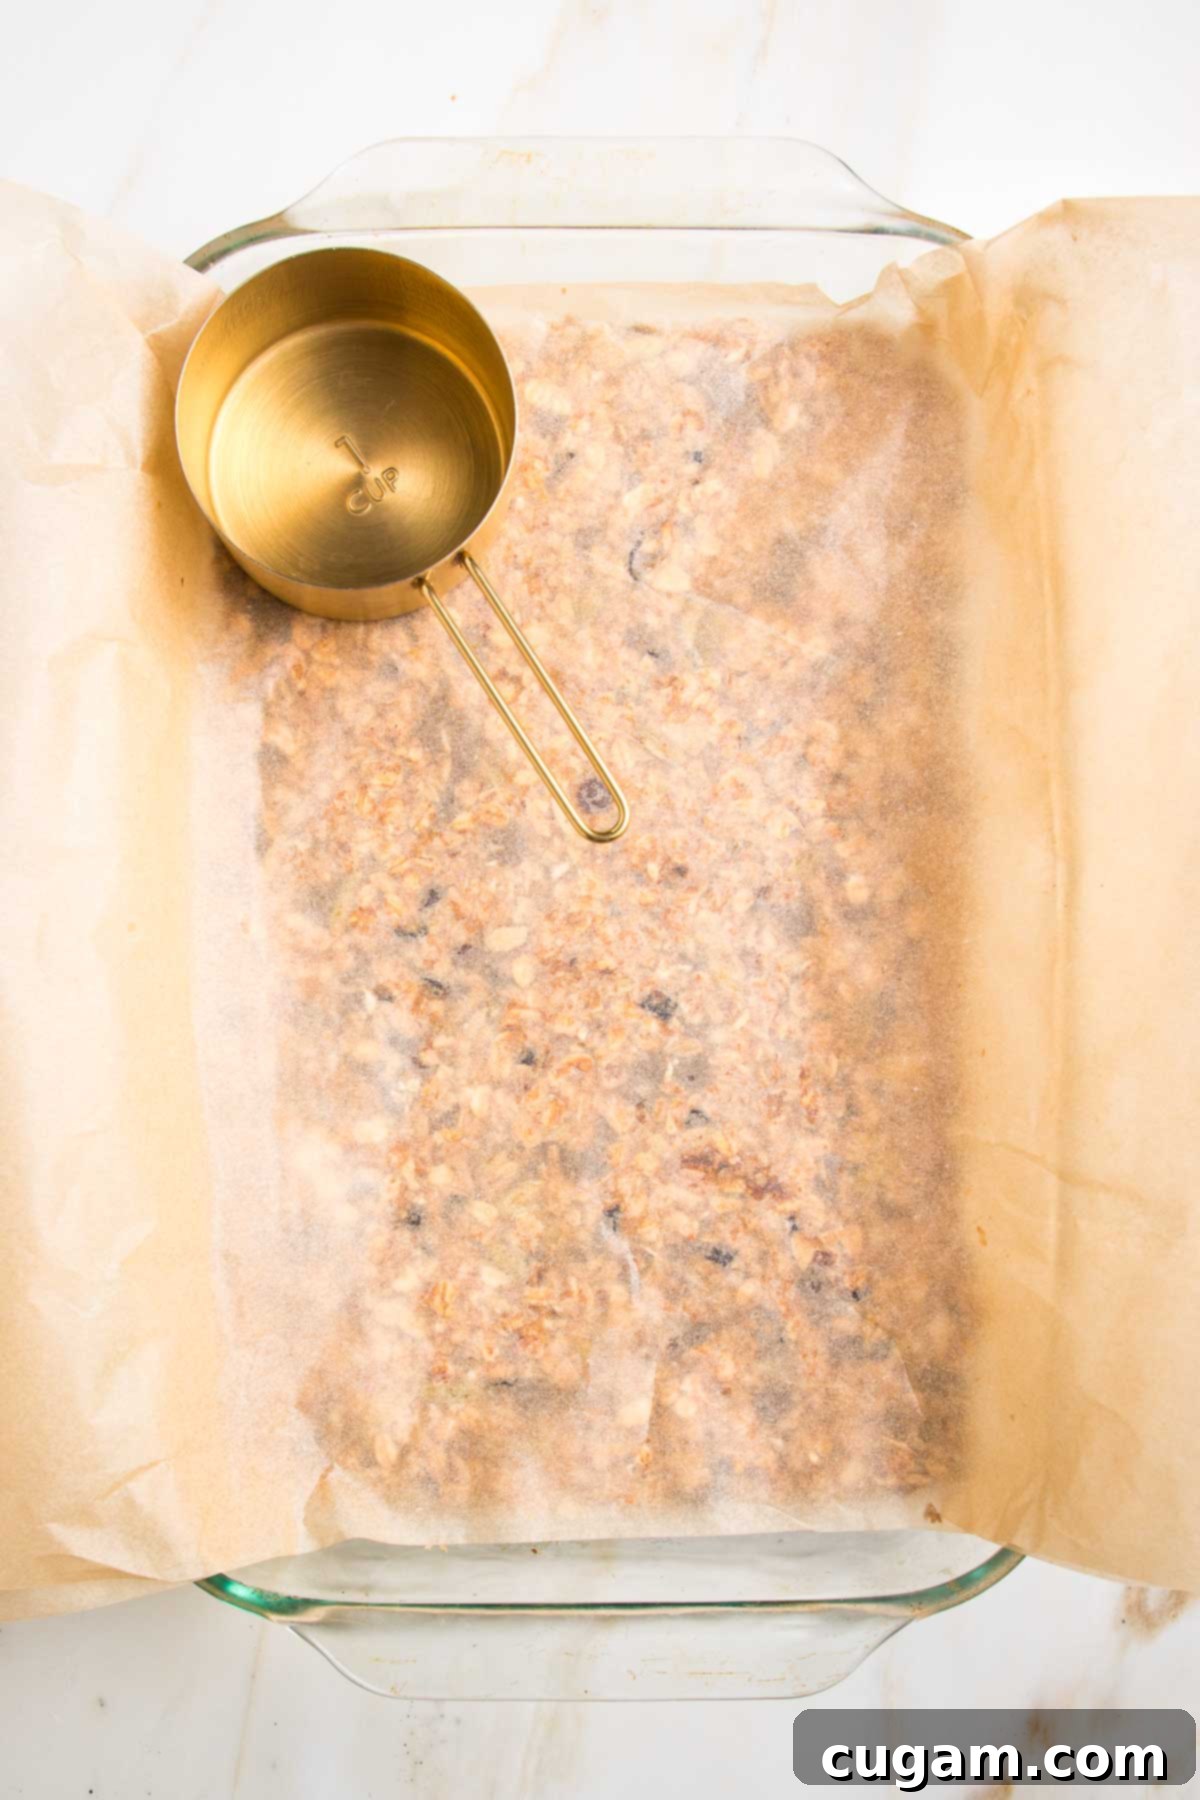
Step 10: Crucial Compacting Step. Place another sheet of parchment paper directly on top of the batter. Now, press down FIRMLY and evenly. The more you compact the mixture into the pan, the better your bars will hold together. I find using the bottom of an empty measuring cup or a flat spatula works wonderfully to achieve a uniform, super-flat, and dense layer.
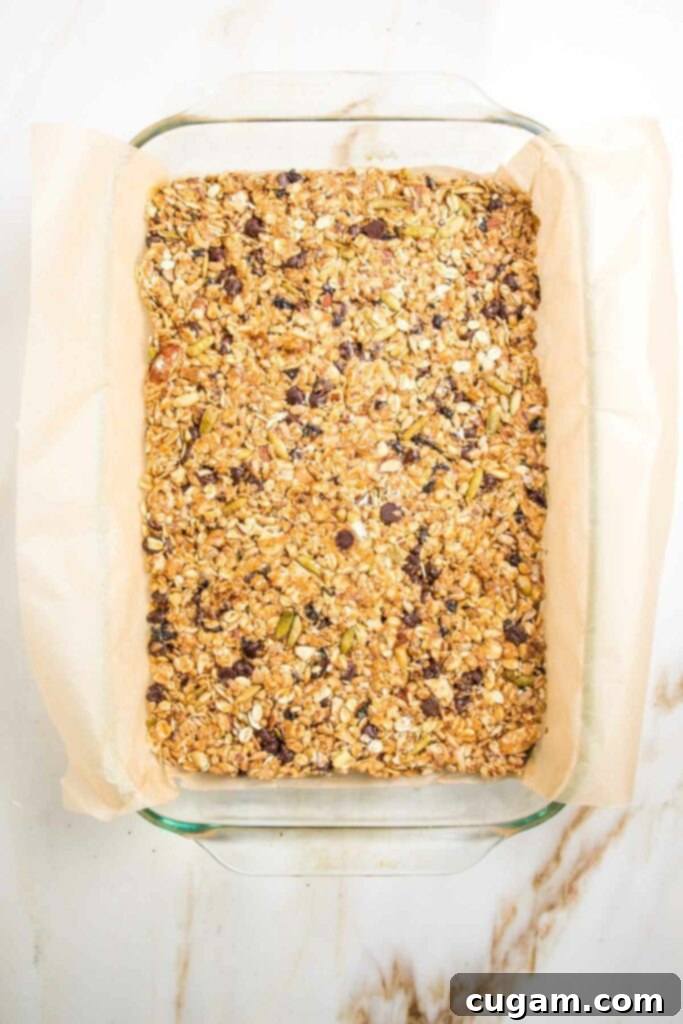
Step 11: Bake and Cool. Reduce your oven temperature to 325°F (160°C) and bake the bars for approximately 25 minutes, or until they are golden brown around the edges. Allow the bars to cool slightly in the pan to let the chocolate chips set a bit. Then, place the top parchment back on and press down firmly again for extra compaction. It’s essential to let them cool COMPLETELY in the pan before attempting to cut them – patience is key for crunchy, intact bars!
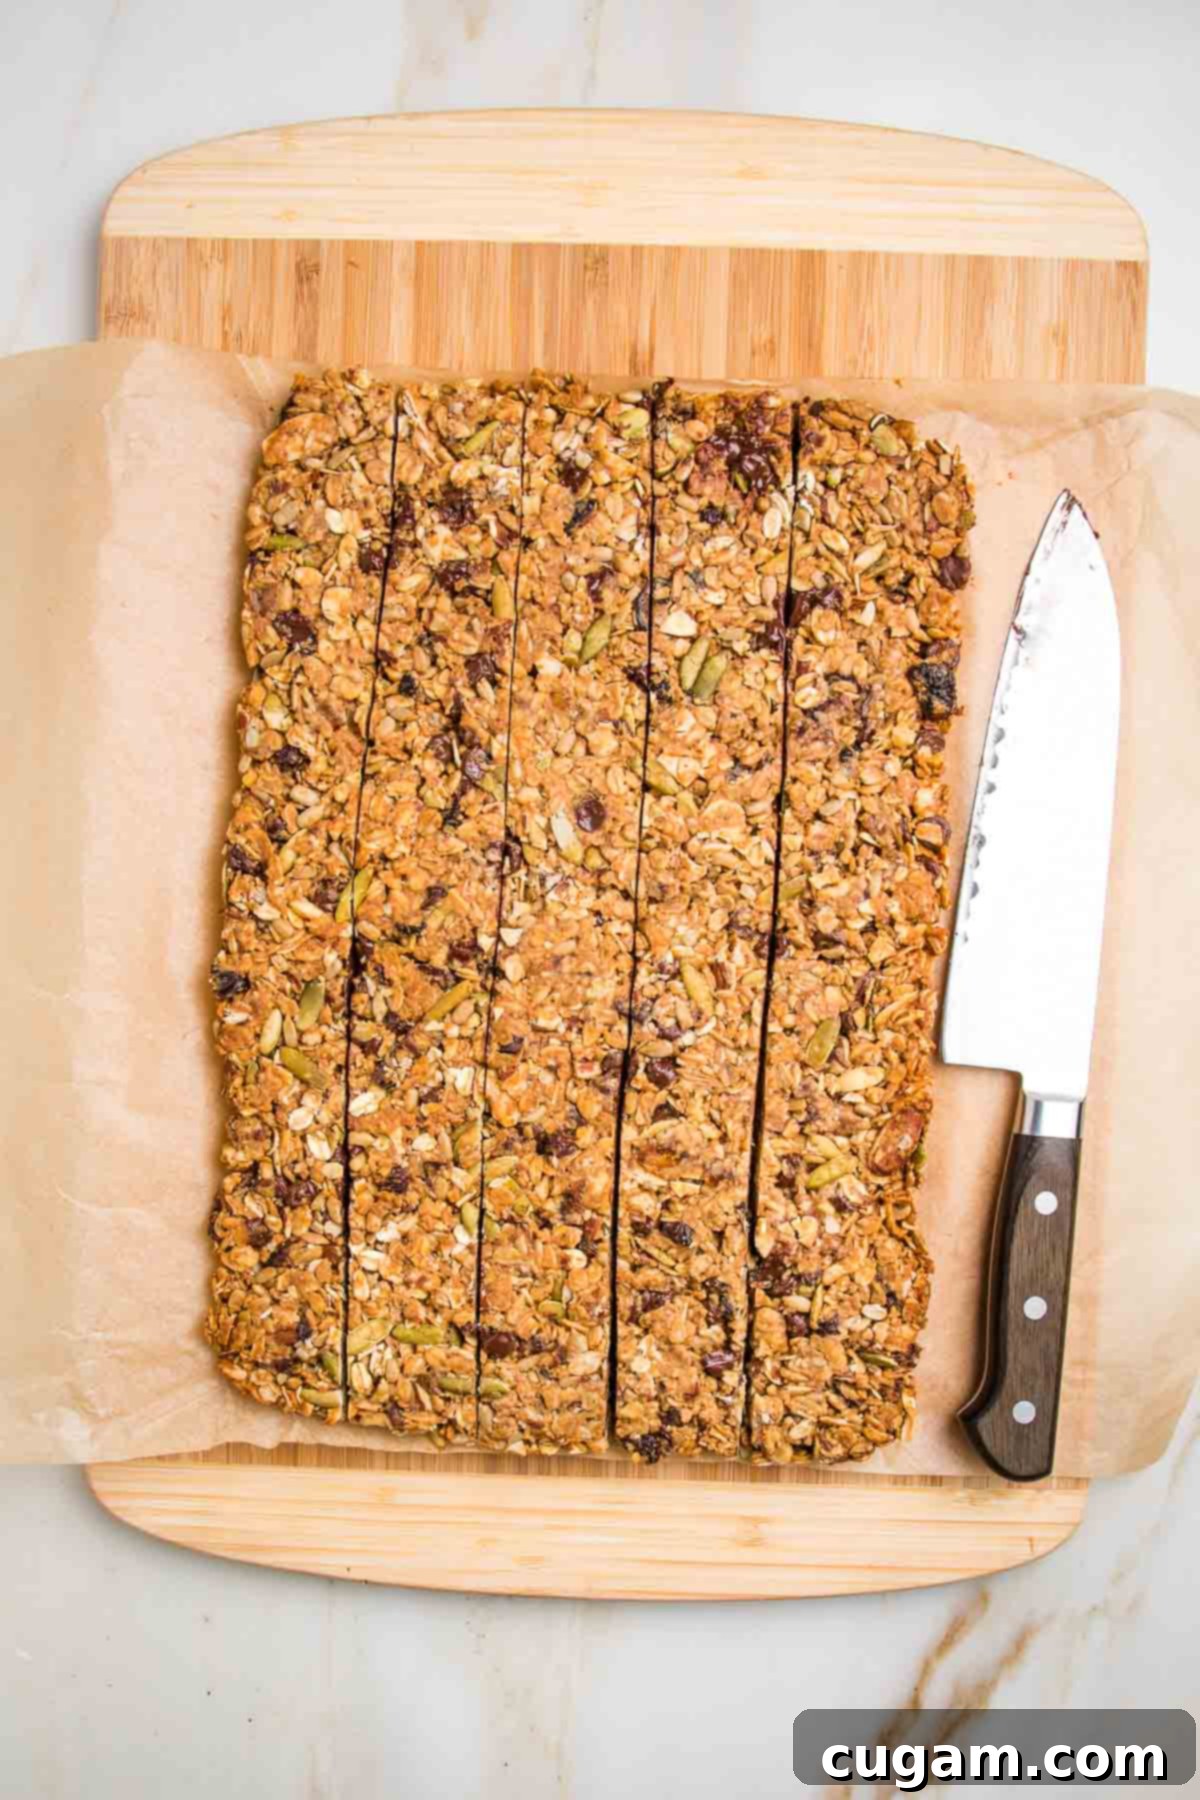
Step 12: Slice Your Bars. Once completely cooled, gently lift the granola slab out of the pan using the parchment paper overhang and place it onto a cutting board. Using a sharp knife, first cut vertically into long strips, then horizontally to create your preferred bar size.
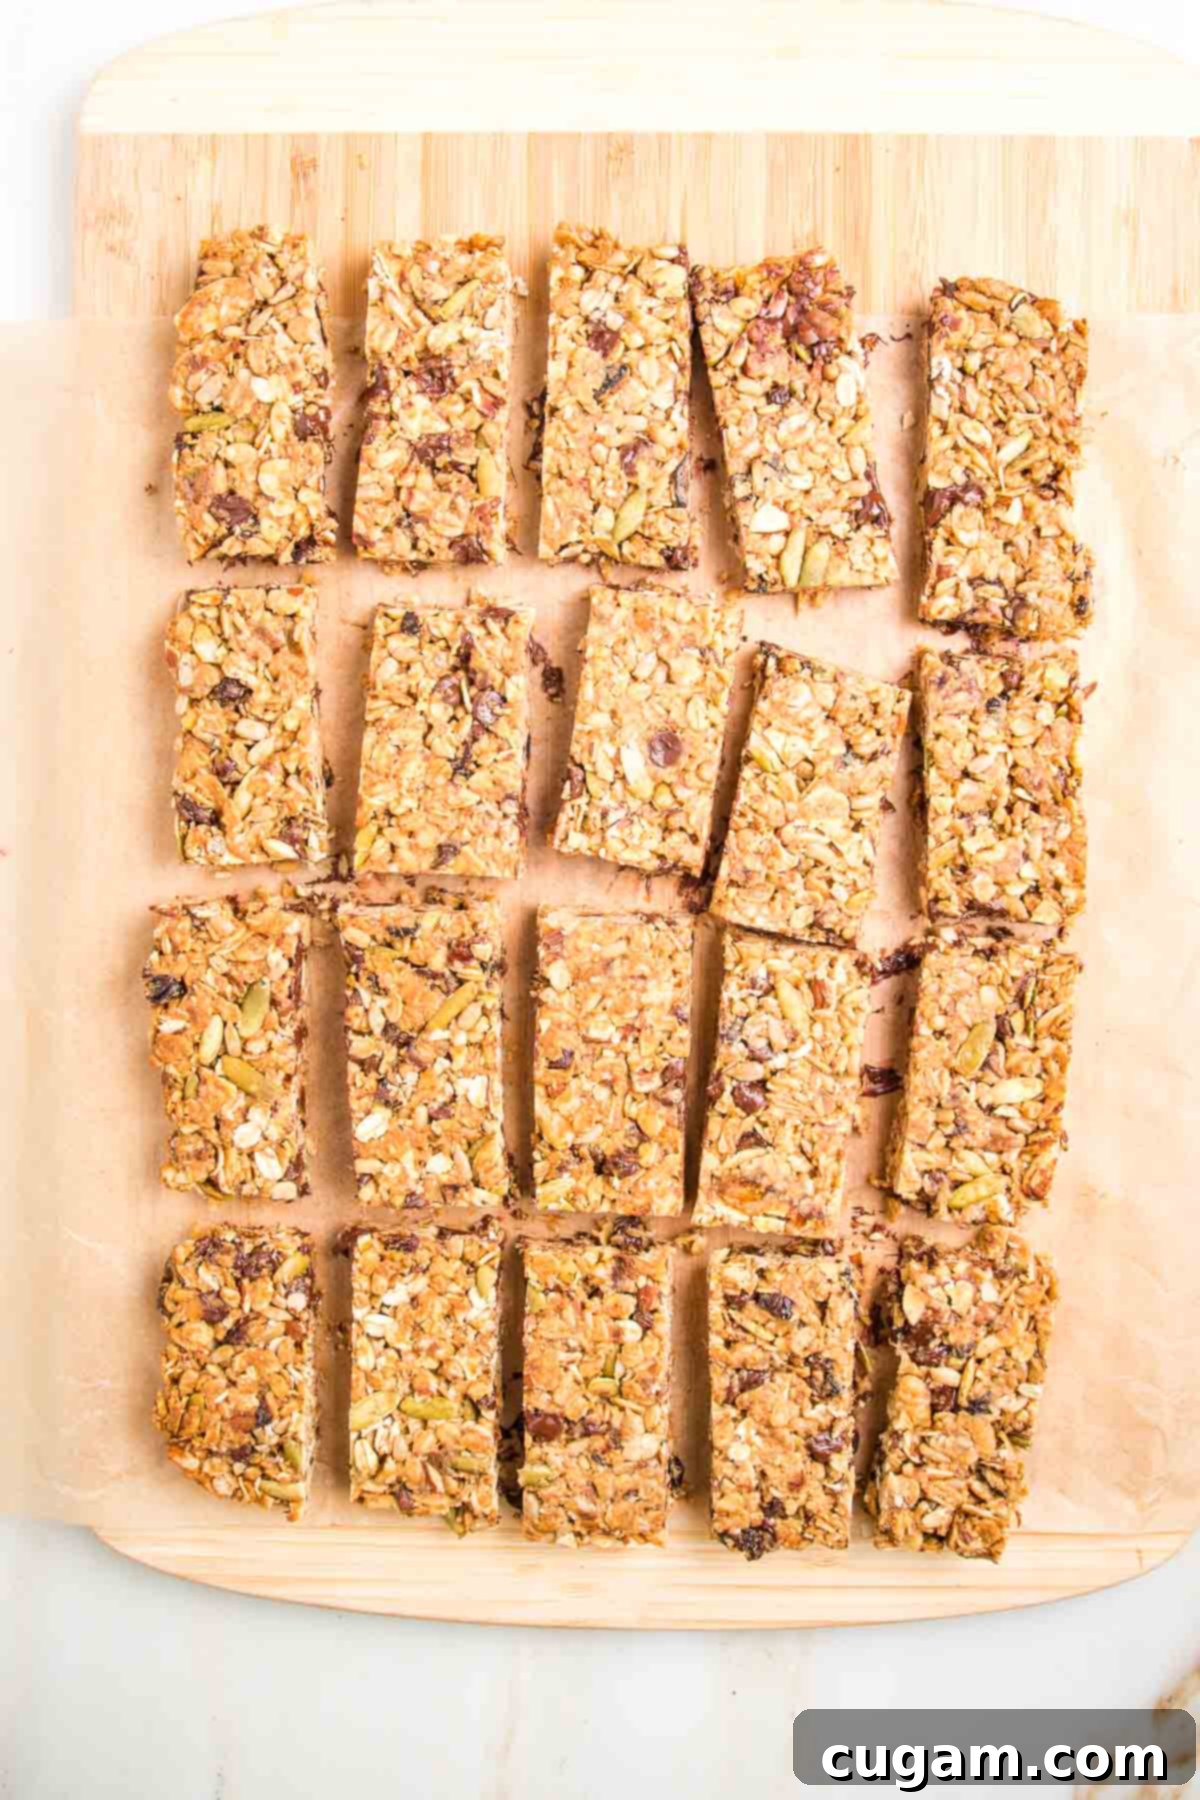
Step 13: Enjoy! Your homemade crunchy baked granola bars are now ready to be enjoyed! Store them properly to maintain their freshness and crunch.
Debra’s Pro Tips for Perfect Granola Bars
Mastering homemade granola bars is all about a few key details. Here are my top professional tips to ensure your bars are perfectly crunchy, well-bound, and utterly delicious every single time.
- Cool Down Before Chocolate: It’s absolutely crucial to let your toasted oats, nuts, and seeds cool completely before you add the chocolate chips. If the mixture is still warm, the chocolate will melt upon contact, resulting in a chocolate-flavored granola rather than distinct chips. While “chocolate granola” isn’t a bad thing, it might not be what you intended! You can always add extra chocolate chips after baking if you want more melty goodness.
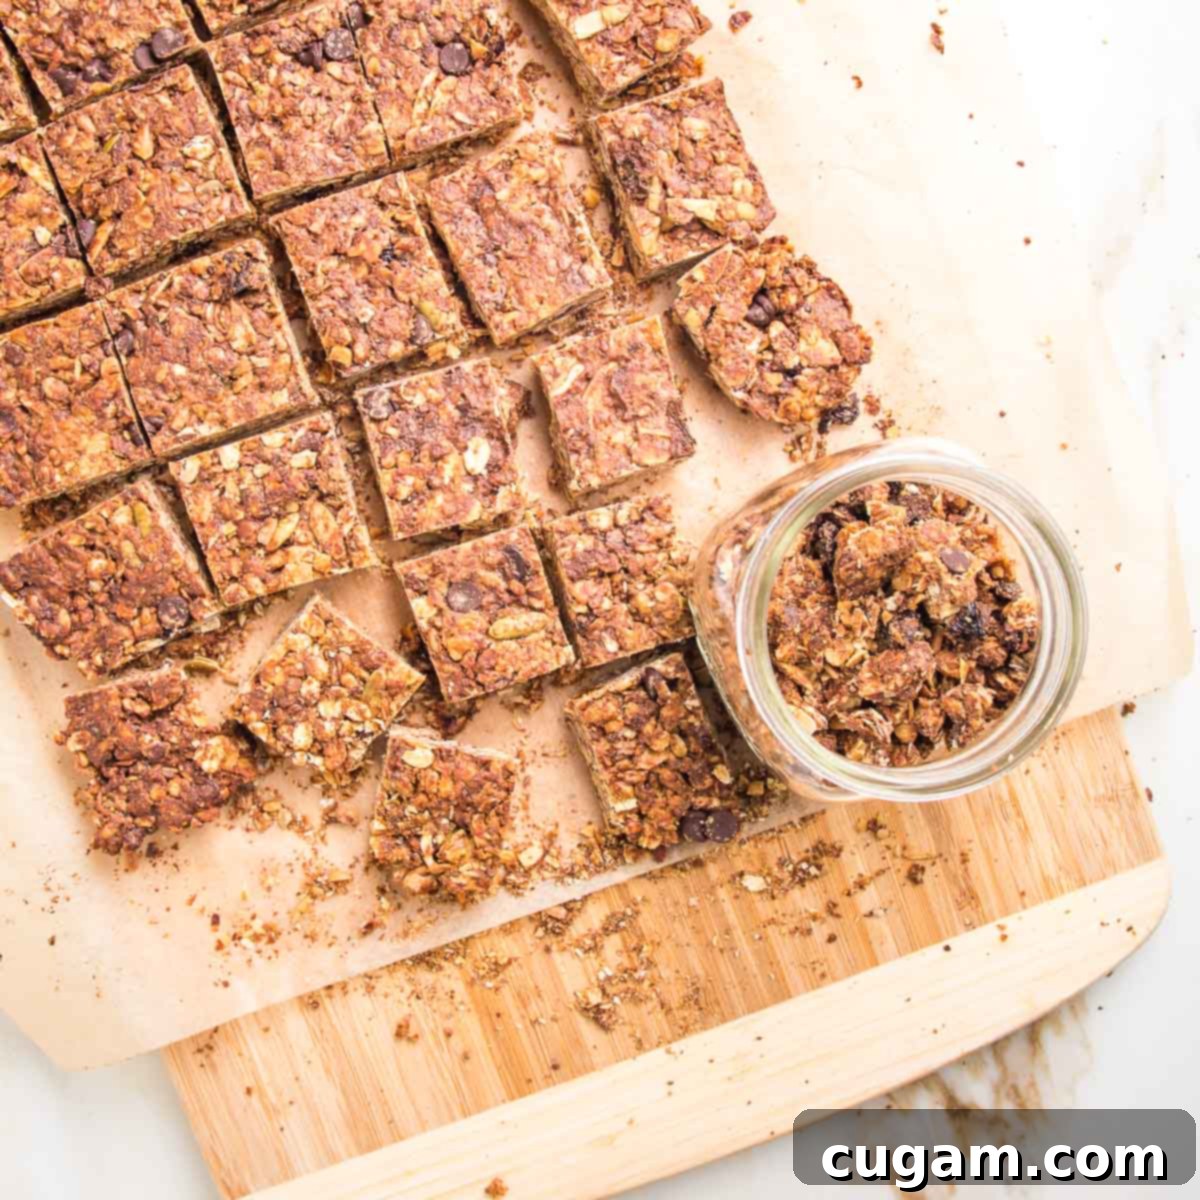
- Pressing is Paramount: The most common reason for crumbly granola bars is insufficient compaction before baking. You MUST press the batter down very, very firmly into the pan. This step is non-negotiable for bars that hold their shape. If, despite your best efforts, they still crumble, don’t despair! Scoop the delicious crumbs into a jar and enjoy them as a fantastic, homemade granola for yogurt, oatmeal, or just by the spoonful. Zero waste, maximum flavor!
- Get Creative with Mix-ins: The beauty of homemade granola bars is their versatility. Feel free to experiment with different combinations of nuts, seeds, and dried fruits. I adore adding finely chopped dried figs for their intense sweetness and chewy texture. Other great options include dried cherries, cranberries, apricots, or even finely diced candied ginger for a spicy kick.
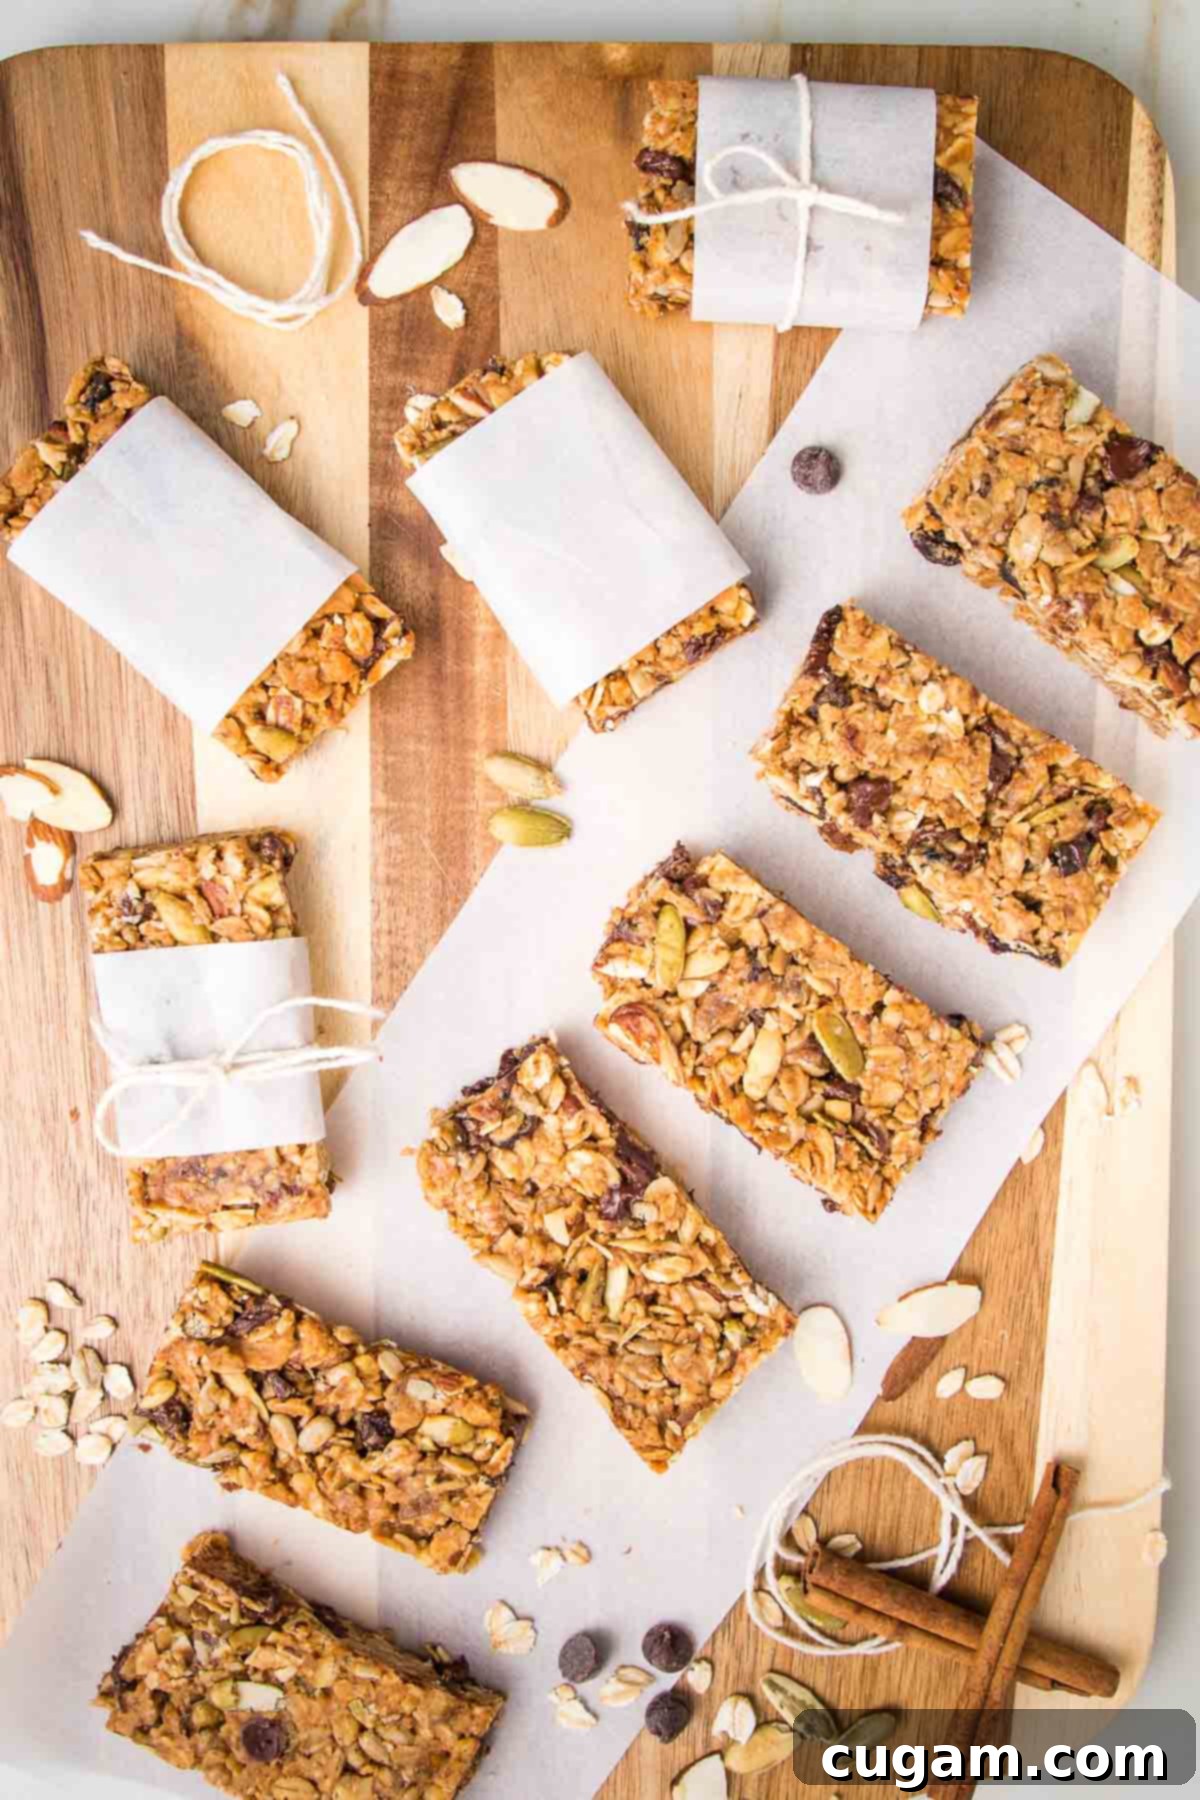
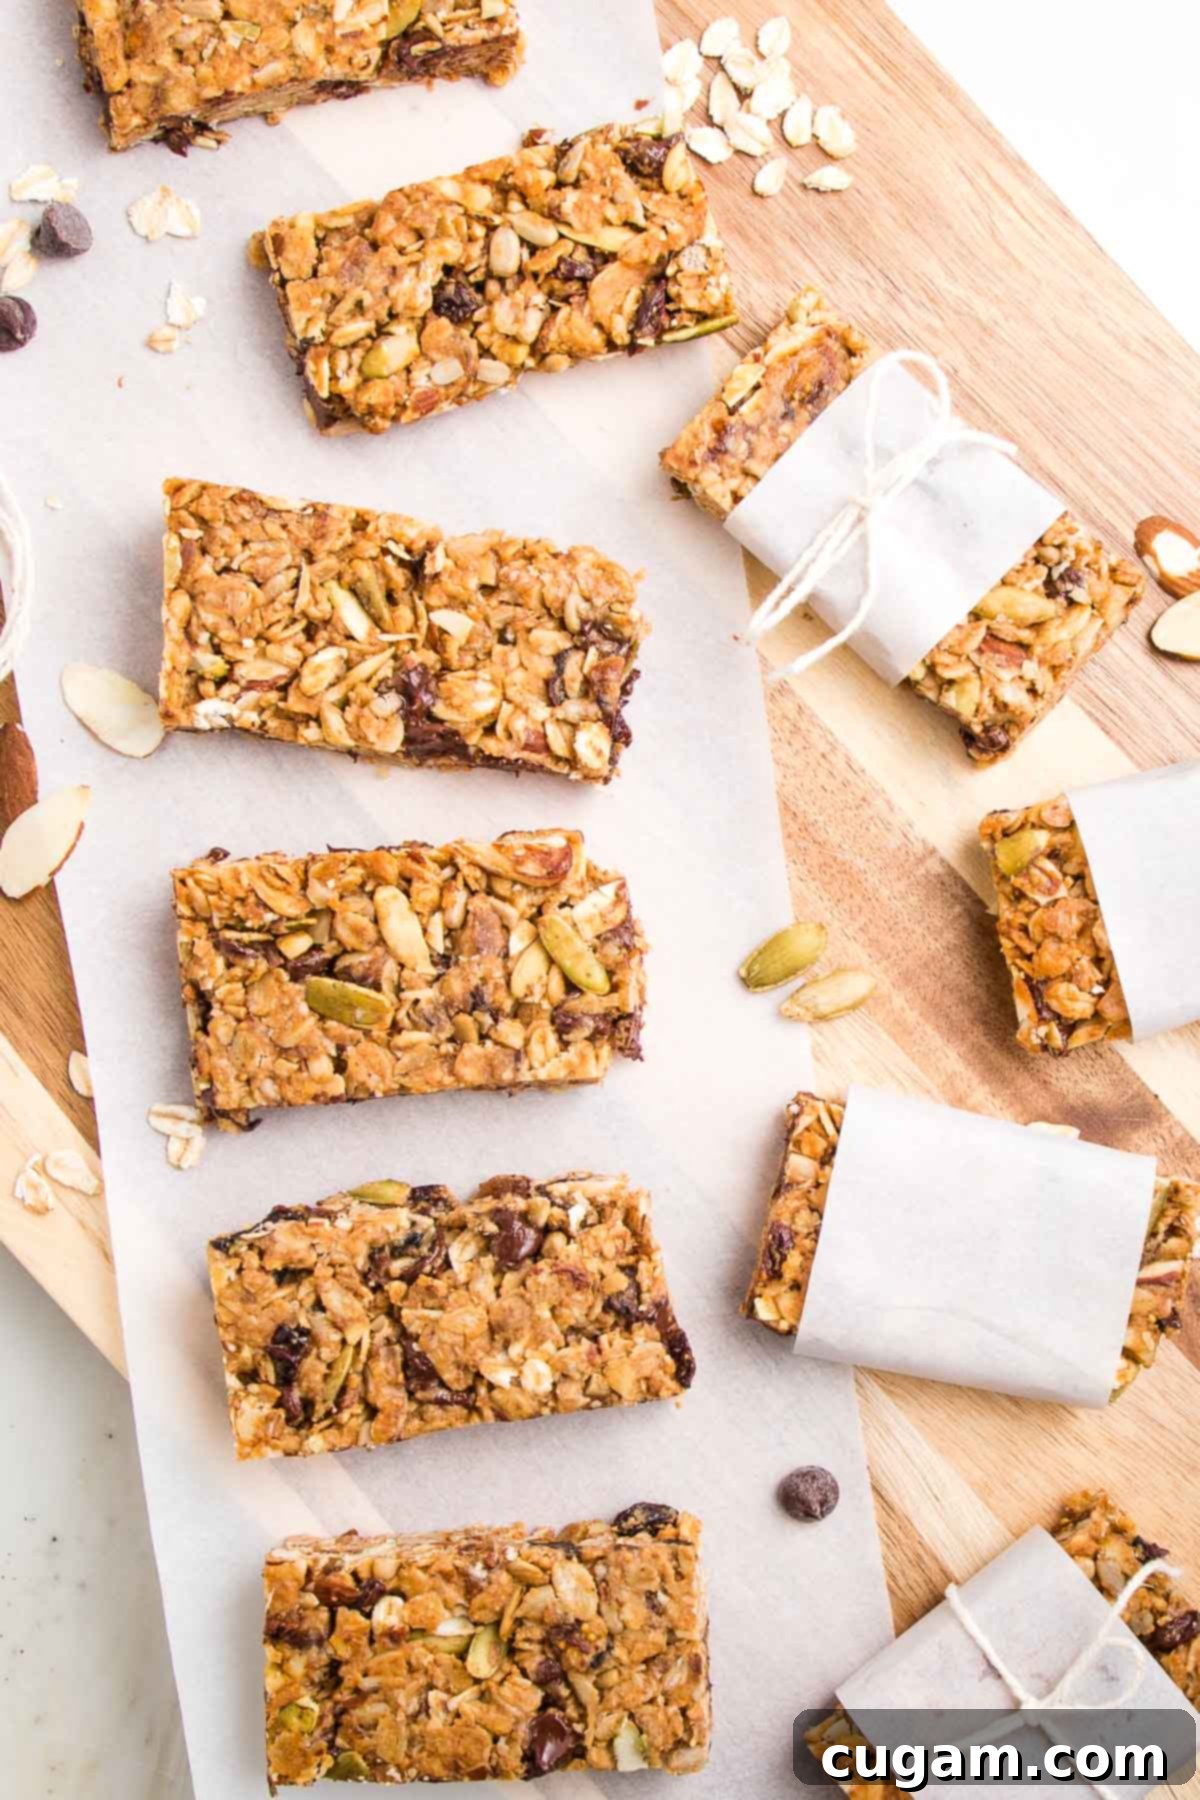
- Optimal Storage for Freshness: For the ultimate grab-and-go convenience, individually wrap your cooled granola bars and store them in the freezer. They will stay fresh for months and can be taken straight from the freezer to a lunchbox, thawing perfectly by snack time.
- The Perfect On-the-Go Snack: These bars are a lifesaver for busy families. If you’re picking up kids from school and heading straight to afternoon sports or activities, having these individually wrapped means healthy fuel is always at your fingertips.
- Thoughtful Homemade Gifts: For a personal touch, wrap these delicious granola bars in unbleached parchment paper and tie them with a festive bow. They make wonderful, heartfelt holiday gifts or hostess presents that show you care.
- Drippy Nut Butter is Key: For the best binding and texture, ensure you’re using a creamy, “drippy” nut or seed butter. A pro tip: store unopened nut butter jars upside down in your pantry. When you open a new jar, take the time to thoroughly stir it from the bottom up to redistribute the oils and prevent a dry, separated texture.
Meal Prep and Storage for Maximum Convenience
These homemade crunchy granola bars are designed for convenience. Here’s how to best prepare and store them to keep them fresh and ready whenever hunger strikes.
- Serving Suggestions: Granola bars are generally best enjoyed at room temperature, as this allows their full flavor and crisp texture to shine. For ultimate convenience, you can pack them directly from the freezer into a lunch box; they’ll naturally thaw to perfection by the time you’re ready to eat.
- Prep Ahead Magic: Absolutely! These bars are fantastic for advance preparation. Once cooled, individually wrap each bar to maintain freshness. They can be stored at room temperature in an airtight container for up to one week, in the refrigerator for up to a month, or in the freezer for up to three months. This makes them an effortless grab-and-go breakfast or a healthy, satisfying snack whenever you need one.
- Proper Storage: For optimal freshness and to preserve their delightful crunch, store your cooled granola bars in an airtight container at room temperature. They will remain delicious for up to seven days.
- Freezing for Longevity: To freeze, ensure the granola bars are completely cool. Individually wrap them or separate them with parchment paper to prevent sticking, then place them in freezer-safe zip-top bags or an airtight container. They will keep beautifully in the freezer for up to three months, ready to be defrosted as needed.
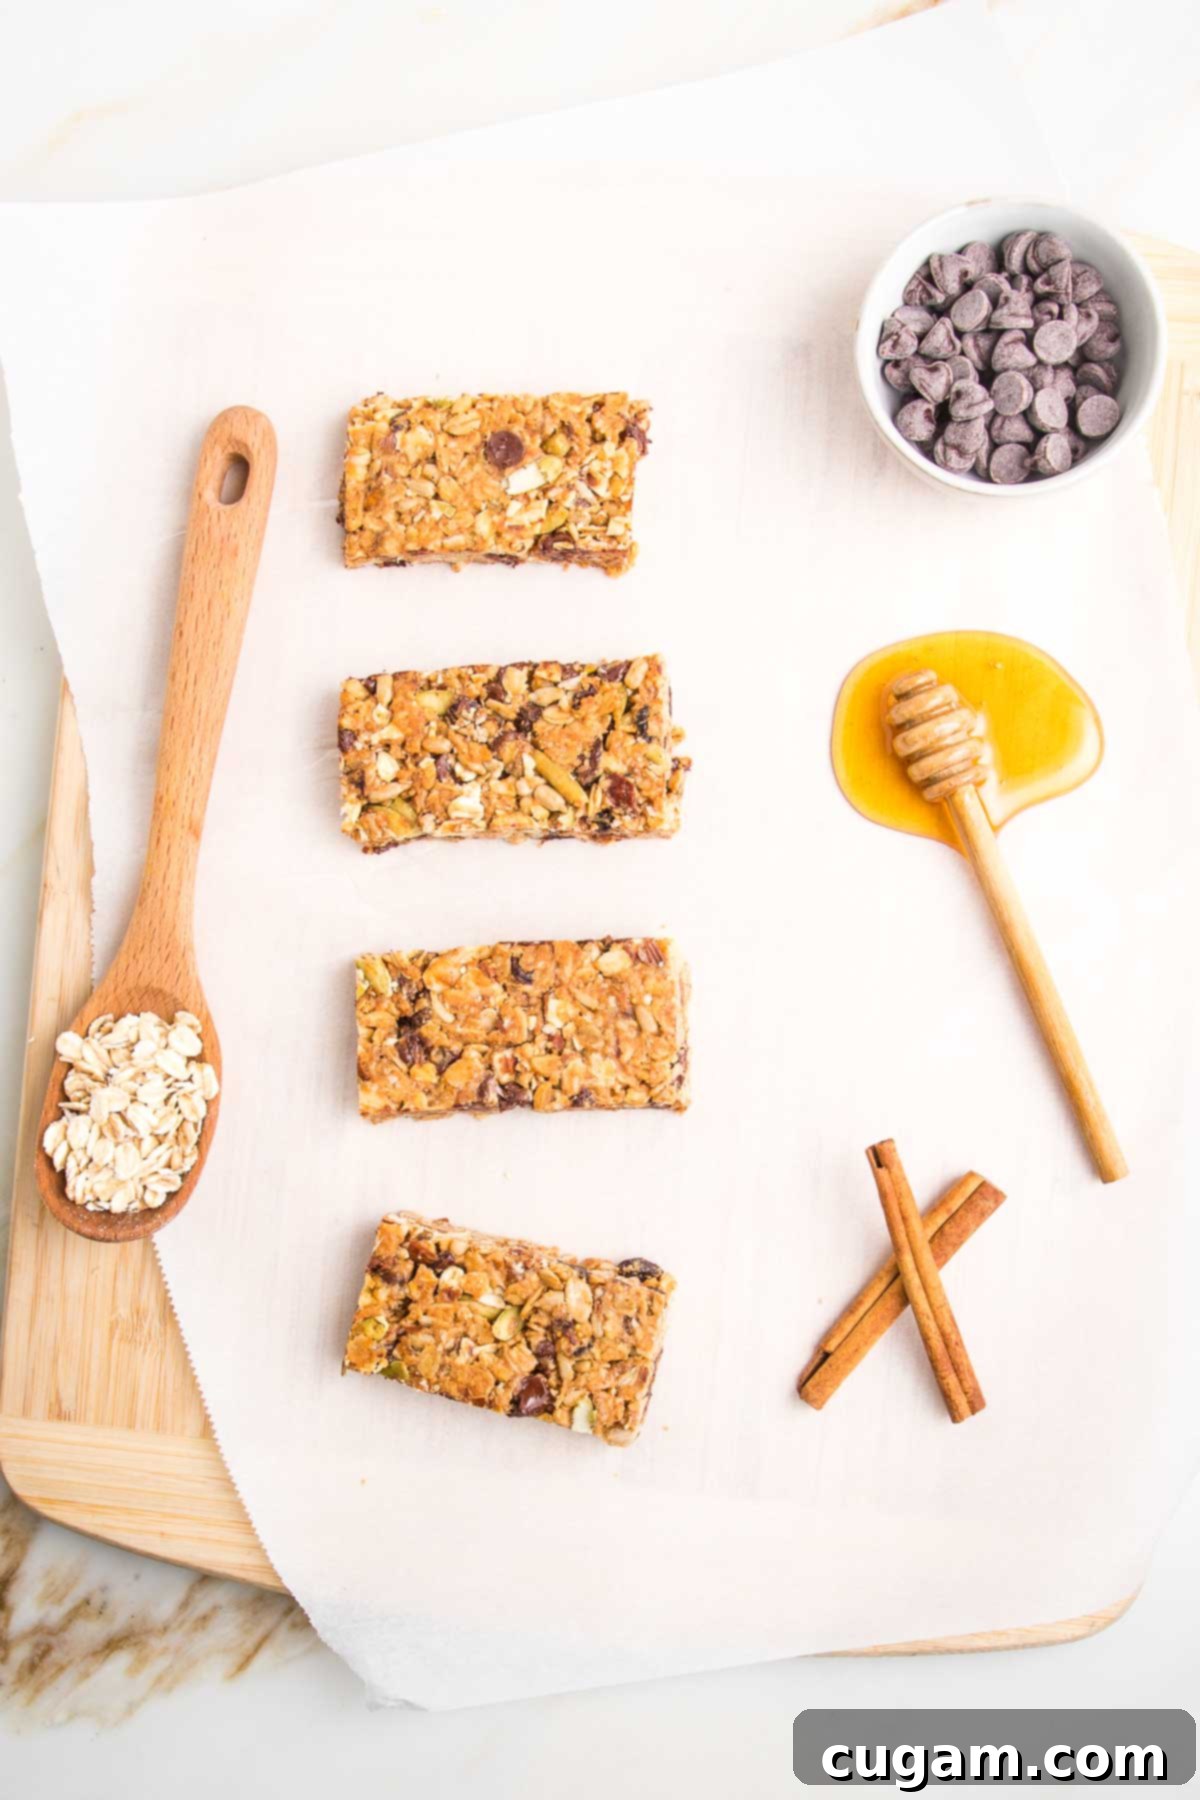
These classic oats and honey granola bars are a definite win for a healthy snack or quick breakfast! Don’t hesitate to customize them by experimenting with various nuts, seeds, or dried fruits to suit your palate. For those seeking a truly vegan granola bar, a simple substitution of maple syrup for the honey works wonderfully. While it might result in a slightly less sticky bar, the flavor remains equally delicious and satisfying. Enjoy the wholesome goodness of homemade!
Frequently Asked Questions (FAQs)
Q: Are these granola bars gluten-free?
A: If you use certified gluten-free rolled oats, then yes, these granola bars can be made gluten-free. Most other ingredients are naturally gluten-free, but always check labels to be sure, especially for nuts and dried fruits processed in shared facilities.
Q: Can I make these granola bars vegan?
A: Absolutely! To make these bars vegan, simply substitute the honey with an equal amount of maple syrup or date syrup. Ensure your chocolate chips are also dairy-free and vegan-friendly.
Q: How do I ensure my granola bars are crunchy and not crumbly?
A: The key to crunchy, non-crumbly bars is two-fold: thorough mixing of the sticky binder (nut butter and honey) with the dry ingredients, and most importantly, pressing the mixture down very, very firmly into the pan before baking. The more compacted it is, the better it will hold together. Also, ensure the bars cool completely before cutting.
Q: What are the best substitutions for nuts if I have an allergy?
A: If you have nut allergies, you can replace the nuts with an equal amount of additional seeds (like pumpkin, sunflower, or hemp seeds). For the nut butter, use sunbutter or tahini for a safe and delicious binder.
Q: How long do homemade granola bars last?
A: When stored in an airtight container at room temperature, these granola bars will stay fresh for up to 1 week. In the refrigerator, they’ll last about 1 month, and in the freezer, they can be kept for up to 3 months.
More Healthy Grab and Go Recipes
If you love the convenience and wholesome goodness of these granola bars, be sure to explore these other fantastic grab-and-go recipes that are perfect for busy days!
- Gluten-free Banana Chocolate Chip Muffins
- Healthy Morning Glory Muffin Recipe
- Almond Flour Pumpkin Muffins (gluten-free)
- Vegan Zucchini Muffins
Did you know commenting and rating recipes is one of the best ways to support your favorite food bloggers? If you made this recipe, please consider leaving a five-star rating below and a comment sharing your experience. Also, please share your photos on Instagram by tagging me @dkhealthcoach and using the hashtag #debraklein – I love seeing your creations!
📖 Recipe
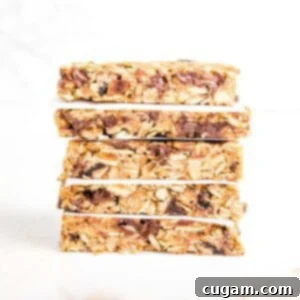
Crunchy Granola Bars
Rate this Recipe
Pin Recipe
Equipment
-
Glass Mixing Bowls with Lids
-
Baking sheet
-
Measuring Cups and Spoons
-
Wooden Spoon Set
-
13 inch Baking dish
Ingredients
- 2 cups old fashioned rolled oats
- 1 cup assorted nuts*
- ¼ cup pumpkin seeds
- ¼ cup sunflower seeds
- ½ cup unsweetened dried fruit*
- ½ cup ground flax seeds
- 1 teaspoon ground cinnamon
- ½ teaspoon salt
- ½ cup peanut butter*
- ½ cup honey*
- ½ cup dark chocolate chips
Instructions
-
Preheat oven to 325°F (160°C).
-
Place oats, nuts, and seeds on a baking sheet and toast for 10 minutes until golden and fragrant.
-
Prepare a 9×13 inch glass baking dish by lining it with unbleached parchment paper, leaving an overhang on the sides.
-
In a small bowl, mix the peanut butter and honey (or maple syrup) until thoroughly incorporated and set aside.
-
When the toasted nuts and oats have cooled enough to handle (and are no longer warm), pour them into a large mixing bowl. Add in the dried fruit (chopped into small pieces if large), dark chocolate chips, ground flax seeds, cinnamon, and salt. Mix all the dry ingredients together thoroughly. IF OATS AND NUTS HAVEN’T COOLED, THE CHOCOLATE CHIPS WILL MELT WHEN YOU MIX THEM IN.
-
Pour the nut butter and honey mixture over the oat mixture. Stir vigorously until all the dry ingredients are evenly coated. The batter will be very thick and sticky. You might think there isn’t enough binder, but keep mixing – it’s the perfect amount.
-
Spread the sticky batter evenly into the prepared baking pan. Place another piece of parchment paper on top of the mixture and use your hands, followed by the bottom of a bowl or a measuring cup, to press down FIRMLY and compact the mixture all the way to the edges. This step is critical for bars that hold their shape.
-
Bake for 25 minutes, or until the edges are golden brown.
-
Allow the bars to cool COMPLETELY in the pan. Once fully cooled, lift the parchment edges to transfer the slab of granola onto a cutting board.
-
Using a sharp knife, cut into desired bar sizes. Store in an airtight container at room temperature for up to 1 week, or in the freezer for up to 3 months.
Notes
NUTS: Use 1 cup total of any variety or combination you prefer. I often use a mix of ½ cup chopped walnuts and ½ cup sliced almonds. If your chosen nuts are large, chop them into smaller, uniform pieces for better bar integrity and easier eating. Pecans, hazelnuts, cashews, or even a mix of several types work wonderfully. The size and type of nuts can be adjusted based on your audience – do you have crunch enthusiasts or picky eaters you’re trying to subtly boost with nutrition?
DRIED FRUIT: I love using a combination of chopped dried cherries and finely cut dried figs for their intense flavor and texture. Other excellent options include golden raisins, dried apricots, or cranberries. Always look for unsulfured and unsweetened varieties, and make sure to cut any large pieces into small, bite-sized bits to ensure even distribution and easy chewing.
PEANUT BUTTER: Any creamy, drippy nut or seed butter will work effectively in this recipe. I frequently use almond or cashew butter, and have achieved fantastic results with walnut butter as well. If you have a nut allergy, sunbutter (sunflower seed butter) is an excellent, safe, and delicious alternative.
Nutrition
Note
The nutrition calculations were done using online tools. To obtain the most accurate representation of the nutritional information in any given recipe, you should calculate the nutritional information with the actual ingredients you used. You are ultimately responsible for ensuring that any nutritional information is accurate, complete and useful.
