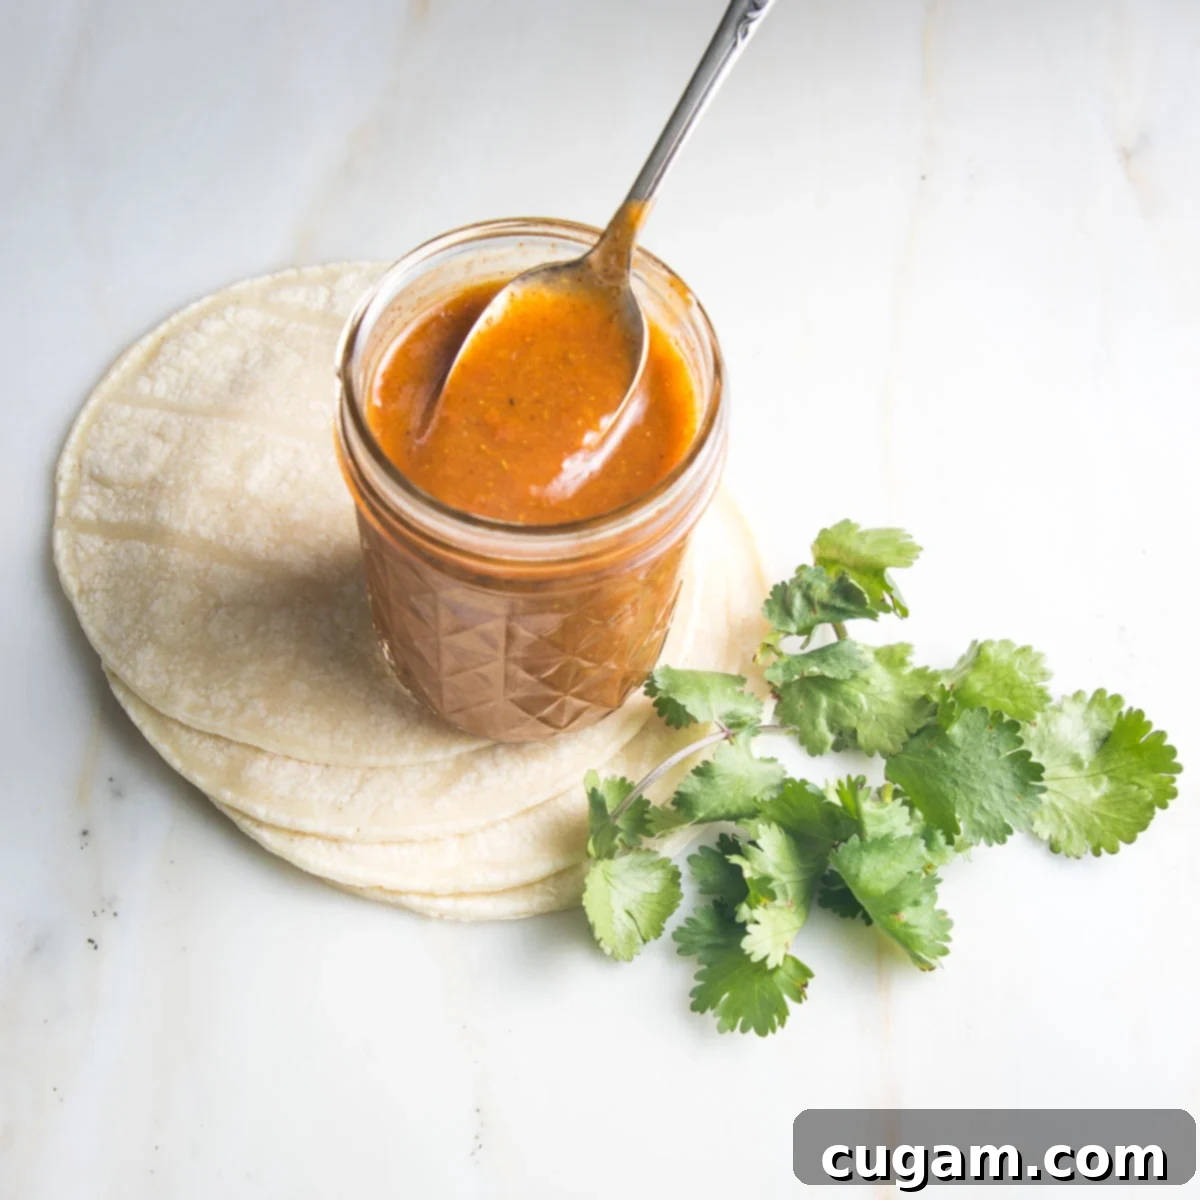
Homemade Red Enchilada Sauce: The Best Easy Recipe for Authentic Flavor
There’s nothing quite like the rich, savory taste of a truly authentic red enchilada sauce to elevate your favorite Mexican dishes. While many reach for canned versions or those tiny fast-food packets, the absolute best enchilada sauce is one you create yourself, right in your own kitchen. This allows you complete control over the ingredients, ensuring a healthier, fresher, and infinitely more delicious result that easily rivals any restaurant or store-bought variety. Imagine a sauce that’s bursting with vibrant chili flavor, perfectly seasoned, and free from unnecessary preservatives or excessive sodium – that’s exactly what this homemade red enchilada sauce recipe delivers.
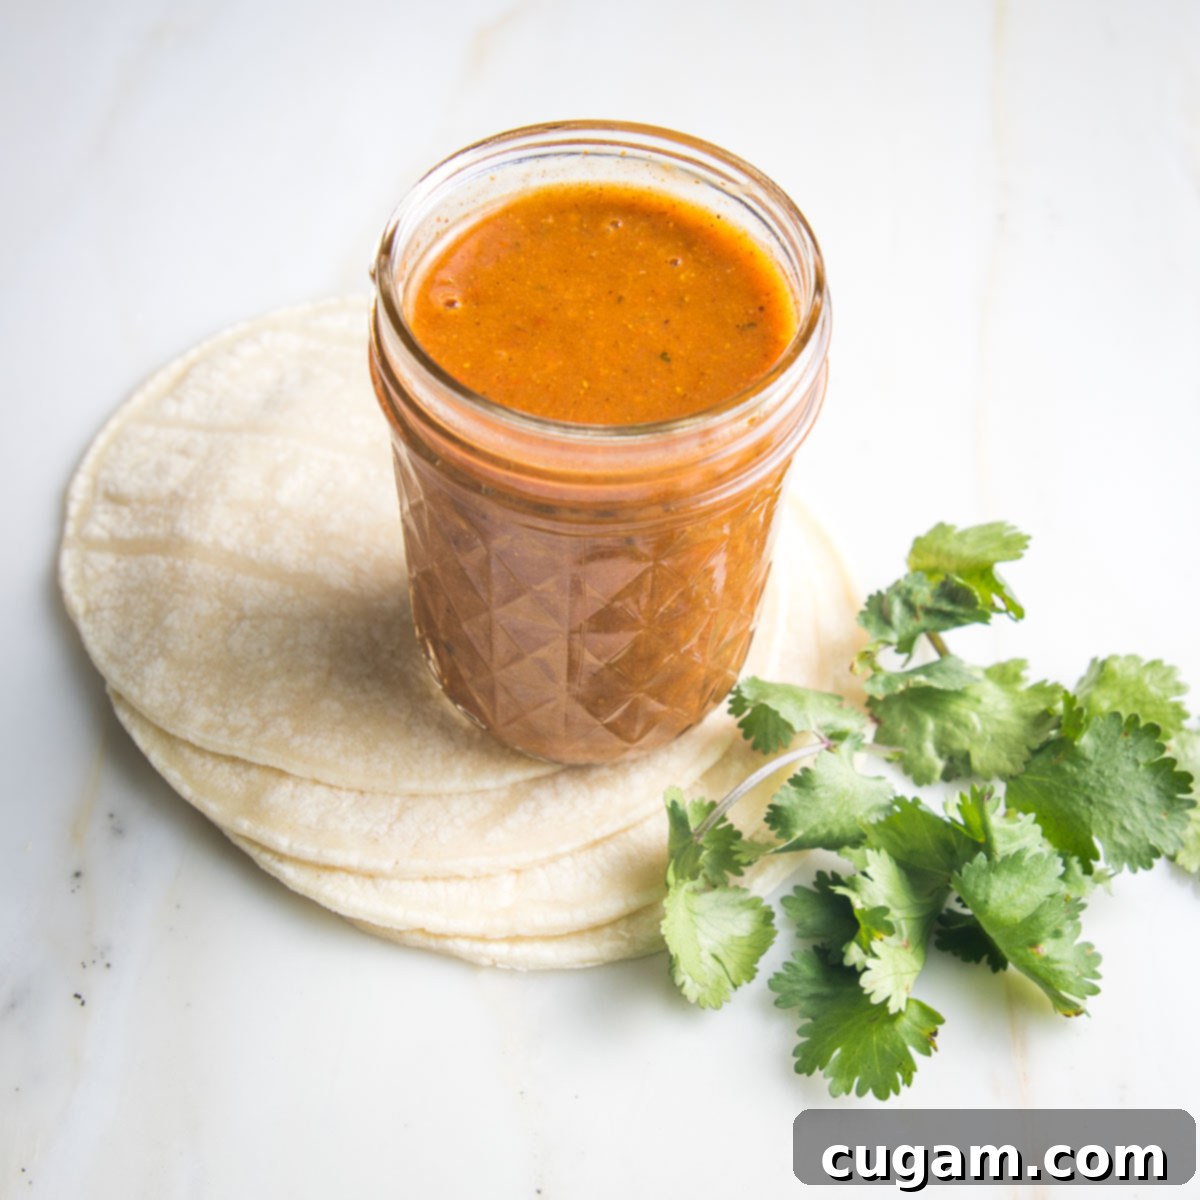
This recipe for homemade red enchilada sauce is not only incredibly quick and easy to prepare, but it’s also unbelievably delicious. It’s a game-changer for anyone who loves Mexican cuisine and wants to enjoy it in a healthier way. I originally developed this particular recipe years ago for my sister. She had a fondness for the sauce found in those ubiquitous little white packages from a certain well-known fast-food chain. My goal was to craft something that offered that same satisfying taste but with far superior, wholesome ingredients. And let me tell you, this healthy enchilada sauce has truly become a staple in my own home. One taste, and you’ll understand why it’s so captivating.
Why Make Homemade Enchilada Sauce? The Benefits are Endless!
Opting for homemade enchilada sauce over a store-bought alternative comes with a multitude of benefits that extend beyond just taste. Here’s why investing a few minutes in this recipe is so worthwhile:
- Unmatched Freshness and Flavor: Canned sauces often have a metallic aftertaste or a flat flavor profile. Homemade sauce, on the other hand, utilizes fresh spices and ingredients, resulting in a vibrant, complex, and rich taste that store-bought versions simply cannot replicate.
- Control Over Ingredients: This is perhaps the biggest advantage. You dictate exactly what goes into your sauce. This means no high-fructose corn syrup, artificial colors, preservatives, or unhealthy fats. You can choose organic ingredients, control the sodium levels, and avoid common allergens.
- Healthier Option: Many commercial enchilada sauces are loaded with sodium, sugar, and unhealthy oils. This recipe uses wholesome ingredients like olive oil, fresh garlic, and homemade (or low-sodium) vegetable stock, making it a much healthier choice for you and your family.
- Customizable Spice Level: Do you like a mild sauce or something with a fiery kick? With this homemade recipe, you can easily adjust the amount and type of chili powder to suit your personal preference, from gentle to gloriously spicy.
- Cost-Effective: Believe it or not, making your own enchilada sauce can often be more economical than regularly purchasing high-quality, specialty store-bought versions. Basic pantry staples go a long way!
- Versatility: A good homemade red enchilada sauce isn’t just for enchiladas. Its rich flavor base makes it incredibly versatile for a wide range of Mexican-inspired dishes.
The Perfect Blend of Spices: Building Depth and Heat
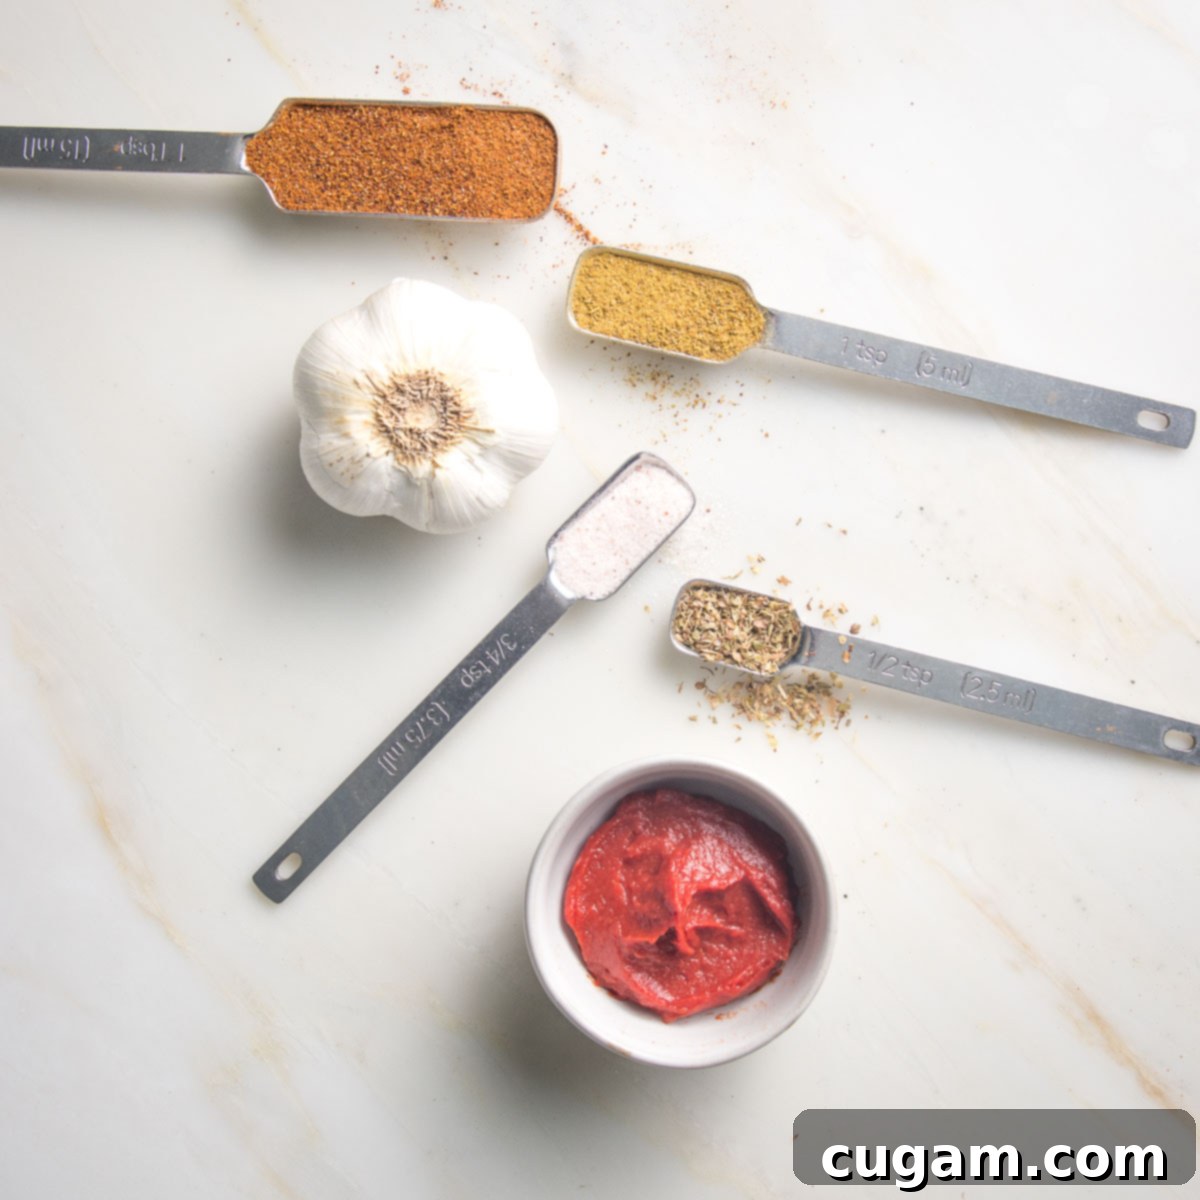
The secret to any fantastic sauce lies in its spice mixture, and this recipe absolutely hits the mark. The undisputed star of our homemade red enchilada sauce is the chili powder. But not all chili powders are created equal! For those who, like me, enjoy their enchilada sauce with a bit of a kick, I recommend incorporating a touch of chipotle chili powder into the measurement. Chipotle chili powder adds a smoky depth along with its moderate heat, elevating the overall flavor profile. If you prefer a milder sauce, simply stick with regular chili powder, and you’ll still achieve an abundance of delicious, earthy flavor without the intense heat.
To complement the chili powder, a carefully selected blend of other spices rounds out this tasty concoction. A generous dash of cumin brings a warm, earthy, and slightly pungent note that is quintessential to Mexican cuisine. Dried oregano contributes an aromatic, slightly minty, and peppery undertone. A touch of coarse sea salt balances all the flavors, enhancing their individual nuances, while fresh garlic adds a pungent, savory base that brightens the entire sauce. This combination ensures a complex and satisfying flavor in every spoonful.
Ingredient Spotlight: Tips for Optimal Flavor
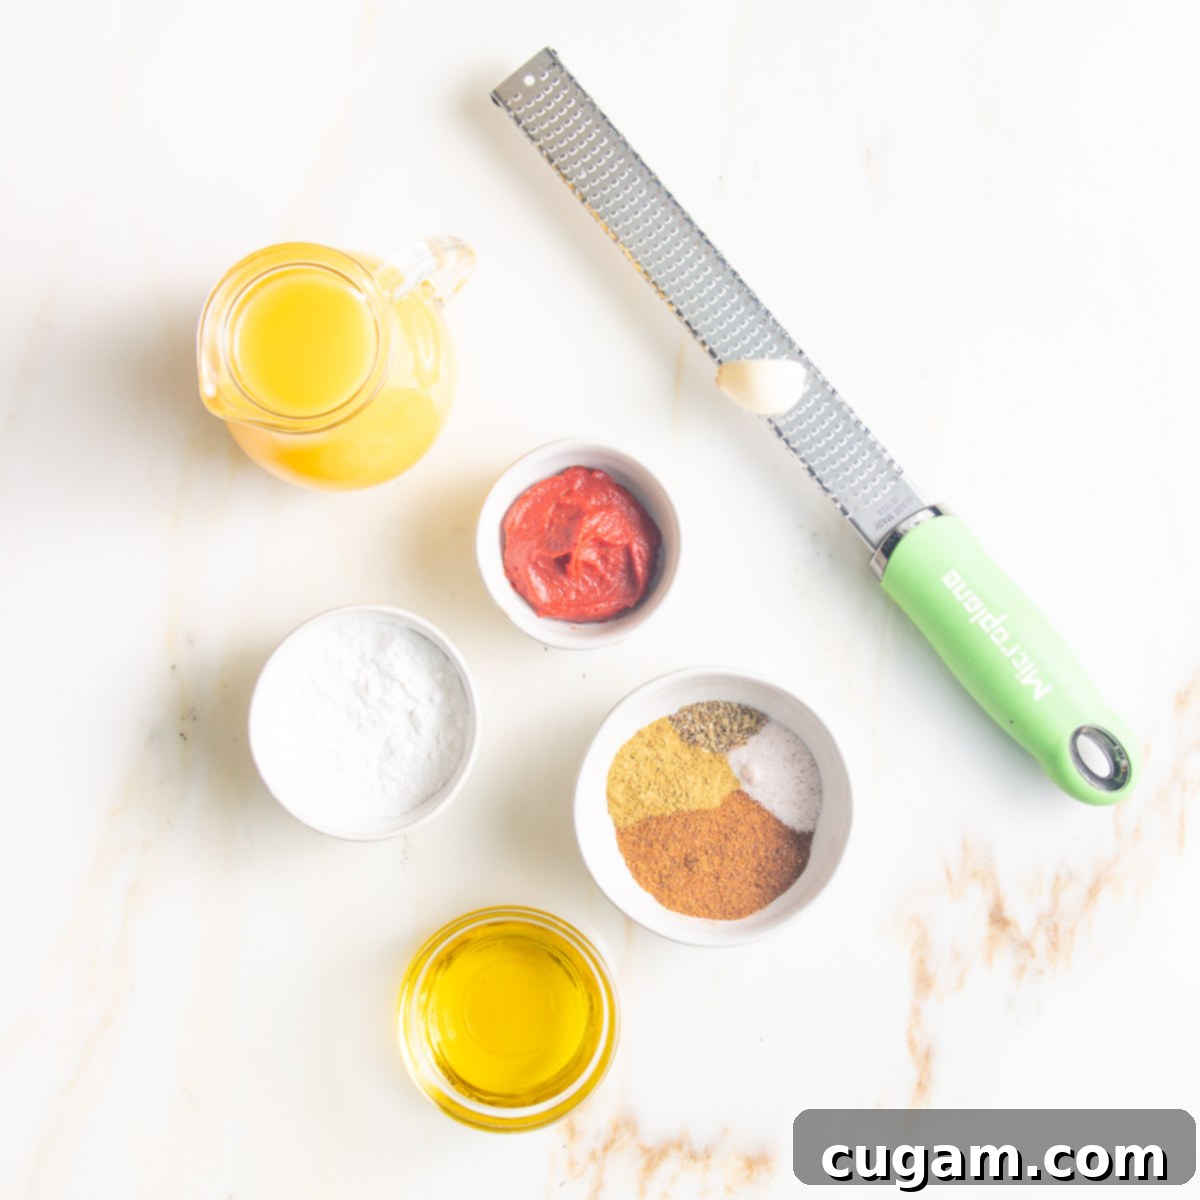
- Garlic: Fresh garlic is non-negotiable for the best flavor. I personally love zesting the garlic with a microplane because it creates an incredibly fine paste that disperses evenly throughout the sauce, offering maximum flavor without any large chunks. If you don’t have a microplane, a garlic press works wonderfully, or you can simply mince it very finely with a knife.
- Vegetable Stock: The quality of your stock significantly impacts the final taste. I often keep homemade veggie stock in my freezer, which makes preparing this recipe incredibly quick and easy. If you’re using store-bought stock, always opt for a low-sodium variety to control the overall saltiness of your sauce. Look for brands that prioritize organic vegetables, filtered water, and minimal additives to ensure a clean, natural flavor base.
- Arrowroot Powder: This is our chosen thickener. Arrowroot is a fantastic gluten-free alternative to flour or cornstarch. It creates a clear, glossy sauce without any cloudiness and has a very neutral flavor, letting the spices shine.
How to Make Homemade Red Enchilada Sauce: A Step-by-Step Guide
Making this red enchilada sauce from scratch is surprisingly simple and requires minimal effort. Follow these easy steps to create a rich, flavorful sauce that will impress everyone.
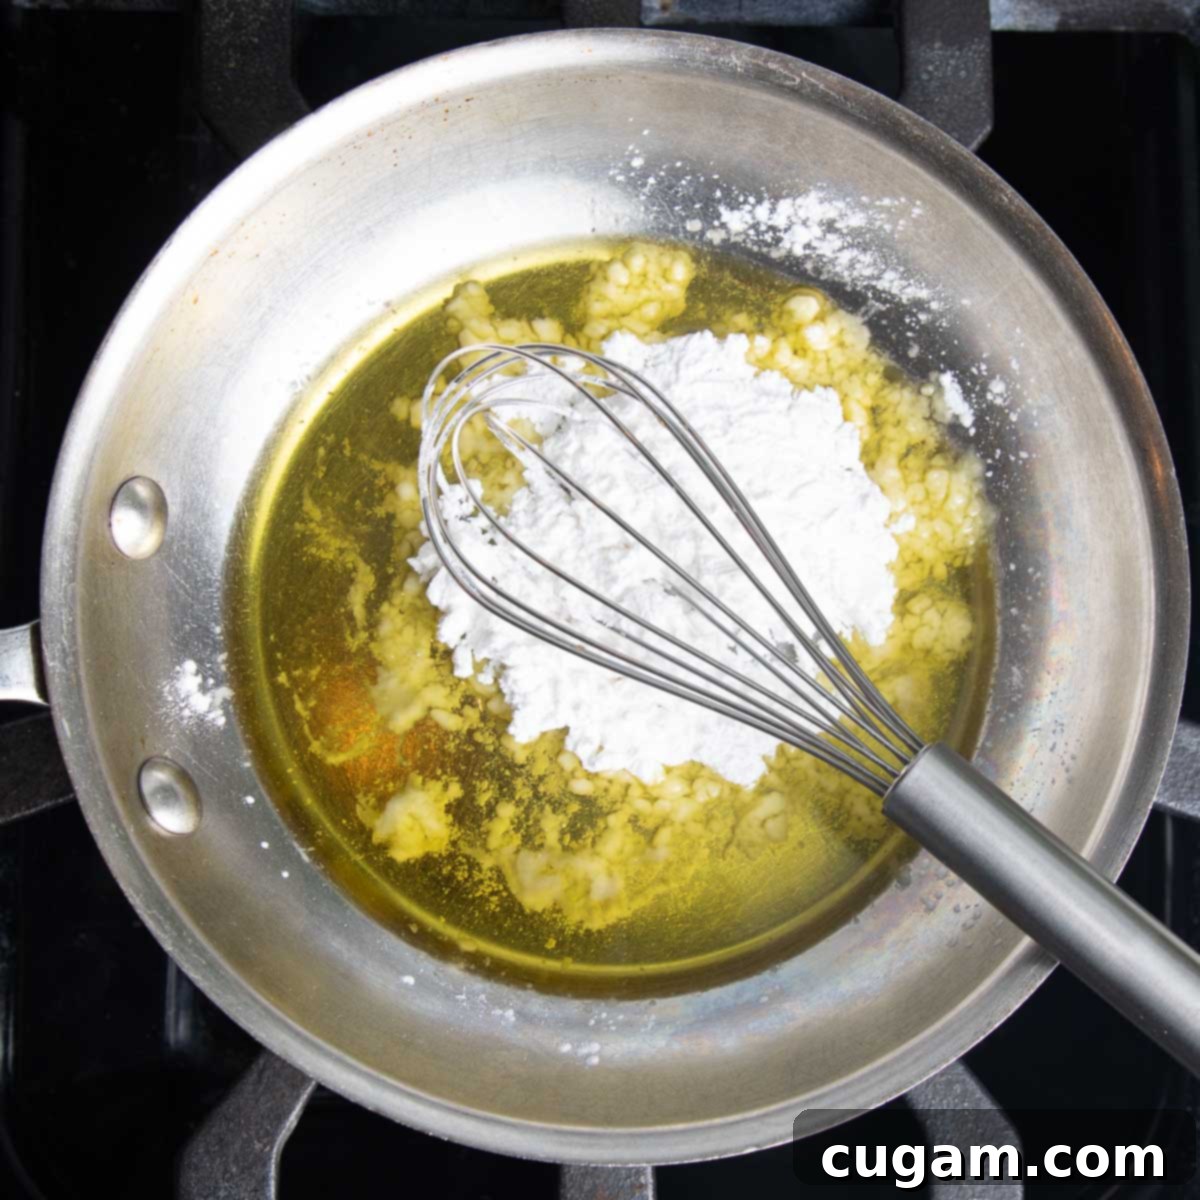
STEP 1: Create the Roux Base. Begin by heating the olive oil in a small saucepan over medium heat. Once the oil is warm, add in the arrowroot powder. This combination will form the base of our sauce, thickening it to the perfect consistency.
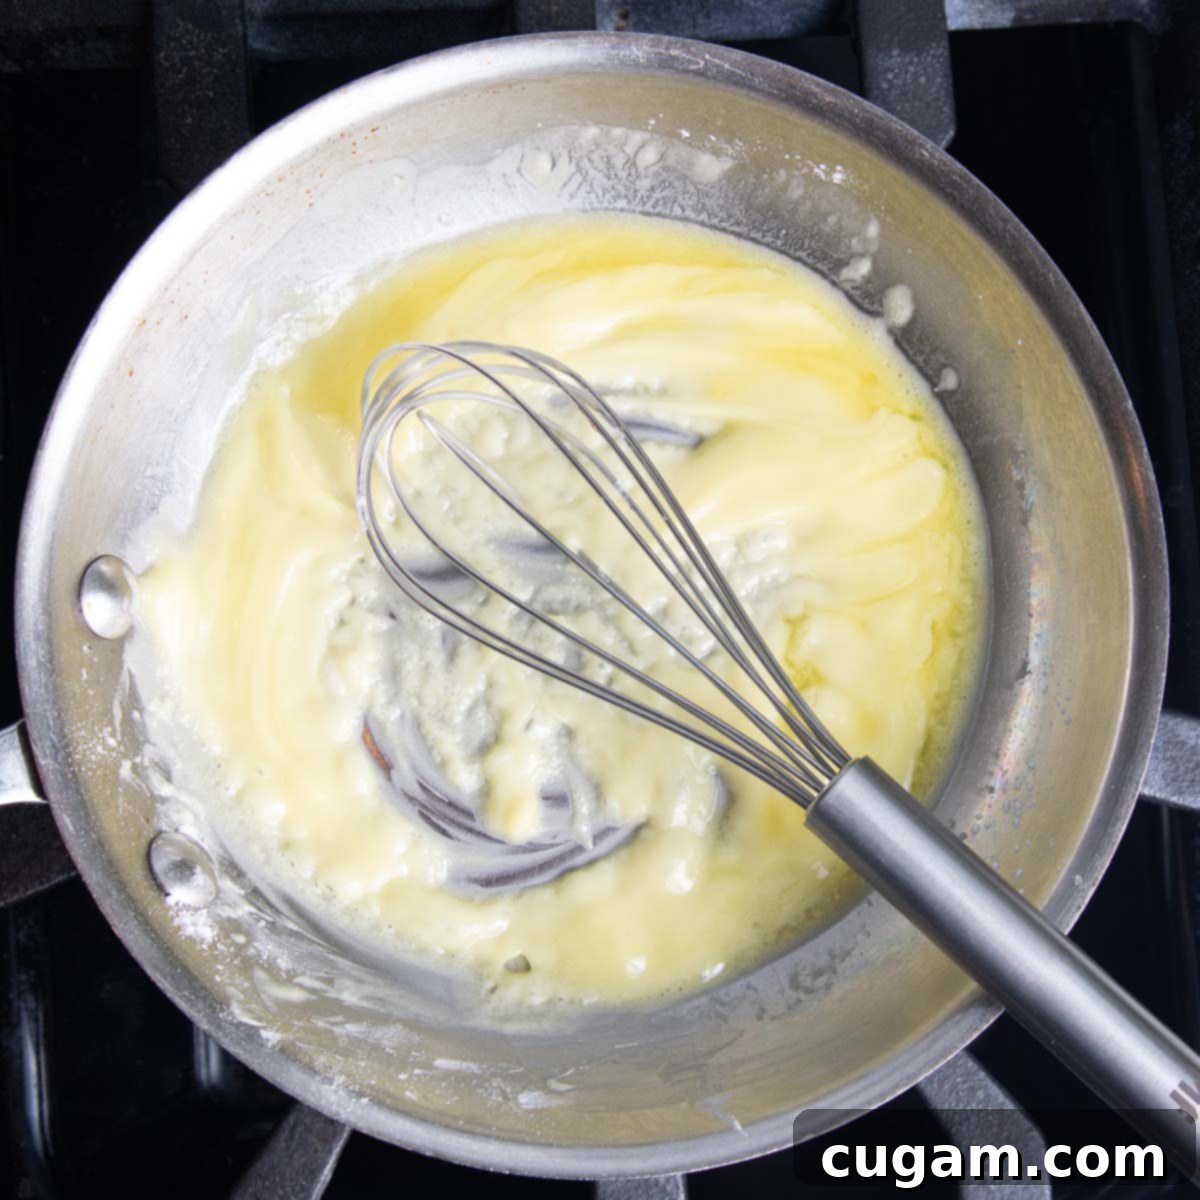
STEP 2: Whisk the Roux. Immediately begin whisking the arrowroot powder into the olive oil to create a smooth roux. It’s important to move quickly here; you’re just barely “cooking” the arrowroot, not browning it. The goal is to cook out the raw starch flavor without changing its color, typically for about 30 seconds.
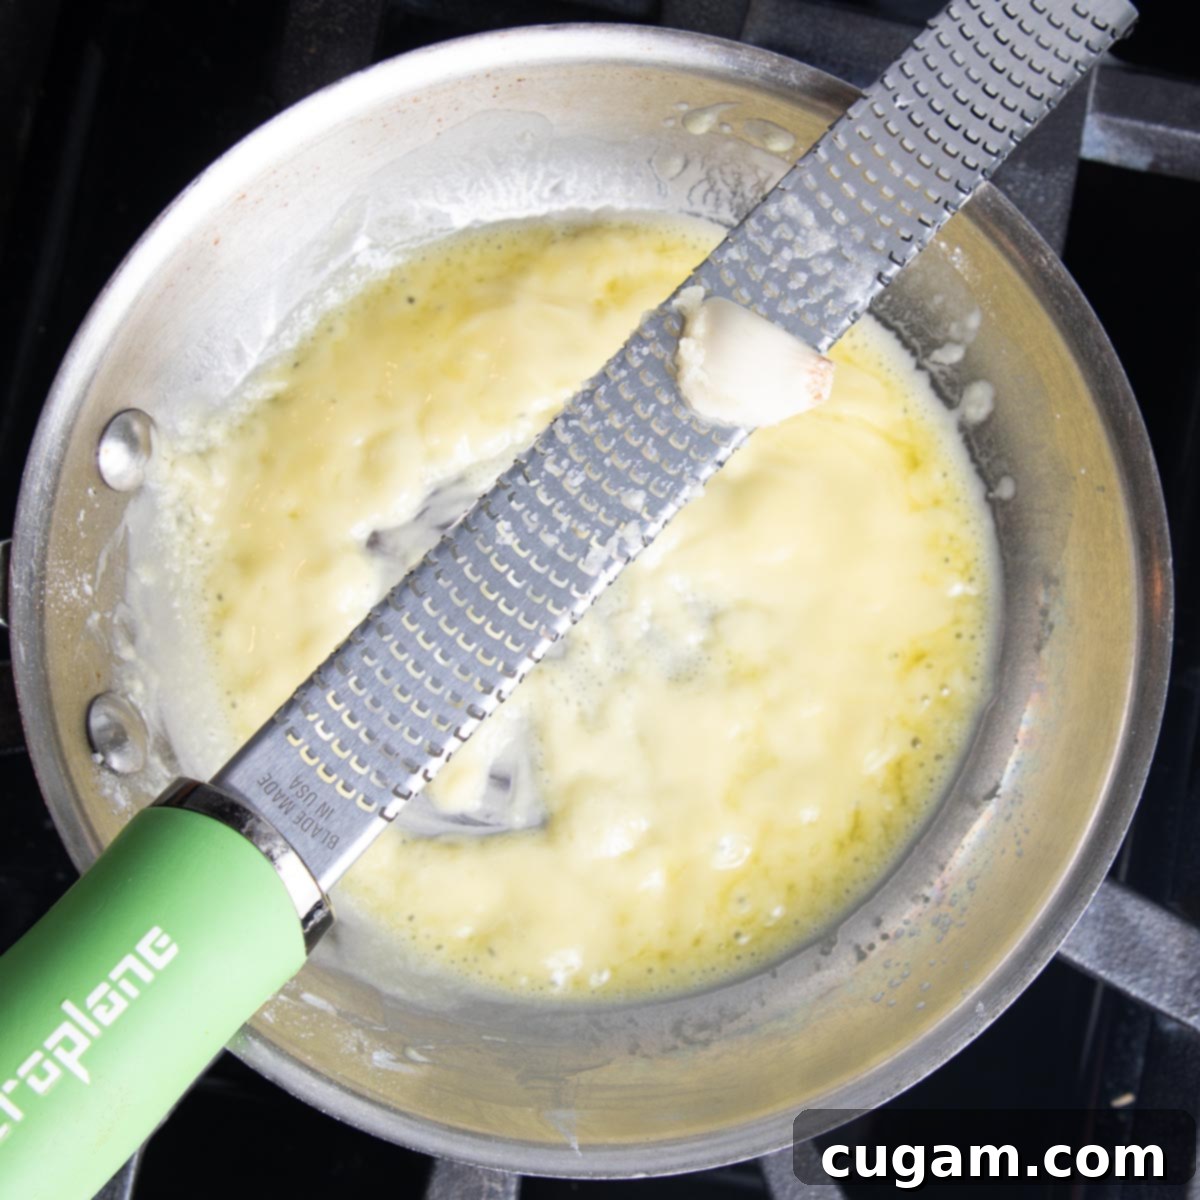
STEP 3: Introduce the Garlic. Zest the fresh garlic directly over the pan with the roux. The heat will immediately release its aromatic oils, infusing the base with incredible flavor. If you don’t have a microplane, a garlic press or finely minced garlic will work just as well.
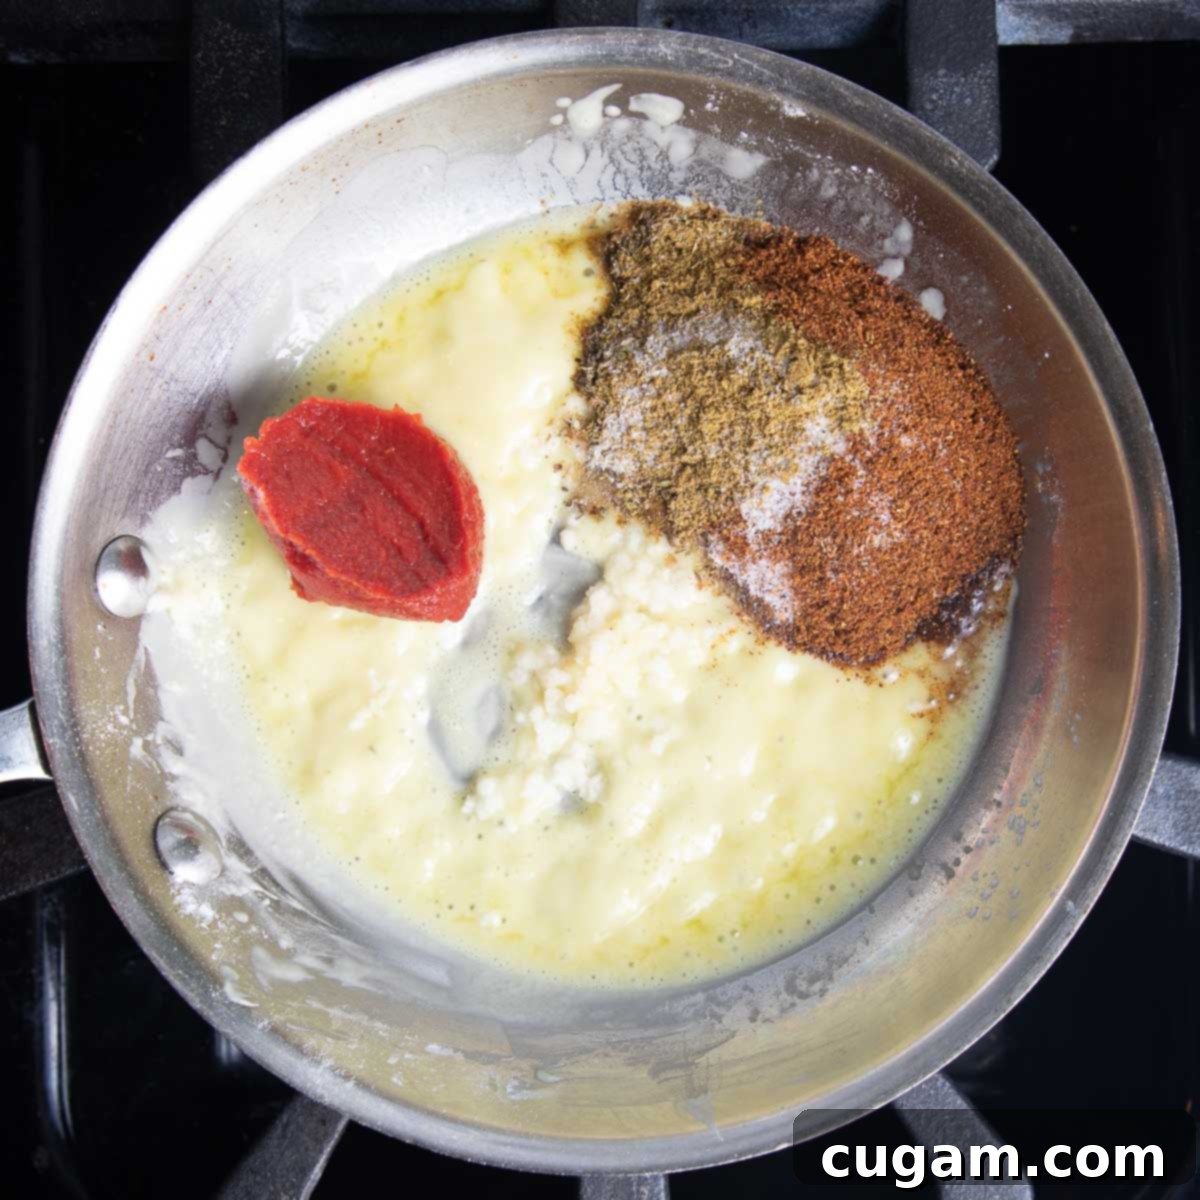
STEP 4: Add Tomato Paste and Spices. To the fragrant garlic and roux mixture, add the tomato paste and all of your chosen spices (chili powder, cumin, oregano, and salt). This step is crucial for developing a deep flavor.
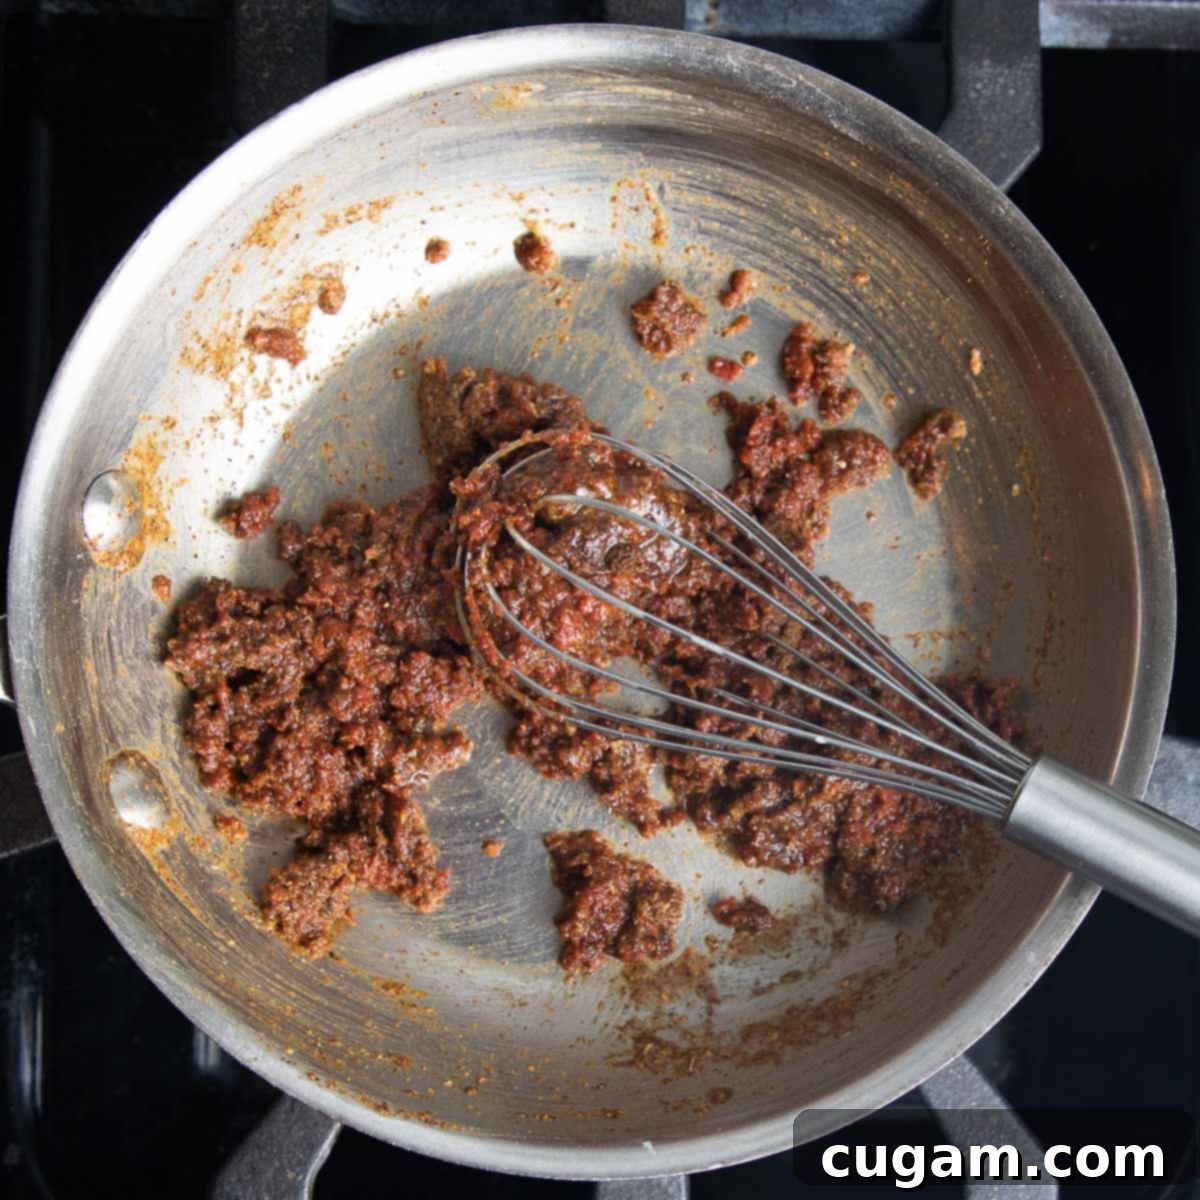
STEP 5: Form a Flavorful Paste. Continue whisking continuously to thoroughly combine the tomato paste, spices, and roux. This will quickly form a thick, aromatic paste. Cooking the spices briefly in the oil helps to “bloom” them, intensifying their flavors before any liquid is added, a technique common in many cuisines for building depth. This should take about 15 seconds.
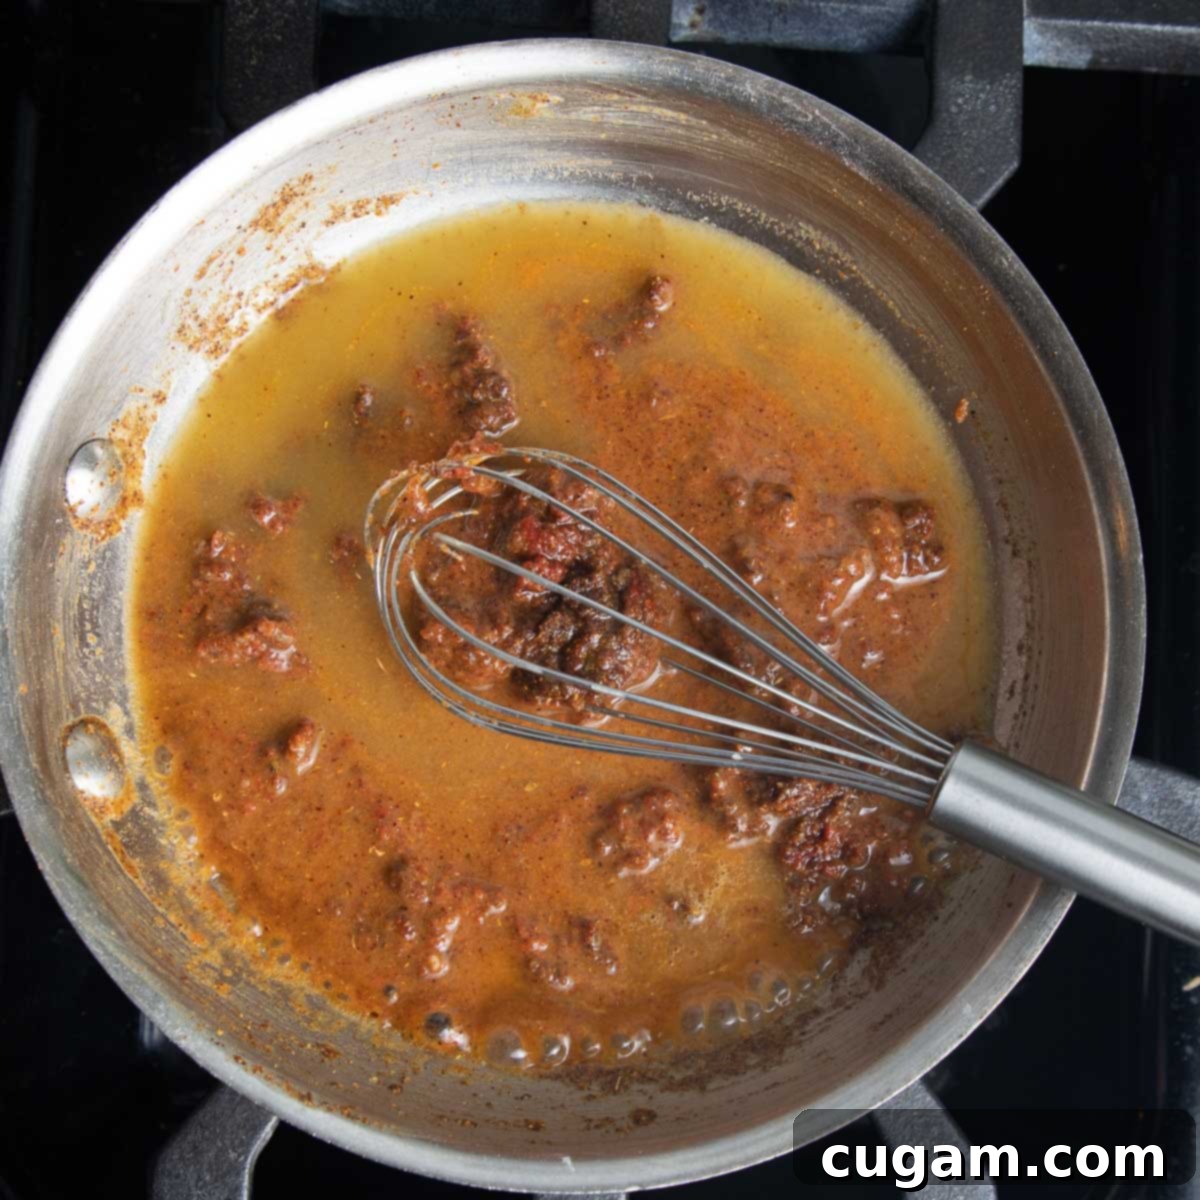
STEP 6: Gradually Incorporate Stock (First Third). Now, it’s time to transform your paste into a luscious sauce. Slowly begin to incorporate the vegetable stock, adding about one-third of the total amount at this stage. Continue whisking vigorously as you pour, working to dissolve the thick paste and prevent any clumps from forming. The mixture will start to thin out and become more liquid.
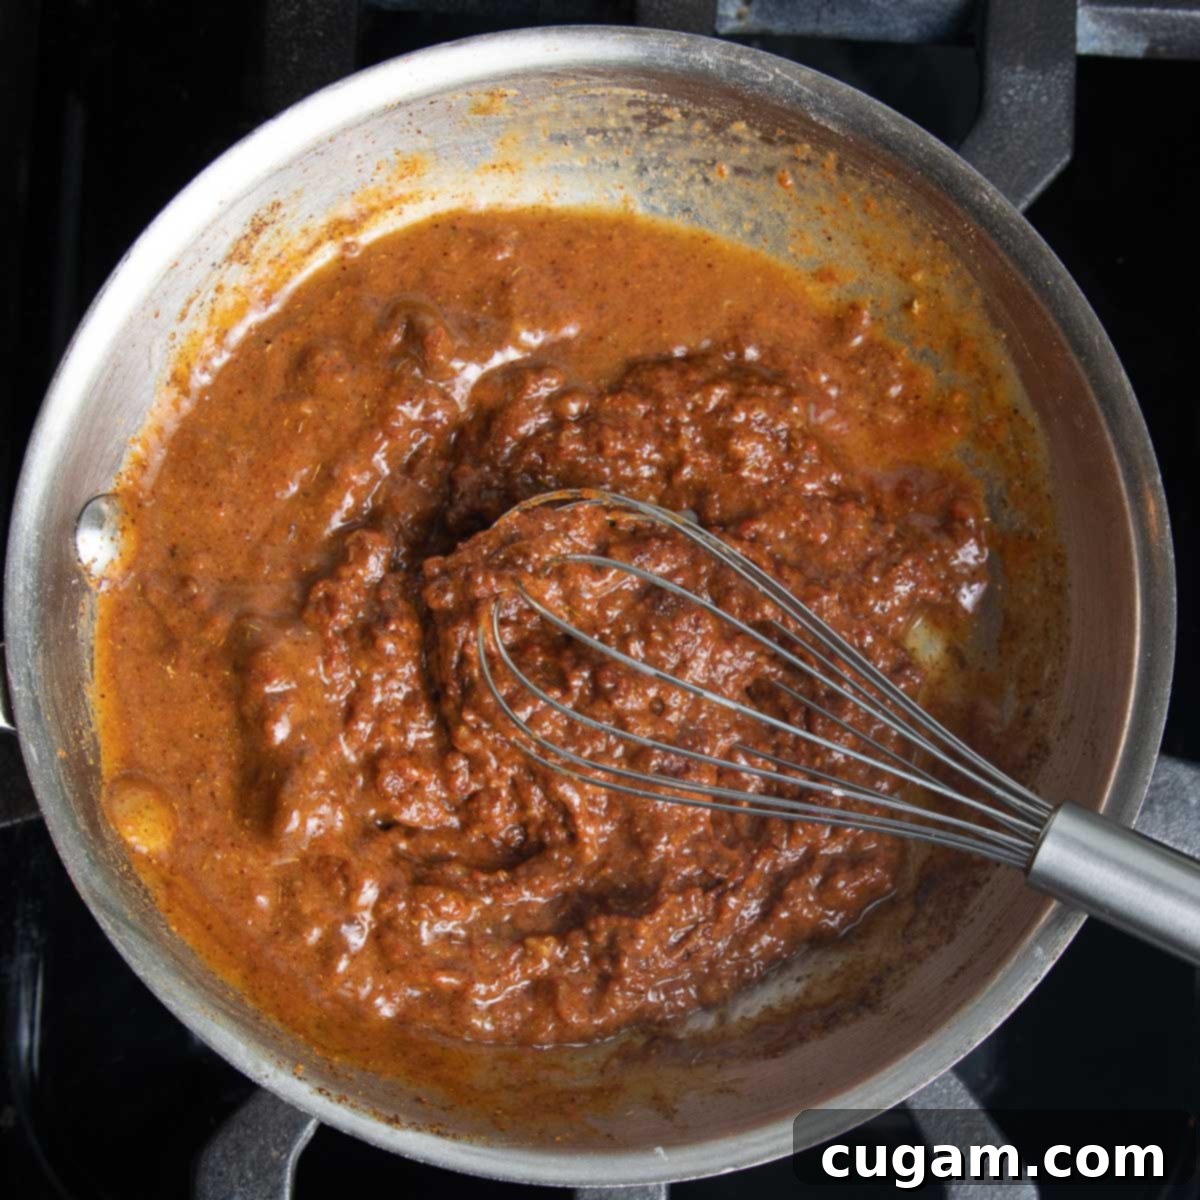
STEP 7: Ensure Smoothness. It’s crucial to fully incorporate each addition of stock into the tomato and spice mixture before adding more. This diligent whisking ensures a silky-smooth sauce free of lumps.
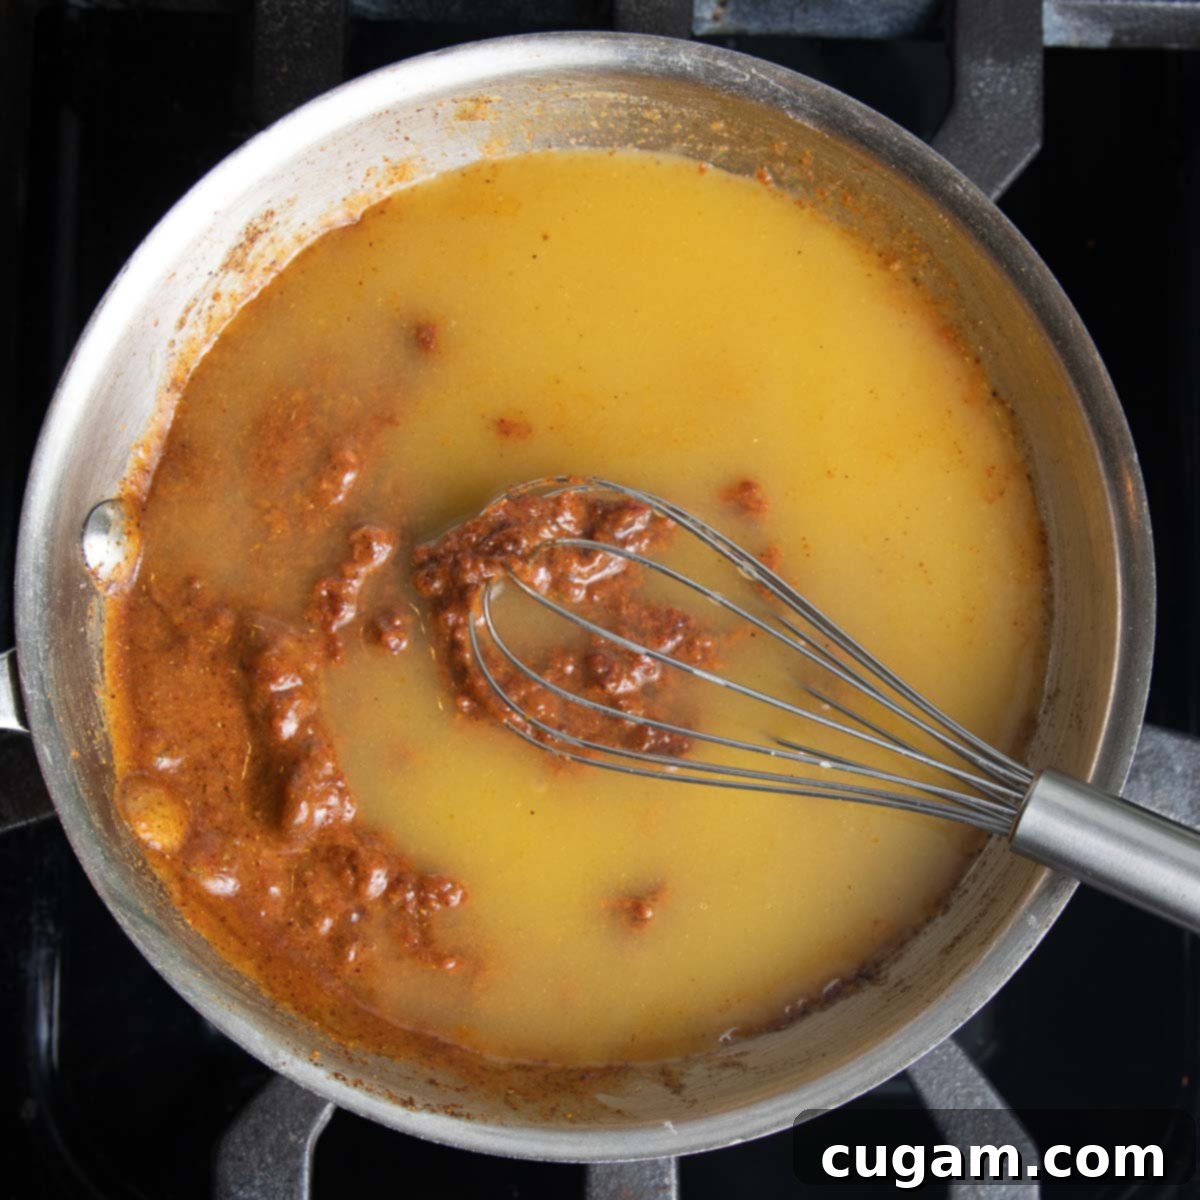
STEP 8: Add the Second Third of Stock. Pour in another third of the veggie stock. Continue whisking constantly to further thin the enchilada sauce and maintain a consistent, smooth texture.
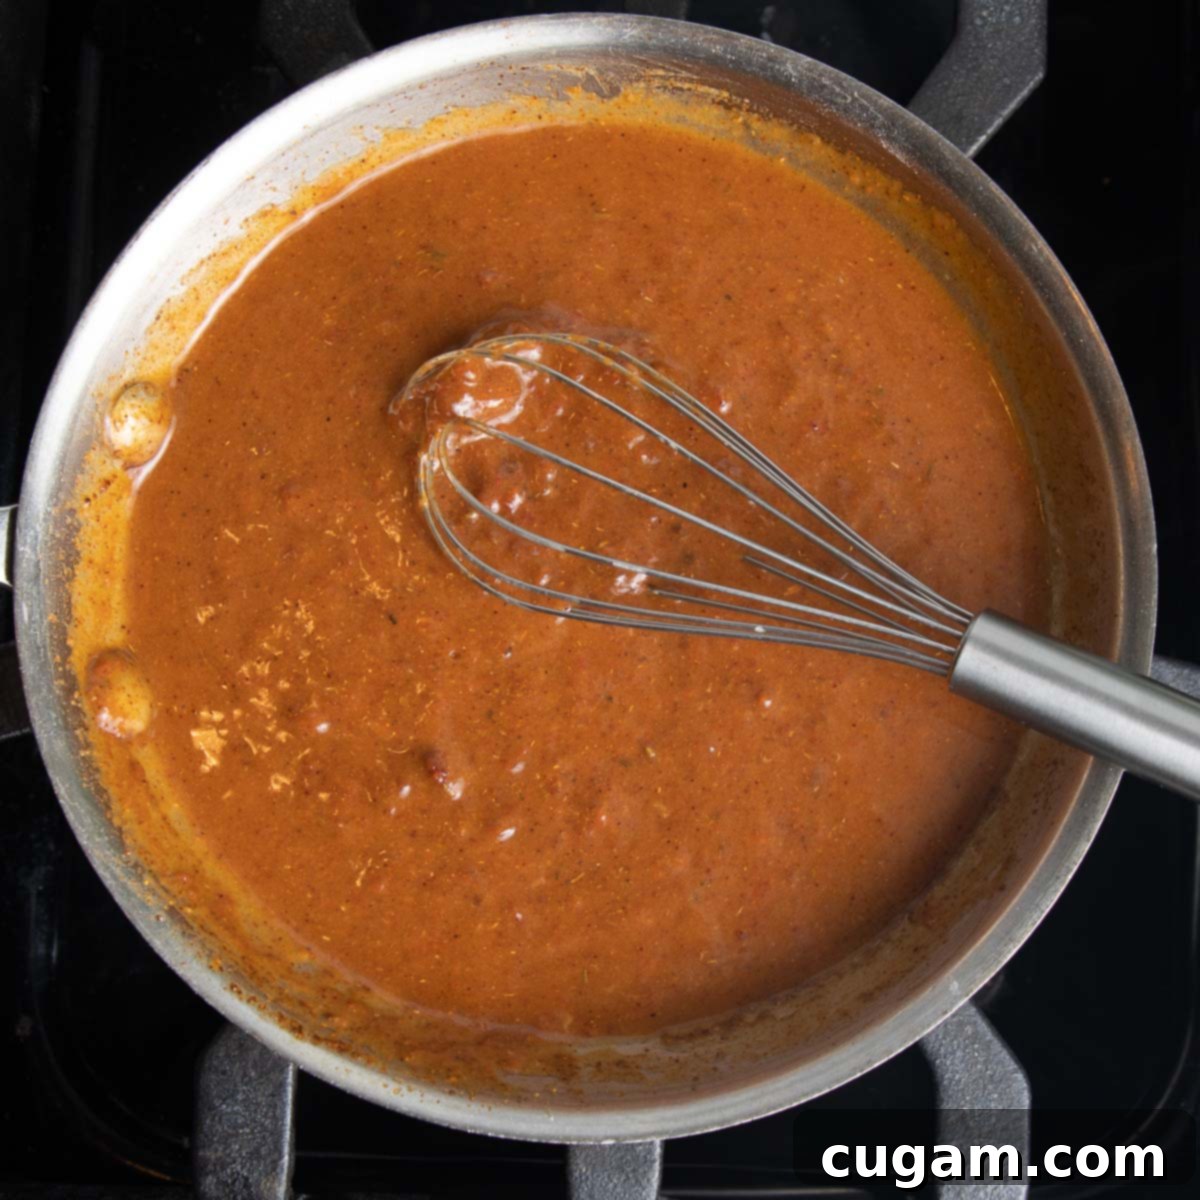
STEP 9: Whisk Until Combined. After each addition of stock, continue to mix very well, breaking up any remaining clumps. Your goal is a perfectly smooth and uniform sauce.
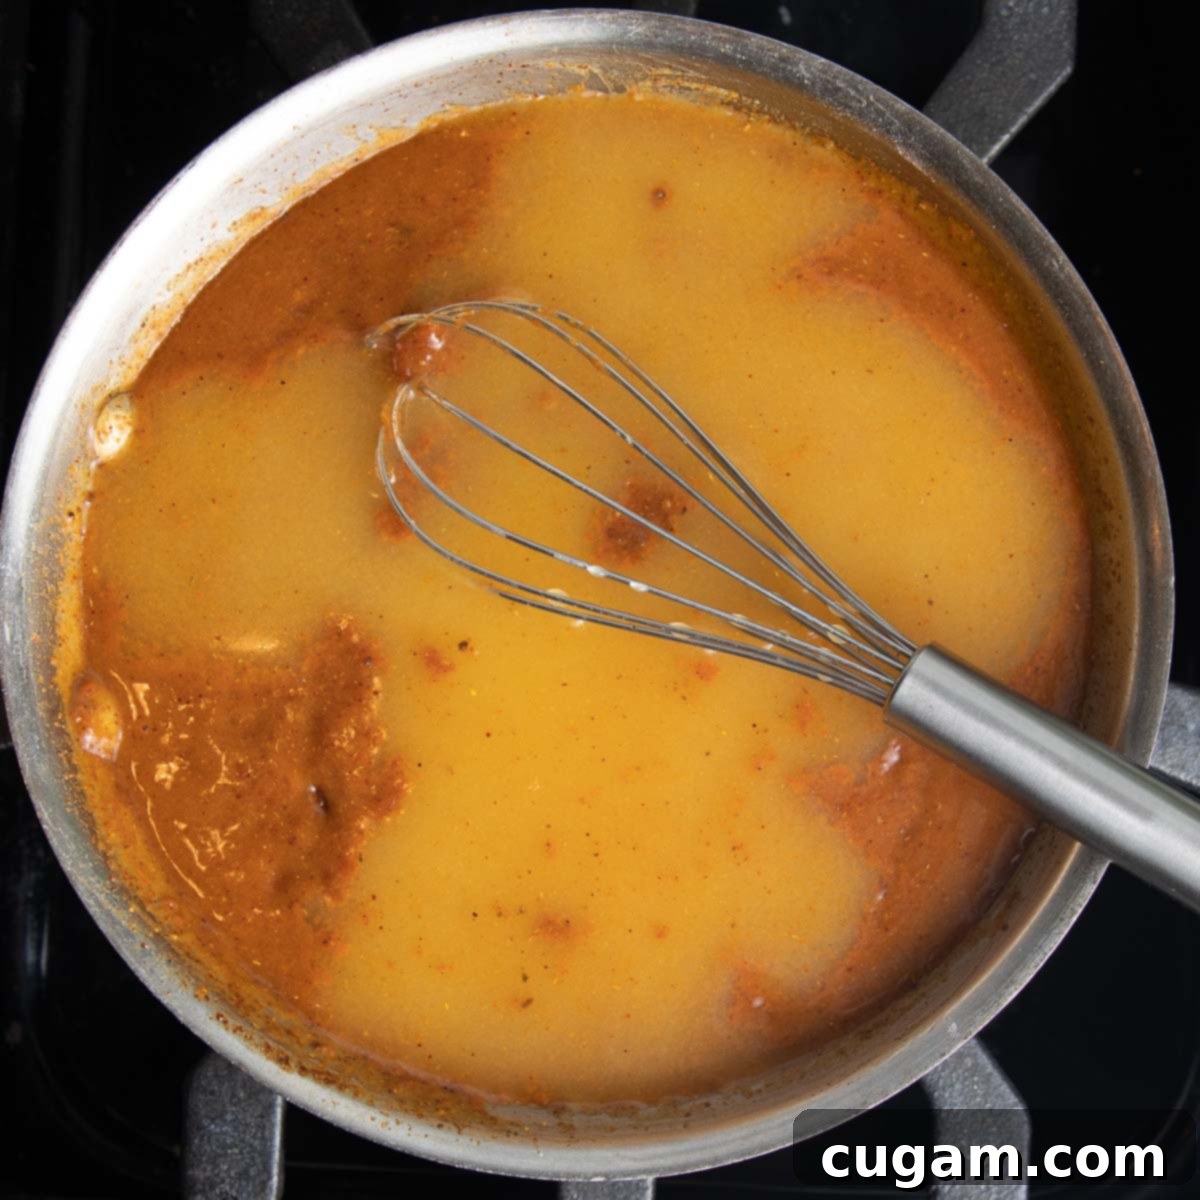
STEP 10: Finish Adding Stock. Pour in the remaining veggie stock and give it a final vigorous whisk to ensure the enchilada sauce is thoroughly thinned and everything is perfectly combined.
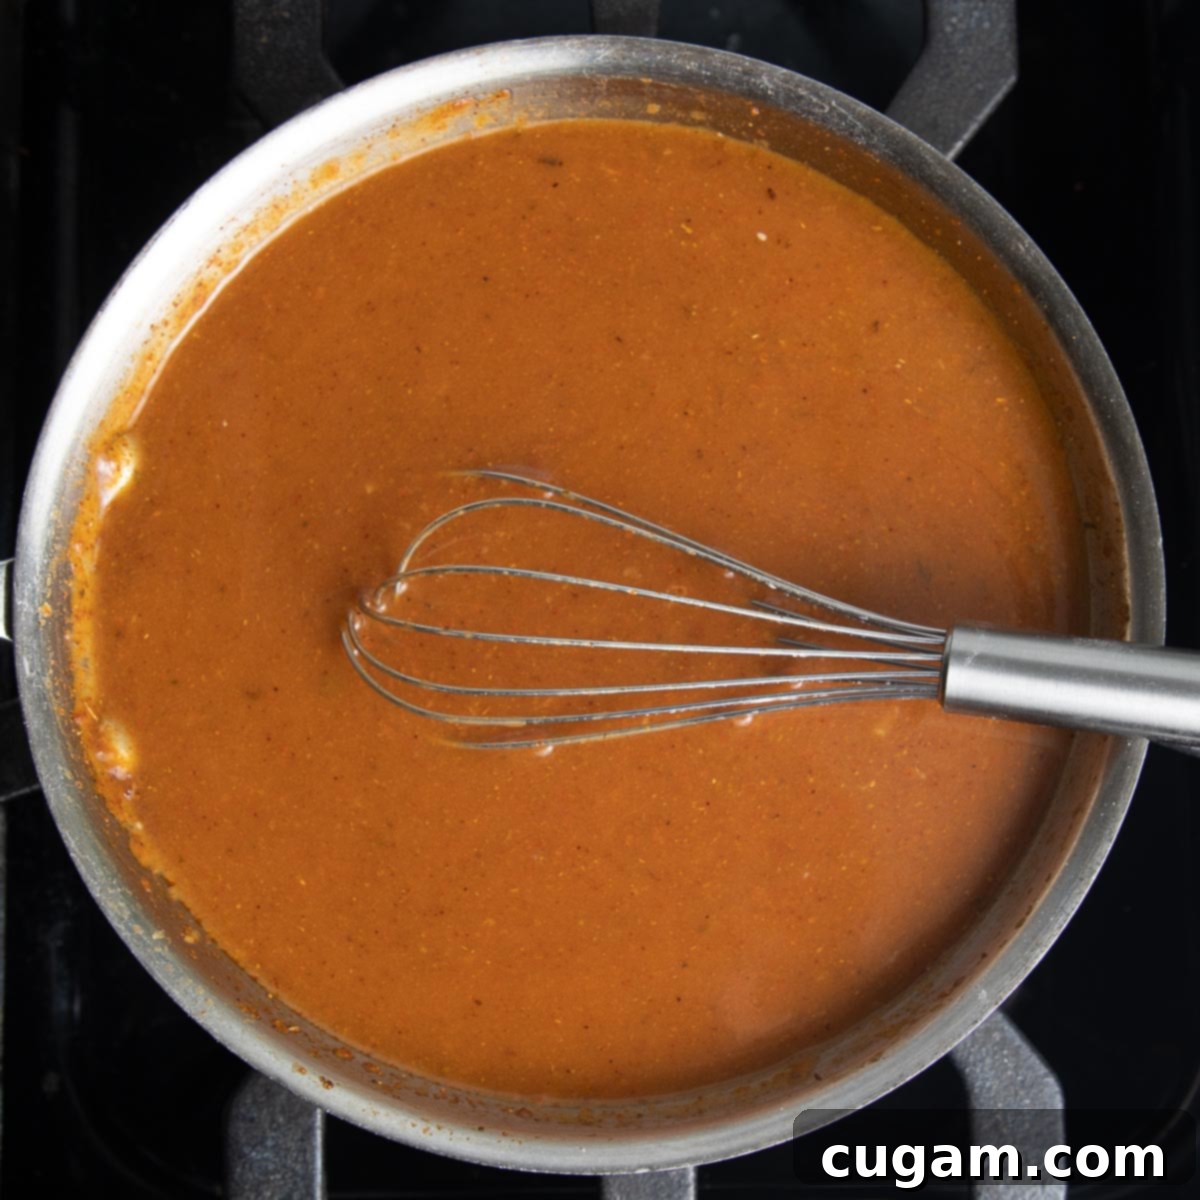
STEP 11: Simmer and Thicken. Once all the broth is fully incorporated, reduce the heat to a low simmer. Allow the red enchilada sauce to gently cook and thicken. This process typically takes about 3-5 minutes. The sauce will coat the back of a spoon when it’s ready, achieving that perfect pourable consistency. Be careful not to over-reduce it, as it will thicken further as it cools.
Tips for the Best Homemade Enchilada Sauce
- Adjusting Spice: As mentioned, for a spicier sauce, swap out a portion of the regular chili powder for chipotle chili powder. Start with ¼ to ½ teaspoon of chipotle powder and adjust to your heat preference.
- Consistency Control: If your sauce is too thick after simmering, whisk in an extra tablespoon or two of vegetable stock or water until it reaches your desired pourable consistency. If it’s too thin, allow it to simmer for an additional minute or two, stirring occasionally, until it thickens.
- Salt to Taste: Always taste and adjust salt at the end. If using regular (not low-sodium) store-bought stock, reduce the initial amount of salt.
- Make-Ahead & Storage: This homemade red enchilada sauce stores beautifully. Pour it into a clean, airtight glass jar or container and keep it in the refrigerator for up to 3 weeks. It also freezes exceptionally well for up to 3 months! Freeze in smaller portions so you can thaw just what you need.
- Reheating: When reheating from the fridge or freezer, the sauce may thicken further. Simply whisk in a little extra vegetable stock or water until it returns to its ideal consistency.
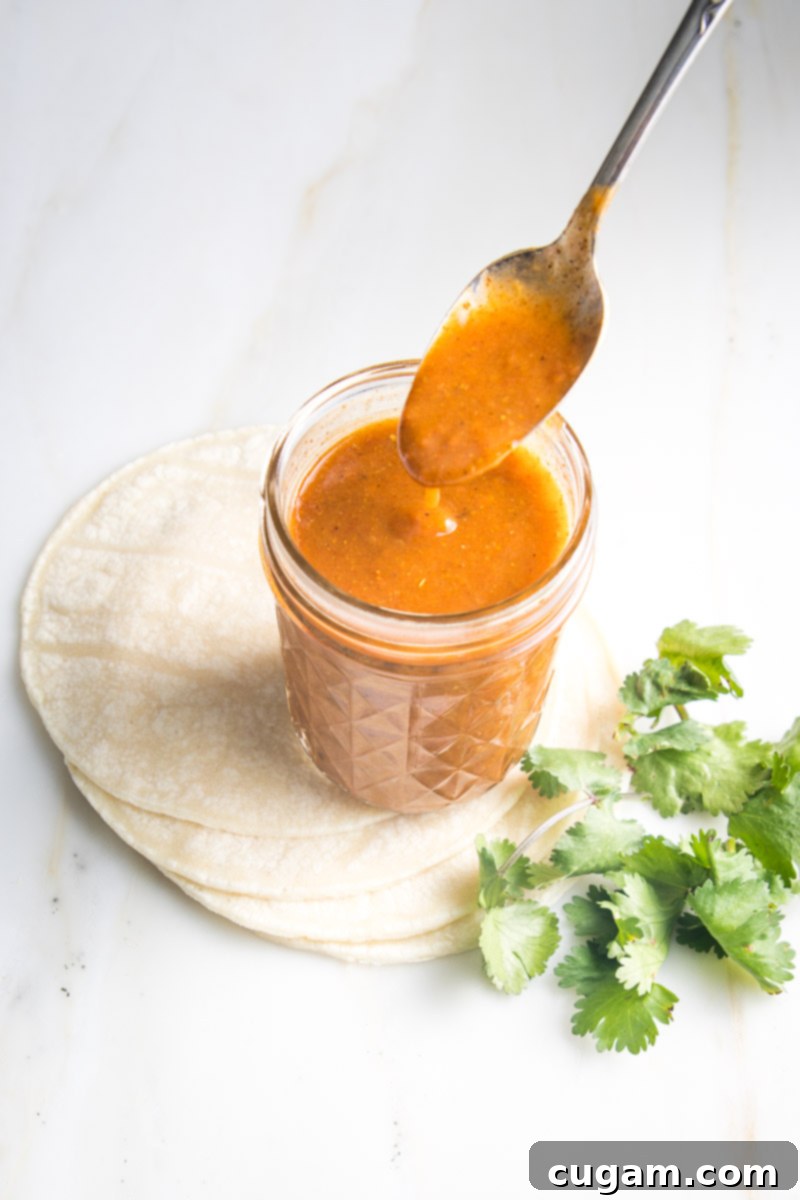
Unleash the Flavor: Ways to Use Your Homemade Red Enchilada Sauce
It’s really that simple to make the best red enchilada sauce from scratch. There’s truly no need to rely on those flavorless little white packets or overly processed canned versions when you can whip up this fresh, vibrant, and healthy alternative with such ease. Just imagine all the incredibly delicious dishes you can create or enhance with this versatile sauce. Its robust flavor profile makes it perfect for so much more than just traditional enchiladas. Get creative in the kitchen!
- Classic Enchiladas: The obvious choice! Whether you’re making chicken, beef, cheese, or vegan enchiladas, this sauce will be the star.
- Enchilada Bowls: Drizzle generously over your favorite grain bowls with beans, rice, veggies, and your choice of protein for a deconstructed, healthy enchilada experience.
- Lentil Tacos or any other Tacos: Use it as a topping for an extra layer of authentic Mexican flavor.
- Burritos and Burrito Bowls: Mix it into your burrito filling or pour it over a hearty burrito bowl for a saucy, satisfying meal.
- Taco Salad: It makes an excellent, flavorful dressing or base for a vibrant taco salad.
- Mexican Casseroles: Incorporate it into layered casseroles with tortillas, beans, corn, and cheese for a comforting family dinner.
- Chilaquiles: A fantastic base for this traditional Mexican breakfast or brunch dish, transforming stale tortillas into a flavorful masterpiece.
- Huevos Rancheros: Serve it alongside fried eggs on tortillas for a hearty and authentic breakfast.
- As a Dip: Warm it up and serve it as a dip with tortilla chips for a simple yet delicious appetizer.
- Soups and Stews: Stir a few tablespoons into chili or other Mexican-inspired soups and stews for an instant boost of rich flavor.
Make a double or even triple batch of this incredible homemade red enchilada sauce and freeze some to have on hand. It’s perfect for those busy weeknights when you crave a quick, flavorful Mexican-inspired meal. I’d love to hear how you use it! Let me know in the comments below what delicious creations you’ll be making with your homemade red enchilada sauce.
Did you know commenting and rating recipes is one of the best ways to support your favorite food bloggers? If you made this recipe, please consider a five-star rating below and leave a comment. Also, please share your photos on Instagram by tagging me @dkhealthcoach and using the hashtag #debraklein
📖 Recipe
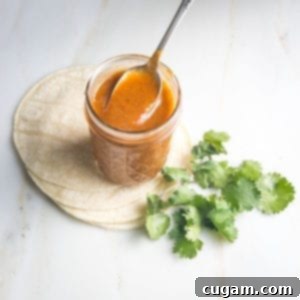
Homemade Red Enchilada Sauce
Rate this Recipe
Pin Recipe
Equipment
-
13-piece Measuring Cups and Spoons Set, 18/8 Stainless Steel Heavy Duty Ergonomic Handle with Ring Connector
-
Microplane 46201 Premium Made in USA Zester Grater, grating cheese -Soft, Dark Blue
-
AVACRAFT Stainless Steel Saucepan with Glass Lid, Strainer Lid, Two Side Spouts for Easy Pour with Ergonomic Handle, Multipurpose Sauce Pan with Lid, Sauce Pot (Tri-Ply Capsule Bottom, 2.5 Quart)
Ingredients
- 2 Tablespoons olive oil
- 2 Tablespoons arrowroot powder
- 1 large clove garlic peeled
- 1 Tablespoon + 1 teaspoon chili powder*
- 2 teaspoons cumin
- ¾ teaspoon coarse sea salt
- ½ teaspoon oregano
- 2 Tablespoons tomato paste
- 1 ½ cups veggie broth*
Instructions
-
Heat oil iIn small saucepan over medium heat. Whisk in arrowroot powder and cook for about 30 seconds.
-
Zest garlic over the pan (alternately use a garlic press), add in spices and tomato paste and whisk continuously as it forms a paste. This will take about 15 seconds.
-
Gradually add in I the stock (⅓ at a time) and whisk well to incorporate, trying to dissolve any clumps. Continue to whisk until sauce is smooth.
-
Reduce heat to a low simmer and cook until sauce thickens, 3-4 minutes.
-
Sauce will stay good in a glass jar, tightly sealed in the fridge for 3 weeks.
Notes
* If you purchase veggie stock, rather than make it yourself, buy low sodium. Also, reduce the salt to ¼ teaspoon. If more stock is needed for sauce to be of pourable consistency, add in 1 Tablespoon at a time, up to another ¼ cup.
* Sauce will thicken when it’s in the fridge. Whisk in additional stock or water as needed when using.
Nutrition
Note
The nutrition calculations were done using online tools. To obtain the most accurate representation of the nutritional information in any given recipe, you should calculate the nutritional information with the actual ingredients you used. You are ultimately responsible for ensuring that any nutritional information is accurate, complete and useful.
