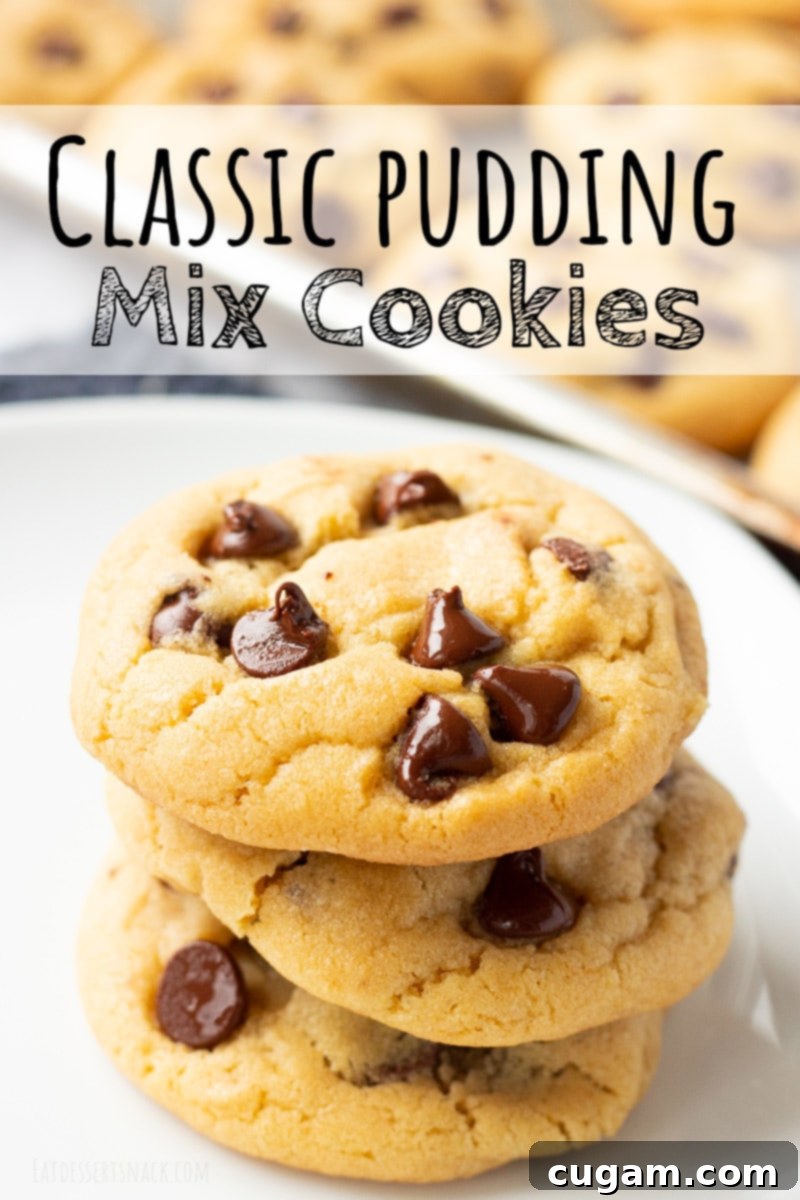
The Ultimate Chewy Chocolate Chip Pudding Cookies: Bakery-Quality, Easy & Freezer-Friendly
Experience the joy of baking with our classic chocolate chip pudding mix cookies. These exceptional cookies boast a truly bakery-quality texture – perfectly soft, delightfully chewy, and never dry or crumbly. They are incredibly easy to make, freezer-friendly for ultimate convenience, and yield a generous batch of 40-50 cookies, making them ideal for bake sales, holidays, or simply stocking your cookie jar!
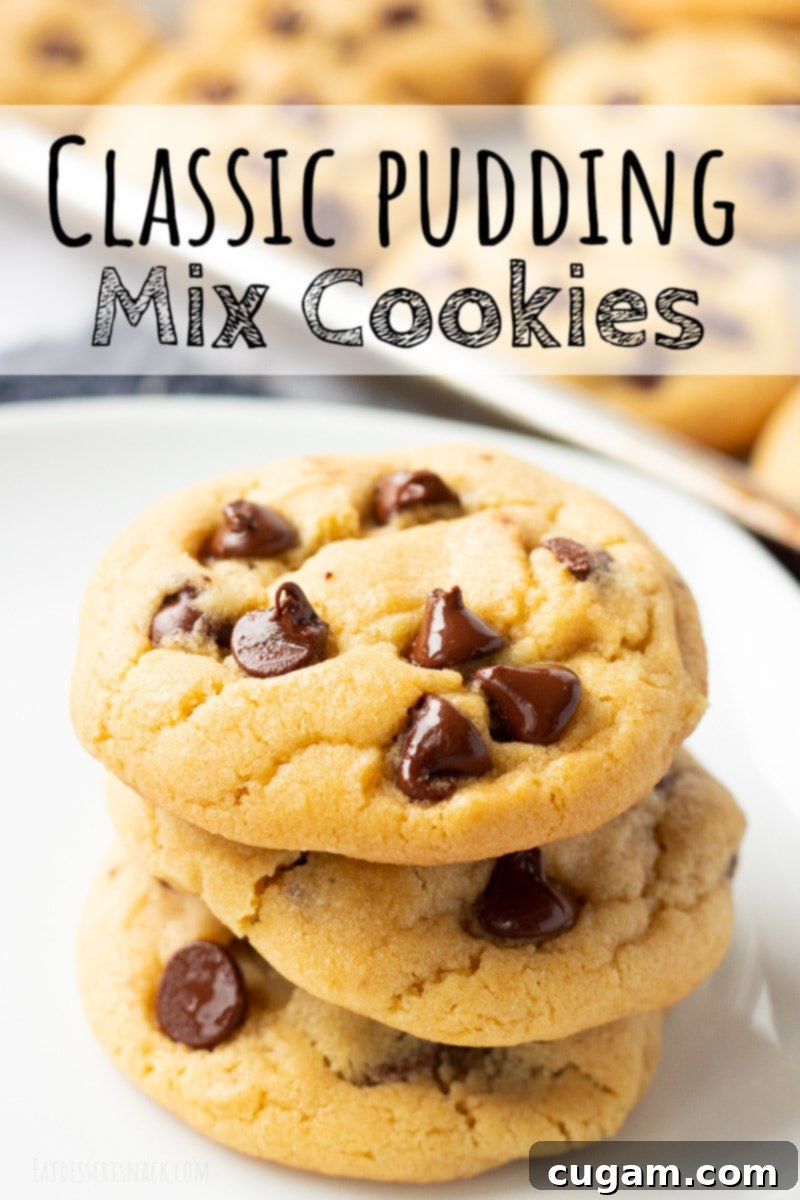
Originally published September 5, 2017.
Discover the Secret to Perfectly Chewy Chocolate Chip Cookies
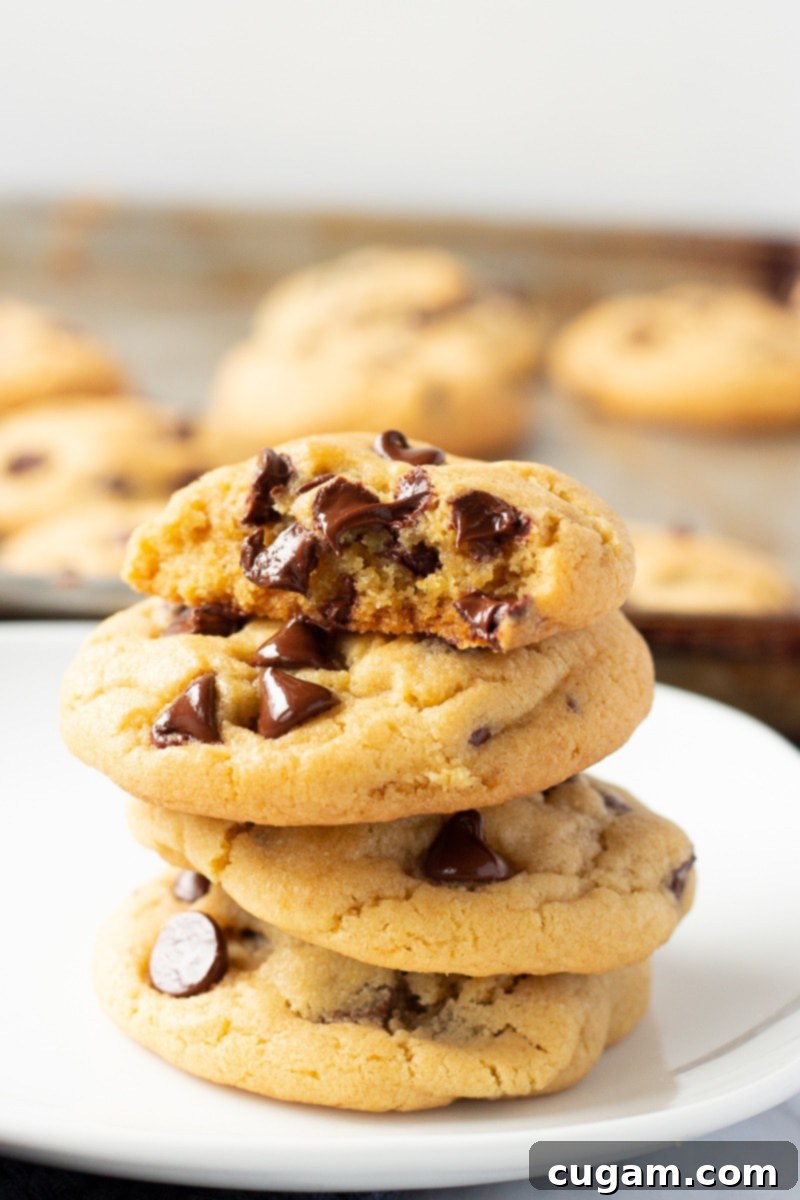
Every home baker cherishes that one cookie recipe they can always rely on – a recipe so good it becomes a signature. For many, and certainly for me, that recipe is these incredible chocolate chip cookies made with instant vanilla pudding mix. They are truly beloved for their signature bakery-quality softness and irresistible chewiness. I’ve made them so often, the recipe is practically second nature!
While some prefer their chocolate chip cookies with a crispy crunch, I strongly lean towards a soft, fluffy, and undeniably chewy texture. There’s nothing worse than a dried-out, overly crunchy cookie, often a result of too much flour. This is precisely where the magic of instant pudding mix comes into play, transforming good cookies into truly extraordinary ones.
Beyond their amazing taste and texture, one of the greatest advantages of this recipe is its versatility and convenience. You can easily prepare the cookie dough ahead of time, freeze it, and bake fresh cookies whenever a craving strikes. Surprisingly, frozen cookie dough requires only a few extra minutes in the oven compared to fresh dough, making impromptu baking sessions a breeze!
This original recipe, developed and written by yours truly, has even been featured on I Wash You Dry. While some variations might include ingredients like Bird’s Custard Powder, I typically stick to the core ingredients that make these chocolate chip pudding cookies consistently amazing. Follow my tried-and-true tips, and you’ll be baking perfect batches every single time.
The Science Behind Delicious: Why Pudding Mix is Your Secret Weapon
The addition of instant pudding mix to chocolate chip cookies is a game-changer, and it’s far more than just a flavor enhancer. The pudding mix introduces specific starches and ingredients that interact with the other components of the dough, particularly during baking, to create that coveted chewy, soft, and moist texture that sets these cookies apart from standard recipes. It essentially acts as a tenderizer and moisture retainer, preventing the cookies from drying out too quickly and ensuring they stay soft even days after baking.
When the pudding mix melts and blends into the dough, it helps to create a slightly thicker batter, which contributes to a chewier cookie. Furthermore, it adds a subtle depth of flavor that complements the chocolate chips beautifully. While vanilla pudding is a classic choice, don’t shy away from experimenting with other flavors like French vanilla, white chocolate, or even cheesecake pudding mix to customize your batch. Each variation offers a unique twist, proving just how versatile this “secret ingredient” truly is.
Essential Tips for Baking Your Best Chocolate Chip Cookies with Vanilla Pudding
Achieving bakery-quality results at home is easier than you think with these expert tips:
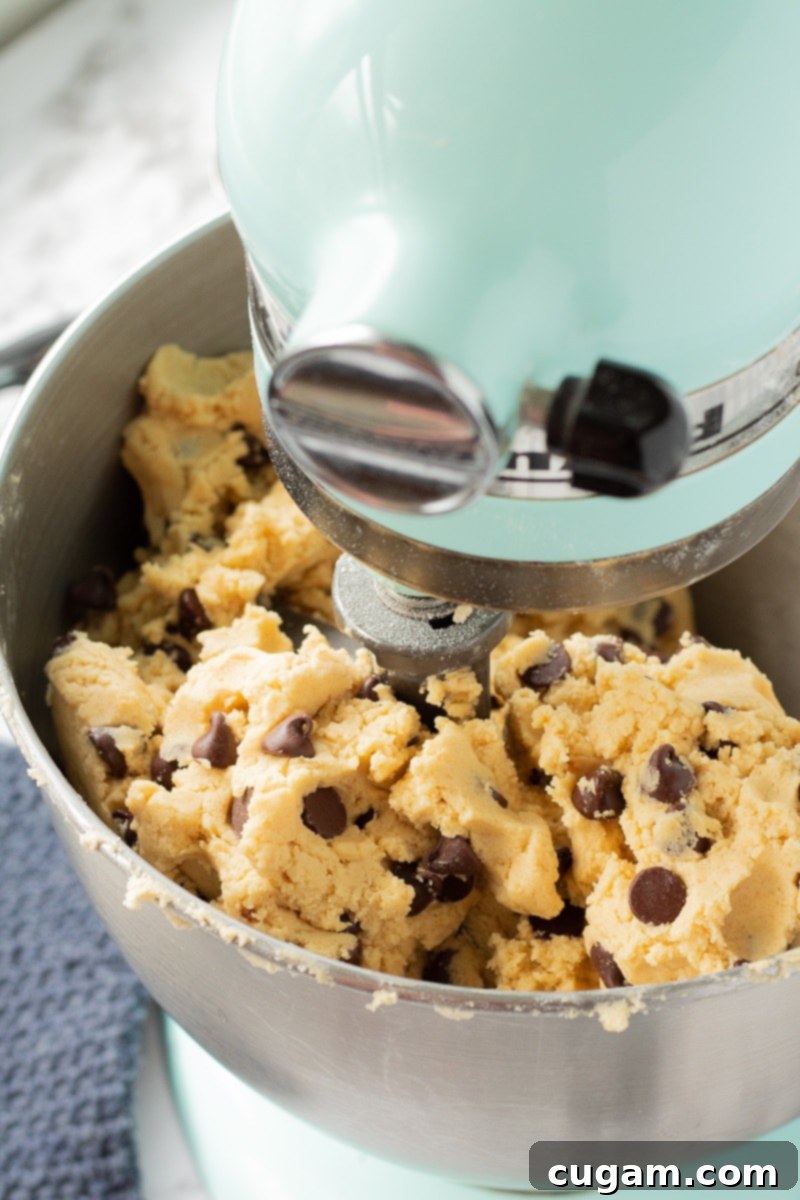
- Cream Butter and Sugar for Fluffiness: This step is critical! When you cream the butter and sugars (both white and brown) together on high speed, aim for at LEAST three minutes. This process incorporates air into the mixture, creating a light and fluffy base that contributes to the cookies’ airy yet chewy texture. Don’t rush it; a well-creamed base is the foundation for perfectly soft cookies.
- Perfect Dough Consistency is Key: When incorporating the dry ingredients, always start with the minimum recommended amount of flour. The goal is a dough with a soft, pliable, play-dough-like texture that easily pulls away from the sides of your mixing bowl. It should never be crumbly, stiff, or overly dry. If it feels too wet, add a little more flour, a tablespoon at a time, until you reach that ideal soft consistency.
- Never Overbake! This is arguably the most important rule for chewy cookies. I typically bake my cookies for 10-12 minutes, with 11 minutes often being the sweet spot. When you remove them from the oven, the edges should be barely golden brown, and the tops should just be starting to show tiny cracks. The centers might still look slightly underbaked; this is exactly what you want! They will continue to cook on the hot baking sheet, resulting in that perfectly soft and chewy interior.
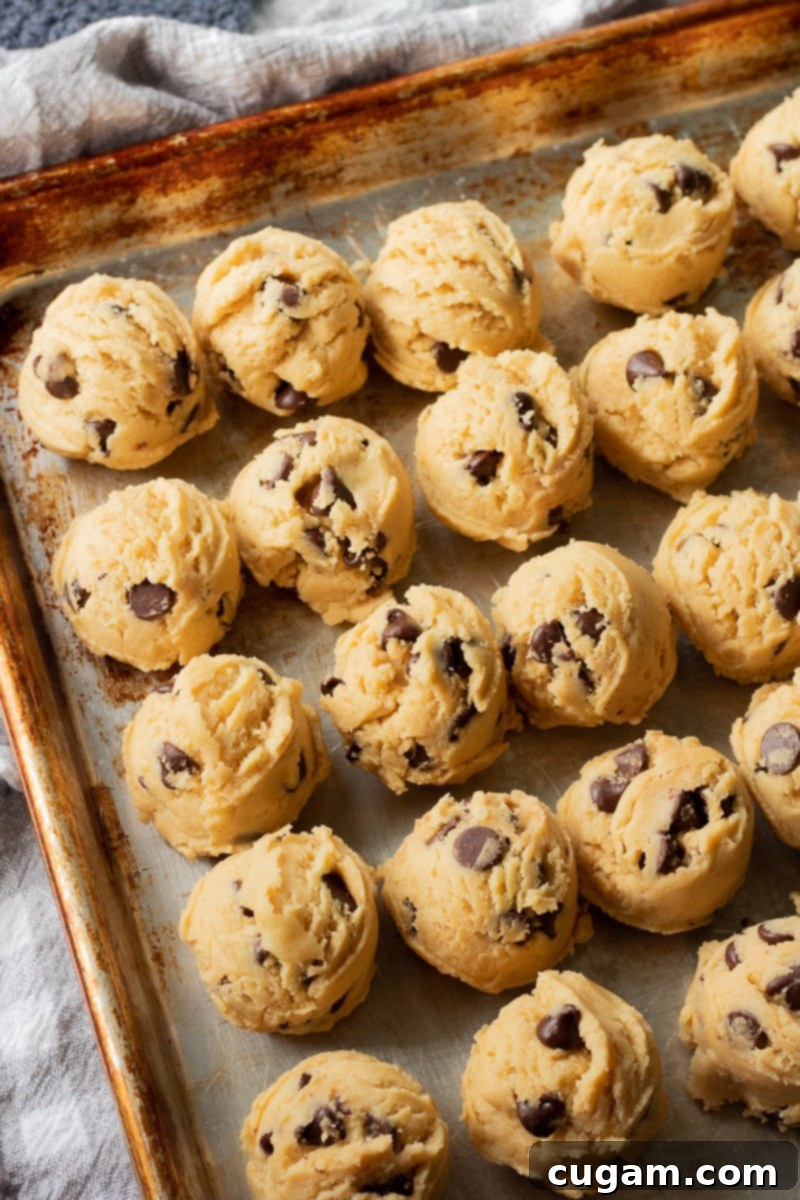
- Go Big with Your Cookie Scoop: Don’t be shy with your cookie size! Using a large cookie scoop (I prefer a heaping 1.5-inch scoopful) results in bigger, more satisfying cookies that retain their moisture better. For efficiency, I arrange my cookies in rows of three and two on the baking sheet. This clever trick allows me to bake a “baker’s dozen” (thirteen cookies) at a time, maximizing oven space and minimizing baking rounds.
- Experiment with Flavors: The beauty of these pudding cookies lies in their adaptability. While classic instant vanilla or French vanilla pudding mix is fantastic, feel free to try other varieties like white chocolate or cheesecake flavored pudding for different flavor profiles. Similarly, explore various chocolate chip options such as milk chocolate, dark chocolate, white chocolate, or even butterscotch chips to create your unique favorite combinations.
Many beloved recipes feature a “secret ingredient” that sets them apart, and this recipe is no exception. As highlighted, the secret ingredient in my irresistible chocolate chip cookies is instant pudding mix! Its unique properties are what give these cookies their signature chewiness and prolonged freshness. You have the flexibility to choose from various flavors like Vanilla, French Vanilla, White Chocolate, or even Cheesecake flavored pudding mix, each adding its own delightful nuance to the final cookie.
The Ultimate Convenience: How to Freeze Chocolate Chip Cookie Dough
One of the best features of these chocolate chip pudding cookies is their freezer-friendliness. Preparing a large batch of dough and freezing portions allows you to enjoy freshly baked, warm cookies any time you desire, with minimal effort. Here’s how to perfectly freeze and bake your cookie dough:
- Prepare Your Dough: Follow the recipe instructions precisely to make your chocolate chip pudding cookie dough.
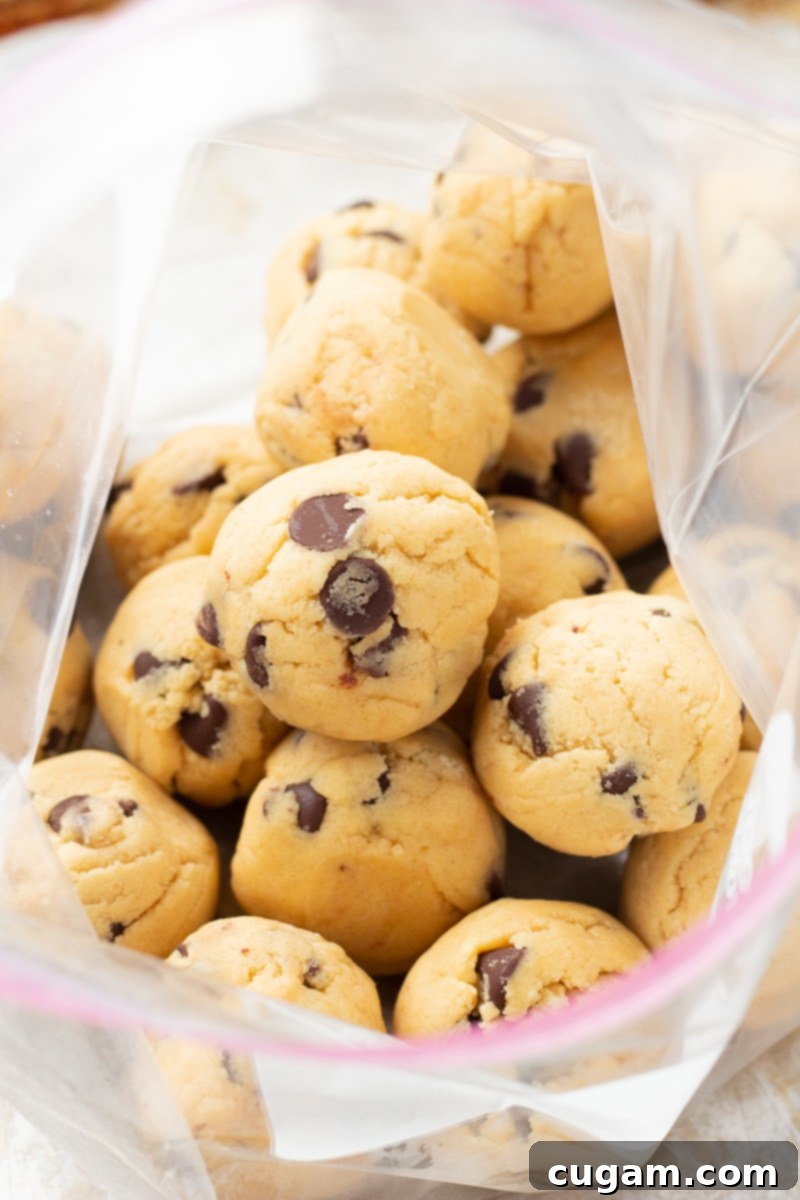
- Scoop and Freeze Individually: Using your preferred cookie scoop (a 1.5-inch scoop works great for these), portion the dough onto a cookie sheet lined with parchment paper or a silicone baking mat. Make sure the dough balls are close together but not touching, to prevent them from freezing into one solid mass.
- Flash Freeze: Place the cookie sheet with scooped dough balls into the freezer for at least 4 hours, or ideally, overnight. This “flash freezing” step ensures the dough balls firm up individually.
- Store for Later: Once completely frozen solid, transfer the individual cookie dough balls into a freezer-safe bag or airtight container. Label the bag with the date and baking instructions. The dough can be stored in the freezer for up to 3 months.
- To Bake Thawed Dough: If you plan to bake thawed dough, simply transfer the desired number of frozen cookie dough balls to the refrigerator overnight to thaw. The next day, place them onto a prepared cookie sheet (lined with parchment paper). Preheat your oven to 350°F (175°C) and bake as directed in the original recipe (typically 10-12 minutes).
- To Bake from Frozen: For immediate gratification, you can bake the cookies directly from frozen! Preheat your oven to 350°F (175°C). Place the frozen cookie dough balls onto a cookie sheet lined with parchment paper or a baking mat. Bake for 14-16 minutes. Since they are starting from a frozen state, they will need a few extra minutes compared to fresh or thawed dough. Look for edges that are barely golden brown and tops just beginning to crack. After 14 minutes, check them every minute to ensure they don’t overbake, as oven temperatures can vary.
Versatile Treats for Any Occasion
These freezer-friendly, make-ahead chocolate chip pudding cookies are incredibly versatile and perfect for a multitude of occasions. Imagine them as delightful ice cream sandwich cookies for summer weddings, festive treats for Christmas gatherings, convenient weekend snacks, or highly sought-after items at bake sales. Their consistent quality and delicious flavor make them a hit with everyone!
Beyond the Classic: Explore More Decadent Desserts
If you’re a true chocolate enthusiast, don’t stop here! Be sure to try my equally delicious Chocolate Pudding Mix Cookies for an intense cocoa experience, or indulge in the rich, fudgy goodness of my Best EVER Fudgy Brownies! And remember, sharing is caring – spread the love for these amazing recipes on Pinterest or your favorite social media channel. ❤️
📝 Printable Recipe: Classic Chocolate Chip Pudding Cookies

Classic Chocolate Chip Pudding Cookies
Pin Recipe
Ingredients
- 1-½ cups salted butter room temperature
- 1 cup white granulated sugar
- 1 cup brown sugar
- 2 eggs
- 2 teaspoon vanilla extract
- 2 teaspoon salt
- 2 teaspoon baking soda
- 1 3.4oz package instant french vanilla pudding mix (instant vanilla, white chocolate, and cheesecake pudding may be used)
- 4 to 4-¼ cups all purpose flour
- 2 cups semi sweet chocolate chips
Instructions
-
Preheat your oven to 350 degrees F (175°C). Prepare your cookie sheets by lining them with parchment paper or a silicone baking mat to prevent sticking and ensure even baking.
-
In the bowl of a stand mixer fitted with the paddle attachment, combine the room temperature butter, white granulated sugar, and brown sugar. Beat on high speed for approximately 3 minutes, or until the mixture becomes visibly light and fluffy. Remember to scrape down the sides of the bowl occasionally to ensure everything is well combined. Next, add in the eggs one at a time, mixing well after each addition, then incorporate the vanilla extract. Continue mixing on medium speed until the mixture is fluffy and well-aerated.
-
Add the salt, baking soda, and the instant french vanilla pudding mix to the wet ingredients. Mix on low speed until these dry ingredients are just combined. Finally, gradually add the all-purpose flour, one cup at a time, mixing on low speed until no streaks of dry flour remain. The resulting cookie dough should have a soft, pliable play-dough texture that pulls away cleanly from the sides of the bowl. It should not be stiff, dry, or crumbly. Adjust with a tiny bit more flour if too sticky, or a splash of milk if too dry.
-
Gently stir in the semi-sweet chocolate chips by hand or on the lowest mixer speed until they are evenly distributed throughout the dough. Avoid overmixing.
-
Using a 1-½ inch cookie scoop, drop rounded balls of cookie dough onto the prepared baking sheets. For optimal baking and to get a “baker’s dozen” (13 cookies) on a standard sheet, I arrange them in alternating rows of 3 and 2. Ensure enough space between each cookie for even spreading.
-
Bake for 10 to 12 minutes. It is crucial not to overbake these cookies to maintain their signature chewiness. The cookies are done when the bottoms and edges are barely golden brown, and the tops are just beginning to show slight cracks. The centers may still appear slightly soft.
Baking time may vary depending on your oven and whether you are baking one or two pans at a time. If baking two pans, I highly recommend rotating the pans halfway through the baking time for uniform results.
-
Allow the cookies to cool on the baking sheet for 5-10 minutes before carefully transferring them to a wire cooling rack to cool completely. This resting period on the hot sheet helps them set without becoming too crisp. The bottoms will be a nice golden brown, while the tops will remain beautifully pale with those characteristic cracks. Enjoy your perfect, chewy chocolate chip pudding cookies!
Notes
How to freeze and bake chocolate chip cookie dough for future enjoyment:
- Make the cookie dough recipe as directed, ensuring it reaches the ideal soft, pliable texture.
- Scoop individual portions of dough onto a cookie sheet lined with parchment paper or a baking mat. Arrange them close together, but ensure edges are not touching, to prevent them from fusing during freezing.
- Freeze the scooped dough balls for a minimum of 4 hours, or ideally, overnight, until completely solid. Once frozen, transfer them to a freezer-safe bag or airtight container for long-term storage.
- To bake thawed cookie dough: The night before you plan to bake, move the desired number of frozen cookie dough balls from the freezer to the refrigerator to thaw. Once thawed, place them onto a prepared cookie sheet. Preheat your oven to 350 F (175°C) and bake according to the main recipe’s instructions (10-12 minutes).
- To bake frozen cookie dough: Preheat your oven to 350 F (175°C). Place the frozen cookie dough balls directly onto a prepared cookie sheet lined with parchment paper or a baking mat. Bake for 14-16 minutes. Since they are frozen, they will require a slightly longer baking time. Look for edges that are just barely golden brown and tops that have started to crack. Begin checking for doneness at 14 minutes and then every minute thereafter until they reach the desired chewy perfection.
