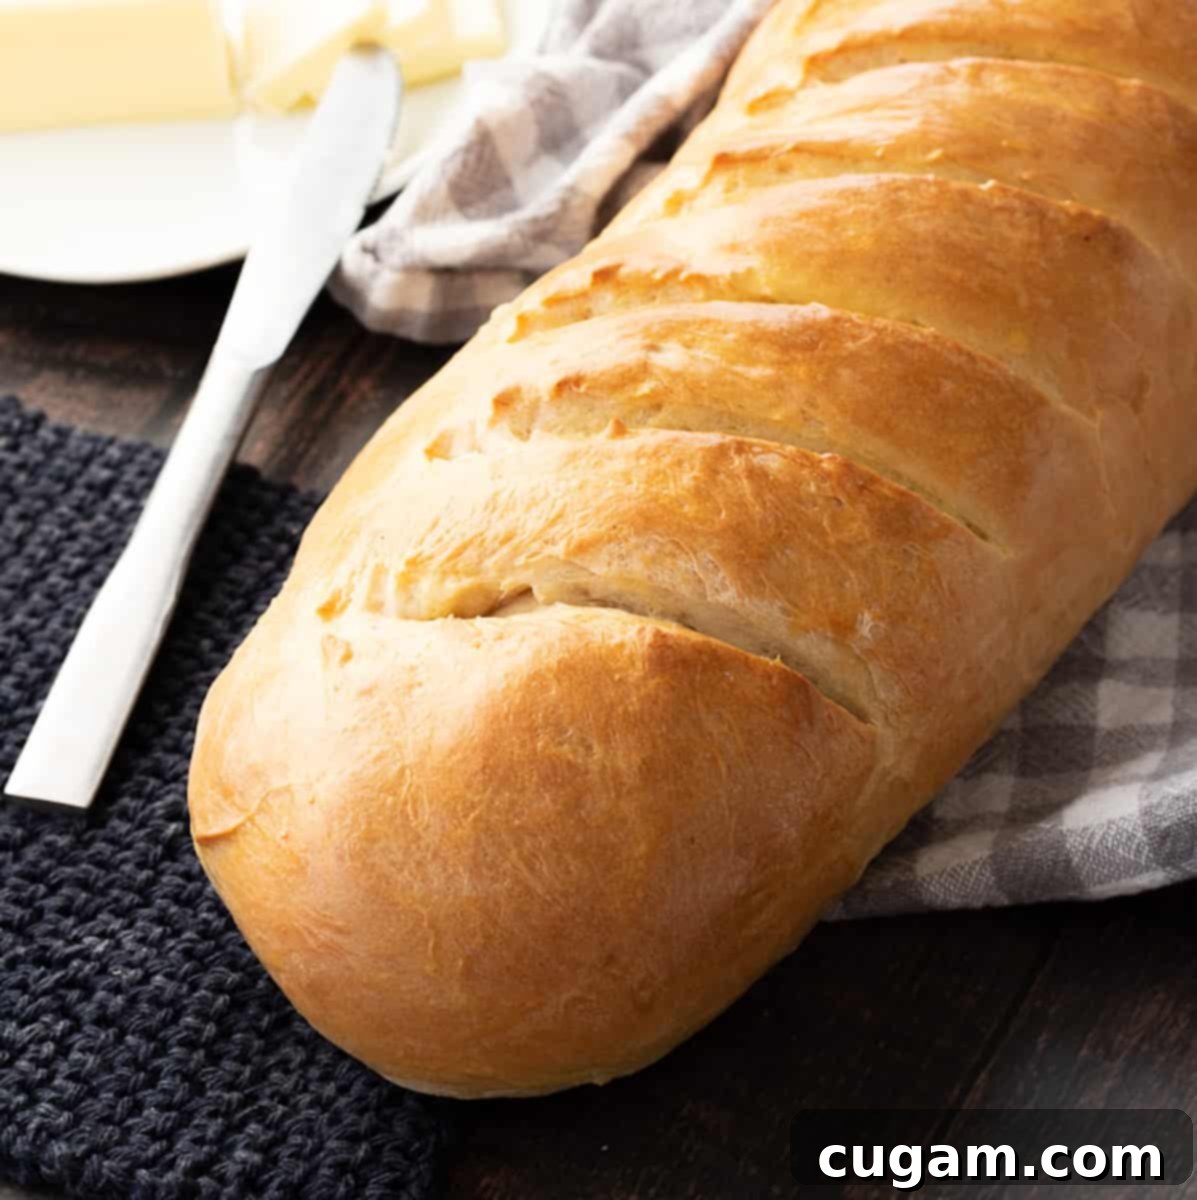
Easy Homemade Soft & Fluffy French Bread: Your New Go-To Recipe for Crusty Perfection
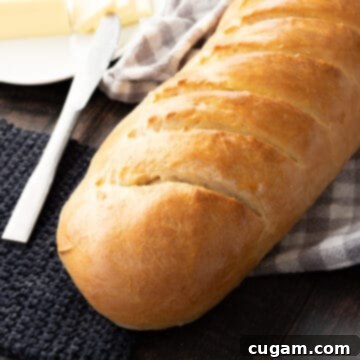
There’s nothing quite like the aroma of freshly baked bread wafting through your home. And when that bread is this incredibly easy and delicious soft, fluffy French bread, you know you’re in for a treat. This recipe is designed to be straightforward for home bakers, yielding one perfect loaf with a wonderfully crusty, golden exterior and an irresistibly tender, chewy interior. Need more for a gathering? It’s effortlessly doubled to feed a crowd!
This isn’t just a bread recipe; it’s the bread recipe I turn to most often. Its versatility makes it the ideal companion for so many meals, from hearty soups to rich pasta dishes. Imagine tearing into a warm slice alongside my savory Pumpkin Pasta – pure comfort!
Originally published September 17, 2017.
Why Every Home Kitchen Needs a Classic French Bread Recipe
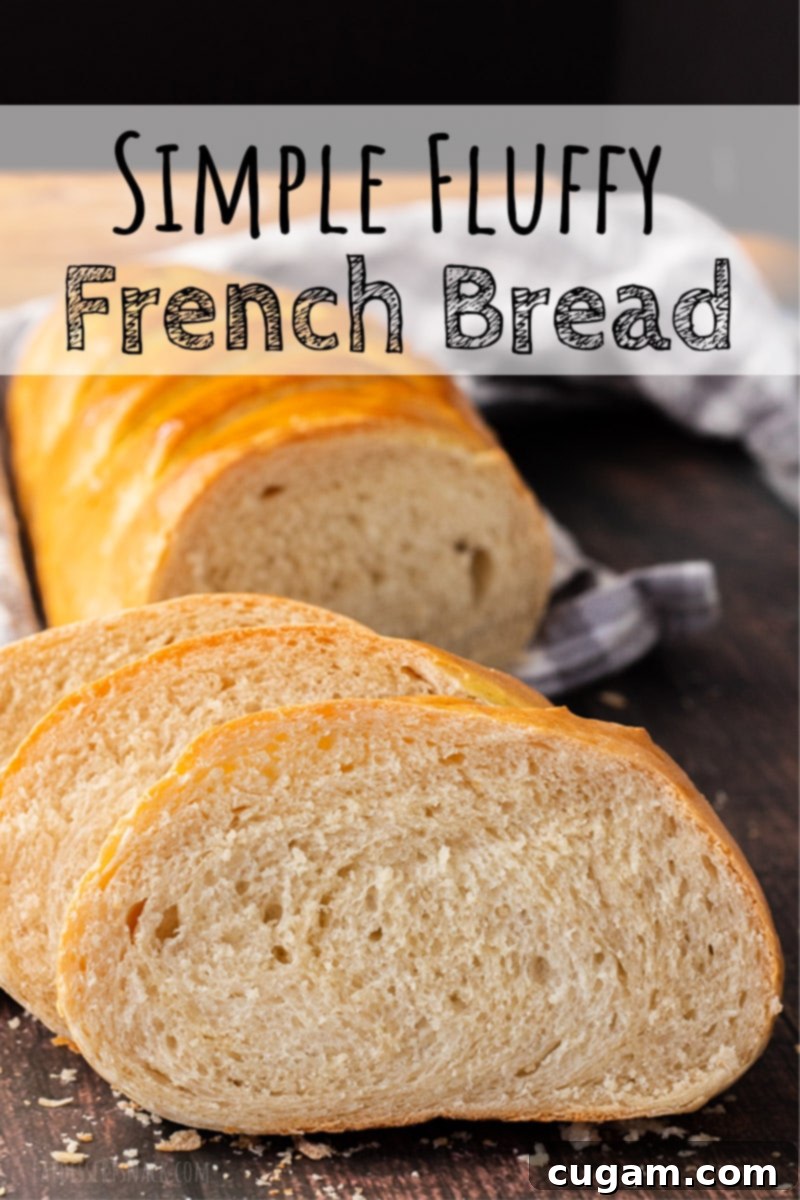
A reliable homemade French bread recipe is a culinary cornerstone. The simple act of baking bread from scratch brings an unparalleled sense of accomplishment and fills your home with an inviting warmth. Forget store-bought loaves; fresh-from-the-oven bread, still slightly warm to the touch, offers a depth of flavor and texture that truly elevates any meal. It’s not just for dinner either! This versatile loaf is fantastic for lunch, or even as a delightful breakfast accompaniment.
And let’s not forget the magic of leftovers! While it’s hard to imagine having any of this delicious bread remaining, should you find yourself with extra, it transforms beautifully into other dishes. One of my personal favorites is a comforting Lemon Blueberry Bread Pudding – perfect for a leisurely breakfast or a sweet dessert.
My journey with bread making began years ago when I worked at a local bakery for three years. It was, without a doubt, my favorite job. There, amidst the flour dust and the sweet scent of rising dough, I honed essential baking skills: kneading two loaves simultaneously, effortlessly rolling out dozens of dinner rolls with both hands, and, most importantly, developing a profound appreciation for the entire process. It was during this time that I truly mastered the art of crafting exceptional French bread.
The Irresistible Appeal of Soft and Fluffy French Bread
What sets this French bread apart is its perfect balance: a wonderfully crisp and golden crust that yields to an incredibly soft, airy, and chewy interior. Achieving this texture requires a bit of understanding of the ingredients and process, but it’s far simpler than you might imagine. Let’s delve into the core elements that contribute to this delightful experience.
Understanding Your Ingredients: The Foundation of Great Bread
- Warm Water (90-110°F): This is crucial for activating your yeast. Water that is too cold won’t wake up the yeast, while water that is too hot will kill it. Think lukewarm bathwater.
- Active Dry Yeast: The living organism responsible for making your bread rise. Ensure it’s fresh and active for the best results.
- Sugar (Granulated or Honey): This acts as food for the yeast, helping it to activate and multiply, leading to a good rise. It also contributes to the bread’s flavor and helps achieve that beautiful golden-brown crust.
- Salt: Essential for flavor, but also plays a critical role in controlling yeast activity and strengthening the gluten structure. Don’t skip it!
- Oil (Vegetable, Olive, etc.): A small amount of oil adds tenderness to the crumb and helps keep the bread soft and moist.
- All-Purpose Flour: The primary structural component of your bread. The amount needed can vary slightly depending on humidity and how accurately you measure, so it’s always best to add it gradually.
- Beaten Egg: Brushed on during the final minutes of baking, this creates that desirable shiny, golden, and slightly crisp crust that is a hallmark of good French bread.
Step-by-Step Guide: How to Bake Soft French Bread
Making homemade French bread is a rewarding process, and these detailed steps will guide you to a perfect loaf every time.
- Proof Your Yeast to Perfection: Begin by combining warm water (ideally between 90-110°F), sugar, and active dry yeast in your stand mixer bowl or a large mixing bowl. Give it a gentle stir. Now, let this mixture sit undisturbed for 5 to 7 minutes. You’re looking for a foamy, bubbly layer to form on the surface – this is a clear sign that your yeast is alive and ready to work its magic. If you don’t see foam, your yeast might be old or the water temperature was off, and it’s best to start over.
- Mix the Dough and Allow the First Rise (Bulk Fermentation): To the proofed yeast mixture, add the salt, oil, and 2 cups of the all-purpose flour. If using a stand mixer with a dough hook, mix on low speed until combined, then gradually add the remaining flour, about a half-cup at a time, until the dough begins to pull away from the sides of the bowl and is only slightly sticky to the touch. Continue mixing on low to medium speed for 3-5 minutes, allowing the gluten to develop. If kneading by hand, this process will take about 5-7 minutes, requiring some good “bread muscles” as you work the dough until it’s smooth and elastic. Once kneaded, transfer the dough to a lightly greased bowl, turning it once to coat. Cover the bowl with a clean dish towel or plastic wrap and let it rise in a warm place for about 45 minutes, or until it has visibly doubled in size. This first rise is crucial for flavor development and a light texture.
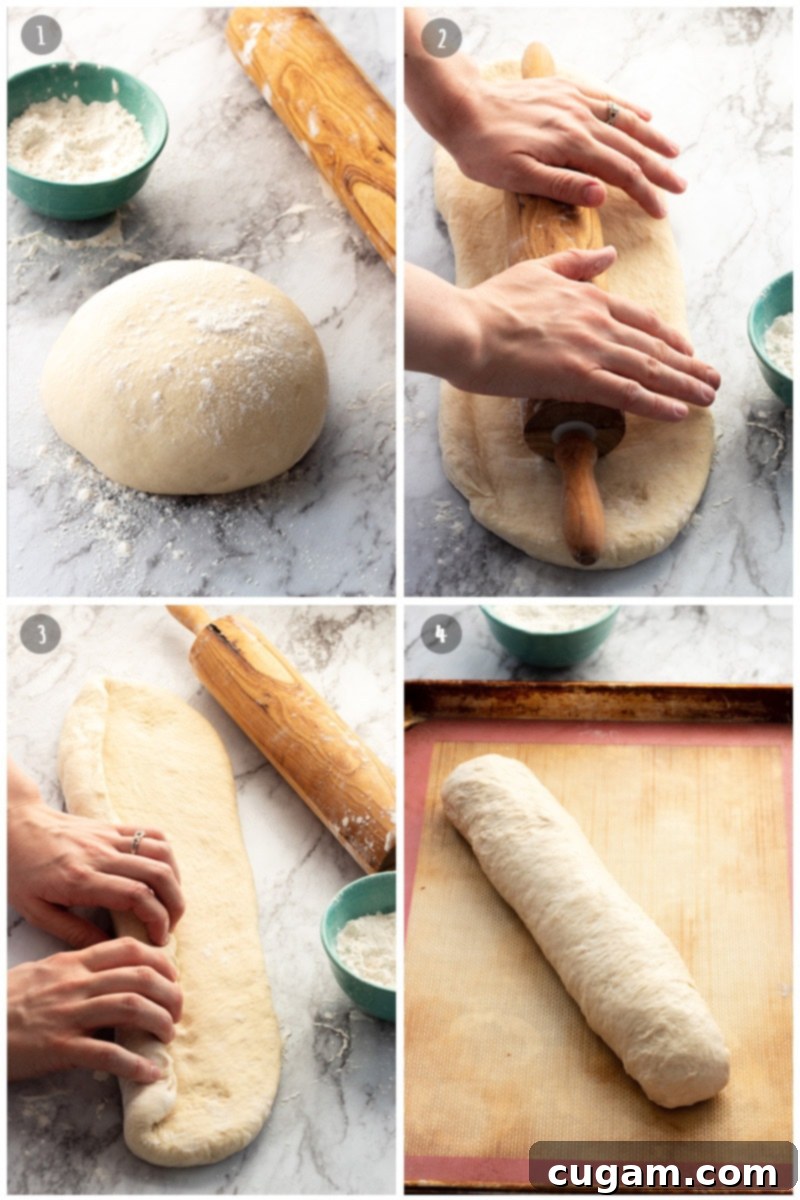
- Shape the Loaf and Prepare for the Second Rise (Proofing): Once your dough has completed its first rise, gently punch it down to release the air. Transfer the dough to a lightly floured surface. Using a rolling pin, roll the dough out into a rectangle, approximately 9×13 inches. Now, for the “sleeping bag” method: starting from one of the longer sides, tightly roll the dough lengthwise, sealing the seam along the bottom. Gently taper the ends to create a classic French bread shape, about 2-3 inches high and 13 inches long. This technique creates tension on the surface, which helps the loaf hold its shape and achieve a taller rise. Place the shaped loaf onto a prepared baking sheet lined with parchment paper or a silicone baking mat. Cover it again and let it undergo its second rise for another 45-60 minutes, or until it has almost doubled in size again.
- Score and Bake to Golden Perfection: While your loaf is in its second rise, preheat your oven to 375°F (190°C). Just before baking, take a sharp knife or a baker’s lame and make 5-7 diagonal slices, about 0.25 inches deep, across the top of the loaf. These cuts are not just for aesthetics; they allow the loaf to expand beautifully and evenly in the oven without tearing erratically. Bake for 20-25 minutes. For that divine, golden, and truly crispy crust, don’t forget this essential step: brush a beaten egg evenly over the top and sides of the loaf during the last few minutes of baking. Continue baking for another 2-3 minutes until the crust is deep golden brown and shiny. The bread is done when it sounds hollow when tapped on the bottom.
Expert Tips for the Softest, Fluffiest French Bread
Achieving that coveted soft and fluffy interior with a perfect crust isn’t difficult with these pro tips:
- Embrace the Double Rise: This is arguably the most critical step for soft, fluffy bread. Each rising period allows the yeast to produce gases, which create air pockets and lighten the dough. Don’t rush it! The rule of thumb for most bread recipes is to let the dough double in size for each rise. Patience here will be greatly rewarded with superior texture and flavor.
- Aim for a Stiffer Dough for a Taller Loaf: A common pitfall for new bread bakers is a dough that’s too sticky and wet. While some recipes call for high hydration, for a classic, tall French bread loaf, a stiffer, slightly less sticky dough is ideal. If your dough feels too wet after the initial mixing, gradually add a tablespoon or two of extra flour until it’s smooth and only slightly tacky. This consistency prevents the loaf from spreading flat as it rises and bakes, ensuring it holds its beautiful height. Kneading for the recommended 5-7 minutes is also key to developing sufficient gluten for this structure.
- Master the “Sleeping Bag” Rolling Method: This shaping technique, which I learned during my bakery days, is essential. After rolling your dough into a rectangle, roll it tightly lengthwise, much like you would roll a sleeping bag or a bedroll. This tight rolling creates surface tension, which locks in the shape and prevents the edges from spreading excessively during the second rise and in the oven. Remember to use gentle but firm pressure; pulling the dough too tight can rip it and damage the delicate gluten strands you’ve worked so hard to develop.
- The Magic of an Egg Wash: For that irresistible, classic French bread appearance – a deep golden-brown, shiny, and wonderfully crispy crust – a simple beaten egg is your secret weapon. You don’t need to use the whole egg if you’re only making one loaf; just ensure the entire top and sides of the loaf are thoroughly brushed during the last few minutes of baking. This small step makes a significant difference in both appearance and texture.
If you’re looking to speed up the rising process, a warm oven can be your friend. Simply turn your oven on for a minute or two (to about 200°F), then turn it off and place your covered dough inside to rise. Crucially, ensure the oven is warm but not hot enough to cook the yeast. While this method can shave 15-20 minutes off your rising time, remember what professional baker Paul Hollywood often emphasizes on “The Great British Baking Show”: the most flavorful bread comes from dough that ferments, or rises, longer. This extended fermentation allows more complex flavors to develop, resulting in a richer, more nuanced taste.
To reiterate the point about achieving a taller, beautifully shaped loaf, the key lies in the dough’s consistency and your shaping technique. The dough should not be overly elastic or sticky. Aim for a slightly stiffer dough that is smooth and resilient. Achieving this often involves kneading for the full 5-7 minutes and potentially incorporating a little extra flour during the mixing stage if needed. The “sleeping bag” rolling method, as previously mentioned, is critical here. It’s all about creating that tight, uniform roll that provides the necessary structure. Always use gentle pressure during shaping to avoid tearing the dough and damaging the delicate gluten network that gives bread its characteristic chew.
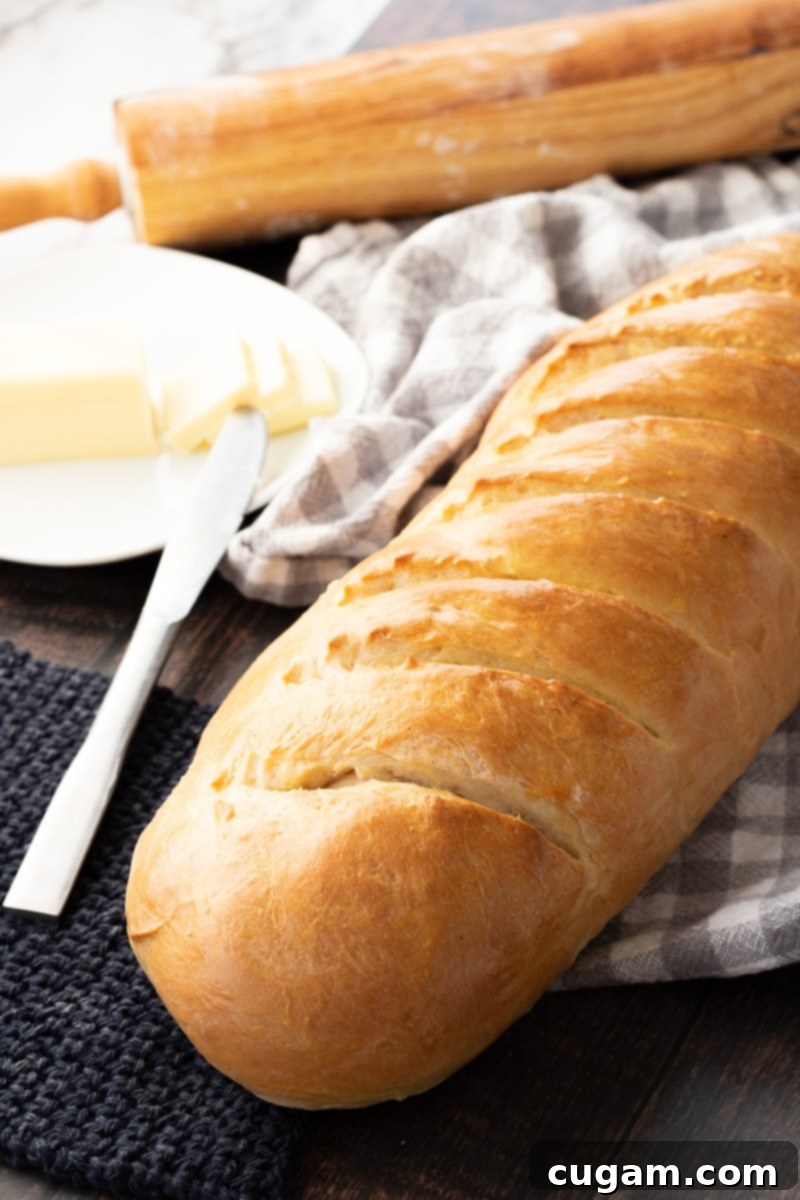
One of the primary reasons I cherish this particular recipe is its scalability. It consistently produces a generously sized loaf of French bread, perfect for a family meal. But what makes it truly exceptional is how effortlessly it can be doubled to create two loaves when entertaining company or simply because you want extra. And frankly, I often make two loaves anyway! This bread is so incredibly good, you’ll find yourself reaching for slice after slice, unable to resist its warmth and comforting flavor. It’s that good.
Baking Without a Stand Mixer: Hand-Kneading Your Way to Deliciousness
Don’t have a stand mixer? No problem! This recipe is entirely adaptable for hand-kneading. Simply follow the ingredient proportions and mixing steps using a medium-sized mixing bowl. When it comes to kneading, prepare to engage your “bread muscles” for 5-7 minutes. You’ll be working with a relatively thick dough, so a good workout will be involved, but the result – a smooth, elastic, and perfectly developed dough – will be well worth the effort and satisfaction of making it completely by hand! 💪🏻
Perfect Pairings: What to Serve with Your Homemade French Bread
This soft and fluffy French bread is a versatile side dish that complements an array of meals. Here are some of my favorite ways to enjoy it:
- Creamy Garlic Pumpkin Pasta: The perfect vehicle to soak up every last drop of a rich and flavorful sauce.
- Tuscan White Bean Soup: A crusty slice is ideal for dipping into hearty, comforting soups.
- Cheesy Grits and Shrimp: A surprisingly delicious pairing, offering a textural contrast and a way to scoop up cheesy goodness.
- Garlic Bread: Slice the loaf, spread with garlic butter, and broil for a classic side.
- Bruschetta: Toast slices, rub with garlic, top with fresh tomatoes, basil, and olive oil.
- Sandwiches & Paninis: Transform your lunch with slices of this superior bread.
- Croutons: Cube stale bread, toss with olive oil and herbs, then bake until crispy for salads or soups.
- With Cheese & Wine: A simple, elegant way to enjoy the bread’s pure flavor.
Storage and Freezing Instructions for Your French Bread
While fresh French bread is best enjoyed the day it’s baked, you can certainly preserve its deliciousness for later. Whether you have a few slices left over or you’ve wisely doubled the recipe for two loaves, proper storage is key.
- Storing Freshly Baked Bread: Once completely cooled, store your loaf at room temperature in a paper bag (to maintain crustiness) or a bread box for up to 2-3 days. Avoid airtight plastic bags at room temperature, as they can make the crust soft and promote mold growth.
- Freezing for Long-Term Enjoyment: For longer storage, ensure your loaves are *completely cooled* before wrapping them. Wrap each loaf tightly in saran wrap (plastic film), followed by a layer of aluminum foil. This double-layer protection helps prevent freezer burn. Place the well-wrapped loaves into a large freezer-safe ziploc bag. You can freeze French bread for up to 3 months.
- Reheating Frozen Bread: When you’re ready to enjoy, simply remove the loaf from the freezer, unwrap it, and place it directly into a preheated oven at 350°F (175°C) for about 15-20 minutes, or until warmed through and the crust is crisp again. For best results, a light mist of water before reheating can help restore that fresh-baked quality.
📝 Printable Recipe
Soft Fluffy French Bread
Pin Recipe
Ingredients
- 1 cup warm water approx 90-110 degrees F.
- 2 teaspoon active dry yeast
- 1 Tablespoon white granulated sugar or honey
- 1 teaspoon salt
- 1 Tablespoon oil
- 2½ to 3 cups all purpose flour
- 1 egg, beaten for top of bread
Instructions
-
In bowl of stand mixer (or large bowl if mixing by hand), combine warm water, yeast, and sugar. Let sit 5-7 minutes or until foamy.
-
Mix in salt, oil, and 2 cups flour on low speed until combined. Add half cup flour at a time until dough pulls away from sides of bowl and is only slightly sticky. Mix on low to medium speed for 3-5 minutes, or hand knead 5-7 min.
-
Place dough in greased bowl and let rise for 45 minutes at room temperature, it should be almost double in size. Roll out into a 9X13 inch rectangle and then roll tightly up into a long roll, about 2-3 inches high and 13 inches long.
-
Preheat oven to 375 F. Prepare a baking sheet with silicone baking mat or parchment paper.
-
Place the roll of dough on baking sheet and slice slits in top of bread 2-3 inches apart, and about ¼ inch deep. Let rise one hour, or until about doubled in size.
-
Bake at 375 for 20-25 minutes, top should be golden brown and sound hollow when tapped. Brush egg onto top of loaf and bake for another 2-3 minutes. This gives the outside of the loaf a nice shine and a little crunch.
Notes
Nutrition
