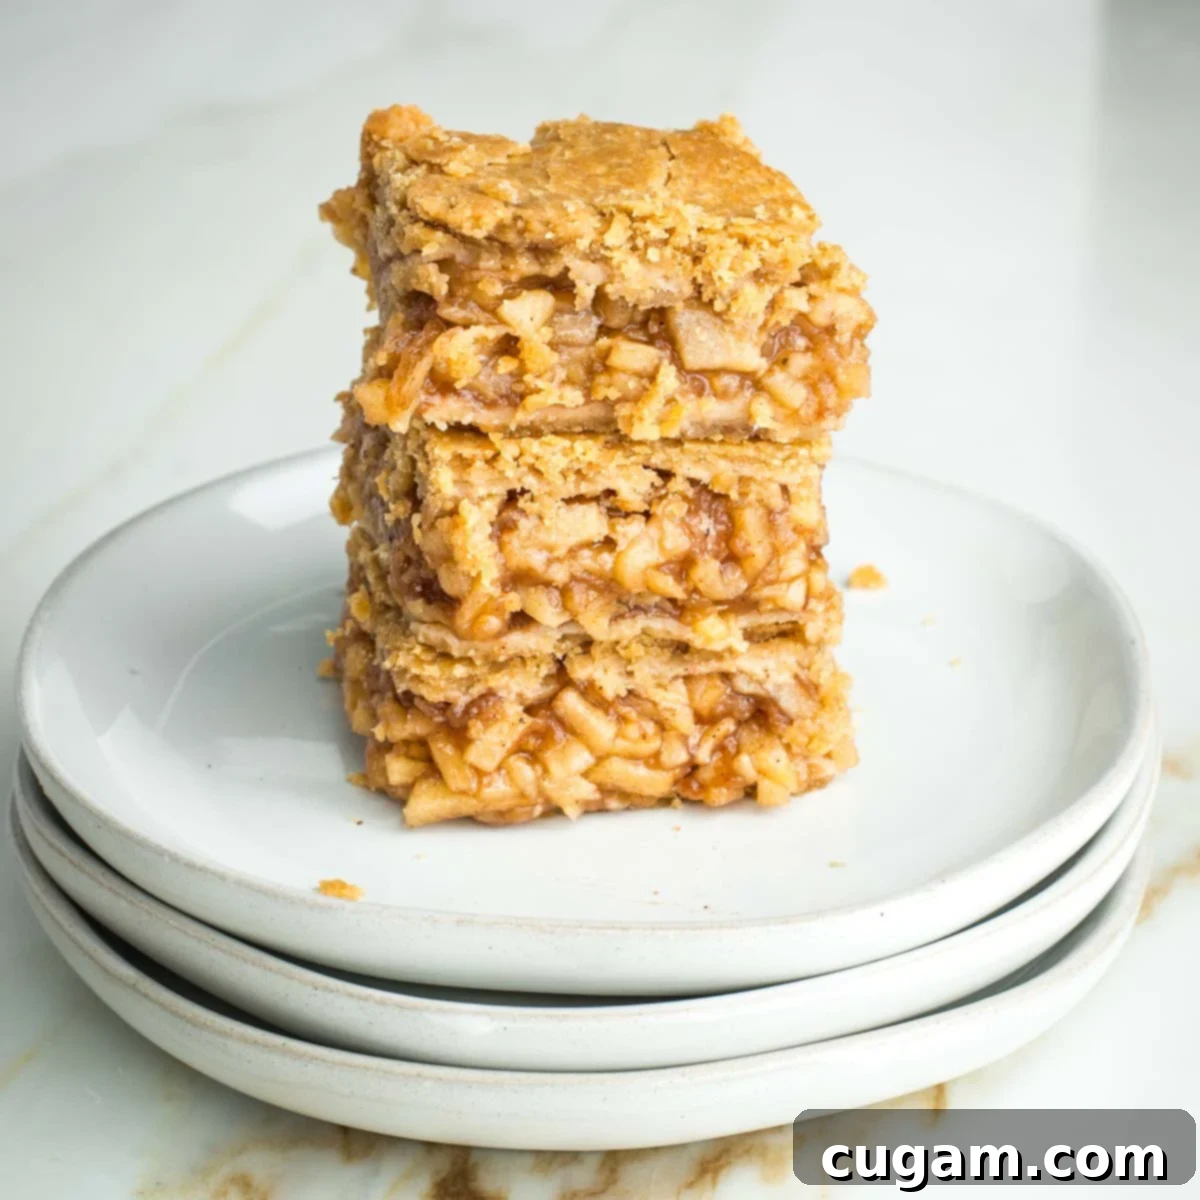
Easy Vegan Apple Pie Bars: Your Go-To Flaky, Dairy-Free Dessert Recipe
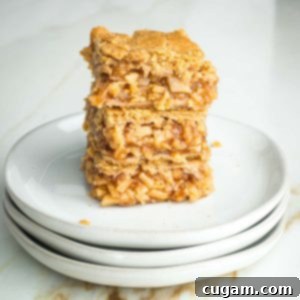
Imagine the delightful taste of apple pie, but in a convenient, easy-to-serve bar format. These Easy Vegan Apple Pie Bars are everything you’ve dreamed of and more! Featuring small pieces of tender apples enveloped in a rich, jammy, and perfectly spiced sauce, all baked between layers of a wonderfully flaky vegan pie crust, these bars redefine the classic dessert. Best of all, this incredible dairy-free apple dessert comes together effortlessly in just one bowl for the filling and another for the crust. They are also super easy to store and are completely freezer-friendly, making them the ultimate make-ahead treat. Why fuss with a whole pie when you can enjoy these addictively good and portable apple pie bars instead?
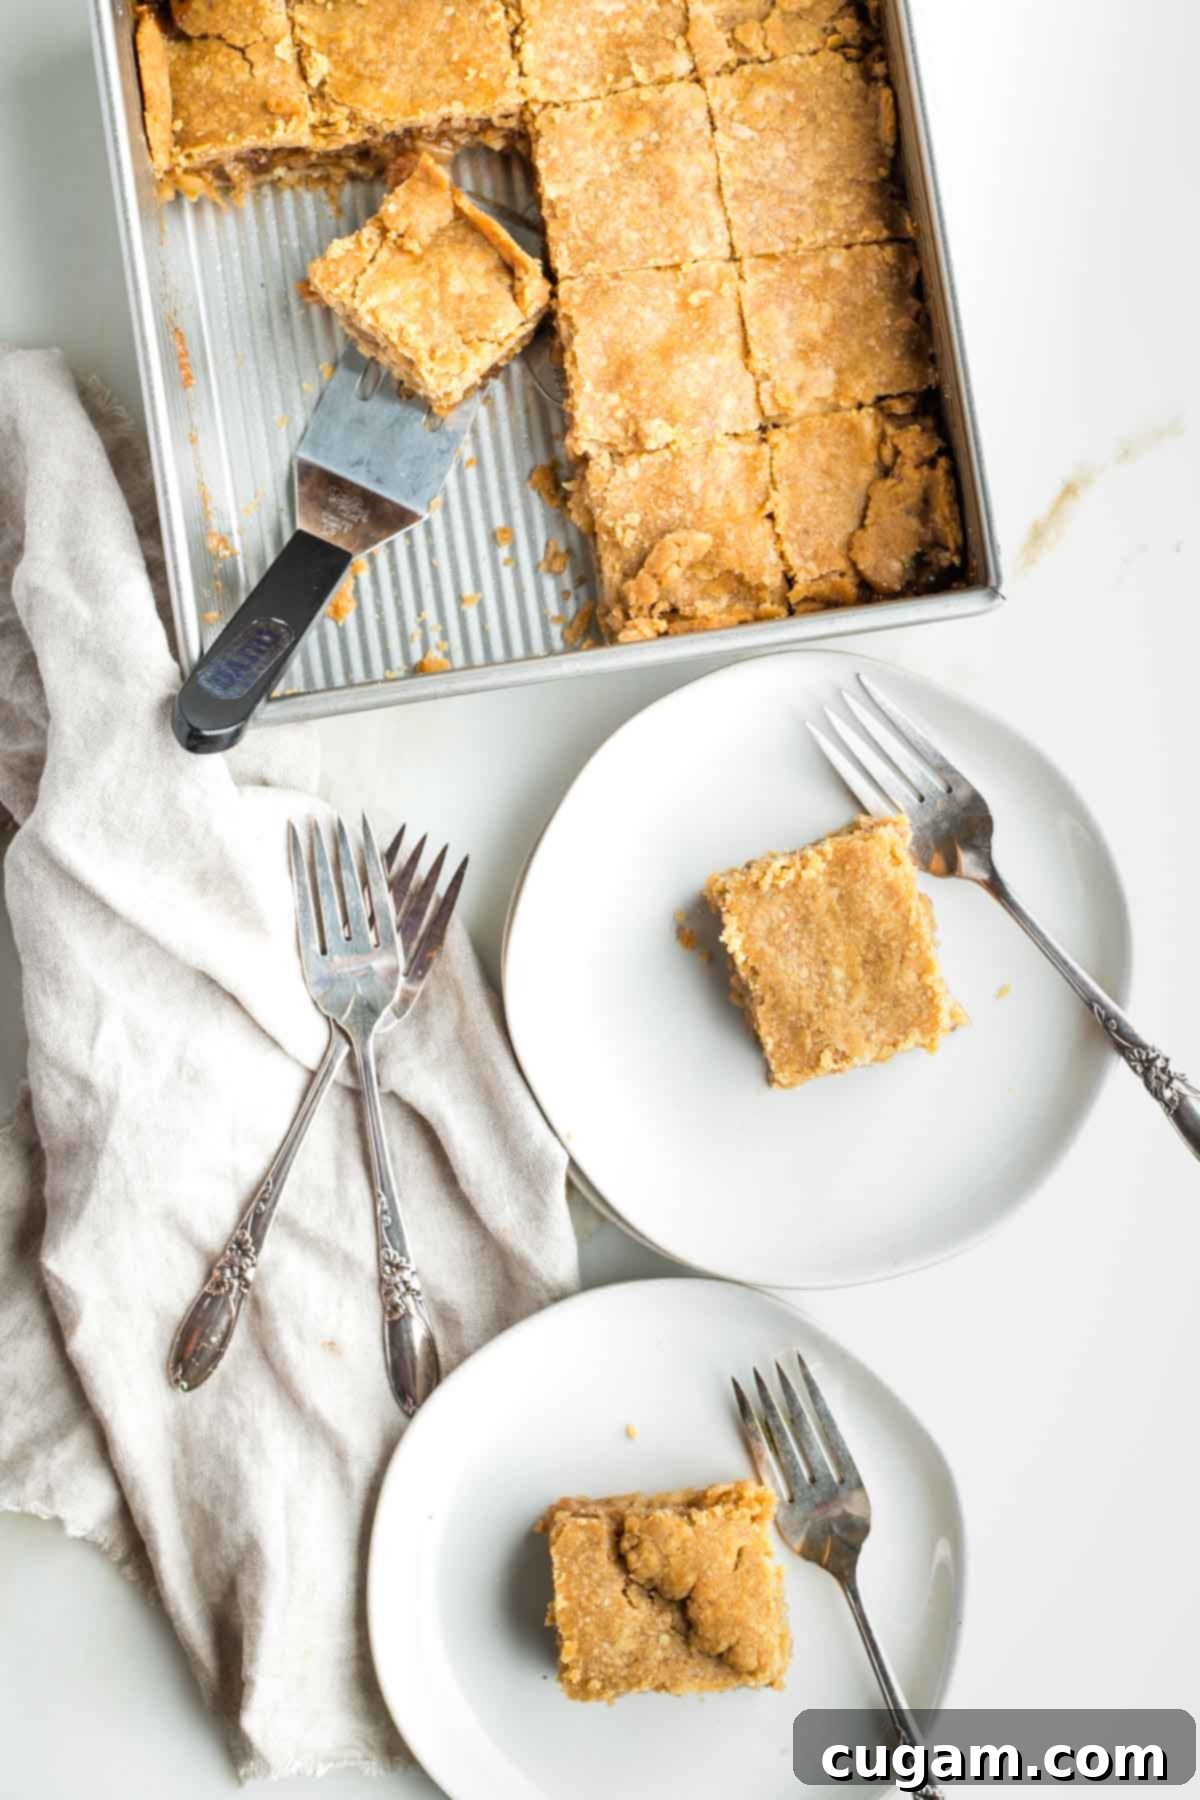
Looking for the recipe straight away? Jump to Recipe
Why These Vegan Apple Pie Bars Are a Game-Changer
Whenever I host a dinner, whether it’s an intimate gathering with a few friends or a major holiday with a houseful, I always aim to create a menu, including desserts, that minimizes last-minute preparation. Traditional pies, while delicious, often taste best when baked and served the same day, which can add unnecessary stress to an already busy schedule. That’s precisely why these Vegan Apple Pie Bars are a true game-changer! They offer the exact same incredible taste and comforting essence of classic apple pie, but in a convenient, make-ahead bar version. It’s an absolute brilliant solution for stress-free entertaining.
For a long time, I’ve been dedicated to perfecting a vegan pie crust that doesn’t rely on heavily processed butter substitutes. It wasn’t an easy task, but with each attempt, I edged closer and closer until, finally, it just clicked! This perfected crust is wonderfully flaky, just barely sweet, and provides the ideal vehicle to hold the luscious, jammy apple filling. The combination is simply divine, creating a dessert that is both wholesome and utterly satisfying.
This amazing dairy-free apple dessert is an absolute must-make for special occasions like Rosh Hashanah and Thanksgiving. I’ll probably even whip it up for Sukkot too! But don’t let the holiday association limit you; this recipe is easy enough to make anytime, for any occasion – even an ordinary Tuesday can be elevated with these delightful bars! And rest assured, my love for unsweetened applesauce and baked apples remains strong; there are certainly plenty of apples to go around for all kinds of treats!
Vegan Pie Crust Ingredient Notes
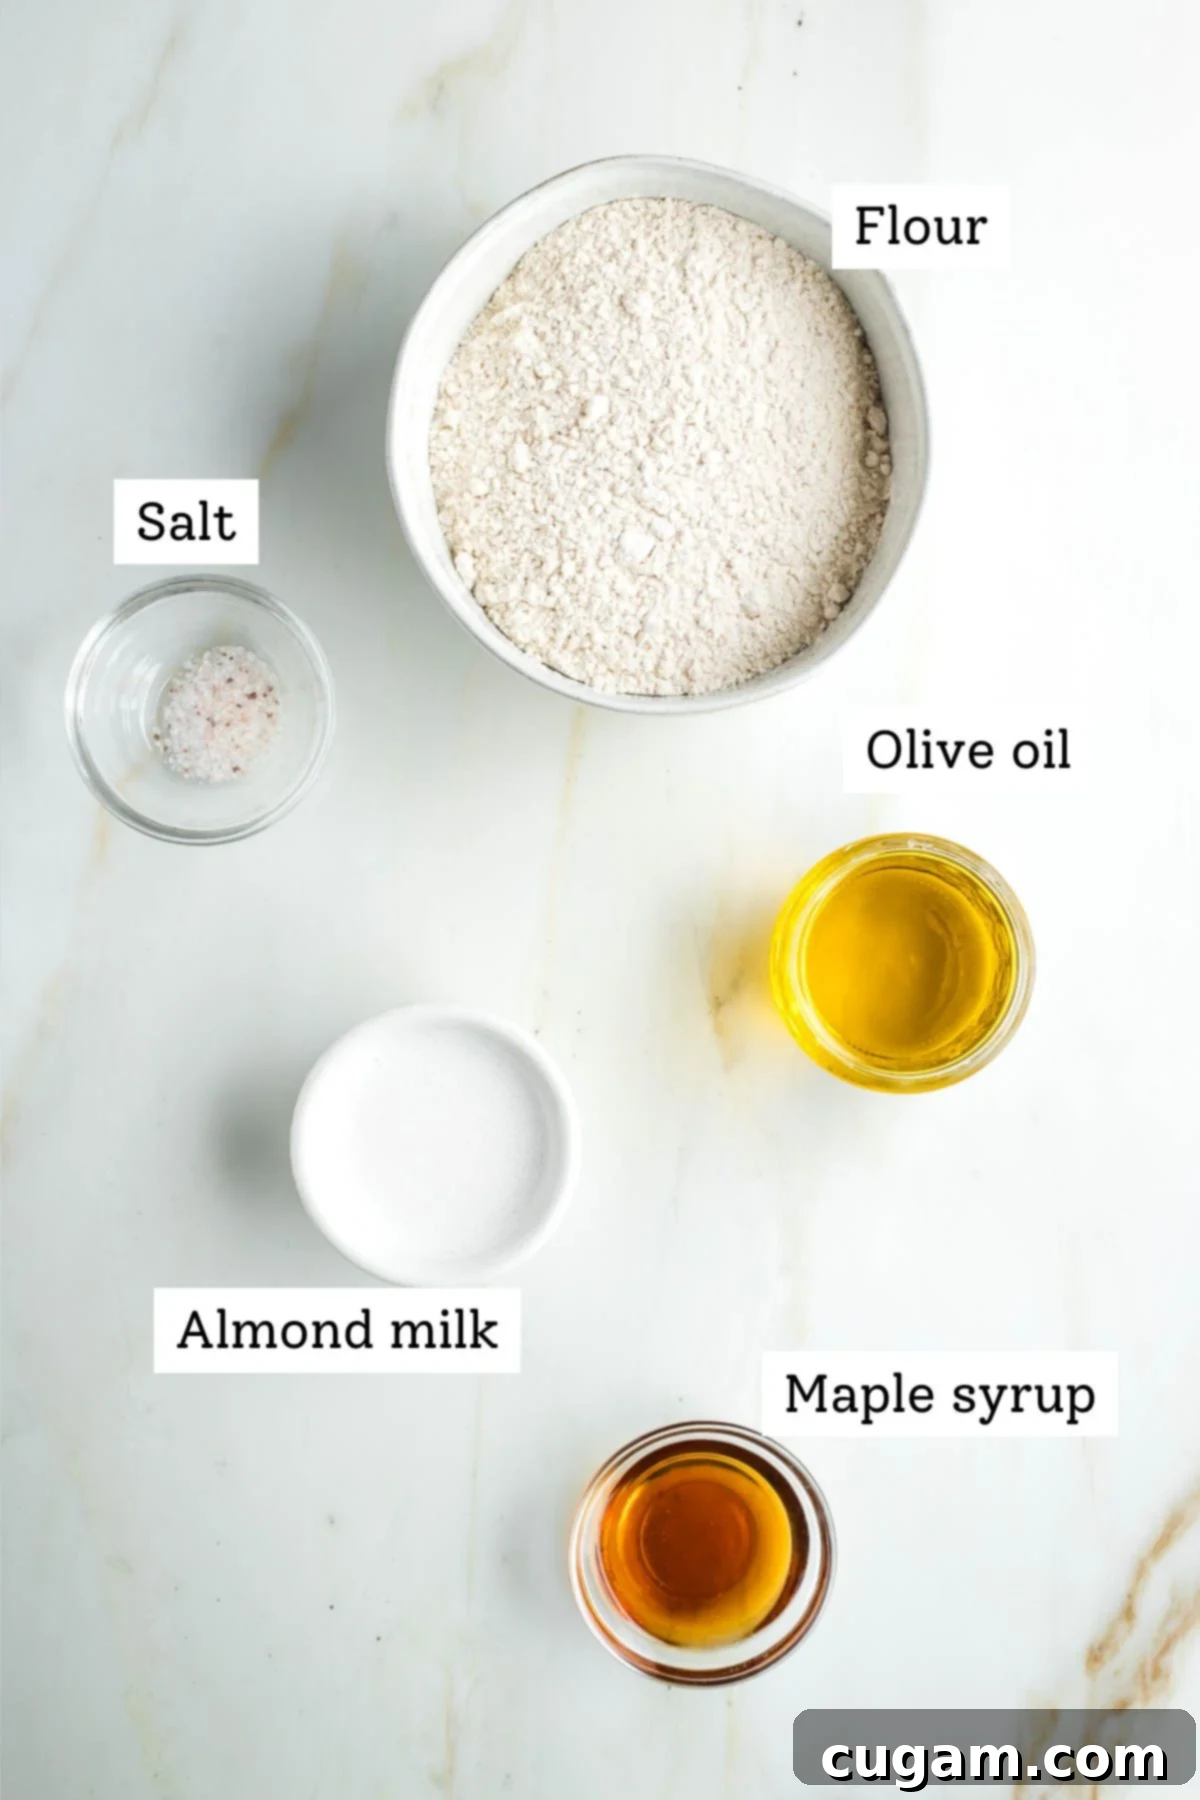
Crafting a truly flaky and delicious vegan pie crust without traditional butter can seem daunting, but with the right ingredients, it’s surprisingly simple and yields fantastic results. Here’s a closer look at the key components for our crust:
- Flour: I’ve extensively tested this recipe with both whole grain flour and gluten-free all-purpose flour, and both yielded consistently great results. Using whole grain flour adds a wonderful depth of flavor and increased nutritional value, including more fiber. If you’re using gluten-free flour, ensure it’s a good quality blend designed for baking to achieve the best texture. The goal is a light, tender, yet sturdy crust that holds up to the generous apple filling.
- Oil: Contrary to popular belief, you absolutely can make a superb vegan pie dough using extra virgin olive oil. There’s truly no need for heavily processed vegan butter substitutes. Olive oil not only contributes to a uniquely rich and delicate flavor but also helps create that desirable flaky texture. It’s a healthier, less processed alternative that delivers on taste and performance. Opt for a good quality extra virgin olive oil for the best results, as its subtle fruitiness complements the apples beautifully.
- Milk: For this recipe, I primarily used unsweetened almond milk, which works perfectly to bind the dough and add a touch of richness. However, if you have nut allergies or simply prefer another option, soy milk also works exceptionally well as a substitute. The key is to use an unsweetened plant-based milk to control the overall sweetness of the crust and ensure it balances the filling.
- Maple Syrup: A small amount of maple syrup adds a hint of sweetness to the crust, enhancing its overall flavor without making it overly sugary. It also contributes to the beautiful golden-brown color when baked.
- Salt: A pinch of salt is crucial. It balances the sweetness of the maple syrup and brings out the natural flavors of the flour and olive oil, resulting in a more complex and satisfying crust. Don’t skip it unless you’re on a strict low-sodium diet!
Making the Perfect Flaky Vegan Crust
Creating this delicious vegan pie crust is a straightforward process, requiring minimal effort and just a few simple steps. You’ll be amazed at how easily it comes together.
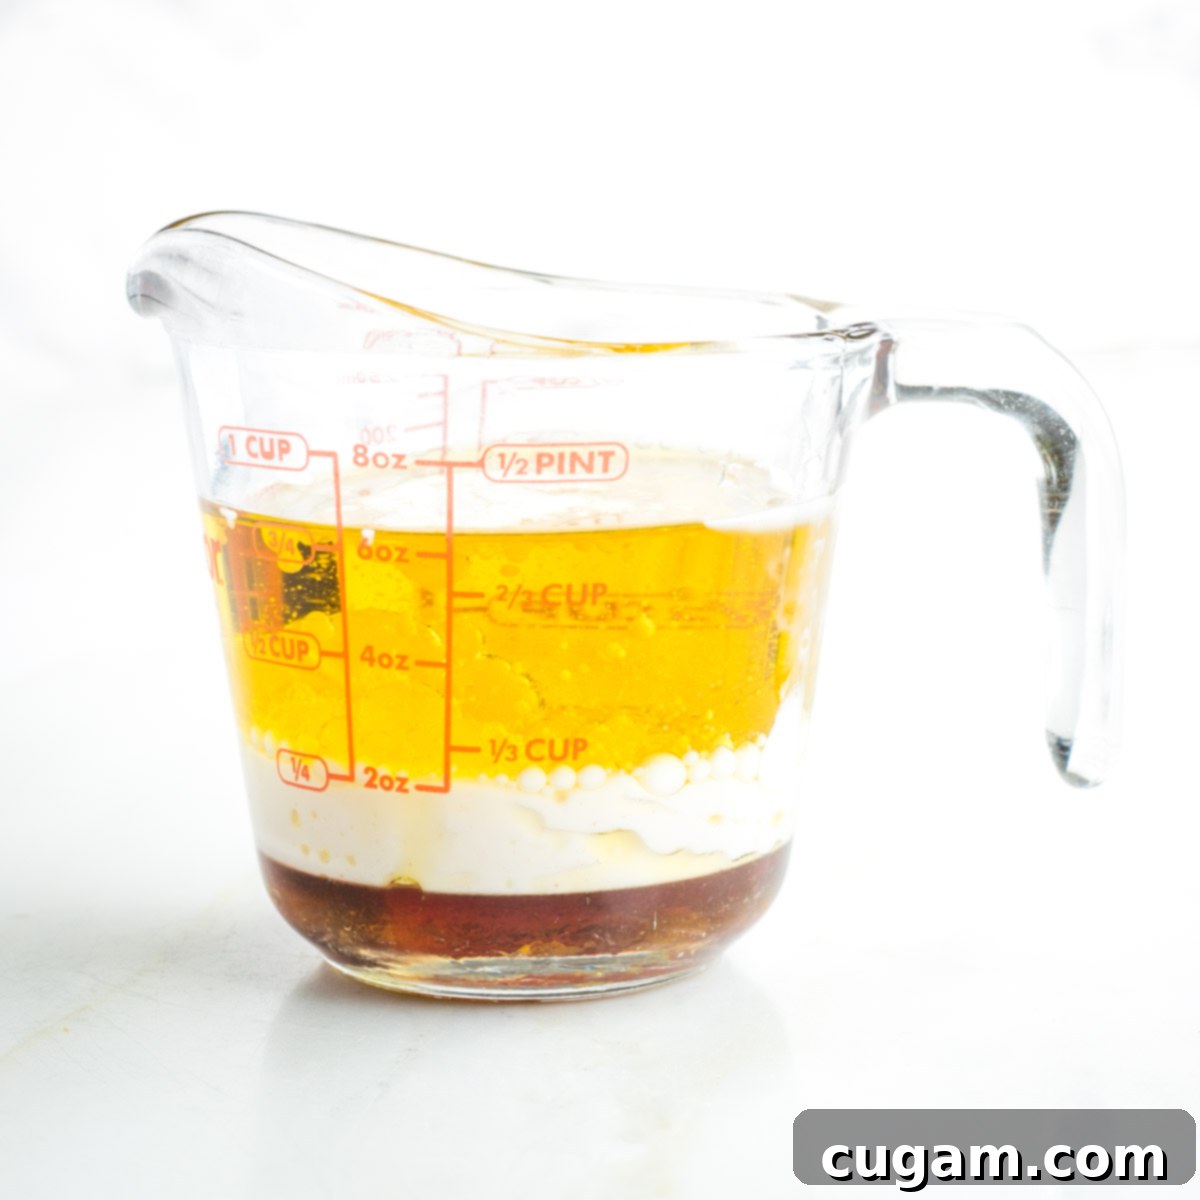
Begin by measuring out the extra virgin olive oil, almond milk, and maple syrup. Using a marked liquid measuring cup makes this step incredibly easy and precise, ensuring the correct ratios for a perfect dough.
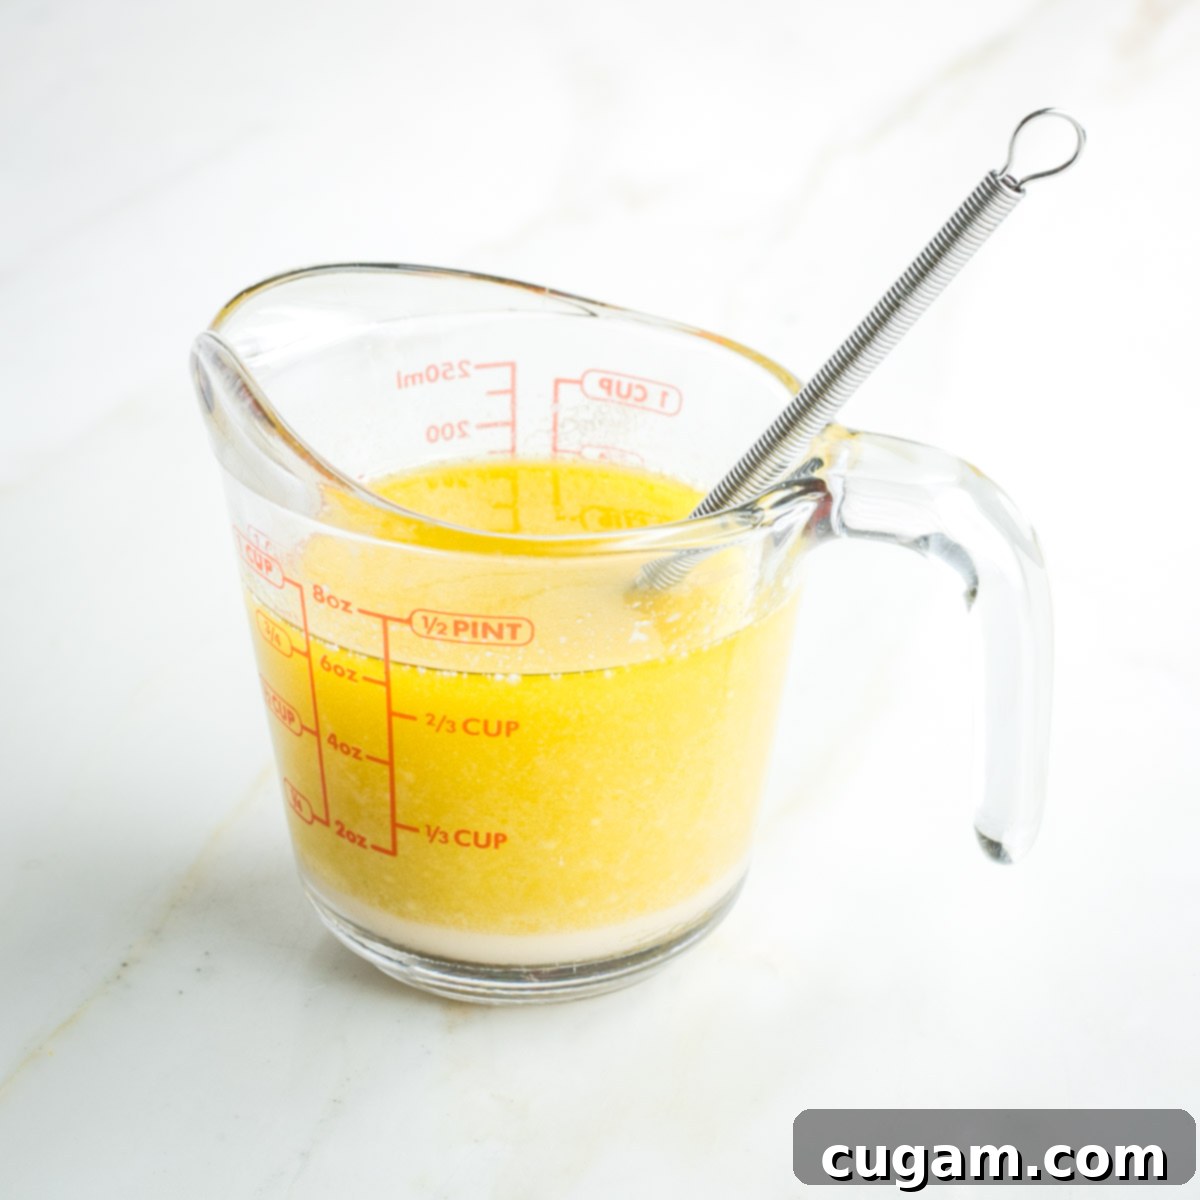
Next, use a fork or a small whisk to thoroughly mix these liquid ingredients. Continue mixing until they are well emulsified and appear as a uniform yellow liquid. This ensures even distribution throughout the dough.
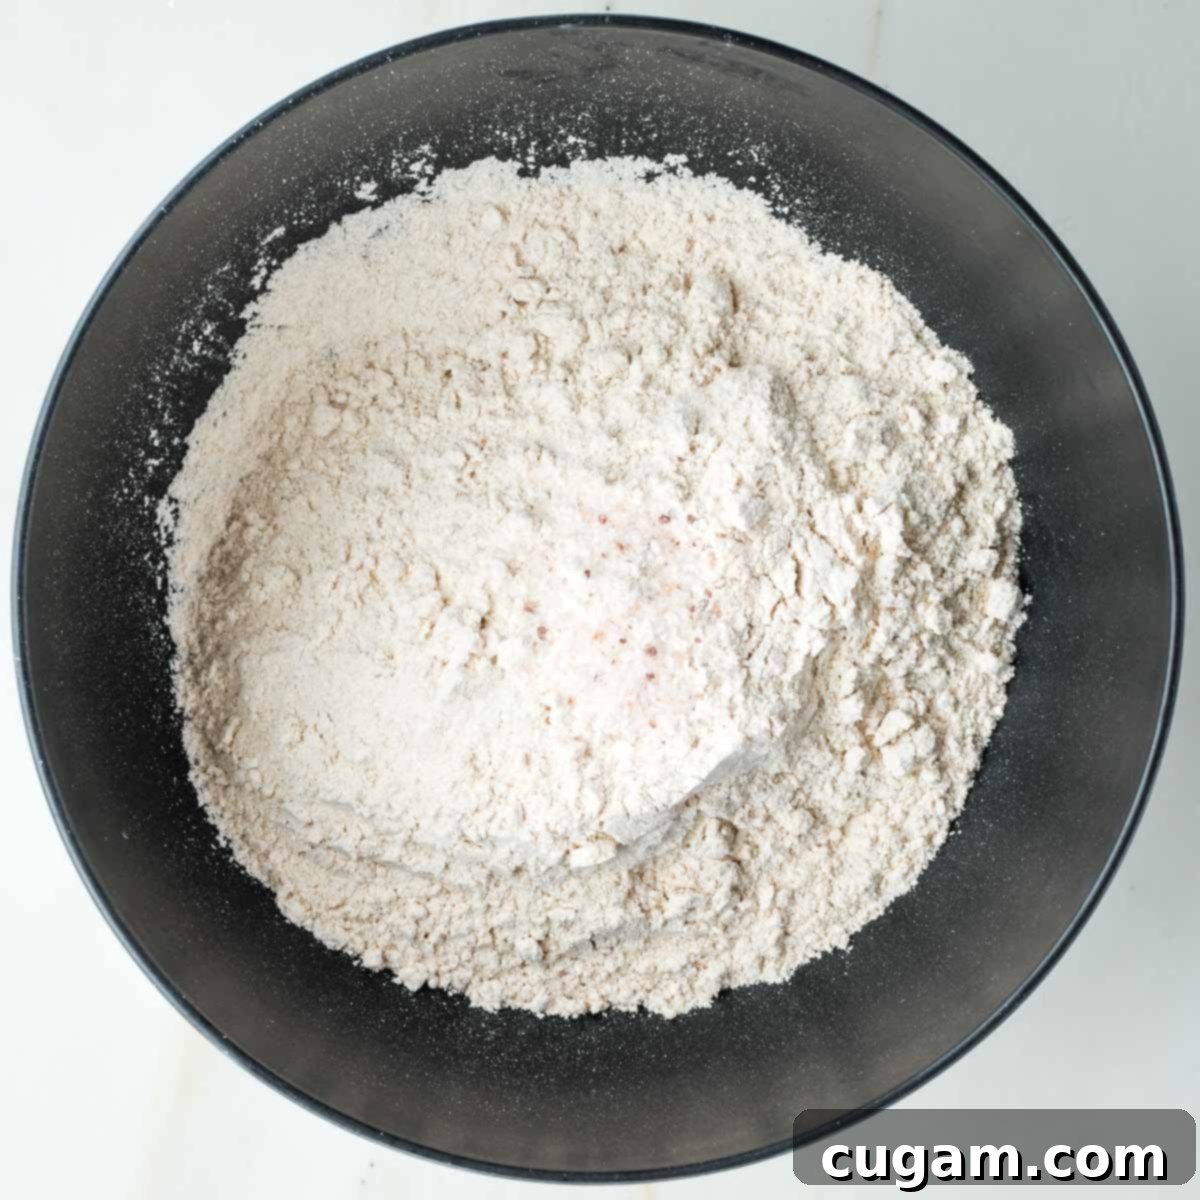
In a separate, larger bowl, combine the flour and salt. Use a fork to aerate them together for about a minute. Turn the bowl a few times and gently fluff the mixture; this helps create a lighter, flakier crust.
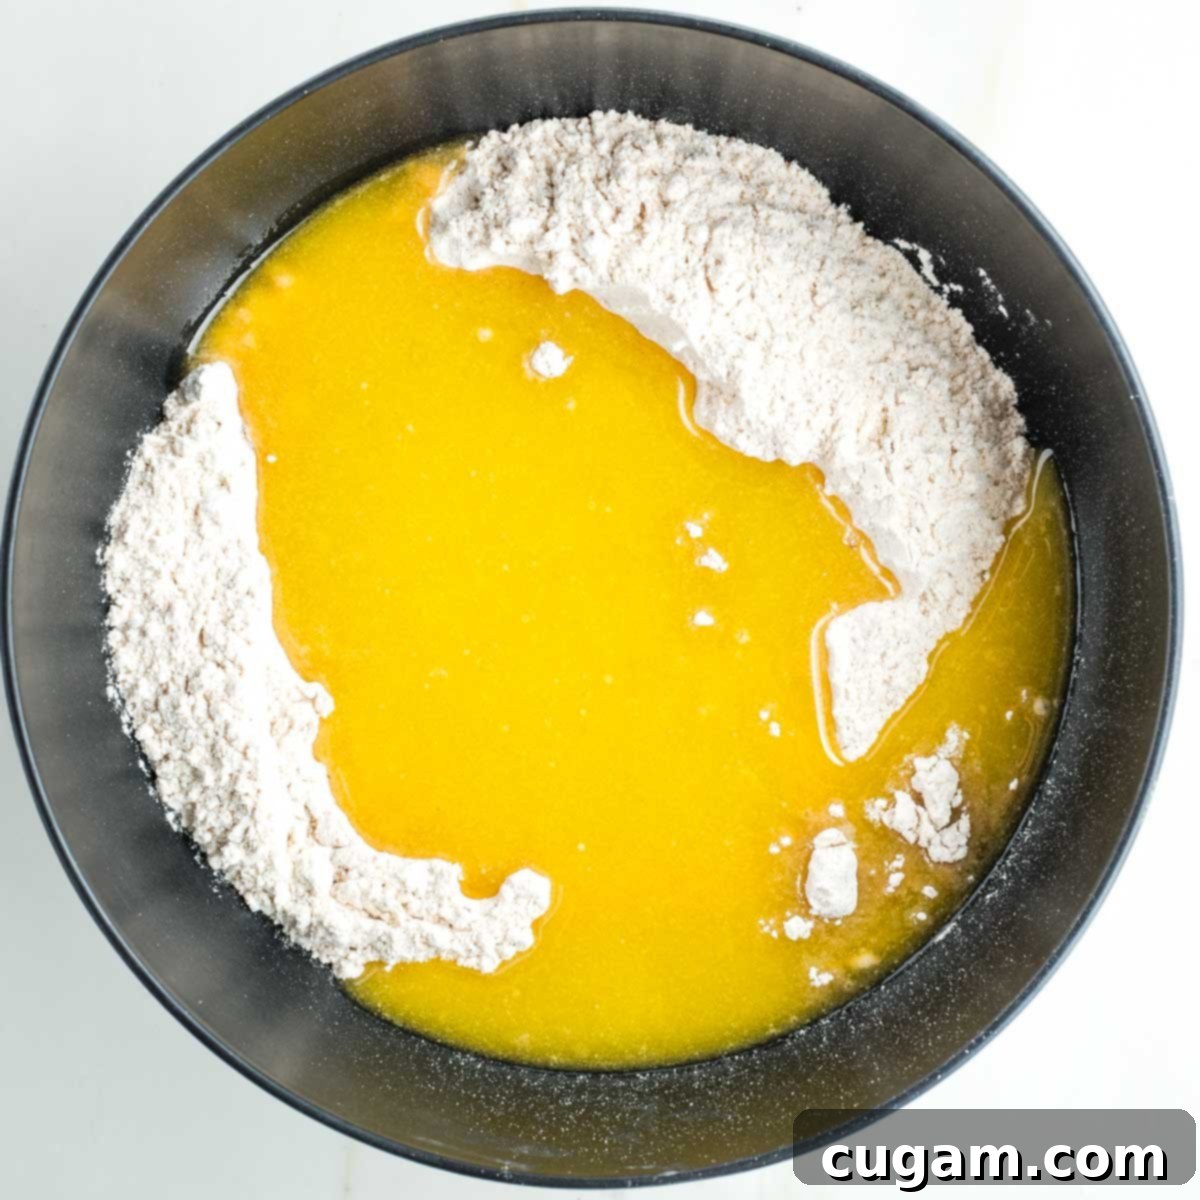
Now, pour the emulsified liquid mixture directly onto the dry ingredients in the bowl. Ensure it’s distributed somewhat evenly over the flour.
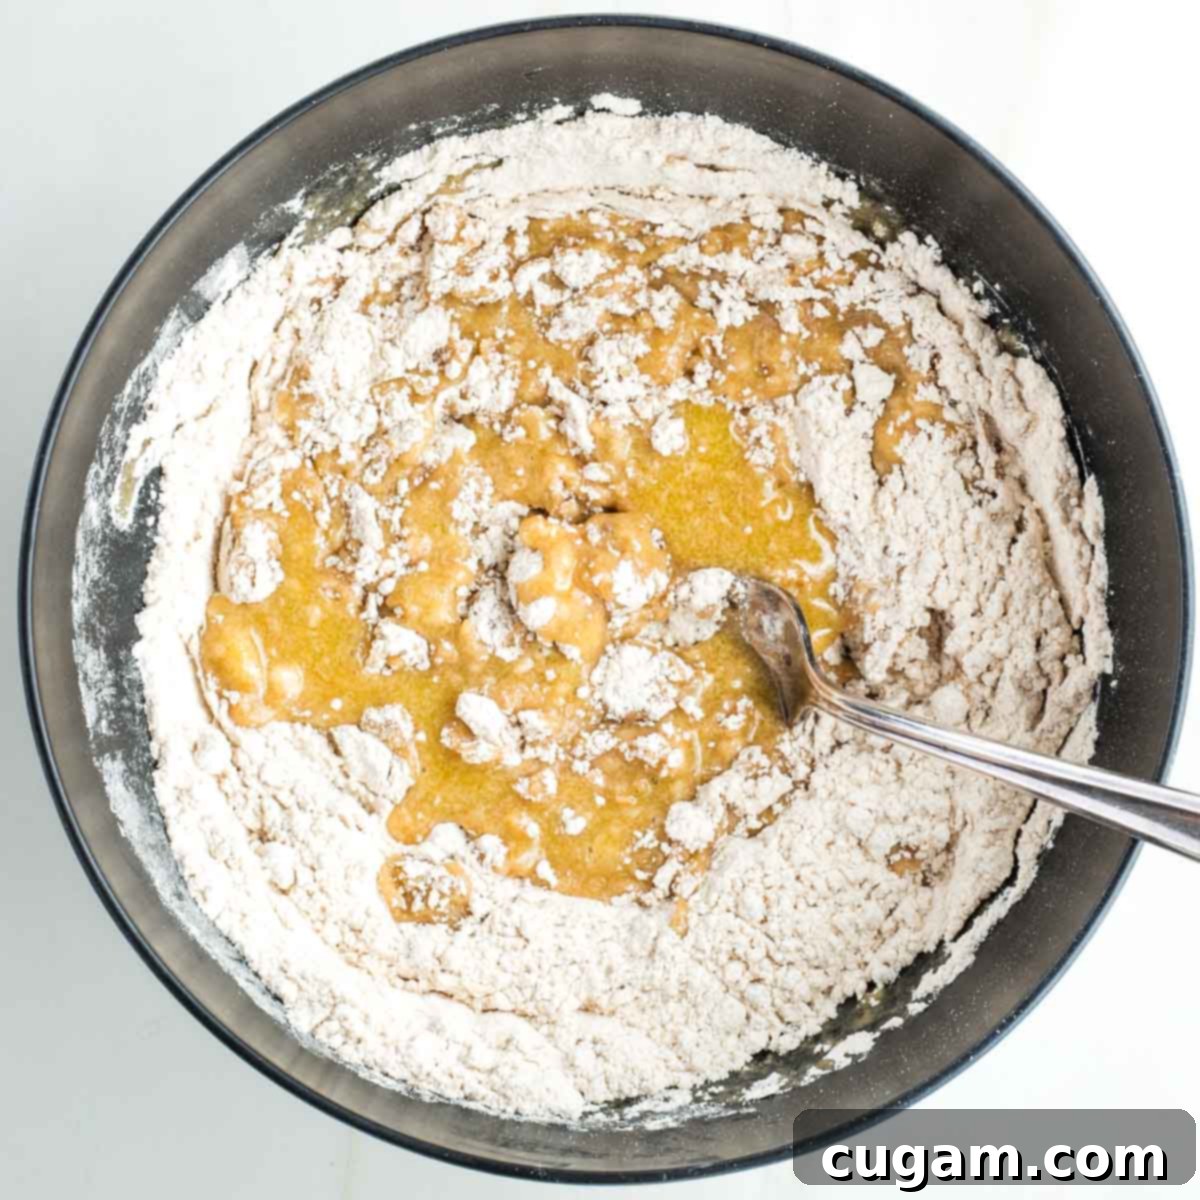
Using a fork, begin to mix the wet and dry ingredients together. At first, it might appear like there isn’t enough liquid to bring everything together, but don’t worry – just keep mixing patiently.
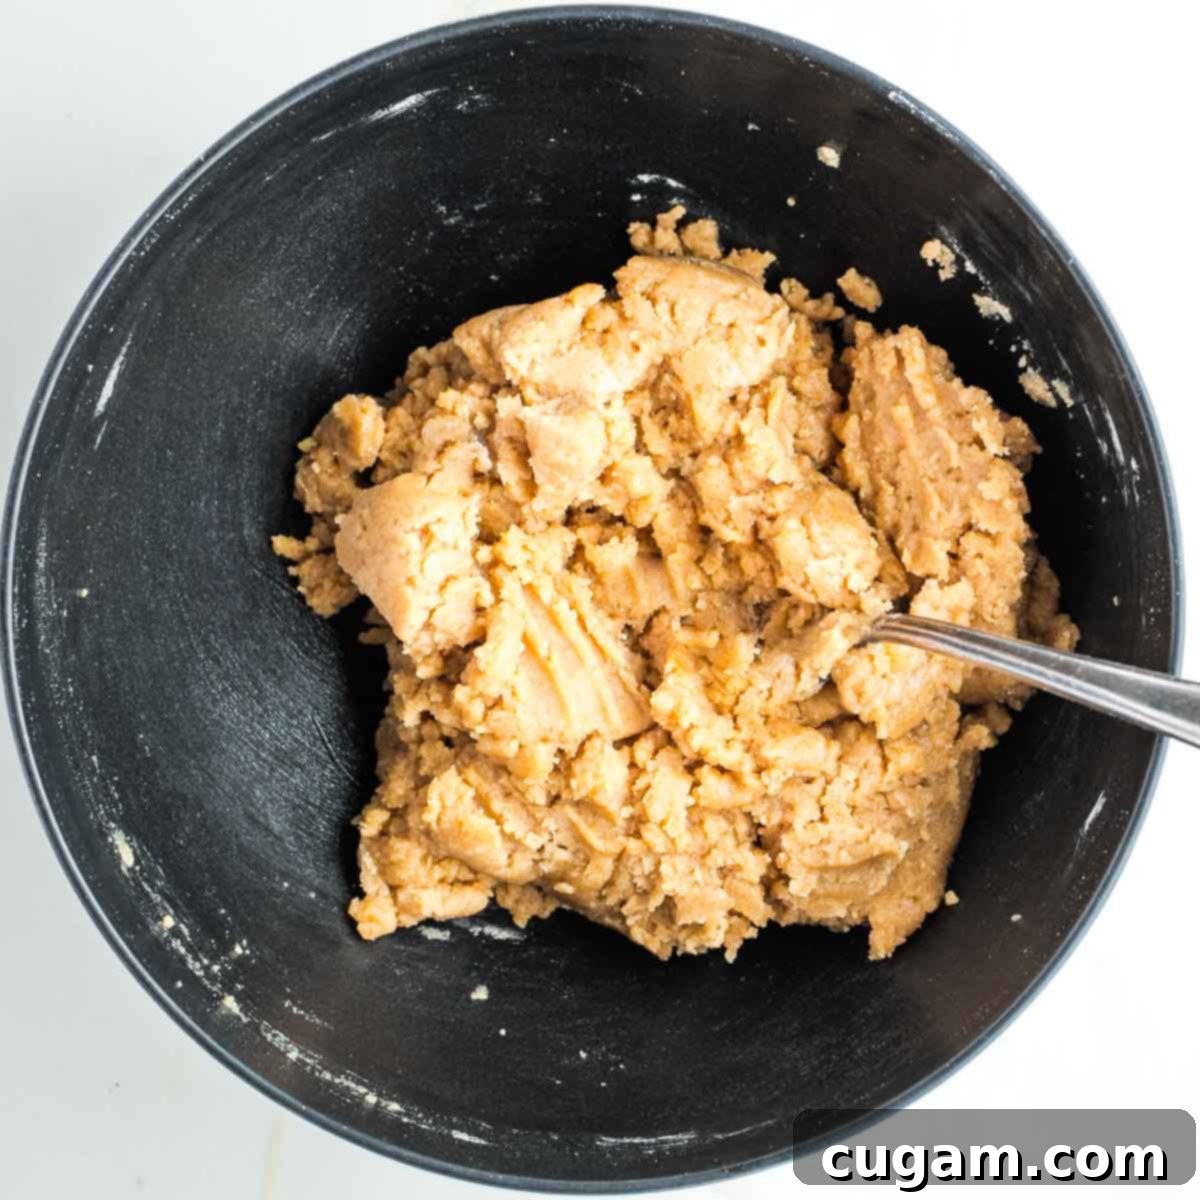
Continue to mix, making sure to scrape up the flour from the bottom of the bowl, until a cohesive, somewhat sticky dough forms. It doesn’t need to be perfectly smooth at this stage.
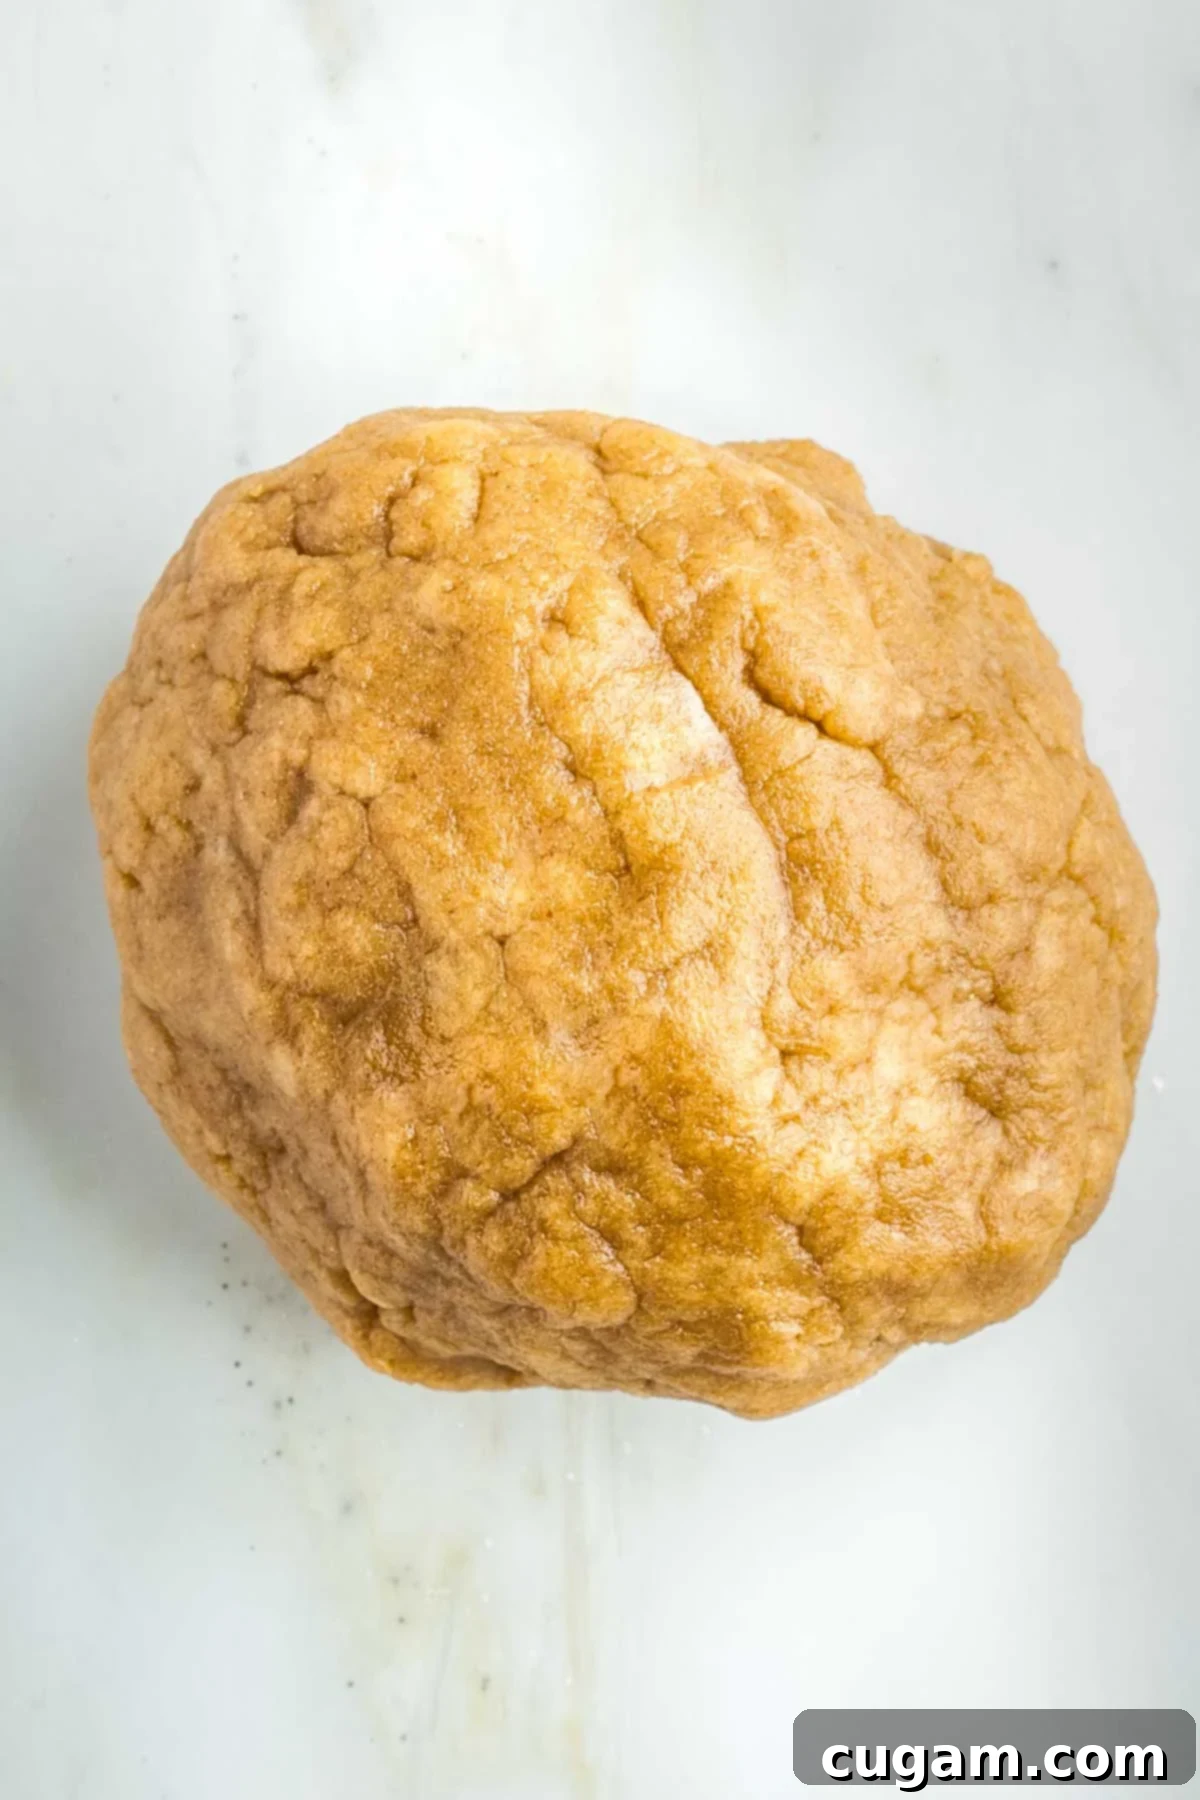
Turn the dough out onto a clean counter and divide it into two equal pieces. The dough won’t be completely smooth, but it should hold together easily when pinched between two fingers – this is the sign of a good, workable dough.
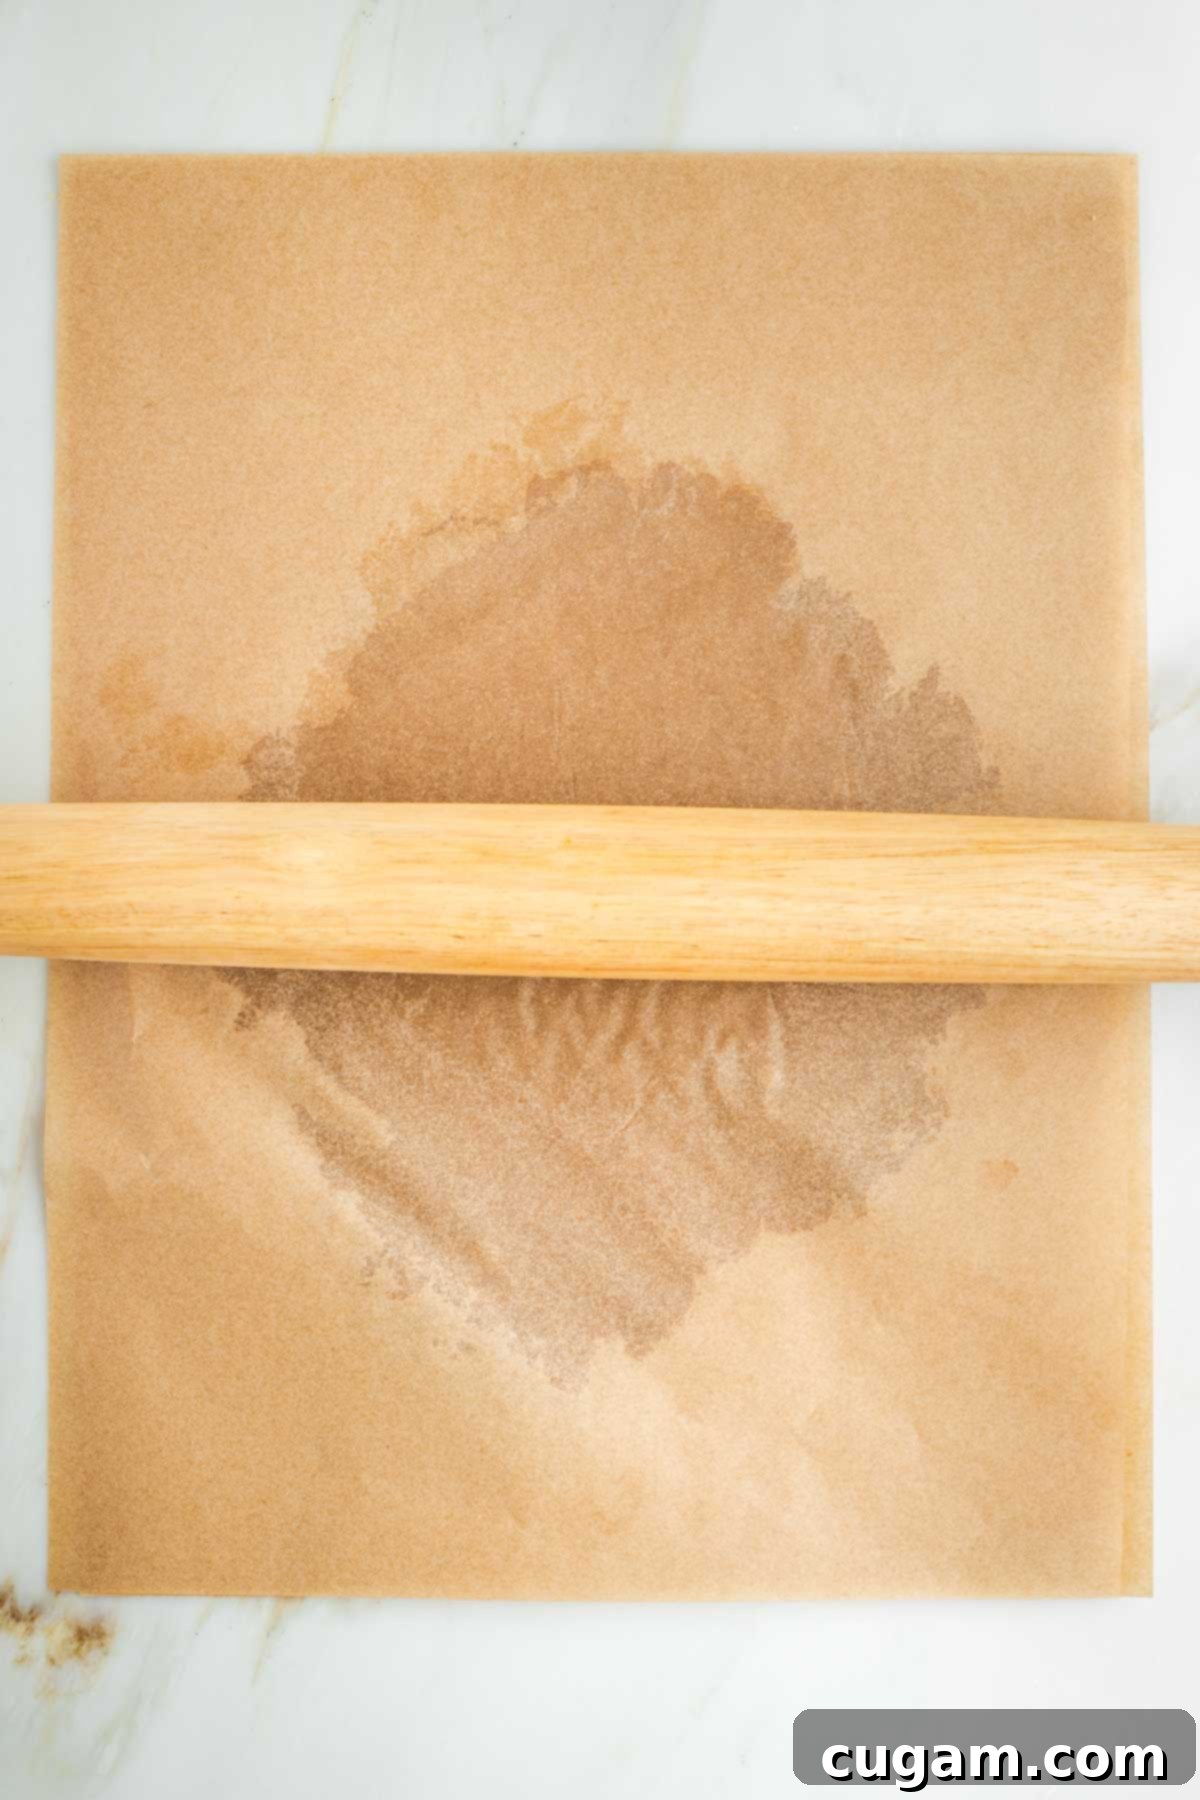
Take one half of the dough and roll it out between two pieces of parchment paper. Your goal is to roll it into a shape large enough to fit the bottom of your 8×8-inch pan. Rolling between parchment prevents sticking and makes transfer effortless.
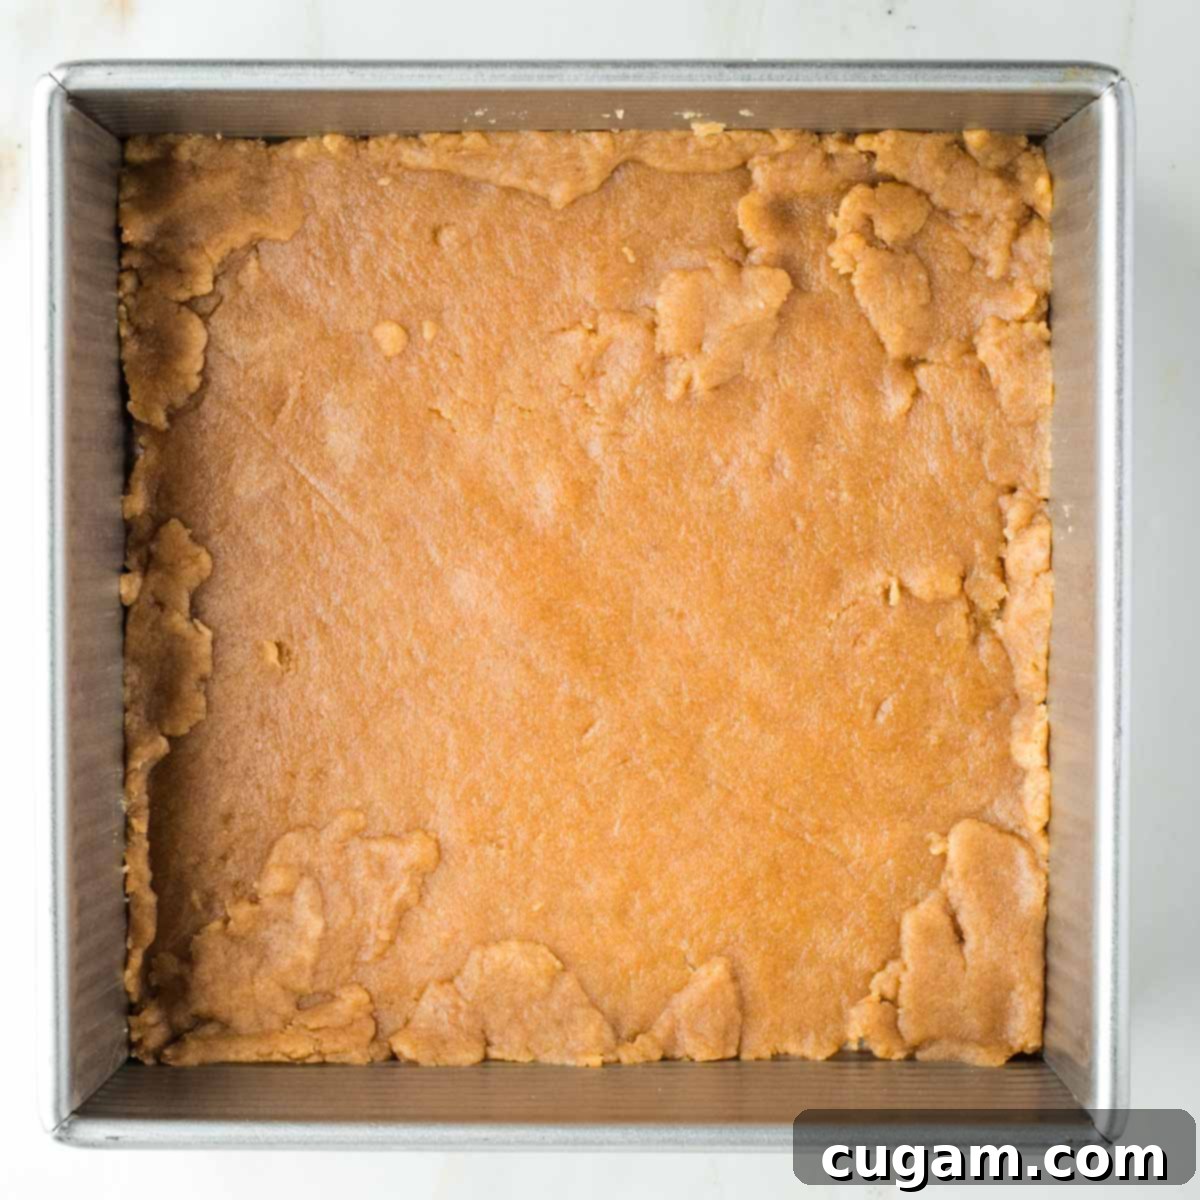
Carefully transfer the rolled-out dough into the bottom of your 8×8-inch pan. If you rolled out a circle, simply patch any gaps with small pieces of dough until the entire bottom of the pan is covered, reaching all the way into the corners. Don’t worry about perfection; it will bake beautifully.
Roll out the second half of the dough in the same manner, between two pieces of parchment paper. Leave this top crust between the parchment sheets to prevent it from drying out while you prepare the filling. Set it aside for later use.
Apple Pie Filling Ingredients
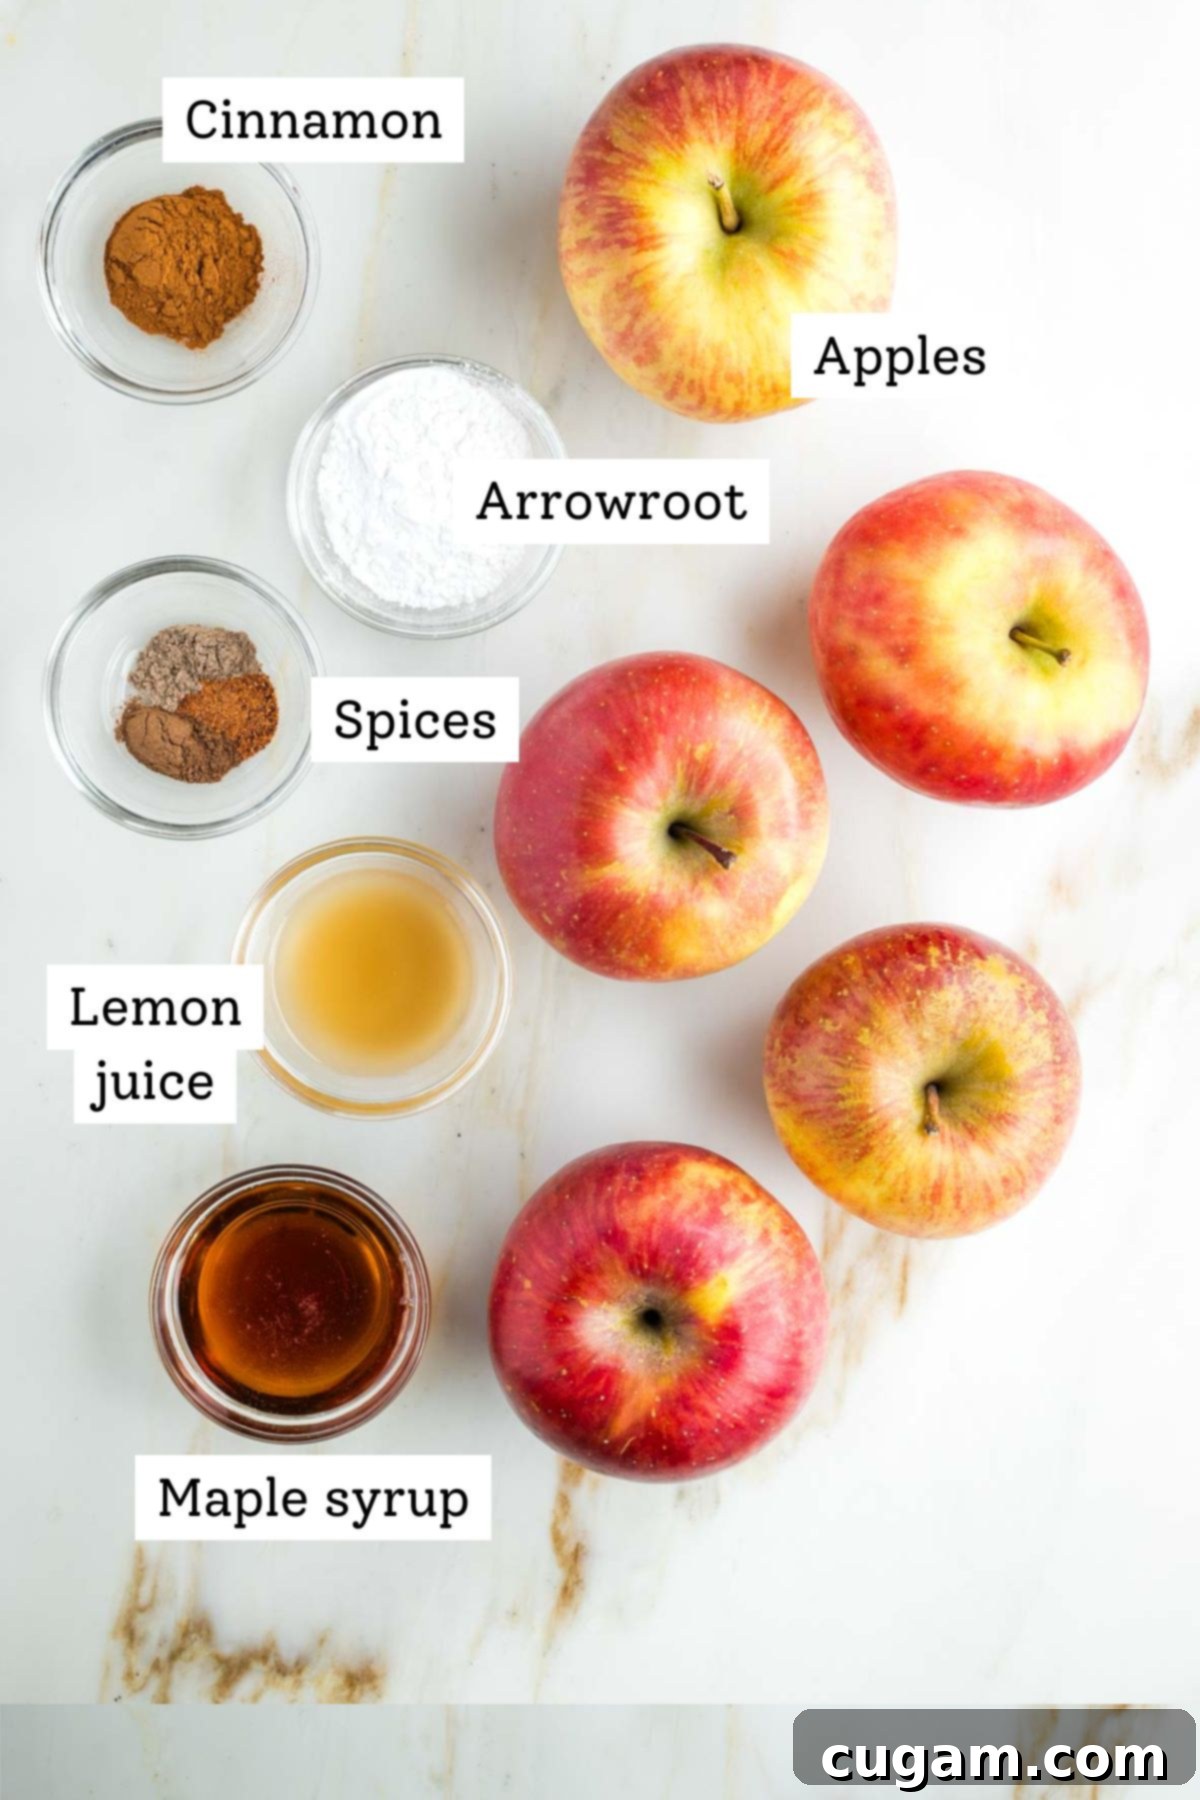
The heart of these vegan apple pie bars lies in their perfectly spiced and jammy apple filling. Each ingredient plays a crucial role in achieving that quintessential apple pie flavor and delightful texture:
- Apples: I specifically chose Fuji apples for this recipe, and they truly shine. Fuji apples strike an excellent balance, becoming tender but not overly mushy when cooked, and offering a subtle tartness that beautifully complements the sweet spices. However, feel free to use any baking apple you enjoy! Honeycrisp, Gala, Granny Smith (for a tarter profile), or a mix of varieties would also work wonderfully. Aim for firm apples that hold their shape well during baking.
- Arrowroot Powder: This natural thickener is essential for transforming the natural juices released by the apples into a beautifully jammy, cohesive consistency. This is particularly important for pie bars, as it ensures they can be easily picked up and enjoyed without a mess. Arrowroot powder is similar to cornstarch but offers several advantages: it’s typically easier to digest, entirely grain-free, and often non-GMO. It creates a clear, glossy sauce that perfectly coats the apple pieces.
- Maple Syrup: Used in the filling, maple syrup provides natural sweetness, complementing the apples without being overly sugary. Its distinct flavor also pairs wonderfully with the warming spices.
- Lemon Juice: A splash of fresh lemon juice is key. It brightens the flavor of the apples, preventing them from becoming too sweet, and also helps prevent the sliced apples from browning too quickly before baking.
- Spices: The blend of cinnamon, nutmeg, allspice, and cardamom is what truly elevates these bars, bringing out all the comforting, aromatic apple pie vibes we all love. Cinnamon provides classic warmth, nutmeg adds a deep, earthy note, allspice contributes a complex, peppery sweetness, and cardamom offers a unique, fragrant, almost citrusy hint that makes the flavor profile truly special.
Preparing the Delicious Apple Filling
With our flaky crust prepared, it’s time to create the irresistible apple filling. This section guides you through mixing the spices and apples to achieve a perfectly jammy and flavorful center for your bars.
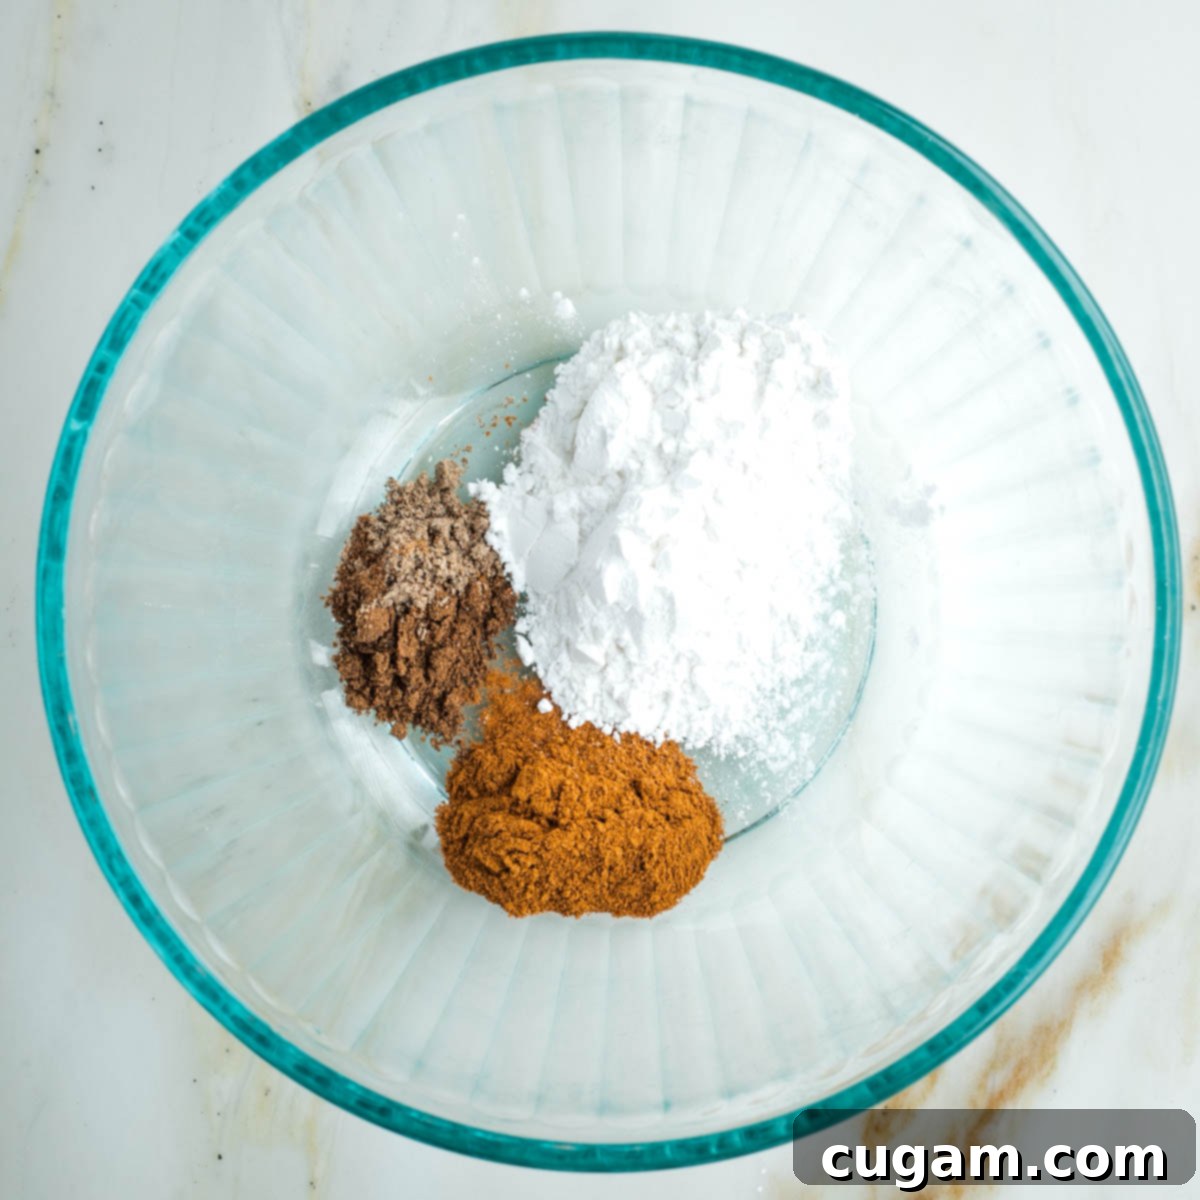
In a medium-sized bowl, add the arrowroot powder, cinnamon, nutmeg, allspice, and cardamom. Stir these dry ingredients together thoroughly to ensure they are well combined and evenly distributed.
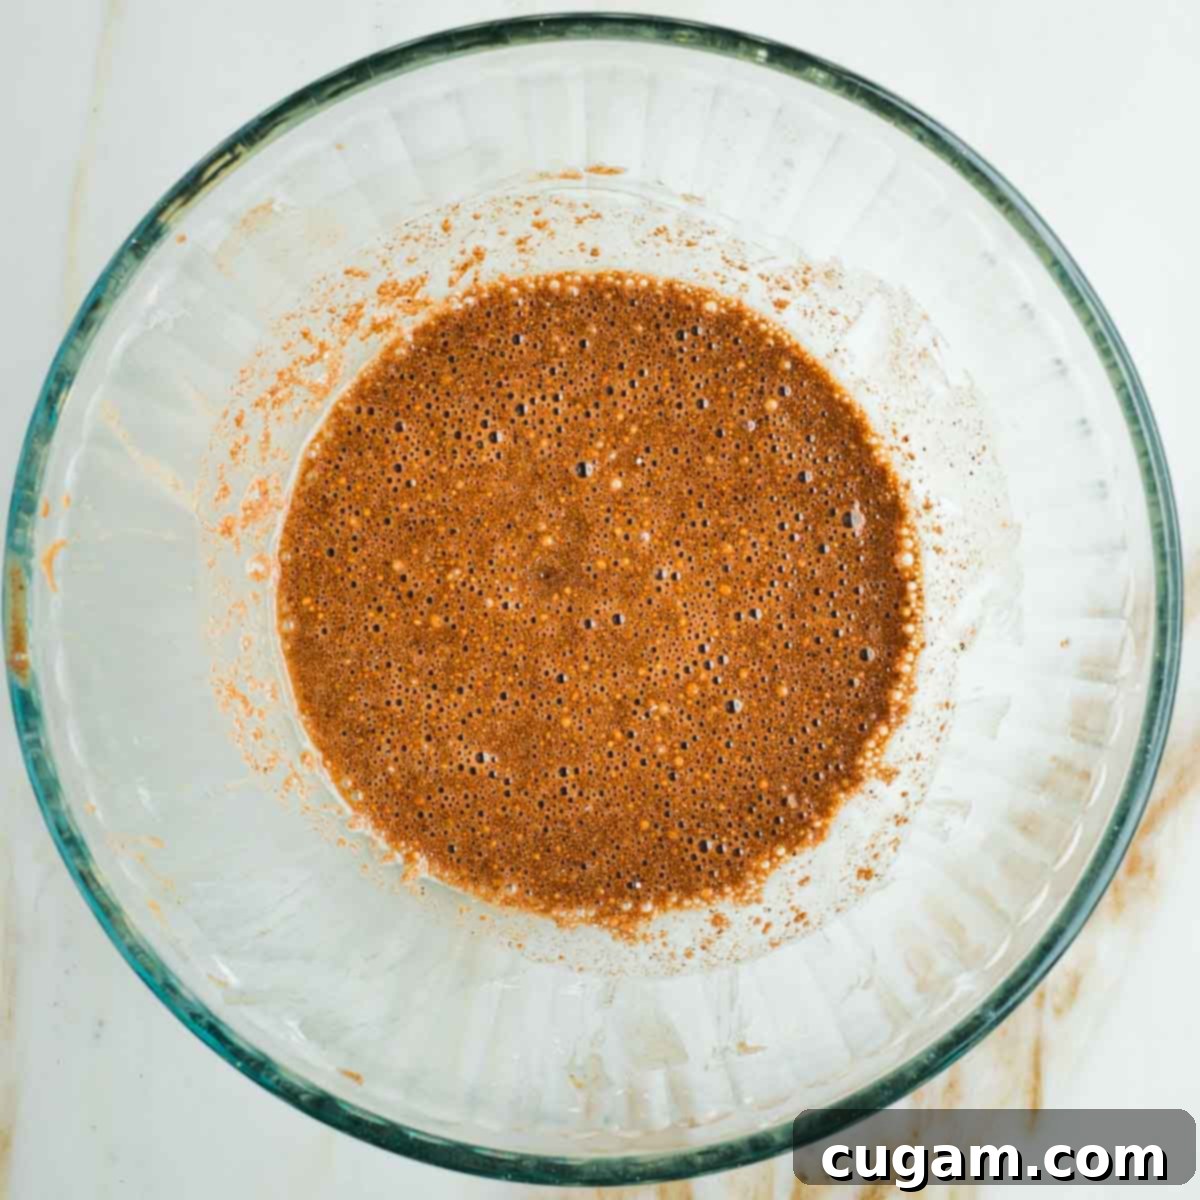
Next, pour in the lemon juice and maple syrup. Stir vigorously until the spices are well incorporated into the liquids. The arrowroot may take a little bit of time to fully break down and dissolve into the liquid, so continue mixing until the mixture is smooth and lump-free.
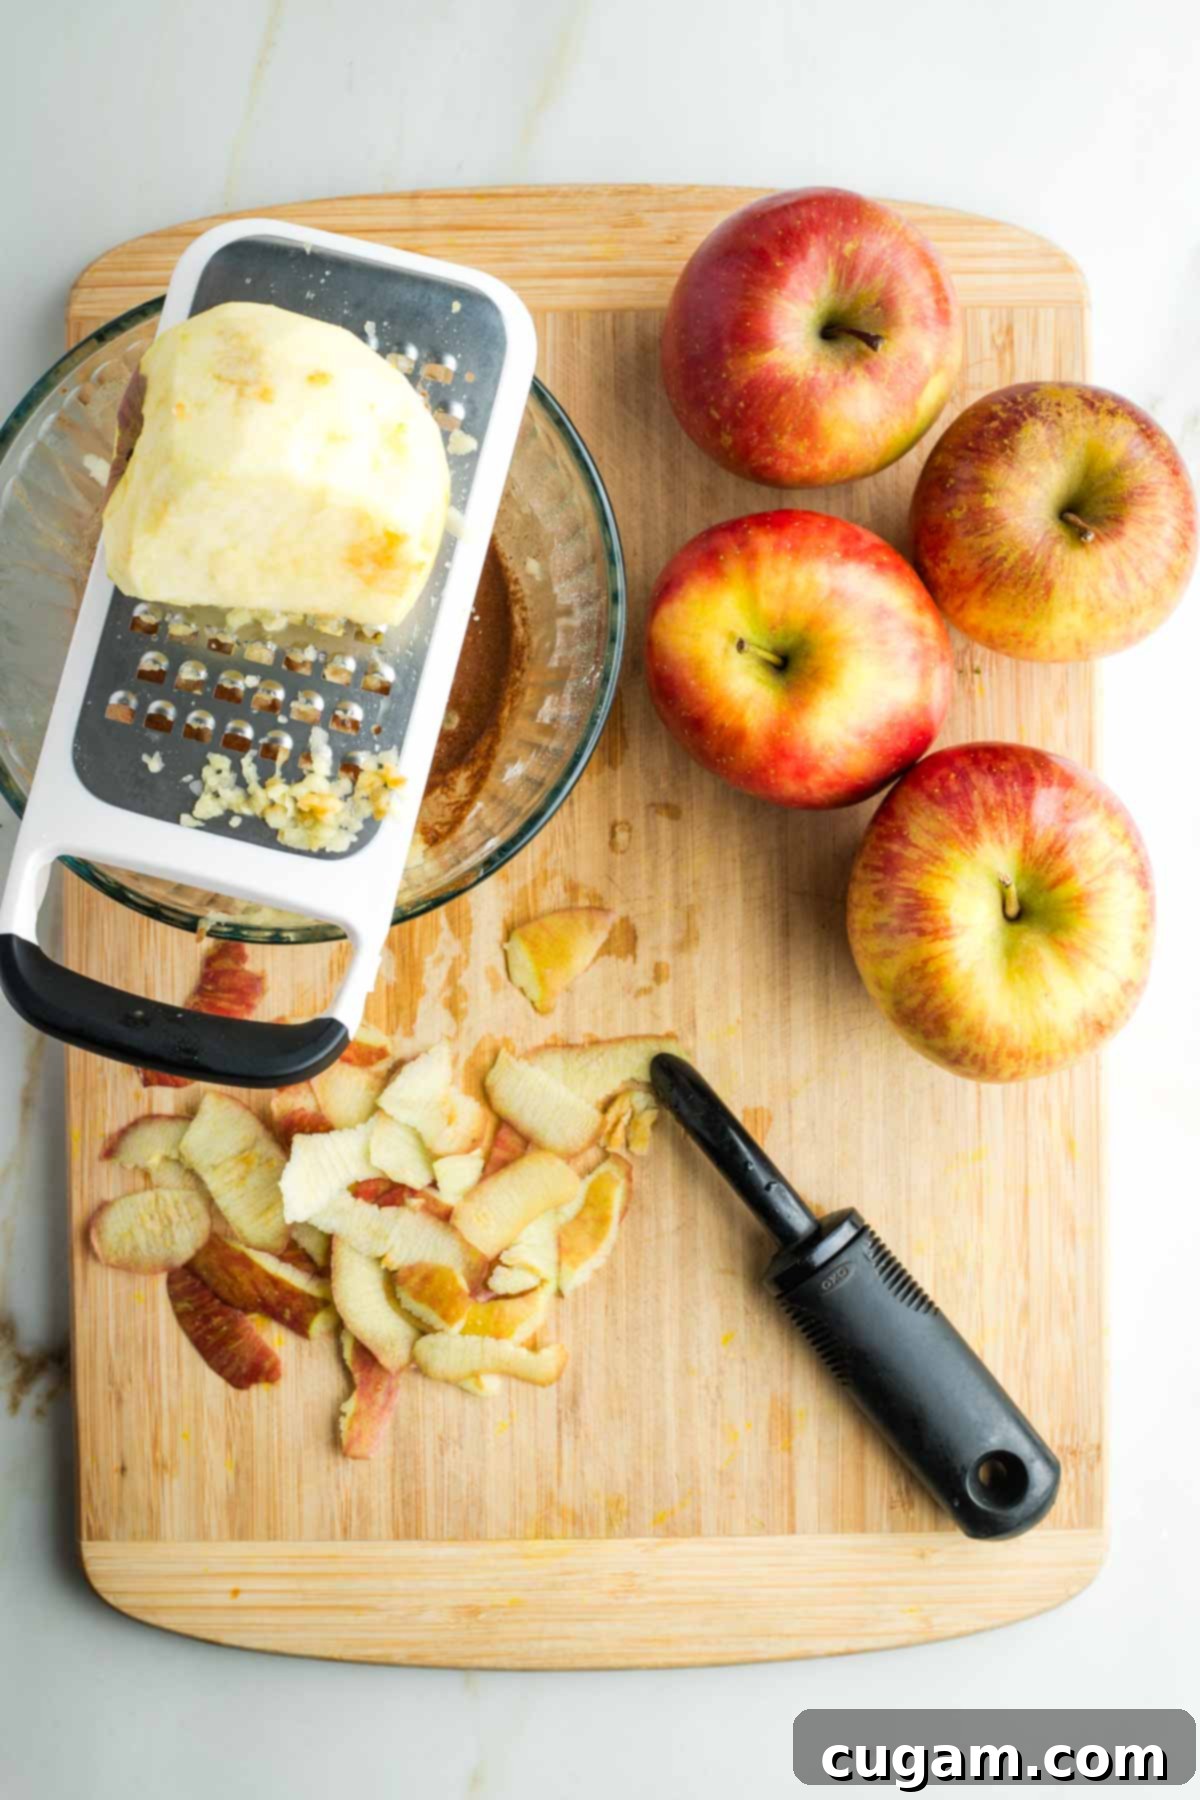
Peel one of the apples. Using the coarse side of a box grater, grate this apple directly over the bowl containing your liquid spice mixture. Mix well immediately after grating to coat the apple pieces and prevent browning. This grated apple adds a wonderful, soft texture to the filling.
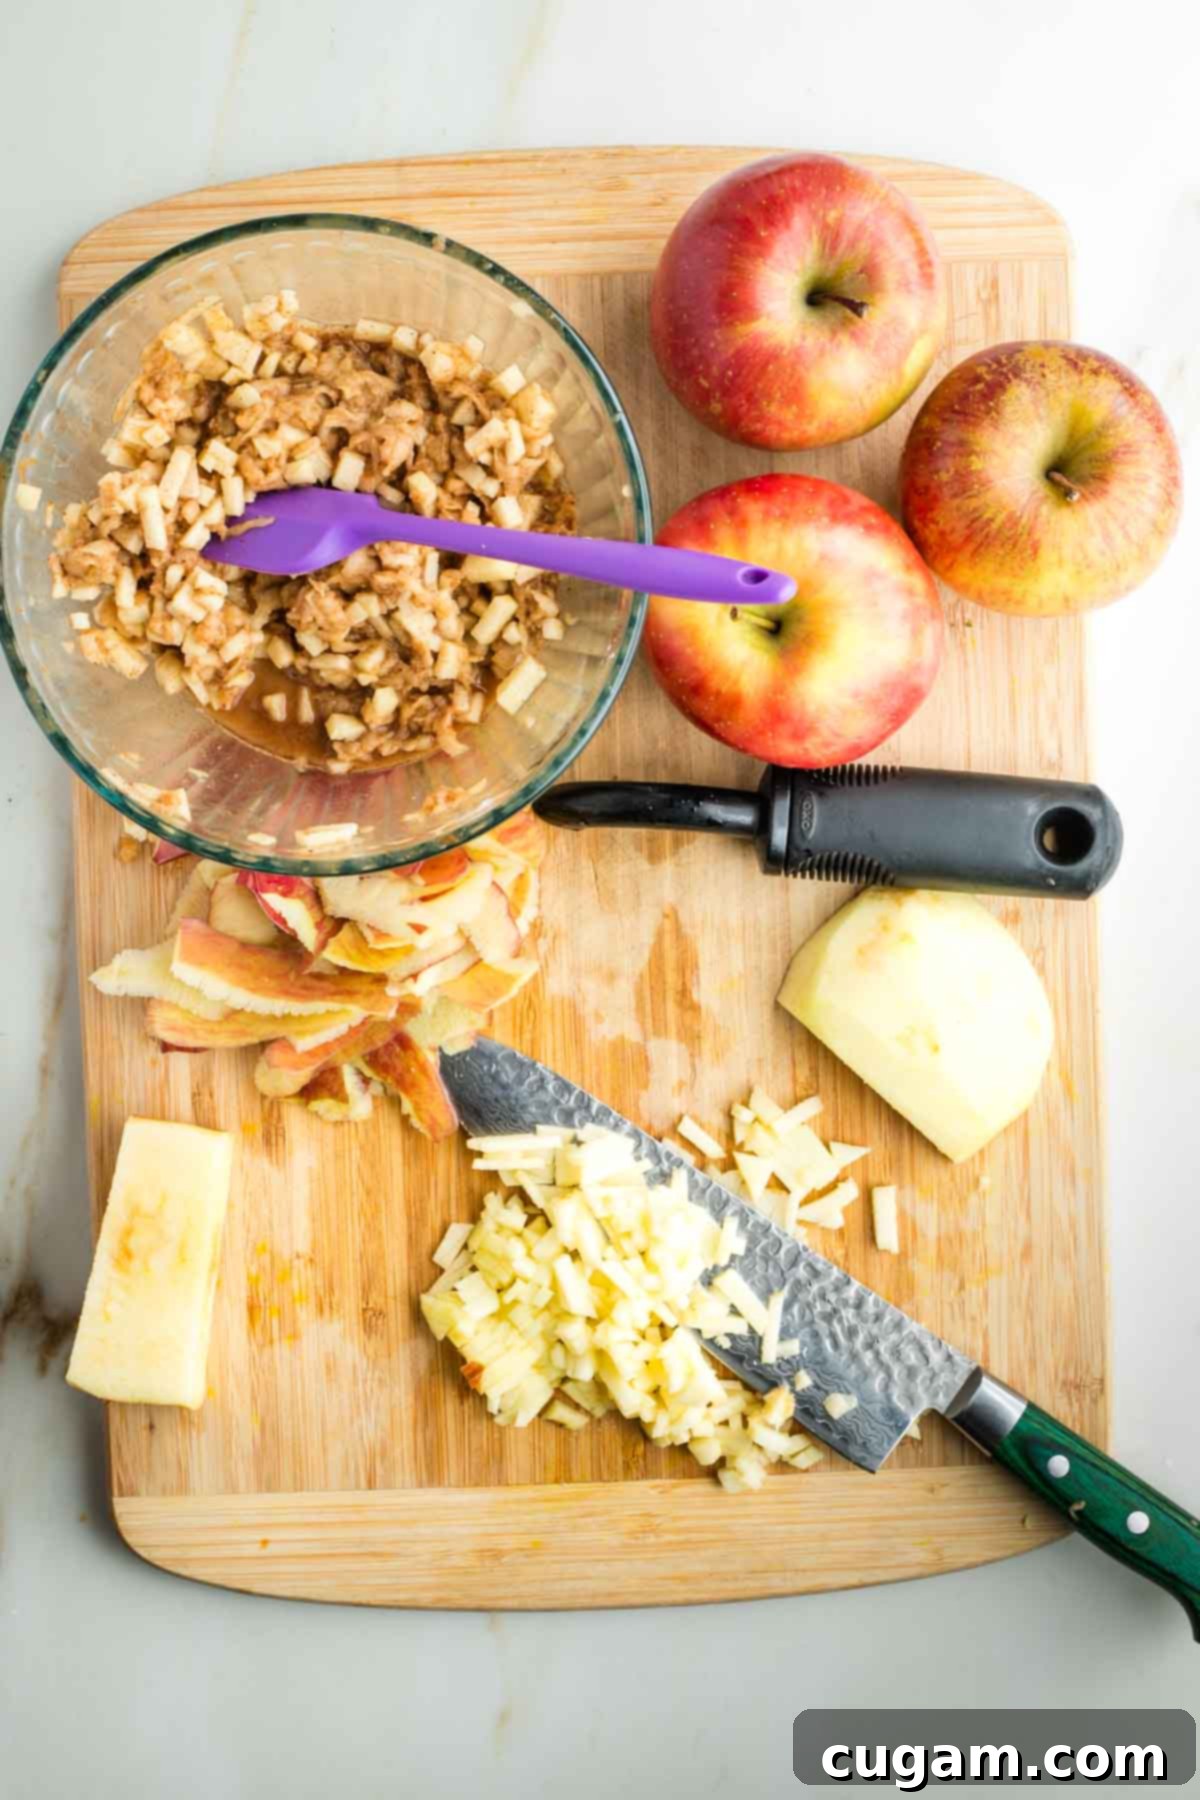
Now, peel the remaining apples and chop them into super small dice. Add these diced apples to the bowl with the spice mixture as you go. Stir everything together thoroughly to ensure all apple pieces are coated with the spice-lemon mixture, which helps prevent discoloration. Continue this process until all your apples have been added and mixed in. You should have approximately 6 cups of total apple filling.
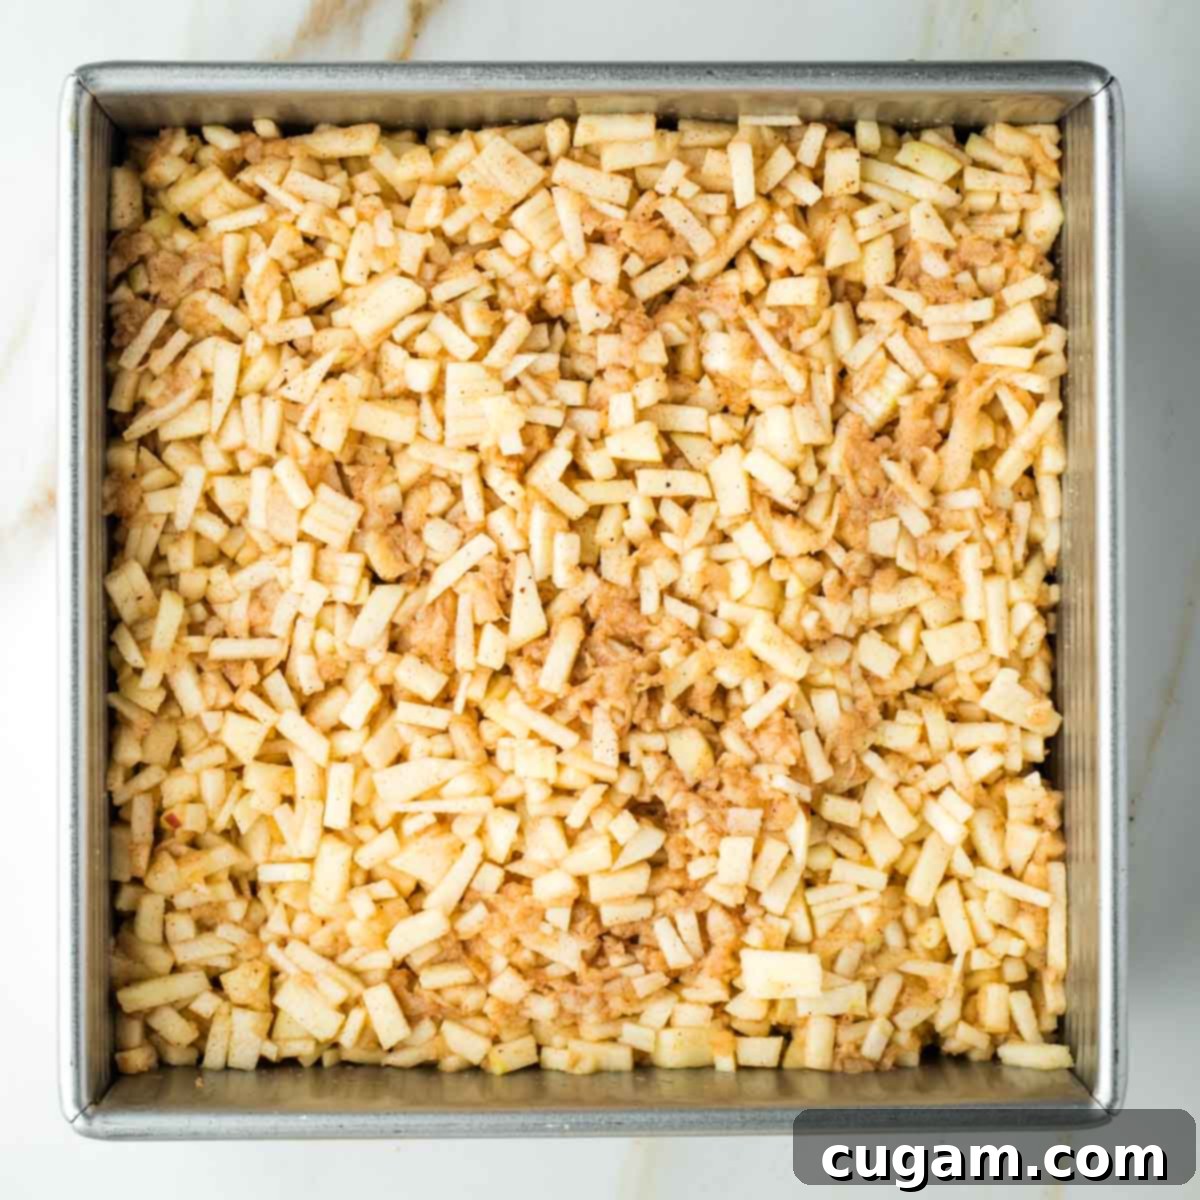
Pour the apple mixture evenly onto the bottom crust you’ve already placed in the square pan. If there’s any remaining liquid in the bottom of the mixing bowl, sprinkle it over the apples. Distribute the apples into all corners, creating a level and even layer.
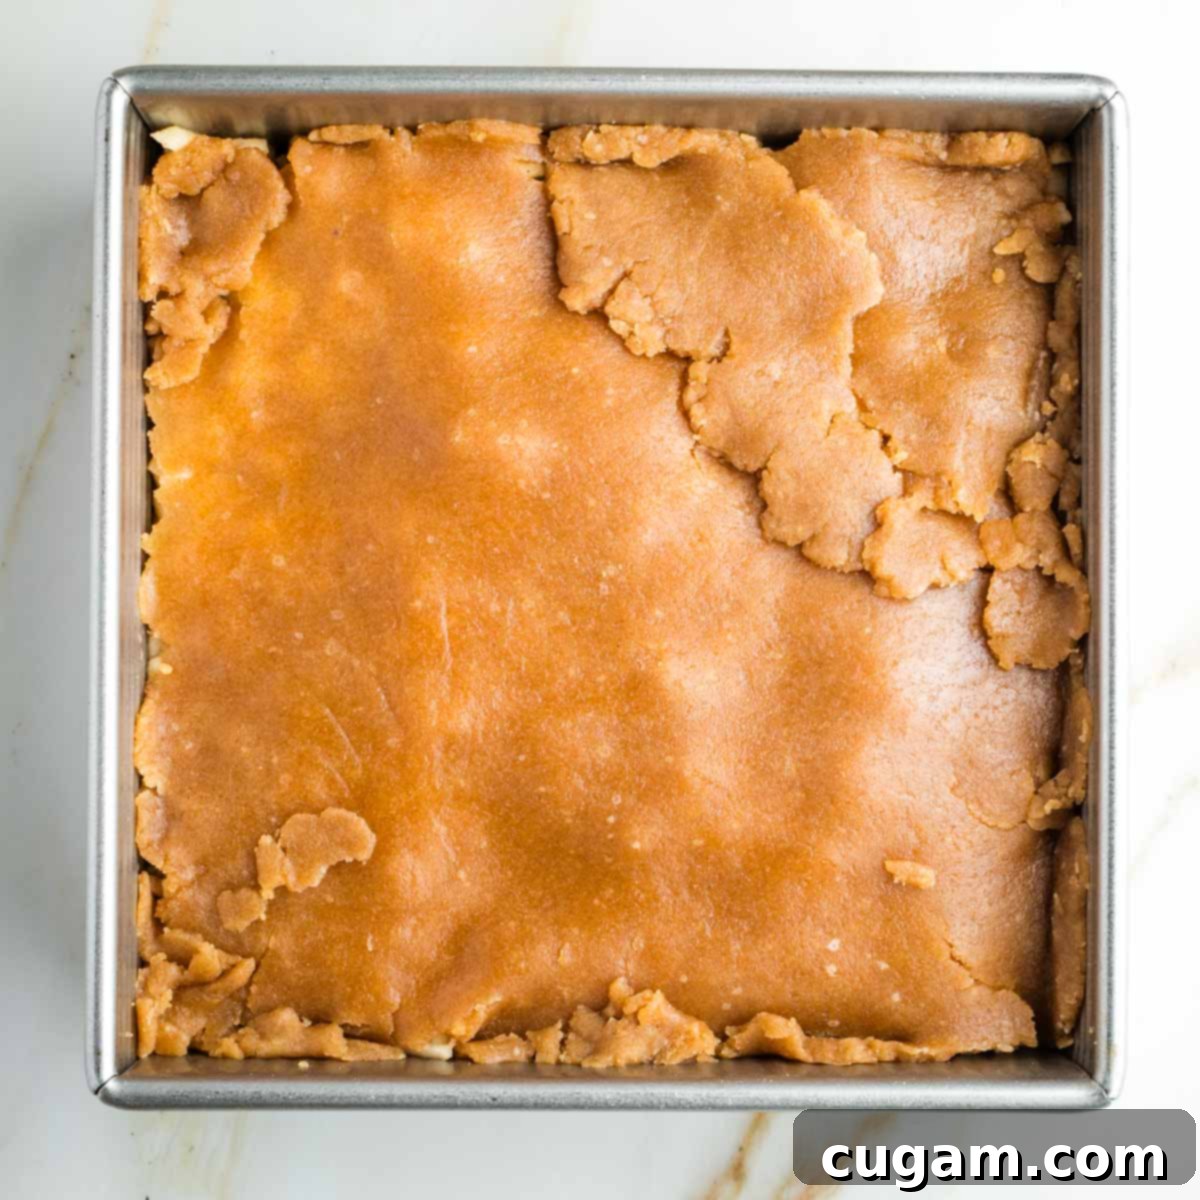
Carefully transfer the remaining rolled-out dough (which you set aside between parchment paper) onto the apples, forming the top crust. Don’t worry if it’s not a perfect single sheet; you can gently patch it together so it completely covers the entire top surface, without hanging excessively over the edges.
Baking and Serving Your Apple Pie Bars
The final steps involve baking your beautiful apple pie bars to golden perfection and then preparing them for serving. The aromas filling your kitchen will be absolutely incredible!
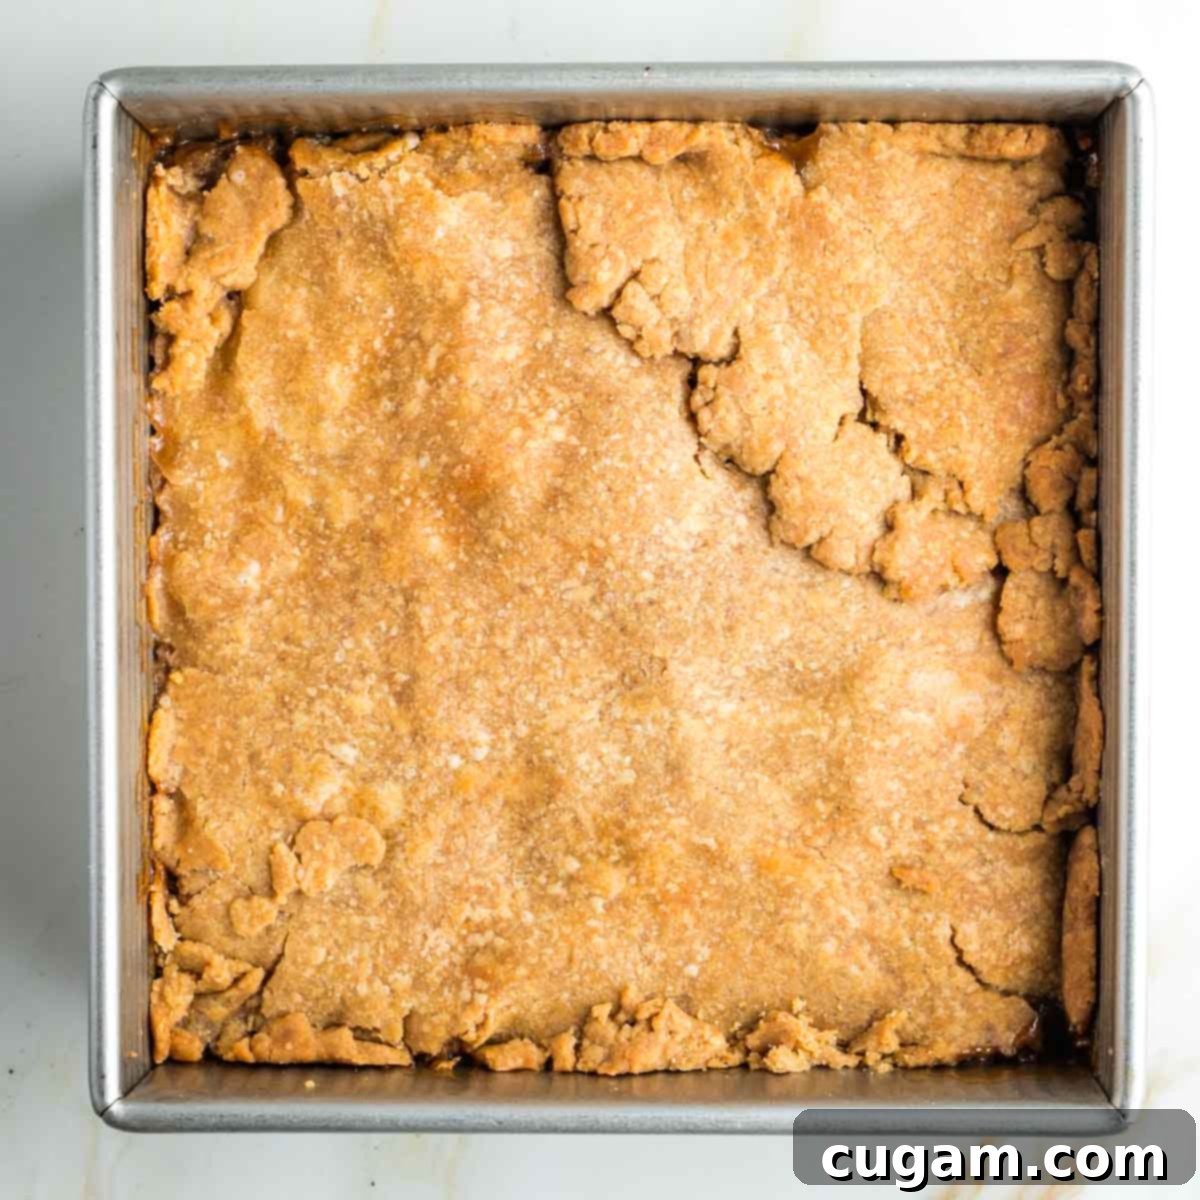
Place the pan in your preheated 375-degree Fahrenheit oven and bake for approximately 40 minutes. You’ll know they’re ready when the apple filling is visibly bubbling through any cracks in the top crust, and the crust itself has achieved a beautiful golden-brown color. The bubbling indicates the apples are tender and the filling has thickened.
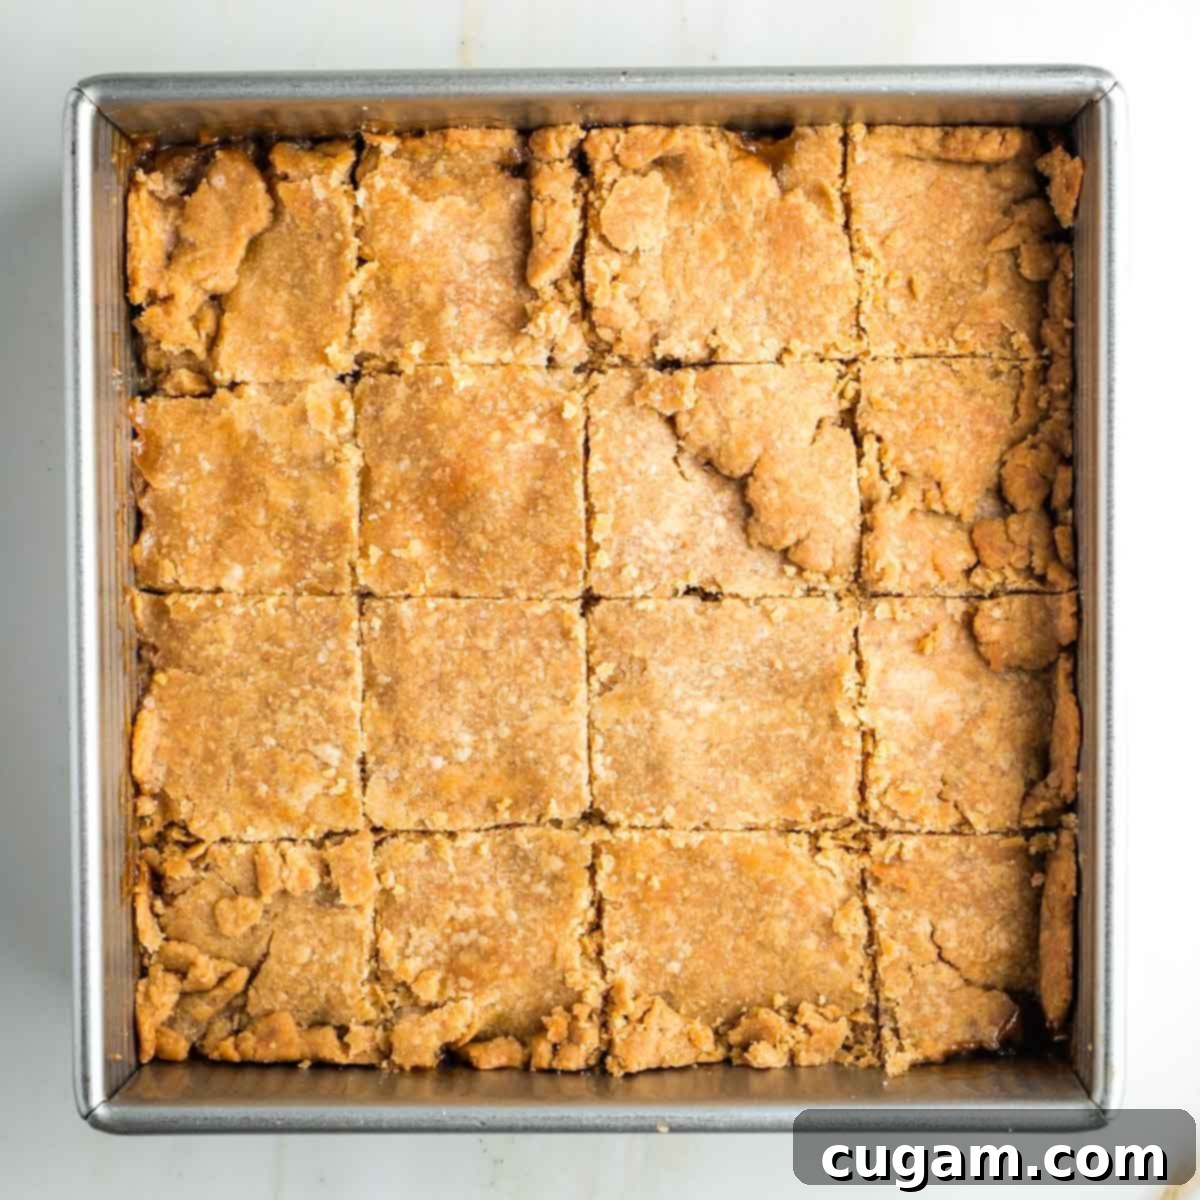
Once baked, remove the pan from the oven and let the bars cool completely on a wire rack. This is a crucial step for clean cuts and for the filling to fully set. For even easier and neater cutting, you can place the entire pan, covered, in the refrigerator for at least an hour, or even overnight. Chilling them solidifies the filling and firms up the crust, allowing for perfectly defined squares.
Storage and Freezing Tips
One of the many benefits of these vegan apple pie bars is their excellent storage capacity, making them perfect for meal prepping desserts or enjoying over an extended period.
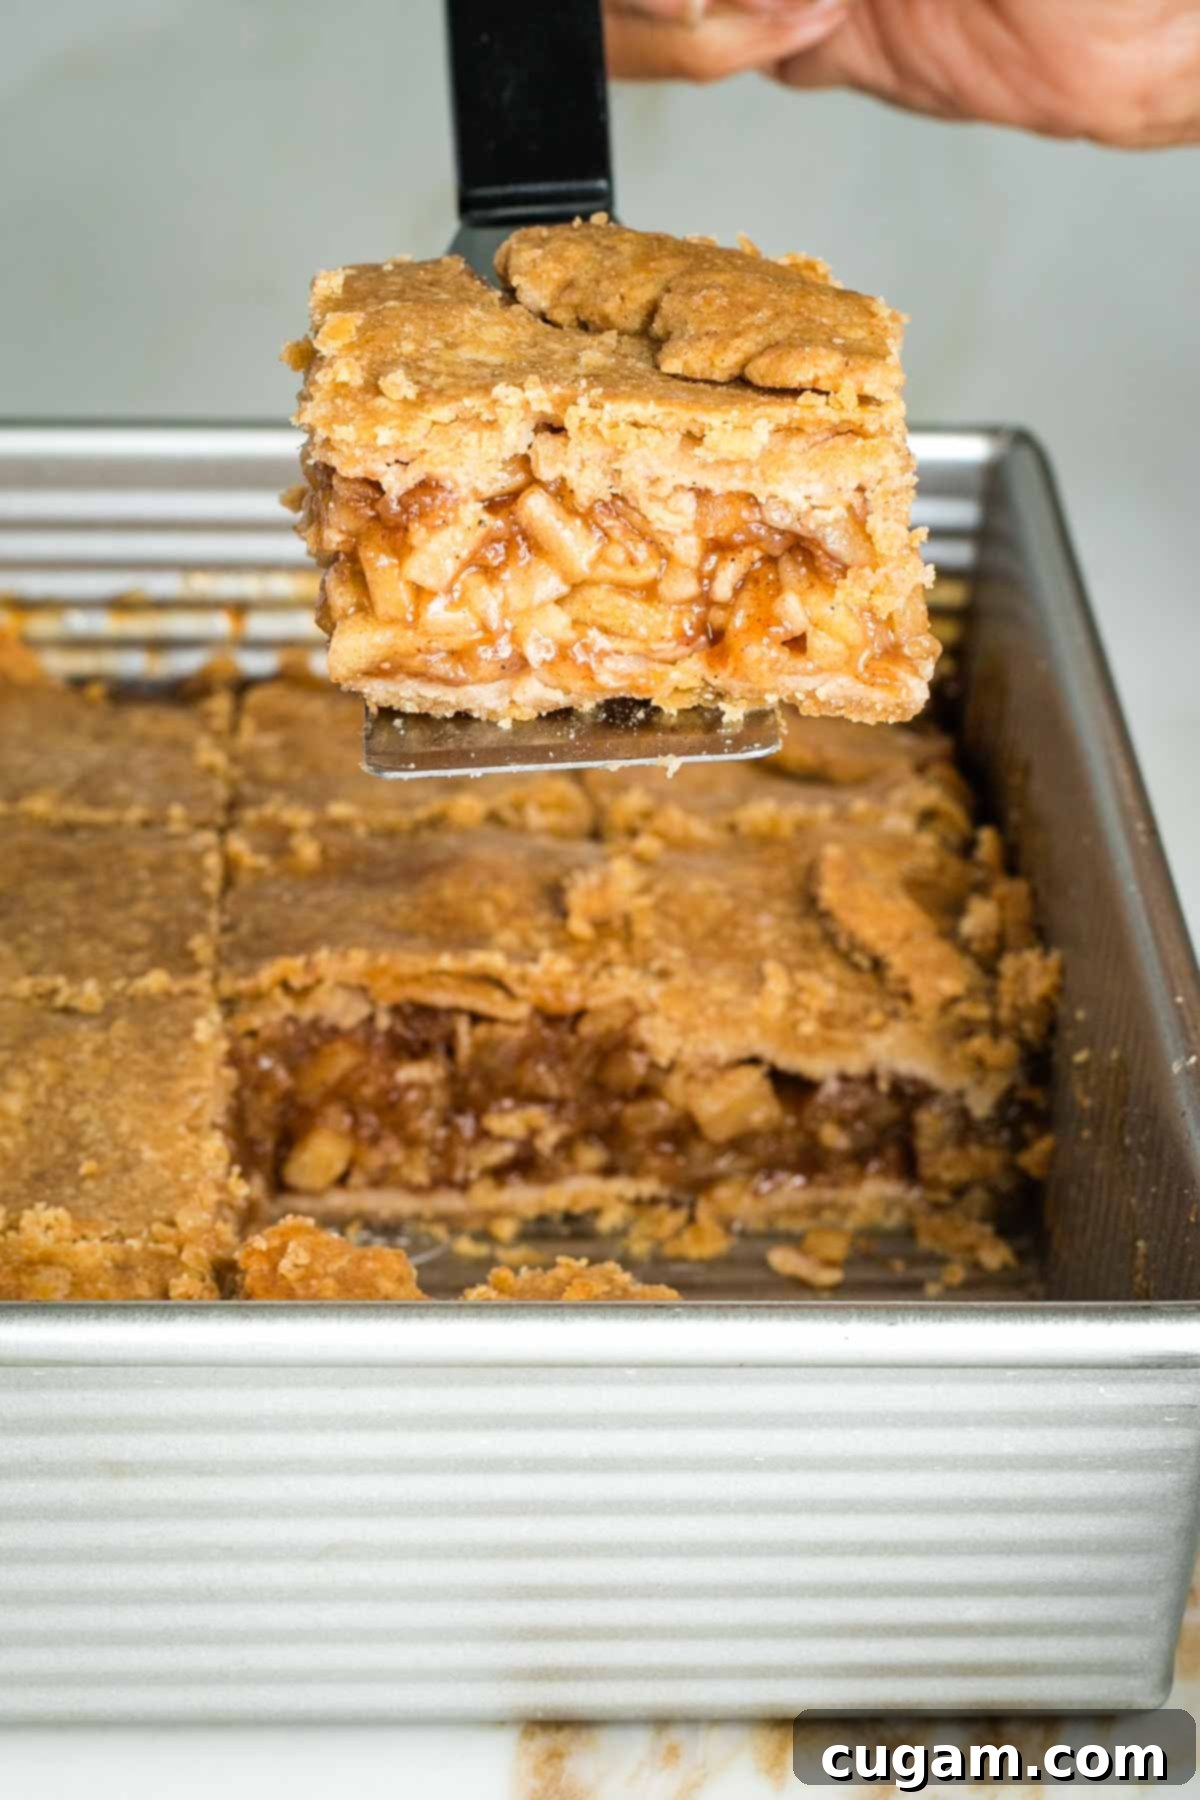
Once cooled and cut, transfer your apple pie bars to an airtight container. They can be stored in the refrigerator for up to a week. The flavors will deepen and meld beautifully over time, making them just as delicious, if not more so, on subsequent days.
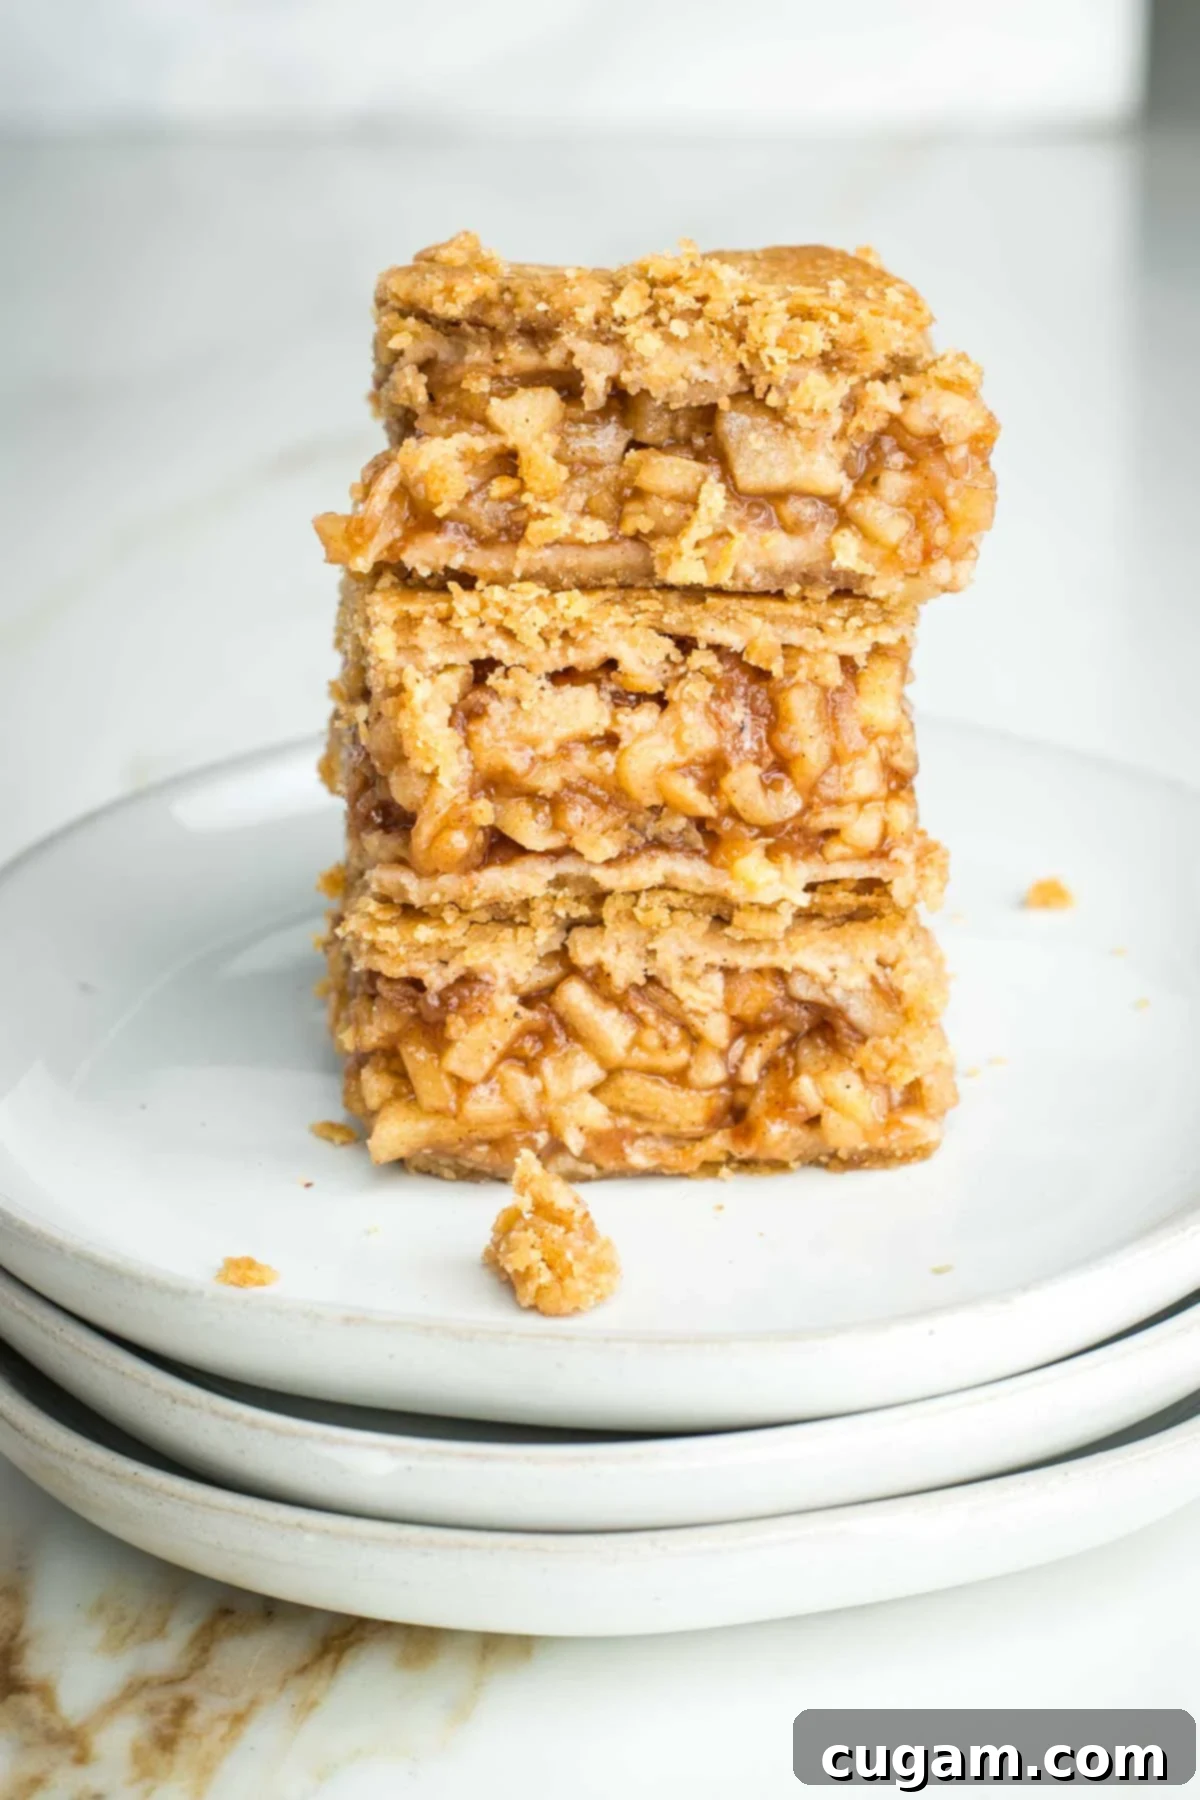
These bars are also incredibly freezer-friendly. Place them in a freezer-safe container, separating layers with parchment paper to prevent sticking. They can be frozen for up to 3 months. For the best results and to maintain their delightful texture, thaw them overnight in the refrigerator before serving. You can also gently reheat them in the oven for a “freshly baked” experience.
Debra’s Pro Tips for Perfect Apple Pie Bars
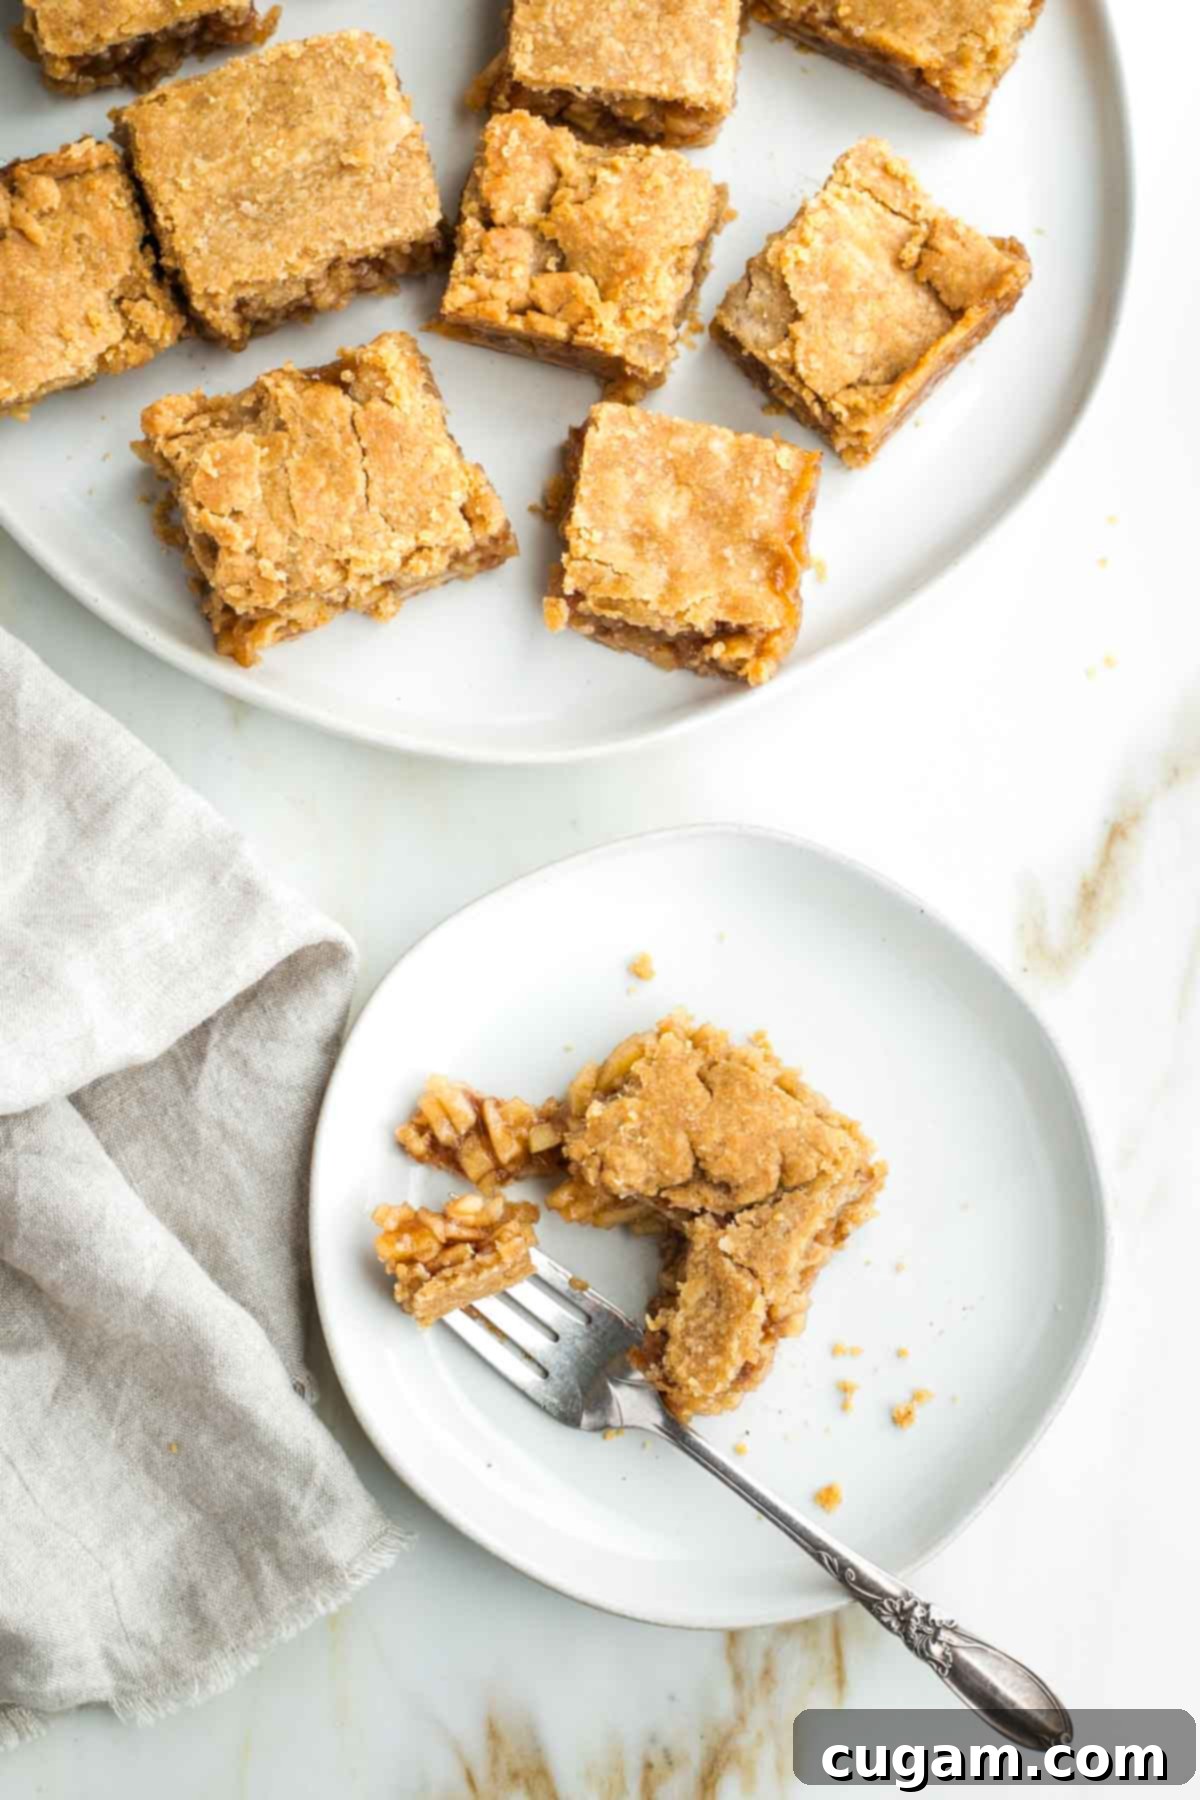
- Embrace the Cracks: If your crust cracks a bit when you’re cutting the bars into squares, don’t fret! That’s actually a sign of success. It means you’ve achieved that elusive, perfectly flaky vegan pie crust. Pat yourself on the back for a job well done! The slight imperfections only add to their rustic charm.
- Apple Prep Strategy: To prevent your apples from browning and to ensure even coating, prep them one at a time. Peel an apple, then immediately grate or chop it, and mix it into the spice mixture with the lemon juice. The lemon juice acts as a natural antioxidant, keeping the apples fresh and vibrant. Then, move on to the next apple.
- Dough Division Wisdom: When dividing your dough in half, it might not be perfectly even. If one piece is slightly larger than the other, use the larger portion for the bottom crust. This provides a more robust foundation for the substantial apple filling.
- The Magic of Salt: Unless you are strictly on a low-sodium diet, I highly recommend including the salt in the crust. The subtle taste of salt in the flaky crust beautifully juxtaposes with the sweet and spiced filling. It truly elevates the flavor profile, making the entire bar simply divine and adding a layer of complexity you won’t want to miss.
- Parchment for Preservation: When storing your cut bars in the fridge or freezer, place a piece of parchment paper between layers. This simple trick prevents the bars from sticking together and makes it much easier to grab a single serving without damaging the others.
Did you know commenting and rating recipes is one of the best ways to support your favorite food bloggers? If you made this recipe, please consider a five-star rating below and leave a comment. Also, please share your photos on Instagram by tagging me @dkhealthcoach and using the hashtag #debraklein! Your support means the world!
📖 Recipe Card
Easy Vegan Apple Pie Bars
Author: Debra Klein
These vegan apple pie bars are incredibly tasty and so easy to make. A simple vegan crust comes together quickly in one bowl. Chopped apples and warming spices are covered with additional dough and baked to perfection! Apple pie bars taste just like traditional apple pie and are easy to store and freezer friendly. Dairy-free and delicious, this make-ahead apple dessert is not to be missed.
No ratings yet. Rate this Recipe
Pin Recipe
Prep Time: 10 mins
Cook Time: 40 mins
Total Time: 50 mins
Course: Dessert
Cuisine: American
Servings: 16
Calories: 173 kcal
Equipment
- 8 x 8 Inch Square Baking Pan
Ingredients
Crust
- ½ cup extra virgin olive oil
- ¼ cup almond milk
- 1 tablespoon maple syrup
- 1 ¾ cup whole grain flour
- ¼ teaspoon salt
Filling
- 2 tablespoon maple syrup
- 1 tablespoon lemon juice
- 2 tablespoon arrowroot powder
- 1 teaspoon cinnamon
- ¼ teaspoon all spice
- ⅛ teaspoon nutmeg
- ⅛ teaspoon cardamom
- 3 lbs apples
Instructions
- Preheat oven to 375°F (190°C).
CRUST
- Measure out 1 ¾ cups flour and the salt into a medium-sized bowl. Use a fork to mix and aerate for about a minute.
- Use a 1-cup liquid measuring cup for the oil, milk, and maple syrup. Stir well until emulsified, then pour into the flour.
- Continue to mix with a fork until all ingredients have come together as a dough. It may be slightly lumpy but shouldn’t be too dry.
- Cut the dough in half and place one piece between two pieces of parchment paper. Roll until an approximately 8×8-inch (or slightly larger) square is achieved.
- Press this rolled-out dough into the bottom of an 8×8-inch brownie pan, patching as needed to cover the entire base.
- Roll the remaining half of the crust into a similar square piece using the same parchment paper and leave it between the parchment sheets, set aside.
FILLING
- Mix together arrowroot, cinnamon, allspice, nutmeg, and cardamom in a bowl. Use a spatula or whisk to mix in the maple syrup and lemon juice until smooth.
- Peel one apple and grate it directly into the bowl with the liquid spices. Stir into the spice mixture immediately.
- Peel the remaining apples and cut them into SMALL dice, adding them to the bowl as you go. Stir together with the spice mixture to prevent the apples from turning brown. Continue until all apples have been used, and you have about 6 cups of the apple mixture.
- Transfer the apple mixture to the pan with the bottom crust. If there’s any liquid left on the bottom of the bowl, sprinkle it evenly onto the apples. Distribute the apples into the corners, creating a level field.
TOPPING & BAKING
- Carefully transfer the second pie crust onto the top of the apples. It’s perfectly fine if you need to cobble it together, grabbing small pieces that hang over the edges and bringing them into the corners and other spots missing topping.
- Bake in the preheated 375°F (190°C) oven for 40 minutes, or until the apples are bubbling and the top crust is golden brown.
- Cool completely on a wire rack. For easier and neater cutting, cover and place the entire pan in the refrigerator for at least an hour (or overnight). Then cut into 16 pieces. Store in an airtight container in the refrigerator for up to 5 days, or freeze for up to 3 months.
Notes
It’s much easier to cut these bars into neat squares when they are cold. I highly recommend covering the pan and placing it in the fridge for at least an hour, or even overnight, before cutting. This allows the filling to set completely and the crust to firm up, resulting in clean, beautiful slices.
Nutrition
Calories: 173 kcal
Carbohydrates: 24g
Protein: 2g
Fat: 8g
Saturated Fat: 1g
Polyunsaturated Fat: 1g
Monounsaturated Fat: 5g
Trans Fat: 0.003g
Sodium: 47mg
Potassium: 150mg
Fiber: 3g
Sugar: 11g
Vitamin A: 46 IU
Vitamin C: 4mg
Calcium: 22mg
Iron: 1mg
Note: The nutrition calculations were done using online tools. To obtain the most accurate representation of the nutritional information in any given recipe, you should calculate the nutritional information with the actual ingredients you used. You are ultimately responsible for ensuring that any nutritional information is accurate, complete, and useful.
Did you make this recipe?
Please leave a review below, then snap a picture and tag me @dkhealthcoach or use hashtag #dkhealtcoach on Instagram so I can see it!!
Frequently Asked Questions (FAQs)
What are the best apples for apple pie bars?
For these bars, you want apples that hold their shape well and offer a good balance of sweet and tart flavors. Fuji, Honeycrisp, Granny Smith (if you like a tarter pie), Gala, or Braeburn are all excellent choices. A mix of varieties can also add depth to the flavor and texture of your filling.
Can I use a different type of flour for the crust?
Yes, I’ve successfully tested this recipe with both whole grain flour and gluten-free all-purpose flour. If using gluten-free, ensure it’s a blend designed for baking to achieve the best texture. All-purpose wheat flour would also work well if you’re not looking for a whole grain option.
Is arrowroot powder essential, or can I substitute it?
Arrowroot powder is ideal for creating a clear, jammy filling that sets beautifully, which is perfect for hand-held bars. You can substitute it with cornstarch in a 1:1 ratio. Both will thicken the filling effectively, but arrowroot is often preferred for its grain-free and easier-to-digest properties, and it results in a slightly glossier finish.
How should I serve these vegan apple pie bars?
These bars are delightful on their own, at room temperature or slightly chilled. For an extra special treat, warm them gently in the oven or microwave and serve with a scoop of vegan vanilla ice cream, a dollop of vegan whipped cream, or a drizzle of homemade vegan caramel sauce. They make a fantastic dessert for gatherings or a cozy treat with a cup of tea or coffee.
Can I make these bars ahead of time?
Absolutely! These bars are designed to be make-ahead friendly. You can prepare them a day or two in advance and store them in the refrigerator. In fact, chilling them overnight makes them much easier to cut into neat squares and allows the flavors to deepen even further.
Serving Suggestions for Your Delicious Apple Pie Bars
While these vegan apple pie bars are absolutely scrumptious on their own, here are a few ideas to elevate your serving experience and impress your guests or simply treat yourself:
- Warm & Cozy: Gently warm the bars in the microwave for 15-30 seconds or in a preheated oven (300°F/150°C) for 5-10 minutes. The warm, spiced apples and flaky crust are incredibly comforting.
- A La Mode (Vegan Style!): Serve a warm apple pie bar with a generous scoop of your favorite vegan vanilla ice cream. The contrast of warm and cold, and the creaminess of the ice cream, is pure bliss.
- Whipped Cream Dream: Top each bar with a dollop of fluffy vegan whipped cream. Coconut whipped cream or a store-bought soy/oat/almond-based whipped topping would be perfect.
- Caramel Indulgence: Drizzle a homemade or store-bought vegan caramel sauce over the warm bars and ice cream for an extra layer of sweetness and decadence.
- Dust with Sugar: For a simple yet elegant touch, dust the cooled bars with a sprinkle of powdered sugar just before serving.
- Holiday Spread: Arrange them beautifully on a platter for your holiday dessert table. Their bar shape makes them easy to portion and enjoy without plates and forks if desired.
