Sheet Pan Green Blender Soup: Easy, Creamy, Vegan, & Gluten-Free Recipe
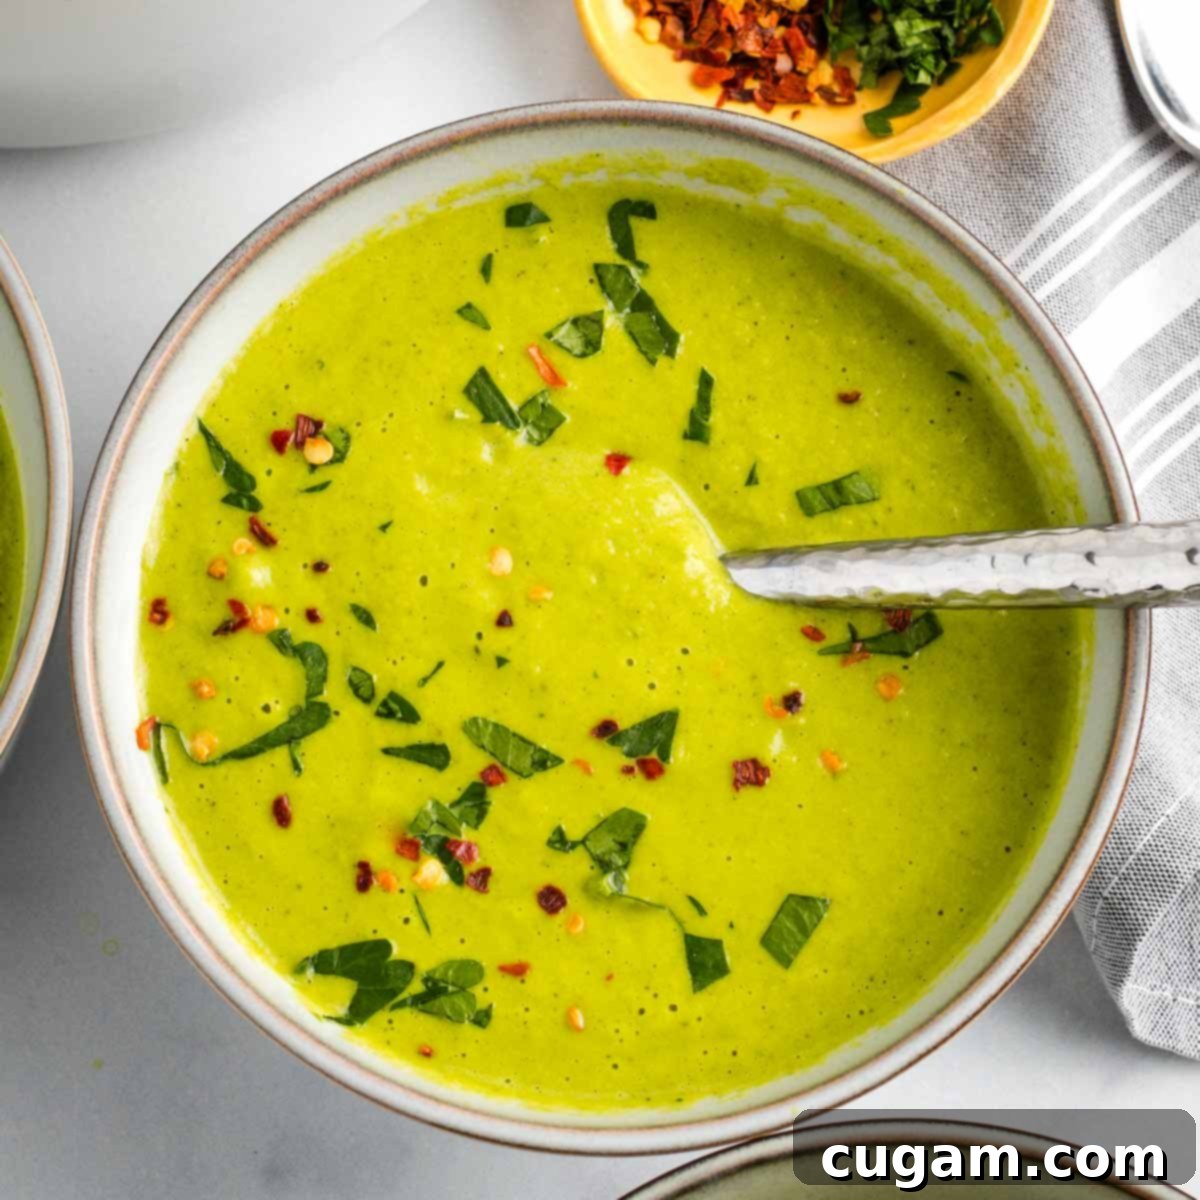
Imagine whipping up a pot of nourishing, flavorful soup without being tethered to the stovetop. This incredible easy green blender soup recipe transforms humble roasted sheet pan vegetables, vibrant power greens, wholesome veggie broth, and creamy cashews into an epic pureed delight. It’s a truly energizing and delicious meal that’s perfect for any day of the week. Crafted with simple, plant-based ingredients, this soup is naturally vegan and gluten-free, offering a luxuriously thick and creamy texture that will quickly become a cherished staple in your weekly rotation. Prepare to be amazed by how effortlessly such a rich and satisfying soup can come together, proving that healthy eating can be both convenient and incredibly tasty.
[feast_advanced_jump_to]
This versatile blender soup recipe is a year-round favorite in my kitchen. During the colder months, its cozy warmth and hearty roasted vegetables offer immense comfort and satisfaction. Yet, it’s equally delightful served chilled when the weather warms up, providing a light and refreshing pureed soup experience. It’s truly a fabulous two-for-one! What I appreciate most is the minimal hands-on time – just 10-15 minutes of prep – while the oven magically transforms the vegetables on a sheet pan, freeing you up to do whatever you please. Perhaps you could use that downtime to bake a batch of skillet jalapeño cornbread, which pairs perfectly with this vibrant soup. Just a thought to enhance your meal!
Searching for more Healthy Passover Recipes? Uncover exciting and wholesome ways to enjoy Kosher for Passover dishes while maintaining a balanced diet with our collection of Vegetarian and Vegan Recipes for Passover.
Why You’ll Adore This Sheet Pan Green Blender Soup
- Effortless Cooking Method: The beauty of this recipe lies in its simplicity. Roasting all the vegetables on a single sheet pan minimizes cleanup and maximizes flavor with minimal effort. Just chop, roast, and blend!
- Nutrient-Packed Goodness: Bursting with vitamins, minerals, and antioxidants from a variety of green vegetables and power greens, this soup is a powerhouse of nutrition. It’s a delicious way to boost your daily vegetable intake.
- Highly Customizable: Don’t have the exact vegetables on hand? No problem! This recipe is incredibly flexible. Use whatever fresh or frozen greens and veggies you have in your fridge, making it perfect for using up produce and reducing food waste.
- Dietary Friendly for All: Naturally vegan and gluten-free, this soup caters to a wide range of dietary needs and preferences. It’s a wonderful option for plant-based eaters, those with allergies, or anyone looking for a wholesome meal.
- Make-Ahead & Freezer Friendly: This soup is a meal prep dream. It stores beautifully in the refrigerator for up to a week and freezes well for up to three months, ensuring you always have a healthy, homemade meal ready to go.
- Rich, Creamy, and Satisfying: Thanks to the roasted vegetables and cashews, this soup achieves a wonderfully thick and creamy texture without any dairy. It’s incredibly satisfying and comforting, whether served hot or cold.
Essential Ingredients for Your Green Blender Soup
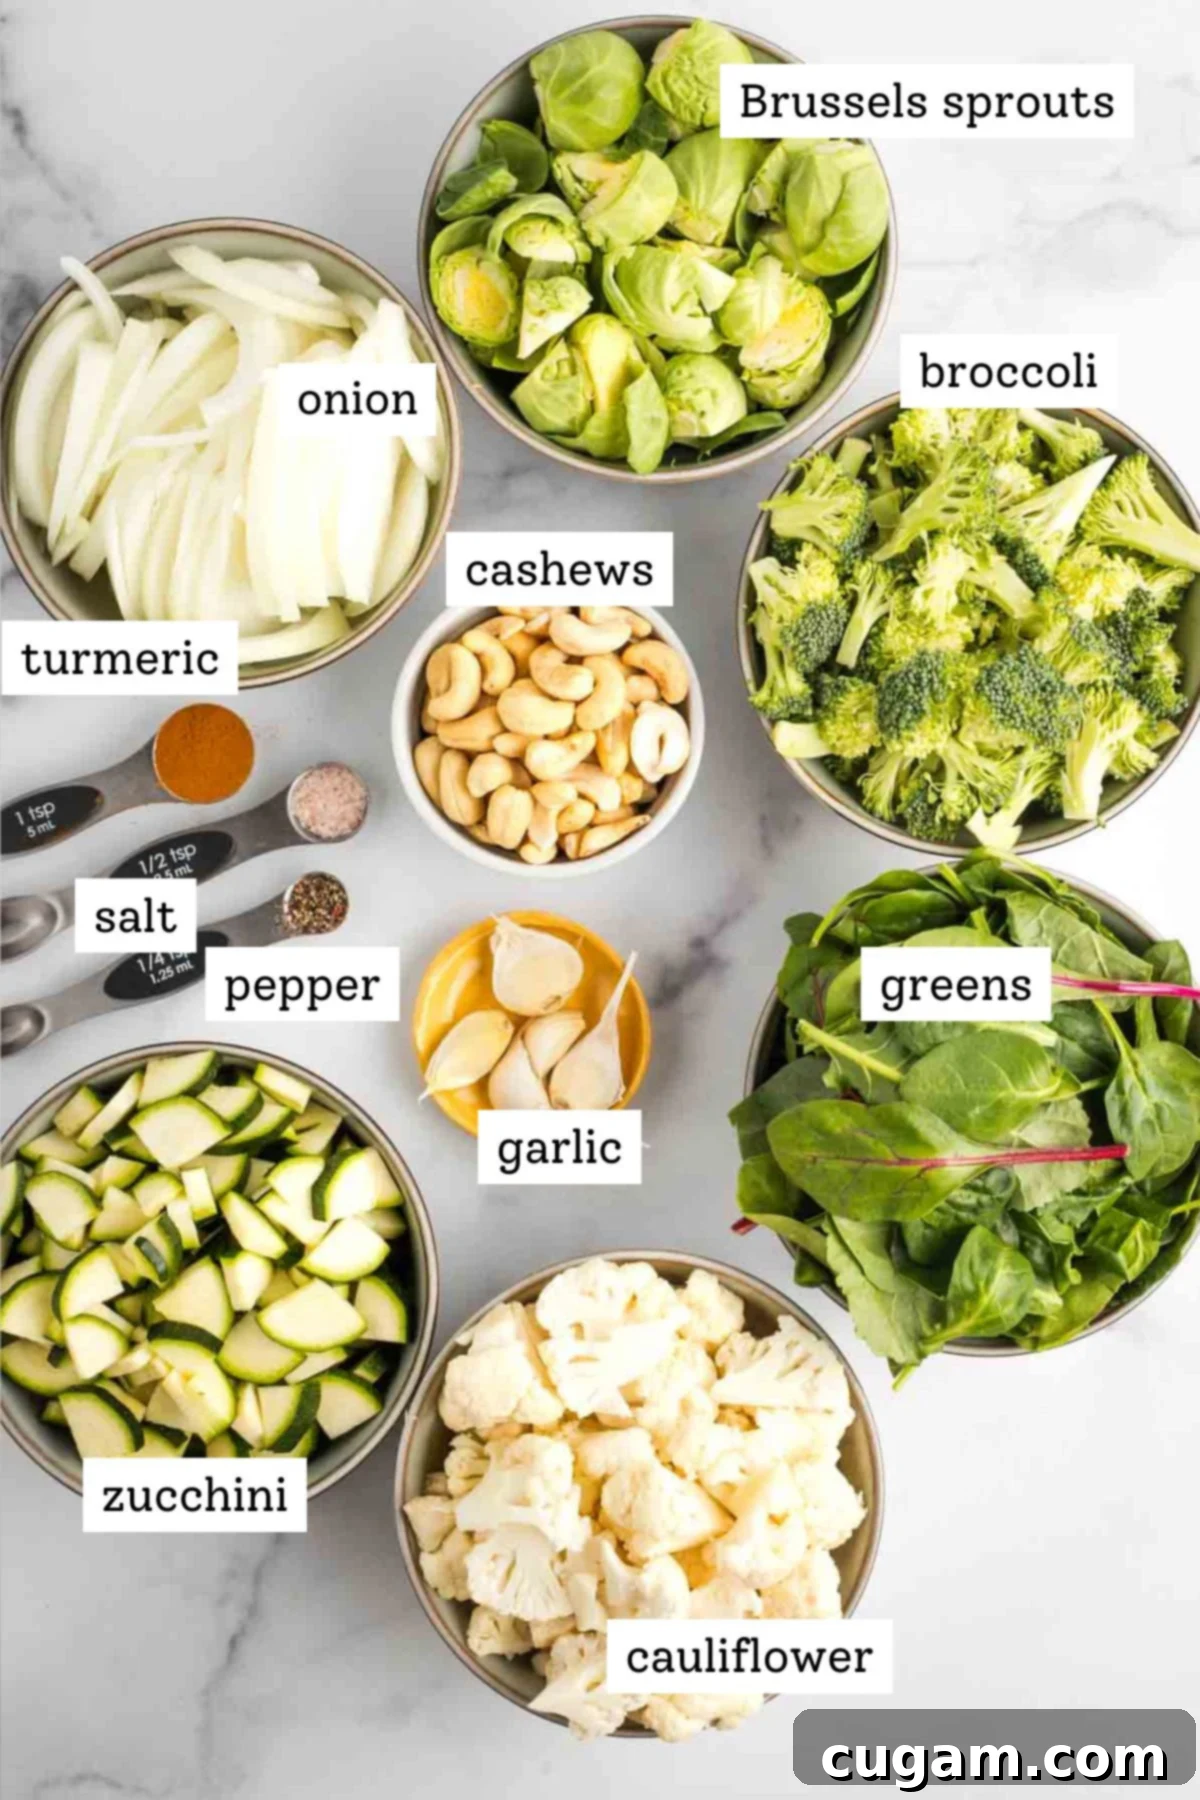
- Colorful Vegetables: For a vibrant green hue in the final soup, I opted for a combination of brussels sprouts, broccoli, cauliflower, and zucchini. The magic of roasting truly brings out their natural sweetness and depth of flavor. However, feel free to dive into your crisper drawer and use any vegetables you have on hand. Root vegetables like carrots or sweet potatoes can be used, but note they might alter the green color. The goal is to make it easy and adaptable to your pantry.
- Nutrient-Dense Greens: I always keep a large bag of super greens, typically a mix of baby spinach, kale, and chard, from Costco handy. These are perfect for whipping up refreshing green smoothies, lightly steaming with garlic as a quick side dish, or, in this case, adding a powerful nutritional boost and a beautiful green color to our soup. Any assortment of your favorite greens will work wonderfully, adding essential vitamins and a fresh flavor.
- Aromatic Allium Vegetables: Roasted garlic and onions are game-changers, infusing the soup with incredible depth and a subtly sweet, savory flavor profile. Roasting them whole with their skins on means no need for additional oils or salts during this stage, making for a healthier and simpler preparation. The caramelized notes are truly unmatched.
- Creamy Cashews: When blended with water, raw cashews create the most luscious, creamy base for this soup, replacing dairy entirely. This is what gives the soup its rich, velvety texture. For those needing a nut-free creamy vegan soup, simply substitute the cashews with any variety of cooked white beans, such as cannellini or navy beans. Soaking the cashews beforehand ensures an extra smooth blend.
- Vibrant Spices: Turmeric is not just a spice for its earthy flavor; it’s also a powerful anti-inflammatory agent. In this recipe, it also plays a crucial role in enhancing the soup’s vibrant, inviting color, giving it that beautiful greenish-yellow glow. Feel free to experiment with a pinch of ginger or a dash of cumin for additional layers of flavor.
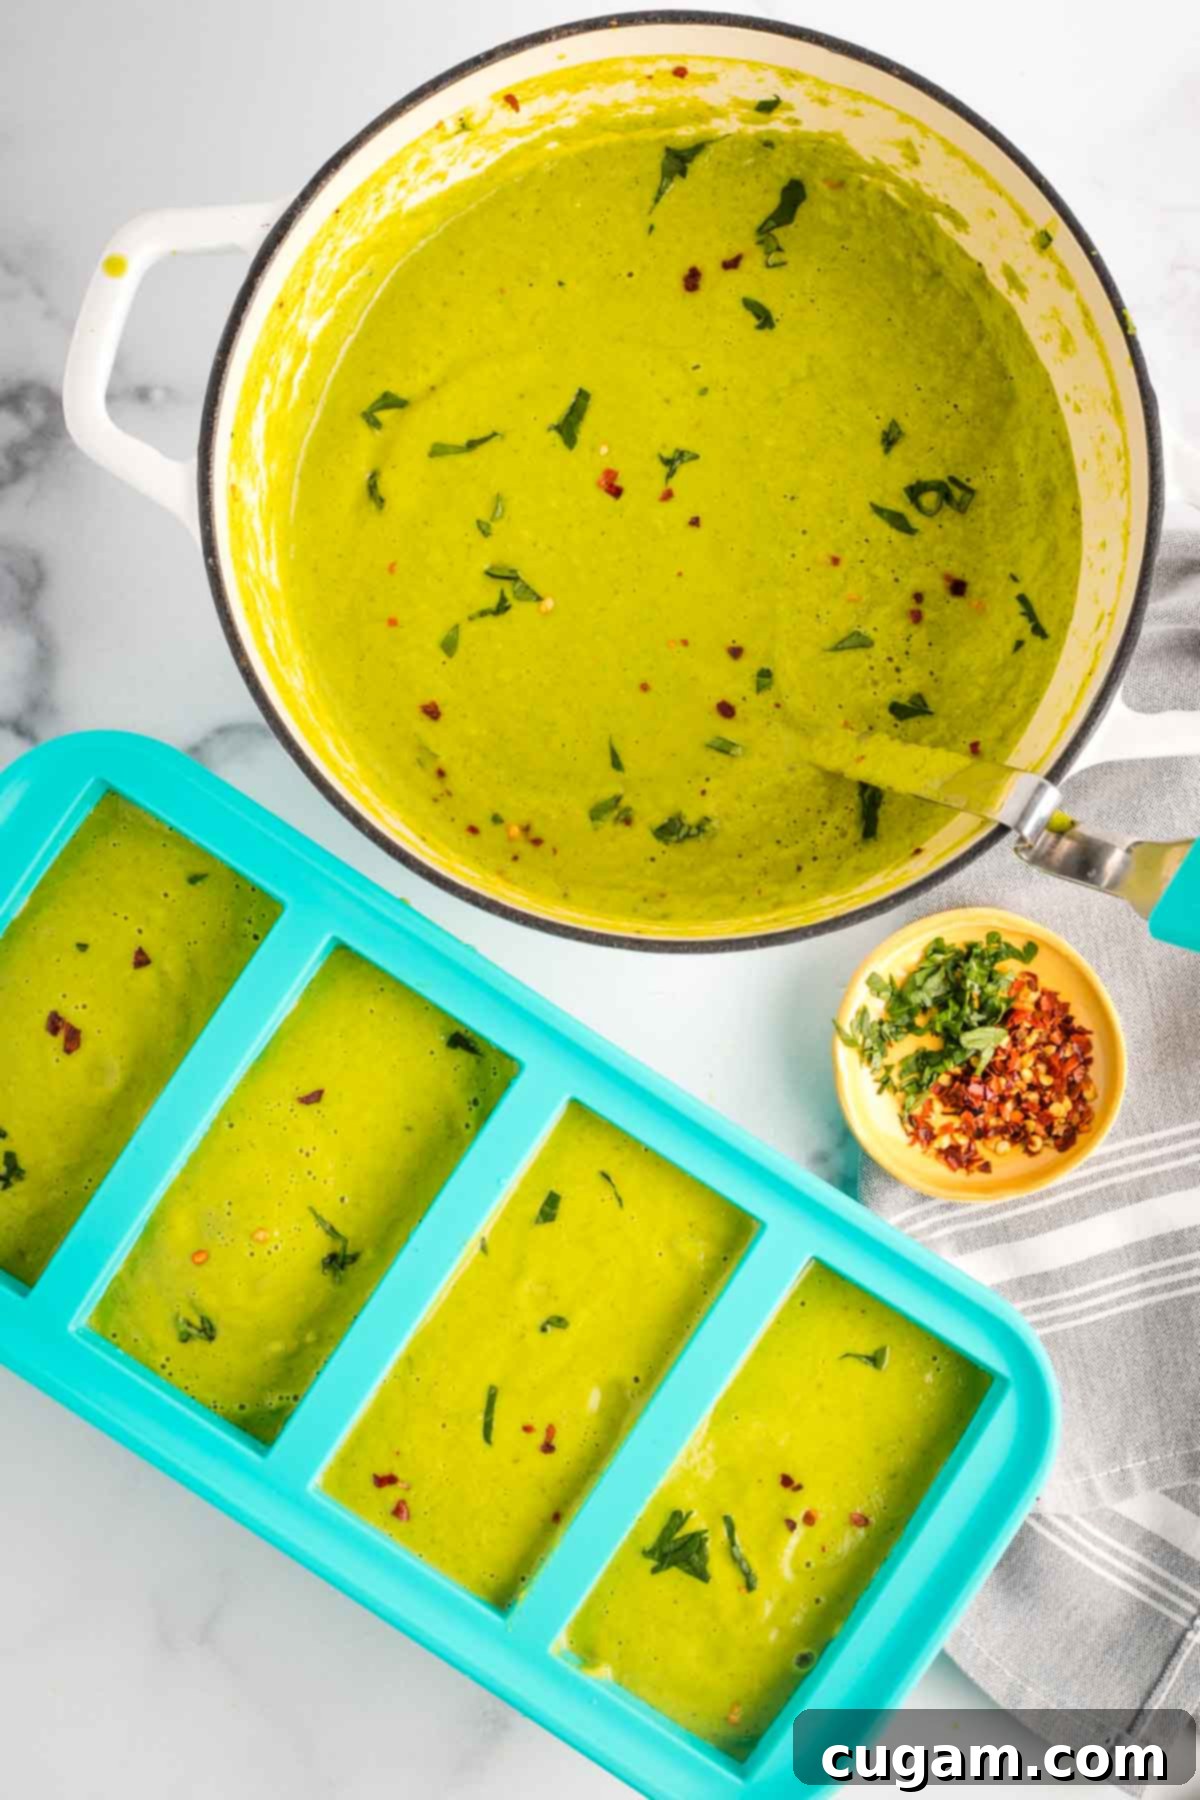
- Flavorful Veggie Broth: Opt for my homemade no-salt vegetable broth recipe to control the sodium content and ensure the freshest flavor. If using store-bought broth, be sure to read the labels carefully and choose a low-sodium option to avoid an overly salty soup. I highly recommend using Souper Cubes to freeze your broth in convenient 1-cup or 2-cup increments. This makes it incredibly easy to defrost precisely the amount needed for any recipe, minimizing waste and maximizing convenience.
Crafting Your Creamy Green Blender Soup: Step-by-Step
Making this sheet pan green blender soup is surprisingly simple, with most of the work done in the oven. Follow these steps for a smooth and flavorful result:

Step 1: Prep Cashews and Vegetables. Begin by pouring boiling water over your raw cashews and allow them to soak while you prepare the other ingredients. This crucial step softens them, ensuring a truly creamy soup base. Next, get your vegetables ready for roasting. Cut brussels sprouts into halves or quarters, depending on their size, to ensure even cooking. Trim cauliflower and broccoli into small florets. Slice zucchini into rounds or half-moons, and thinly slice your onion. Aim for roughly uniform sizes so everything roasts evenly.
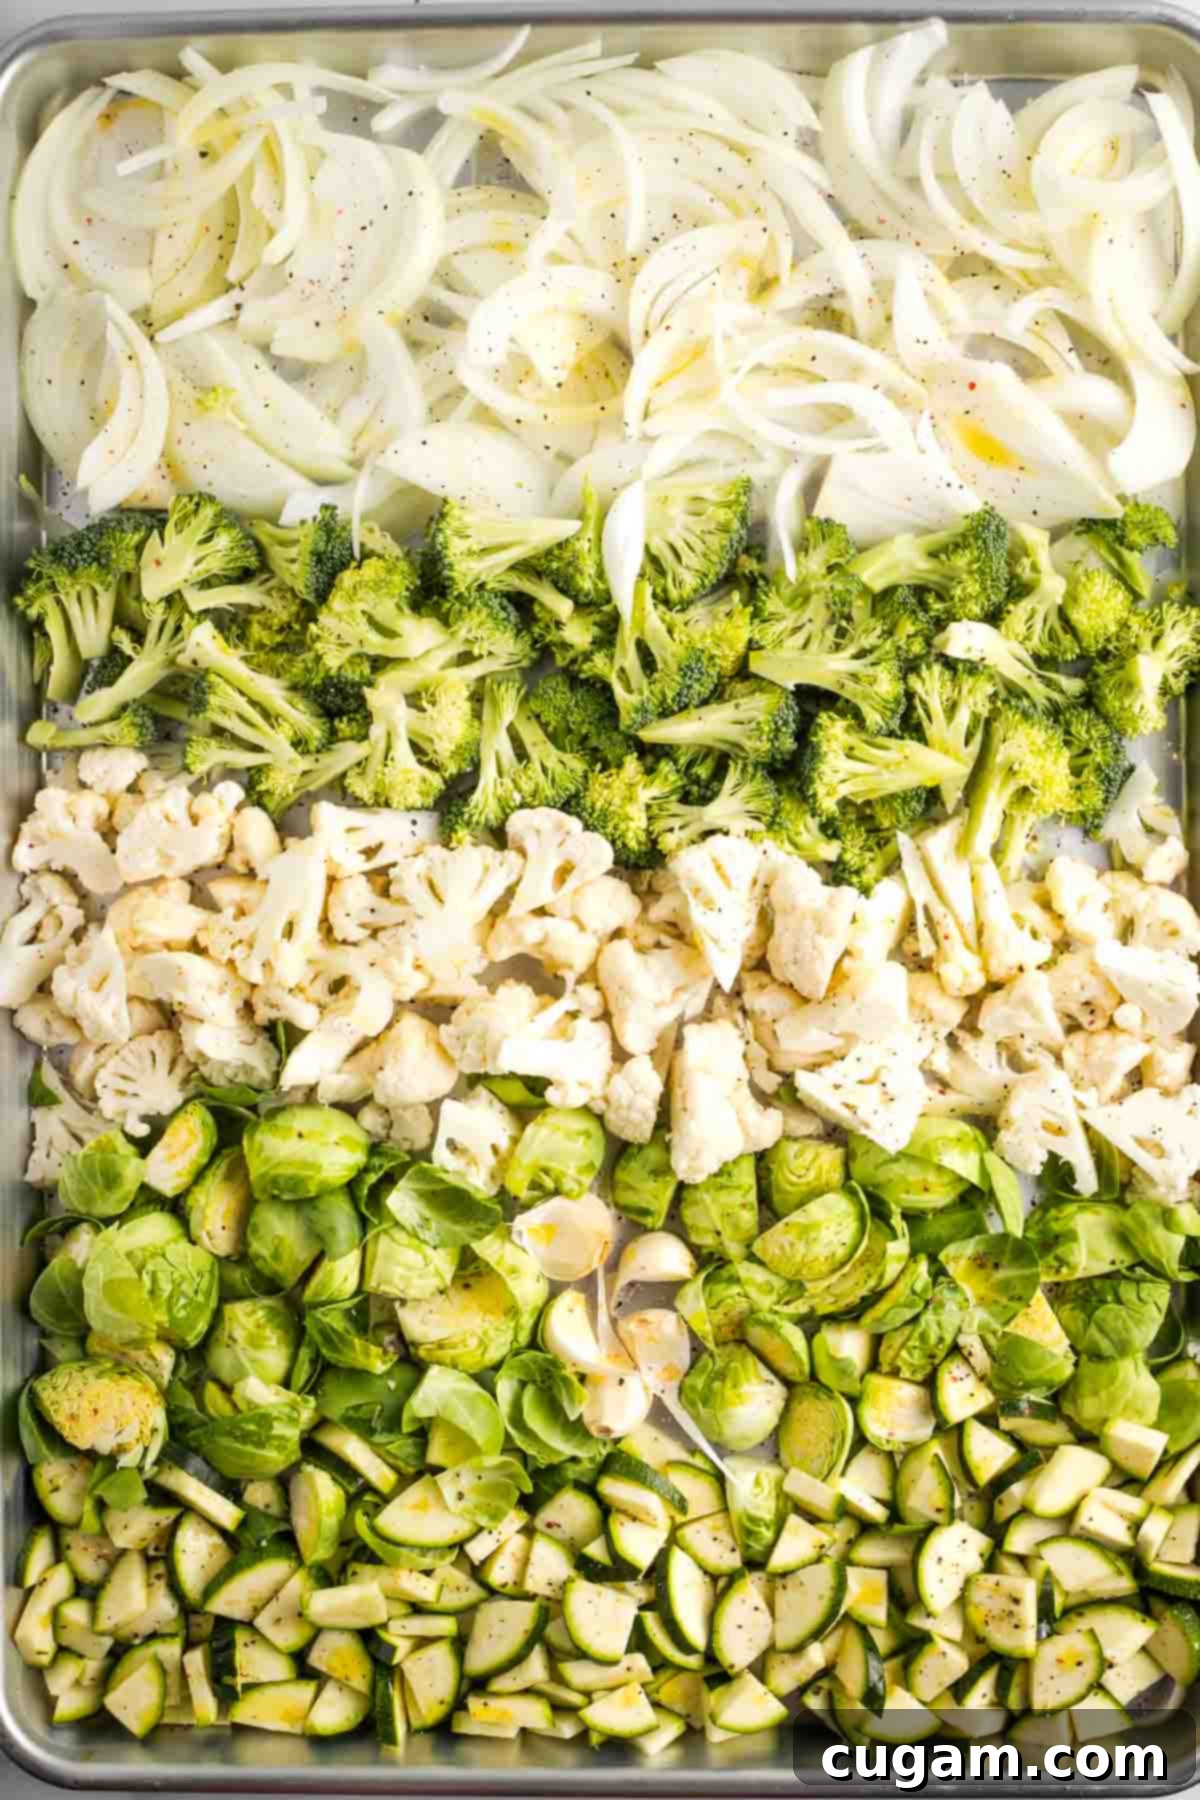
Step 2: Season and Roast. Arrange all the chopped vegetables on a large, rimmed baking sheet. Ensure the garlic cloves are left whole with their papery skins still on, as this helps them steam and soften beautifully. Drizzle the vegetables with a little olive oil or, for an oil-free option, a splash of veggie broth. Sprinkle generously with salt and pepper. Place the sheet pan into a preheated 375°F (190°C) oven and roast for approximately 30 minutes, or until the vegetables are tender when pierced with a fork.

Step 3: Prepare Cashew Cream. After the vegetables have been roasting for about 20 minutes (or when the cashews have had a good soak), drain and thoroughly rinse the soaked cashews. Transfer them to your blender, add 1 cup of fresh water, and prepare to create your creamy base.

Step 4: Blend Until Silky Smooth. Blend the cashews and water on high speed until the mixture is uniformly thick, creamy, and completely smooth. There should be no gritty texture remaining. This step is essential for achieving the luxurious mouthfeel of the soup.
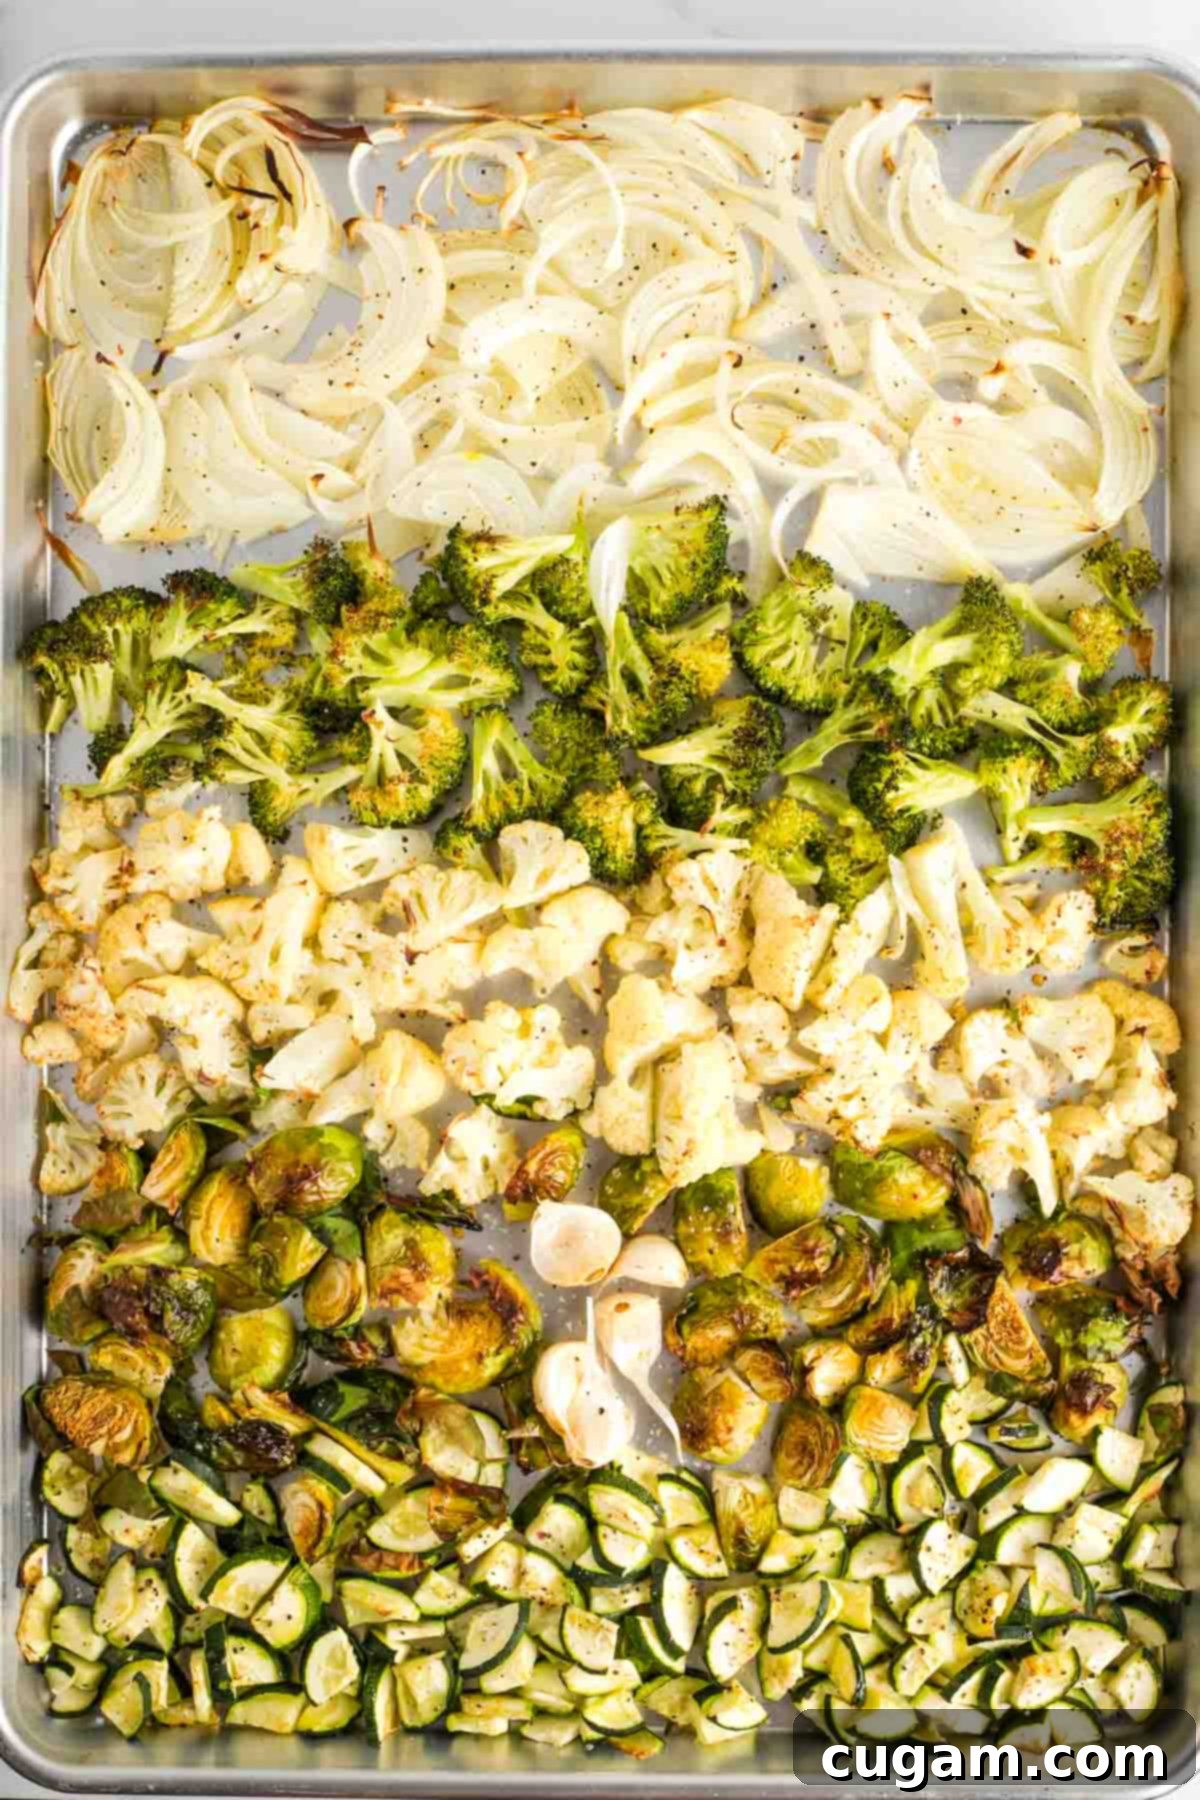
Step 5: Cool and Combine Roasted Veggies. Once the roasted vegetables are tender and slightly caramelized, remove the sheet pan from the oven. Allow them to cool for a few minutes before handling. Set aside the roasted garlic cloves for a moment, and transfer the remaining roasted vegetables into the blender with the cashew cream. Add the ground turmeric at this stage to ensure it’s fully incorporated.
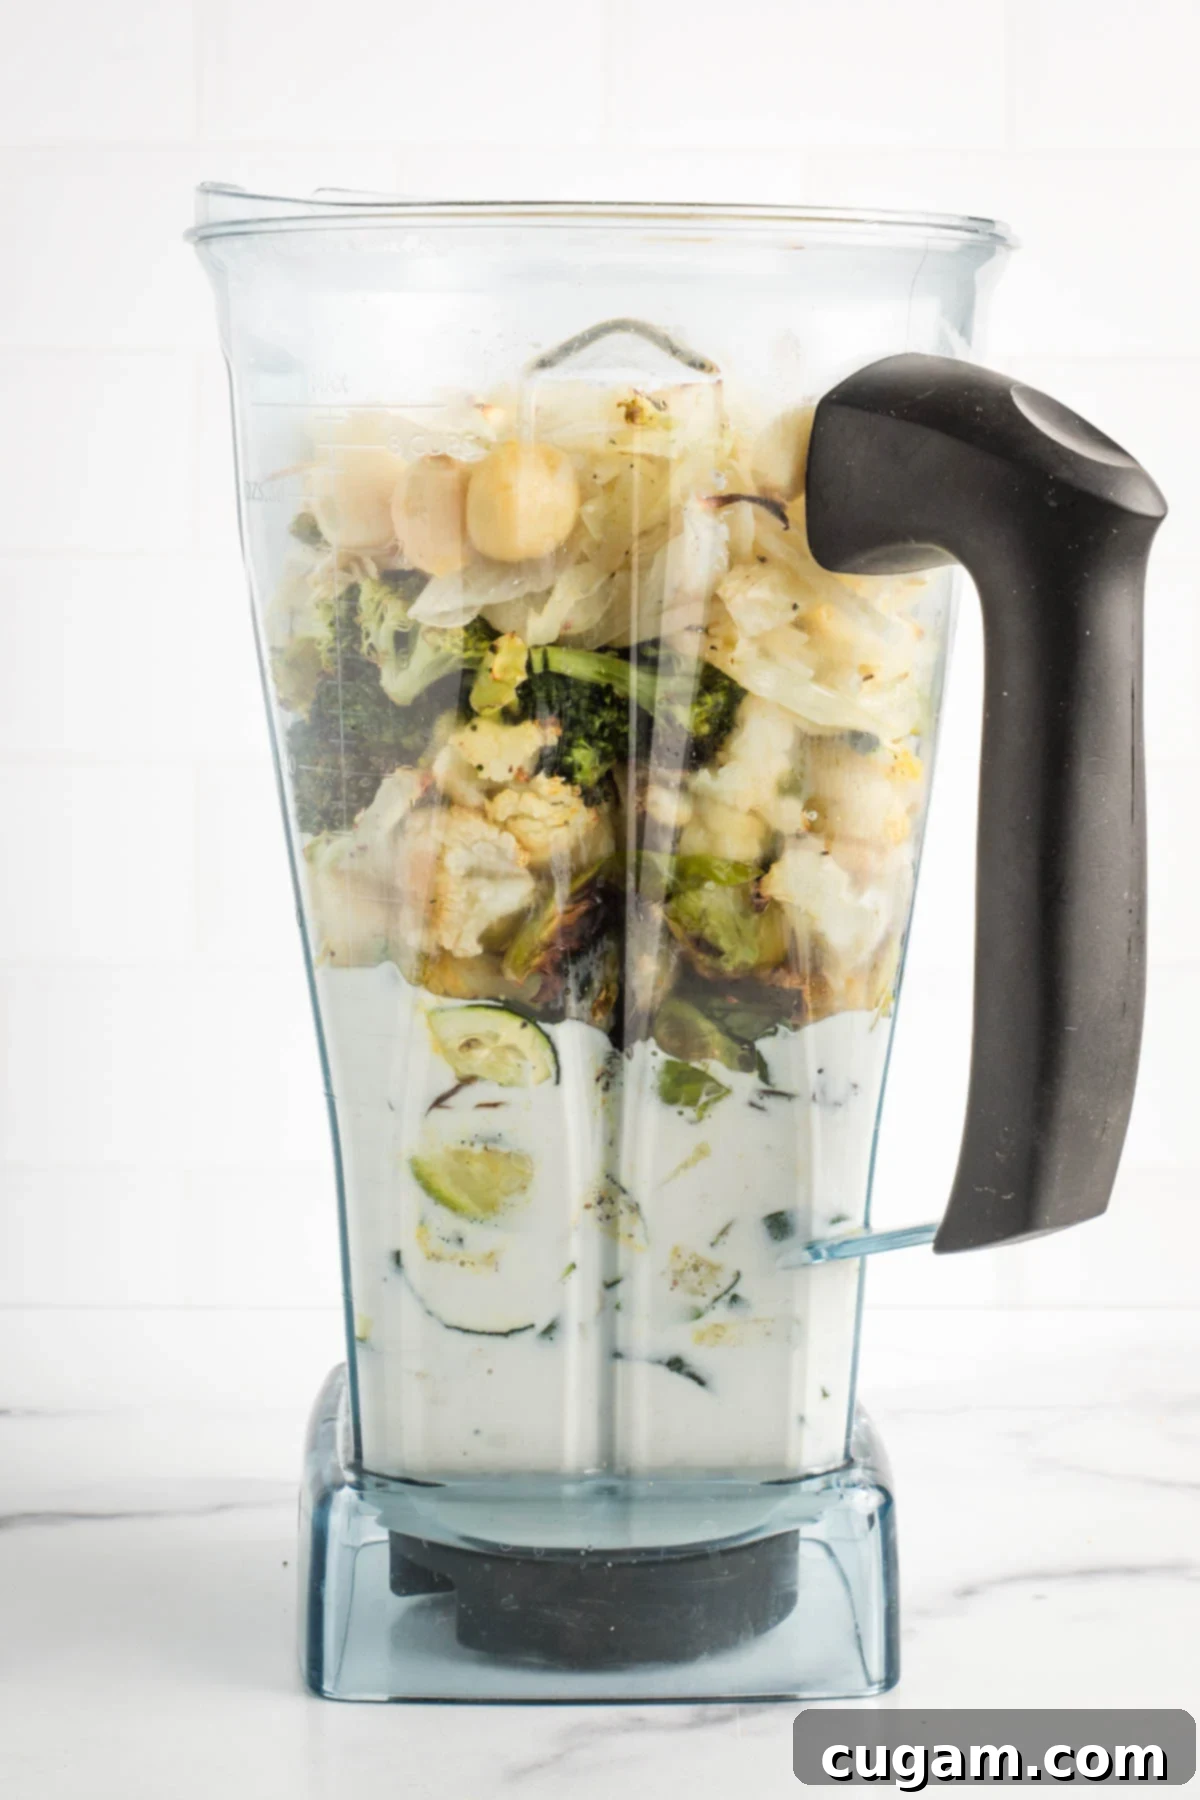
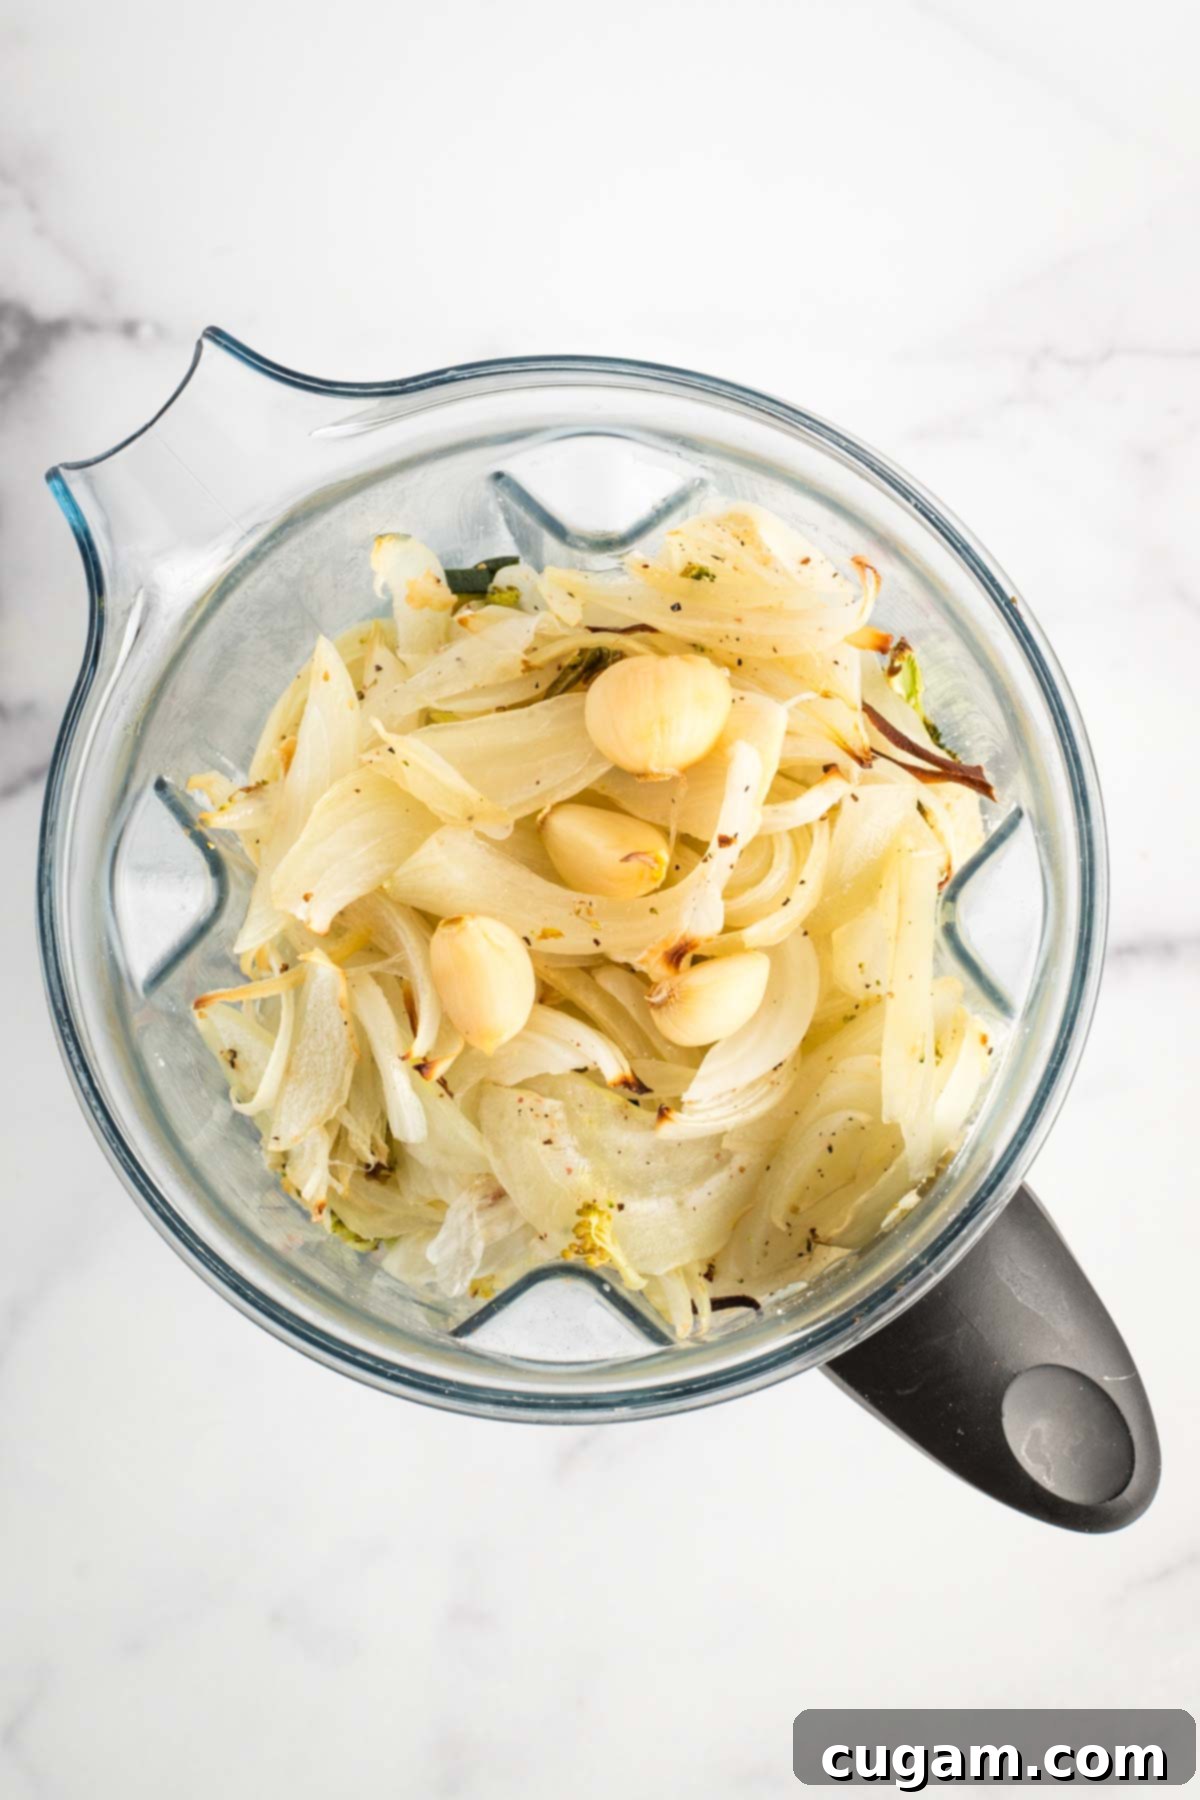
Step 6: Add Garlic and Blend. Gently squeeze the soft, roasted garlic pulp out of its papery skins directly into the blender with the other roasted vegetables and cashew cream. The roasted garlic will be sweet and mellow, adding incredible depth of flavor. Now, you’re ready to blend these ingredients together. For an extra rich and creamy texture, ensure all components are well combined.
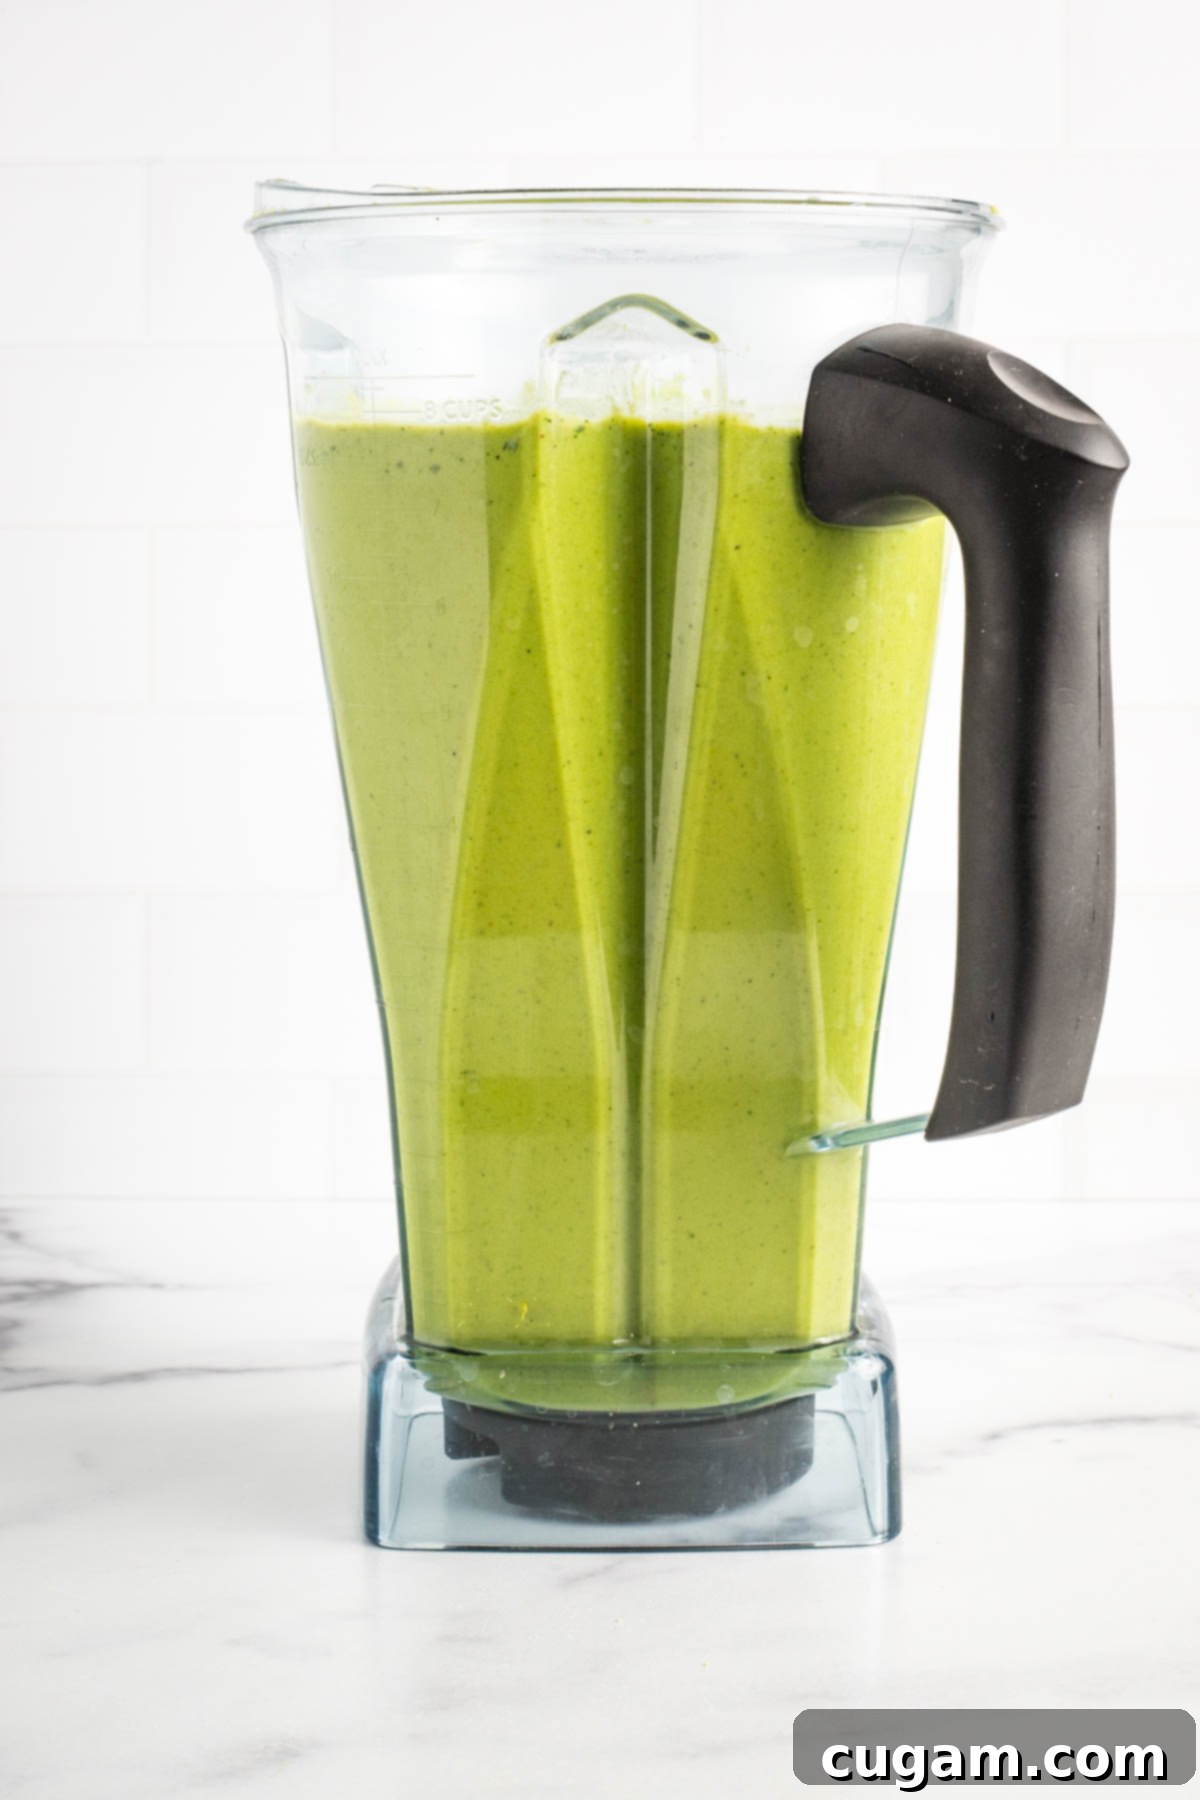
Step 7: Introduce Greens and Final Blend. Add the vegetable broth and your chosen power greens to the blender. Begin blending on a low setting, gradually increasing to high until the soup is completely smooth and creamy. If the soup is too thick, add more broth or water, a quarter cup at a time, until you reach your desired consistency. Taste for seasoning, adding more salt and pepper as needed.
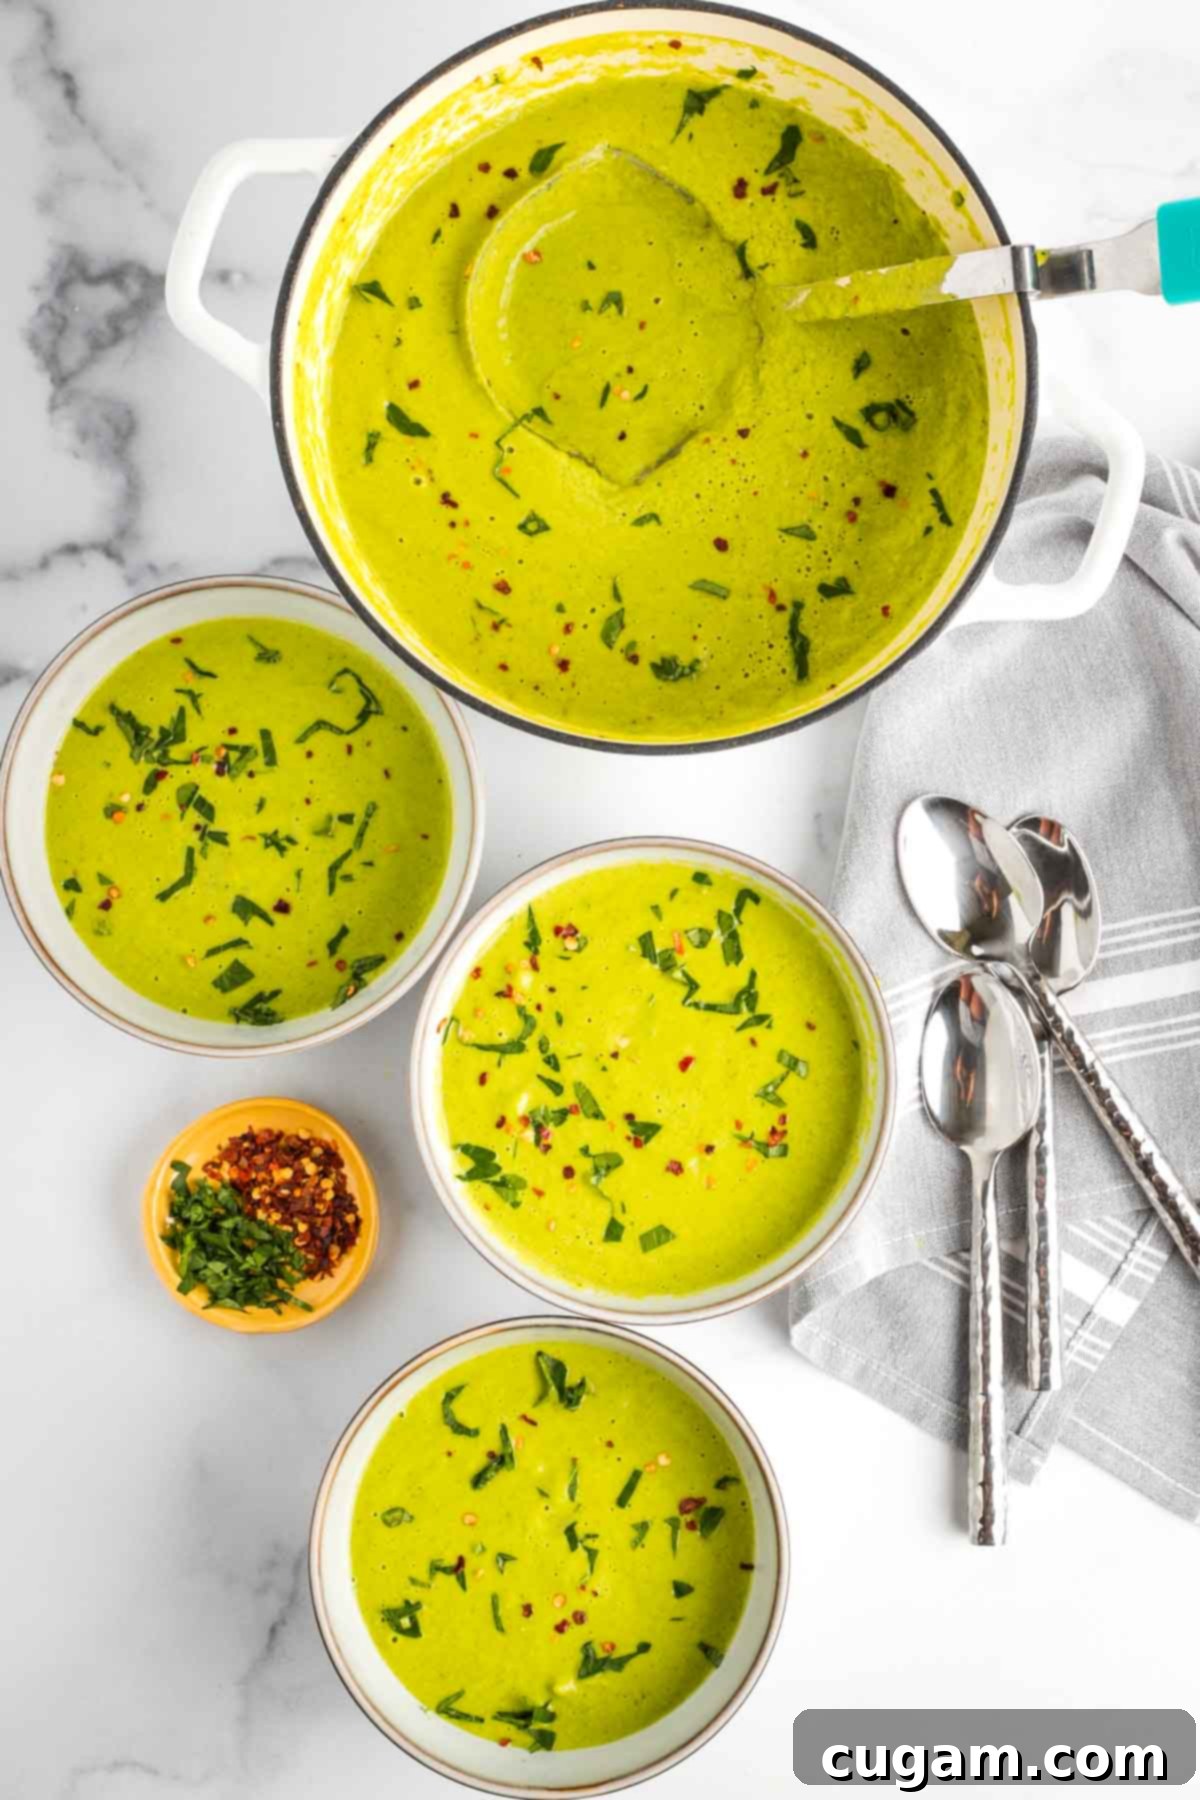
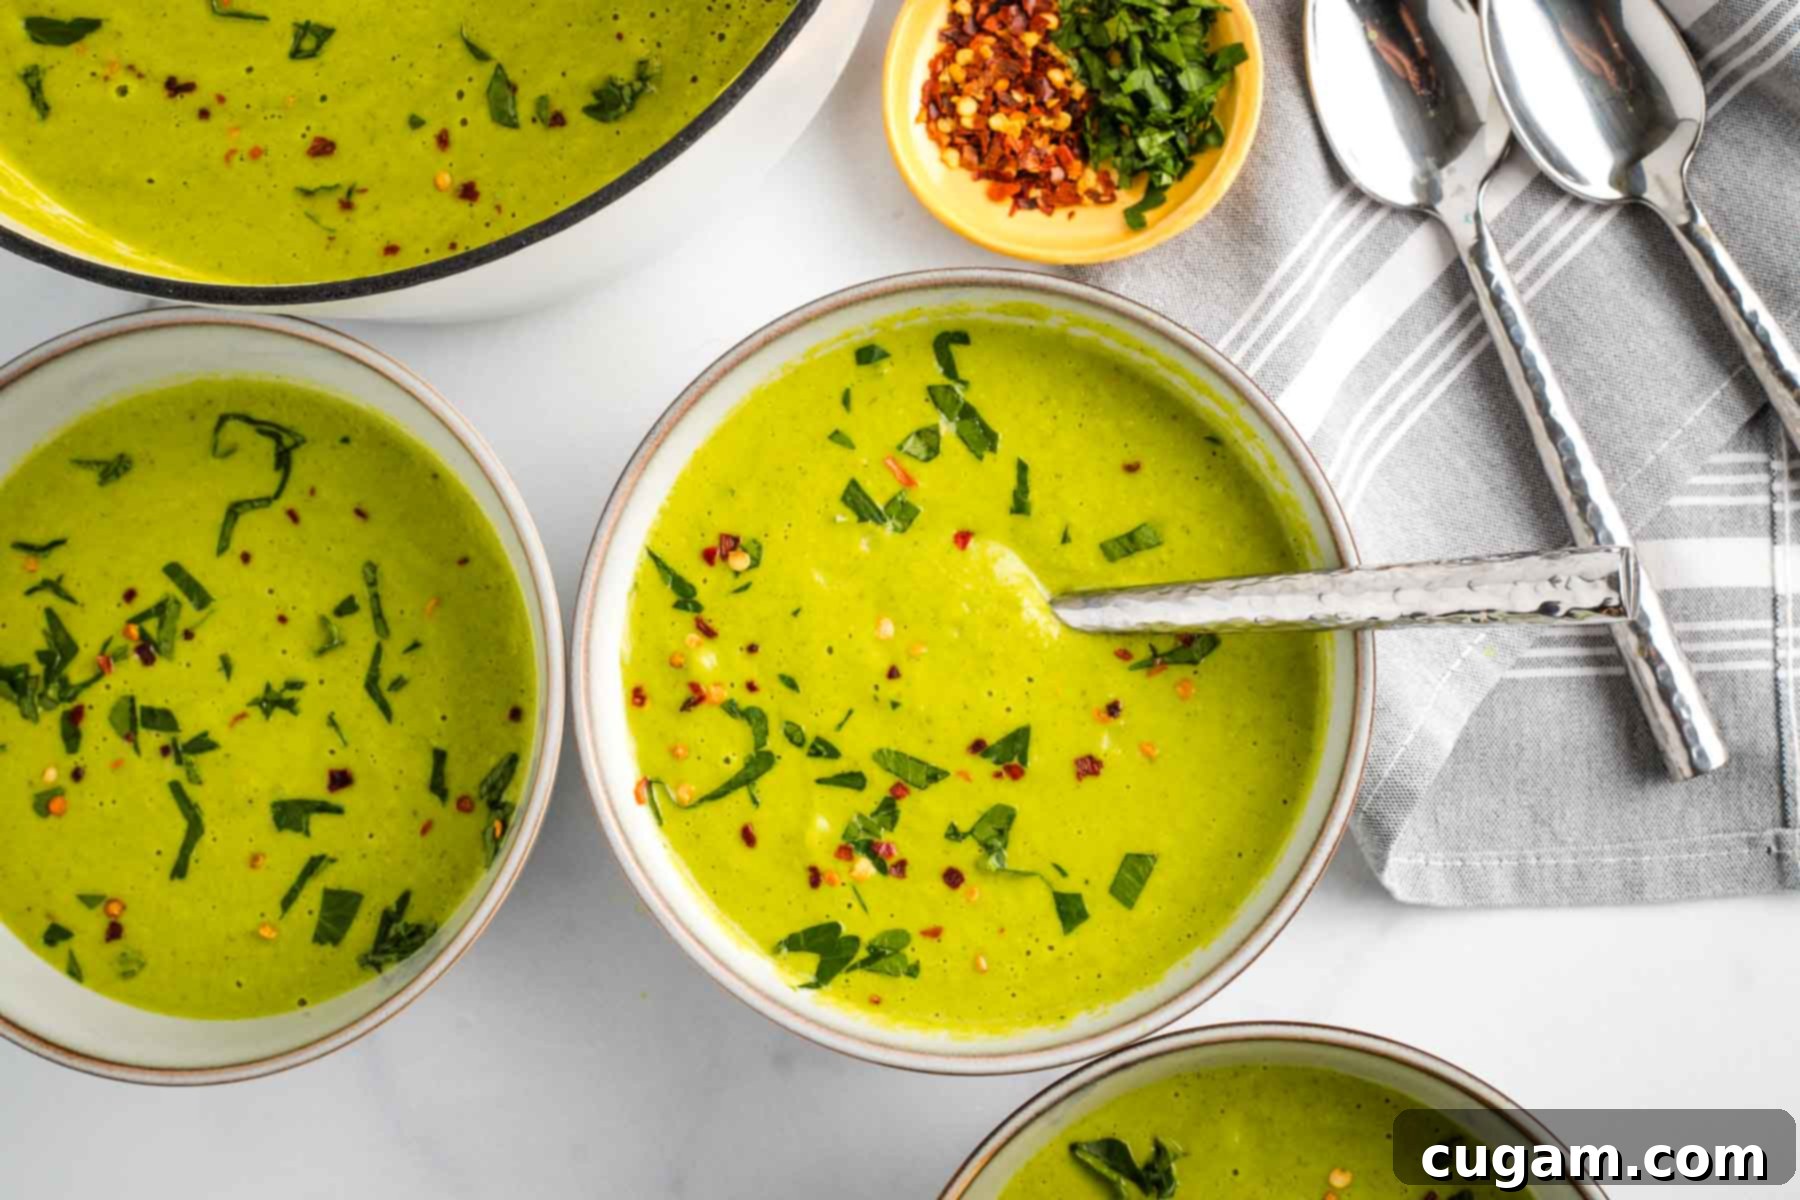
Step 8: Reheat and Garnish (Optional). If your soup has cooled down during the blending process, transfer it to a Dutch oven or a soup pot and gently reheat over medium-low heat until it’s warmed through. Serve hot or enjoy it at room temperature, or even chilled! For an extra burst of flavor and visual appeal, sprinkle with fresh herbs like parsley or cilantro and a pinch of crushed red pepper flakes, if you enjoy a little heat. Adjust seasoning one last time to your personal preference.
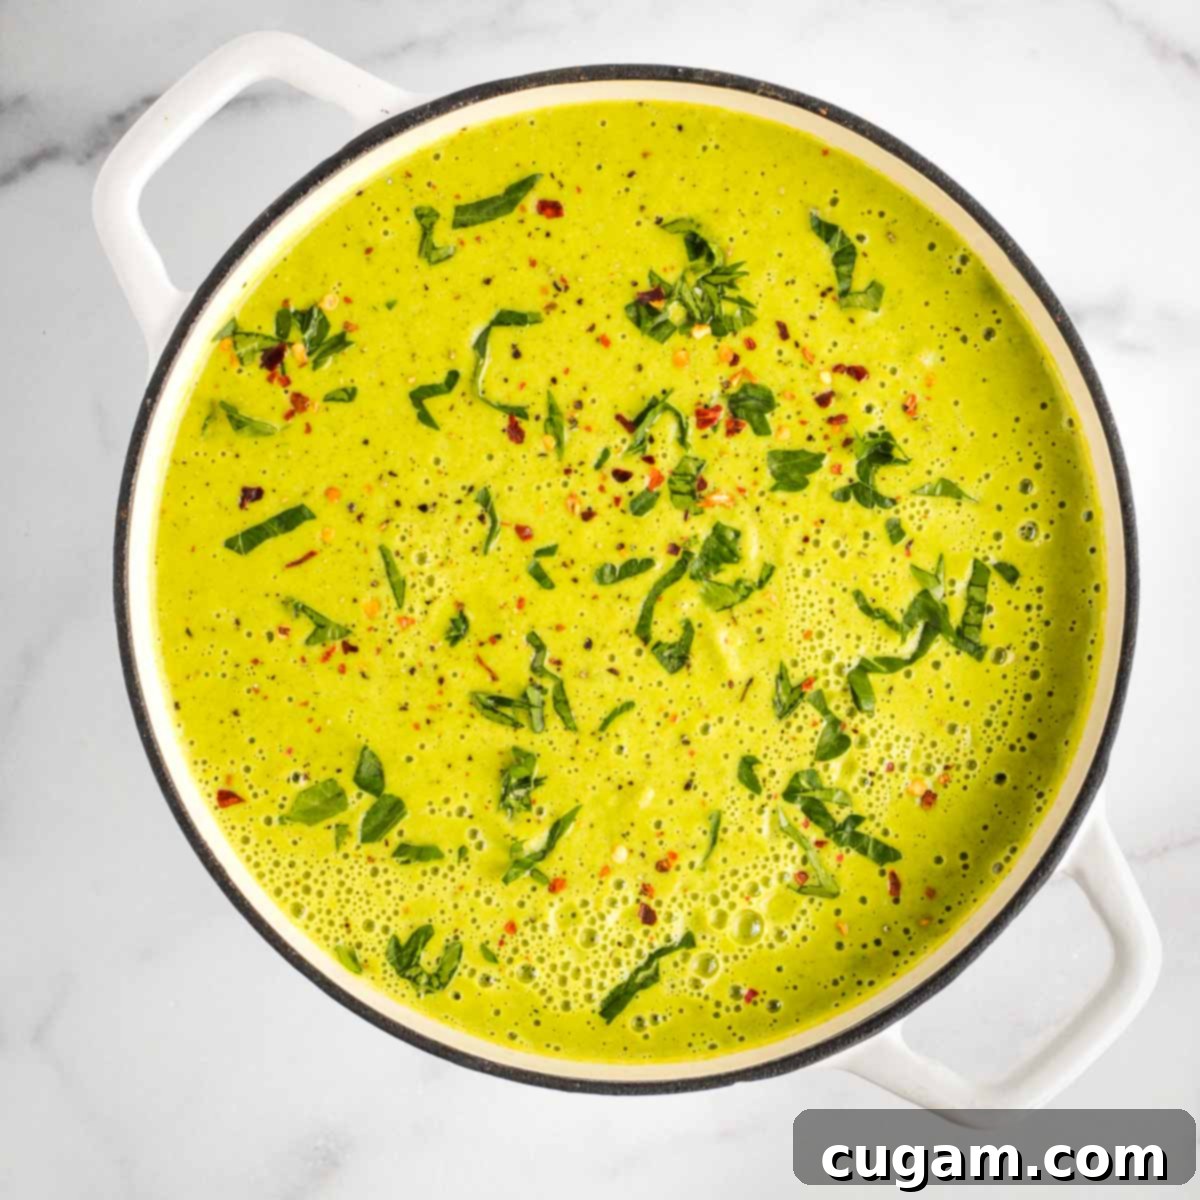
Your incredibly flavorful, creamy, and nutritious green blender soup is now ready to be savored! Enjoy it on its own or with your favorite accompaniments.
Debra’s Expert Tips for the Perfect Blender Soup
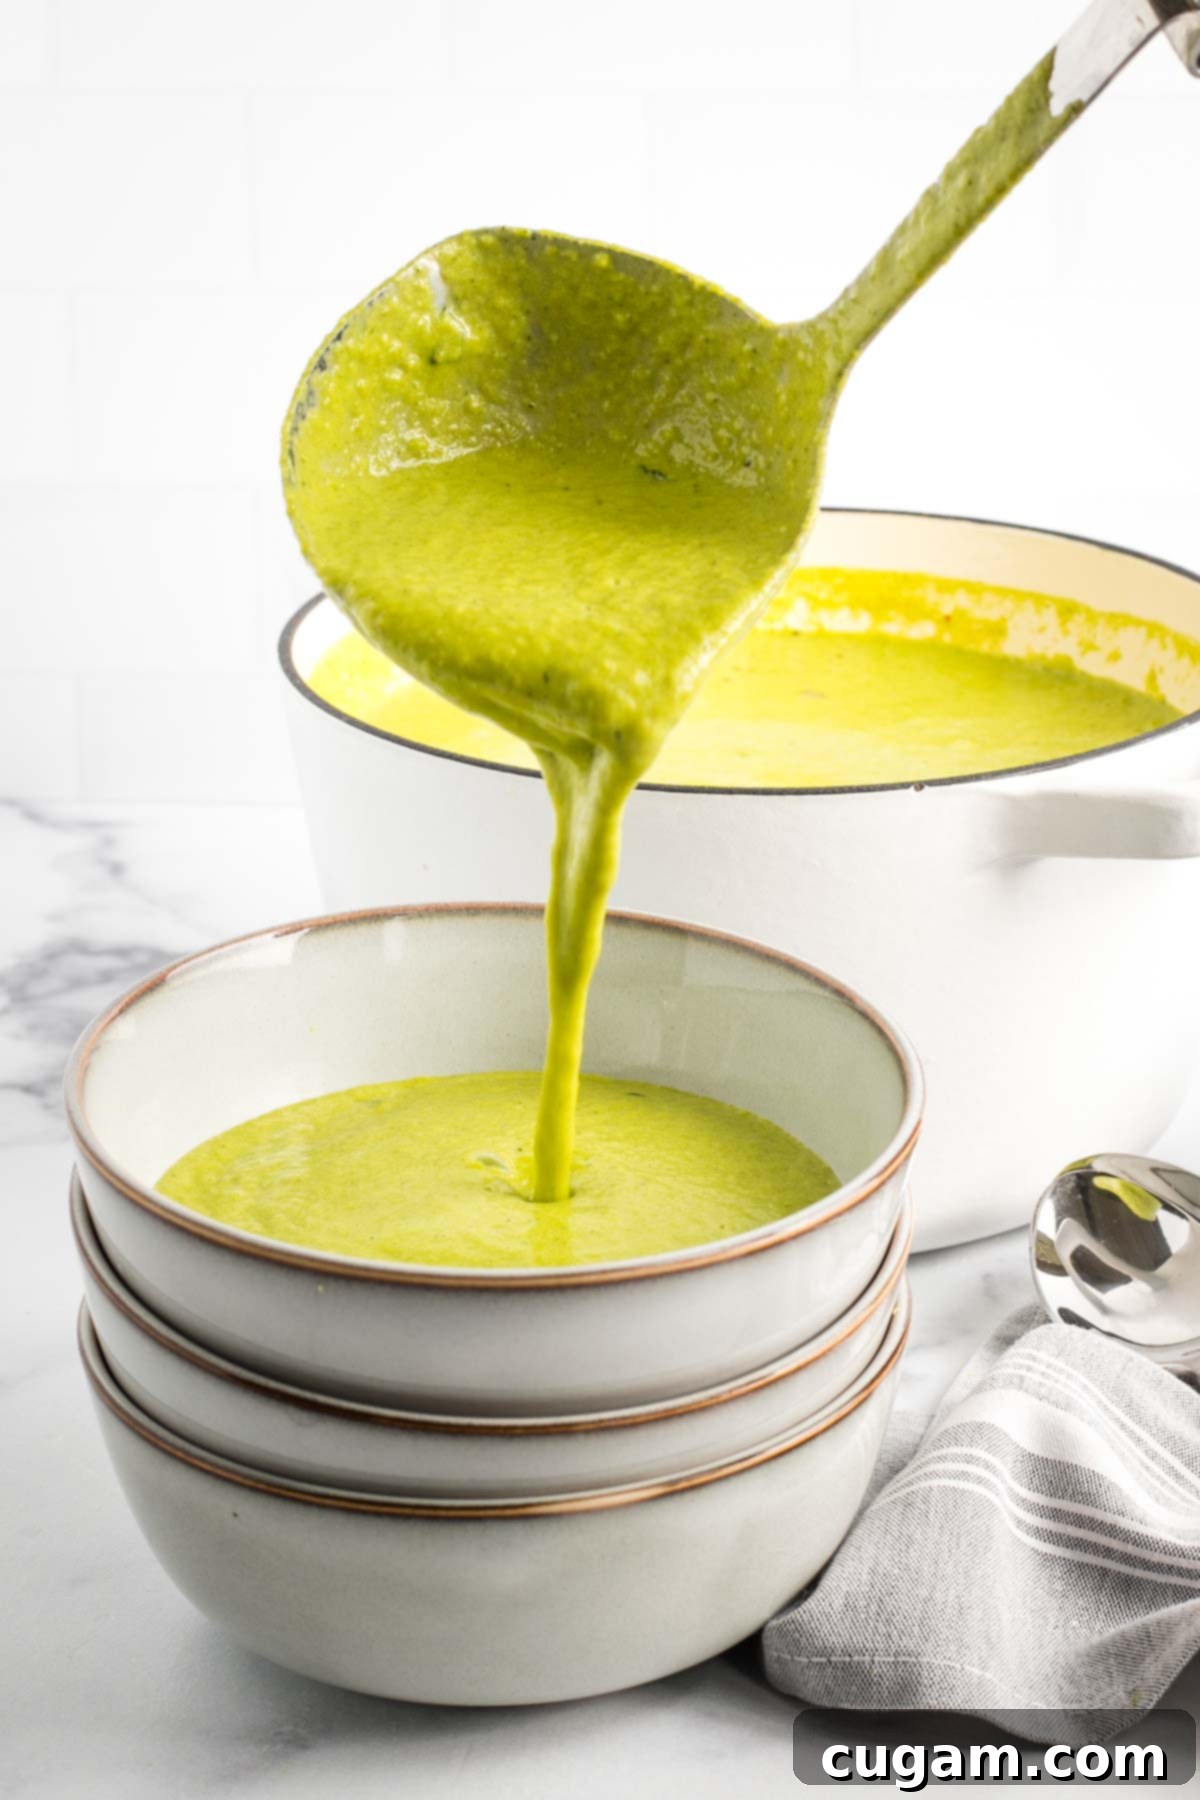
- Achieving a Vibrant Green Hue: If the visual appeal of your soup’s color is important, make conscious choices with your ingredients. Opt for white onions over red ones, as red onions can sometimes lend a purplish tint. Focus on using green or light-colored vegetables like zucchini, broccoli, and cauliflower. Crucially, don’t skip the turmeric – it’s a natural color enhancer that will reward you with a stunning, brilliant greenish-yellow soup that looks as good as it tastes. For an even brighter green, add the fresh greens towards the very end of blending and blend just until smooth.
- Perfect Roasting for Pureeing: When roasting your vegetables, the goal is for them to be tender and easily pierceable with a fork, rather than heavily browned or crisped. Vegetables that are too crispy might result in a less smooth texture when pureed. You want them cooked through to release their sweetness and soften, making them ideal for blending into a creamy soup.
- Mind Your Blender Capacity: Avoid the temptation to overcrowd your blender. Filling it too much can prevent proper blending and might even lead to spills. If you have a large batch of roasted vegetables, blend the soup in two or more batches. Remember, you might not even need ALL the roasted vegetables – which is a delightful problem to have, as they are incredibly delicious to snack on straight from the pan!
- Taste and Adjust Seasoning: Always taste your soup before serving. Seasoning is key to bringing out the best flavors. Add more salt, pepper, or even a squeeze of fresh lemon juice to brighten the taste profile. A dash of your favorite hot sauce can also add a delightful kick if you enjoy a spicy blended soup.
- Vary Your Greens: While power greens are excellent, feel free to experiment with other greens. Arugula can add a peppery note, while watercress offers a slightly spicy, fresh flavor. Even fresh parsley or basil can be blended in for an aromatic boost.
Serving Suggestions and Smart Storage
- Versatile Serving Temperatures: This pureed vegetable soup is wonderfully versatile and can be enjoyed warm, hot, at room temperature, or even perfectly chilled as a refreshing gazpacho-style meal, especially on a hot day.
- Perfect Pairings: Serve your hearty soup with a side of warm skillet cornbread for a delightful texture contrast, or alongside fluffy vegan dinner rolls. A crisp, simple green salad provides a refreshing counterpoint to the creamy soup, making for a complete and satisfying meal.
- Creative Garnishes: Elevate your soup with optional garnishes like a sprinkle of fresh chopped herbs (parsley, cilantro, or chives), a dash of crushed red pepper for heat, toasted pumpkin seeds or sunflower seeds for crunch, a swirl of extra virgin olive oil, or even a dollop of vegan sour cream or yogurt for added richness.
- Refrigerator Storage: Store any leftover soup in an airtight container in the refrigerator for up to a week. Its flavors often deepen and improve overnight!
- Freezer-Friendly: This soup freezes exceptionally well for up to 3 months, making it an excellent candidate for meal prepping. I highly recommend using Souper Cubes to freeze individual 1 or 2-cup portions. Once frozen solid, transfer the cubes to large zip-top freezer bags for easy, space-saving storage.
- Effortless Reheating: Reheat frozen or refrigerated soup gently over medium-low heat on the stovetop, stirring occasionally until heated through. Alternatively, you can microwave individual portions in a microwave-safe bowl.
- A Perfect On-the-Go Meal: For a convenient lunch, simply pop a frozen soup cube or two into your lunch bag. It will thaw by lunchtime, ready to be enjoyed cold, or you can transfer it to a bowl and heat it in a microwave at your workplace. It’s a healthy, delicious, and incredibly practical meal solution!
Creative Variations & Customizations
This Sheet Pan Green Blender Soup is a fantastic base for culinary experimentation. Feel free to adapt it to your taste, dietary needs, or what you have on hand:
- Spice It Up: For a delightful kick, add a pinch of cayenne pepper, a finely minced fresh jalapeño (remove seeds for less heat), or a teaspoon of fresh grated ginger along with the turmeric.
- Herbaceous Additions: Fresh herbs can transform the flavor profile. Blend in a handful of fresh parsley, basil, or even a sprig of mint for a refreshing twist.
- Protein Boost: To make it even more filling, consider adding a can of drained and rinsed chickpeas or white beans to the blender (if not already using them as a cashew substitute). Cooked lentils can also be stirred in after blending for added texture and protein.
- Alternative Creaminess: If cashews aren’t an option, besides white beans, you can use sunflower seeds (soaked) or a small amount of full-fat coconut milk (note: this will add a distinct coconut flavor).
- Seasonal Vegetable Swaps: Adapt the recipe to the season! In the fall, roasted parsnips or sweet potatoes can add a touch of sweetness (though they might change the color). In spring, fresh asparagus or peas could be roasted and blended.
- Global Flavors:
- Mediterranean Twist: Add a tablespoon of dried oregano and a squeeze of fresh lemon juice at the end.
- Indian-Inspired: Introduce a teaspoon of curry powder or garam masala along with the turmeric.
- Sweetness Balance: If your vegetables aren’t sweet enough, a small amount of apple cider vinegar (1-2 teaspoons) or a date blended in can balance the flavors.
Common Questions About This Green Blender Soup
- Can I use frozen vegetables? Absolutely! Frozen broccoli, cauliflower, or spinach work perfectly. You might need to adjust roasting times slightly as they can release more water, but they will still roast beautifully and blend smoothly.
- Do I have to soak the cashews? While not strictly mandatory if you have a very high-powered blender, soaking the cashews (especially in boiling water) is highly recommended. It ensures the cashews soften sufficiently to create an incredibly smooth, dairy-free cream without any grainy texture, contributing to the luxurious feel of the soup.
- How can I make the soup thinner or thicker? For a thinner soup, simply add more vegetable broth or water, a quarter cup at a time, until it reaches your desired consistency. To make it thicker, you can either blend in another tablespoon or two of soaked cashews (if you have them) or gently simmer the soup on the stovetop for a few minutes to allow some liquid to evaporate.
- Can I make this soup oil-free? Yes! Instead of drizzling olive oil over the vegetables for roasting, use a splash or spray of vegetable broth or even water. The roasting process will still caramelize and tenderize the vegetables beautifully without added oil.
- Is this soup kid-friendly? Many children enjoy this soup, especially if they are accustomed to blended vegetable soups. The sweetness from the roasted vegetables and the creamy texture can be very appealing. It’s also a fantastic way to “hide” a variety of healthy greens and vegetables!
Did you know commenting and rating recipes is one of the best ways to support your favorite food bloggers? If you made this delicious Sheet Pan Green Blender Soup, please consider leaving a five-star rating below and a comment sharing your experience. We love hearing from you! Also, please share your beautiful photos on Instagram by tagging me @dkhealthcoach and using the hashtag #debraklein. Your support means the world!
📖 Recipe

Sheet Pan Green Blender Soup Recipe
Rate this Recipe
Pin Recipe
Equipment
-
High-Powered Blender (e.g., Vitamix)
-
Large Rimmed Baking Sheet
Ingredients
- ¾ cup raw cashews soaked in boiling water
- 1 cup fresh water
- 1 white onion peeled and sliced (for best color)
- 1 zucchini about 1.5 cups chopped
- 1 broccoli crown 1 to 1.5 cups florets
- ¼ head cauliflower 1 to 1.5 cups florets
- 1 cup brussels sprouts cut into halves or quarters
- 5 cloves garlic papery skins still on
- 1 tablespoon olive oil or vegetable broth for roasting
- ½ teaspoon sea salt
- ¼ teaspoon ground black pepper
- 1 tablespoon ground turmeric
- 4 cups vegetable broth
- 3 cups greens* (power greens, spinach, kale, chard)
Instructions
-
Pour boiling water over the raw cashews in a bowl and let them soak for at least 20-30 minutes while you prepare the vegetables. This softens them for a truly creamy soup.
-
Preheat your oven to 375°F (190°C). Prepare a large, rimmed baking sheet.
-
Prepare all the vegetables for roasting: Cut brussels sprouts into halves or quarters (depending on size). Trim broccoli and cauliflower into small, uniform florets. Slice zucchini into rounds or half-moons, and slice the onion. Keep the garlic cloves whole with their papery skins still on. Uniform sizes help ensure even cooking.
-
Arrange all the prepared vegetables, including the garlic cloves, on the baking tray in a single layer. Drizzle or lightly spray them with olive oil (or vegetable broth for an oil-free option), then sprinkle evenly with sea salt and ground black pepper.
-
Roast the vegetables in the preheated oven for approximately 30 minutes, or until they are tender when pierced with a fork and slightly caramelized. Remove from the oven and set aside the roasted garlic cloves.
-
While the vegetables are roasting, rinse and drain the soaked cashews thoroughly. Transfer them to a high-powered blender. Add 1 cup of fresh water and blend on high until the mixture is completely thick, creamy, and smooth, forming a cashew cream.
-
Add the ground turmeric to the blender with the cashew cream. Carefully transfer the remaining roasted vegetables (excluding the garlic cloves for now) into the blender.
-
Gently squeeze the softened garlic pulp from their skins directly into the blender with the other ingredients. Pour in the vegetable broth and blend until smooth and creamy.
-
Finally, add the power greens to the blender. Blend again until the soup is entirely smooth, vibrant, and creamy. Add more broth or water as needed to achieve your desired consistency. Taste for seasoning, adding more salt, pepper, or a pinch of crushed red pepper if you prefer a spicier soup.
-
Serve the soup warm, or if it has cooled, transfer it to a soup pot or Dutch oven and gently reheat over medium-low heat until hot. Garnish with fresh herbs or red pepper flakes, if desired.
-
Store any leftover soup in an airtight container in the refrigerator for up to a week, or freeze it for up to three months. This soup is delicious served cold, warm, or hot.
Notes
Greens: I typically use “power greens” which is a mix of baby kale, baby chard, and baby spinach. Feel free to use any combination of fresh, tender greens you prefer or have available. They will blend seamlessly into the soup, adding wonderful color, texture, and a powerful nutritional punch.
OPTIONAL GARNISH: Enhance your soup with a variety of garnishes. Consider fresh herbs like parsley or chives, thinly sliced scallions, a few jalapeño slices for heat, a sprinkle of crushed red pepper, or a touch of nutritional yeast for a cheesy flavor. Customize to suit your palate!
Nutrition
Note
The nutrition calculations were done using online tools and are provided as an estimate. To obtain the most accurate representation of the nutritional information in any given recipe, you should calculate it with the actual ingredients you used. You are ultimately responsible for ensuring that any nutritional information is accurate, complete and useful for your dietary needs.
