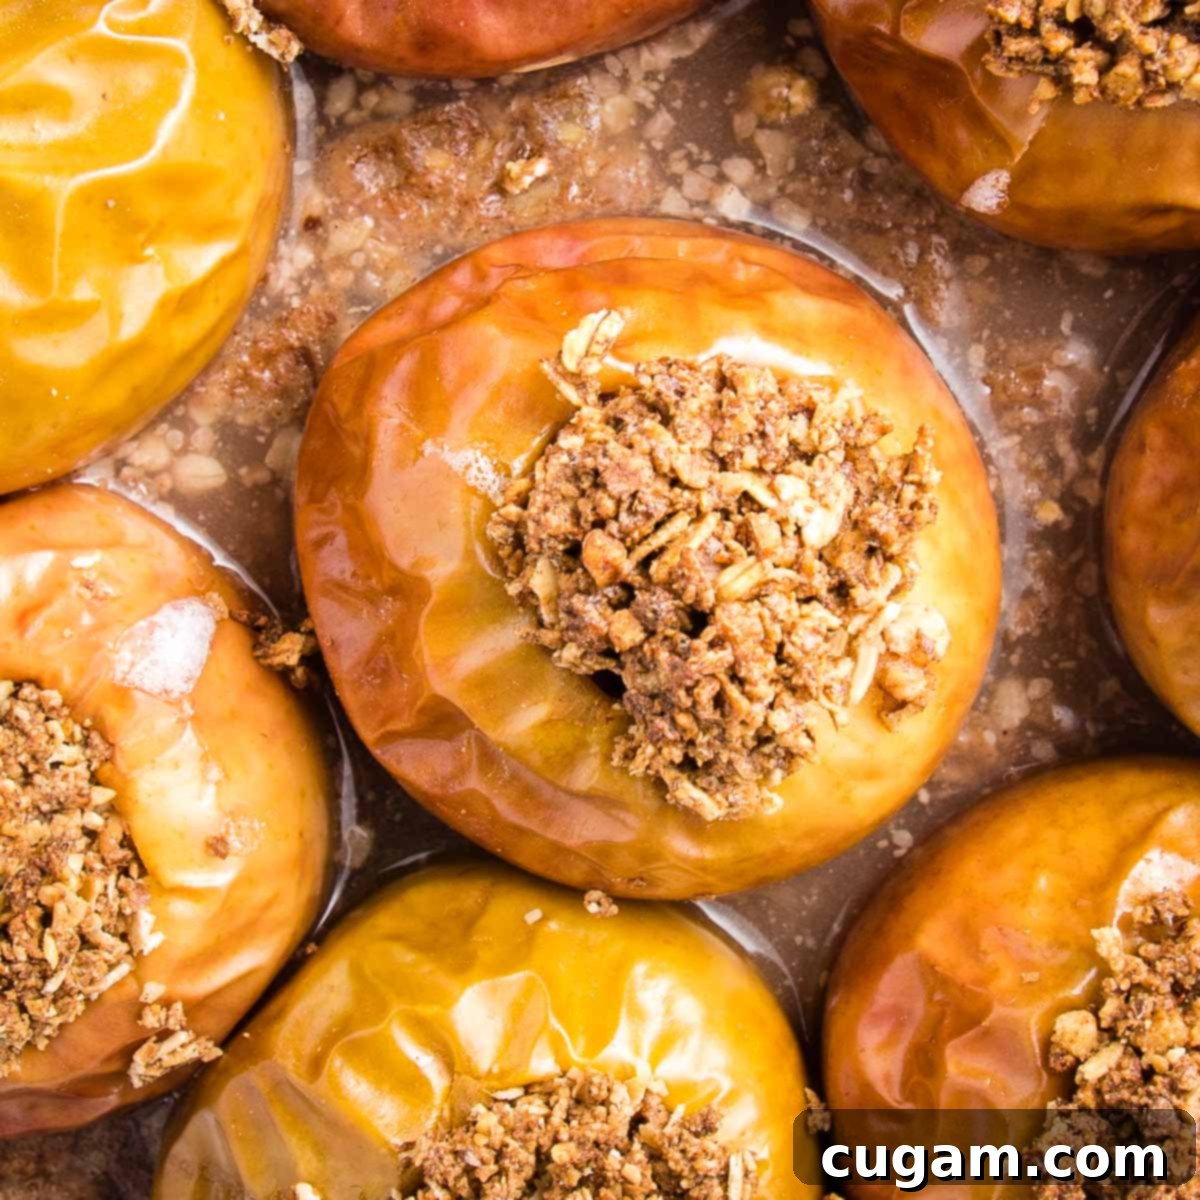
Indulge Guilt-Free: The Ultimate Healthy Dairy-Free Baked Apples with Oatmeal Filling
Step into the cozy comfort of apple season with these utterly delicious and healthy dairy-free baked apples. Imagine tender, perfectly cooked apples, generously loaded with a warm, spiced oatmeal filling. Naturally sweetened with pure maple syrup and completely free from added refined sugars, these stuffed apples are a symphony of juicy, tart, and sweet flavors, culminating in a truly comforting experience. They’re not just a healthy dessert option; they make for a delightful and nutritious breakfast or an energizing snack any time of day.
With just 7 simple ingredients and mostly hands-off time in the oven, you can easily whip up a batch of these wholesome treats on a busy weeknight. Yet, they are elegant and decadent enough to serve as a show-stopping dessert for your next dinner party. Whether you’re a seasoned baker or a kitchen novice, this recipe offers a simple pathway to enjoying the best of autumn’s bounty in the most delicious way possible.
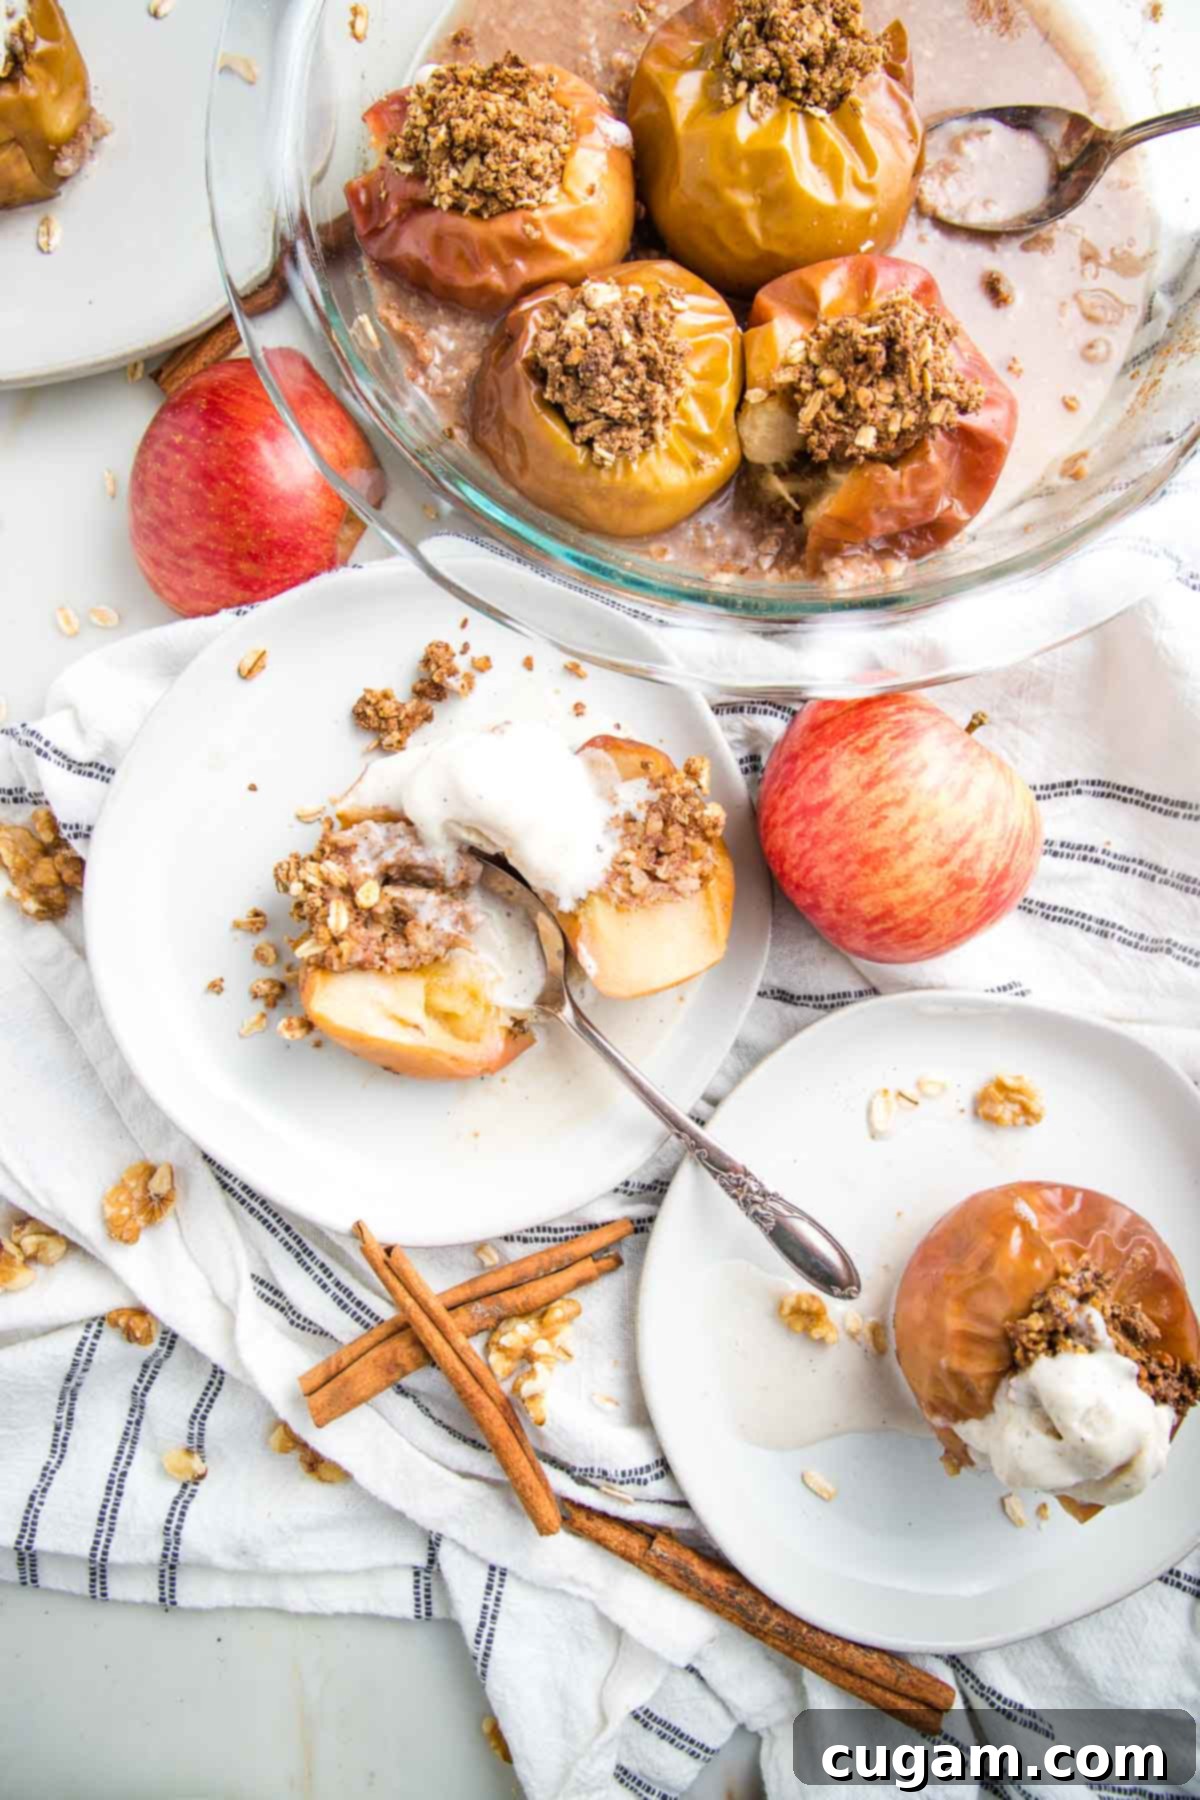
This post has been updated from its original version, published in 2016, to bring you even more tips, insights, and a refreshed perspective on this beloved recipe.
This baked apple recipe truly stands out from the crowd. Its simplicity is unmatched, yet the results are incredibly satisfying. Each apple is generously stuffed with a wholesome blend of oats, ground flaxseed, and cozy cinnamon, creating a filling that’s both flavorful and incredibly nutritious. As they bake, your kitchen will be filled with the most inviting aroma, a true hallmark of autumn. These apples bake up beautifully, retaining their shape while becoming perfectly tender, and are packed with enough goodness to be a legitimate, energizing vegan breakfast or a fulfilling snack.
Why You Will Absolutely Love This Healthy Baked Apple Recipe
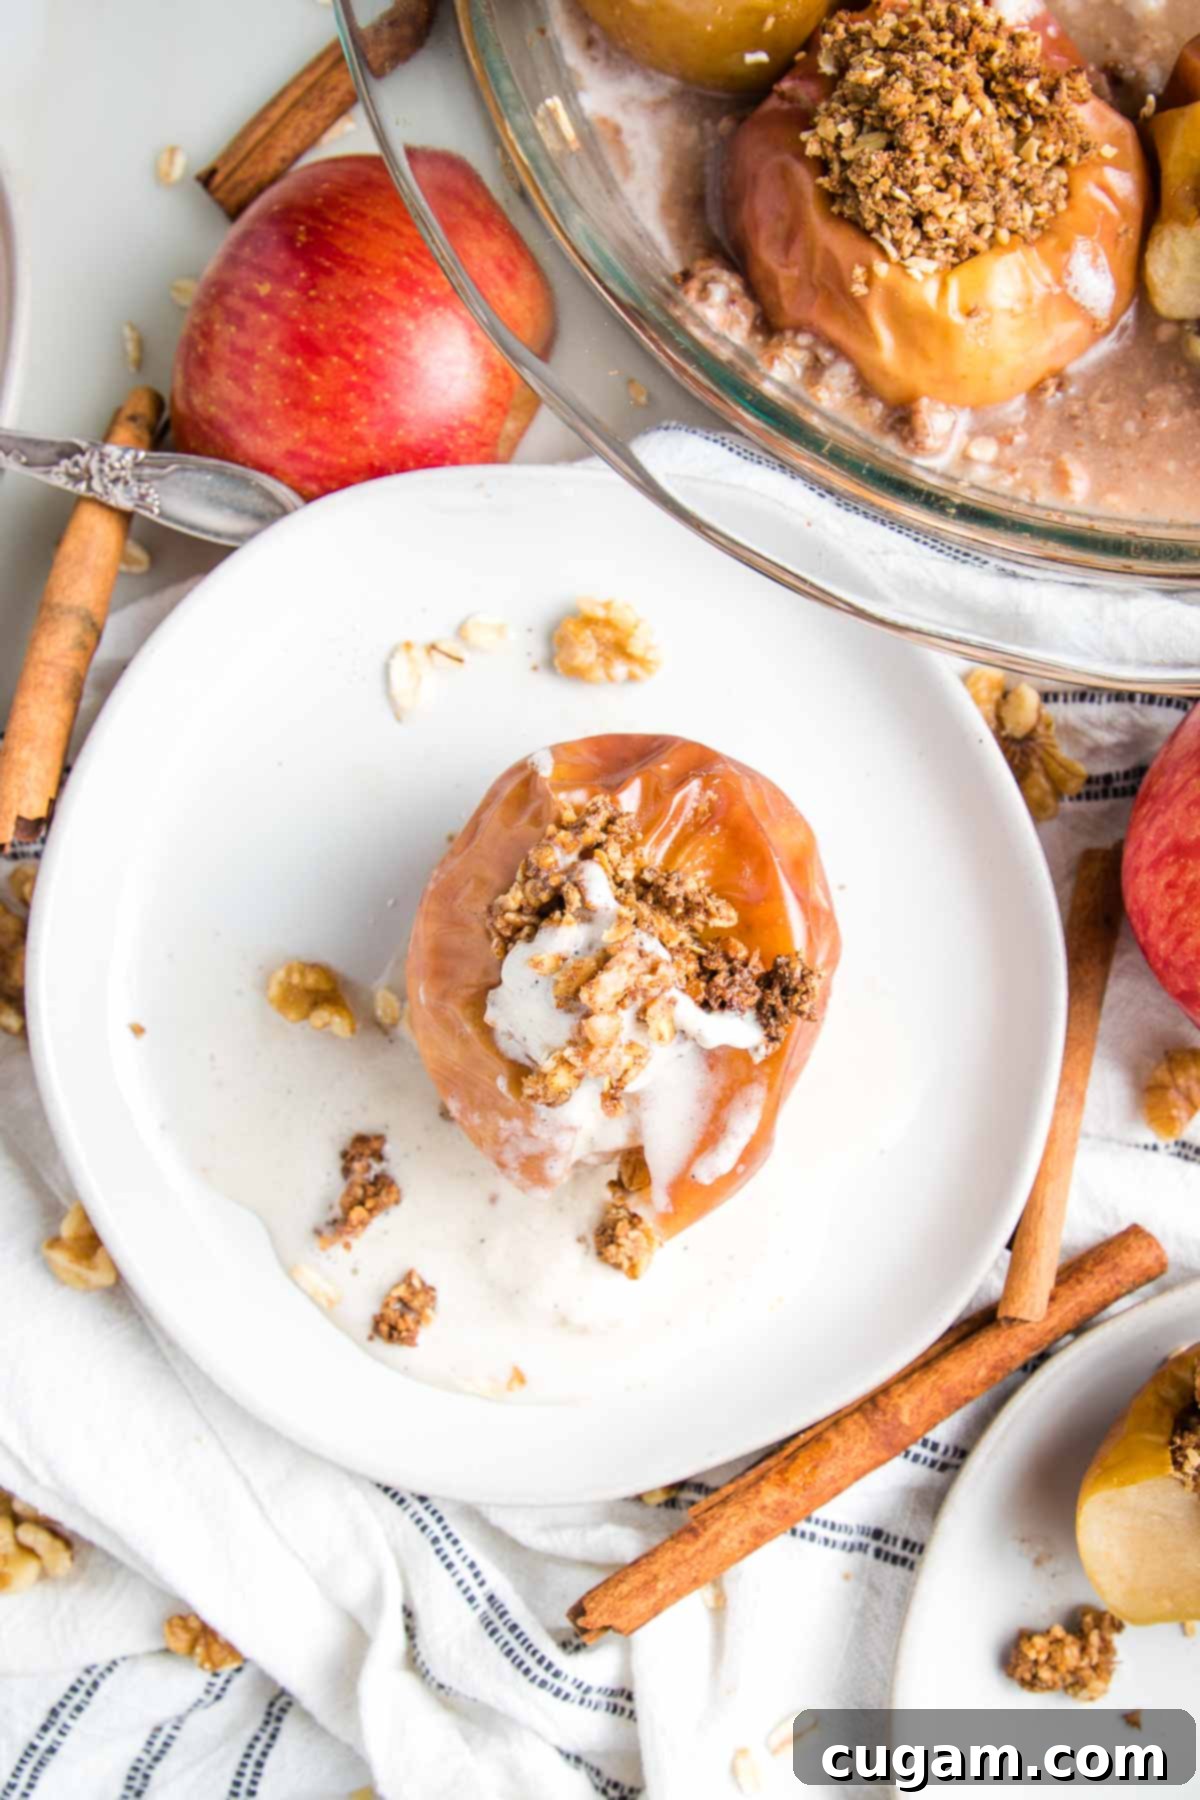
- Incredible Flavor & Aroma: Prepare yourself for an experience that transcends mere eating. These baked cinnamon apples taste absolutely incredible, offering a perfect balance of tartness and sweetness. Beyond the taste, they fill your home with the most delightful, warm, and comforting aroma – it’s like a hug for your senses!
- Minimal Effort, Maximum Reward: You only need 7 core ingredients for this recipe, and the preparation involves mostly hands-off time. This means you can create a gourmet-tasting, wholesome dish without spending hours in the kitchen, making it perfect for busy schedules.
- A Healthy, Wholesome Breakfast: Forget sugary cereals! A healthy baked apple is a truly legitimate and satisfying breakfast option. Packed with fiber, healthy fats, and natural sweetness, it provides sustained energy to kickstart your day.
- Effortlessly Easy Dessert: If you’re looking for a quick and easy dessert that impresses, this is it. It’s significantly quicker and simpler than baking a traditional fruit crisp or an apple pie, mainly because there’s no tedious chopping required for the apples themselves. Just core, stuff, and bake!
Choosing the Best Apples for Baking: A Detailed Guide
With so many apple varieties gracing our markets, deciding which type is best for healthy baked apples can feel overwhelming. The honest answer? It depends! Apples vary significantly in tartness, sweetness, firmness, size, and even color. Understanding these characteristics will help you choose the perfect apple for your desired baked apple experience. Here are my top picks and why they excel:
- Honeycrisp: A true crowd-pleaser, Honeycrisp apples are celebrated for their mild, honeyed flavor and wonderfully crisp texture. They’re ideal for salads, snacking, and recipes like apple muffins, where you want the apple to hold its shape beautifully. They also get sweeter when baked and resist turning mushy, making them an excellent all-around choice. Often my “go-to” simply because I always have them on hand!
- Fuji Apples: Known for being one of the sweeter apple varieties, Fuji apples are fantastic for both eating fresh and baking. They excel at maintaining their shape even when baked whole, which is crucial for a perfectly stuffed apple. Plus, their year-round availability is a huge bonus!
- Pink Lady (AKA Cripps Pink): If you appreciate a touch of tartness alongside sweetness, Pink Lady apples are a superb choice. Their balanced flavor profile adds an interesting depth to baked goods, allowing them to shine in recipes like an apple galette. When baked, they soften beautifully while retaining some of their characteristic tang.
- Empire: A delicious cross between Red Delicious and McIntosh, Empire apples are wonderfully suited for baking. Their creamy white flesh softens to a delightful sweet-tart flavor, providing a balanced and enjoyable texture. They’re also a great option for making homemade applesauce.
- Gala: Crisp, incredibly juicy, and very sweet, Gala apples are an awesome snacking apple. Their smaller size often means you can find them in large, economical bags, making them a practical choice if you’re planning to bake a large batch of individual healthy baked apples for a gathering. They soften nicely without losing all their structure.
- Cortland: This variety is a softer apple, which lends itself to a more applesauce-like consistency within your baked apple, yet it still manages to hold its overall shape. It offers a good balance of sweet and tart, making it a solid and reliable choice for whole baked apples if you prefer a silkier texture.
- McIntosh: Possessing an amazing, distinctive flavor, McIntosh apples are the softest on this list and are often praised as some of the best baking apples. However, this is where personal preference plays a significant role. If you prefer a very soft, almost melt-in-your-mouth baked apple, McIntosh is your champion. Personally, I’m not a fan of overly mushy textures, but many swear by them for that reason.
- Braeburn: I give Braeburn apples a full 5 stars for baking! They bake up incredibly juicy without becoming mushy, striking that perfect balance of tender yet firm. Their robust texture allows them to hold their own beautifully in recipes like apple honey cake with cinnamon. Visually, they’re also quite appealing with their pink hues and streaks of yellow and green.
- Granny Smith: Known for their distinct tartness, Granny Smith apples are excellent for preventing recipes from becoming overly sweet. Their skin is a bit thicker than some other varieties, which offers a satisfying crunch when eaten fresh. For baked apples, this thicker skin might be a consideration, but it also helps them hold their shape. Remember, much of the apple’s nutrition and fiber resides in the skin! They are a favorite choice for my harvest salad with apple vinaigrette.
Ultimately, the “best” apple is often the one you enjoy most and have on hand. Don’t be afraid to experiment with different varieties to find your personal favorite for this recipe!
Essential Ingredients and Wholesome Substitutions for Dairy-Free Baked Apples
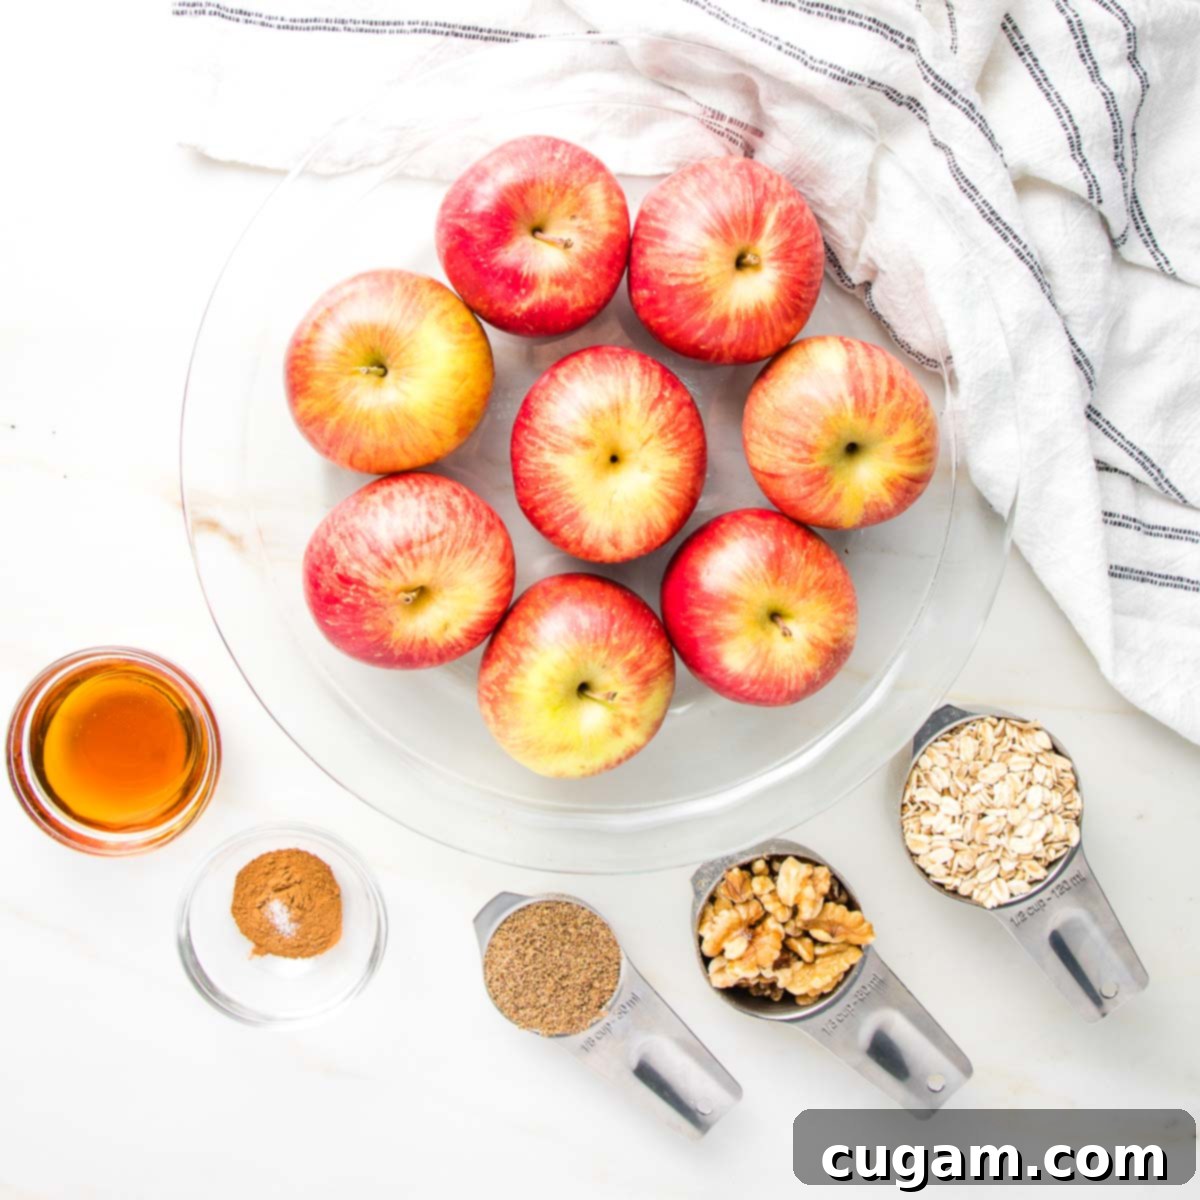
- Apples: As the undeniable star of this show, your choice of apple variety greatly influences the final texture and flavor. Refer to my detailed notes above to select the best kind for your palate. Beyond their deliciousness, apples are primarily composed of water, along with a significant amount of fiber, Vitamin C, antioxidants, and flavonoids. This powerful combination is fantastic for supporting your gut health, brain function, and cardiovascular system. If you’re feeling adventurous, firm pears can serve as a substitute, but be sure to choose varieties that are still quite firm and reduce the baking time to around 30 minutes to prevent them from becoming too soft or mushy.
- Rolled Oats: A cornerstone of our healthy filling, rolled oats contribute a substantial amount of fiber, promoting a healthy gut microbiome. As a complex carbohydrate, oatmeal also helps in regulating blood sugar levels, providing sustained energy. While old-fashioned rolled oats are ideal for their texture, quick-cooking or instant oats can be used in a pinch, though they might yield a slightly mushier filling. For a completely oat-free option, a combination of gluten-free flour (or regular flour if not avoiding gluten) and a touch of arrowroot powder can work. Quinoa flakes are another excellent 1:1 substitute, offering similar nutritional benefits. Cooked grains like rice or quinoa can also be incorporated for a different texture.
- Walnuts: I adore the rich, nutty flavor and satisfying crunch that walnuts add to this recipe. They’re also an excellent source of Omega-3 fatty acids, which are crucial for brain and heart health. Almonds or pecans are fantastic alternatives, offering their own unique flavors and textures. For those with nut allergies, hemp seeds make a wonderful, nutrient-dense substitute. If both nuts and seeds are off-limits, simply omit them from the recipe; the apples will still be delicious!
- Ground Flaxseed: This tiny powerhouse is another fiber champion, essential for keeping our gut health in optimal condition by encouraging regularity and feeding beneficial gut bacteria. Ground flaxseed also provides a healthy dose of Omega-3s and plant-based protein, all while imparting a subtle, nutty flavor that beautifully complements the other ingredients. Crucially, it acts as a binder, helping the filling hold together within the apple cavity. Chia seeds are a suitable alternative, offering similar binding properties and nutritional benefits.
- Cinnamon: Ah, cinnamon! It’s not just about flavor, aroma, and a beautiful reddish-brown hue. Ground cinnamon inherently gives the illusion of sweetness, allowing you to reduce or even eliminate additional sugar. Beyond its culinary appeal, cinnamon boasts impressive antiviral, antibacterial, and antifungal properties, along with significant anti-inflammatory benefits, making it a true super spice for your health.
- Maple Syrup: My preferred natural sweetener for baked goods, maple syrup offers a rich, complex sweetness that pairs perfectly with apples and spices. The amount you need can vary based on your personal taste preferences and the natural sweetness of the apples you choose. Start with a conservative amount and adjust to your liking; you might find you don’t need much at all, especially with sweeter apple varieties.
- Pinch of Fine Grain Sea Salt: A tiny pinch of sea salt is critical for enhancing all the flavors in the filling. It balances the sweetness of the maple syrup and brings out the warm notes of the cinnamon and nuts, preventing the filling from tasting flat. Don’t skip this small but mighty ingredient!
The Easiest Way to Core an Apple: Three Methods Compared
You’re right to ask! Removing the woody core and seeds from your apples is a crucial step before stuffing and baking them. For years, I struggled with this, even after purchasing a dedicated apple corer. It often left behind bits of core or created an uneven cavity. Let me share what I’ve learned about various methods and which one I’ve found to be the absolute easiest and most effective for preparing apples for baking.
Here’s an honest assessment of three common coring techniques:
Method 1: Using an Apple Corer
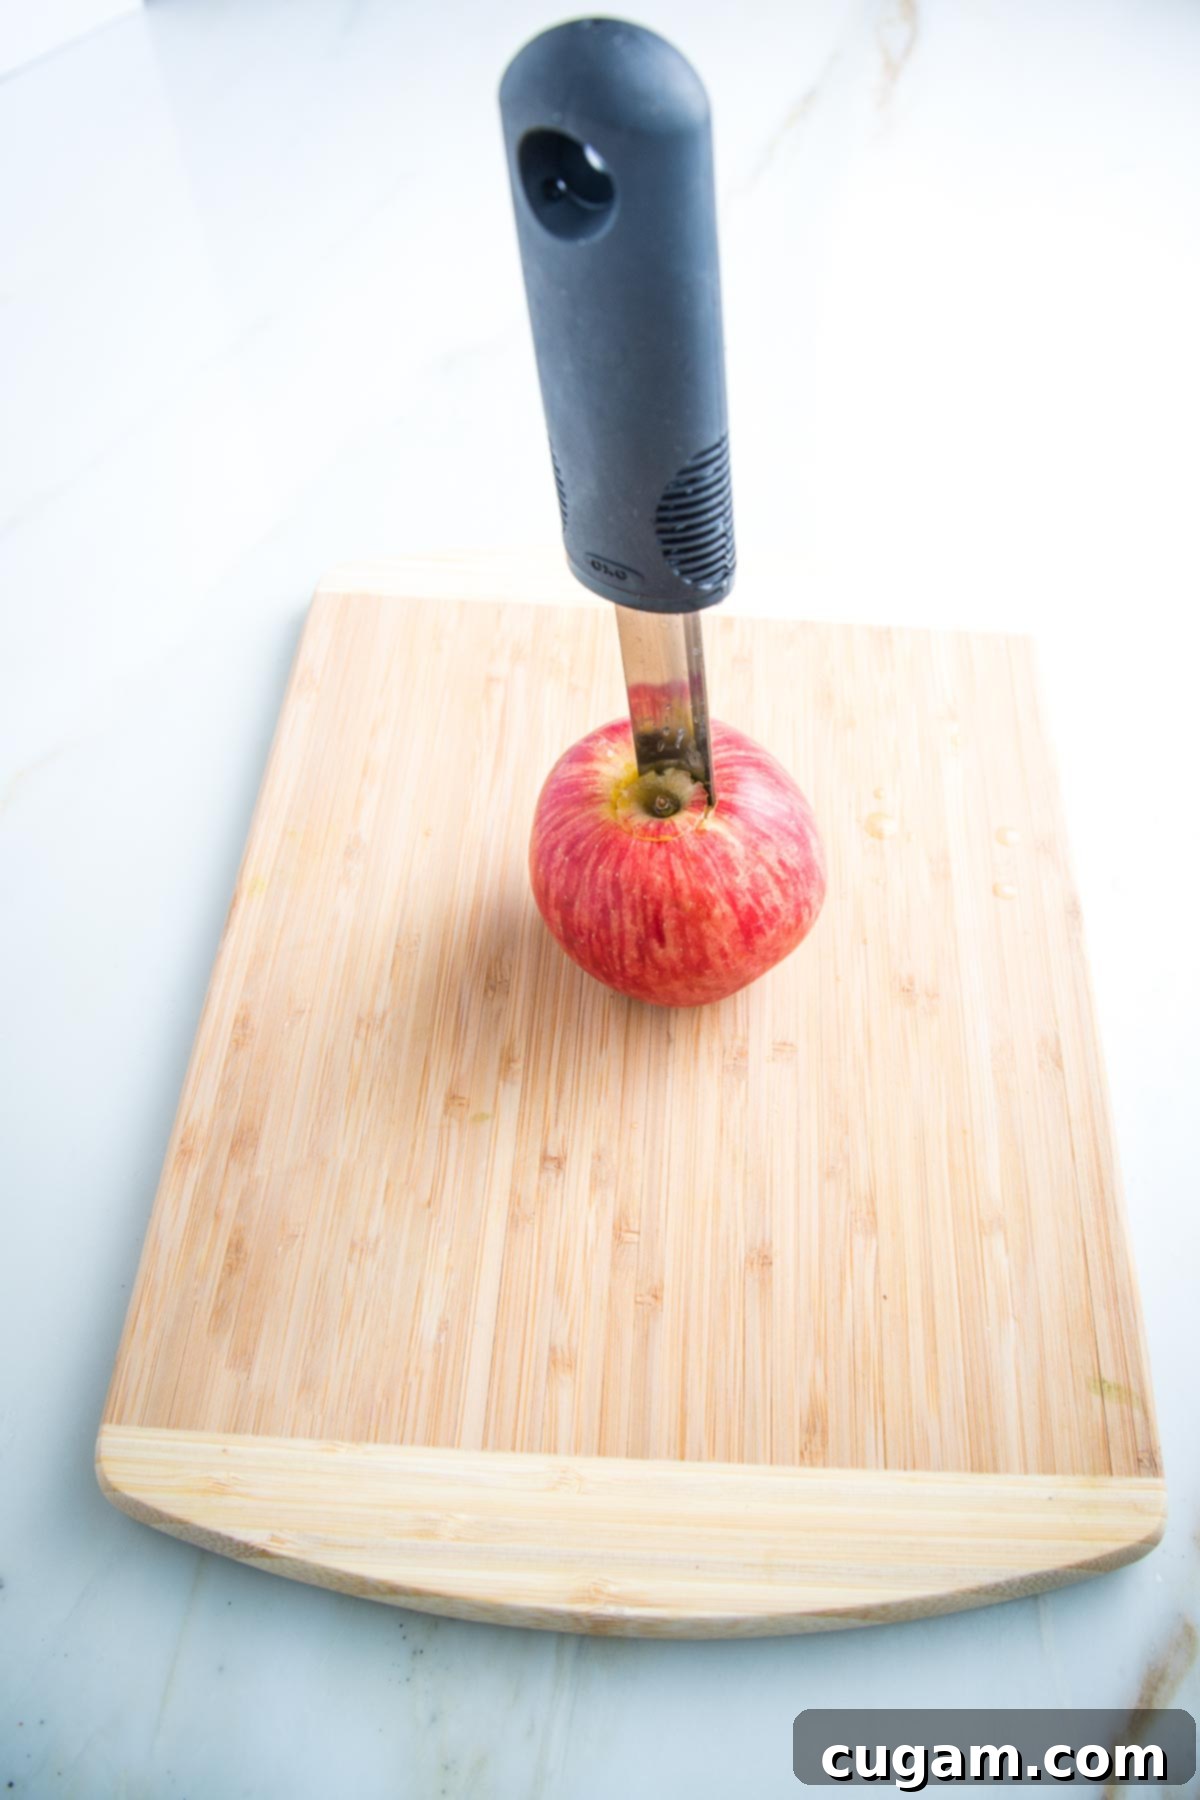
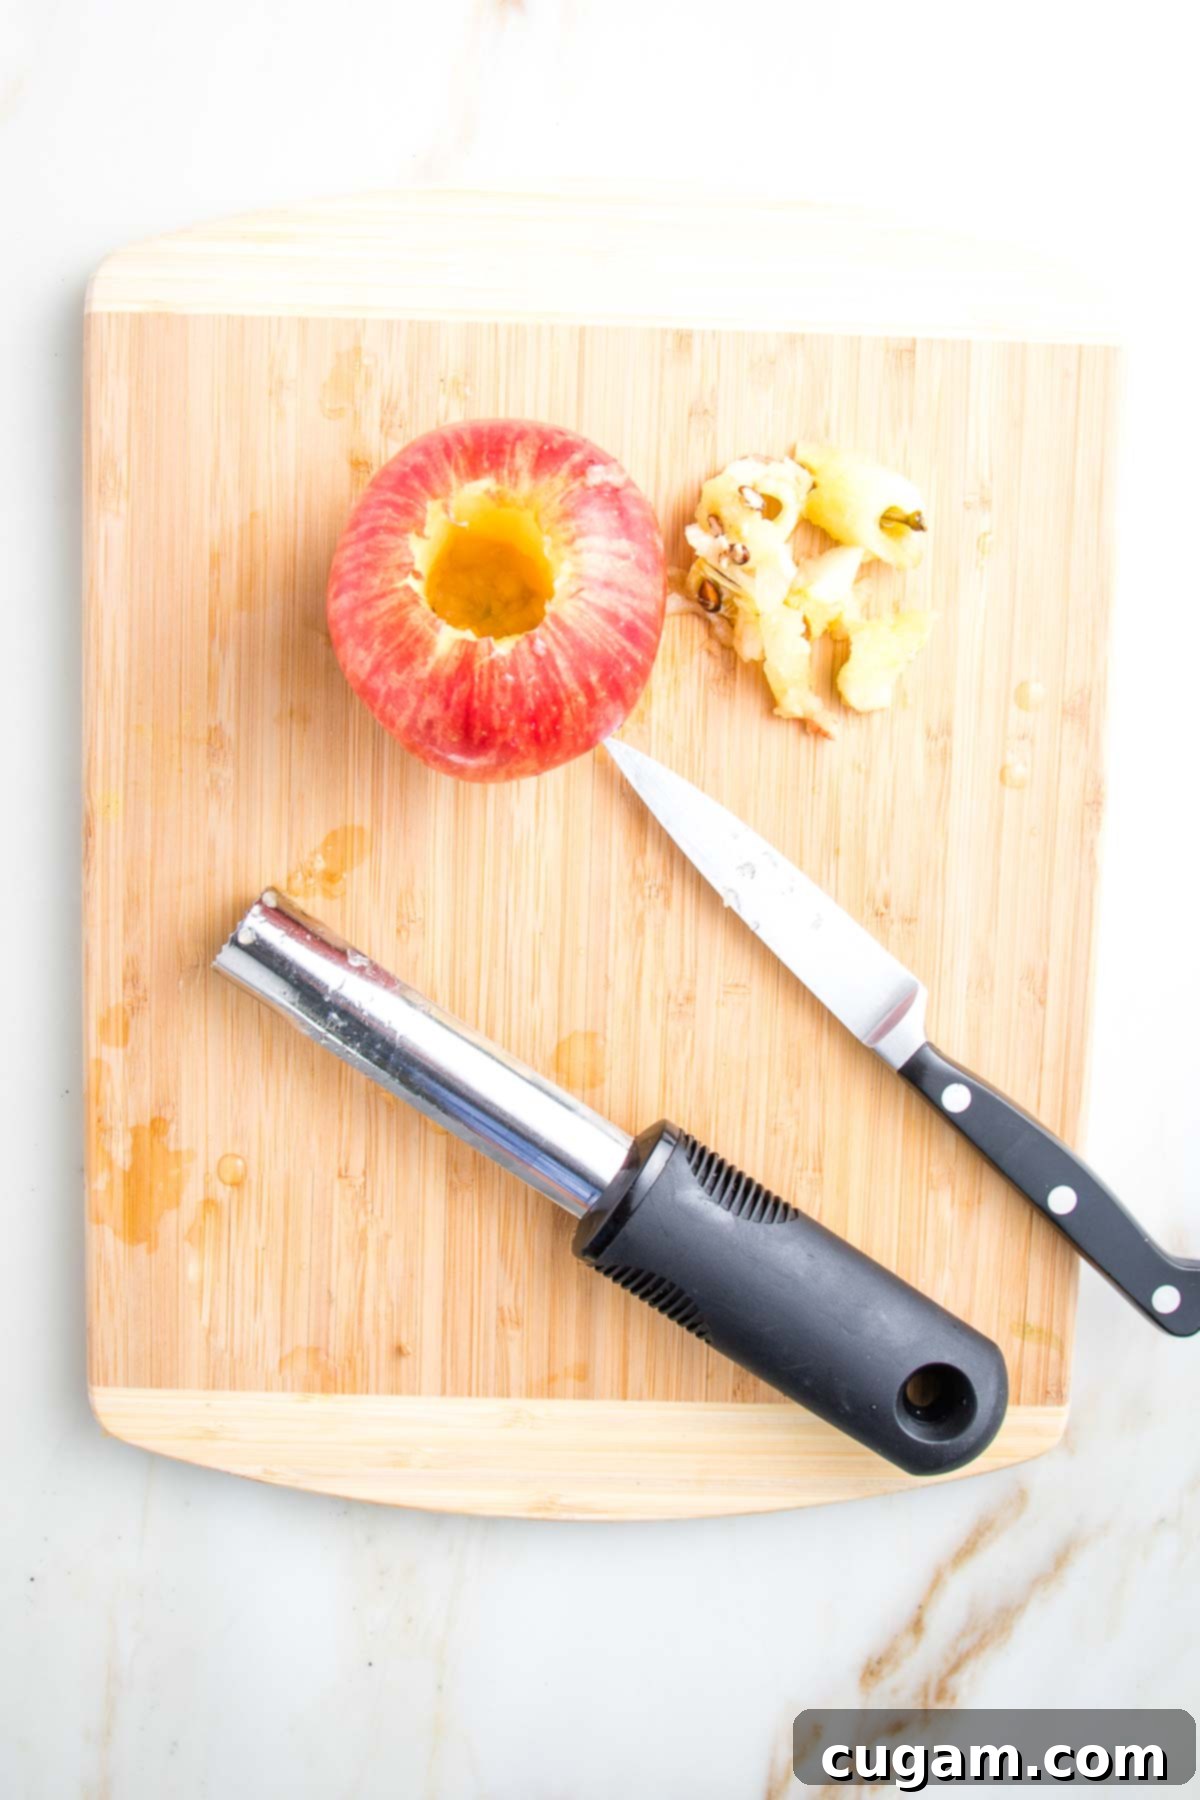
- An apple corer is designed to make this task easier initially by creating a neat circular cut. You simply align it with the stem, press down, and twist to remove the core.
- However, often there’s still some finessing required with a paring knife to dig out any remaining woody bits or seeds that the corer missed. This can make the process less straightforward than anticipated.
- In my experience, the extra steps and tool storage requirements mean an apple corer often doesn’t earn that valuable drawer space in my kitchen.
Method 2: Using a Paring Knife
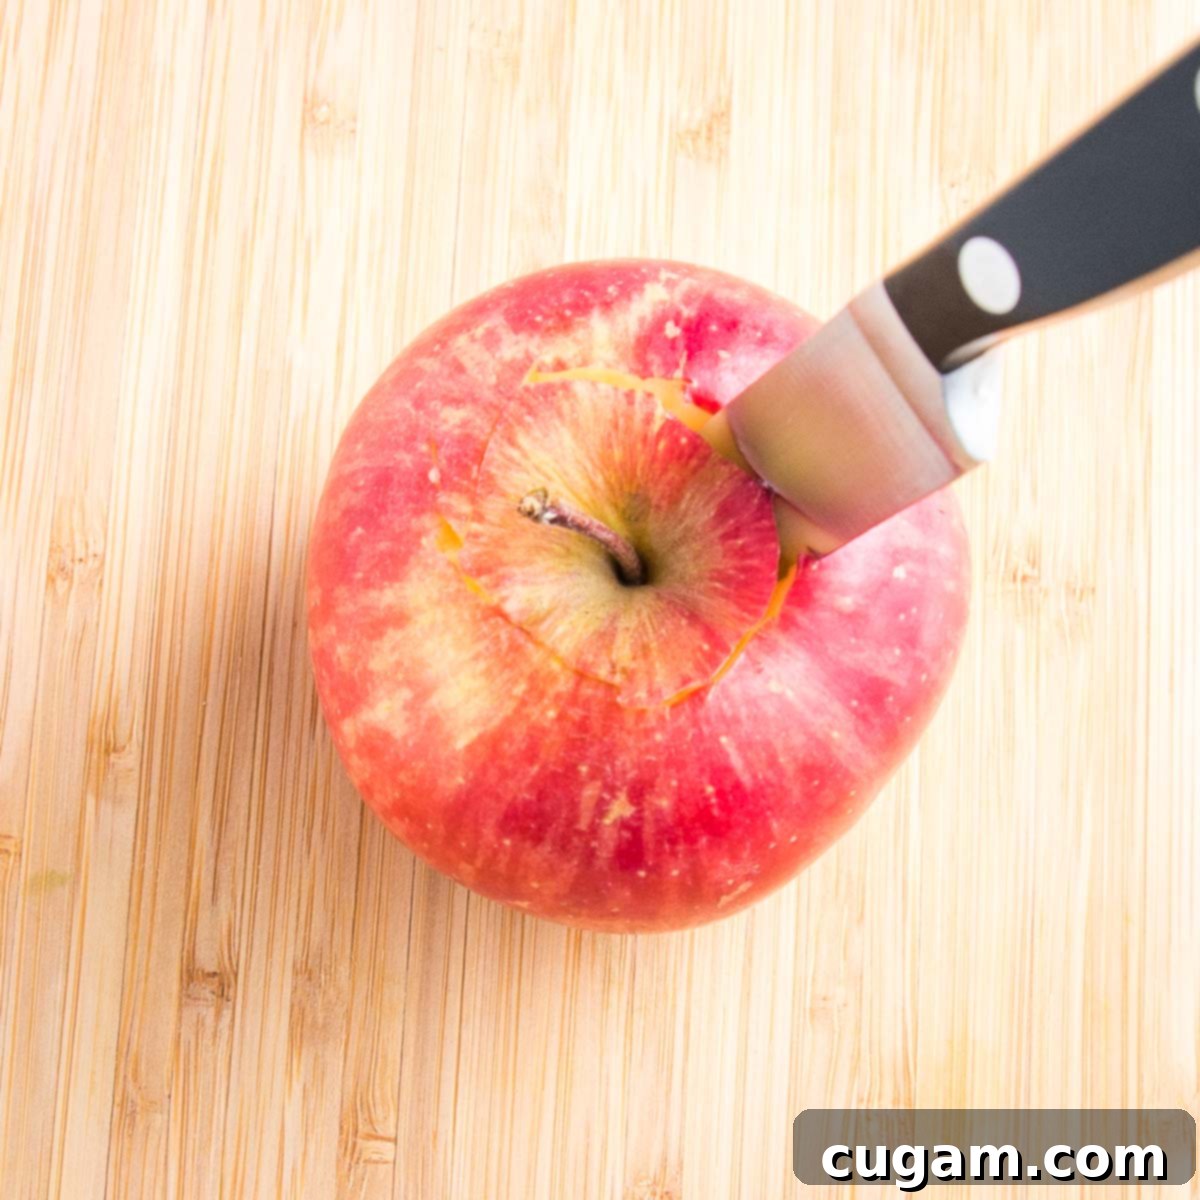
- Using a sharp paring knife is an excellent way to core an apple, especially if you’re comfortable and confident with a sharp blade. It offers precision and control.
- To begin, insert the knife at an angle around the stem, cutting down almost all the way to the bottom. You can gauge how far to cut by holding the knife alongside the apple to “eyeball” where the bottom would be, ensuring you don’t break through the skin.
- Turn the apple slightly and continue making angled slices until you’ve completed a full circle around the core.
- Once the circle is complete, gently pull out the section you’ve just cut. If the core doesn’t come out in one perfect piece, don’t worry—simply use your knife to carefully dig out any remaining parts. This method gives you a clean cavity ready for stuffing.
Method 3: The Grapefruit Spoon (My Preferred Method!)
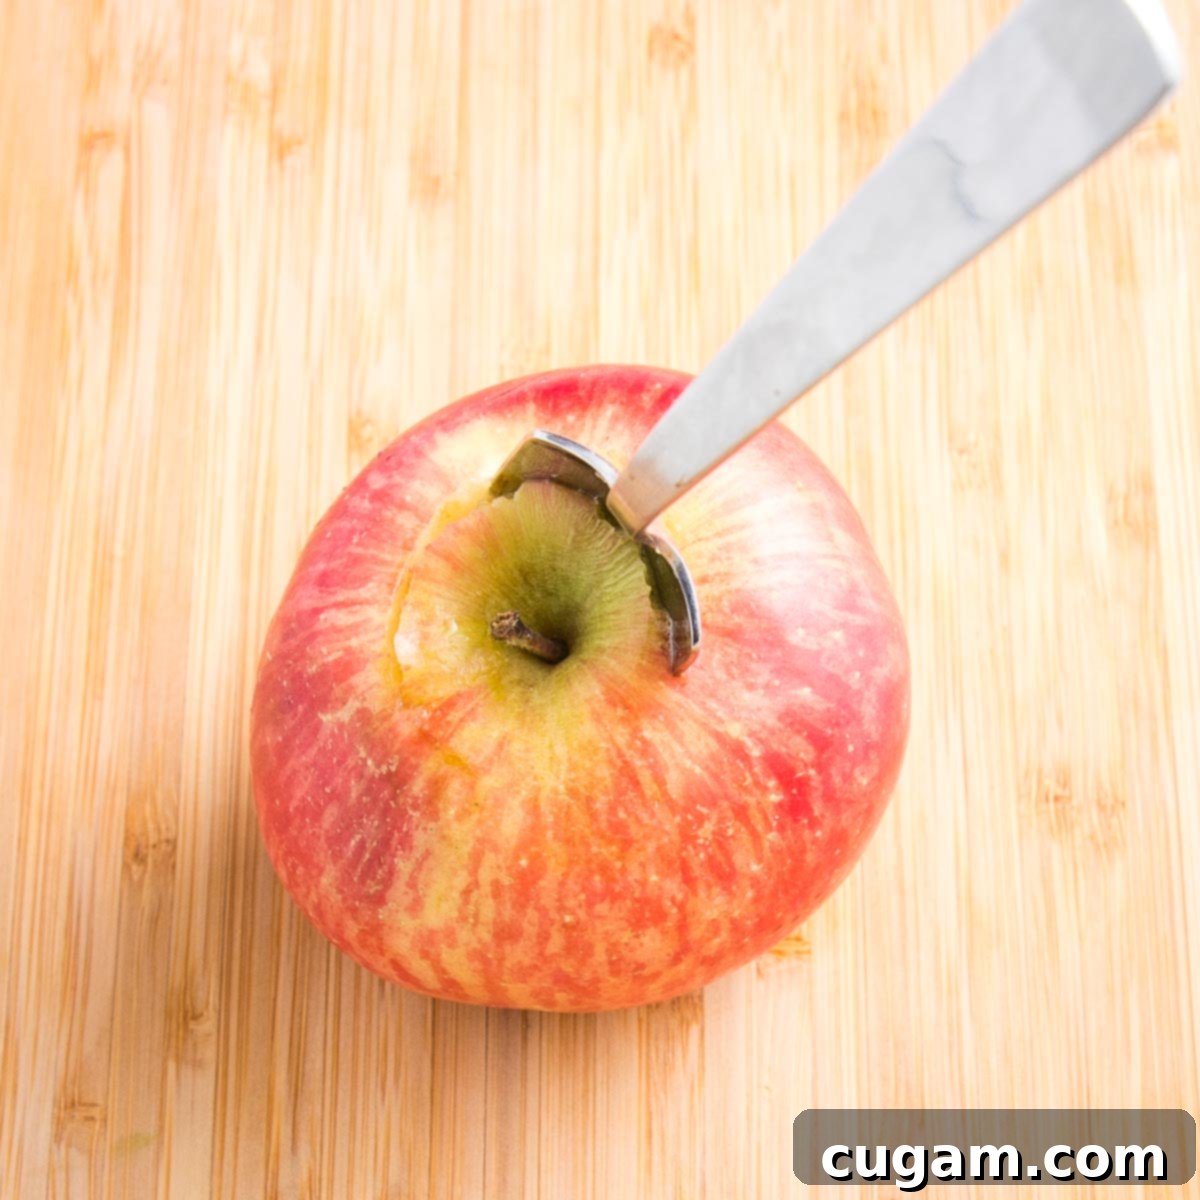
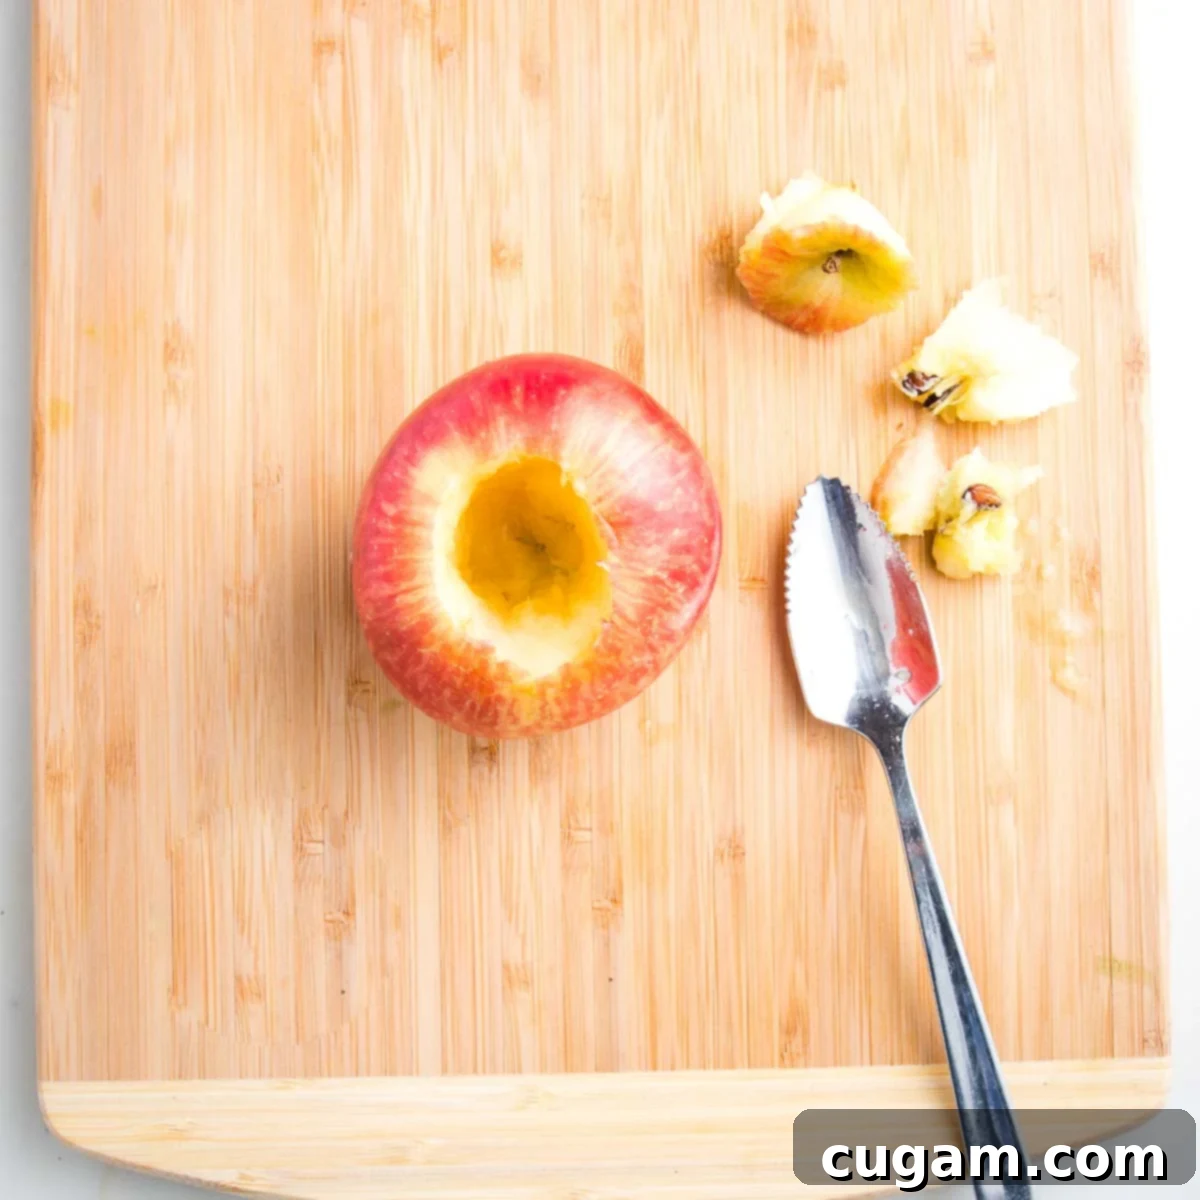
- The third and arguably easiest way to core an apple, particularly for stuffing, is by using a grapefruit spoon. The serrated edges of this spoon are perfectly designed to easily scoop out the woody core and seeds with minimal effort.
- Employ a similar methodology as with the paring knife, but instead of trying to cut deep in one go, start by making shallow slits around the top of the core, turning the apple as you go, and scooping out the initial section.
- Then, make another pass, going a bit deeper to widen the cavity and ensure all the core is removed.
- Continuously assess the situation and use the spoon to scoop out any remaining seeds or hard fibrous parts. This method is incredibly intuitive and creates a beautifully clean, wide cavity, ideal for holding plenty of delicious filling.
Conclusion: Using a grapefruit spoon to scoop out the center of the apple is my absolute preferred method for preparing apples for stuffing and baking. It’s safe, effective, and surprisingly simple, making it accessible even for those who are less confident with sharp knives. Grapefruit spoons are inexpensive and incredibly versatile; you’ll find yourself using them all the time for tasks like deseeding cucumbers, zucchinis, and hard winter squash.
A little tip: If you accidentally cut through the bottom of the apple while coring, don’t fret! Trust me, it happens to everyone (including me, plenty of times!). The cooked apple will still taste absolutely delicious, and it’s highly unlikely you’ll lose any of your precious filling. Just move on to the next apple, and remember that this entire process becomes easier and more intuitive with each one. You’ll be a pro in no time!
How to Make This Healthy Dairy-Free Baked Apples Recipe: Step-by-Step
Get ready to create some kitchen magic! Preheat your oven to 350°F (175°C). It will likely be perfectly preheated by the time you finish prepping the apples and their delicious filling – because this recipe is remarkably quick to put together!
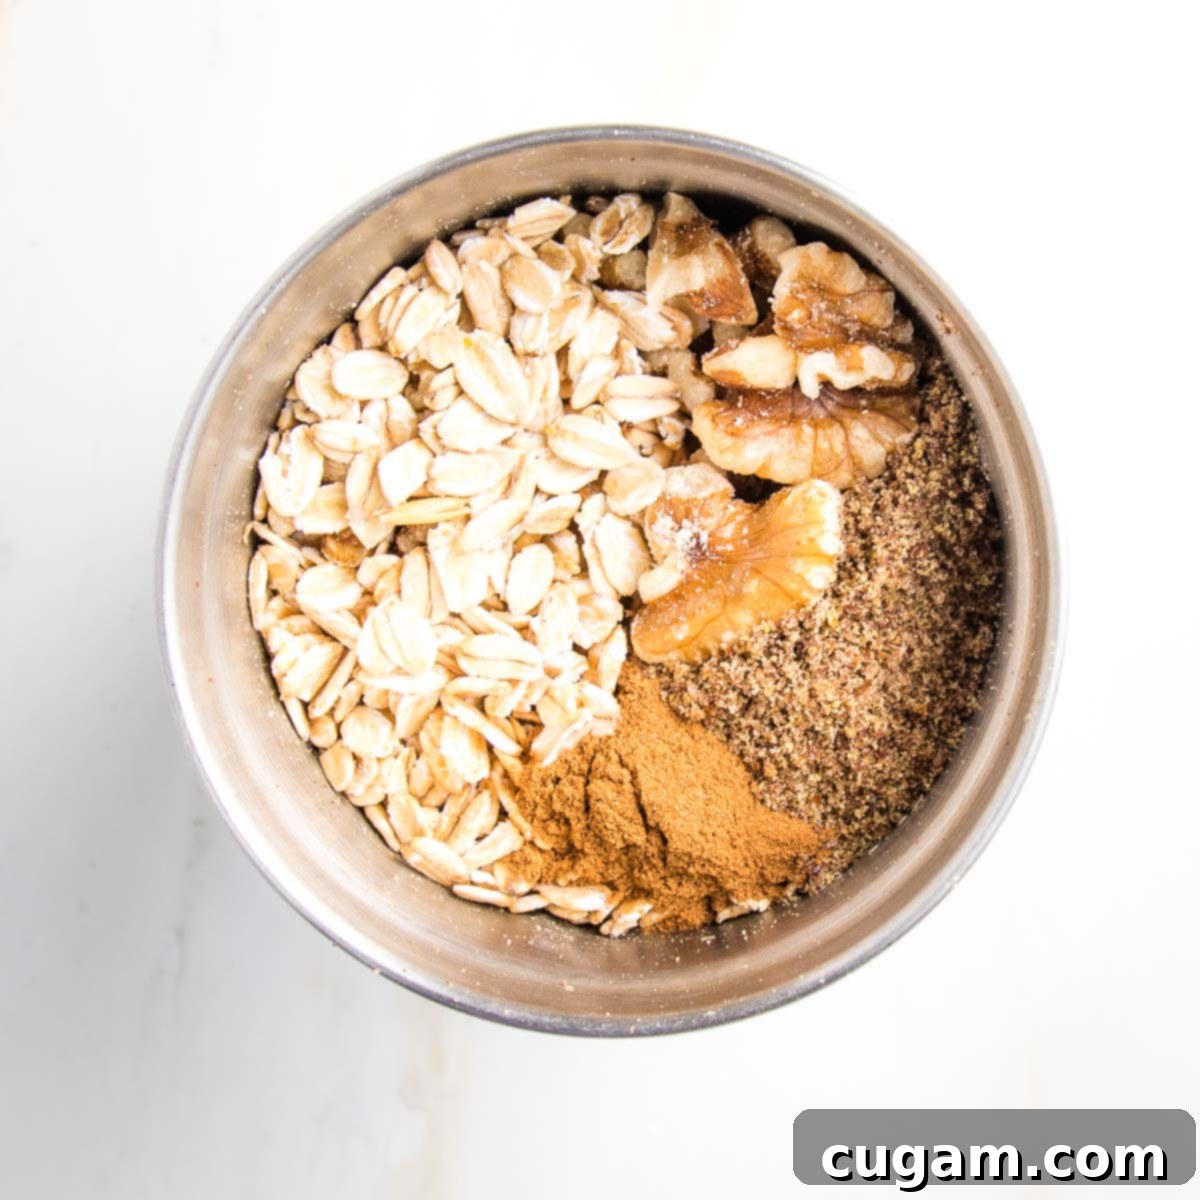
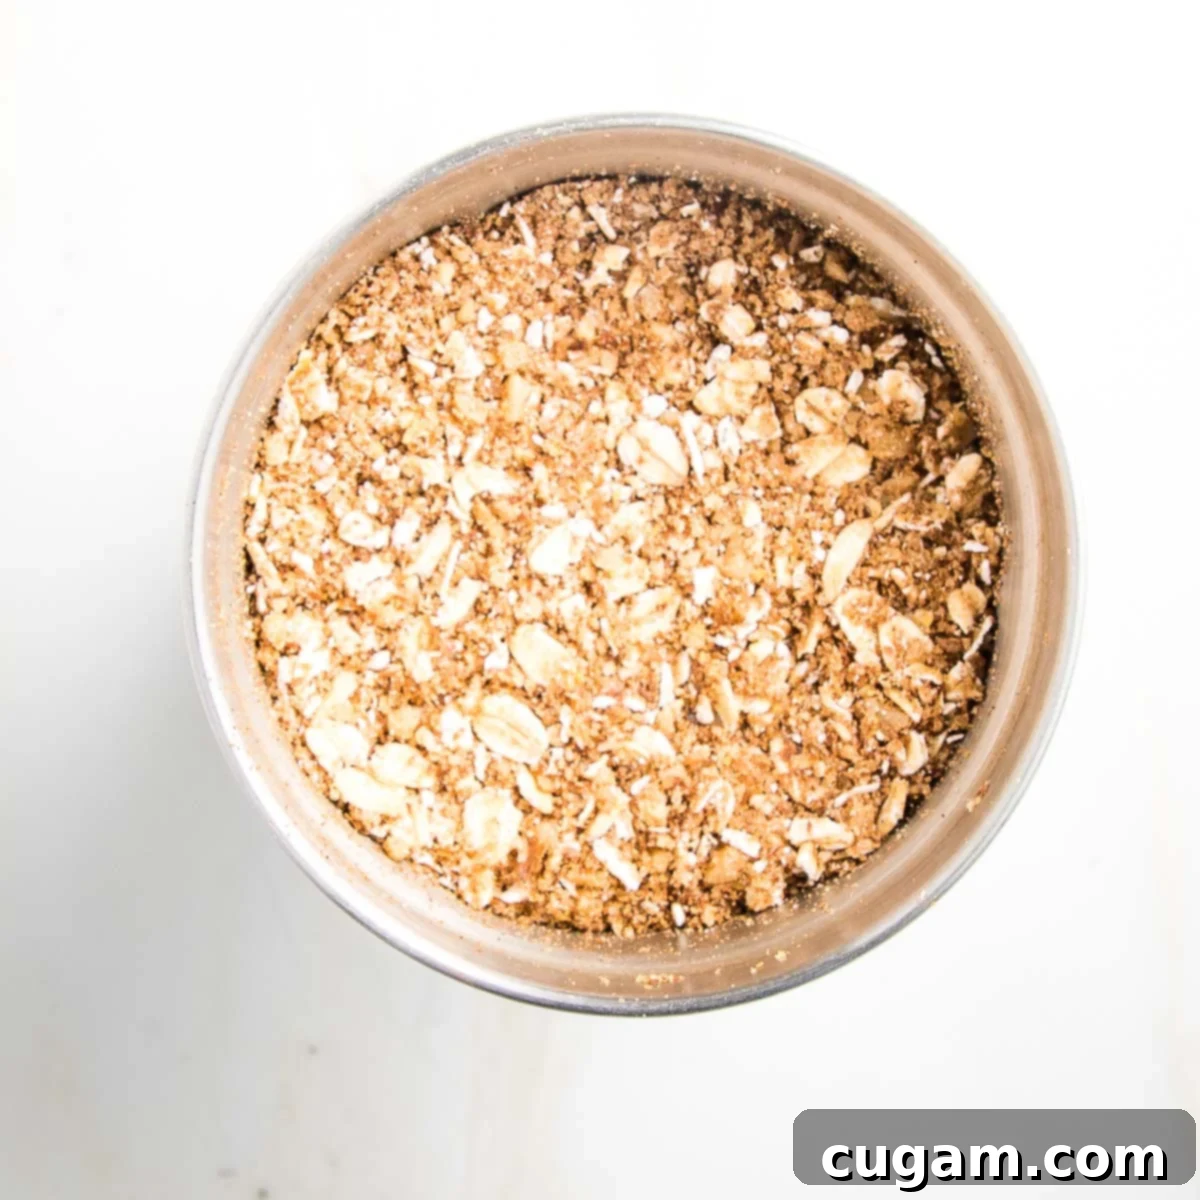
1. Prepare the Filling: To create our amazing apple filling, I recommend using a small spice grinder, a small food processor, or even a clean coffee grinder dedicated to spices. Combine the rolled oats, walnuts, ground flaxseed, cinnamon, and a pinch of sea salt in your chosen appliance. Pulse these ingredients until they form a uniform, crumbly mixture. It’s perfectly fine if some of the oats aren’t completely ground into flour; these will add a lovely texture to the finished filling. If you don’t have these small appliances, you can finely chop the walnuts with a knife and then mix all dry ingredients thoroughly by hand.
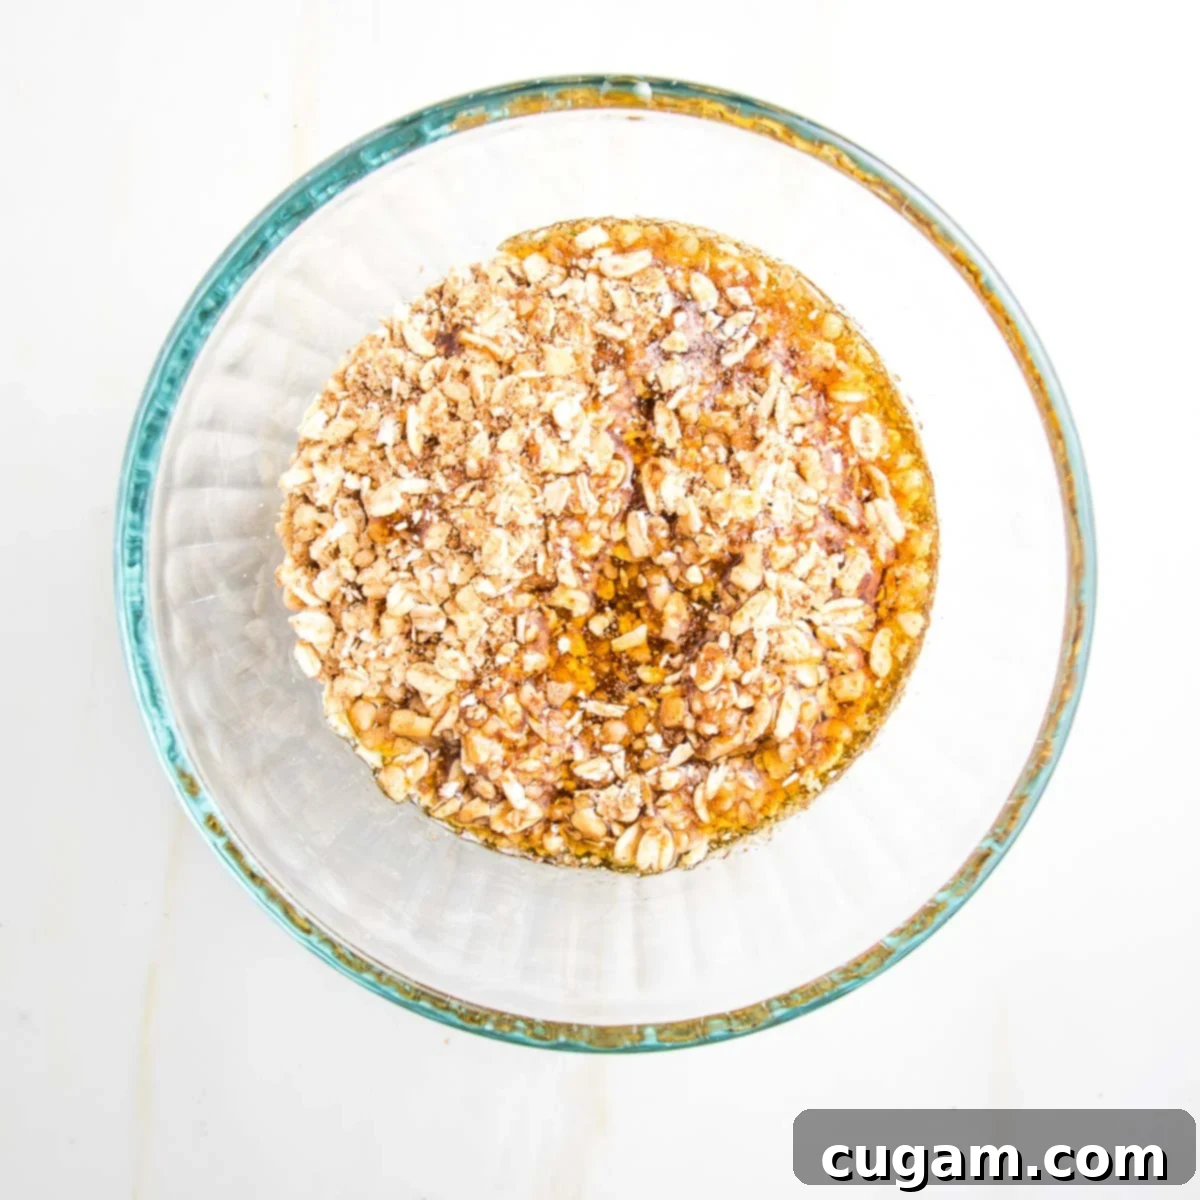
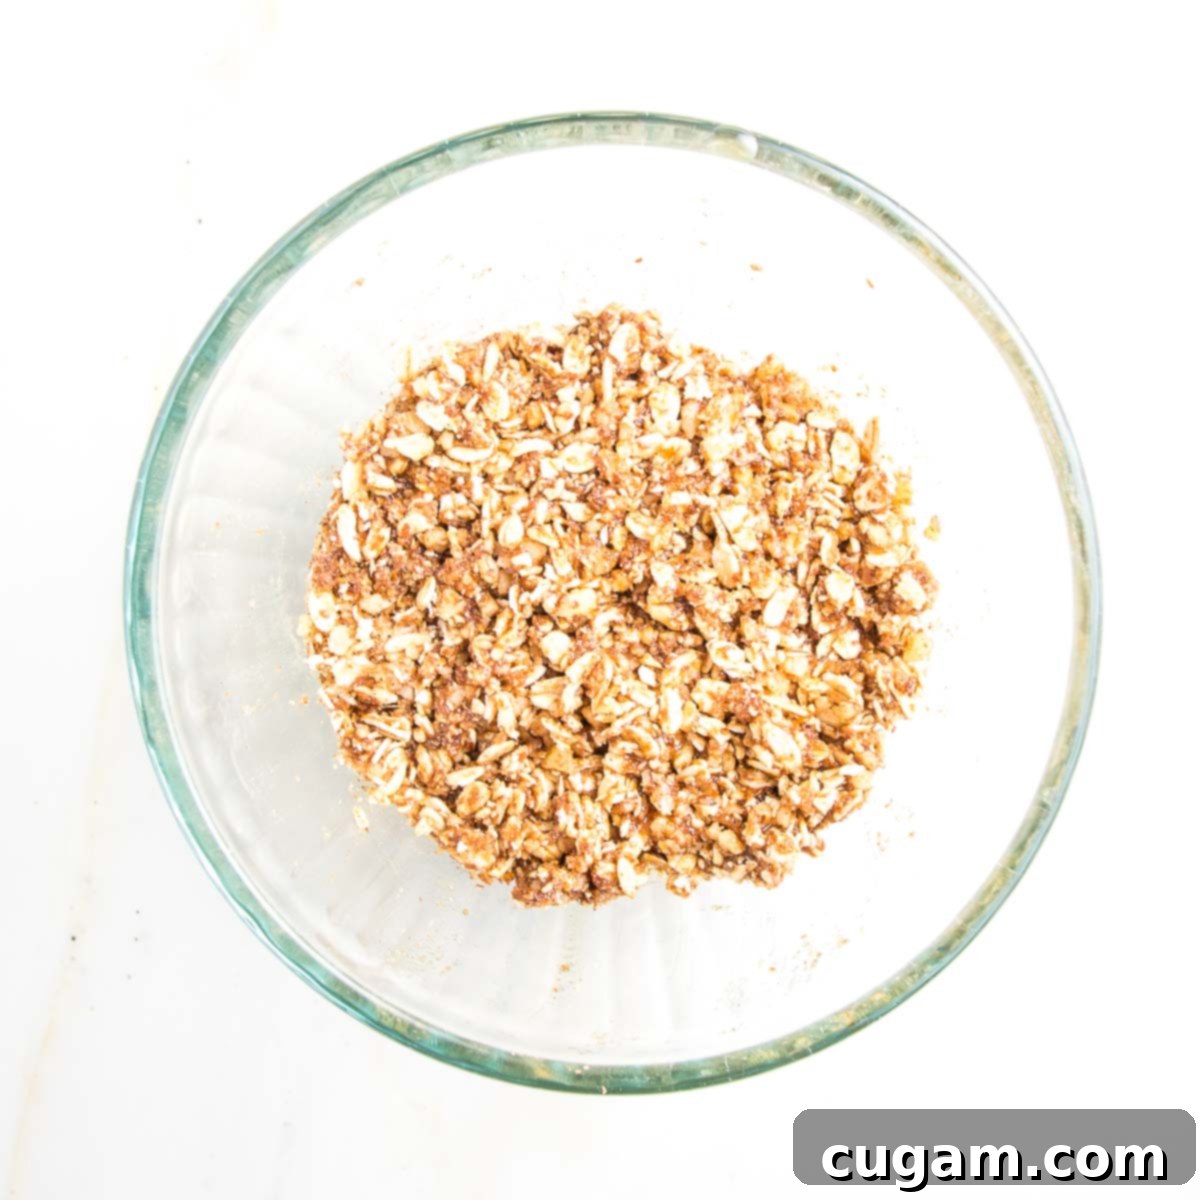
2. Combine Wet and Dry: Transfer the ground oat and nut mixture to a small bowl. Pour in the pure maple syrup and stir everything together until it’s thoroughly combined and forms a moist, cohesive filling. Set this delectable mixture aside while you prepare your apples.
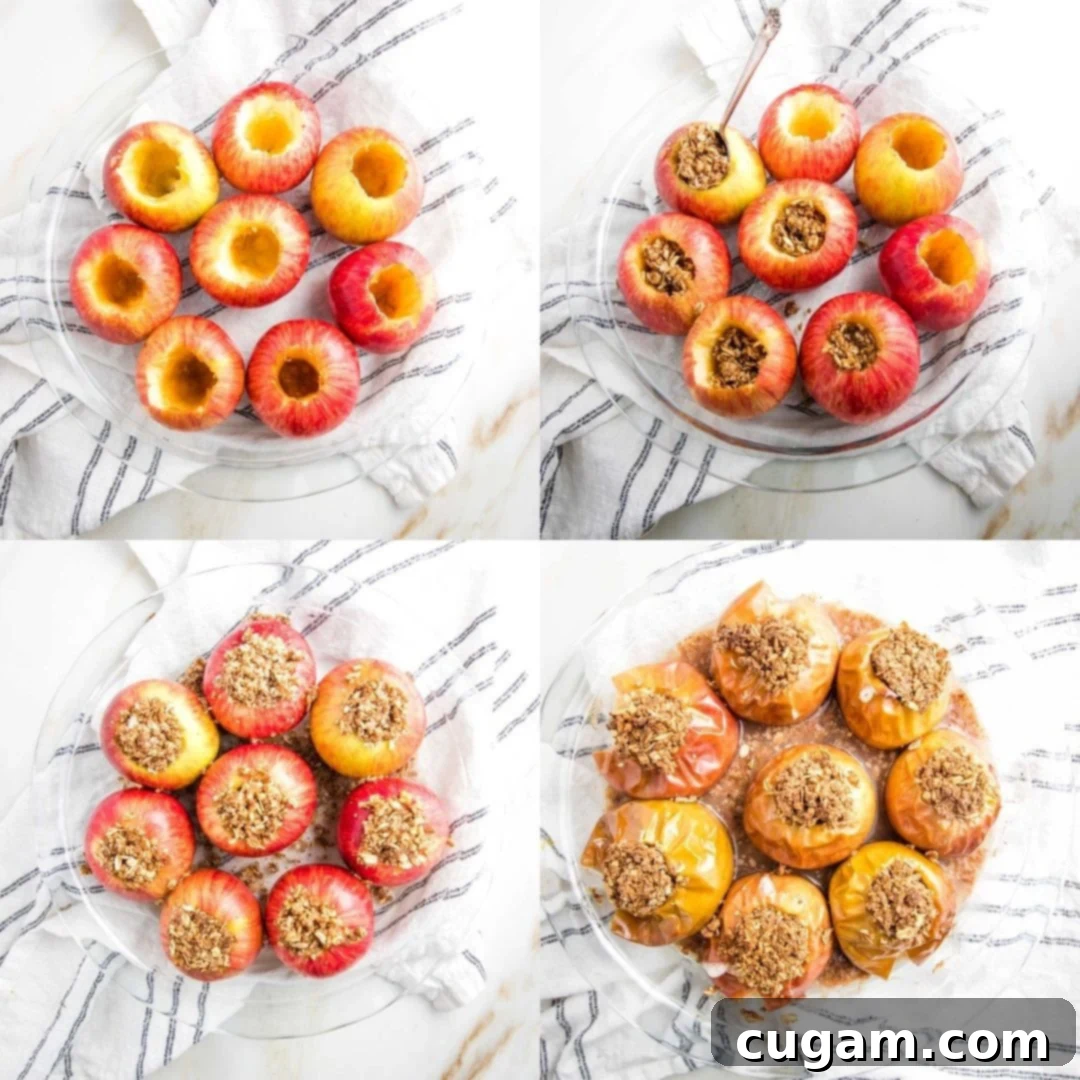
- 3. Prepare and Stuff the Apples: Wash your chosen apples thoroughly. Using your preferred coring method (I highly recommend the grapefruit spoon!), carefully remove the core from each apple, creating a generous cavity. Place the cored apples snugly into a glass or ceramic baking dish. The snug fit is key for even baking and moisture retention.
- 4. Fill ‘Em Up: Using a spoon, carefully distribute the prepared oat and nut filling into the cavities of each apple. Don’t be shy – pack it in! The more filling, the more deliciousness in every bite.
- 5. Add Moisture for Baking: Once all your apples are beautifully stuffed, pour water or apple cider into the bottom of the baking pan, reaching about ¼ inch up the sides of the dish. This crucial step creates a steamy environment in the oven, ensuring the apples soften perfectly and the filling stays moist.
- 6. Bake to Perfection: Place the baking dish in your preheated oven. Bake for approximately 45 minutes to 1 hour, or until the apples are golden brown and wonderfully tender when pierced with a fork. If you’ve chosen larger apples, they might require a bit more cooking time to reach that perfect softness.
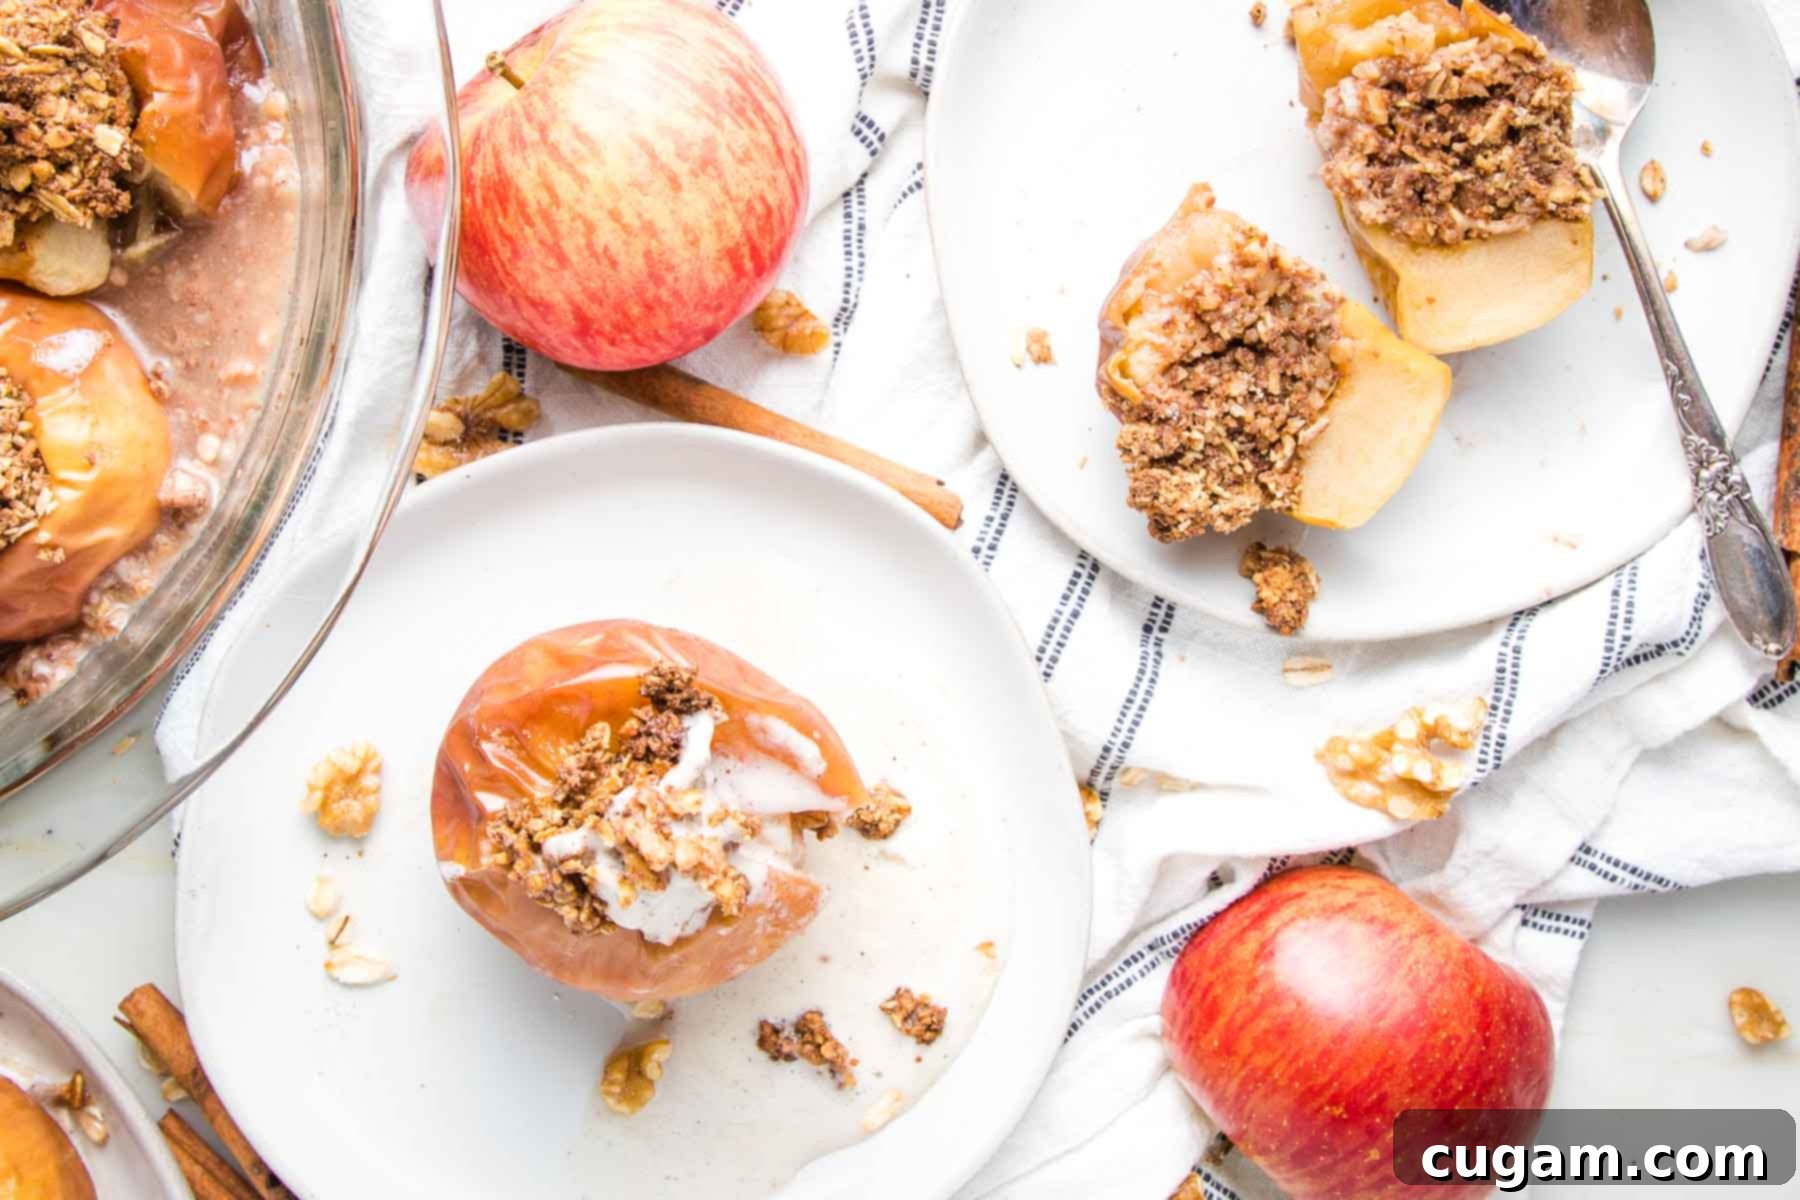
- 7. Serve and Enjoy: Once baked, remove the apples from the oven. Let them cool slightly before serving. They are absolutely delightful served warm, allowing any optional toppings to melt beautifully, or they can be enjoyed at room temperature.
Debra’s Pro Tips for Perfect Baked Apples
- Bake a Few Extra: These baked apples are surprisingly versatile and delicious even when cold! Make a few extra and store them in the fridge. They make for an amazing grab-and-go cold breakfast or a satisfying healthy snack during the week.
- The Power of Steam: The secret to perfectly tender, soft apples is a steamy, humid oven environment. Never skip the step of adding water (or apple juice/cider for extra flavor) to the bottom of the pan before baking. This moisture gently steams the apples as they bake, preventing them from drying out and ensuring a tender texture.
- Choose the Right Baking Dish: Select a baking dish that allows your apples to fit snugly, side-by-side. This close arrangement helps to trap steam and moisture, further aiding in the softening process and ensuring even cooking.
- Size Matters (for Filling!): The larger the apples you choose, the more generous cavity you can carve out for that irresistible cinnamon oat filling. Just remember that larger apples will naturally require a slightly longer baking time to become fully tender. Always test for doneness with a fork.
- Embrace Variety: There is truly no “wrong” kind of apple for baking! While some might hold their shape better or offer a specific sweet-tart balance, all apples will yield a delicious result. Some will remain firmer, while others will become delightfully mushy—it’s all about personal preference! The BEST apple to use for baking is simply the one you already have in your fruit bowl.
- Boost Flavor Naturally: If you’re looking to add more depth of flavor without incorporating additional sweeteners, try adding a pinch of other warm spices to your filling ingredients. Nutmeg, cloves, or allspice can beautifully complement the cinnamon and apples, creating a more complex and aromatic profile.
- Serving Suggestion: For an absolutely decadent (yet still relatively healthy) treat, serve these baked apples warm with a small scoop of dairy-free vanilla ice cream or a dollop of coconut whipped cream. Watch it melt into perfection, creating a luscious sauce that drips down the sides of the apple. Pure bliss!
Explore More Healthy Apple Recipes
- Apple Cinnamon Bundt Cake
- Fall Harvest Salad with Apple Vinaigrette
- Gluten-free Apple Galette Recipe
- Dairy-free Apple Noodle Kugel Recipe
Did you know commenting and rating recipes is one of the best ways to support your favorite food bloggers? If you made this recipe, please consider a five-star rating below and leave a comment. Also, please share your photos on Instagram by tagging me @dkhealthcoach and using the hashtag #debraklein.
📖 Recipe

Healthy Baked Apples
Rate this Recipe
Pin Recipe
Equipment
-
Paring Knife
-
Measuring Cups and Spoons
-
Spice Grinder
-
9 Inches Pie Plate
-
Grapefruit Spoons
-
Apple Corer
Ingredients
Ingredients:
- 6 medium-large apples*
- ½ cup old fashioned rolled oats
- ⅓ cup walnuts
- 2 Tablespoon flax seeds
- 1 teaspoon cinnamon
- pinch fine grain sea salt
- 2 Tablespoons pure maple syrup
Instructions
Directions:
-
Preheat oven to 350°F (175°C).
-
Prepare apples. Wash and core your apples. I find it easiest to do this with a grapefruit spoon. If you don’t have one, a sharp paring knife works well too. Place the cored apples in a glass or ceramic baking dish.
-
Place oats, nuts, flax, cinnamon and salt in a coffee grinder, blender or food processor and pulse until well mixed and crumbly. It’s OK if some of the oats are still whole, as this adds texture.
-
Transfer the dry mixture to a small bowl. Pour in the maple syrup and stir until well combined and moist.
-
Evenly distribute the oat mixture into the apple cavities, stuffing them generously. Then, pour water or apple cider into the pan to ¼” up the side of the baking dish to create steam.
-
Bake for 45 minutes to 1 hour or until apples are soft and tender when pierced with a fork. Larger apples may require a longer cooking time.
-
Serve warm or at room temperature, perhaps with a scoop of dairy-free ice cream for an extra treat.
Video
Notes
PREP AHEAD: Baked apples can be made ahead of time and stored in the fridge for 3-5 days, making them perfect for meal prep.
SERVING SUGGESTIONS: Serve them cold for a refreshing treat, bring them to room temperature, or gently reheat in a 325°F (160°C) oven for about 15 minutes until warmed through.
Nutrition
Note
The nutrition calculations were done using online tools. To obtain the most accurate representation of the nutritional information in any given recipe, you should calculate the nutritional information with the actual ingredients you used. You are ultimately responsible for ensuring that any nutritional information is accurate, complete and useful.
